o one even likes to even think about breaking down on the road or in an RV park, but mechanical things will break or fail at some point — and if they are part of the complex network of materials, appliances and accessories that make up an RV, the consequences can be very stressful. Beyond the fact that you’ll have to either fix what breaks yourself or wait for an appointment at a repair shop, you also have to usually wave goodbye to money spent on sometimes pricey park reservations when trips are interrupted at the last minute.
Taking a proactive role is your best defense against problems that can sideline any RV excursion. Making repairs on the road is more difficult, but doable; it’s always best to prevent — or at least temper — the possibility that something will go wrong at the most inopportune time. Here are some common issues that, for the most part, can be nipped in the bud with a strong maintenance regiment.
ost owners take the roof for granted. Let’s be honest: how many of you have never been on top to inspect the seals, seams and general condition of the material? Good maintenance practices will help get the most life out of any roof. Rubber roofs (EPDM), for example, will last for more than 10 years with (at minimum) annual inspections and consequential maintenance/repairs. As a matter of fact, the roof-material is often warranted for 10 or more years if proper care is evident.
Start the inspection process by checking all around the vents, end caps, antennas and transition seams to verify that the sealant is not cracked, peeled or generally in disrepair. If the sealant is cracked and starting to peel, you may be able to cover the old stuff with fresh self-leveling sealant, but that really doesn’t last very long — scraping and resealing is the most effective way to ensure a moisture-tight bond. Sealing end caps and/or transition seams can also be treated with new sealant or you can apply Eternabond tape, which will last much longer but is not as pretty.


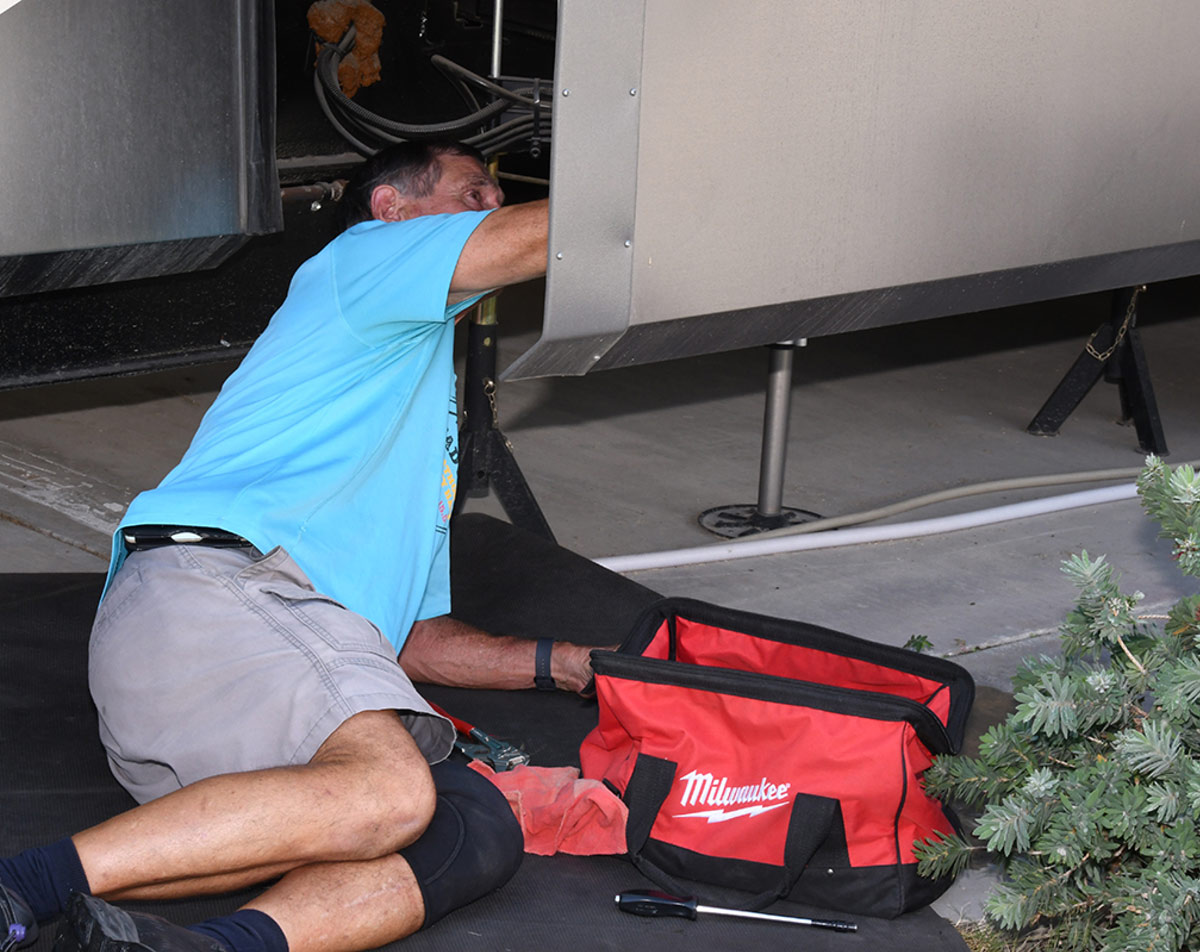
nnual brake and wheel bearing inspection and service are critical maintenance points in order to prevent failure(s) — and possible safety issues. Also, a good practice is to walk around the RV when taking a break from driving, like when stopping at a rest stop. I have discovered tire issues during visual inspections even before they were recognized by the tire pressure monitoring system (TPMS). Make no mistake, I swear by the use of a TPMS, but problems like a bubble in the sidewall — which is all too common on a trailer tire — won’t make themselves known to the monitoring system until they let loose…with catastrophic results.
On a recent trip over a steep pass (up to a 26% grade), RV Enthusiast Publisher Bob Livingston stopped to cool down the brakes on his fifth wheel, which proved to be a good decision. Even with disc brakes and an exhaust brake on his RAM truck, the fifth-wheel’s brakes were starting to get hot, which was obvious from the smell they emitted. And Livingston had performed a brake job and repacked the bearings on the fifth wheel before setting out on his trip; had he not, the outcome might’ve been a lot worse. This incident alone is a good reason to inspect the brakes and bearings before you embark — and if you suspect that you’re using a lot of service brake during your travels, stop and check them.

Once you clean the bearings, a decision can be made whether they need to be replaced; in either case, you’ll have to pack the bearings. (See “Get Your Bearings” in the September 2022 issue of RV Enthusiast for step-by-step instructions). Clean the bearings with paint thinner or something that will dissolve the grease; be sure that you blow into the roller bearings to make sure there is no residual grease chunks lurking inside. Old timers can repack bearings by hand, but if you are not in that category, use a bearing packer, which can be found easily on Amazon or at auto parts stores. My go-to grease is Lucas Oil Red “N” Tacky Grease (available at auto parts stores and Amazon), which can handle high temperatures and holds up under severe service. I also recommend having a notebook handy (or put notes on a smartphone) with the service intervals required by the axle manufacturer and the mileage recorded from individual trips. That way, you’ll know at a glance when they need to be serviced again.


Engine belts and hoses are often overlooked, but they, too, need to be inspected and replaced at recommended intervals to prevent breakage, which will disable your engine very quickly. You can inspect the belts with a bright flashlight, but I would recommend leaving that process to professional mechanics.

A final note for trailer owners: Always torque the lug nuts to specifications before every trip and frequently while on the road.
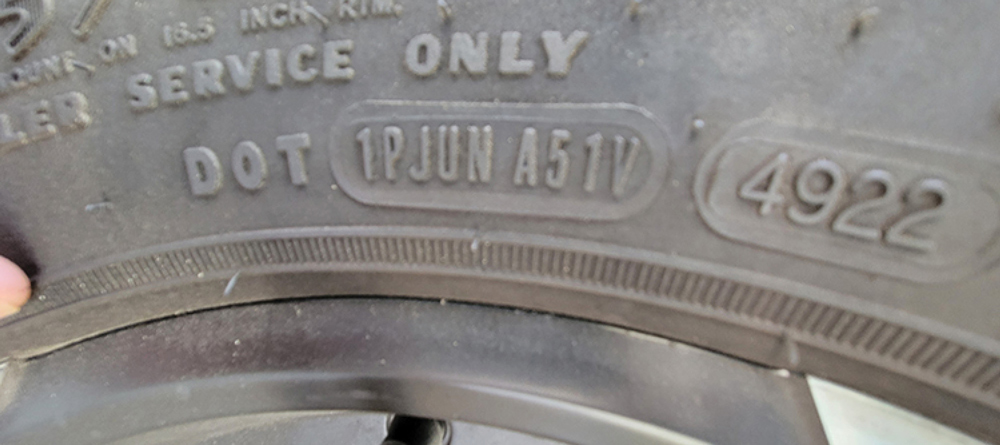
Also, the rear inside dual tires seem to have more problems than the outside tire. This may be due to a lack of inspection as they are hard to get to or impossible to see. Consider visiting a capable tire store and have the inside duals inspected annually.
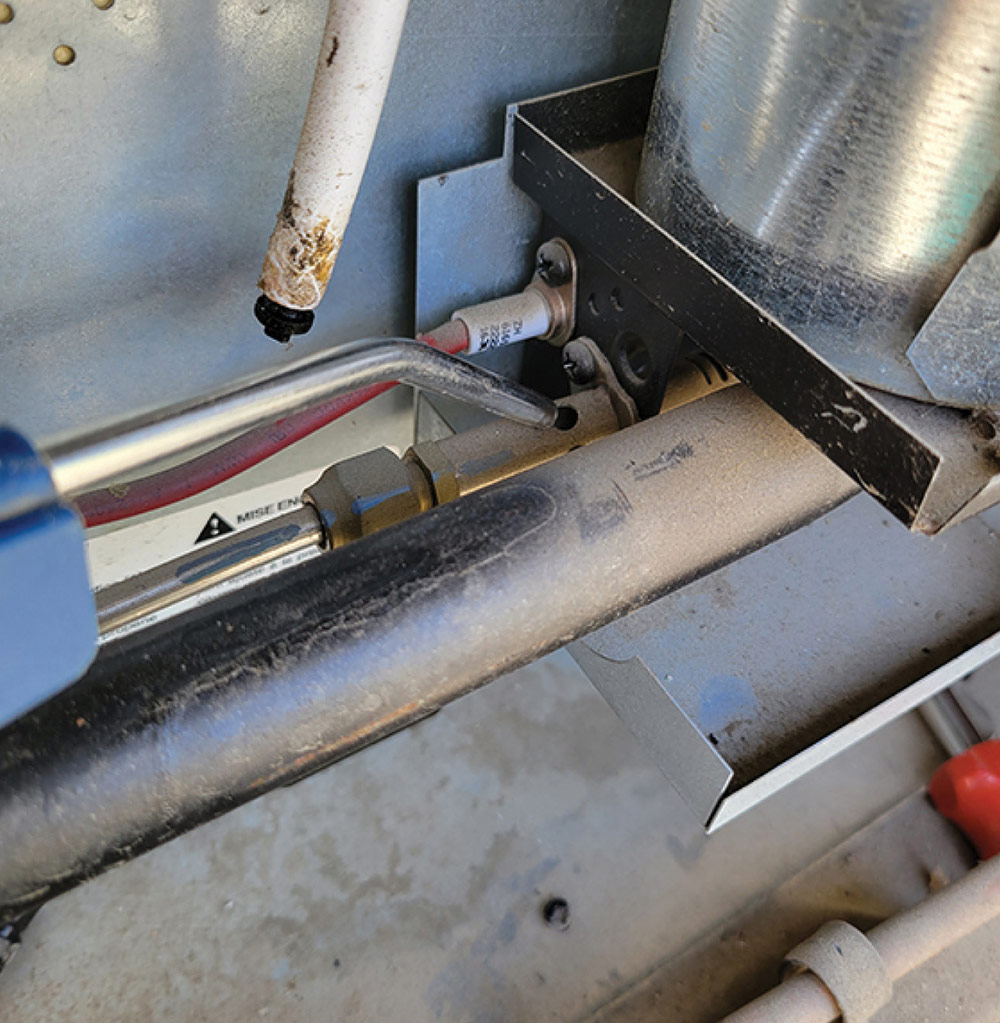
oo many owners take appliances for granted, perhaps because because old timers were conditioned to appliances in a home lasting for a long time. Of course, that’s not necessarily true any longer and RV appliances lie dormant for long periods of time, so there are usually more surprises at start-up. Appliances that rely on LP-gas require proper pressure to operate as intended (which is 11 ½ inches of water column). That’s determined by the regulator, whether a dual stage attached to motorhome LP-gas tank or the switchover type used on dual cylinder systems in towables.
In particular, water heaters and refrigerators require more cleaning than other appliances because of the size of the burner and exposure to environmental conditions through the outside vents. Most times, a visual inspection will pinpoint potential problems. Make sure you inspect the water heater burner (conventional models), the gas valve and wiring; use a flashlight to check the condition of the electrode.

If you have an absorption refrigerator, remove the exterior access panel and visually check the wiring along with any dust and/or dirt buildup on the absorber coils, which are only visible in the lower section. The burner is behind an inspection panel, which should be removed to check the condition of the burner slots, identifying any corrosion and rust that reduces the BTU capability. Blow out the burner with air pressure via the slots that are in the burner tube. I don’t recommend that you remove the orifice and attempt cleaning; that should be left to a professional.


LP-gas is a key energy source for most RVs, although all electric systems are rapidly gaining in popularity. A failure of the LP-gas system will result in a refrigerator that’s not cooling properly, or a stove that provides no heat — and the same scenario holds true for water heaters and furnaces. If your propane regulator is more than five years old, replace it, no matter the perceived condition. At the same time, check the hoses; they become brittle and deteriorate over time. Have the system pressure checked with a manometer annually to make sure the pressure is at the requisite 11 ½ inches of water column and that the system is leak free.


eveling jacks make set-up and take down a snap, especially when tied to an automatic system, but when they fail, get ready for plenty of stress. If they fail to retract the morning you need to vacate your RV site, you will find yourself in a bad situation, especially if the next renter is waiting in the wings.
Electric leveling jacks do not require much in the way of maintenance, although it’s good idea to extend the legs before leaving on a trip to make sure that they’re clean and free of anything that can impact movement. Inspect all the jacks for rust pitting or any damage to the ram. The ram on each jack does all the work, so it’s imperative that it is smooth and clean. I recommend using a dry lube on the rams when they are in the extended position; this will not only promote a smooth action but will extend the life of the ram — and should be done for hydraulic jacks, as well.
Hydraulic leveling jacks, on the other hand, have more moving parts and need a closer inspection. The most basic check is for fluid level; reservoirs may have a fill line, and some have individual reservoirs attached to each jack. Pull out the owner’s guide and make sure the reservoir is filled properly when the jacks are retracted. Most systems use basic automatic transmission fluid; it not a bad idea to carry an extra quart of fluid in your supply kit.


Every year the fluid should be changed, removing as much as you can physically get out. To do so, you will need to retract all of the jacks before you remove the fluid from the reservoir. This can be done with a simple suction pump (available at any auto parts store) which has a hose on either end so you can remove the fluid easily (and also use it to fill the reservoir with new fluid).
There are still many older leveling jack systems out there on motorhomes that have a spring that help the jack retract. Take the time to inspect the springs and replace them, if necessary.
olding tanks are a necessary evil if you want a self-contained RV. Most RVs have one “black” tank for body waste and one gray water tank (some models may have multiples of either one). The use of chemicals in both tanks will circumvent that nasty odor that can permeate the RV park and insult your nose, and chemicals also can help keep the tank sidewalls clean and give the monitor sensor probes a fighting chance. Most level monitors are inaccurate because the build-up of crud on the sensors limits conductivity between the probe and liquid level (except for those probes that are mounted on the outside of the tanks).
Tank-flush systems are your hedge against clogs and build-up on sensors. Fortunately, RV manufacturers now provide tank clean-out systems in many units and for those who don’t have such a convenience, there are aftermarket kits on the market. If you can access the side of the holding tank, then you should be able to install a clean-out like the Camco Quickie Flush (see “Flushing Troubles Away,” April 2023 issue of RV Enthusiast).

Open and close the dump valves; they should be smooth and lock into place without undue force. Black tank valves are the most vulnerable to failure as there is obviously a lot of grit and waste that can fill the blade channel — to the point where the cable pull becomes restricted and/or the T-handles get into a bind.
The moral of this story: Don’t wait until you dump the tanks for the first time in an RV park to discover that the valves are going to stick. If they don’t feel right, consider replacing the valve(s) before leaving for a trip. The fix in the field can be mighty messy — and campground owners will likely sneer at the repair.
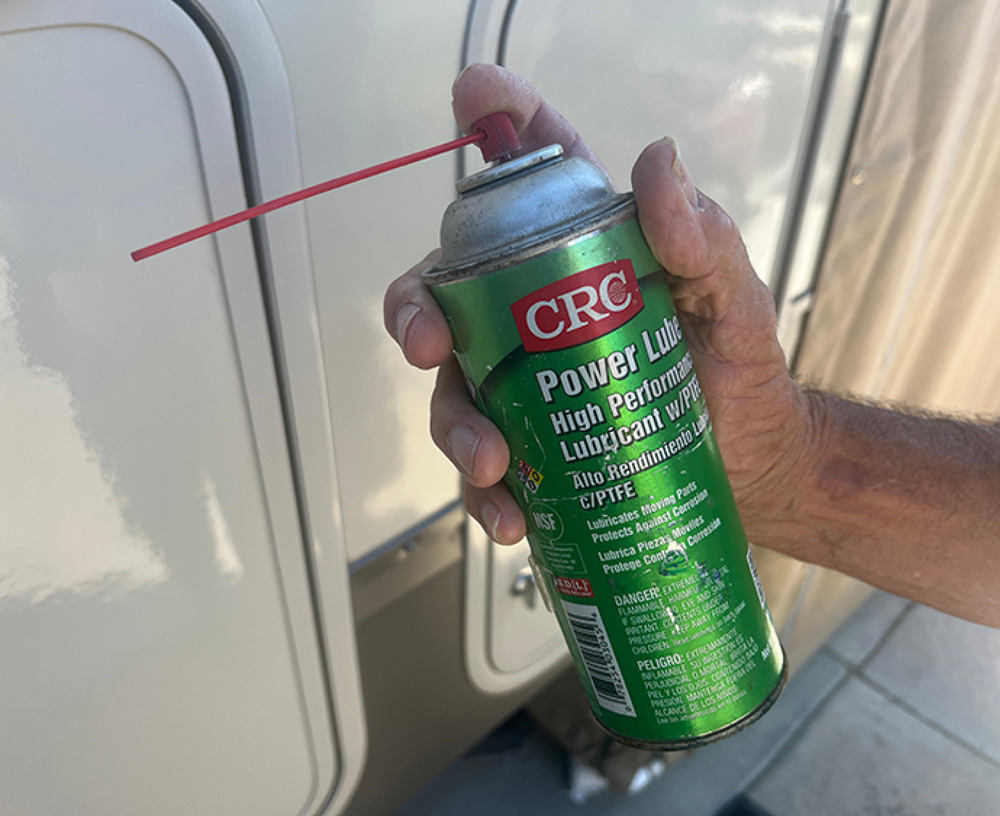
lideout rooms are wonderful — until you push the button and nothing happens. Most slide-out problems can be mitigated with proper care. For example, if the room mechanism makes a terrible squealing or grinding when moving in and out, it’s signaling you that lubrication is necessary. The operating mechanisms, whether it’s cable, rack-and-pinion or hydraulic, should be inspected carefully annually. The motor and gearbox assemblies are generally buried under an underbelly or inside of a compartment, making them more difficult to inspect. You may want to have the underbelly cut and modified with a zipper patch, which allows you open the area that needs to be lubricated. A lubrication product that works well for rack-and-pinion systems is CRC Power Lube High Performance Lubricant w/PTFE, available on Amazon for $14.35 (11-ounce aerosol can).
The rack-and-pinion system has gears and a rail with teeth. Owners are constantly wondering (because it seem logical) if this area needs to be greased, but the answer is a definite “No” — grease attracts dust and dirt, which will cause premature wear. It is also necessary to inspect the brackets and all the visible hardware that operate the slideout. Make sure that all the bolts are tight and there are no obvious signs of premature wear.
The Schwintek mechanism only requires periodic cleaning and a dose of dry lubricant.


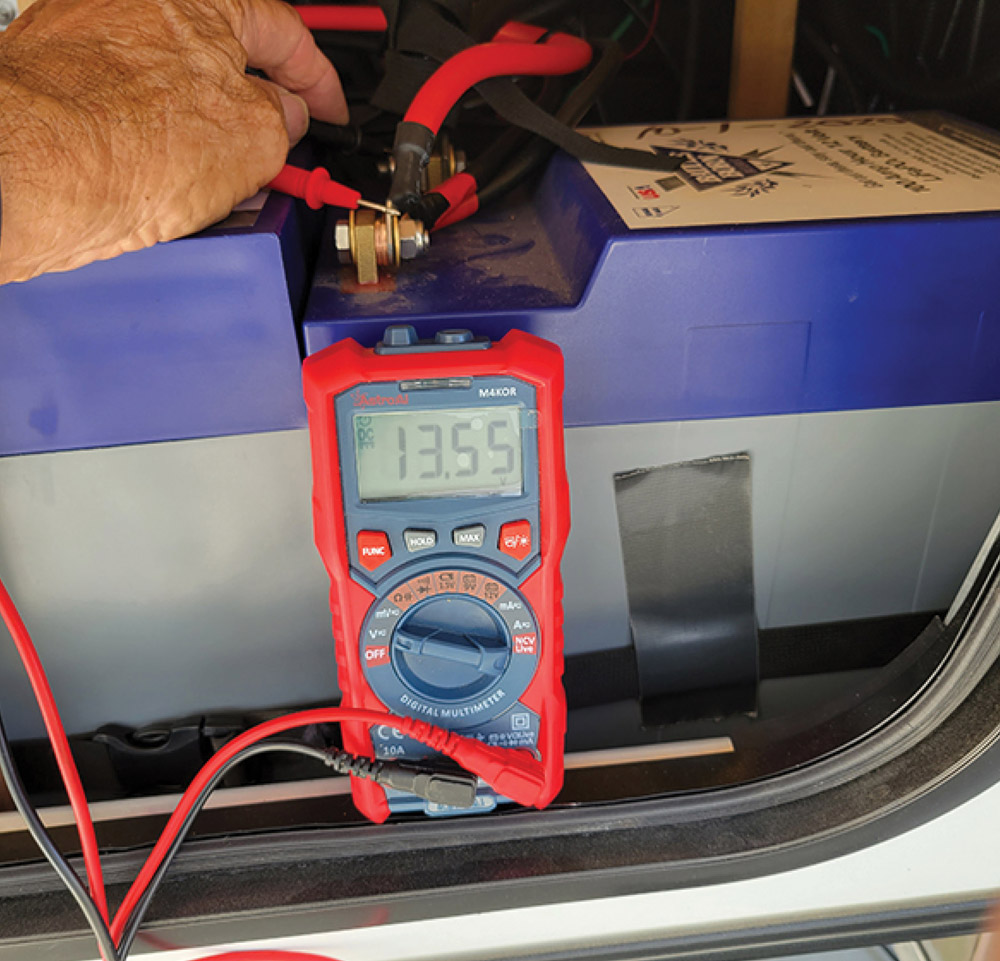
atteries, especially lead-acid starting batteries for engines, can quit literally out of nowhere, but many times the battery itself is not the lone culprit. Before every trip, clean and inspect the cables and terminals for corrosion and/or possible bad connections. Replace the terminals with the recommended size and type, and if necessary, replace the entire cable.
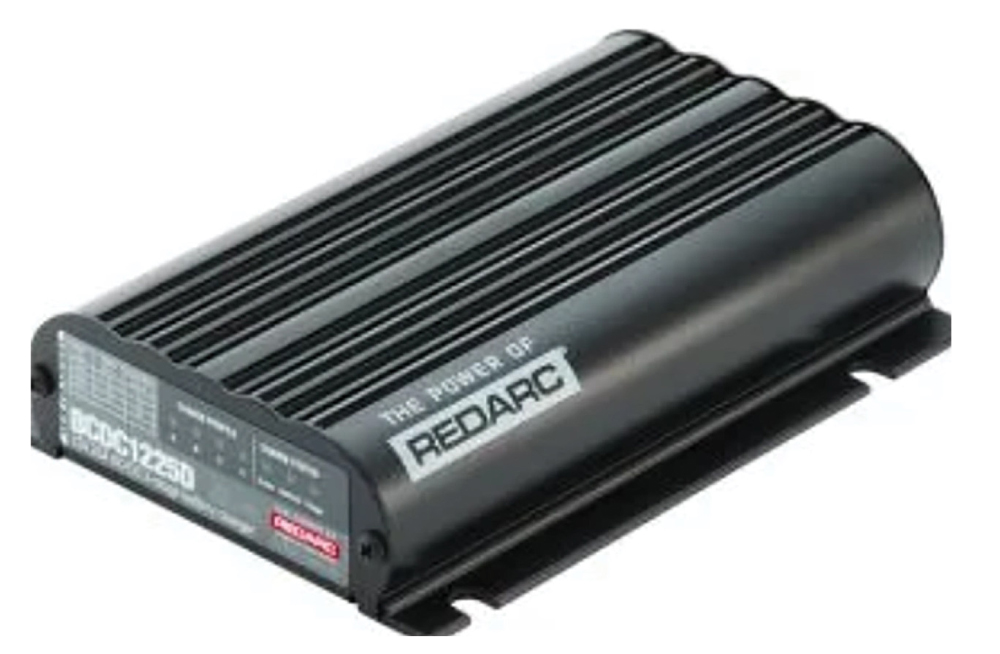
Check the date code on the batteries to determine their age. Motorhomes tend to sit for quite a while versus tow vehicles that are typically used as daily drivers. It’s best to connect a trickle (also called a maintenance charger) to any lead acid battery that will sit in storage, if you don’t have a solar system. There are a number of good maintenance chargers on the market. The one I use is the Xtreme Charger from PulseTech (pulsetech.com). If the batteries have open cells (water filling caps) you will need to keep an eye on the level at all times and top them off with distilled water before hitting the road. It’s not a bad idea to check the voltage at the house batteries with the engine running, when hooked up to power, and if equipped, the generator to determine that the charging systems are functioning properly.

Although keeping RVs in tip-top shape seems daunting, most of the service/maintenance can be easily accomplished by do-it-yourselfers. And you don’t have to finish in one day. In the end, you’ll be glad you took the time to assure trouble-free journeys.