Get your Bearings
[maghub_sidebar]
Tow Vehicle Tech
Get Your Bearings
Replacing the sealed front bearings on a Ram 3500 dually is a great weekend project for high-mileage vehicles.
By Bob Livingston / photos by author
Y

ou’re driving down the highway, happily towing your trailer when you hit a pothole, which is not unusual these days. All of a sudden, the truck starts to shake, the steering wheel tries to jump out of your hands and you think, “Is this the end?” Fortunately, the uncontrolled movement of the front suspension subsides as you slow down or stop — but the memory of the “death wobble” will be planted firmly in your brain.

“Death wobble” sounds so ominous, but it’s the term truck owners have coined over the years to describe the sensation when the front end of the truck shakes violently and control is compromised. It’s a situation that strikes trucks and SUVs, especially those with solid front axles. The Dodge Ram seems to get the brunt of the Internet exposure for the death wobble, but it’s been a problem for just about all trucks. I remember experiencing the violent shaking in my Ford pickup back in the early 1980s — and that was with a Twin-I-Beam suspension.

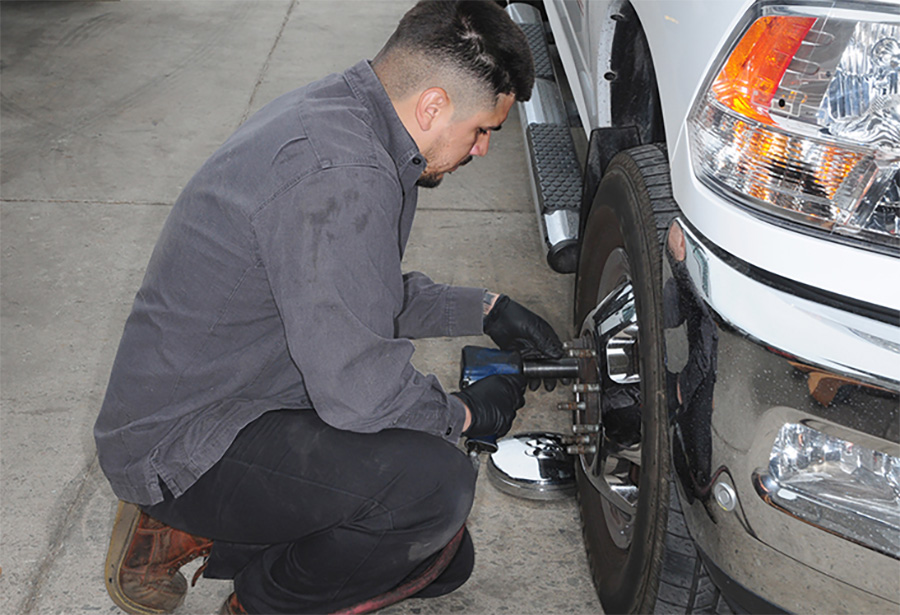
You’ll need some heavy-duty tools to replace the front bearings
You’ll need some heavy-duty tools to replace the front bearings, including impact wrenches and sockets. A pry bar and hammer are not shown but will come in handy.
It’s a mysterious phenomenon that is subject to much conjecture, especially on the Internet (see sidebar). While the death wobble just about always ends with restoration of control, the feeling that the driver will get into an accident is disconcerting. Most drivers dread the return of the death wobble and will be conscious when negotiating bumps, ruts, potholes, sharp turns and over railroad tracks. Common diagnoses for death wobble include worn tie rods, worn bushings and ball joints. Some will even blame worn bearings which, while ultimately did not the cause of the nasty oscillations to the 2017 Ram 3500 dually four-wheel-drive truck owned by my neighbor in our winter RV park — it only had 40,000 miles on the odometer — it provided a good opportunity for us to document what Ram owners will need to do when their trucks get old enough to rack up the miles, which is common with a Cummins diesel engine.

Installing the bearings requires some “heavy lifting” so the job was done at Redlands Truck and RV in Redlands, California, a service company that routinely does this kind of work. Parts and labor came to $1,495.

Replacing the bearings on the Ram truck can be done by accomplished weekend mechanics, especially those with a background in building cars and performing major repairs. You’ll need a ½-inch-drive impact wrench and a good selection of sockets and hand wrenches, not to mention a prybar or two to convince some parts to let loose. Obviously, the front end will need to be lifted off the ground and stabilized with jack stands.

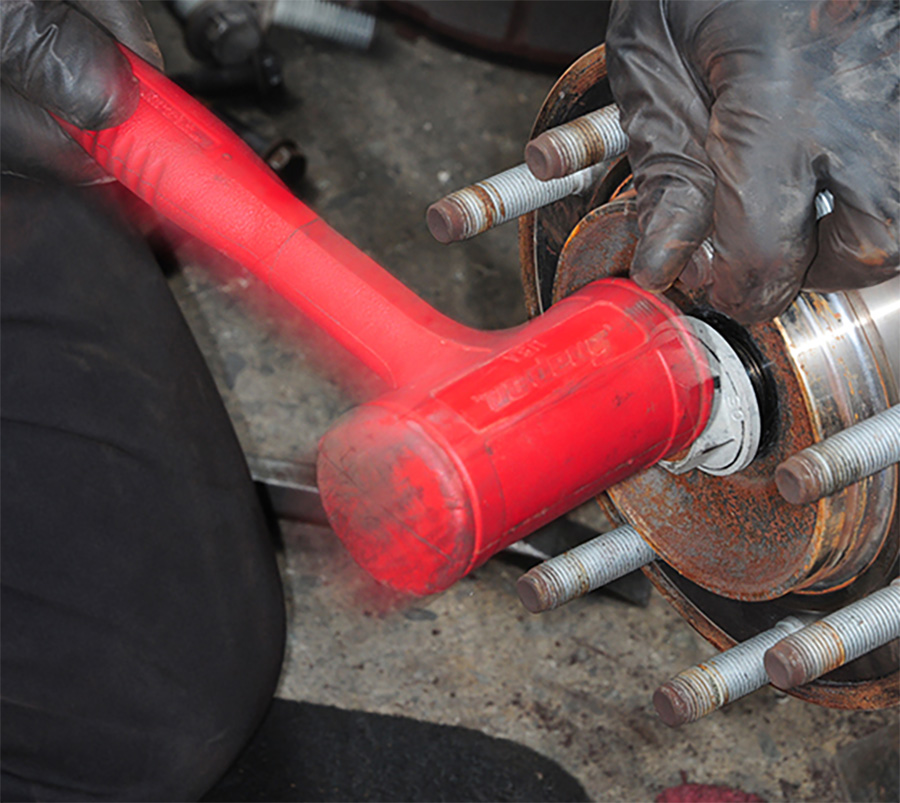
The work began by removing the wheel and disassembling the brake caliber and bracket, which were placed out of the way. From here, the hub assembly was unbolted from the rotor. You’ll need a socket extension to get into the holes between the studs. If the truck has been exposed to salt from the roads or living near the ocean, have a can of penetrating oil handy to help break the nuts loose. You may also need a hammer to persuade the hub assembly to come off the rotor. Next, the rotor was removed exposing the bearing assembly.

The entire wheel and brake assemblies

The entire wheel and brake assemblies will have to be removed to get to the bearings. There’s nothing small or lightweight here, so heavy lifting will be in order.

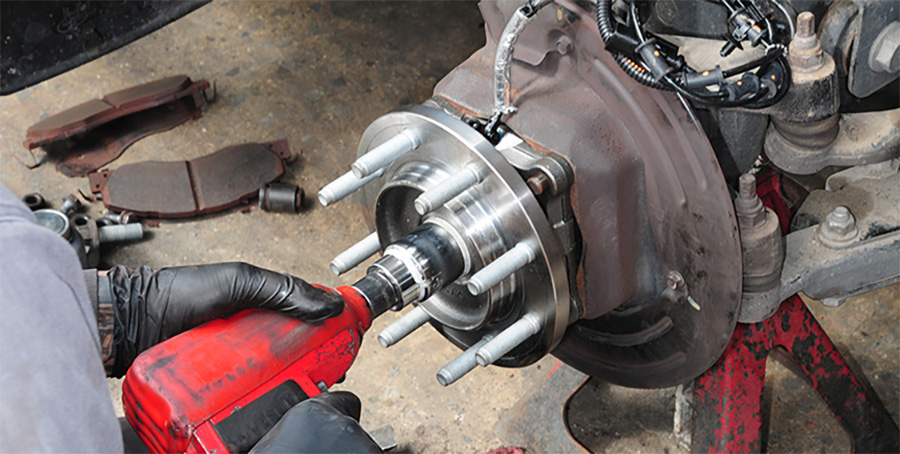
The bearing assembly is a one-piece sealed unit, which explains why it’s so expensive. There are four bolts behind the bearing assembly that were removed, which took some finesse and patience to maneuver an impact wrench and socket into position. The Redlands Truck and RV mechanics are experts in this type of work, however, so the process went smoother than expected. Getting the bearing assembly off the axle spline was another story. The center nut was removed, and wheel speed sensor wires disconnected before persuading the bearing assembly to release from the spline. A pry bar and hammer convinced the bearing assembly to come off, but care had to be taken not to dislodge the spline. A slide hammer can also help here, but was not used for this project.
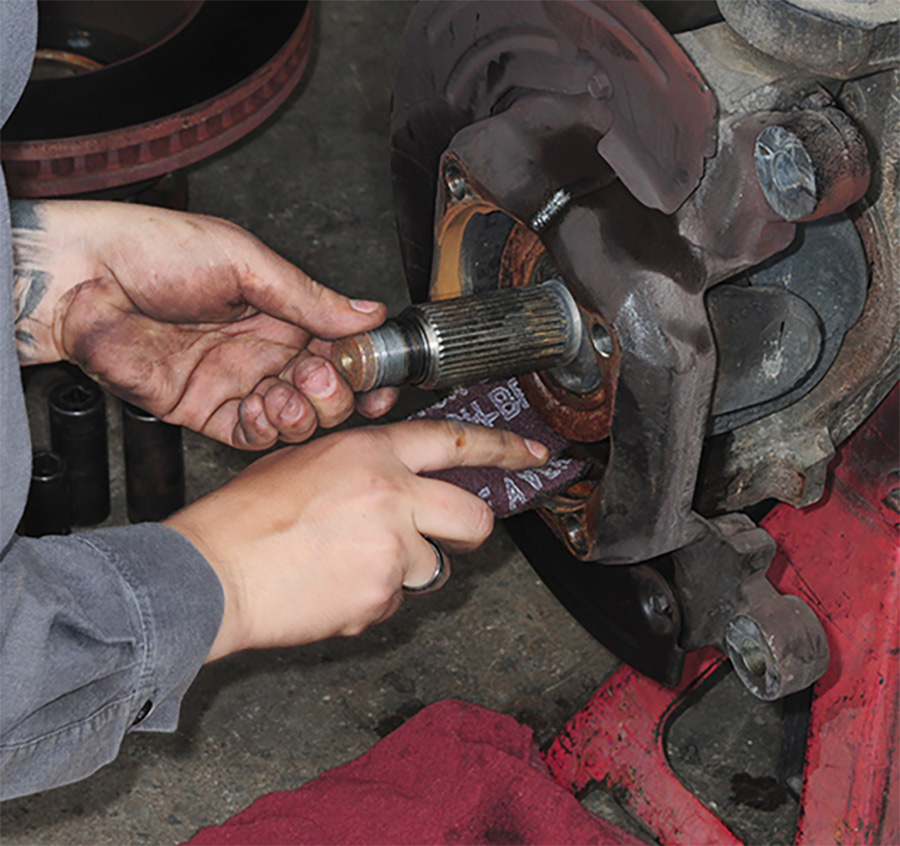
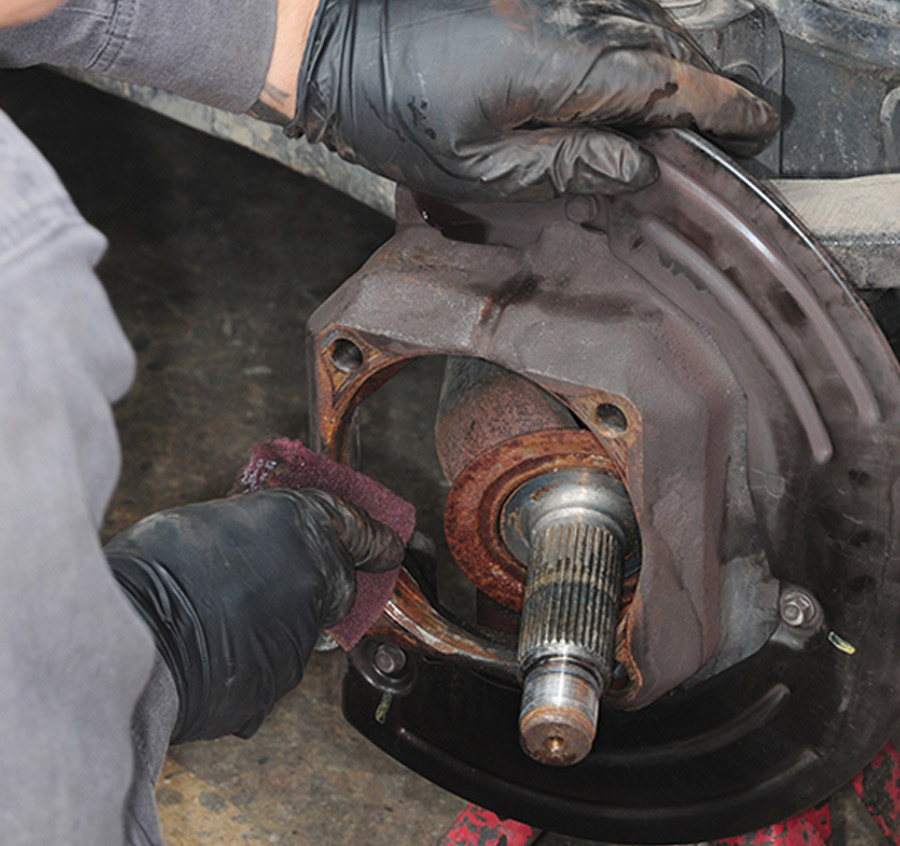
Fortunately, the suspension components on the Ram were in good shape and there was no need to use penetrating oil. Brakleen Brake Parts Cleaner was sprayed to eliminate any offending debris and any rust was removed with a scuff pad. The spline was coated with anti-seize compound after cleaning.

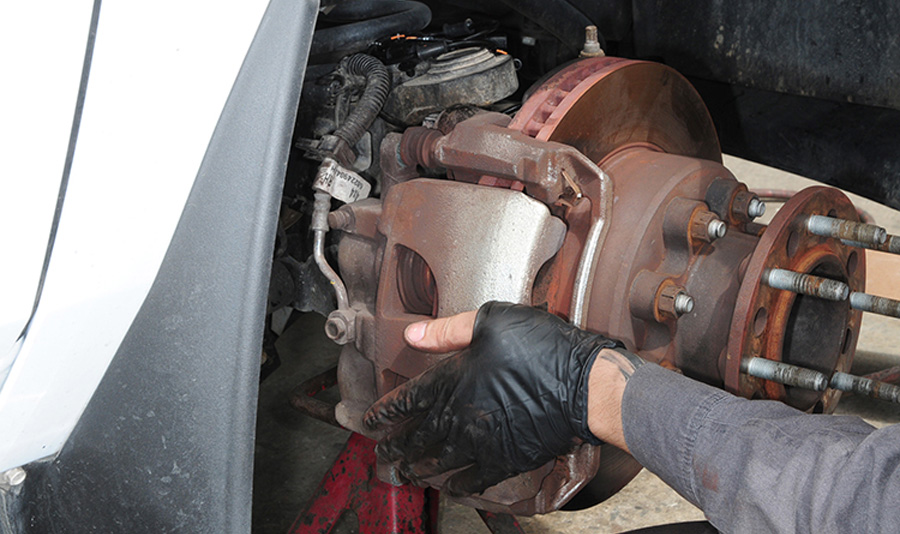
After the prep work was completed, the new bearing assembly was installed followed by the rotor and hub assembly. Finally, the bracket and brake caliper were replaced and the job was finished — on one side. Figure on spending most of the day to replace the bearings on both sides if you do it yourself. Redlands Truck and RV finished the task in 2.6 hours.

Whether you’re experiencing a death wobble or simply own a Ram with six-figure mileage on the odometer, here’s what to expect if there’s play in the front wheels and consequential steering/handling issues that can be traced to worn bearings.

Brake caliper has been unbolted and moved aside
Caliper removal
Once the brake caliper has been unbolted and moved aside, the caliper bracket is removed from the rotor. Now would be a good time to inspect rotor and pad condition and replace if necessary.
Releasing the hub assembly
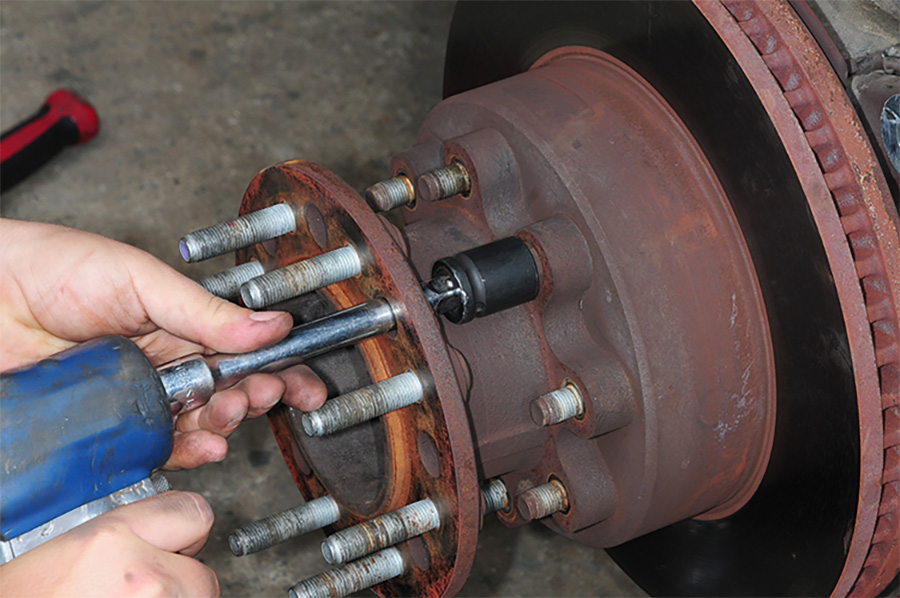
Releasing the hub assembly requires removing the bolts through the access holes between the studs. It’s best to use an impact wrench but you can get by with a long-handle ratchet wrench or breaker bar and some muscle.
Impact wrench
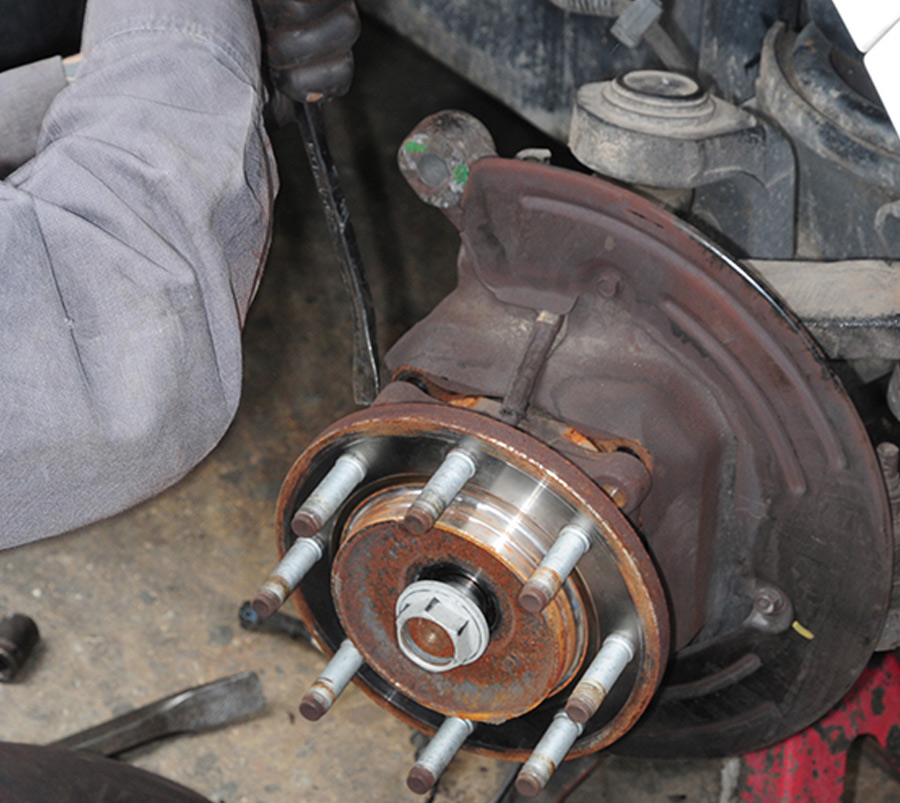
With the hub assembly out of the way, the center nut is removed to release the brake rotor. If there’s quite a bit of rust build-up from living near the ocean or from salted roads, you can squirt some penetrating oil on the nut beforehand.
An Expensive Lesson Learned
We’ve preached it for years: don’t believe everything you read on the Internet
Working on the tire
While struggling to find a solution for a death wobble he was experiencing in a 2017 Ram 3500 dually four-wheel-drive truck, my neighbor in our winter RV park read multiple posts on the Internet that pointed to bearing failure. As most people know, quantifying posts on the Internet is, well, difficult, to say the least. Still, my neighbor was convinced — and was hellbent on having the bearings replaced. No amount of talking would convince him that the front bearings on his Ram truck could easily go three times the current 40,000 miles they had on them before wearing enough to cause problems with driveability.

That, though, is one of the byproducts of experiencing a death wobble — especially when towing a fifth wheel he and his wife live in full time. Having your truck’s front end start doing a shimmie while pulling about 15,000 pounds at 60 mph isn’t for the faint of heart. So, we didn’t push too hard.

The technicians at Redlands Truck and RV — to their credit — also were a bit perplexed as to why the owner wanted the bearings replaced but went along with the project since he was insistent. The wheels exhibited no play when tested before the front end was disassembled, which was a good sign that the bearings were still good. Most bad bearings will exhibit noticeable play in addition to rude road manners. Bushing ends, tie rod and ball joints were all closely inspected to make sure there were no underlying problems with the suspension. Once everything was determined to be A-OK, the work began.

Replacing the bearings, however, did not solve the death wobble problem — as suspected by the technicians at Redlands Truck and RV. The owner was happy to have new parts, but that elation only lasted until the next death wobble episode a week or so later. Back to the Internet he went — and upon gleaning further advice, new Michelin tires were mounted and a dual steering stabilizer and steering box stabilizer were installed. Bingo. Problem solved.

There’s little chance the tire change was instrumental in the fix so the installation of the steering and steering box stabilizers likely neutralized the death wobble — the exact reason why Roadmaster introduced its Exact Center device. Unfortunately, the Exact Center was not available at the time of this project because it would have probably fixed the death wobble without the additional hardware. (Watch for an installation of the Exact Center product in our October issue!)

There’s no doubt the Internet is a good source and has changed the way we research problems with our vehicles — but users need to analyze suggestions carefully and always seek out a second, or even third, opinion. This was a costly experience for the owner of the Ram truck, although he’s still happy he had the bearings replaced since he plans on keeping the truck for a very long time.

Taking of rotor
Remove the rotor and place it in a safe place, preferable on a towel. Once the rotor is off, you’ll have access to the sealed bearing assembly.
Speed sensor wires
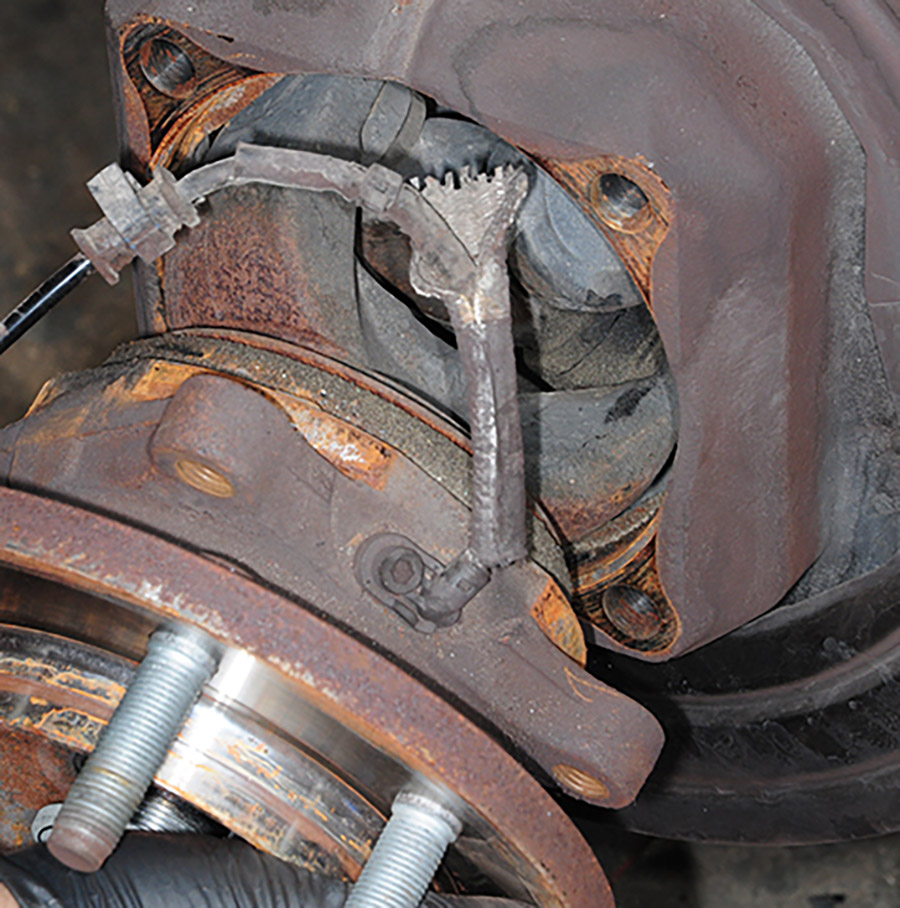
Speed sensor wires were disconnected and the other end, which stays on the front axle housing, was pushed back to a safe place before the bearing assembly was removed.
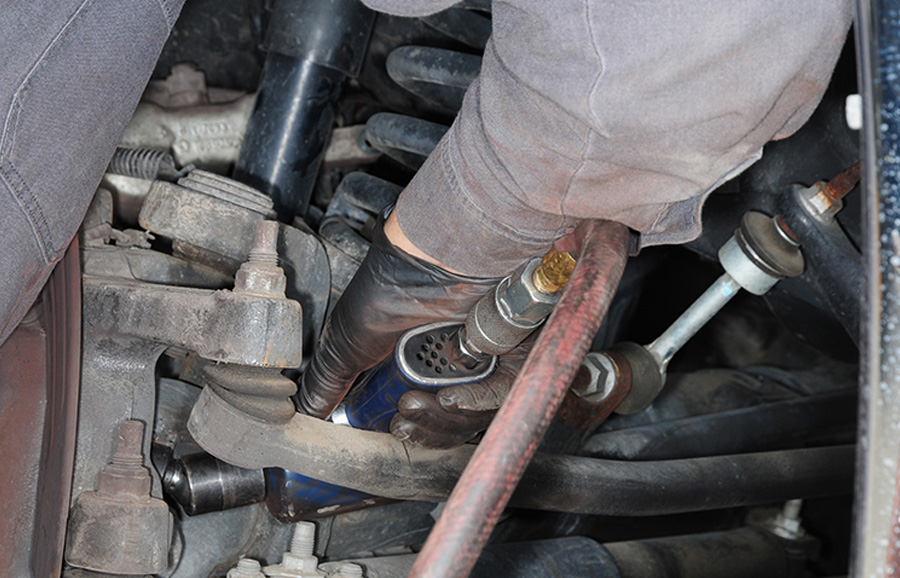
There are four bolts that were removed from the backside of the bearing assembly
There are four bolts that were removed from the backside of the bearing assembly. Access to these bolts is tight and requires patience to maneuver the impact wrench.
Hammer
Old bearing
The old bearing assembly needed some prodding to break loose. A hammer was first used to convince the assembly, but a pry bar ultimately freed it from the axle.
Removing speed sensor wires
Care must be taken to release the speed sensor wires from the clips in the axle housing while removing the bearing assembly.
Brakleen Brake Parts Cleaner
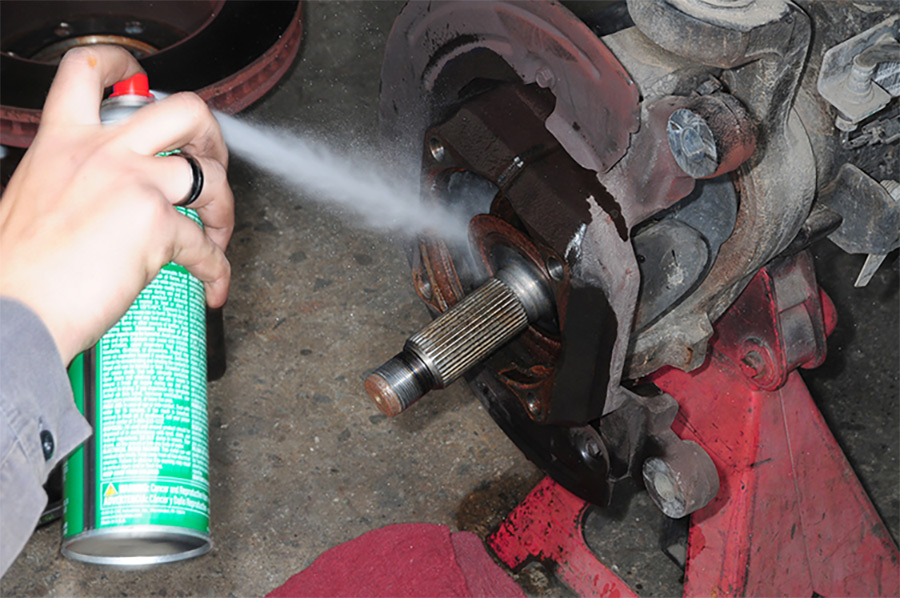
With the bearing assembly out of the way the entire area was sprayed with Brakleen Brake Parts Cleaner and wiped with a rag to remove loose and stuck-on debris.
Checking for rust
Removing rust
Any areas that showed a presence of rust were scrubbed with a scuff pad and wiped clean.
Coating the spline
Anti-seize compound was applied generously to the axle spline after cleaning. Coating the spline will control corrosion between the metal components and make it possible to remove the bearing assembly later with less binding.
One-piece component
Installing
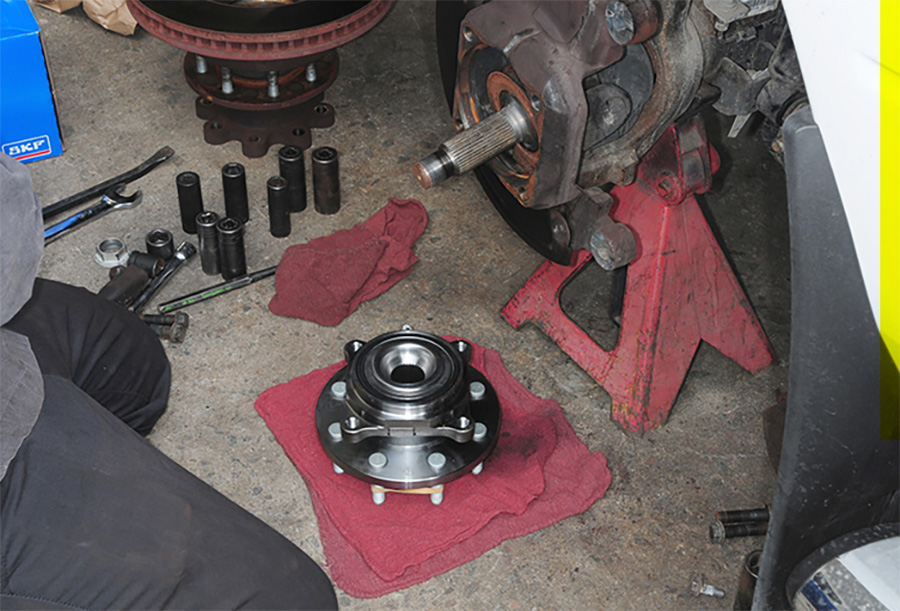
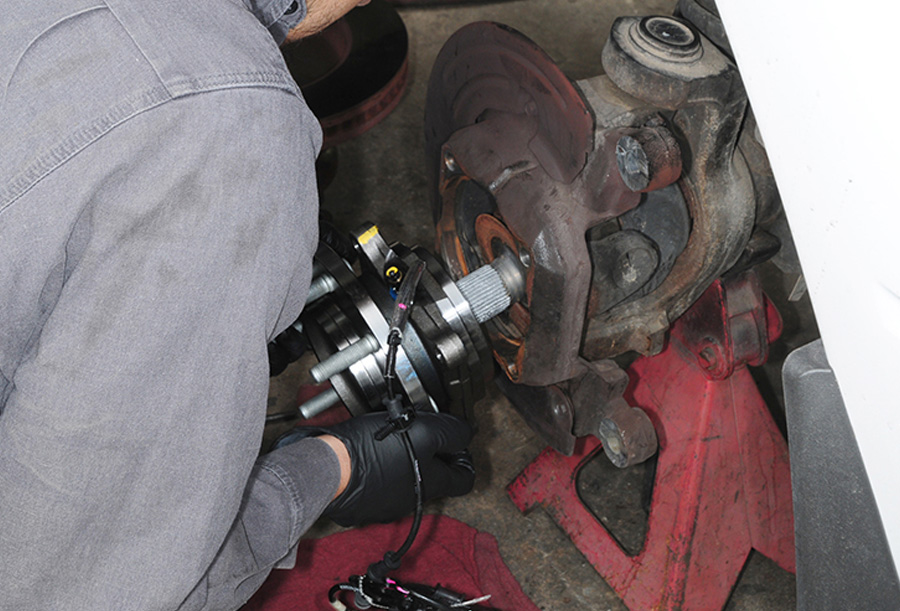
The bearing assembly is a one-piece component that must be kept clean before installation onto the axle spline. At this point, the process is pretty much reversed. Position the bearing assembly onto the spline and rotate it into position to line up the bolt holes.
The center nut was tightened
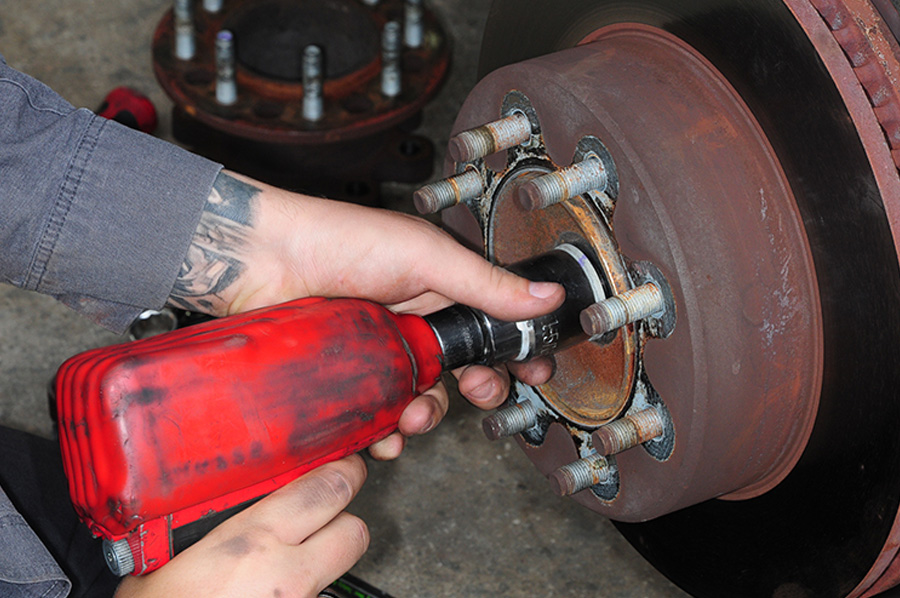
The center nut was tightened as were the four bolts in the back of the bearing assembly. The center nut and the four bolts in the back must be torqued to factory specifications after tightening with the impact wrench.
The rotor and hub assembly were replaced, and the brake calipers and pads were reassembled
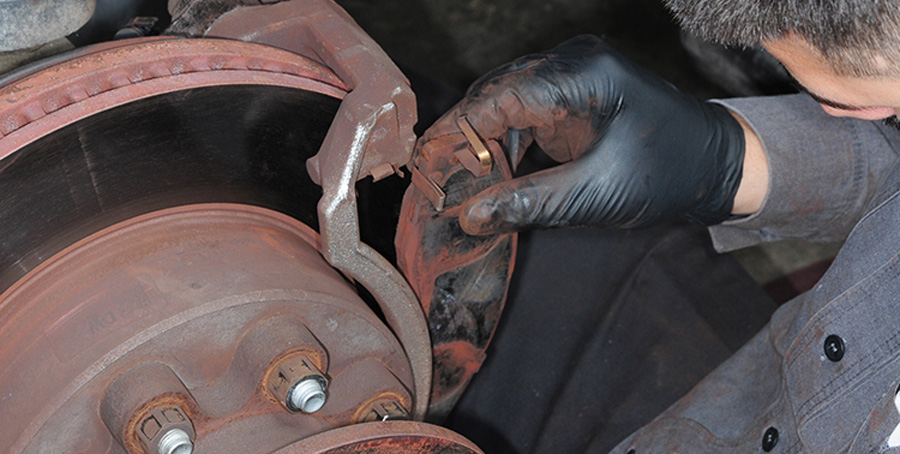
From here the steps were the same as if doing a brake job. The rotor and hub assembly were replaced, and the brake calipers and pads were reassembled.
Hammering the brakes
Finishing the brakes
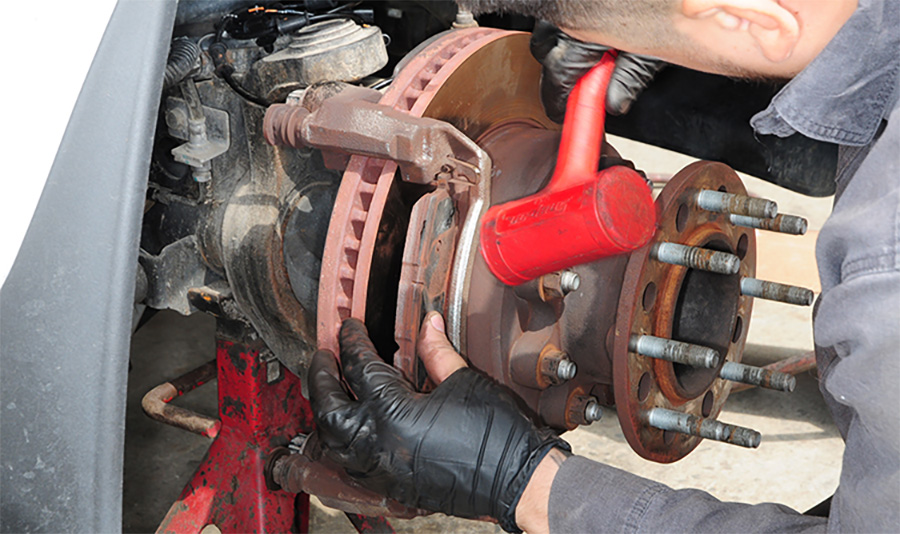
A few taps of the hammer and the brakes on both sides were reassembled. With the calipers in place, the wheels and tires were remounted and the lug nuts torqued to specification. Job done.