
eeping an RV’s holding tanks clean is essential for two reasons: You need to reduce the chances of developing nasty odors — both inside and outside the RV — and it’s important to prevent build-ups that can impede the velocity of the contents when dumping. Consequently, most RV manufacturers provide some method of introducing a strong flow of clean water into the tank during the dumping session. Without such a provision, build-up is all but certain, but in many cases the flow of water is so sluggish the extra water barely budges the contents.
Case in point: The tank flush fitting installed in the side of the black holding tank in my fifth wheel. Watching the sluggish flow of water move out of the tank (via a clear fitting on the termination valve) was painful. The solution was to add a more robust flushing system that can actually do some good. After studying the available products on the market, Technical Director Bill Gehr and I settled on Camco’s RV Quickie Flush, which has a multi-directional spray head, high-quality fittings and a hose. (Amazon sells the Camco 40123 Quickie Flush w/Backflow Preventer for $28.)
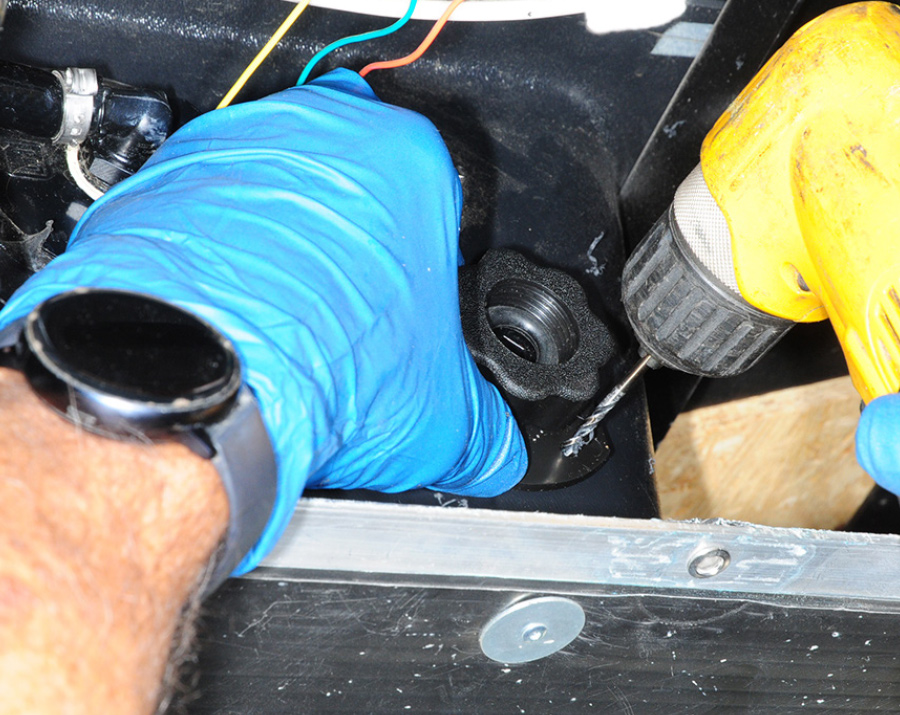
The first step was to determine if there was enough room to mount the additional Camco spray head in the side of the holding tank — and be able to reach the area for drilling new holes and connecting the hose during the install. Fortunately, there was room (barely), courtesy of the smaller space occupied by such a tiny fitting installed at the factory. The original fitting was just a pipe elbow that allowed water to enter the tank with some pressure and, again, it was anemic.
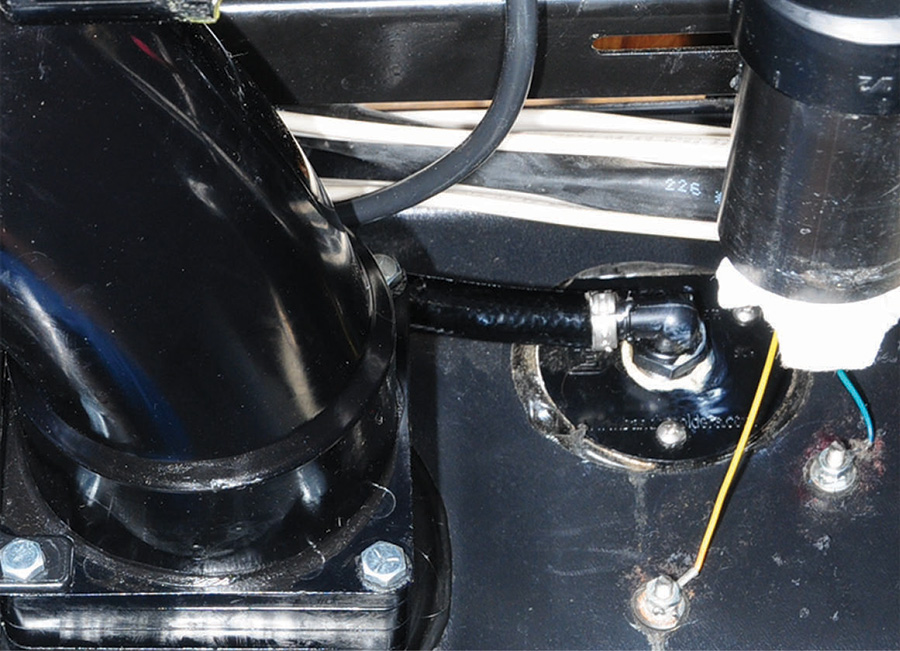
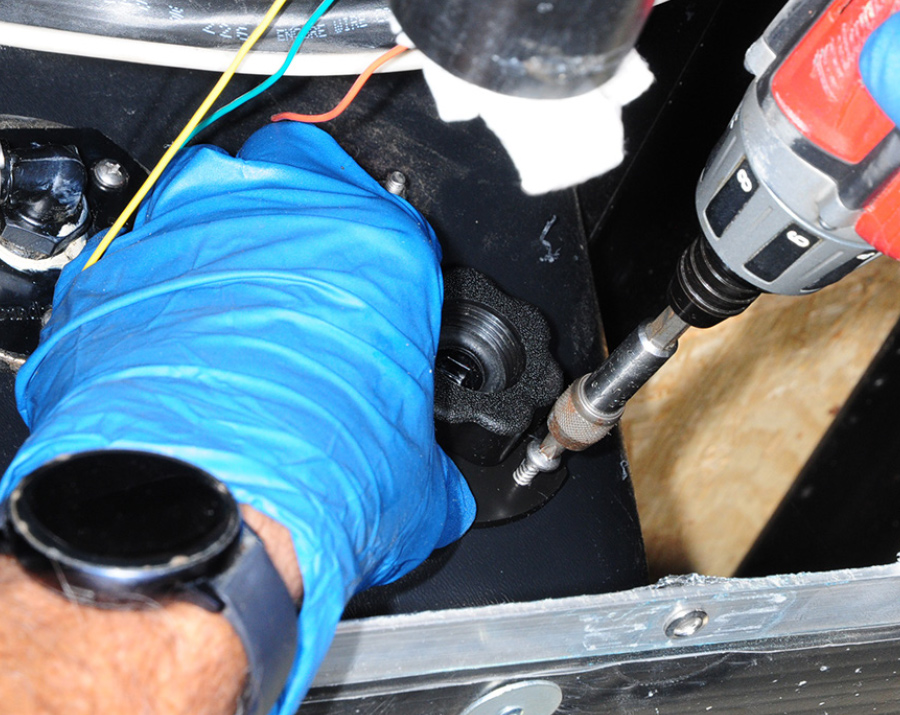
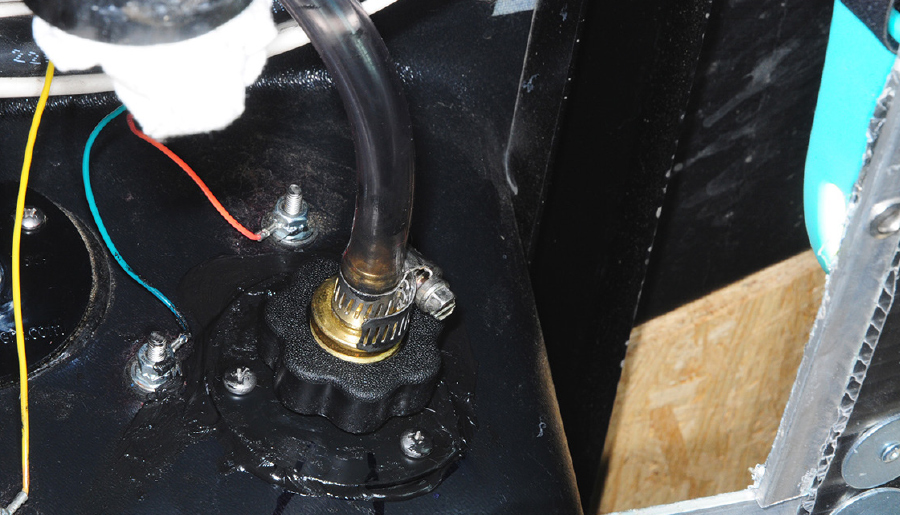
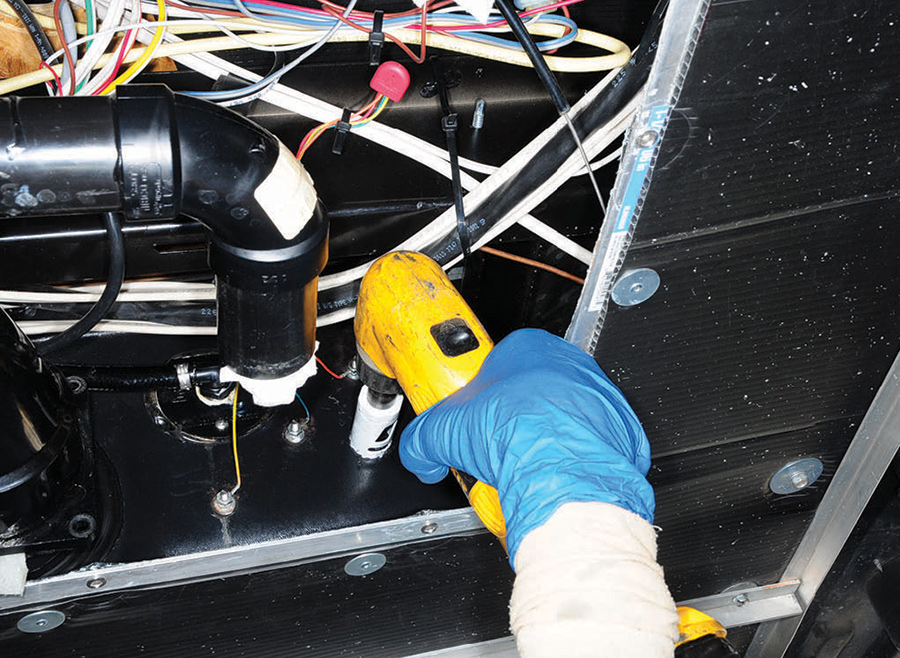
Once the new hose was routed, the next step revolved around installing the spray head. The instructions call for orienting the spray head with the flat surface of the flange pointing up, which allows most of the spray to cover the sides and bottom of the tank. For this installation, however, Gehr was fighting obstructions that made it difficult to get the drill motor positioned properly to make straight pilot holes for the screw holes in the flange, so he mounted the flat surface toward the right side of the fifth wheel. As it was, a cordless angle drill just cleared the other objects above the access opening in the belly pan. This still allowed the flow of water to reach most of the tank, confirmed once the installation was completed and the flushing capability tested (more on that later).
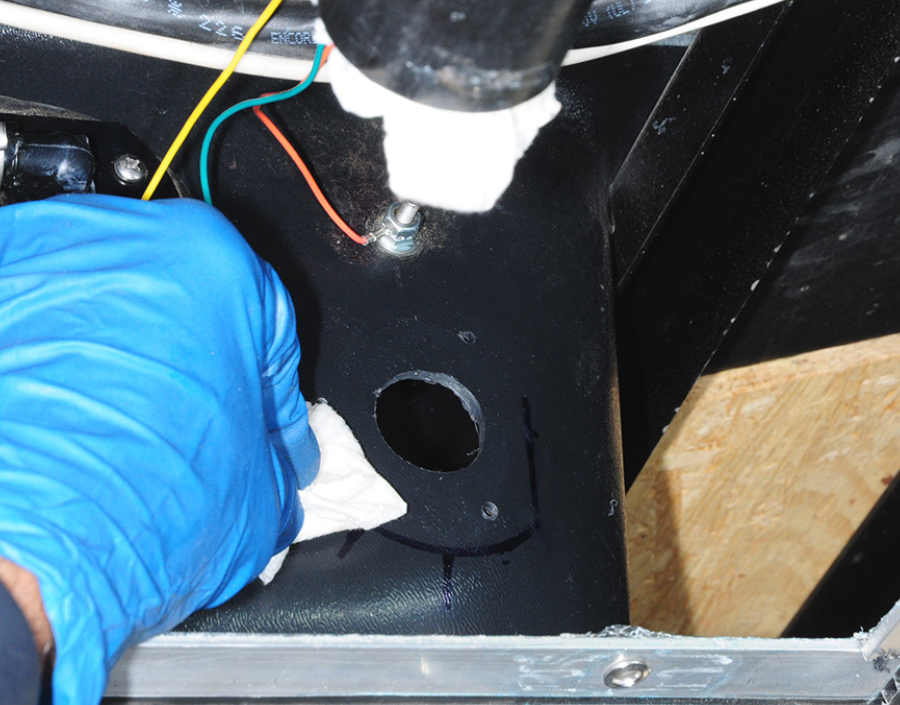
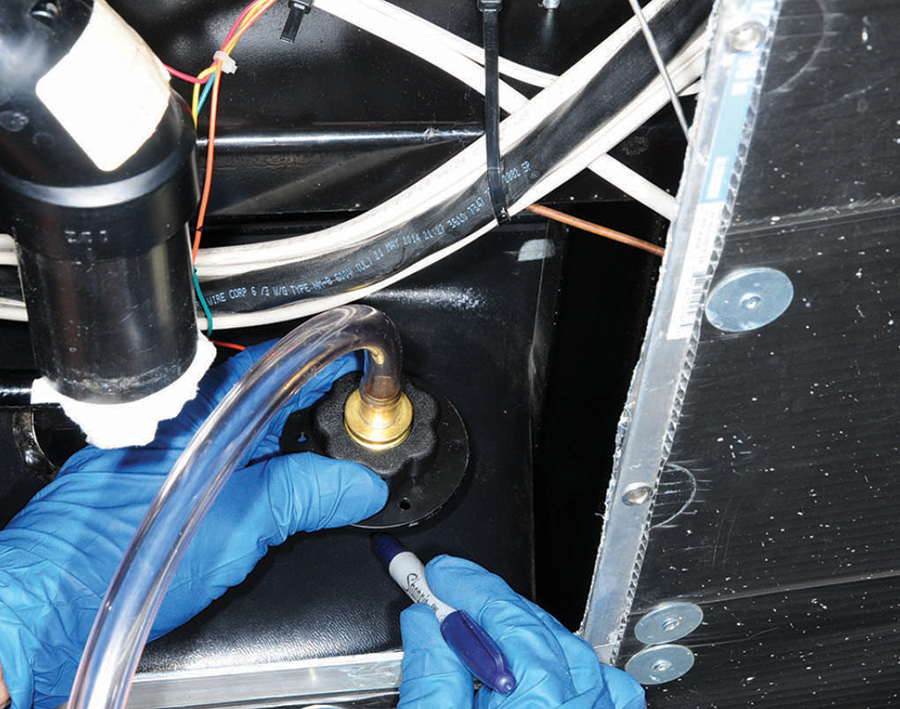
Again, while the instructions are very specific regarding placement of the spray head, doing this job in an aftermarket environment (unless you opt to empty, disconnect and drop the tank, a difficult, time-consuming and messy procedure) required additional alternate plans. For example, the company suggests that the spray head be mounted 2 inches from the top of the tank; that was not possible. Instead, the 1 1/8-inch hole was drilled near the bottom of the tank in such a way to allow room for the mounting flange, which required drilling the three aforementioned 1/8-inch pilot holes. This location also allowed for attaching the new hose to the spray head fitting; enough room is needed to twist the hose fitting on the spray head.
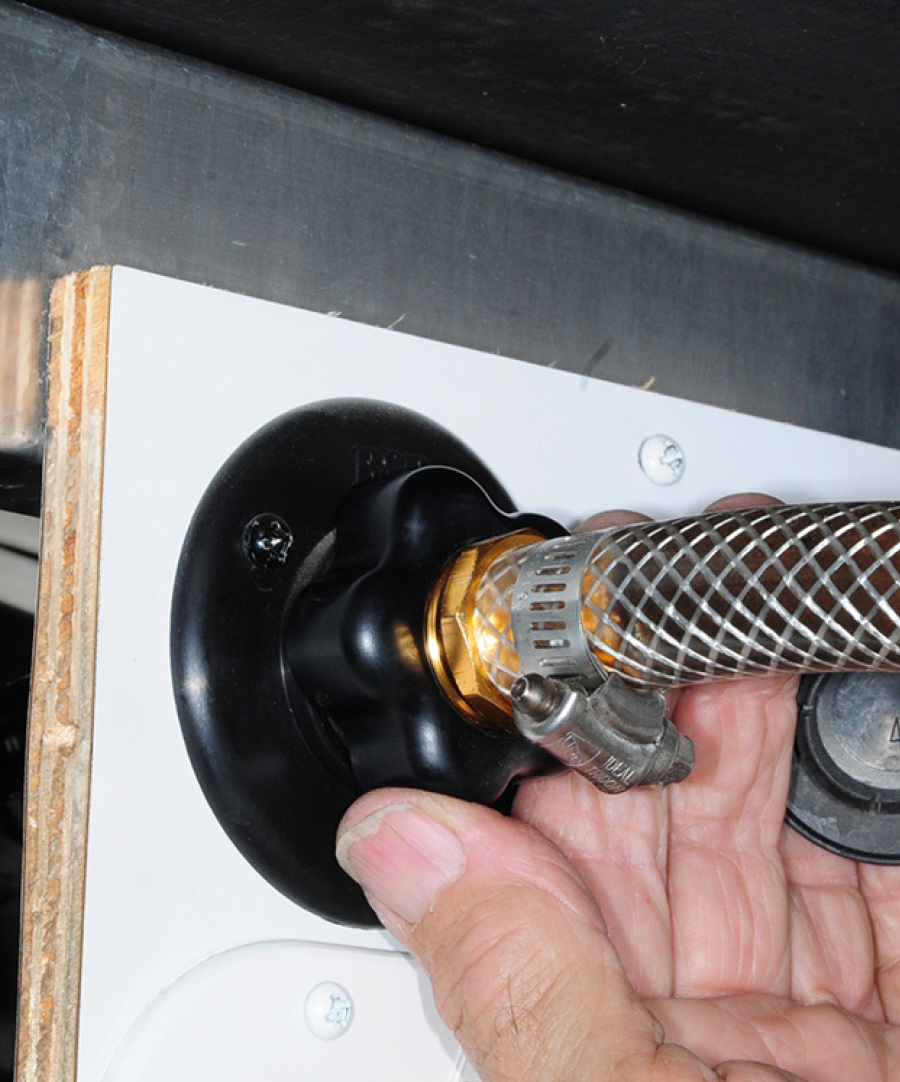
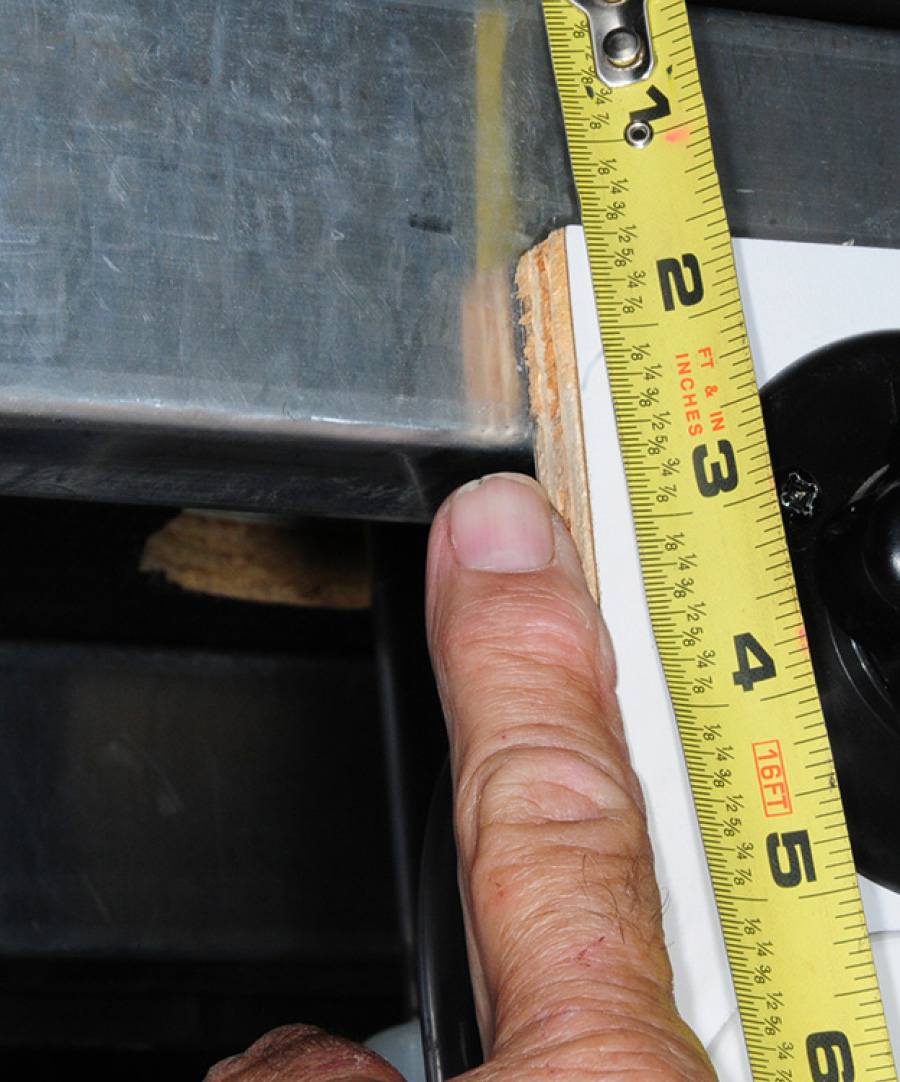
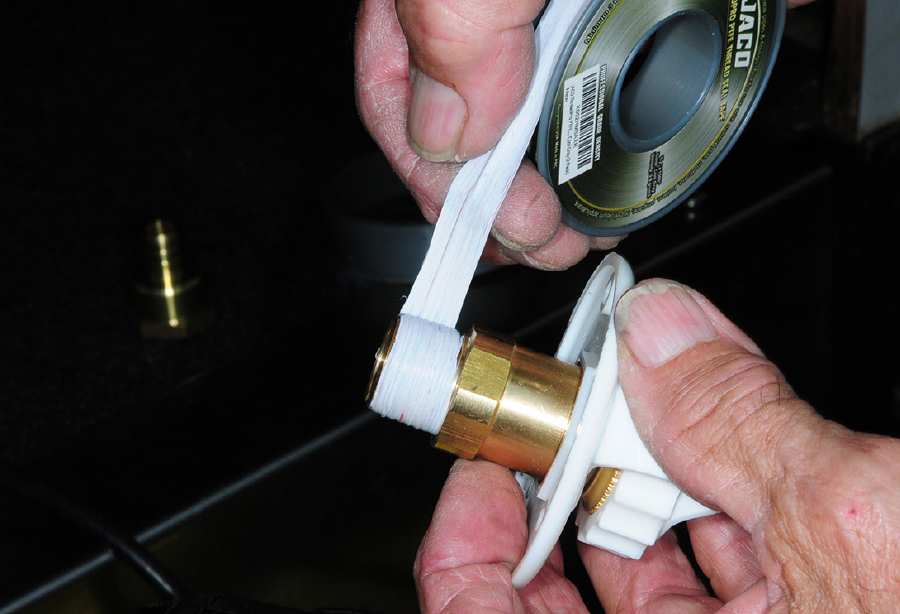
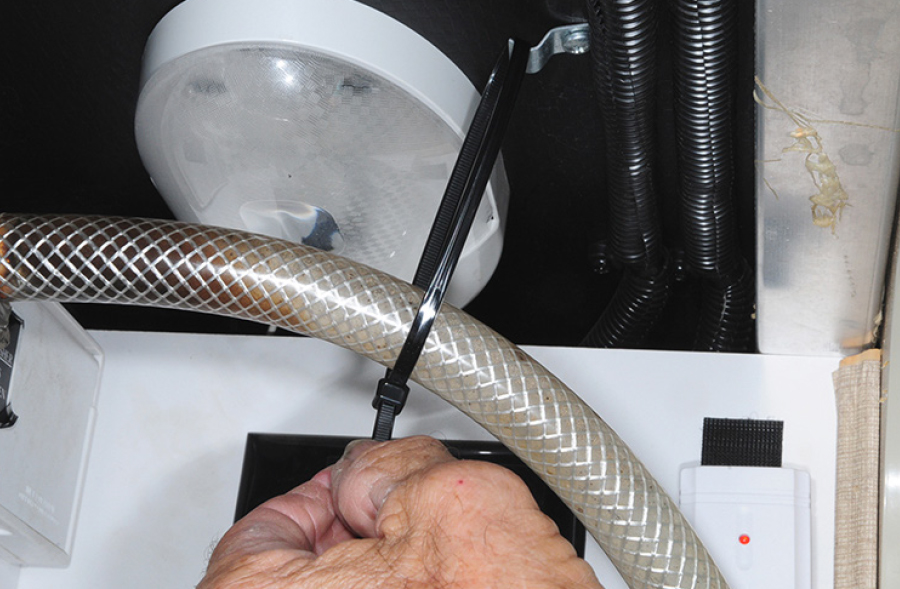
Hooking up the remote flusher connection, which has a standard garden hose fitting, required some measuring to mount it next to the original fitting, which was left in place. It comes with a steel bracket for mounting to an exterior surface (without drilling a hole) but installing the hose connection in the utility center wall was much cleaner. For this procedure, a RV city water fill fitting was purchased on Amazon. There are a number of these listed on the site, including those from Valterra, RecPro and JR Products, for less than $20.
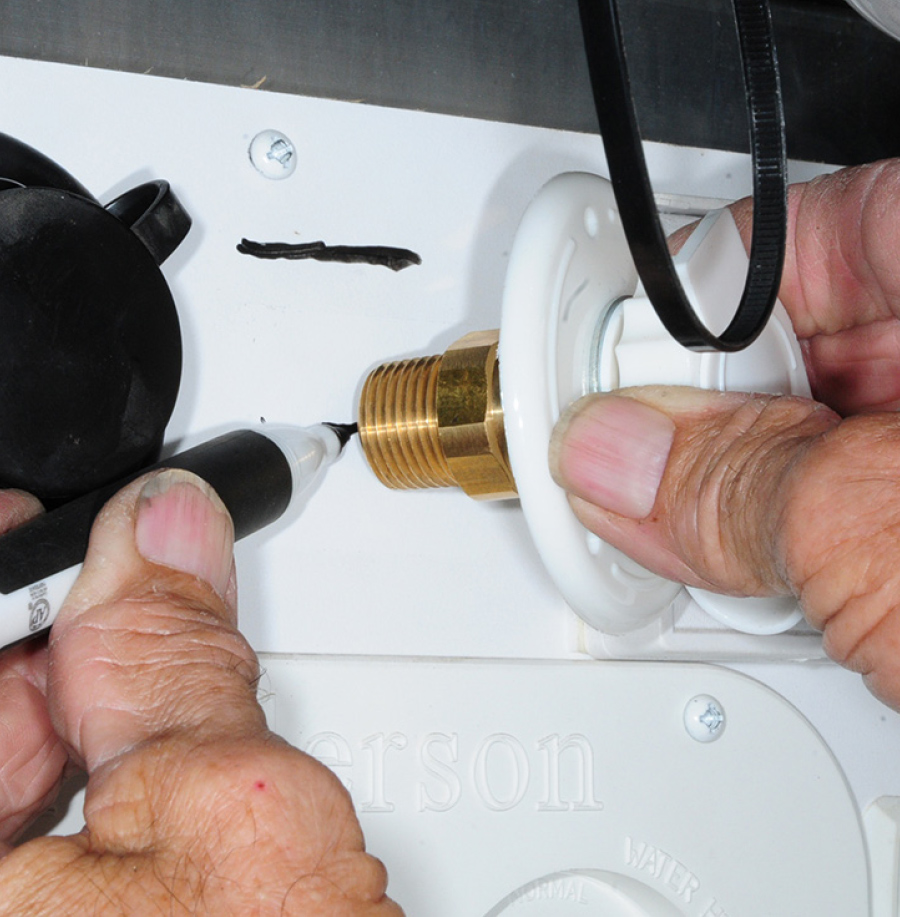
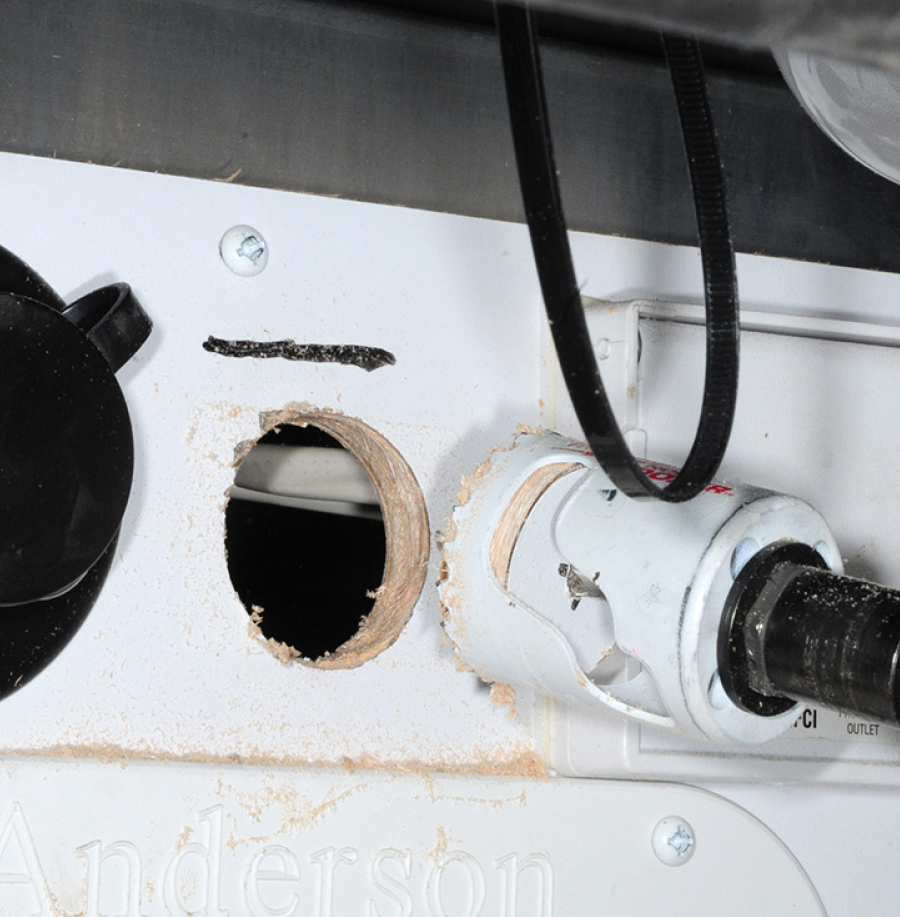
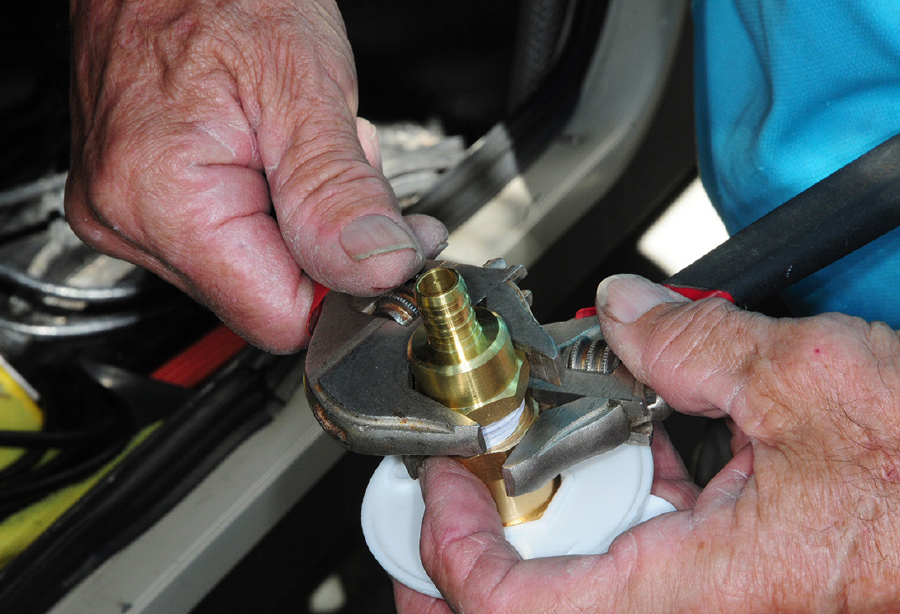
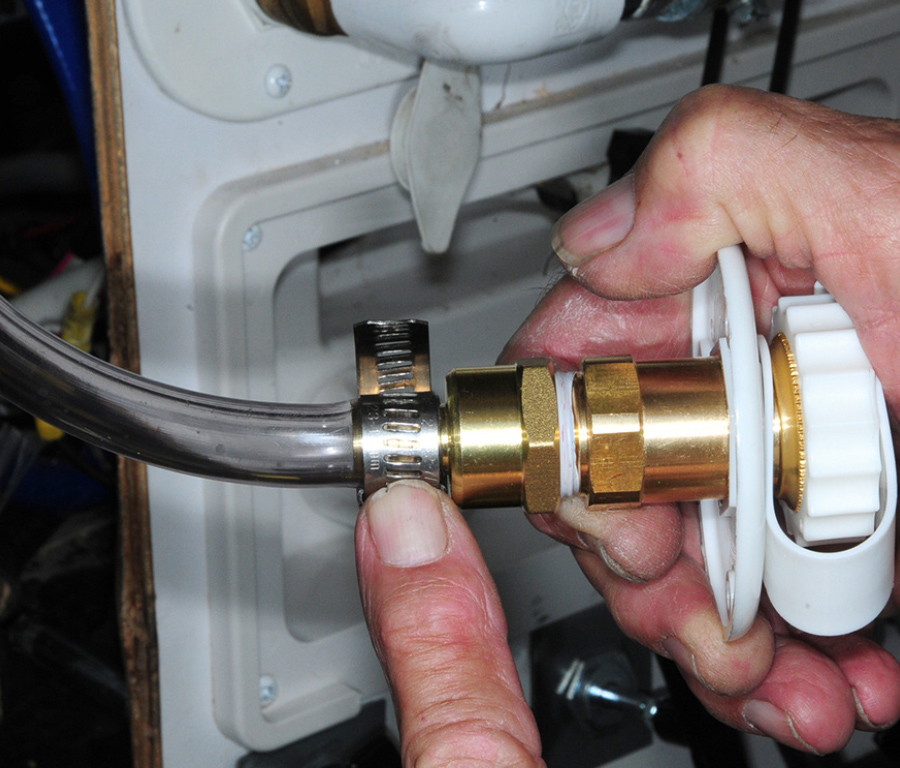
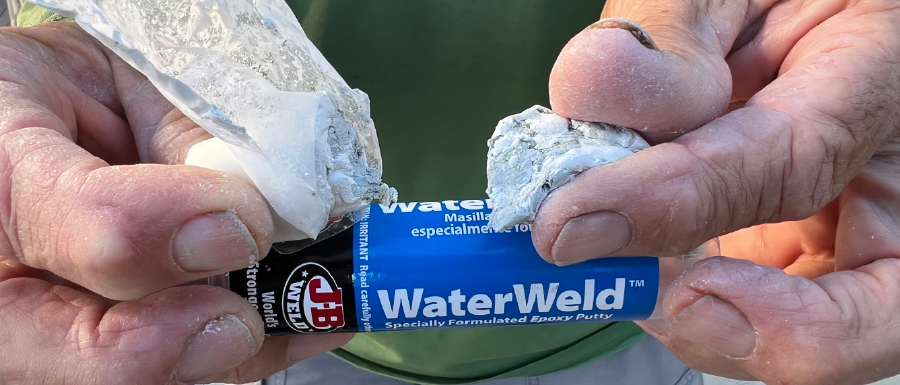
Connecting the new hose to the city water fill required a brass nipple that was threaded onto the back side (“SDTC Tech 2-Pack ½-inch Pex to ½ inch NPT Female Thread Pipe Fitting,” $9.59 on Amazon). An appropriate hole was drilled into the utility center wall and the city water fill 3-inch flange was attached with three screws after the hose was connected to the nipple with a wide hose clamp; just allow enough length of hose through the hole to make the connections without struggling within the confines of the utility center. Finally, to tamp down Murphy’s Law, the new city water fill fitting and hose were coated with JB WaterWeld Epoxy Putty to prevent leaking over time. WaterWeld epoxy cures in one hour and provides a rock-solid seal ($12.20 for a two-pack on Amazon).
Testing the rinsing capability of the Camco RV Quickie Flush revealed a huge contrast in effectiveness while cleaning out the tank. Water flow was much more forceful than that experienced with the original flushing system. What used to require multiple tank fillings to remove the contents thoroughly now can be accomplished in only a few minutes, with large volumes of waste exiting the tank with determination.
Dumping the holding tanks is never a fun task, but the satisfaction of knowing the tanks will be cleaned properly goes a long way toward having an efficient sanitation system in your RV. And, adding a flushing system to the gray tank will keep the stink at bay.