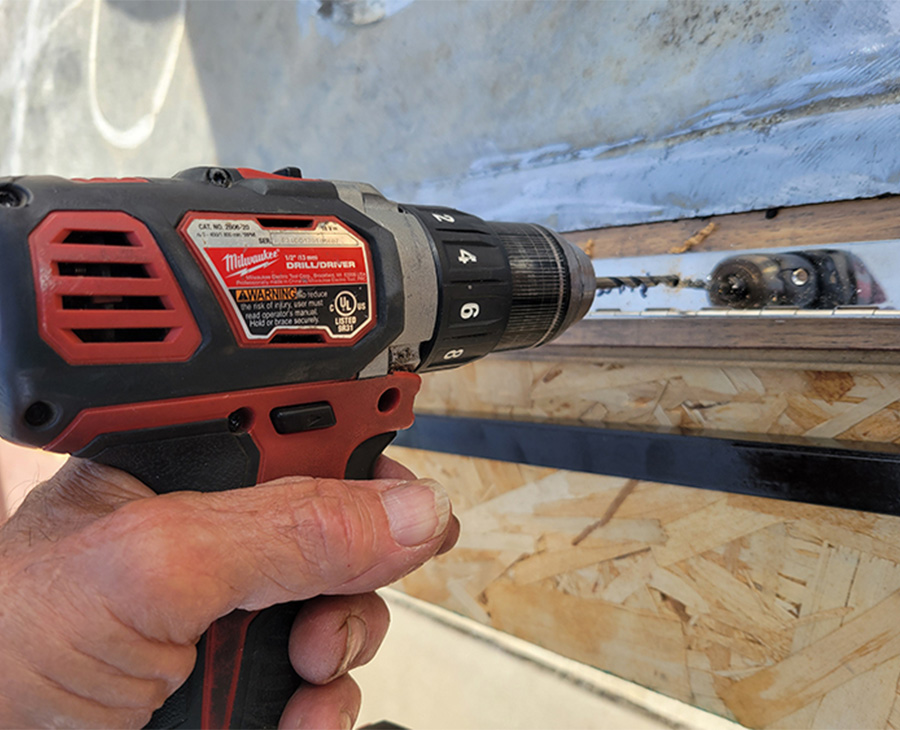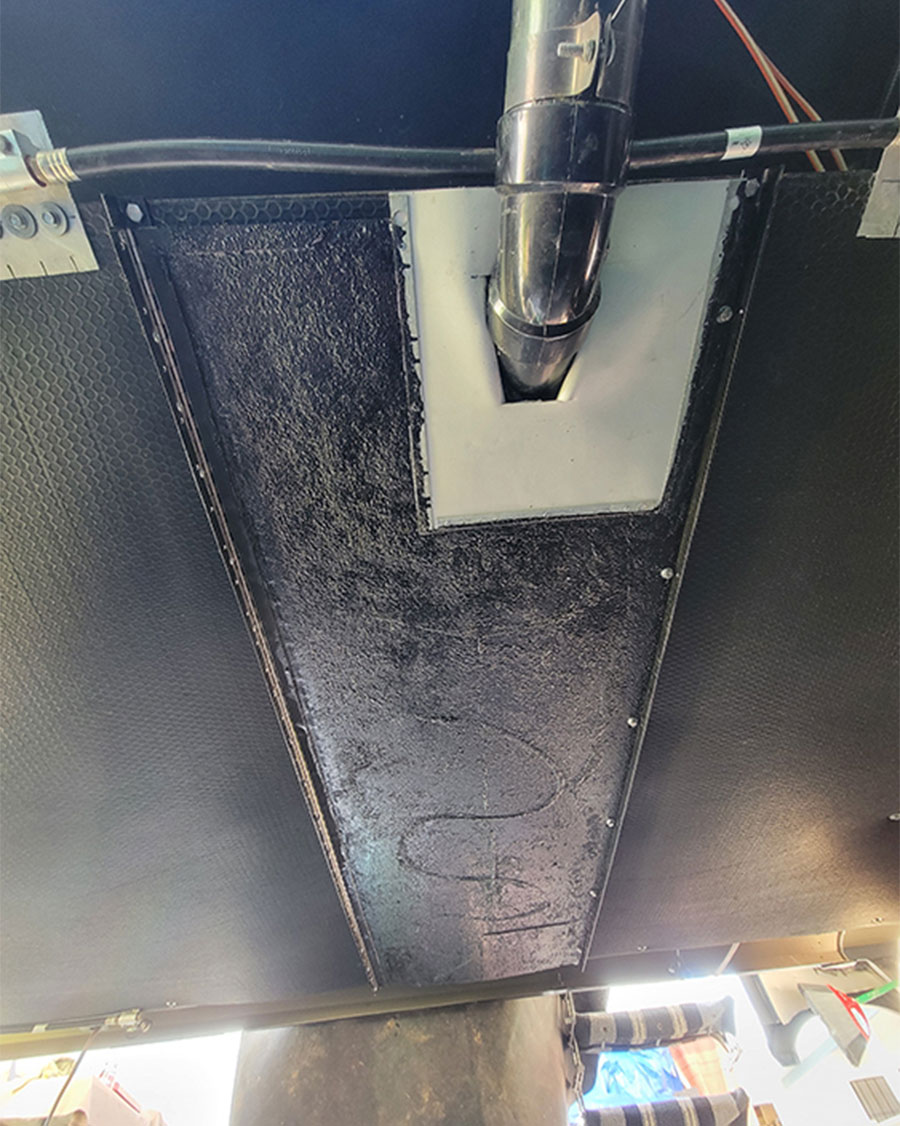
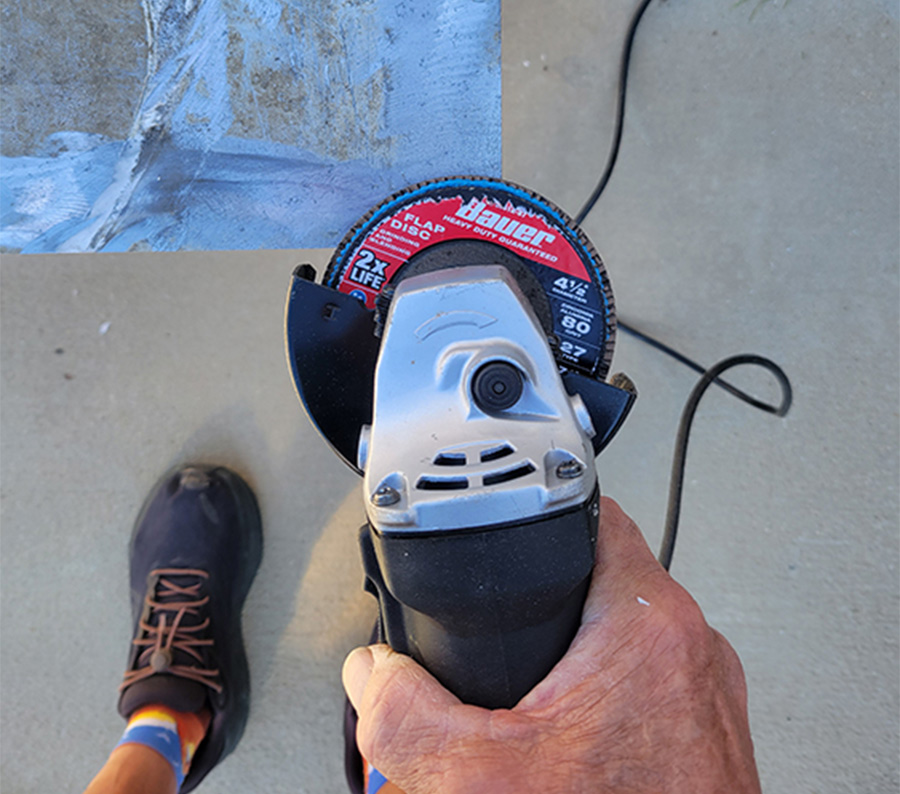
overing the bottom of any travel trailer or fifth wheel with a one-piece corrugated plastic sheeting protects the innards below the floor from succumbing to road/environmental hazards — plus, it provides a smooth, finished look. The downside of this belly pan is the inability to access tanks, valves, pipes and wiring without taking a large section down, which can be a big project and most likely messy. Case in point is having access to the cable-operated dump valves that have a propensity to fail — usually at the worst time.
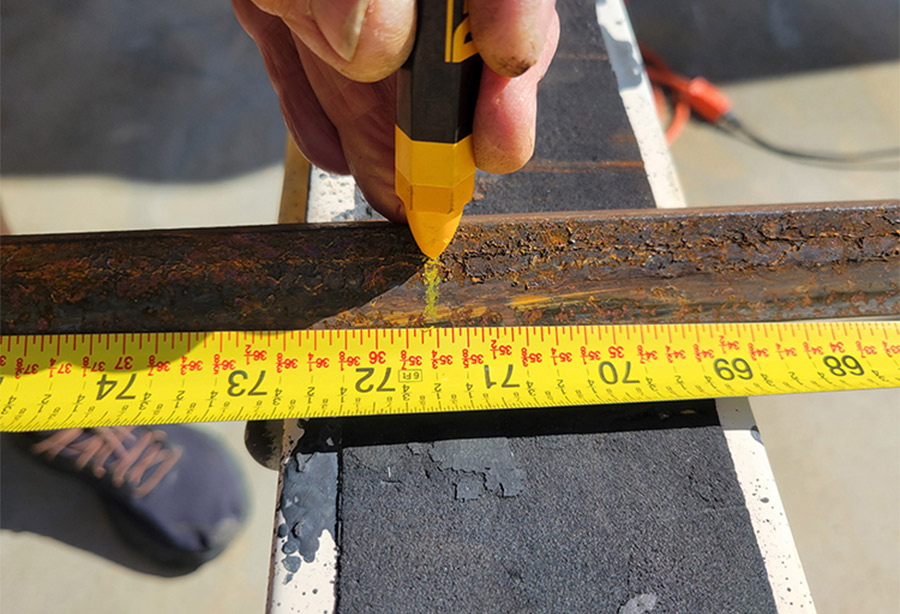
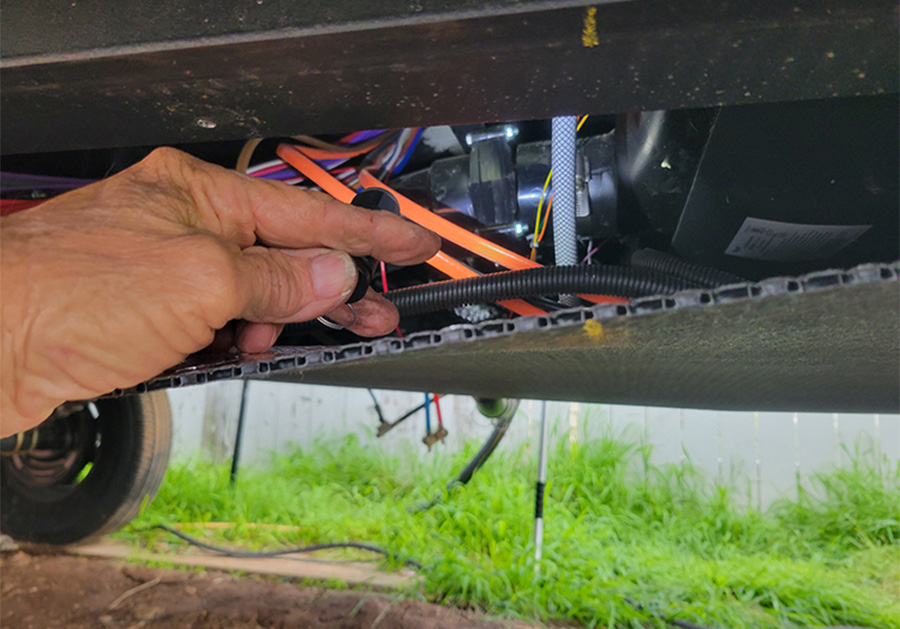
There are several scenarios that can develop, the worst being when you pull the dump valve handle, located in the utility compartment or under the rig, and the cable pulls out without opening the valve. The only way to get the valve open at this point is to either reattach the cable, if possible, or pull the valve open temporarily with a Vice-Grip pliers, but that requires access to the valves. I originally tried dropping a small section of the corrugated plastic to peek in and locate the exact area of the valves, but access was restricted and compounded by a rat’s nest of wires and pipes.
Essentially, we figured out a way to make access even better (and easier) through a single port.
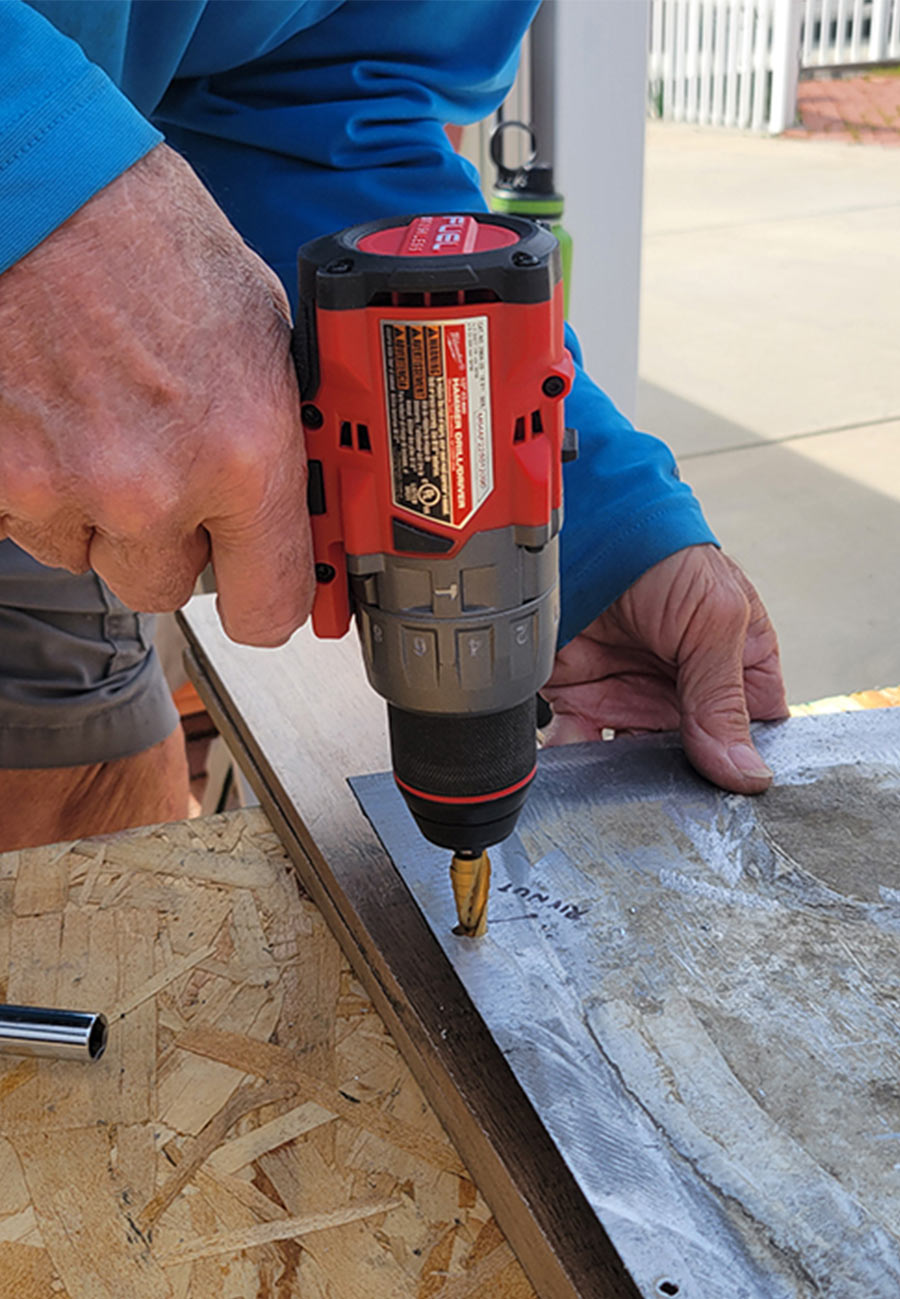
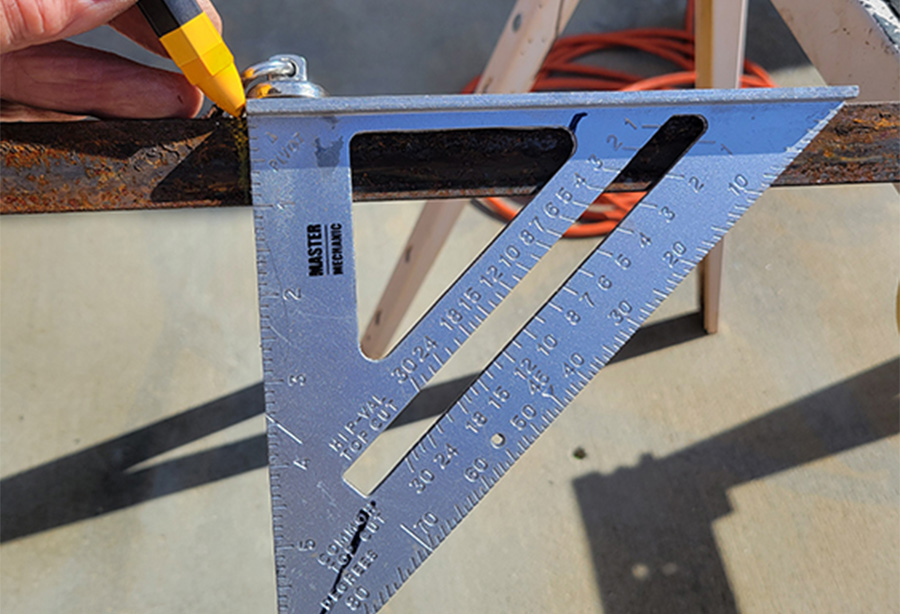
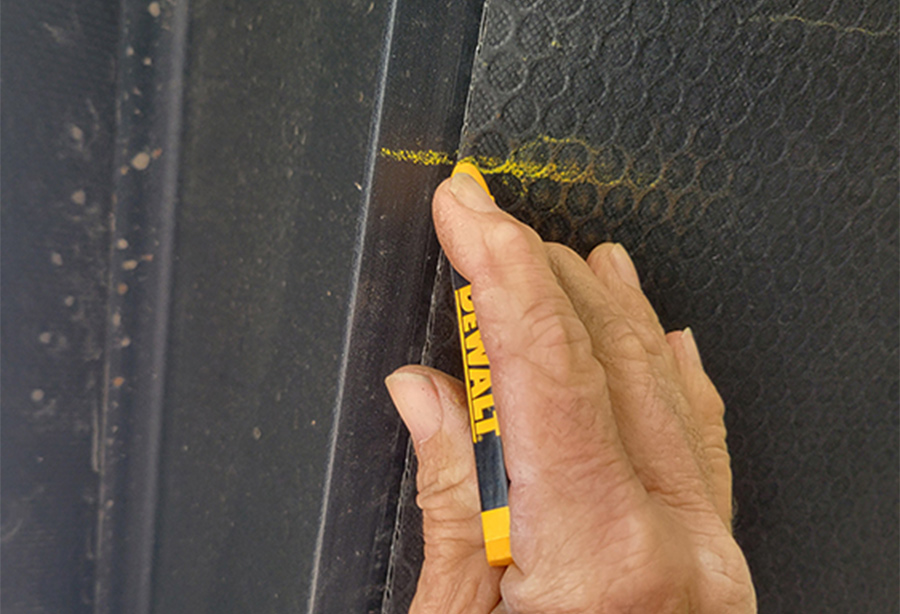
I began by releasing a large section of the belly pan and making accurate measurements for the new access panel. The first thing that I noticed was that the holding tank heating pads we’re laying on the corrugated plastic because the adhesive failed. Also, there was a bunch of wiring loose on the belly pan that was going to take some time to clean up and secure with cable ties. With the measurements in hand, it was time to seek out a suitable material for the new access panel that was not too difficult to work with but rigid enough to maintain a tight seal when closed.

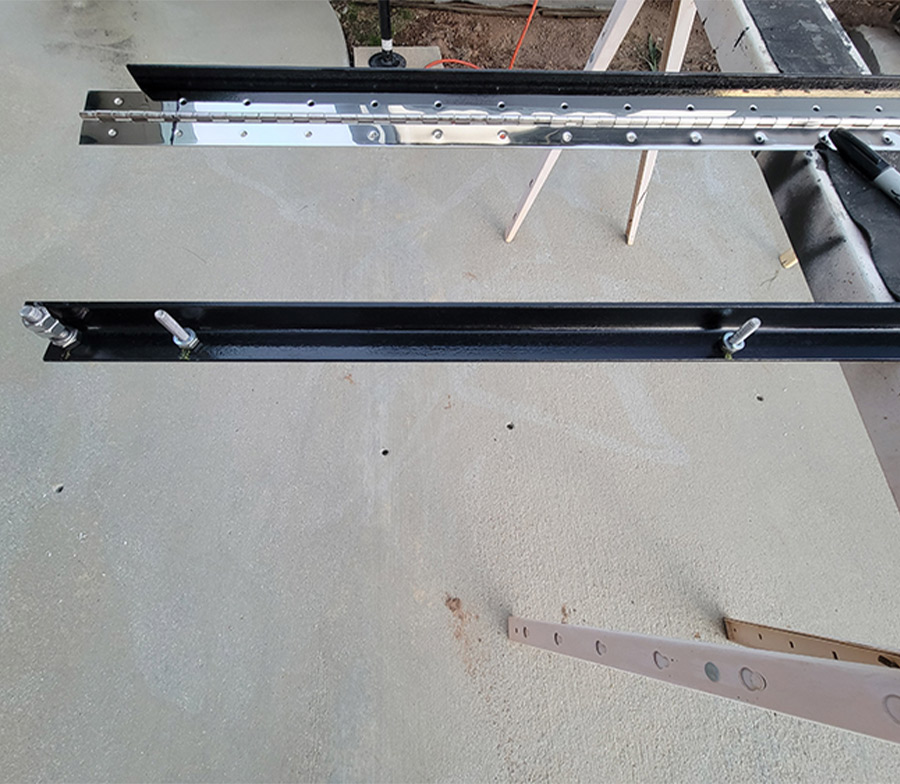
I also decided to use a heavy-duty piano hinge that could be riveted to the angle iron and diamond plate. Four rivet nuts and 5/16-inch bolts were used to latch the other side of the diamond plate to a parallel piece of angle iron spanning the width of the fifth wheel. The entire panel system added only a little more than 20 pounds to the trailer.
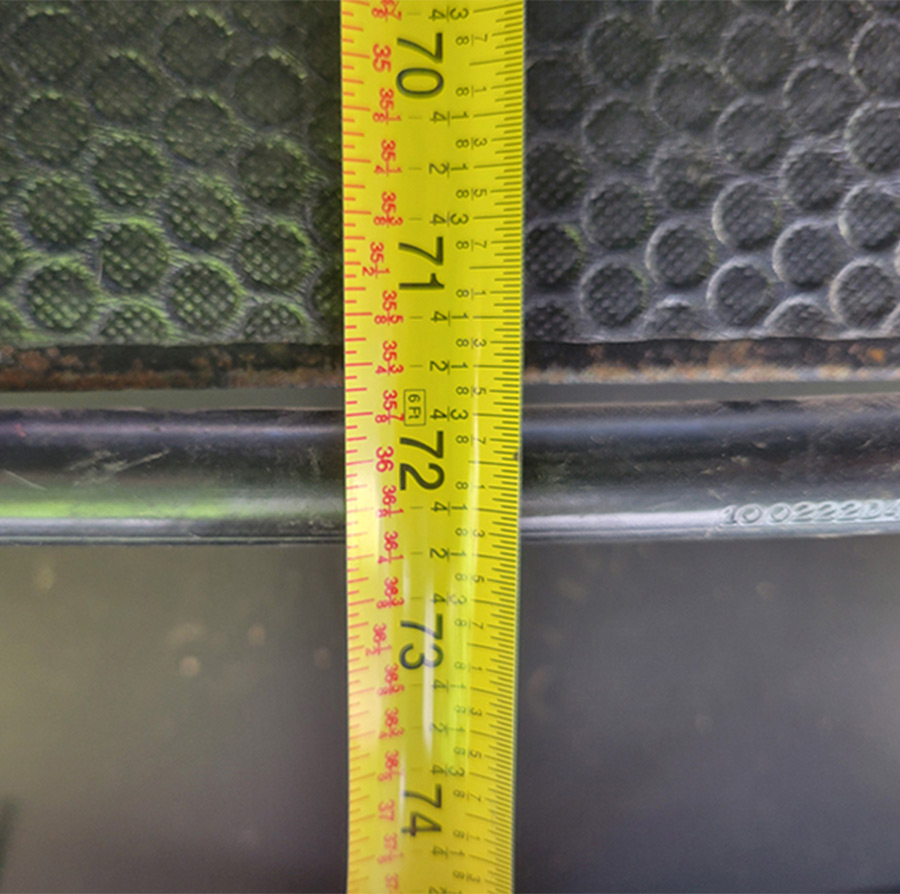
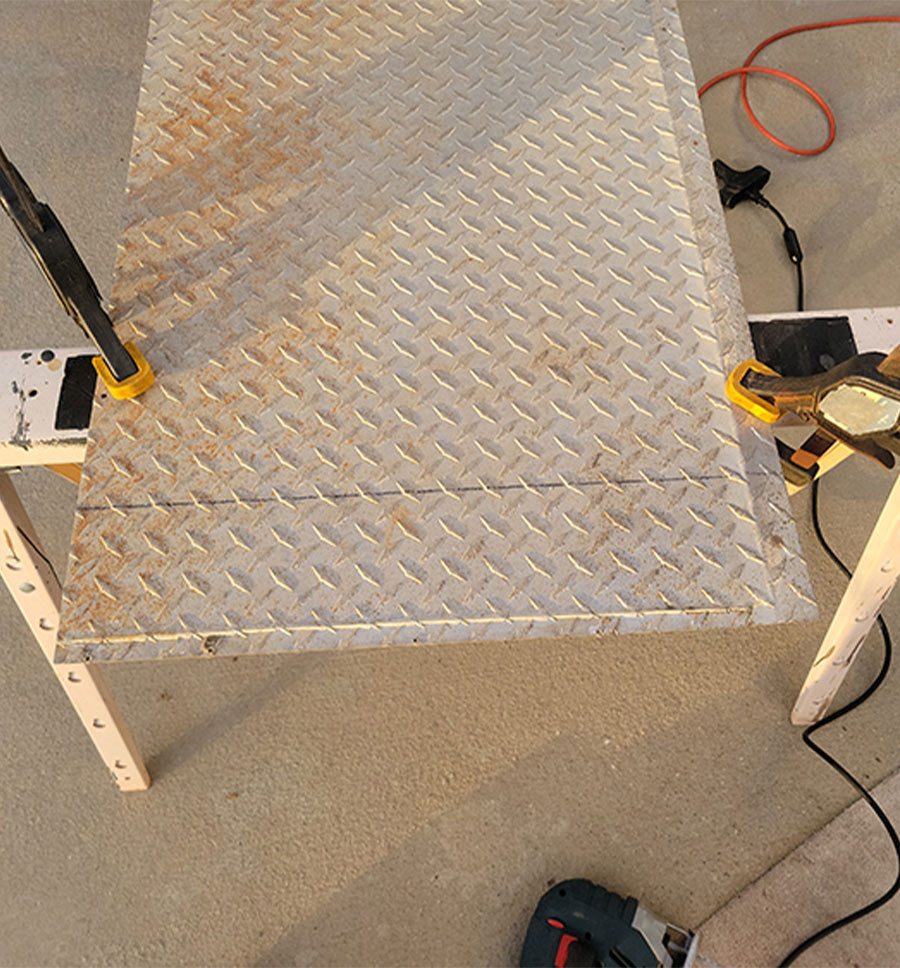
As luck would have it, a friend had an old piece of diamond plate aluminum tucked away in his backyard that was close to the size I needed for the project. I actually wanted a piece of diamond plate that was a little bit wider, but at 25 x 72 inches, this well-used piece reduced the overall cost of the project. Aluminum diamond plate is available in various sizes; figure on paying at least $100 for a precut piece that measures 24 x 72 inches (which should be wide enough for most access points). You’ll pay quite a bit less for plain aluminum, which would also work for this project.
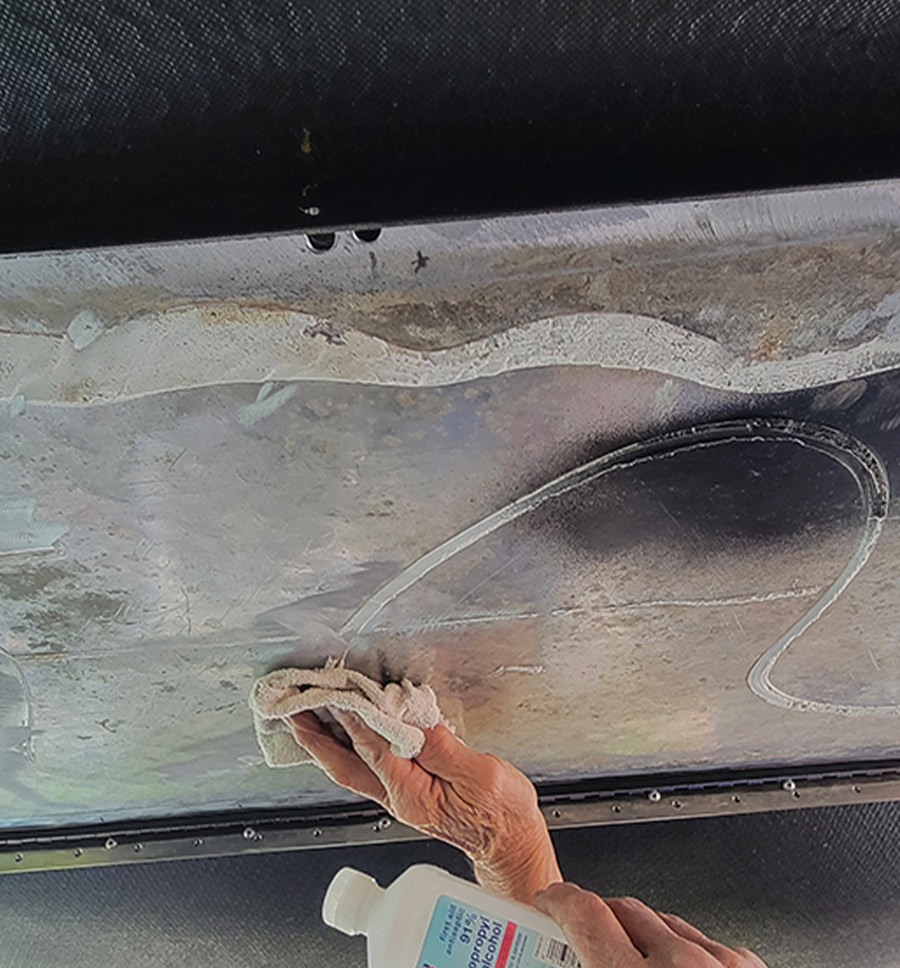
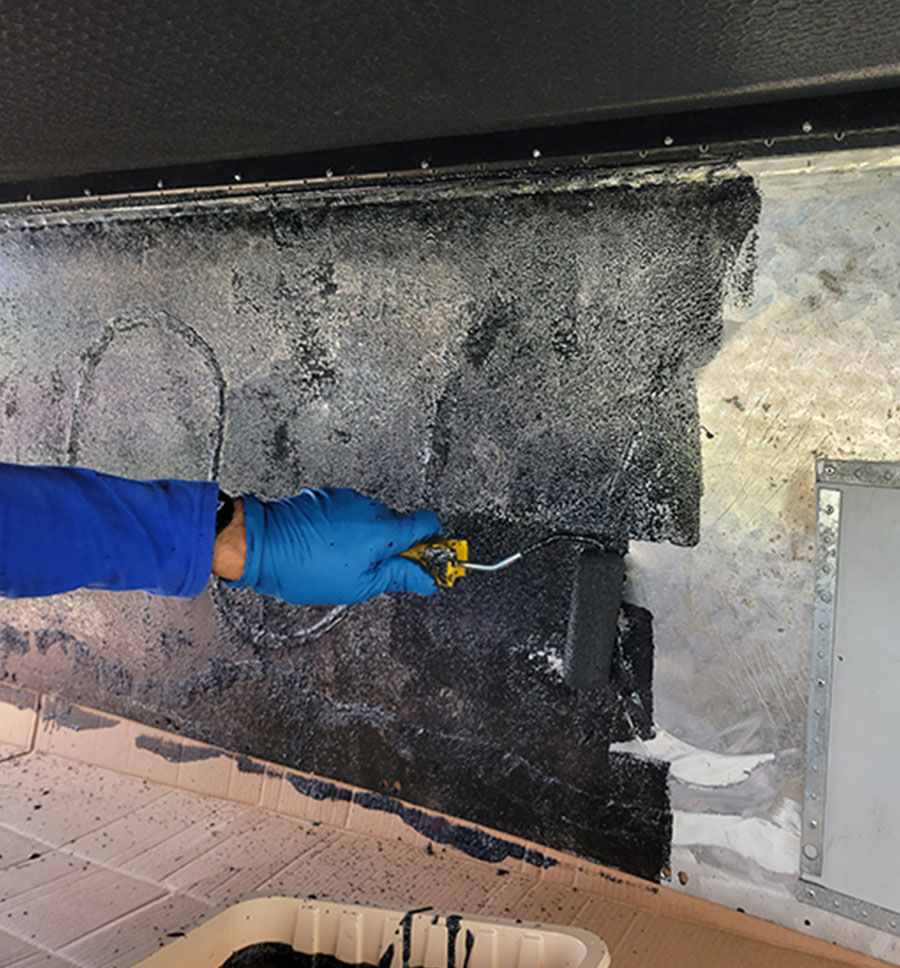
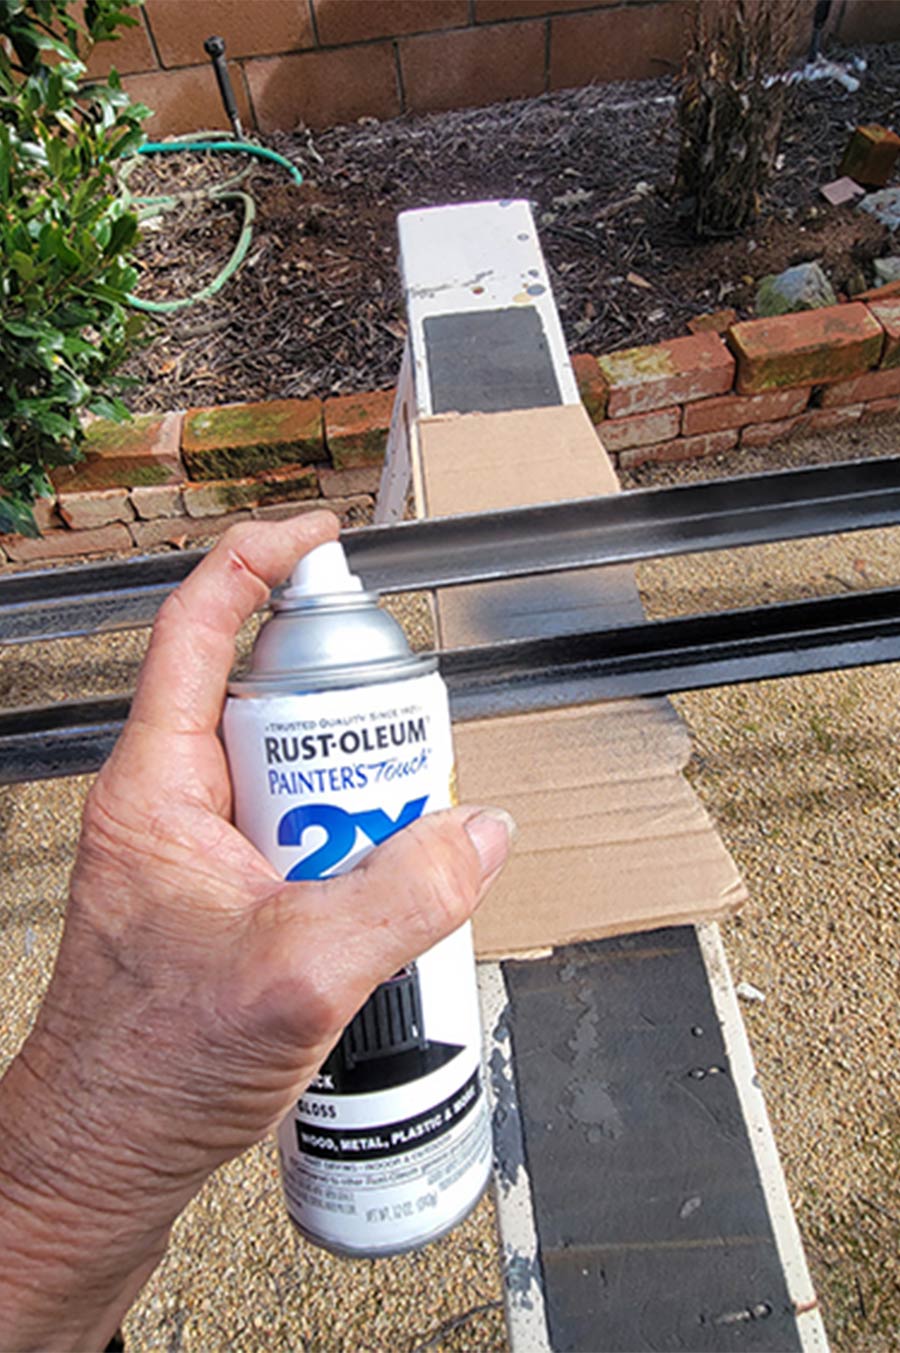
Because the old piece of diamond plate was sitting outside for years, it needed a serious cleaning. Some of the stains would not come off even after scrubbing with a wire brush and degreaser, but the flaws were eventually concealed with a rubberized truck-bed coating — and it’s under the fifth wheel anyway, so it wouldn’t take long for the road debris to make it dirty again; both sides were treated with the rubberized coating.

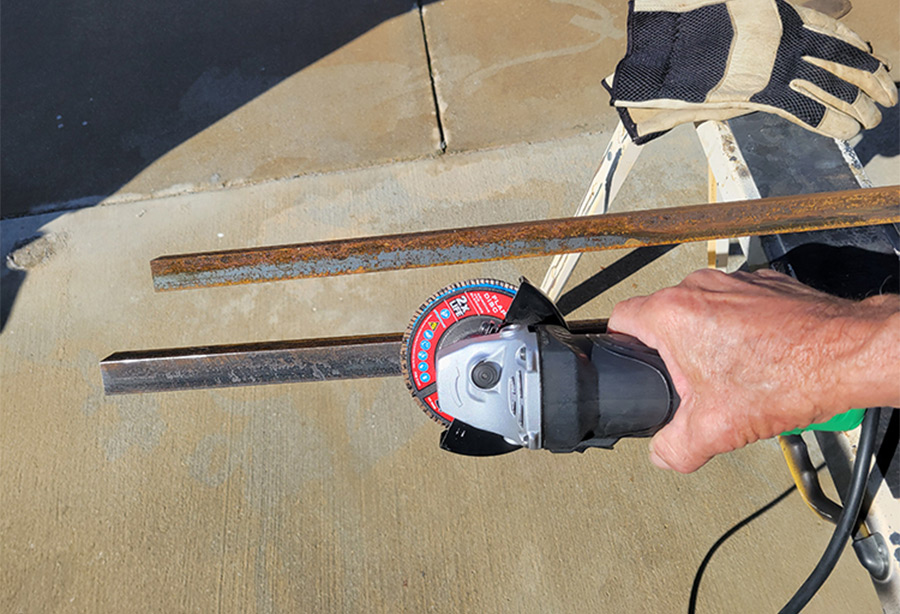
The angle iron was 8 feet long, which required cutting with a chop saw to make each length fit properly. I then sanded and spray-painted the angle iron with an all-in-one primer and paint to prevent rust from eating away at the metal. After copious measuring sessions, I also decided to cut the hinge a little bit shorter so that after the angle iron was cut, the protruding rivets would not prevent the ends of the angle iron from mounting flush against the frame, which has a fairly narrow lip.
I was pretty confident that the steel rivets would be more than strong enough to hold the diamond plate to the hinge for the lifetime of my fifth wheel. It was important that multiple measurements were taken to ensure that the rivets would not need to be drilled out and reset, which is a pain.
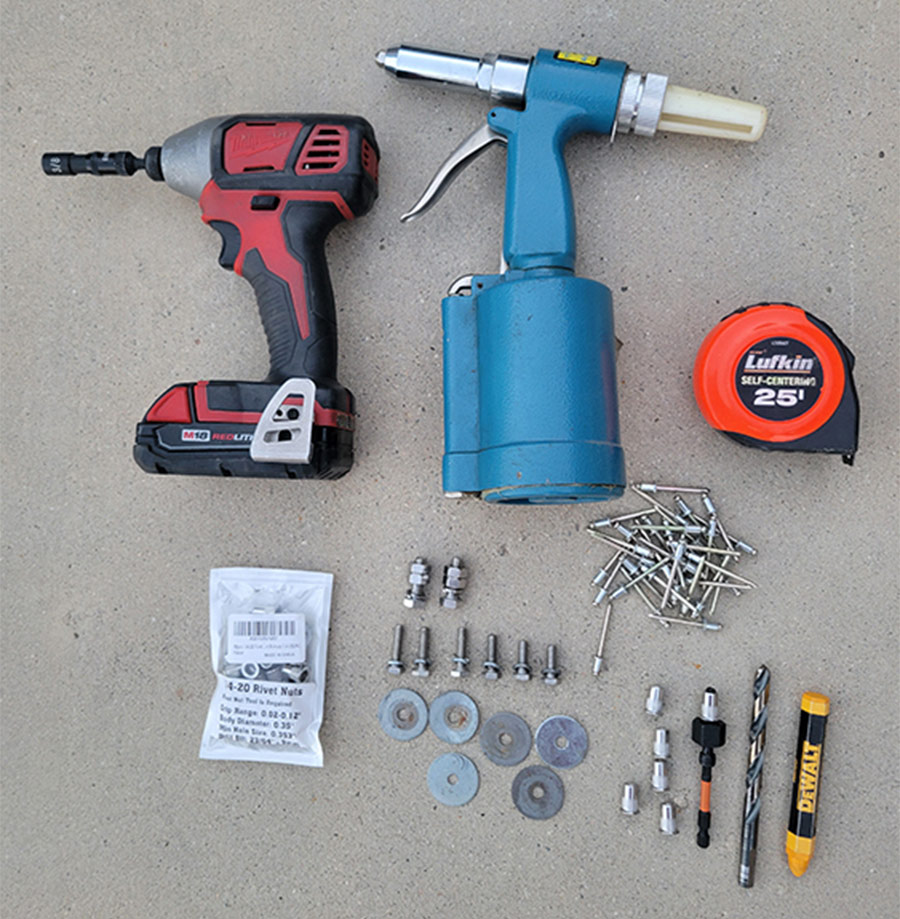
As it turned out, attaching the piano hinge was the trickiest part of the project. The hinge was purchased on Amazon (852777 Continuous Pin 72” x 2” Nickel; $30.99). After confirming that the aluminum plate would fit flush against the corrugated plastic flap (more on that later) at a 90-degree angle without restriction, the hinge was riveted to the diamond plate first. This made it much easier to handle the long piano hinge. One rivet on each end of the hinge was installed initially to prevent it from drifting during the process of adding rivets. Then the other rivets were installed in the middle of the piano hinge to make sure that it didn’t create a bow, which could have inhibited the action of the aluminum plate when opened or closed. Because of the strength of these large rivets and the hinge, a rivet was installed in every other hole rather than in all of them, which would have been overkill.

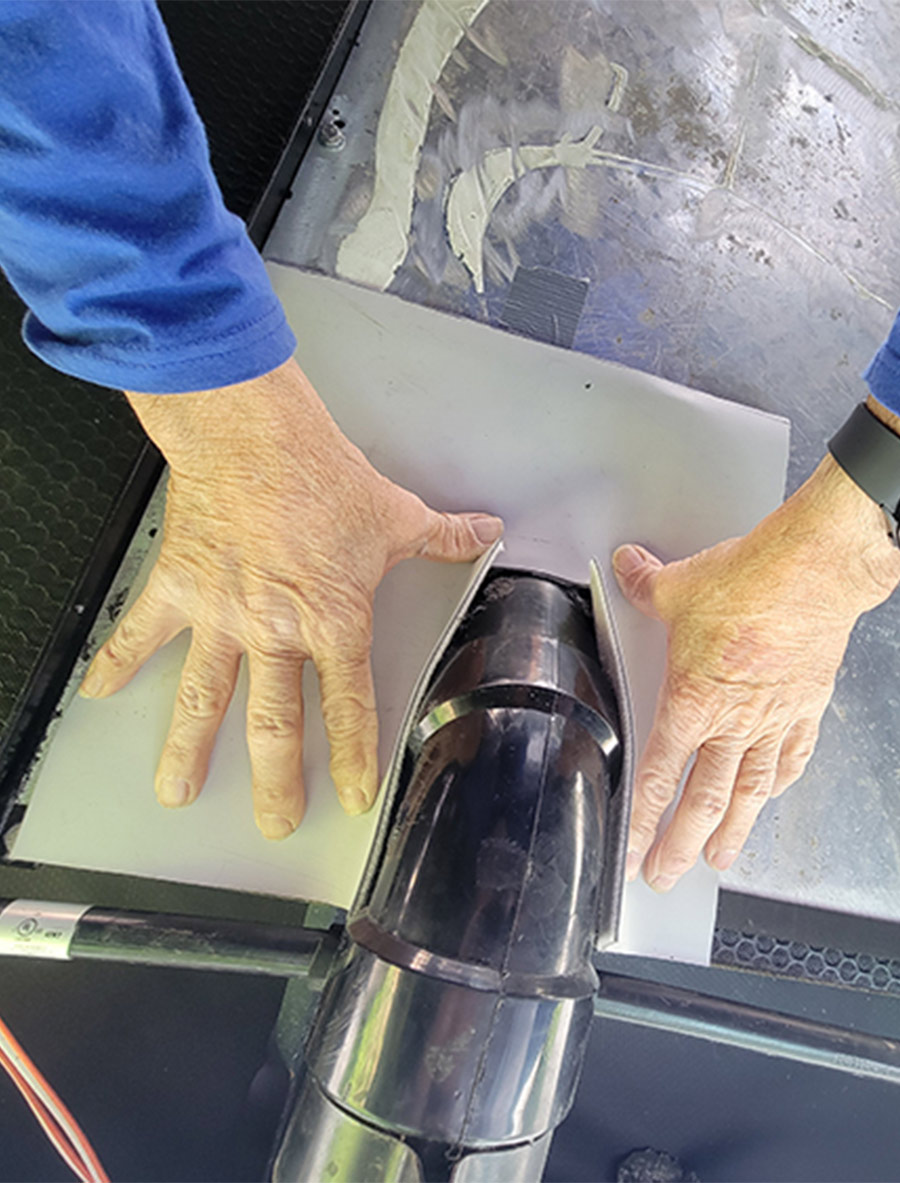
The next step required cutting a notch in the aluminum to accommodate the 3-inch sewer drain, made even more complicated by the two low point drains hanging down about 3 or 4 inches near the sewer outlet. Fortunately, after cutting the plastic around the sewer outlet, there was enough slack to move the drain lines under the belly pan, which in turn allowed a smaller opening to be cut in the aluminum panel. Next, a flexible piece of rubber was riveted to the aluminum and a few slits cut into the material made it possible to wrap around the sewer pipe.
Installing the aluminum and angle iron assembly required some unique logistics when it came time to position it under the fifth wheel. Using a floor jack initially made sense, but moving it through the dirt and across a tarp (on mud) while balancing the large, bulky access panel structure didn’t seem feasible. Ultimately, a helper (my girlfriend) crawled under the fifth wheel and held the fully assembled structure against the frame with her back while I marked where the holes needed to be drilled — so, yeah, you’ll need a friend to help with the installation. The holes were drilled first with an 1/8-inch bit, followed by a 3/16-inch bit and finally 5/16-inch holes were drilled for placing the bolts, lock washers and nuts.
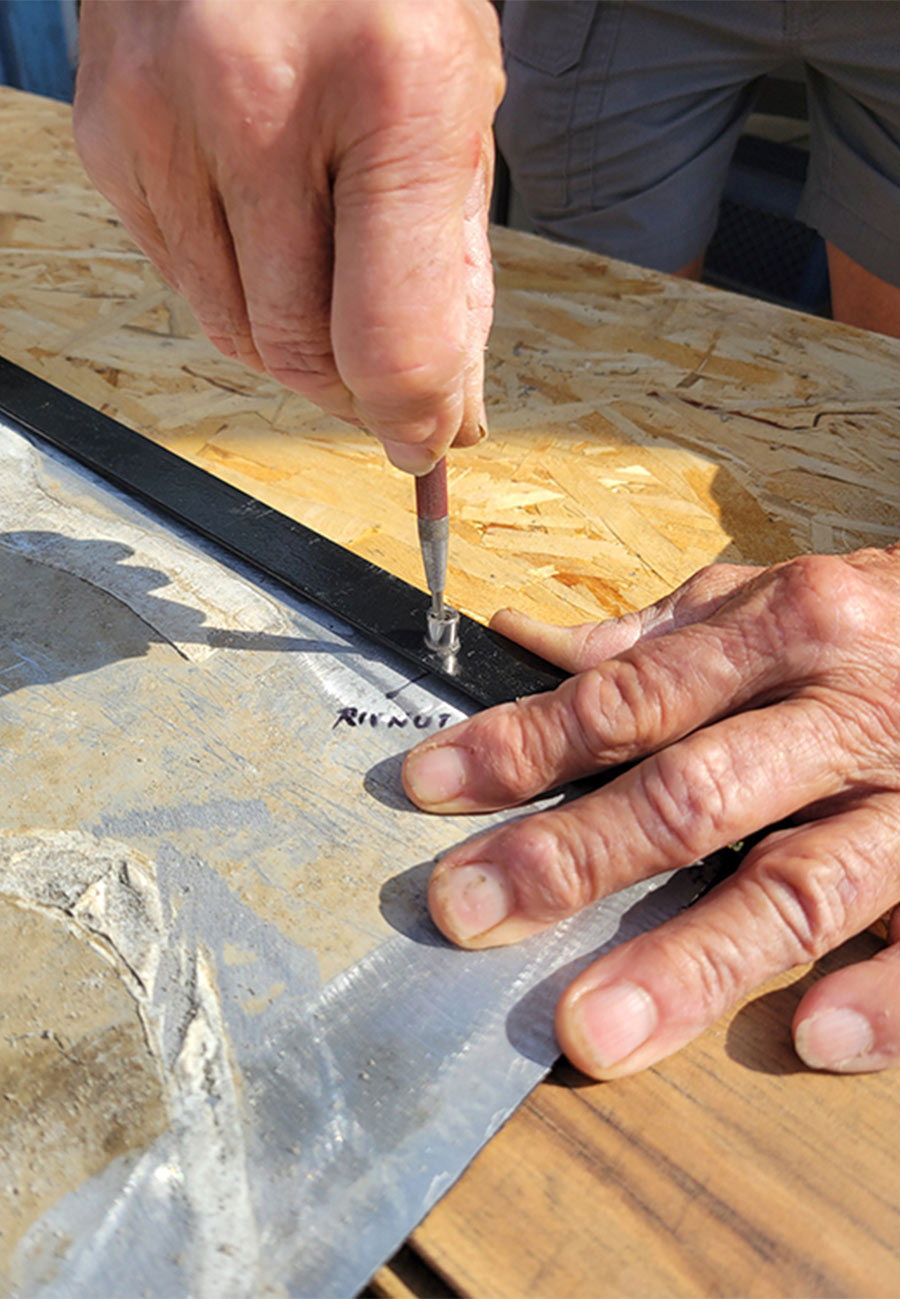
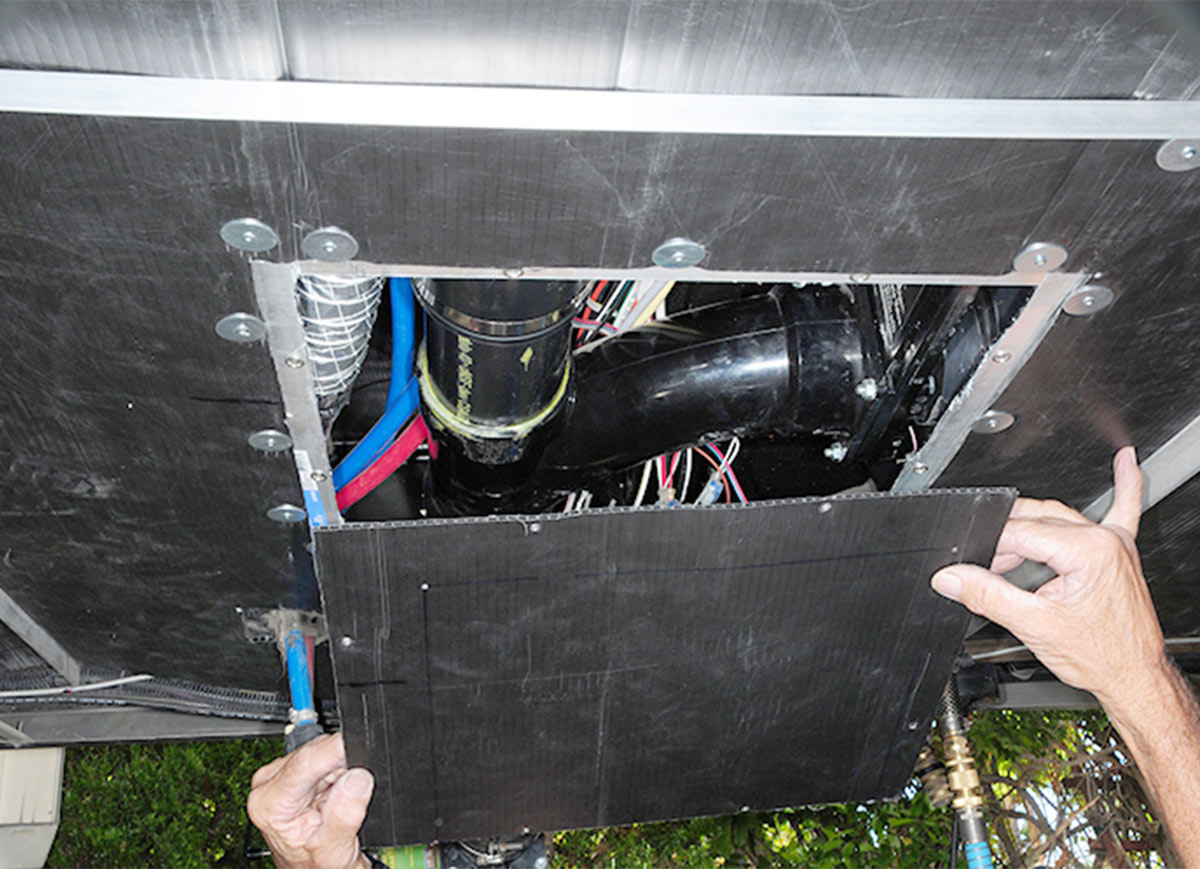
With the unit bolted into place, it was time to install the rivet nuts (“HIFESON Hand Rivet Nut Tool, Handy Rivnut Tool—Metric & SAE with 30pcs Steel Rivet Nuts;” Amazon $27.88) into the other angle iron, which will accept ¼-inch bolts to keep the door closed. When it comes time to open the access panel, the ¼-inch bolts are simply removed and the panel hinges down, exposing a large opening for working on the valves and adjacent wiring/tubing. Rather than remove the corrugated plastic entirely, it was cut in such a way that it drops down in concert with the diamond-plate panel. It worked perfectly and provided another layer of insulation.


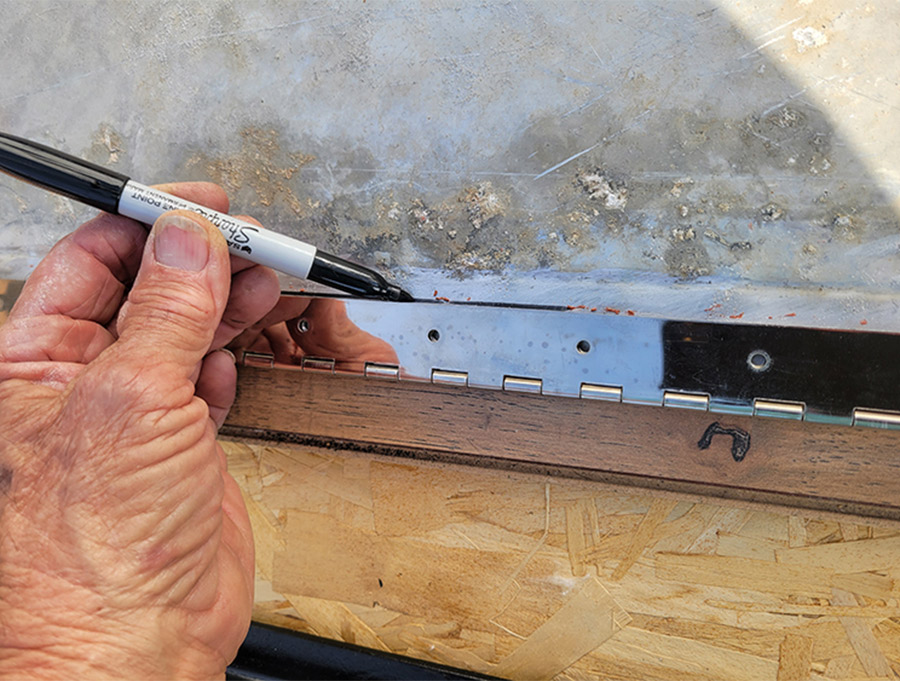
Satisfied that everything was in place and all the bolts and screws were tight, a bead of silicone rubber was run along the angle iron against the corrugated plastic to prevent water intrusion while driving on wet or rainy roadways.
Though not the main impetus for this project, a side benefit was access to the wiring and pipes, which I will rearrange later, and bundle neatly. Also, while I was there, I added extra insulation between the belly pan and floor where cold air seemed to be finding its way into the storage compartment.


Expect to spend quite a bit of time planning a project like this, and figure on spending around $300 to get it done. But you won’t regret the added convenience.