lumbing failures rarely happen when the RV is in storage — or any opportune time, for that matter. Instead, they rear their ugly heads most often while RVers are in a park enjoying a vacation. More than one vacation has been terminated prematurely due to plumbing problems.
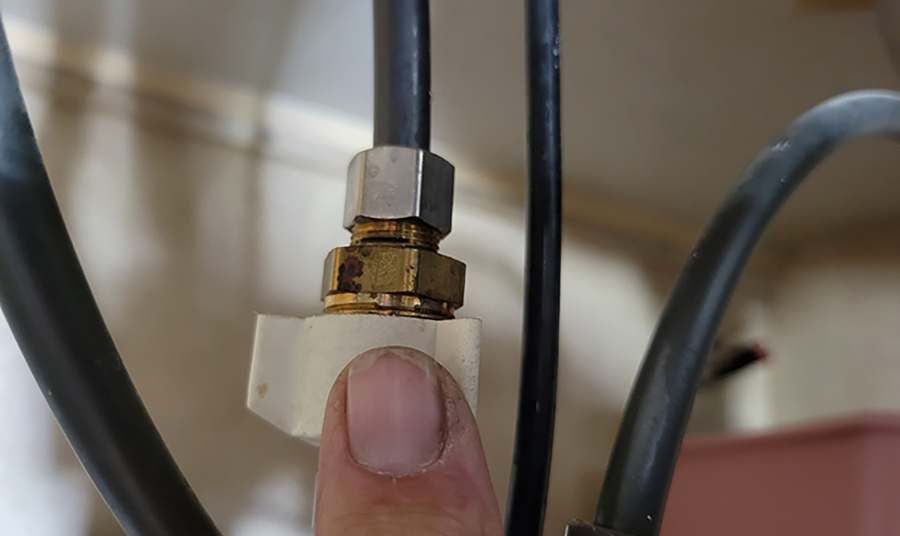
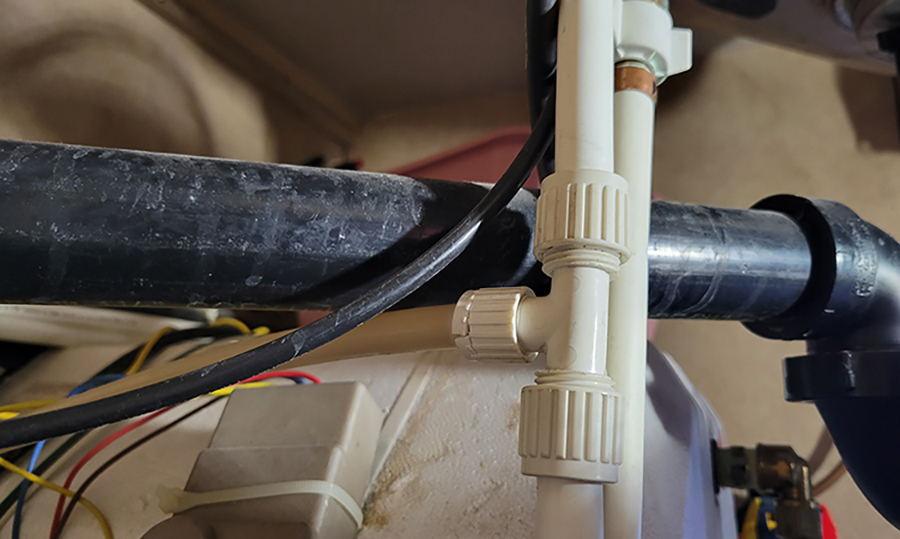
It seems like freshwater lines and fittings have always been the most susceptible to failure, because they are typically exposed under the galley or bathroom sink in compartments where they get beaten up by supplies that are stored nearby — and, of course, they get abused from vibrations and bouncing while on the road. Typically, fittings fail, but water lines have also been known to spring leaks. Sometimes a water line or fitting inside the wall or under the RV can become compromised, which makes the repair even more difficult. In just about all cases, leaks that are allowed to persist will lead to dry-rot damage.
In most cases, it’s not practical to call in a mobile repair person or get an immediate appointment in a local RV service center, so it’s important to be prepared and have some knowledge on how to make repairs — or, at least, configure a suitable patch job to keep the trip from being ruined. That, though, can lead to yet another dilemma: Finding parts these days can be challenging. If you’re lucky, a nearby RV supply or hardware store will have a few suitable parts on hand, but don’t count on it; recent supply chain issues have hit every industry hard. Of course, most parts are available online, but waiting for them to be shipped may not be practical depending on the severity of the leak — especially from one of the holding tanks and/or ABS pipes, fittings or valves.
The solution, though, is simple. Keeping an emergency repair kit on hand is your hedge against embarrassing or damaging leaks.
The contemporary RV encompasses a complex network of water pipes routed to faucets, appliances and accessories that are connected via fittings that are crimped on with a special tool. These connections have been known to fail and sometimes it’s difficult to ascertain the location of the leak. For example, if the demand water pump is “short cycling” when unhooked and all the faucets are closed, rest assured there is a leak somewhere. You’ll eventually find water somewhere — hopefully before any wood deterioration has started. A leak in the sewer system will usually result in a spill, which is embarrassing and not tolerated by RV parks. Worse yet is when a sanitation leak accumulates in the belly pan, ready to ruin someone’s day when it’s eventually released. Some states can even fine you for leaking waste — and even gray water — on the ground.
Water Lines and Fittings
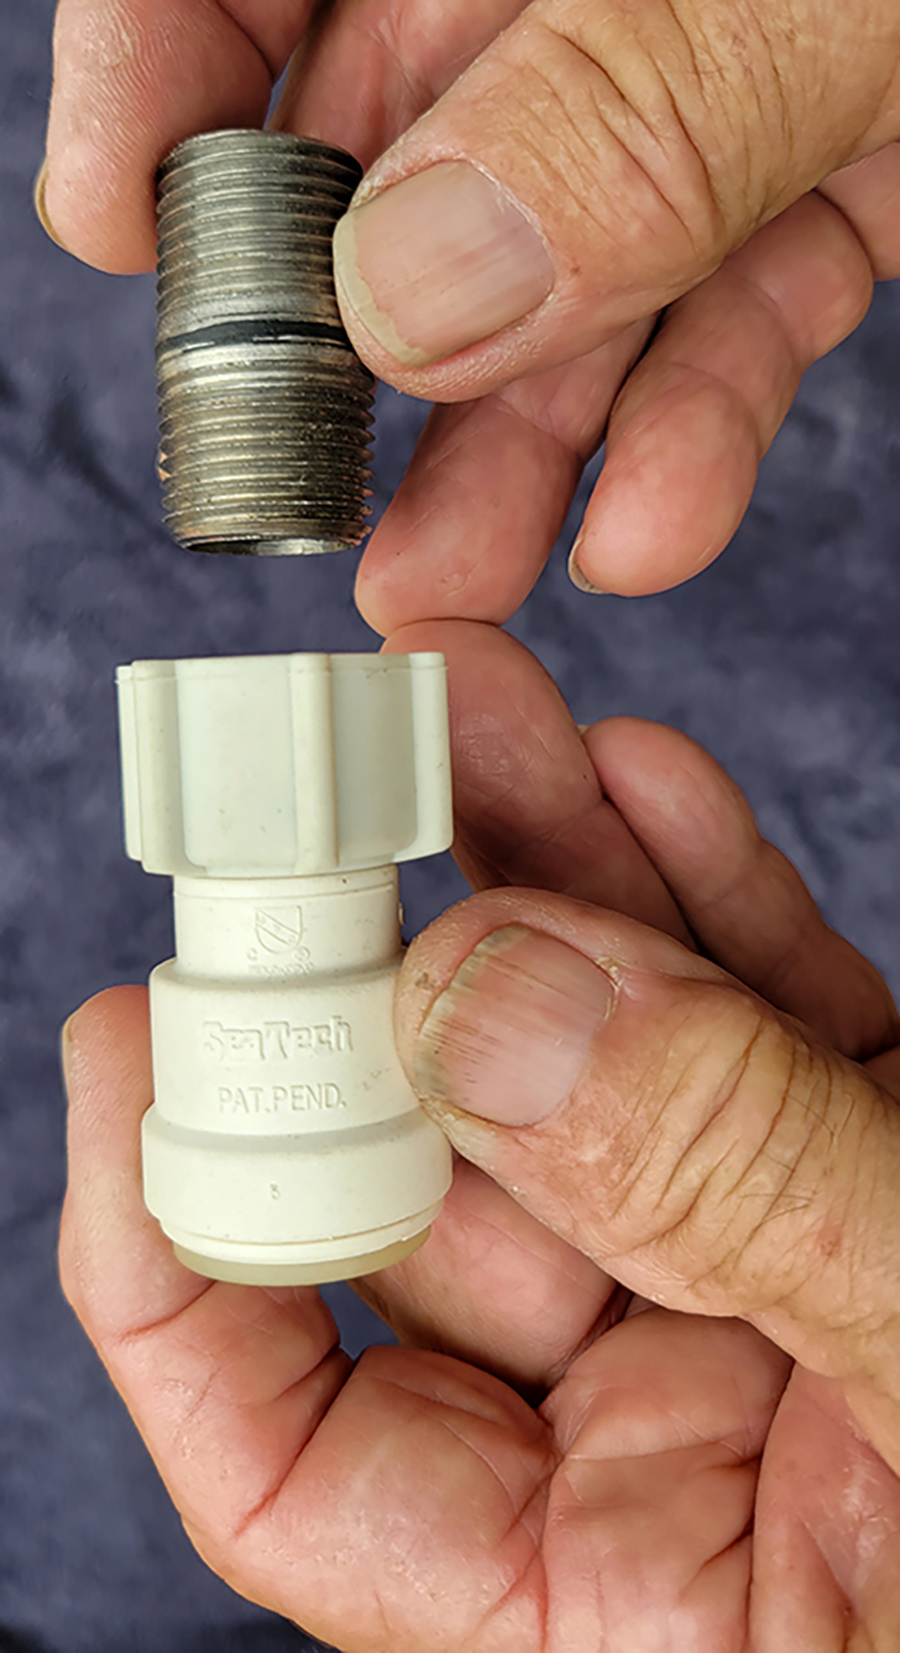
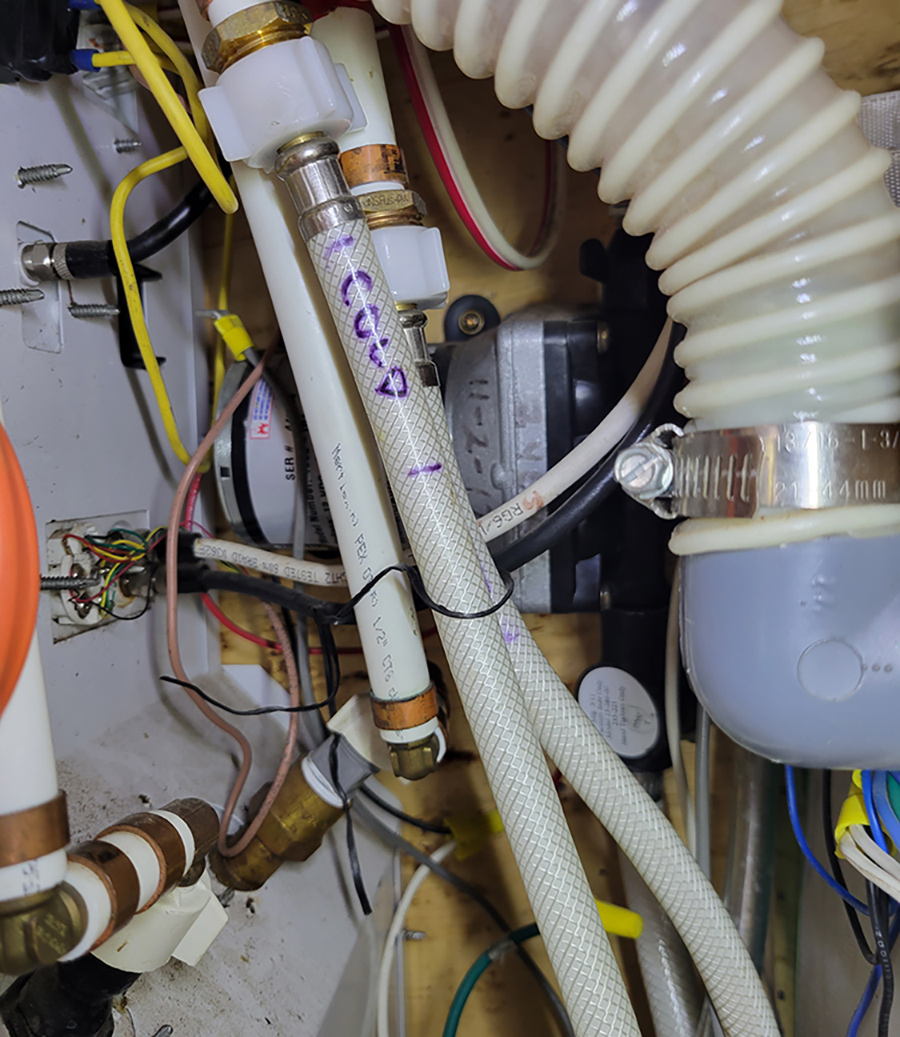
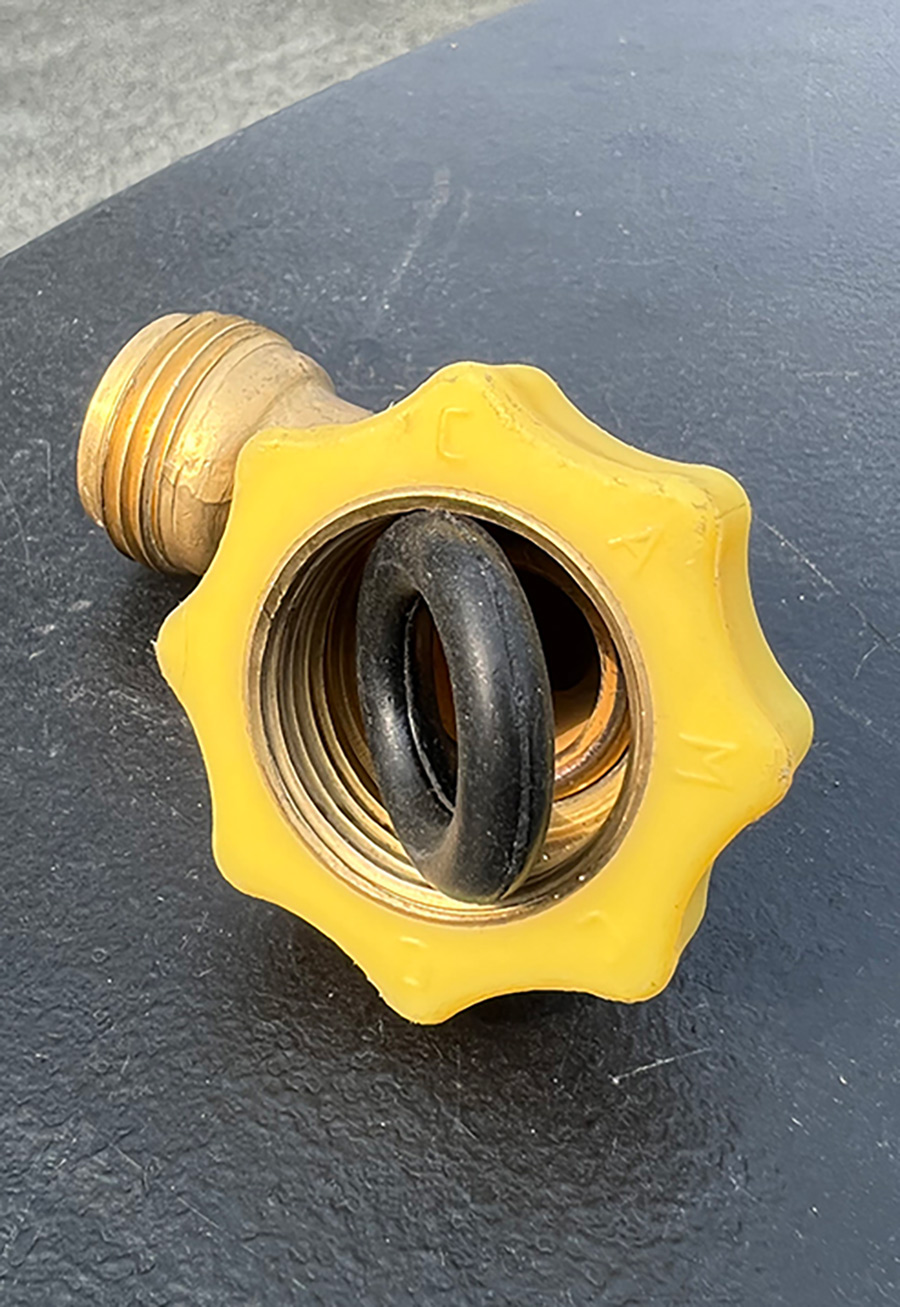
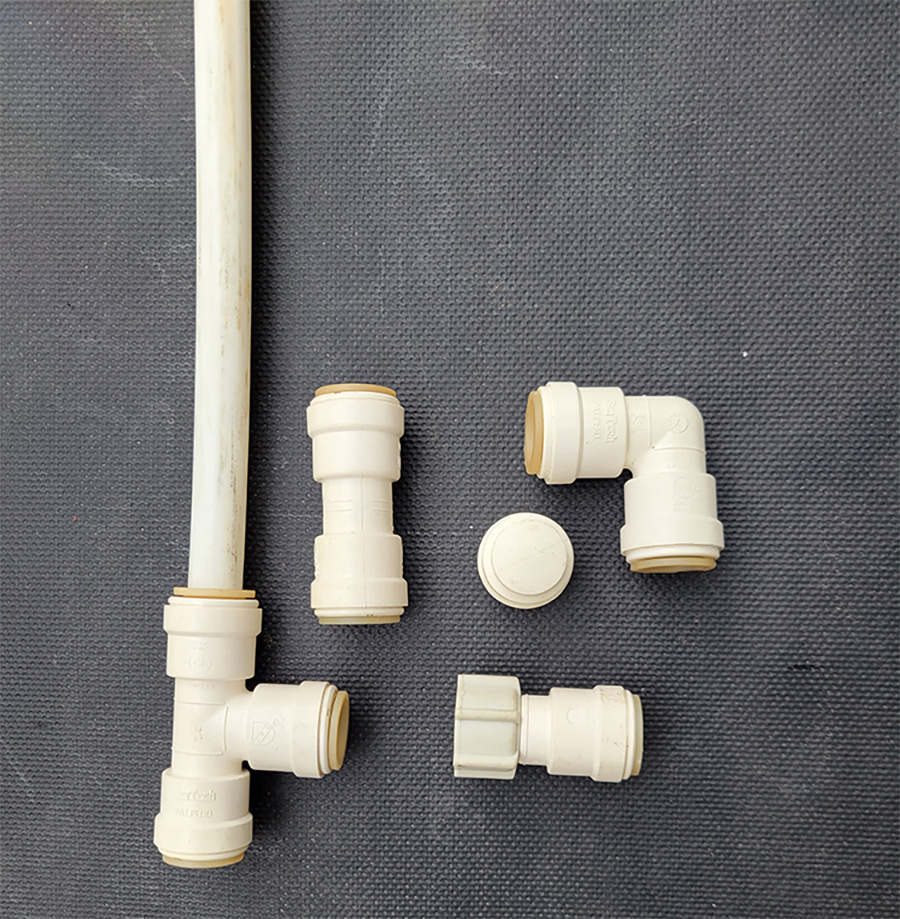
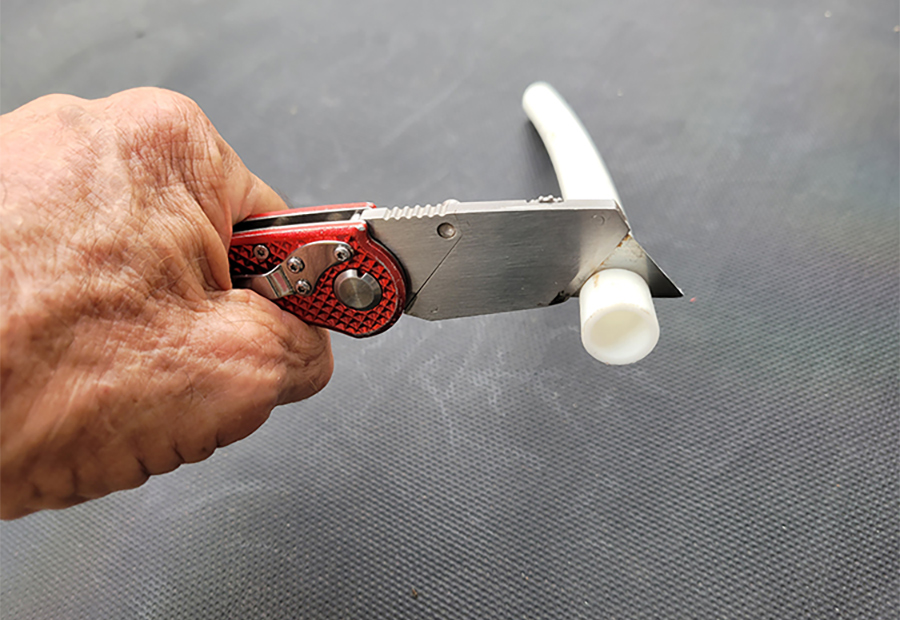
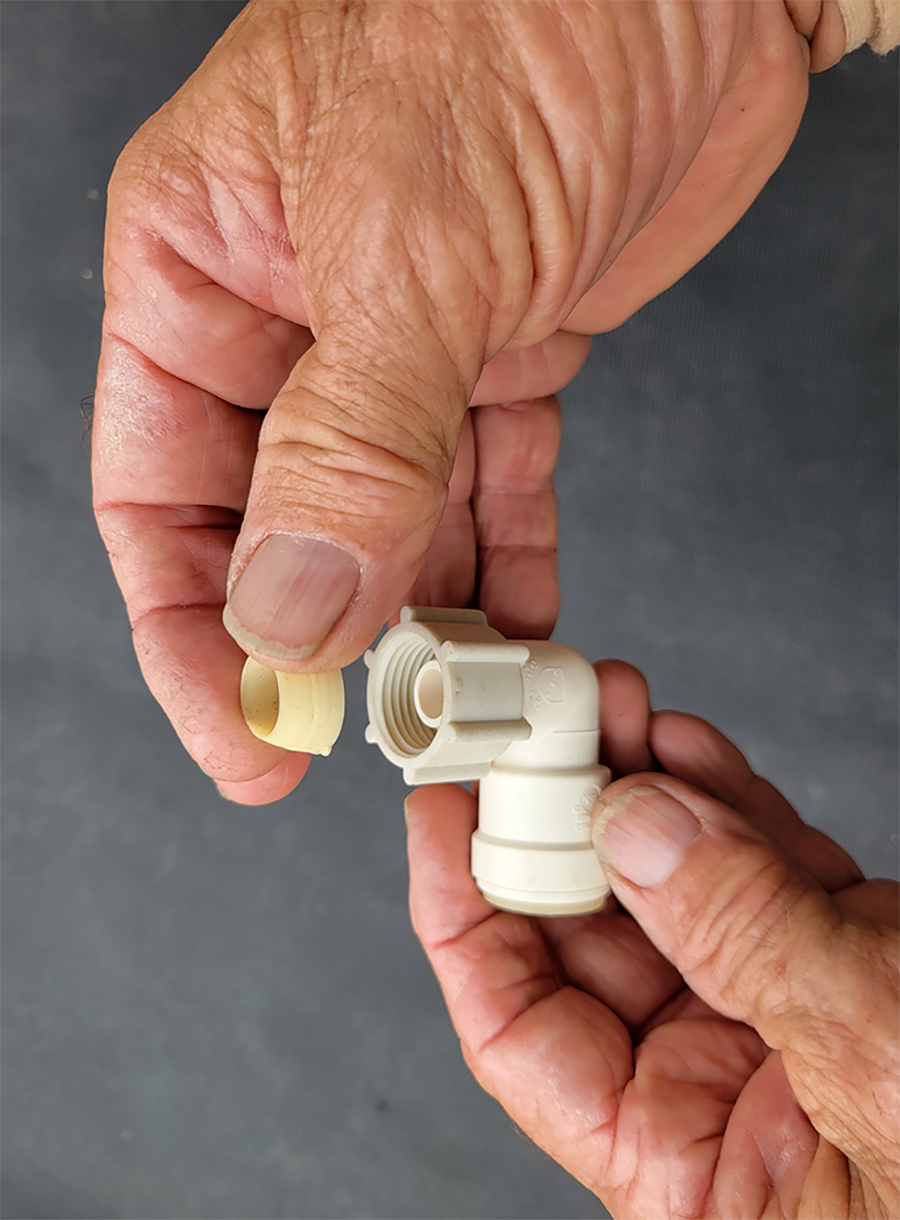
RV manufacturers crimp on fittings to water lines to ensure water tightness under adverse conditions, so naturally they cannot be removed easily. Theoretically you could cut the stainless-steel bands that are crimped onto the water line, but Murphy’s Law suggests that reaching these areas will be difficult. In fact, in many cases it’s virtually impossible to get a good grip to cut them off. There are high-quality replacement fittings on the market that either slip on or attach with a compression nut, which will allow you cut off the end with the crimp ring, if there is enough tubing. First, you will need to determine the size of the water line that requires repair (measuring inside diameter); it will either be ½- or 5/8-inch. Just about all RVs are outfitted with both sizes, so I recommend carrying 1-2 feet of tubing and fittings for each size.
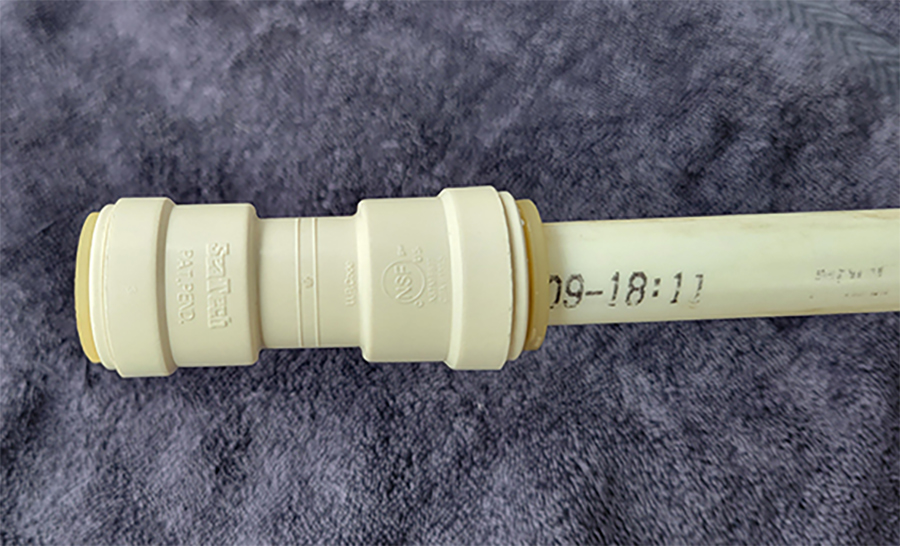
There are three major players in the crimp-free Pex-pipe fitting arena: SeaTech, SharkBite and Flair-It. SeaTech push-on fittings, commonly used for RV repairs, are now under the Watts banner (watts.com) and called AquaLock. Watts is a major plumbing supplier in the housing and commercial building trades. SharkBite (sharkbite.com) manufactures a line of Push-To-Connect fittings in plastic and brass; many of these products are available at home-supply stores. Flair-It (flairit.com) fittings are pushed on to the Pex tubing and the compression nut does the rest of the work; a special tool makes it easier to tighten the nut but is not necessary for those who can use offset pliers gingerly enough to eliminate overtightening.
Assembling an Emergency Kit
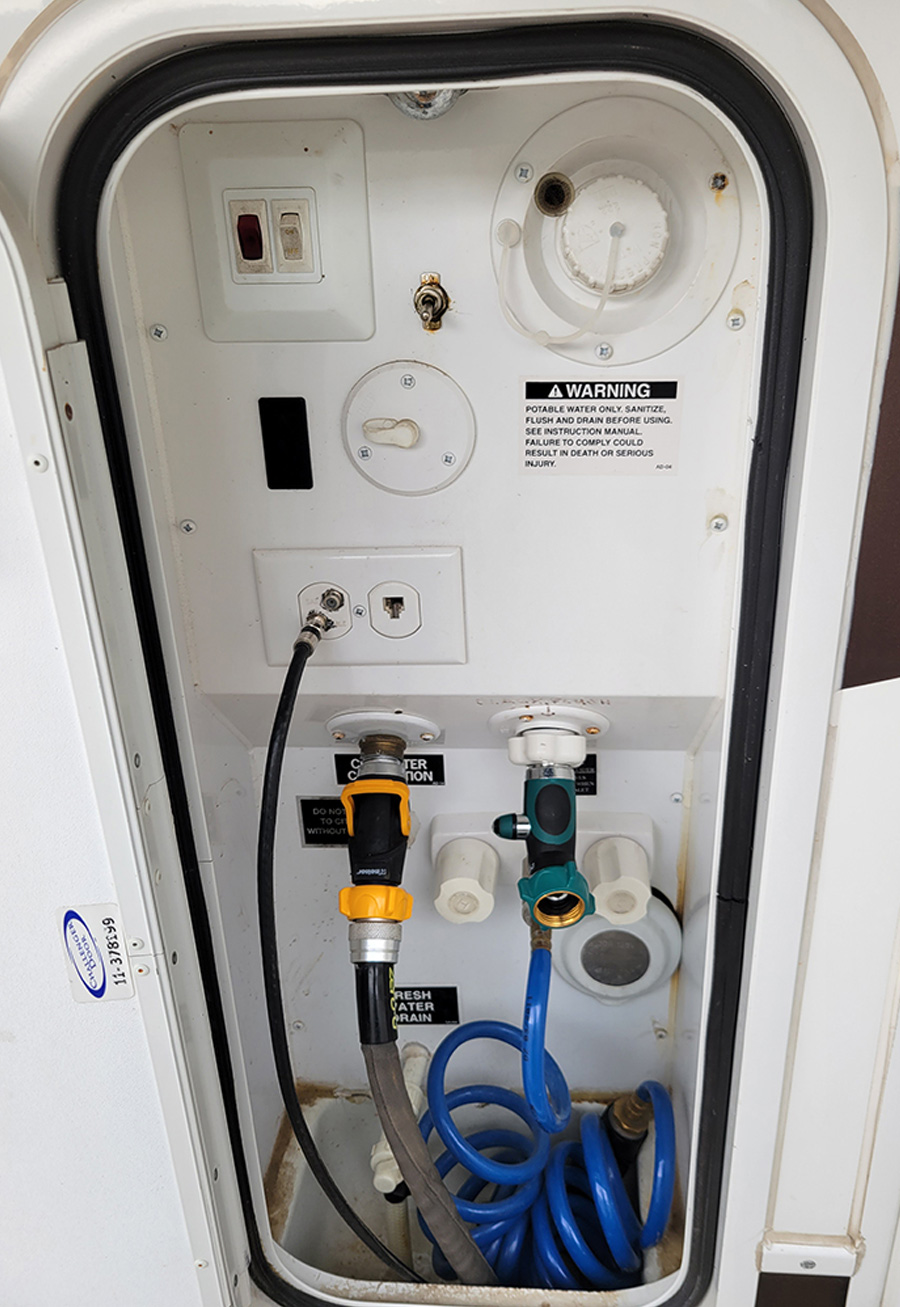
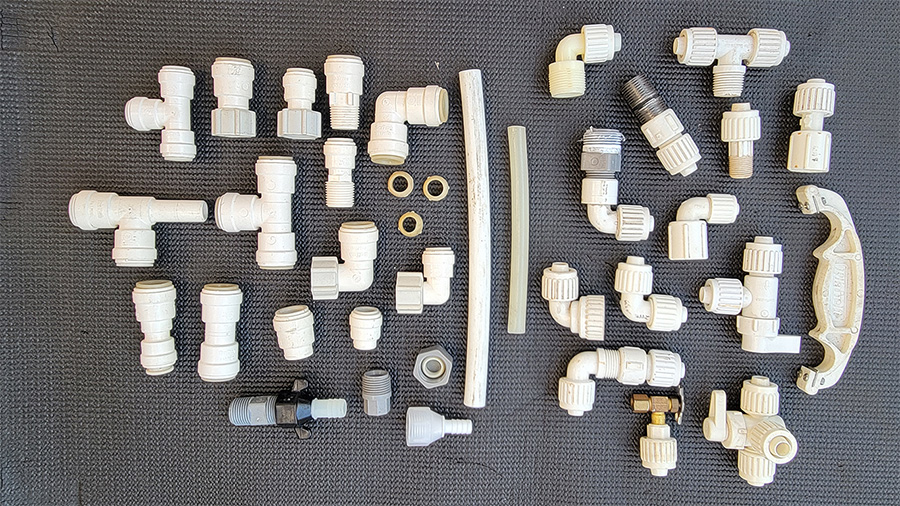
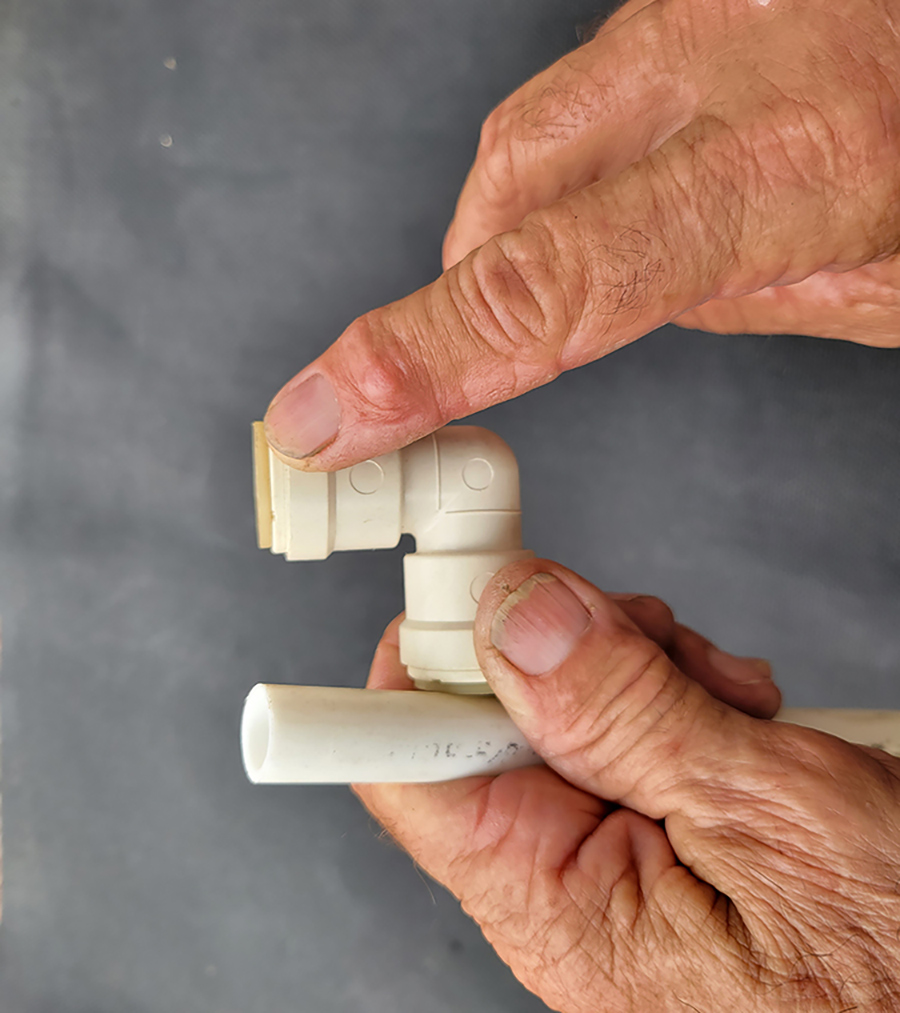
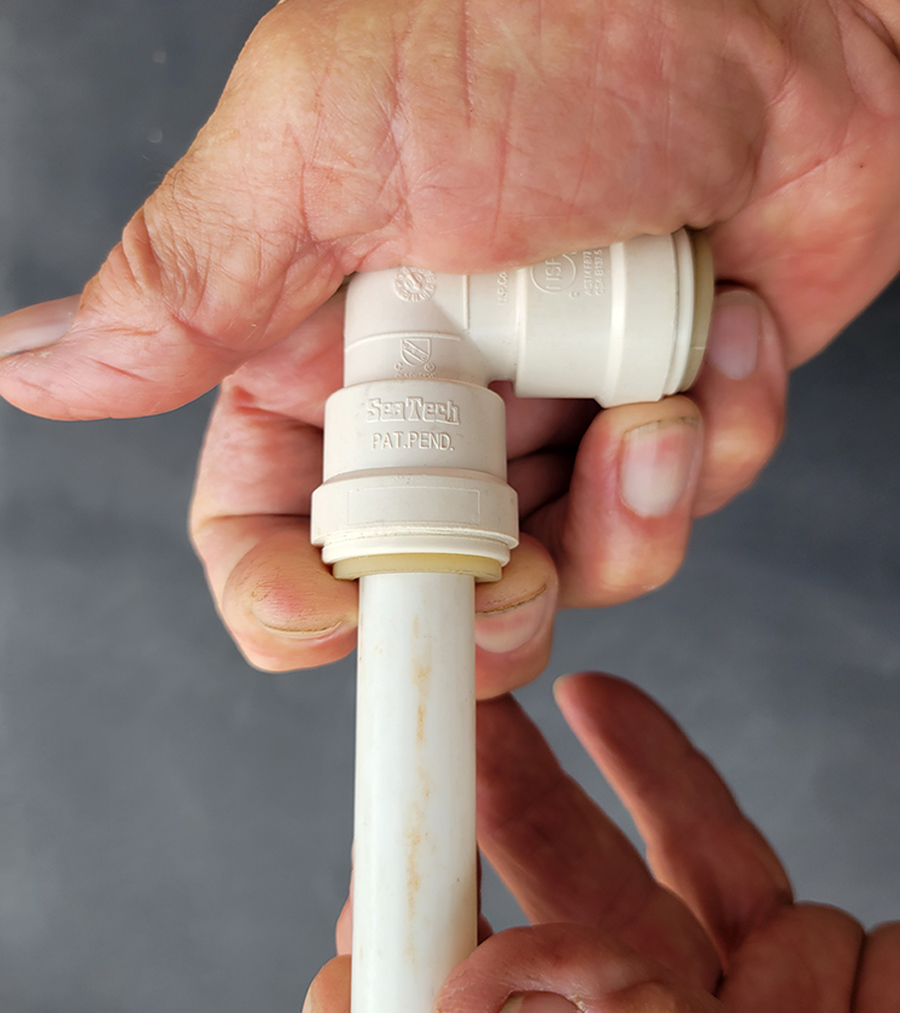
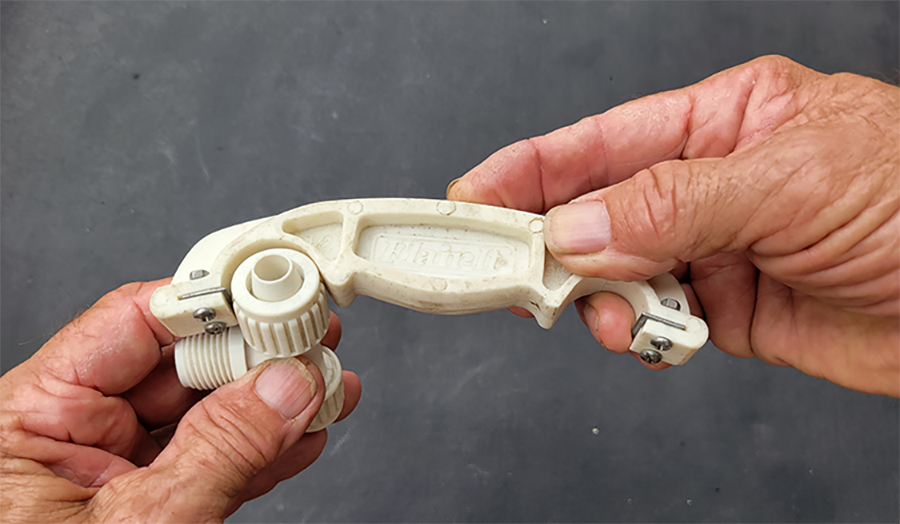
Some of the most common fittings for your kit should include a few elbows, unions (couplers) and Tees, which will allow you to join tubing after cutting out a damaged section (or if additional tubing is needed where there’s no slack in the line). You will also need a couple of elbow fittings with a push-on provision on one end and a ½-inch pipe thread swivel fitting on the other end for use on faucets and/or the shower diverter, for example. If you want to be prepared for almost any situation, consider carrying most of the fittings and valves as illustrated in the photo of my kit; I personally use AquaLock and Flair-It fittings.
If you need to replace one of your faucets or the shower diverter with a product from a home-improvement or hardware store, you’ll need adapters — which may not be in stock where you’re located at the time. RV manufacturers tend to stick with ½-inch pipe-thread fittings, while replacement faucets for residential applications typically have a 3/8-inch compression fitting on the end of the hose that is connected internally into the faucet or diverter valve. Consider carrying a pair of “3/8-inch male compression fitting to ½-inch male national pipe thread adapters” in your kit. These adapters are usually available in hardware and home supply stores.
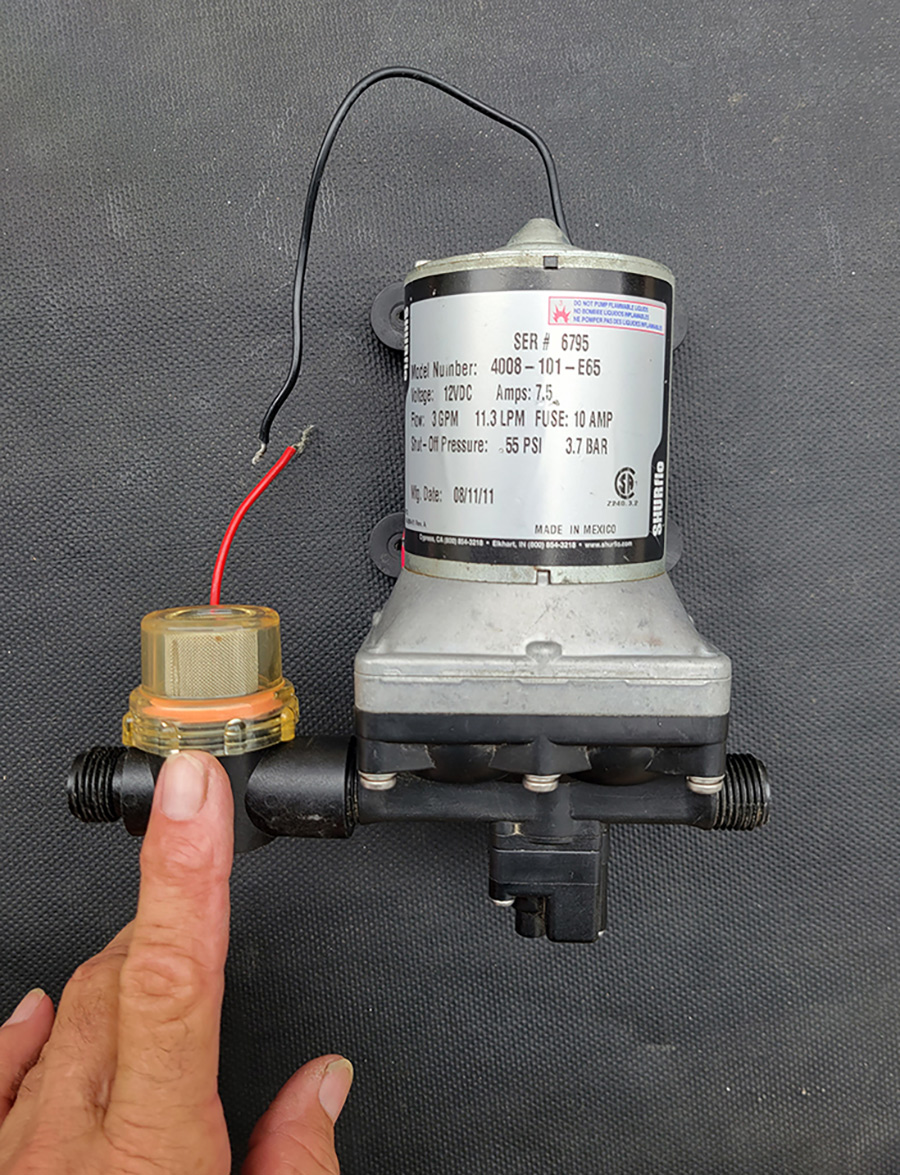
If you spend time off the grid, it may not be a bad idea to also carry either a second demand water pump or a replacement head. Replacement heads are easy to change on most of the water pumps found in RVs, requiring the removal of only three machine screws, but if one of more are rusted they may break, which will create an even bigger problem. Keep in mind that it’s not cost-effective to replace just the head unless you don’t have room to carry a complete pump. Removing the pump is simply a matter of disconnecting the two water lines and the two connectors for the power wires and the hold-down bolts. Also, every water pump has an inline filter between the pump and the freshwater tank that can fill up with debris. This filter can usually be pulled apart and cleaned, which should be done annually — and sometimes pump vibration can loosen the filter and create a leak, so make sure it’s tight. Carry a few extra fuses in case the ones for the water pump or another accessory blows while off the grid.
Sanitation, Too
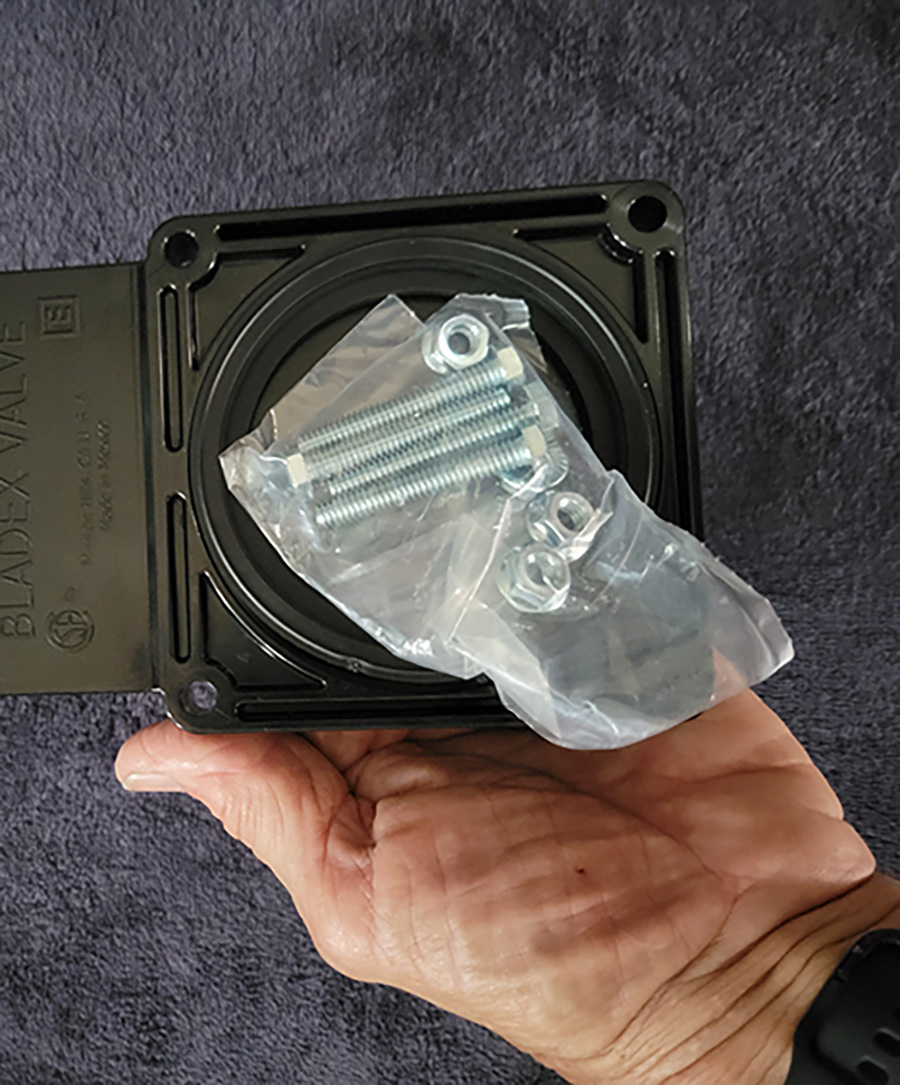
Holding-tank dump valves typically see quite a bit of wear and tear and those that are several years old may start to become problematic — which is nasty at best. These valves are usually available in RV stores and online but if you want to circumvent chasing new ones — or wait for a shipment at inopportune times — I recommend carrying replacement gray and black water dump valves that match your particular model. Changing one or both (or three) valves can be challenging if you’re out on the road, especially if the tank is not empty. I’ll skip the horror stories and remind you that most dump valves can be replaced by simply removing four bolts (after dumping, of course). Consider carrying replacement seal kits for each valve.

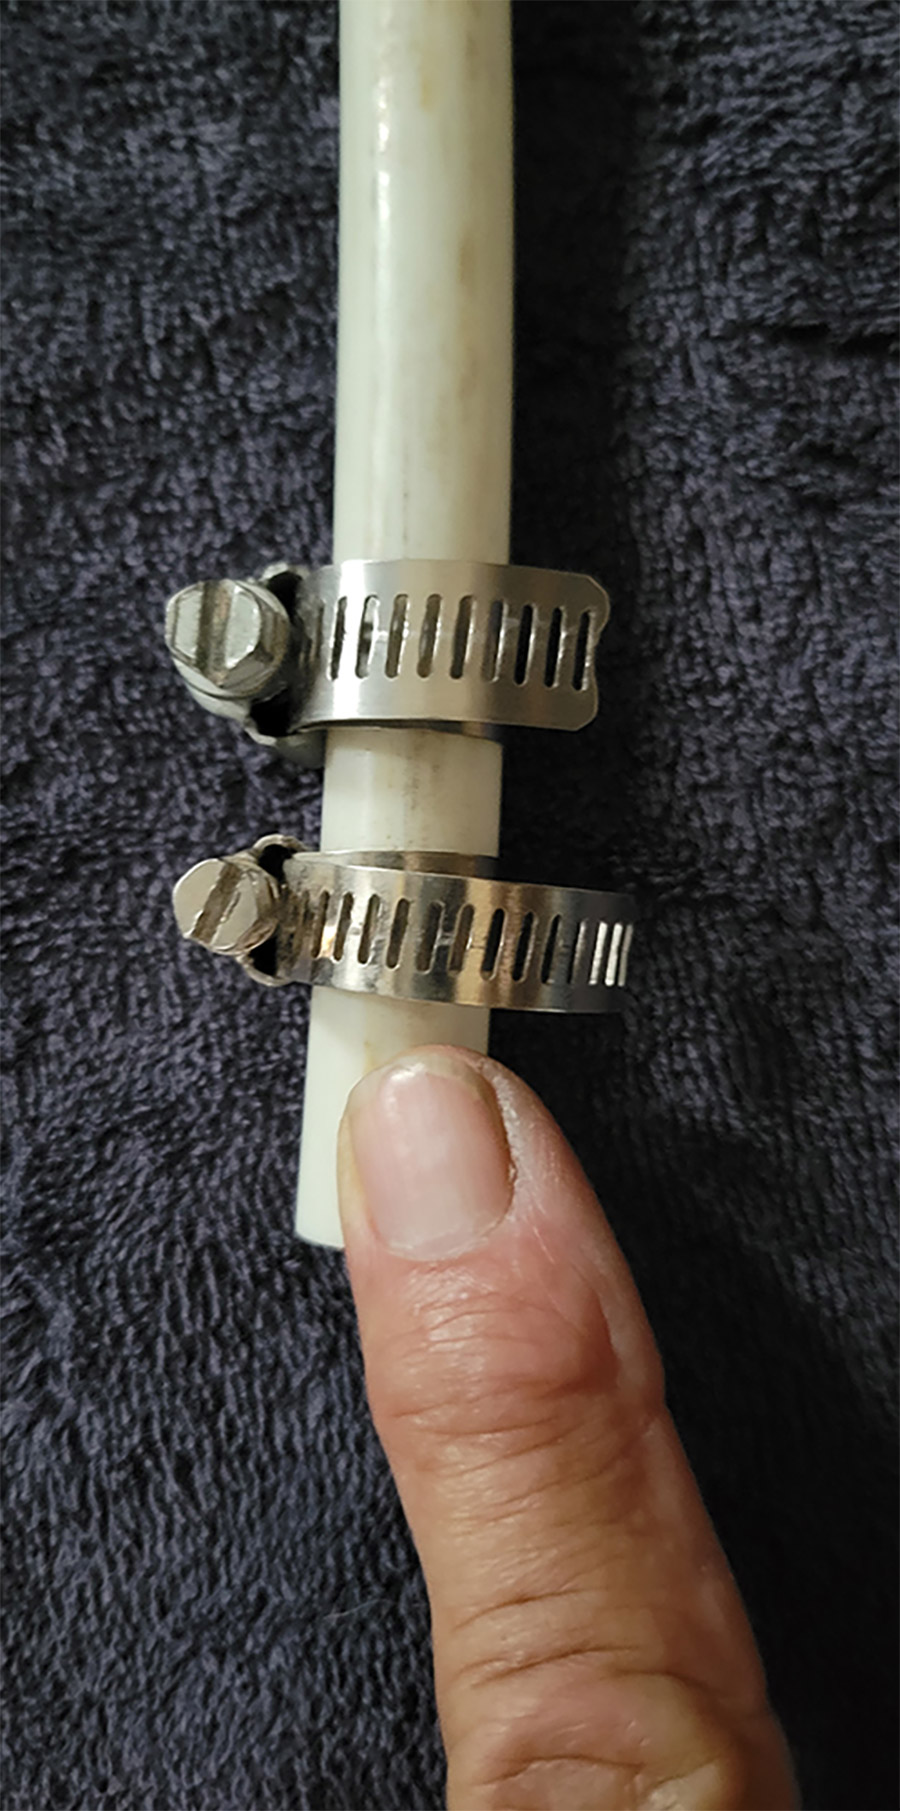
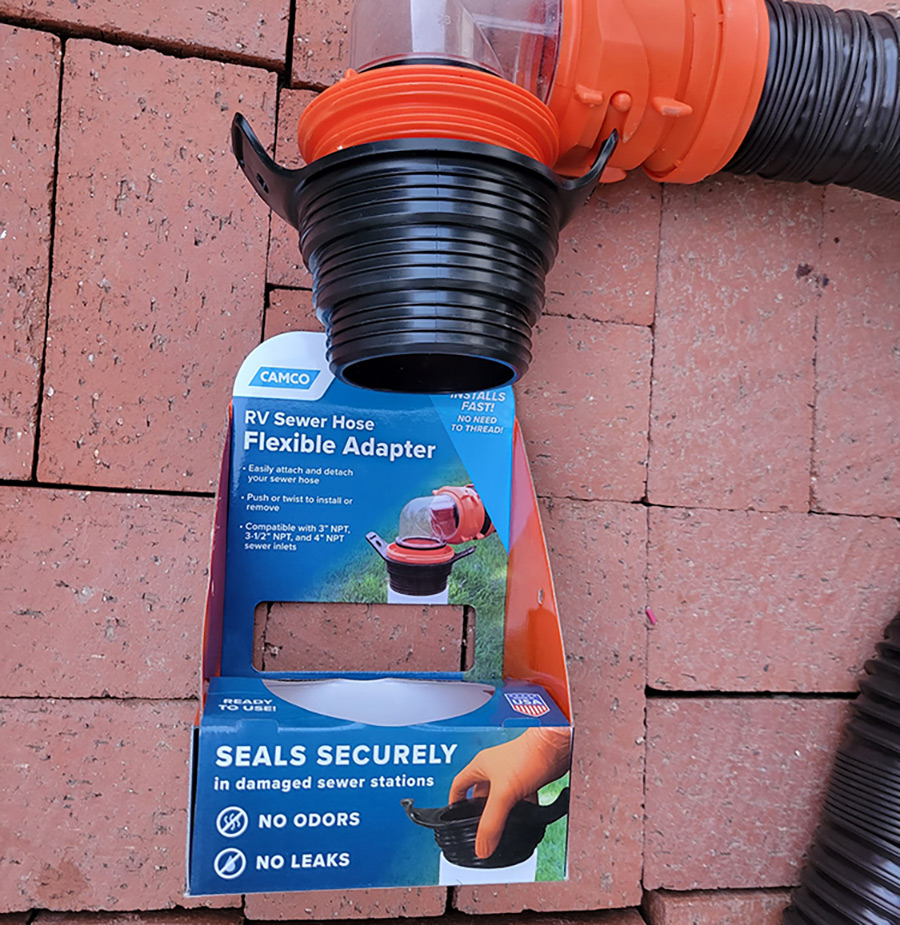
If you find yourself fighting a leaking water line fitting, you might be able to hobble up a repair using hose clamps to get yourself out of a jam. Refrain from using narrow hose clamps, because they will not hold back a leak. Wider, heavy-duty stainless-steel hose clamps will do a pretty decent job if you don’t have the right replacement fitting for the job. Carry a variety of these hose clamps, from ½-inch inside diameter to the 3 1/2-inch versions for sewer hoses. Resist buying cheap hose clamps at a swap meet.
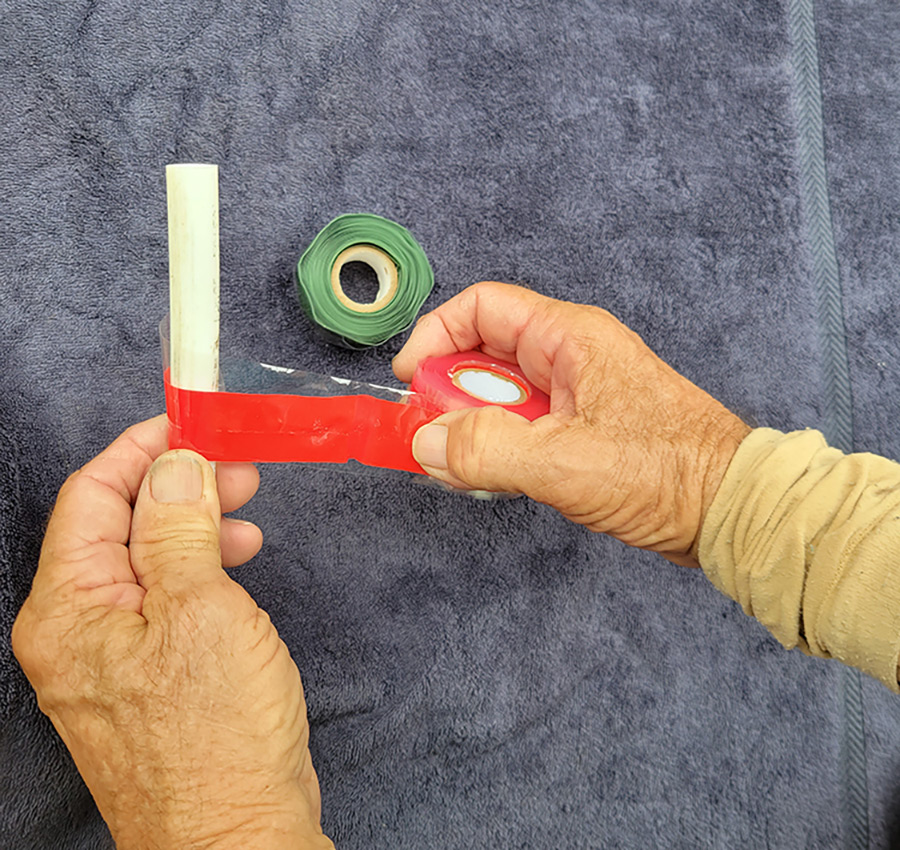
One last thought: Add a few rolls of self-fusing silicone tape to your emergency kit. Believe it or not, I’ve repaired leaking tubing by wrapping silicone tape around the offending section, even when wet. You simply start the wrap a few inches before the damaged area and stretch it around and past the leak; the tape will fuse to itself and form a tight seal. It’s usually not permanent, but again, it can get you out of a jam until a formal repair can be made. Two of the better products that fit the bill for this type of project can be found on Amazon. Rescue Tape has been around for a long time, showing up in booths in RV shows and rallies. It comes in 1-inch by 12-foot rolls in various colors and sells for around $11. Permatex markets Self-Fusing Silicone Tape in 1-inch by 10-foot rolls with a $10 price tag. Silicone tape has multiple uses around the RV.
No one wants to interrupt an RV vacation because something goes wrong, but being prepared on the road tempers any inconvenience. The ability to make plumbing repairs, whether temporary or permanent — and keep things flowing — is rewarding. Having the necessary replacement parts at your fingertips facilitates faster repairs and will likely save you quite a bit of money.