Glass Panes
Glass Panes
Installing a glass pane on an RV
After a freak accident, the large window in a new fifth wheel was shattered — and then field replaced — while in an RV park
By Bob Livingston / Photos by the author
S

ometimes RV owners do dumb things. I have a playbook in this arena, but we’ll dispense with my campfire stories for now. A good friend of mine who owns a 42-foot luxury fifth wheel that remains parked in a resort recently purchased a smaller “fiver” to take on trips — and is still getting used to it. One evening after happy hour and dinner, he decided it was time to close the big side window behind the theater seats. Unfortunately, he’s a strong guy and, using too much force, he slid the movable pane a little too hard — right into the other side of the frame. You guessed it; the window shattered — and fractured my friend’s ego.

Since rain was in the forecast, my heavy-handed friend filled the void with plastic and cardboard, all held in place with artfully applied duct tape. It wasn’t exactly breathtaking, but it did the job. Unfortunately, searching for the right shop to replace the window presented an issue for my friends, who were just a few days into their inaugural cross-country journey. And, with RV suppliers working overtime to keep the OEM channels full of product as record numbers of people rediscover RVing, it wasn’t just trying to make an appointment at a reputable shop that was problematic — replacement parts also are tough to come by right now.

Fortunately, there are two good resources for procuring replacement RV windows: Clear Vision Windows (clearvision.com) and Easy RV Window Replacement (easyrvwindows.com). Both companies offer online services that will guide the owner through the process of finding a replacement window. You will have to go through several measurement sessions and provide make and model information (including the VIN and manufacturing date), but in most instances, the proper window will be available. You just have to be in a place where you can receive it.

As luck would have it, the folks at Tiara RV in Elkhart, Indiana (www.tiararvsales.com) were able to order the window (cost was $211) and a day later we performed the installation right onsite at the Elkhart Campground (www.elkhartcampground.com).

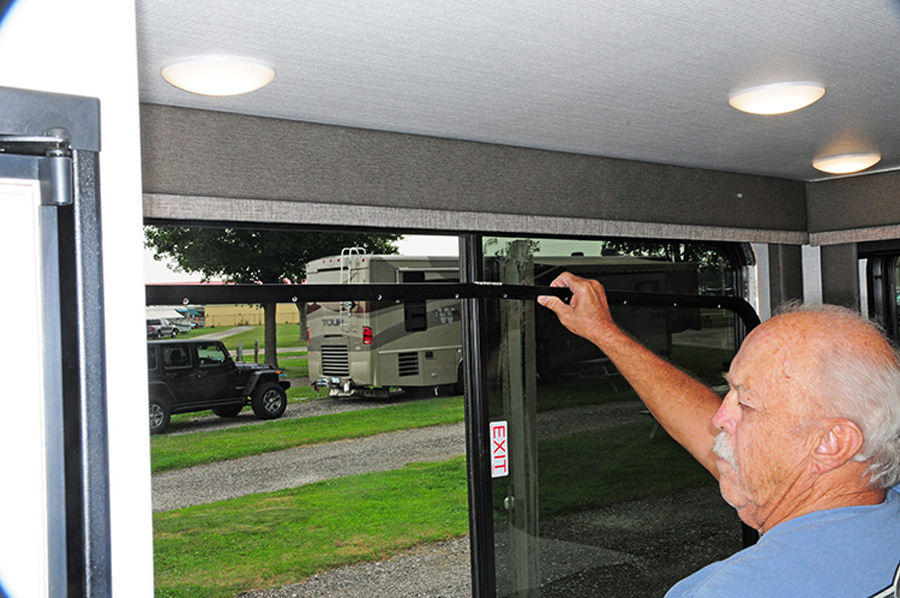
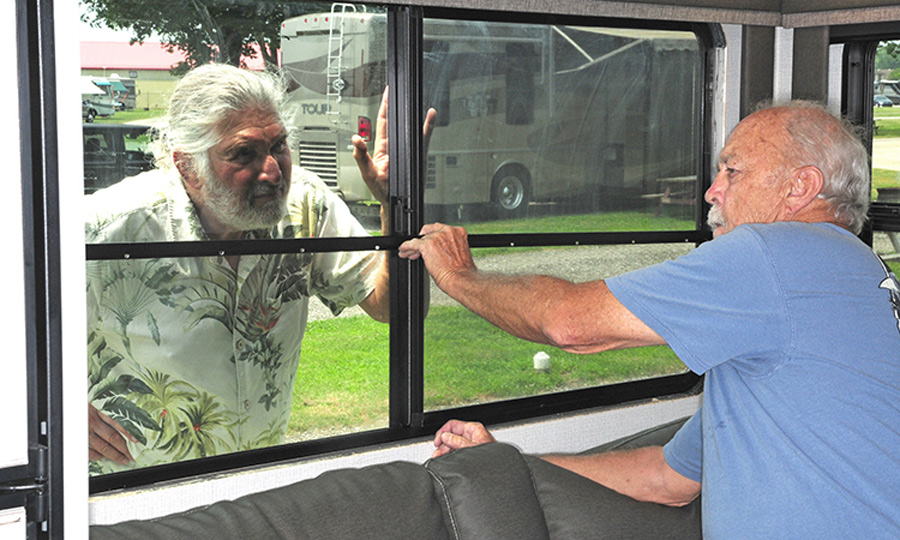
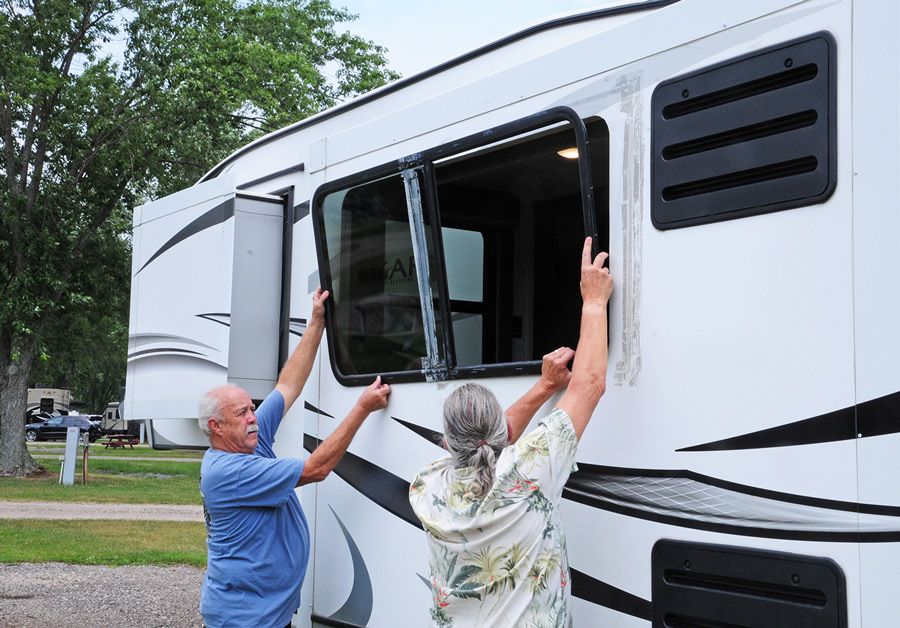
Replacing a window isn’t a particularly difficult installation, and just about anyone with basic mechanical aptitude can do the job, but a window of this size is heavy and requires a second person to make the swap.

Releasing the window requires that screws through the inside frame be removed. Access to the screw holes is a little awkward because of the valance, but the use of a long Robertson (square head) #2 bit made the job a little easier. After struggling with access to remove the screws while trying to avoid damage to the theater seat backs with the bit extension, the side valance sections were released and moved out of the way.

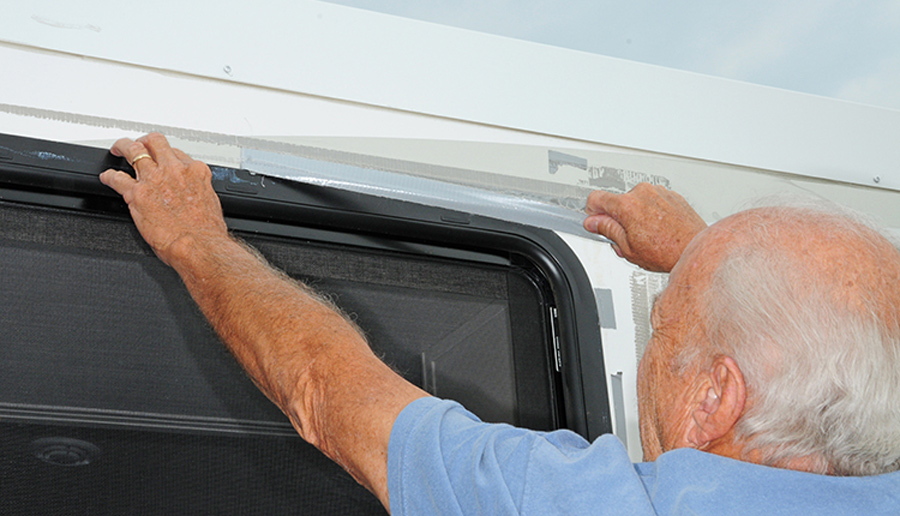
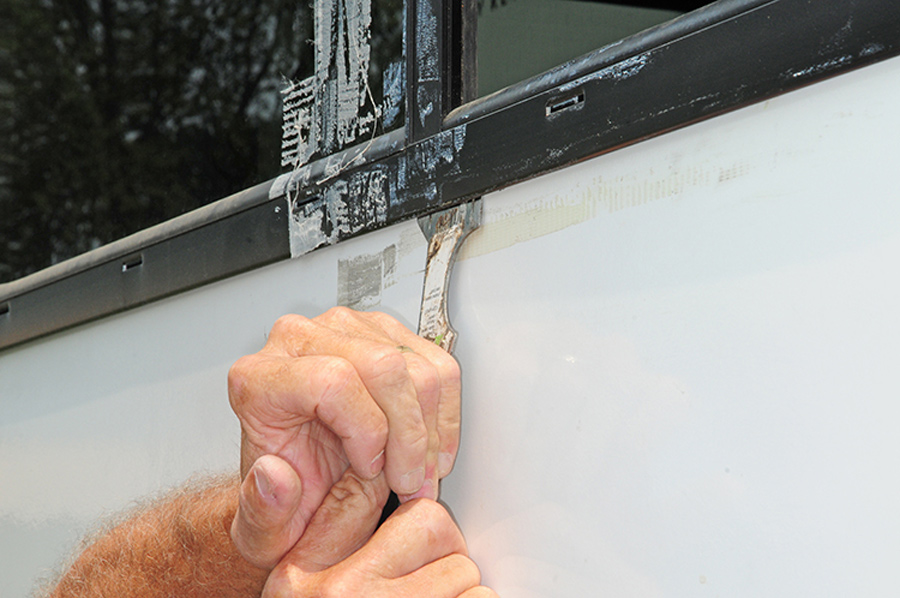
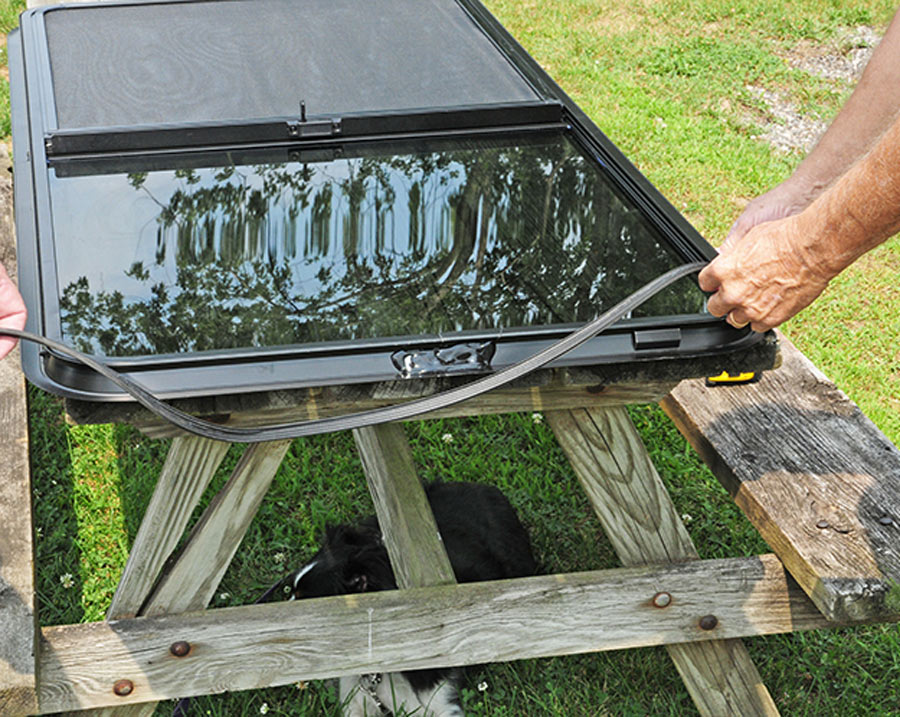
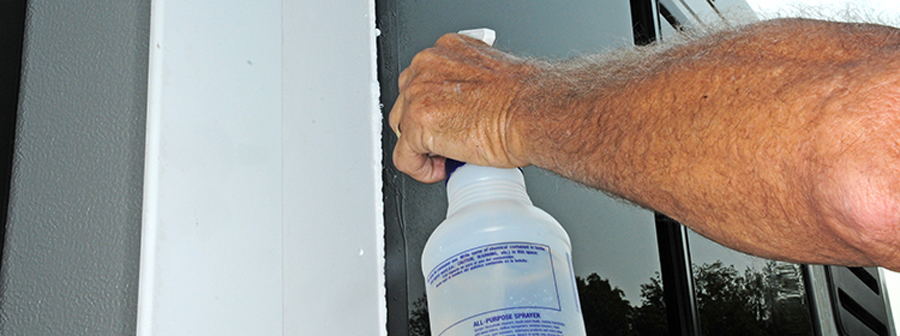
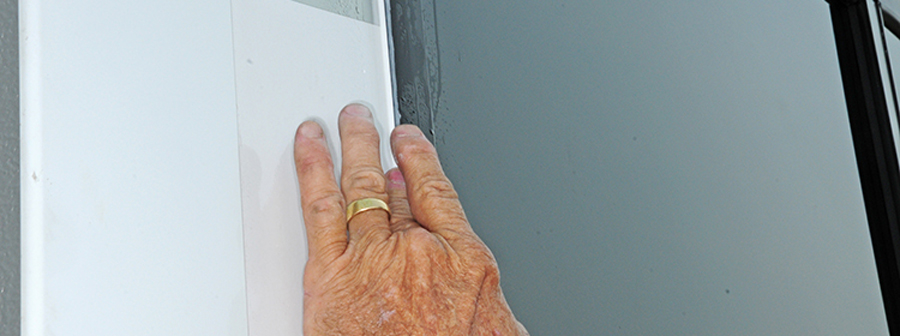
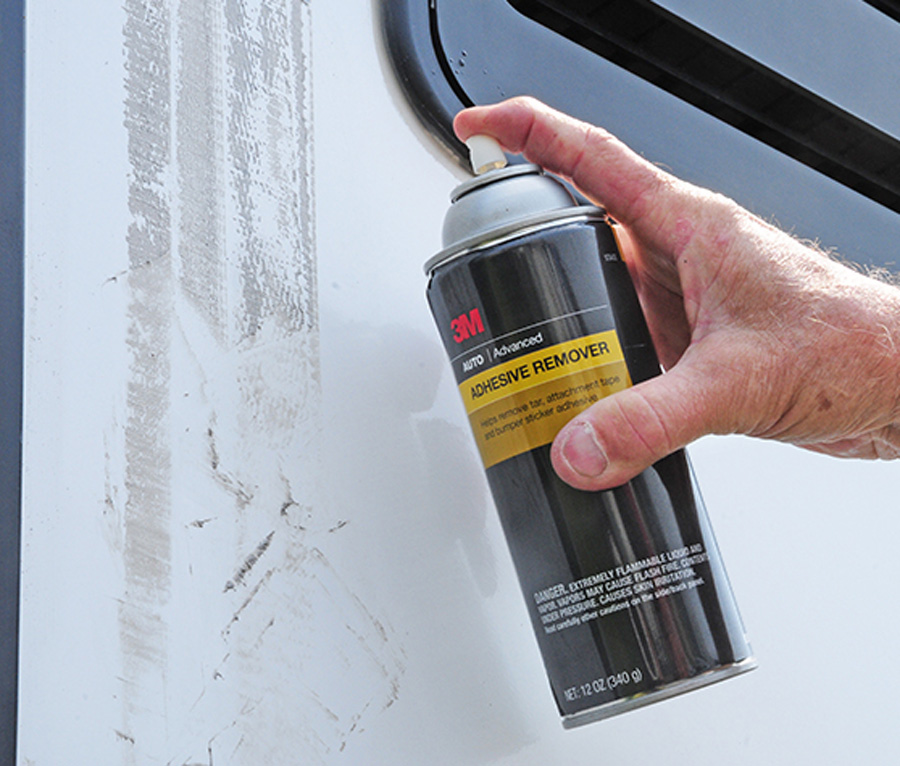
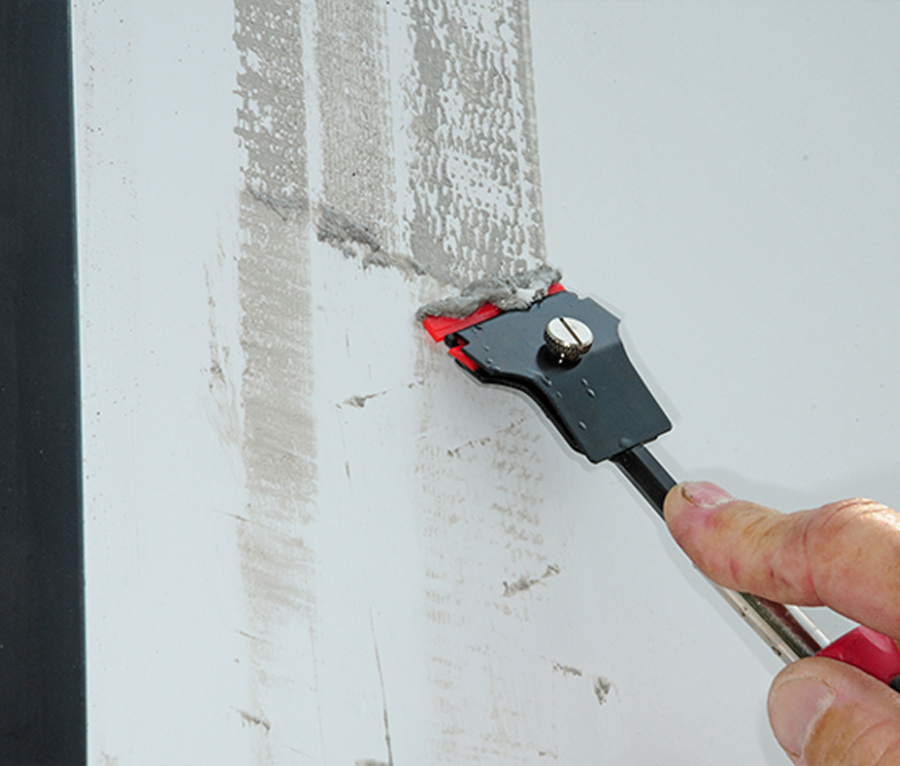
Once the inner frame was free, the window was carefully pushed outward with a second person guiding the process. At first, the window did not want to budge, but a little prodding with a putty knife allowed the rubber seal to release while leaving no residue on the exterior wall.

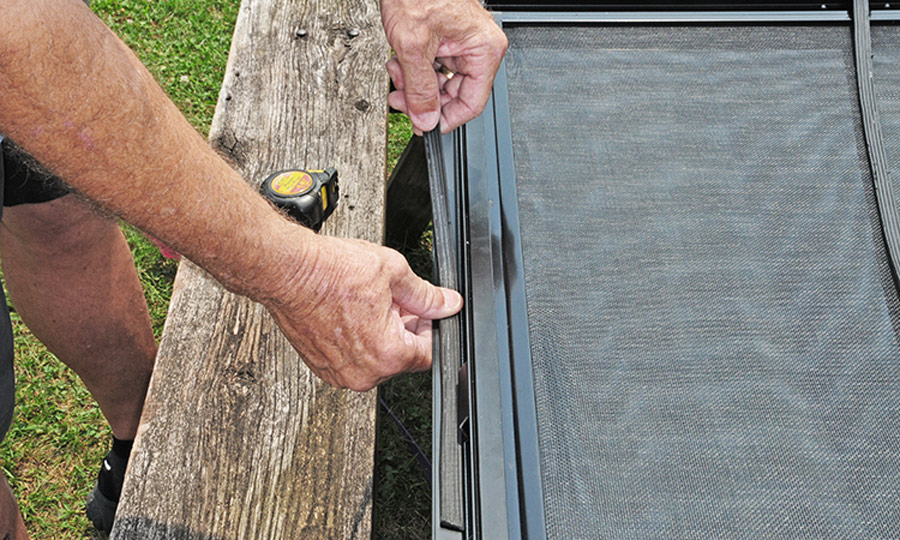
Since a new seal was not provided with the new window, we carefully removed the rubber material, which retained its original shape and was good enough for re-use. However, we didn’t have any thin, two-sided tape to apply (recommended), so we gambled that there was enough stickiness left in the rubber to keep it in position on the new window flange while the window was seated. It worked, but the owner will need to keep a close eye on any leakage and repeat the process, if necessary, when he gets home.

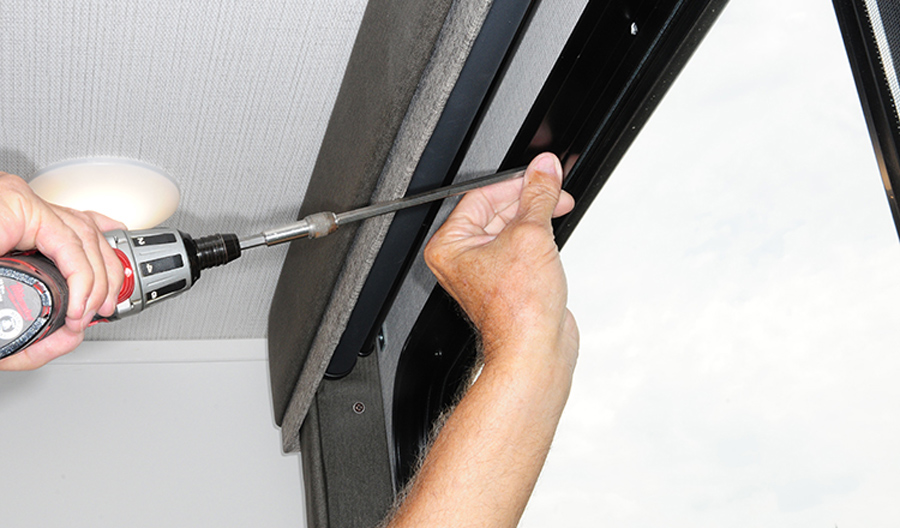
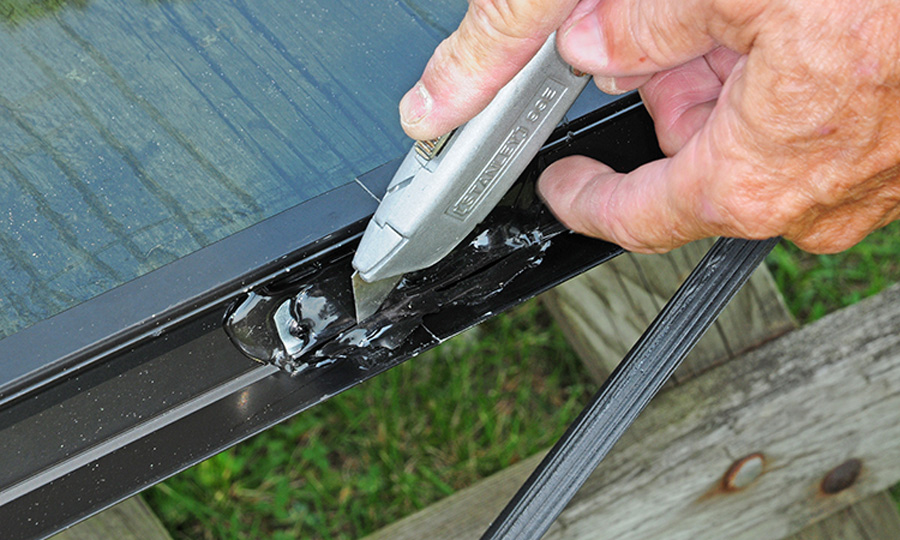
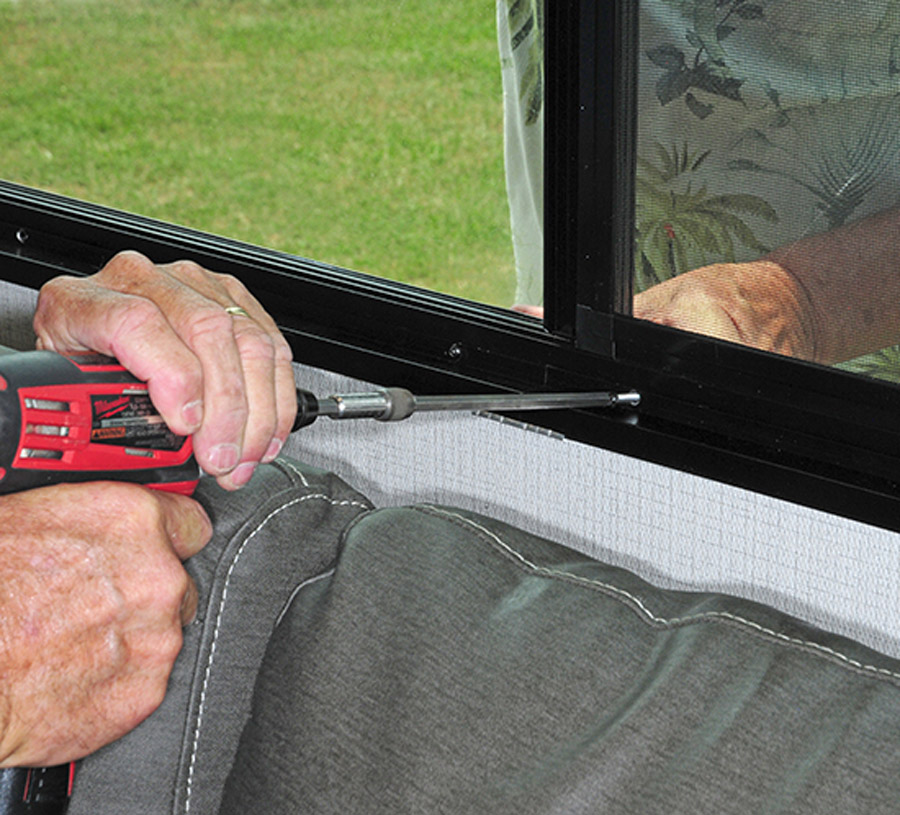
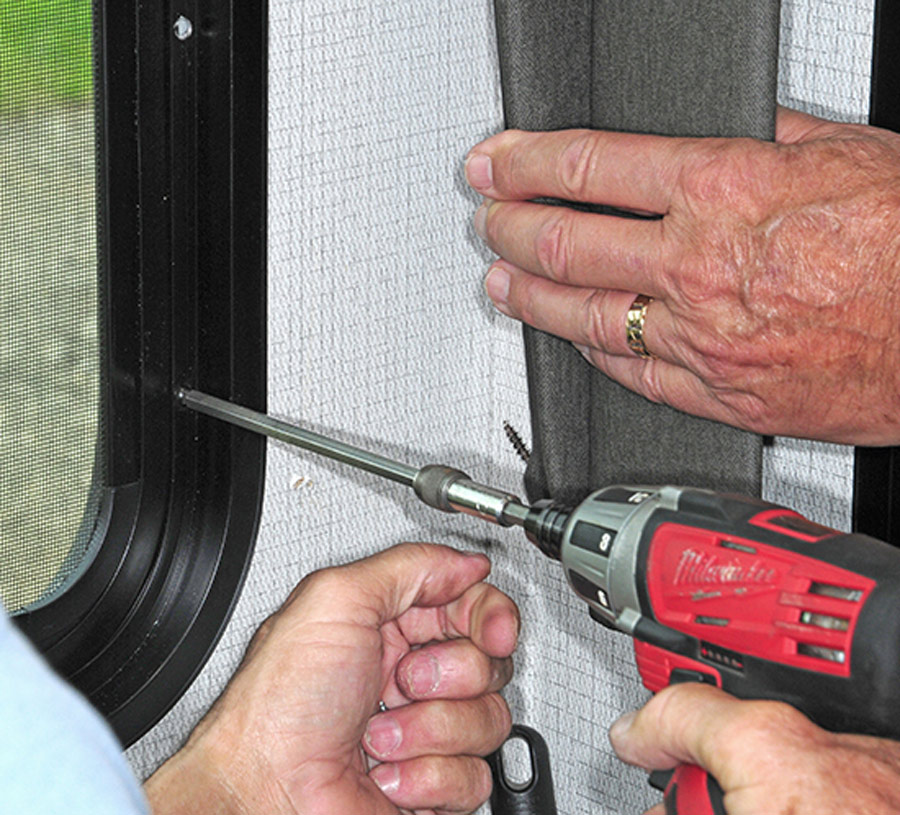
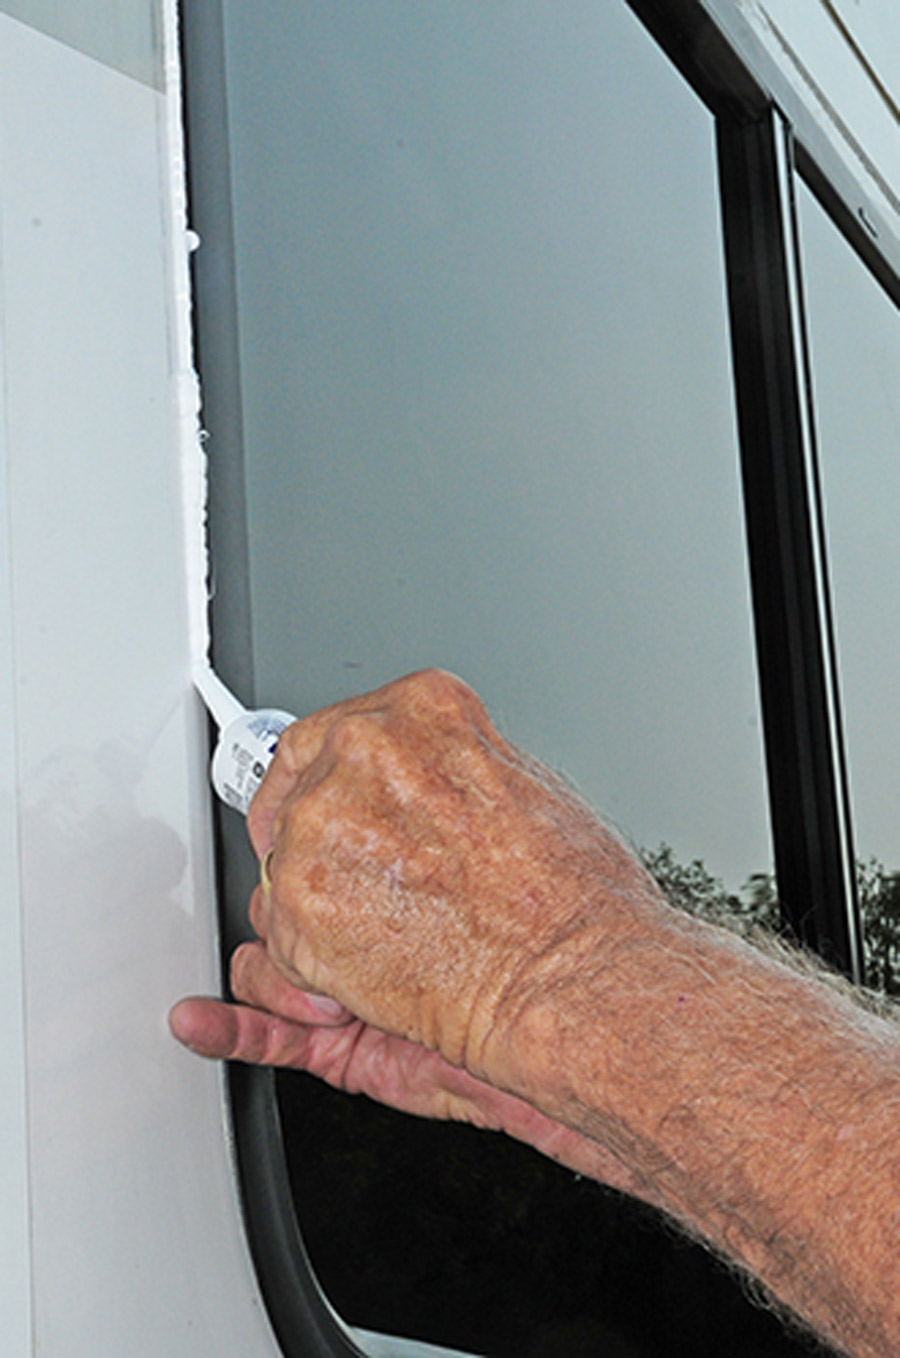
The window was fitted into the wall opening and the remainder of the project was devoted to driving the screws through the inside frame and into the window and running a bead of silicone around the top and sides of the window frame. Care is needed to keep the screws as straight as possible so that they get a good bite into the window frame, and someone must be on the other side to apply direct pressure to the area where the screws are being tightened.

Cardboard and plastic covered the broken windowpane
Cardboard and plastic covered the broken windowpane, certainly making a visual understatement for this new fifth wheel. The makeshift window repair was peeled off before the window was removed, leaving an ugly mess of stuck-on tape adhesive.
Plan on spending around an hour or so making the window swap with help from a friend — plus a lot more time cleaning off sticky residue if that same friend is fond of using duct tape to perform emergency “repairs.”
Remaining duct tape was carefully removed from the exterior sidewall
Remaining duct tape was carefully removed from the exterior sidewall, but the “repair” was up for a while and the sun baked on the adhesive.
Using a long Robertson #2 bit to unscrew
Using a long Robertson #2 bit unscrewing screw heads
Using a long Robertson #2 bit, all the screws were removed from the inside frame. The window valance made it difficult to get a good grip on the screw heads.
frame was easily lifted away from the window
Once the screws were removed on the inside, the frame was easily lifted away from the window.
putty knife made it possible to release the seal from the wall without damage
Even though the fifth wheel was only a few months old, the window seal had already started to stick to the exterior sidewall. The judicious use of a putty knife made it possible to release the seal from the wall without damage.
The rubber seal is pulled away very carefully
It’s best to use two people to pull the window away from the wall opening (as seen in lead photo). There were still pieces of glass embedded in the frame, so care must be taken when handling the window. The rubber seal is pulled away very carefully. A new seal was not ordered with the window; fortunately, there was still enough stickiness on one side to reinstall the material on the new window.
Razor knife leveling out the window frame
Placing the old rubber seal on the window frame
There was a big glob of silicone on one end of the window frame used in the manufacturing process. A razor knife made short work of leveling out the surface. The old rubber seal is carefully placed on the window frame. It is not the best way to go, but sometimes a field repair requires some resourcefulness.
After the new window was in place, another friend was posted outside to make sure it did not pop out and drop to the ground
After the new window was in place, another friend was posted outside to make sure it did not pop out and drop to the ground. The inside frame was then set in place.
Screws were driven through the inside frame and into the new window
Screws were driven through the inside frame and into the new window. The crease in the window frame made it easy to drive the screws without drilling pilot holes. The valance was removed to make it possible to drive the screws straight and pull the window frame tightly into the sidewall.
a bead of silicone was placed around the edge of the window frame as extra insurance to protect against water intrusion
Since the old seal was re-applied, a bead of silicone was placed around the edge of the window frame as extra insurance to protect against water intrusion.
spray water on the silicone bead so it can be touched without it pulling away from the RV
use a finger to smooth out the surface
After applying the silicone, spray water on the silicone bead so it can be touched without it pulling away from the RV and use a finger to smooth out the surface.
adhesive remover spray bottle
a plastic razor blade was used to scrape away the tape remains
The gooey mess left on the RV — caused by using duct tape to hold the window patch in place — was removed with 3M Adhesive Remover, available at most auto parts stores and online. It’s fairly expensive at $17 for an aerosol can, but will save a lot of elbow grease. After spraying the affected area with the Adhesive Remover, a plastic razor blade was used to scrape away the tape remains.