
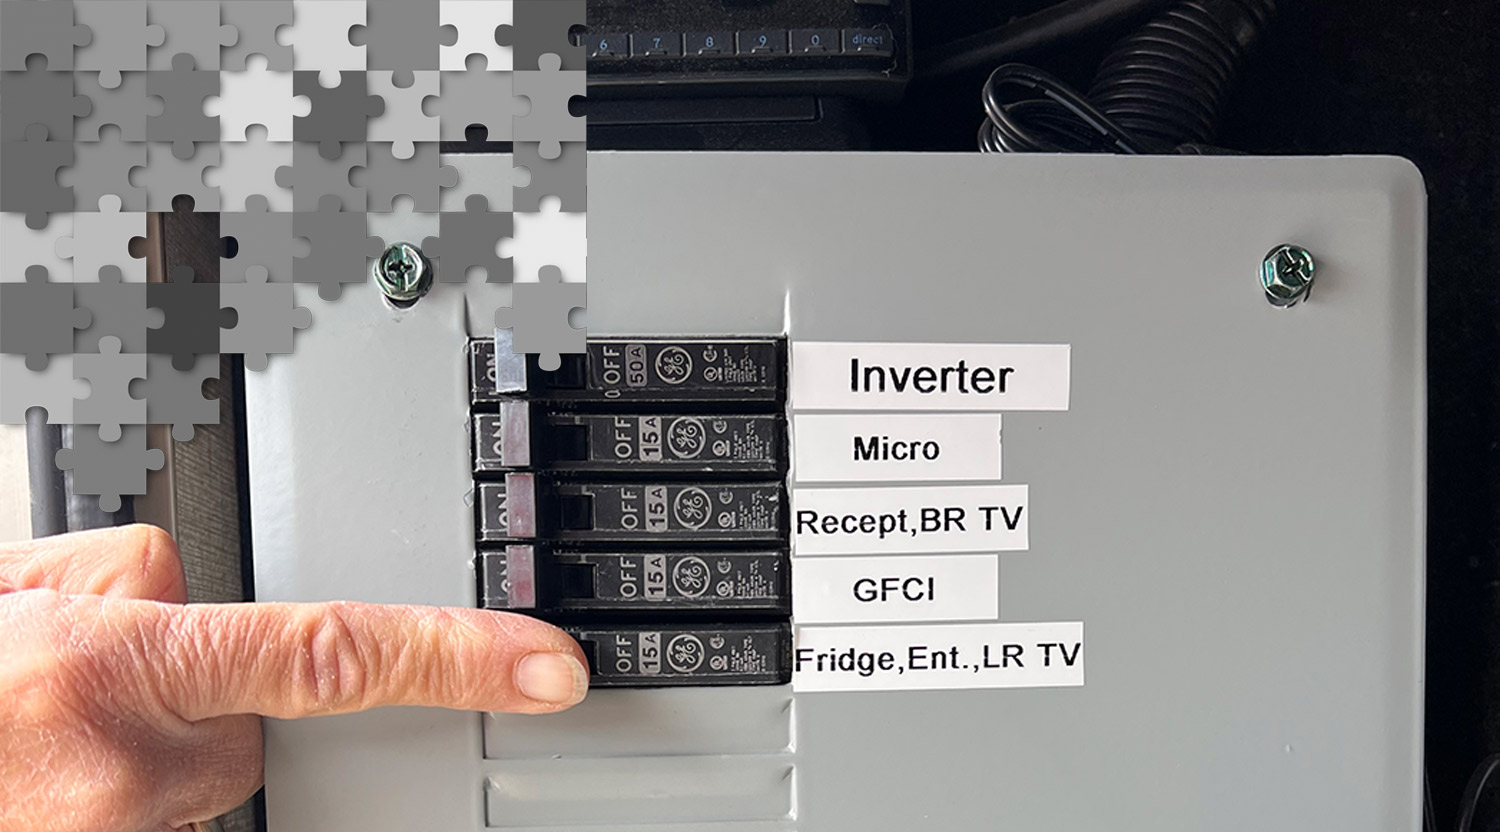
t happened — as is so often the case with an RV — without warning: All of a sudden, the 120-volt AC power went off at the outlets inside the slideout room of my fifth wheel that were powering the refrigerator, TV and other electronic devices. As I discovered, the breaker in the subpanel for the solar inverter was flipped and multiple attempts to reset it failed. A thorough search for the culprit eliminated all the other circuits in the fifth wheel — and resulted in the discovery of a shorted Molex connector under the belly pan out back. These connectors are commonly used make it convenient to disconnect power to the slideouts, but they can be exposed to moisture and many times are not secured properly.
So, they burn up.
Of course, the failure was while in an RV park located in a small town, precluding us from locating a new Molex connector quickly; it was going to take a few days via Amazon. Rather than wait to restore power — we didn’t want to go without our refrigerator and TV — I improvised by purchasing a few electrical parts at a local hardware store. They included a waterproof junction box and strain relief fittings, along with a few wire nuts. Total cost was around $45; these parts are commonly found in hardware and home improvement stores.
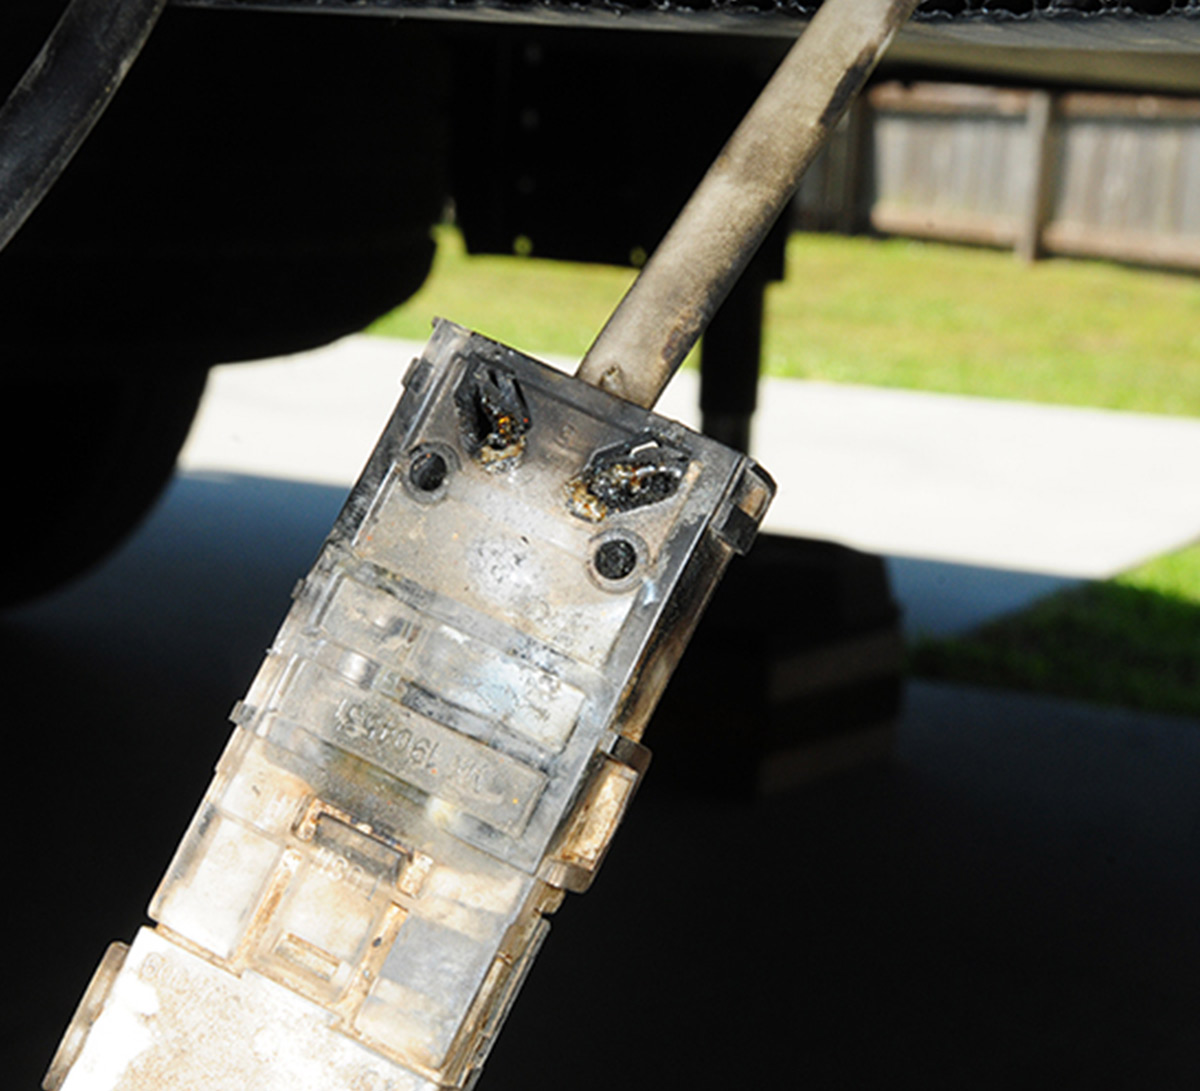
Gaining access to the Molex connectors required opening the edges of the underbelly to locate the failed part. It was immediately obvious that the Molex connector had failed since the wires and plastic casing were blackened from the short. Unfortunately, all these connectors were laying loose on the belly pan, clearly indicating that exposure to moisture created the failure. Molex connectors are convenient to wire and make disconnection a snap, but they are not waterproof.
Before attempting the fix, make sure the power to the RV is disconnected; while the breaker in the “Off” position is supposed to shut down power to the circuit, it’s best to simply make sure there is no power to the rig. Romex wire was routed from the sub panel in the front storage compartment to the vicinity of the slideout room, and the cable to the slideout receptacles was comprised of three stranded wires. Cables routed to the Molex connector were cut off on both sides to begin the re-wiring.
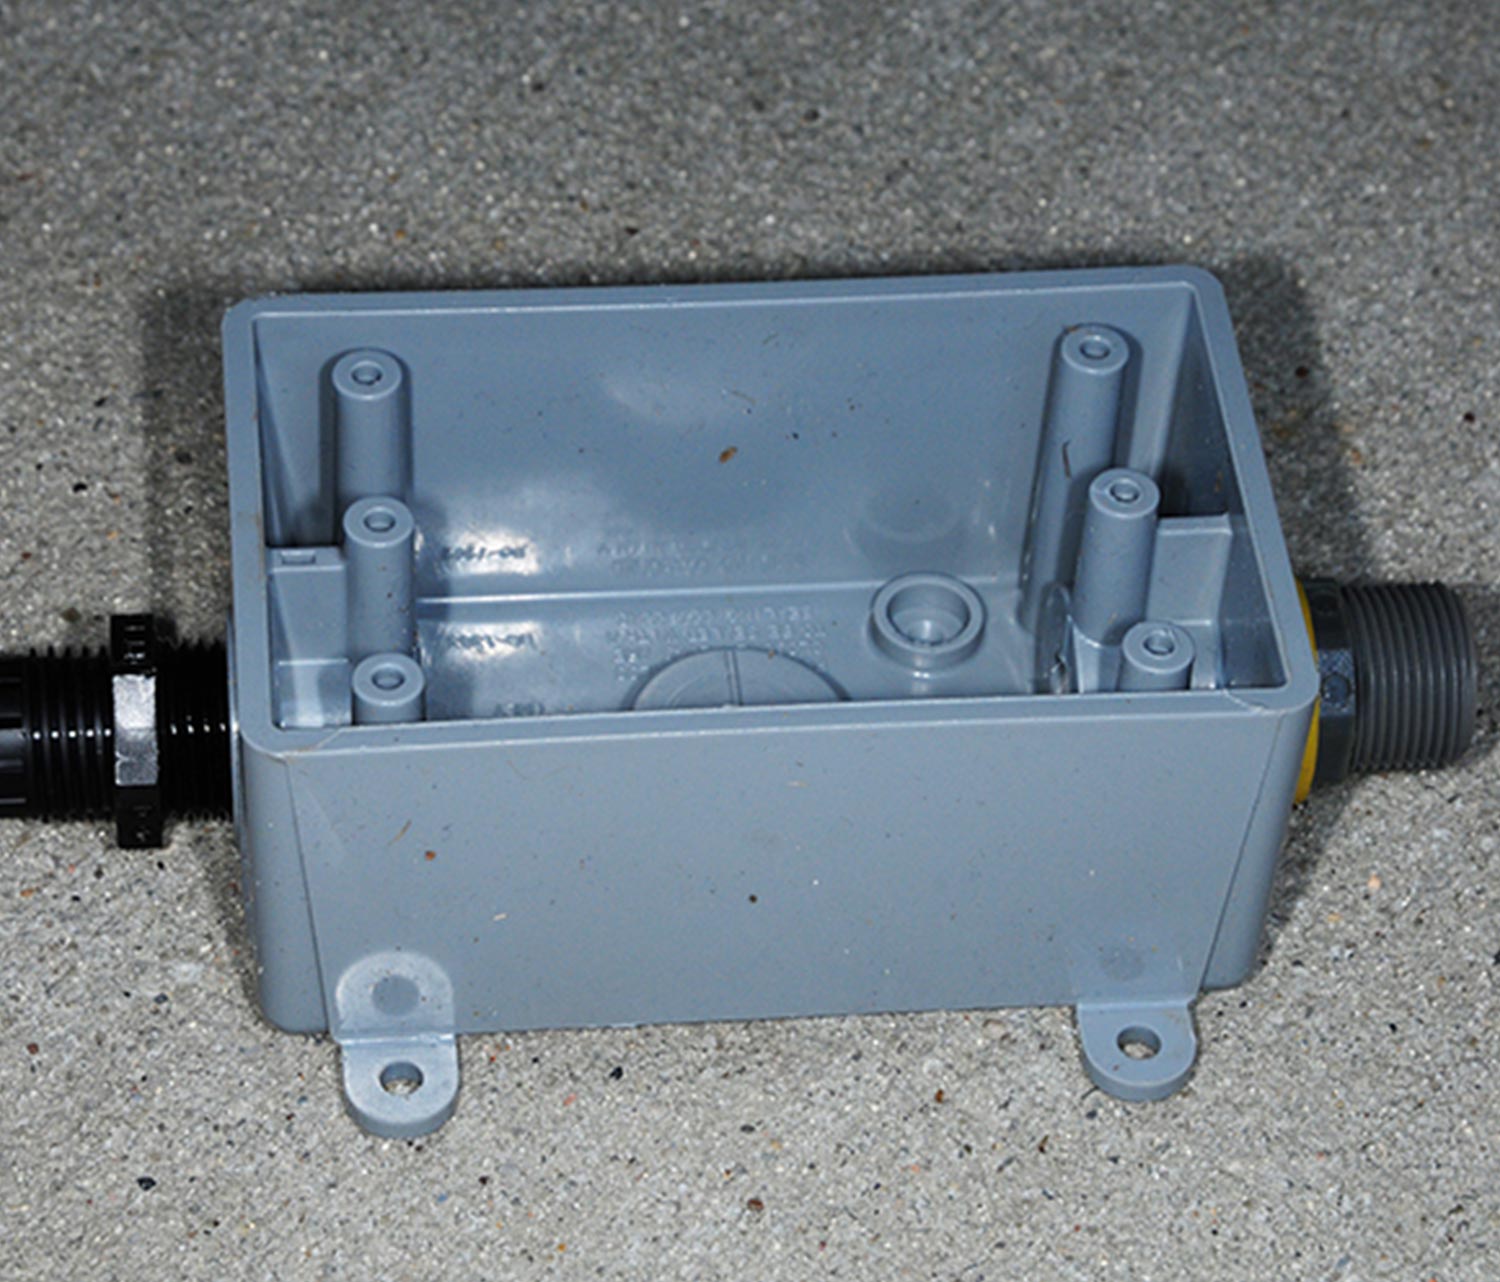
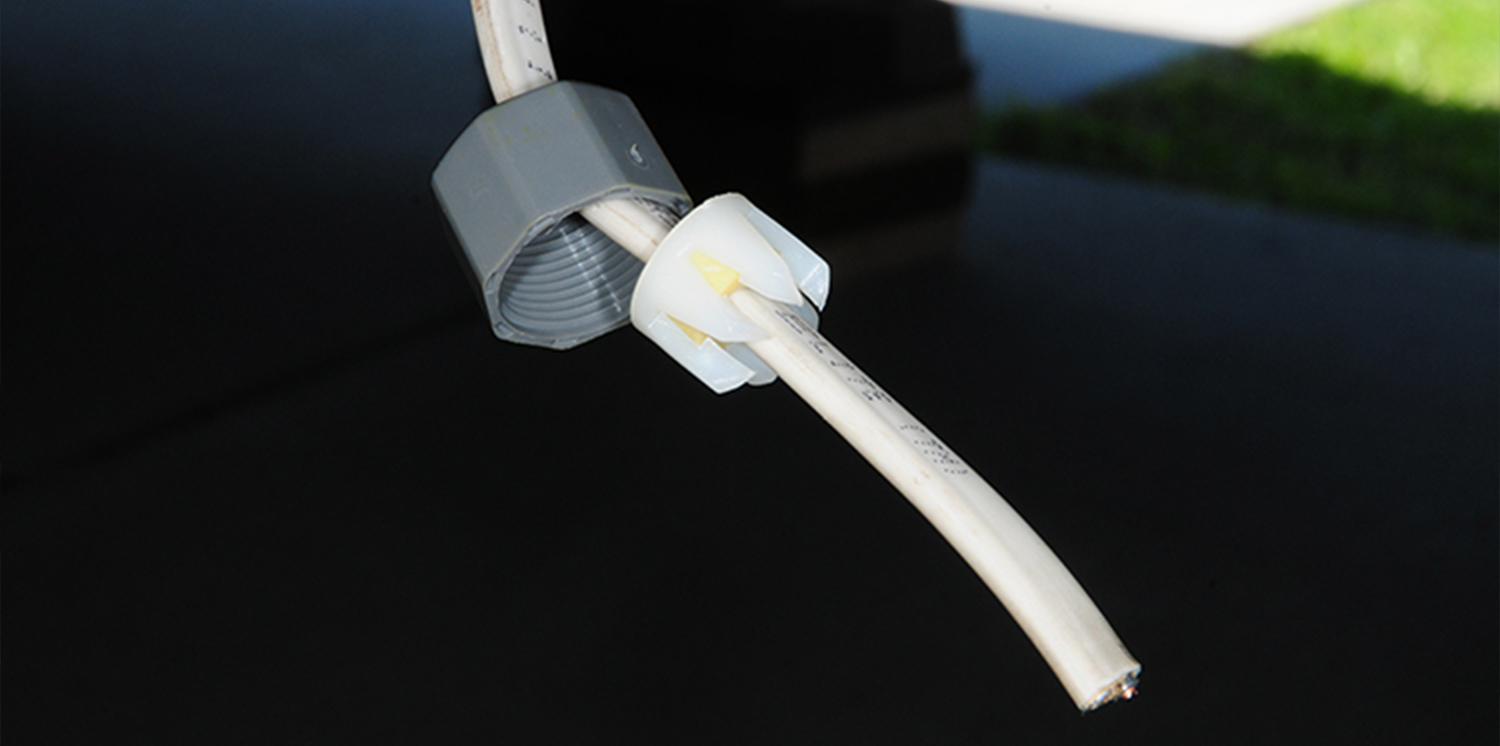
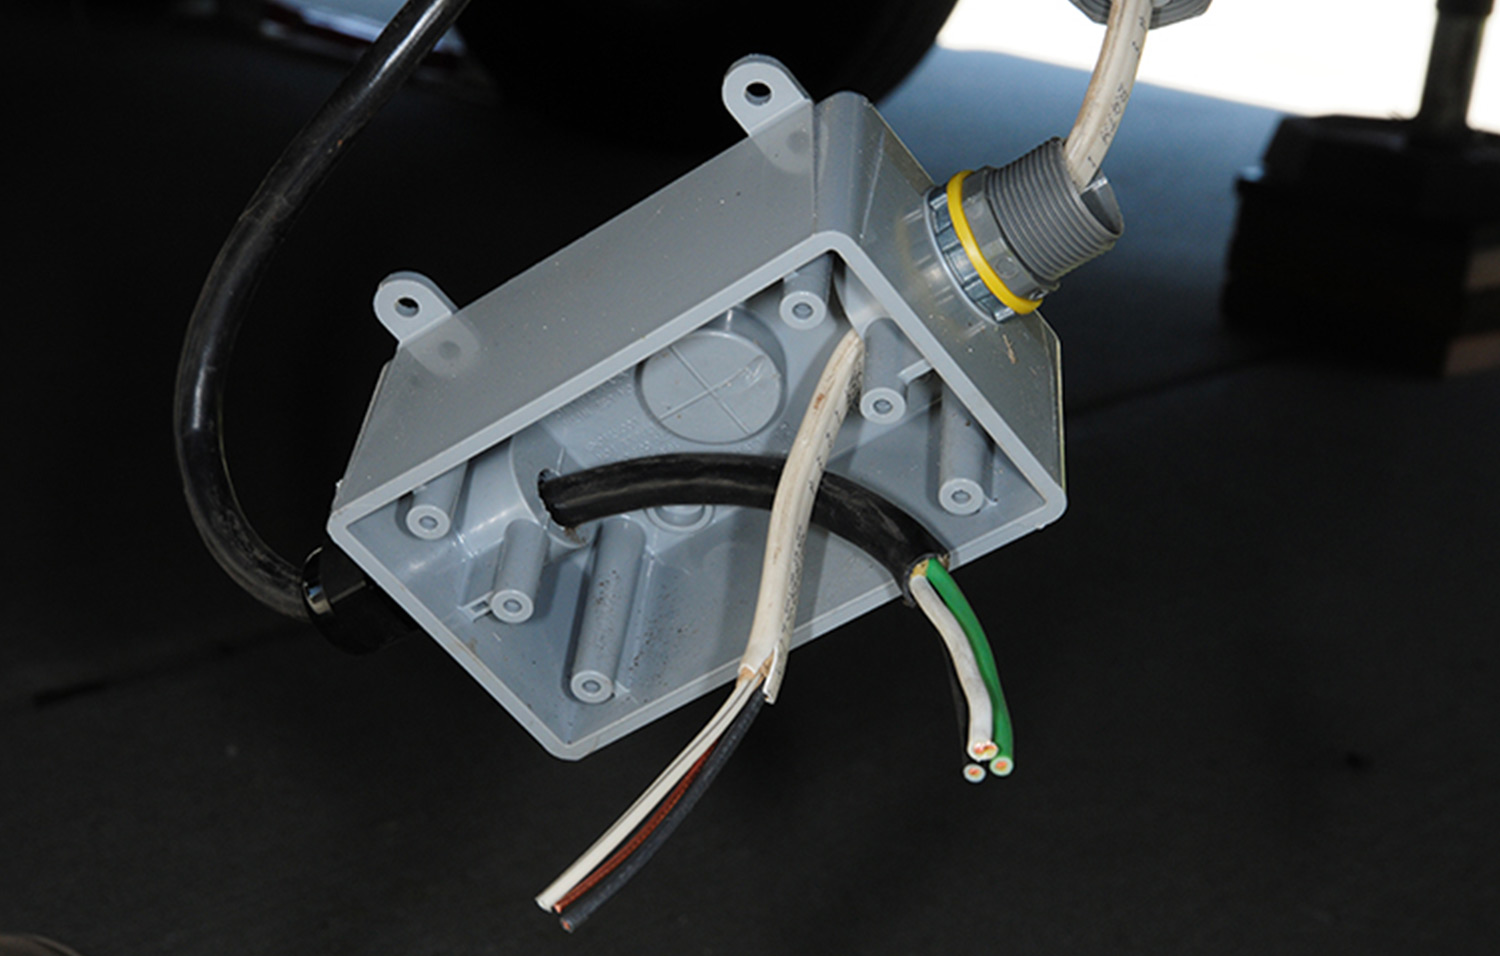
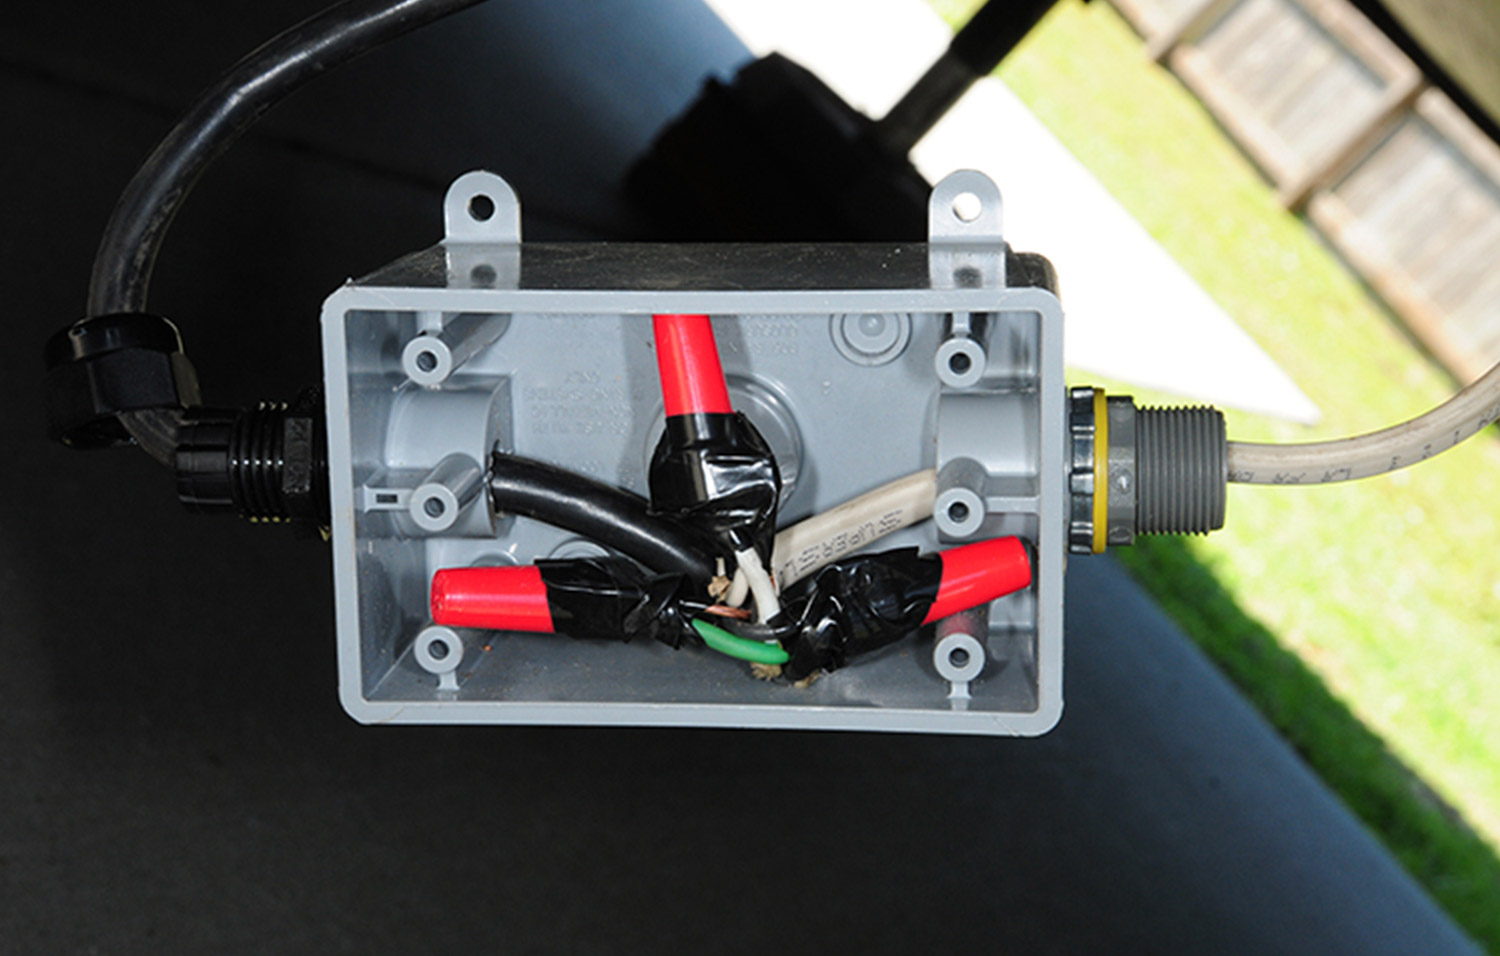
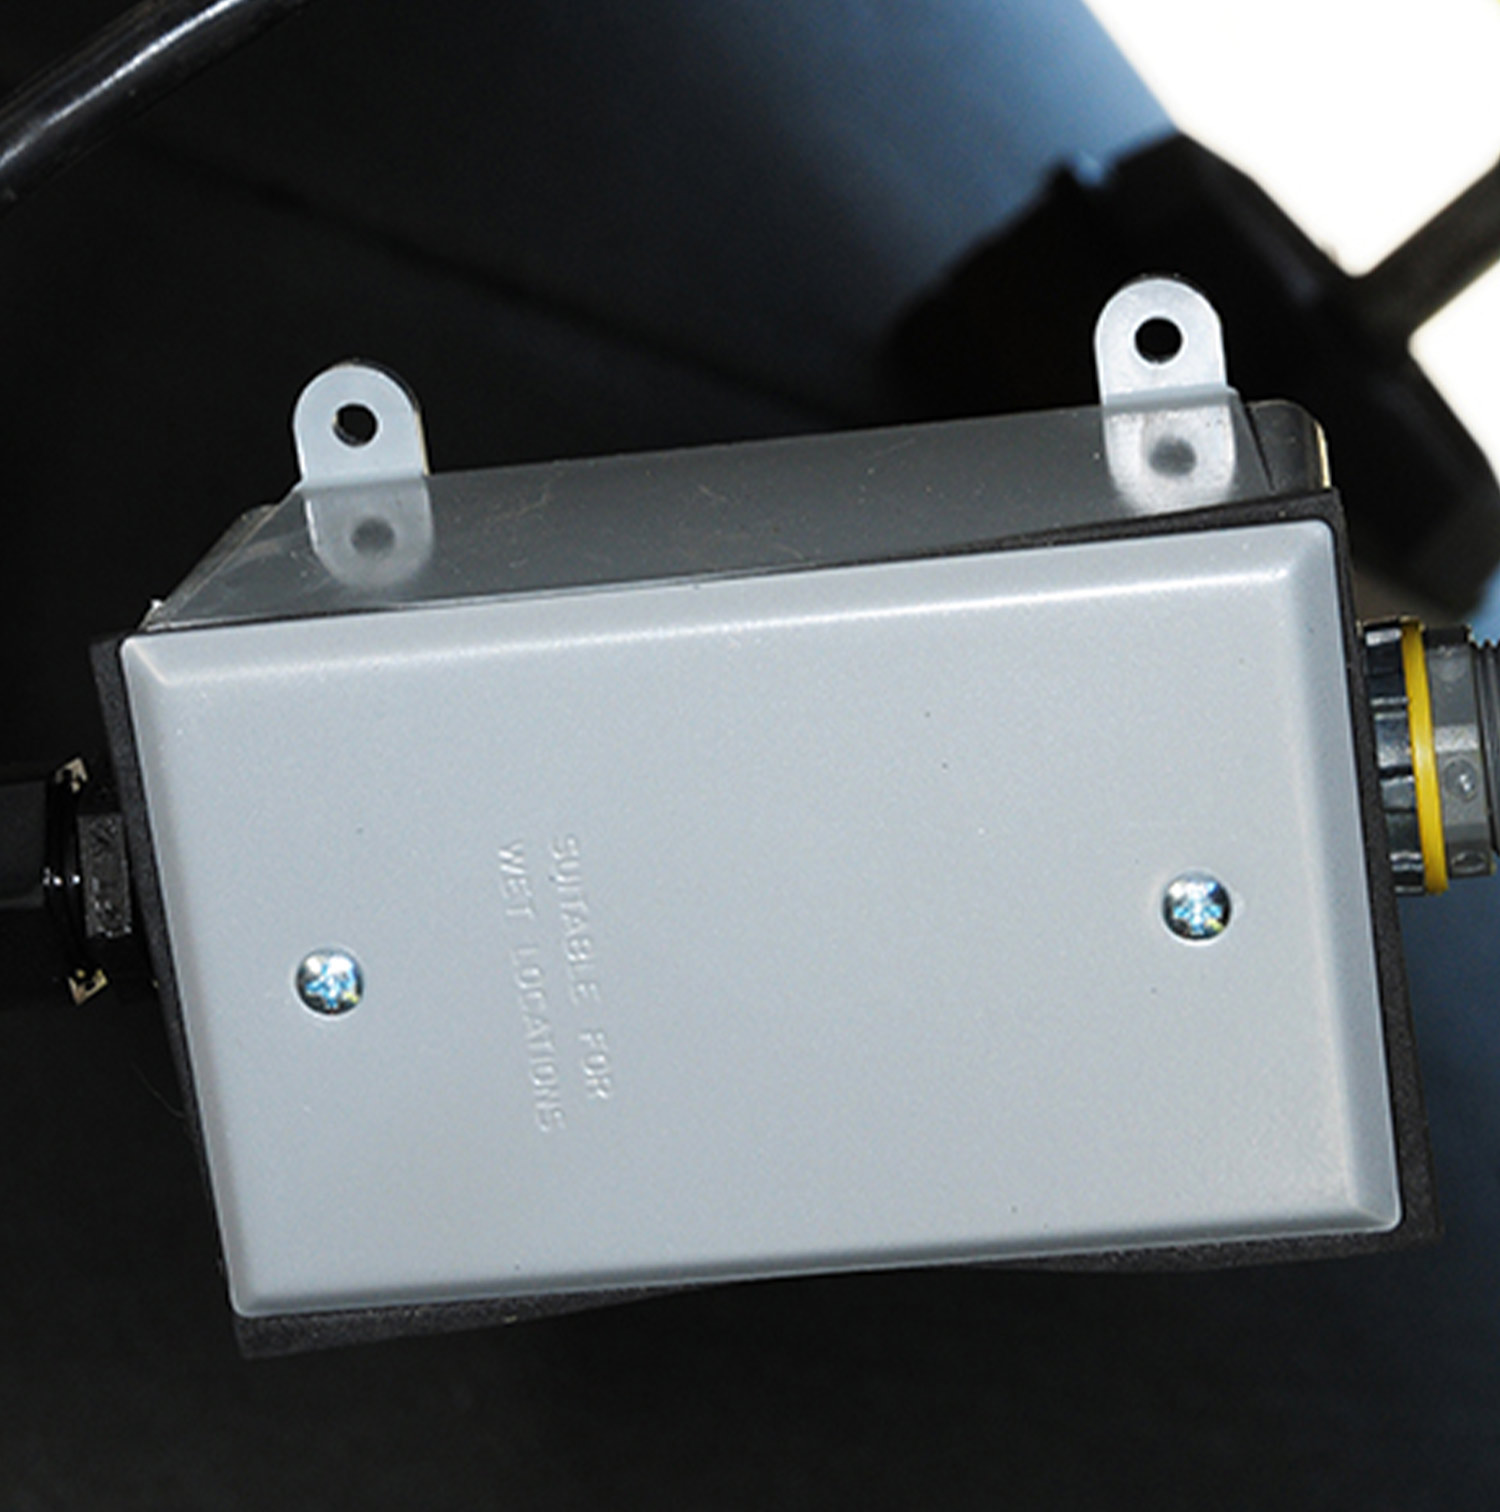
Granted, it will now take a little longer to disconnect the wiring inside the new junction box should it be necessary to remove the slideout or work on the circuit, but the chances of that are slim — and the wiring is better protected. Once everything was tucked in place, the fifth wheel was connected to the hookup power, the breaker was flipped back on — and we were back in business.

