Replacing the cooling unit will usually save $600-$700 versus buying a new refrigerator.
A few months ago we purchased a 2019 Winnebago Micro Lite trailer. We were unable to use it right away, so it was stored for a little while. When we got ready to go on a trip, the electric mode on the refrigerator did not function. Somebody told us to try it on gas to determine whether there was something wrong with the electric side — and, of course, the gas function did not work either. We talked to a local RV technician, who said that more than likely the cooling unit had failed, which seems unusual for a 3-year-old RV. He gave us a price for a new refrigerator, which seemed awful high for such a small refrigerator. We love the trailer, but we really can’t afford $2,000 for a small refrigerator and we were hoping maybe you had some sort of a solution.
— PJ Wilson
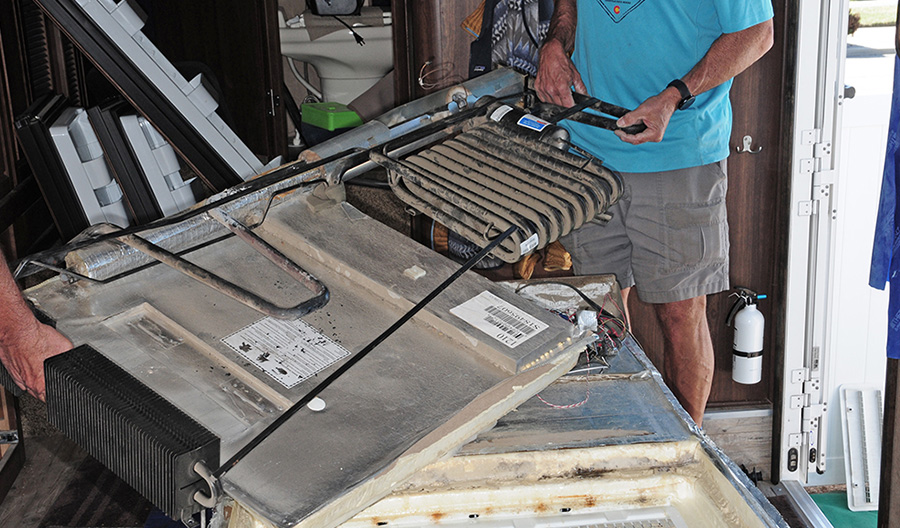
It’s unfortunate that the cooling unit failed. I concur with the technician, since the refrigerator should have worked on one mode or the other. If you want to verify your technician’s diagnosis, set the refrigerator to the electric mode and let it run for several hours and then remove the back access panel. To the right of the refrigerator, you’ll see an insulated round, metal, vertical section that contains the boiler and to the left of that you’ll see the black pipes and coils. The insulated tin section should be rather hot to the touch — be careful that you don’t burn your fingers as it could be very hot. If the refrigerator is level, on electric and the box does not cool, the cooling unit is definitely defective.
The option is to replace the cooling unit, which will probably be $600 or $700 less than a new refrigerator. The job is not that difficult on such a small refrigerator, but you should have a technician install the new cooling unit unless you have done it before or are fairly well-experienced in making RV appliance repairs — it can be very tricky to get the thermal mastic in the proper location and seal the foam section of the refrigerator where the coolant unit drops in.
A refrigerator that has failed within three years is fairly unusual; most likely somebody ran it off level for a long period of time, which can cause the cooling unit to fail. Once you get it repaired or replaced, make sure that your RV is always close to level when operating the refrigerator.

I have 1999 Holiday Rambler motorhome and the toilet will not hold water anymore. It’s leaking somewhere in the back of the toilet and getting the carpet wet. It’s mounted close to the back wall — and there’s not much room on the side walls, either — so I can’t quite see what’s happening with the leak in the back. My guess is that maybe the water line connection to the toilet may be leaking, but I’m not sure it’s coming from the toilet itself.
I want to replace the toilet; I looked online but was unable to find a low-profile Thetford Aqua Magic toilet anywhere. It looks like I may have to upgrade to a different type of toilet. I really don’t want to spend a lot of money since I’m getting ready to trade for another motorhome. Any suggestions?
— Mike Garcia
Mike, I think you’re going to have to spend the money at this point. I would definitely replace the toilet, given its age and the fact that it’s not holding water. To fix the leak, most likely you will have to replace the mechanism assembly, which is still available but not much cheaper than a whole toilet. If your toilet doesn’t look that great and you’re going to trade the motorhome, I would replace it.
The replacement toilet for Aqua Magic is a Thetford Aqua-Magic Bravura; the company switched to this model a long time ago. However, the bolt pattern for mounting the toilet is different. The bolt pattern on your current toilet is at 5 and 11 o’clock and it was not a very popular model to work on among RV mechanics because it was nearly impossible to remove the back bolt. Fortunately, the flange has multiple mounting positions, allowing the new toilet to be a bolt-in model.
To remove the toilet, first push down on the pedal and, with a flashlight, look into the cavity for the front bolt. You will need a ½-inch wrench to loosen the bolt, after which you should be able to remove it with your fingers. To find the back bolt, lift both the lid and the toilet seat and you’ll see a round plug, which needs to be removed. If you look in there at an angle you will see a bolt and nut, which you probably won’t be able to reach from the back. I use a long ¼-inch extension with a swivel and a ½-inch socket — and I tape the socket and swivel to the extension so that it doesn’t fall off inside the toilet.
As I intimated earlier, when installing the Bravura you will see that it has multiple possibilities for several different bolt patterns. Just use the holes that line up with the bolts on the holding-tank flange from the old toilet. The Bravura will have a new flange seal and bolts, which you will need to use.
The water lines are a little difficult to get to and there are many configurations, so be prepared to modify the line to reach the connection point for the new model toilet (which has the water connection in a completely different location). I think you’ll like the new toilet — especially the flush system, which is fantastic.

The last time I stepped into the shower stall in my fifth wheel, I was greeted by a bunch of black bugs that were flying around the drain. Obviously, I was surprised that anything could live down there, so I didn’t think much of the situation and tried to wash them back down the drain. The next day, the bugs were back. Now I’m confused.
— Cynthia McAdams
The bugs usually originate in the sewer and work their way up the sewer hose, into the holding tank and then the drainpipe. It’s not a very pleasant experience and if you do nothing, they will be there until you leave the site. It’s possible to have the same experience in another RV park, but those who stay put — and hooked up — for longer periods of time usually are the people who have this problem. I see this more often in snowbird regions where the weather is warmer.
Many owners leave their gray water valve(s) open and only close them when dumping the black tank, and that’s the rub. If the sewer hose is propped up on a support system that keeps the hose drained, the bugs will work their way through the empty hose and into the holding tank. It’s best to keep all the holding tanks closed until it’s time to dump the tanks, but if you insist on keeping the valves for the gray tank(s) open, then leave the hose on the ground; the elevation caused by the adapter at the sewer outlet will create a water barrier in the hose and prevent the bugs from finding refuge.
Some locales, however, prohibit the hose from touching the ground. If that’s the case, prop the hose up on the support system and keep the valves closed.
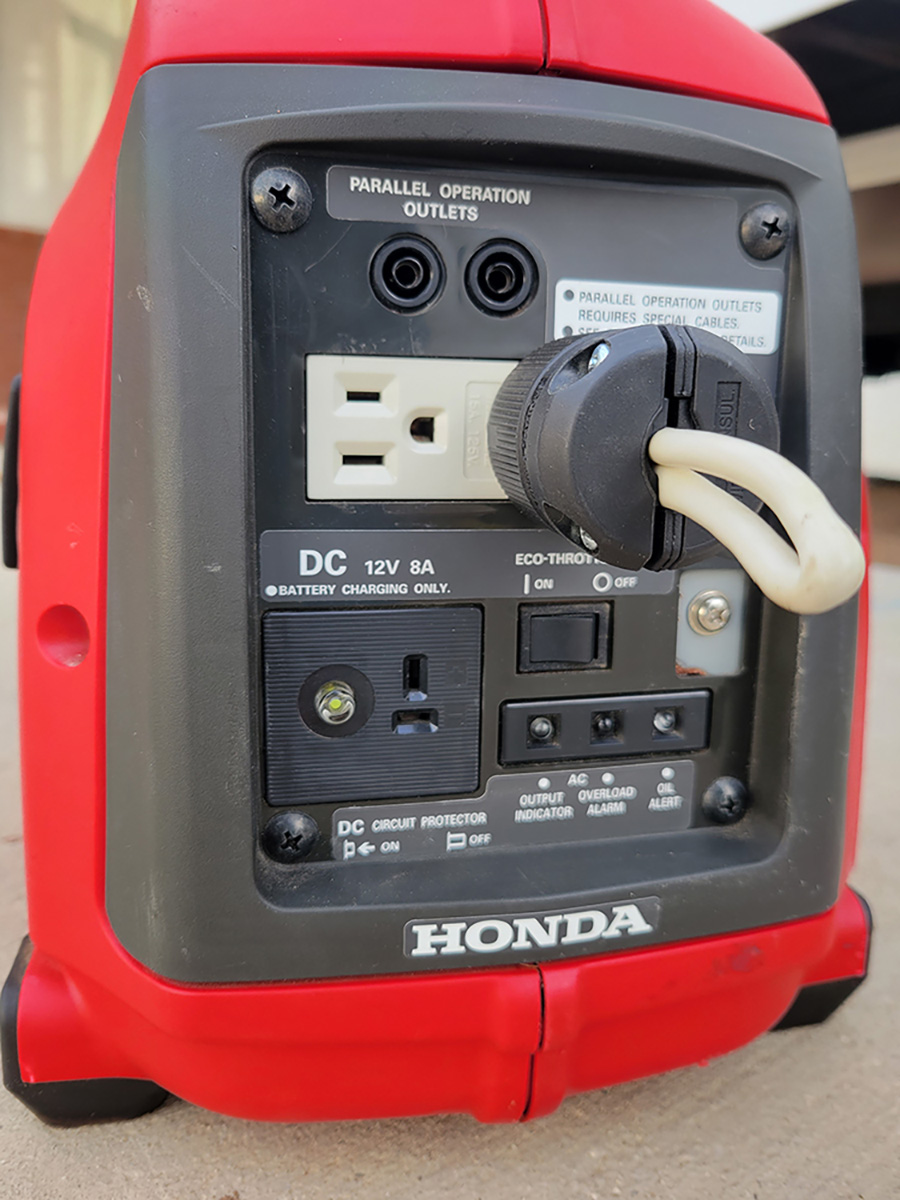
Bill, a few months ago we bought a brand new 2022 Airstream trailer. Our first trip was at the beach in Ventura, California, where we were looking forward to a relaxing weekend. We brought our 2,000-watt Honda generator with us to charge the batteries and maybe watch a little bit of TV at night. When I started the generator and plugged in the power cord, there was no power inside the trailer.
I talked to a couple of the neighbors who had their generator running but they didn’t know anything about the generator or how it works, so they had no solution. I plugged a hair dryer directly into the generator and it worked fine. It doesn’t make any sense, so I’m hoping you can shed light on this problem?
— Randy Hansen
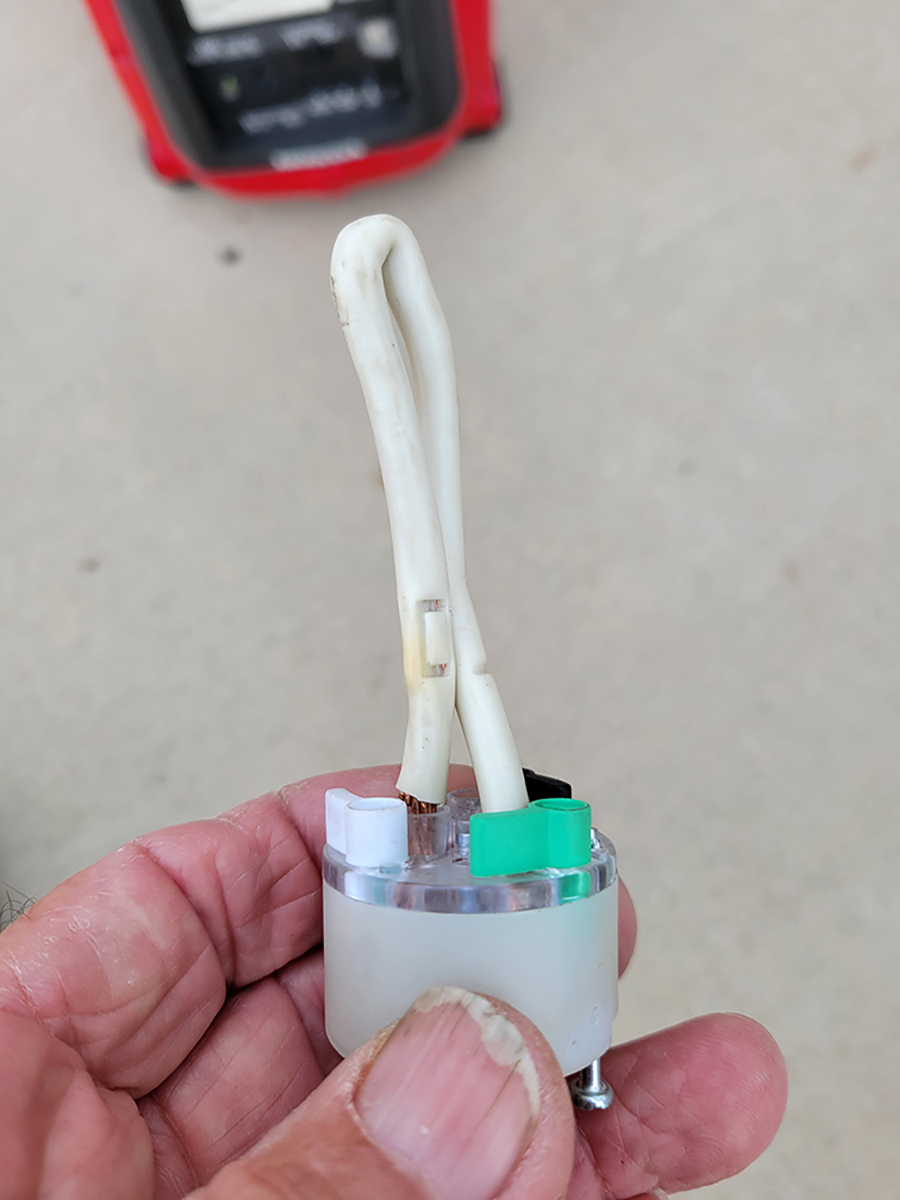
Randy, you didn’t mention whether you had an electrical management system (EMS) as part of the trailer’s power grid or whether you’re using a surge protector on your power cord. Either way, the solution is to get a standard three-prong replacement plug and install a jumper wire between the white common post and the ground. Once the wiring is complete, simply plug it into the adjacent receptacle in the generator, leaving the other one available for your power cable.
What’s happening is the generator does not recognize the electrical system in the Airstream because of the way the factory wired the common wires and the ground system in the distribution center. I have an EMS in my fifth wheel and a Honda generator, so I know exactly what’s going on. Once I configured jumper plug, the issue went away.
Bill Gehr
Are you stymied by a technical problem with your RV? Write to RV Enthusiast Technical Director Bill Gehr at bgehr@rvemediagroup.com. Bill will answer inquiries as space permits.