I’m getting a little frustrated. Do you have any ideas?
—Dennis Santino
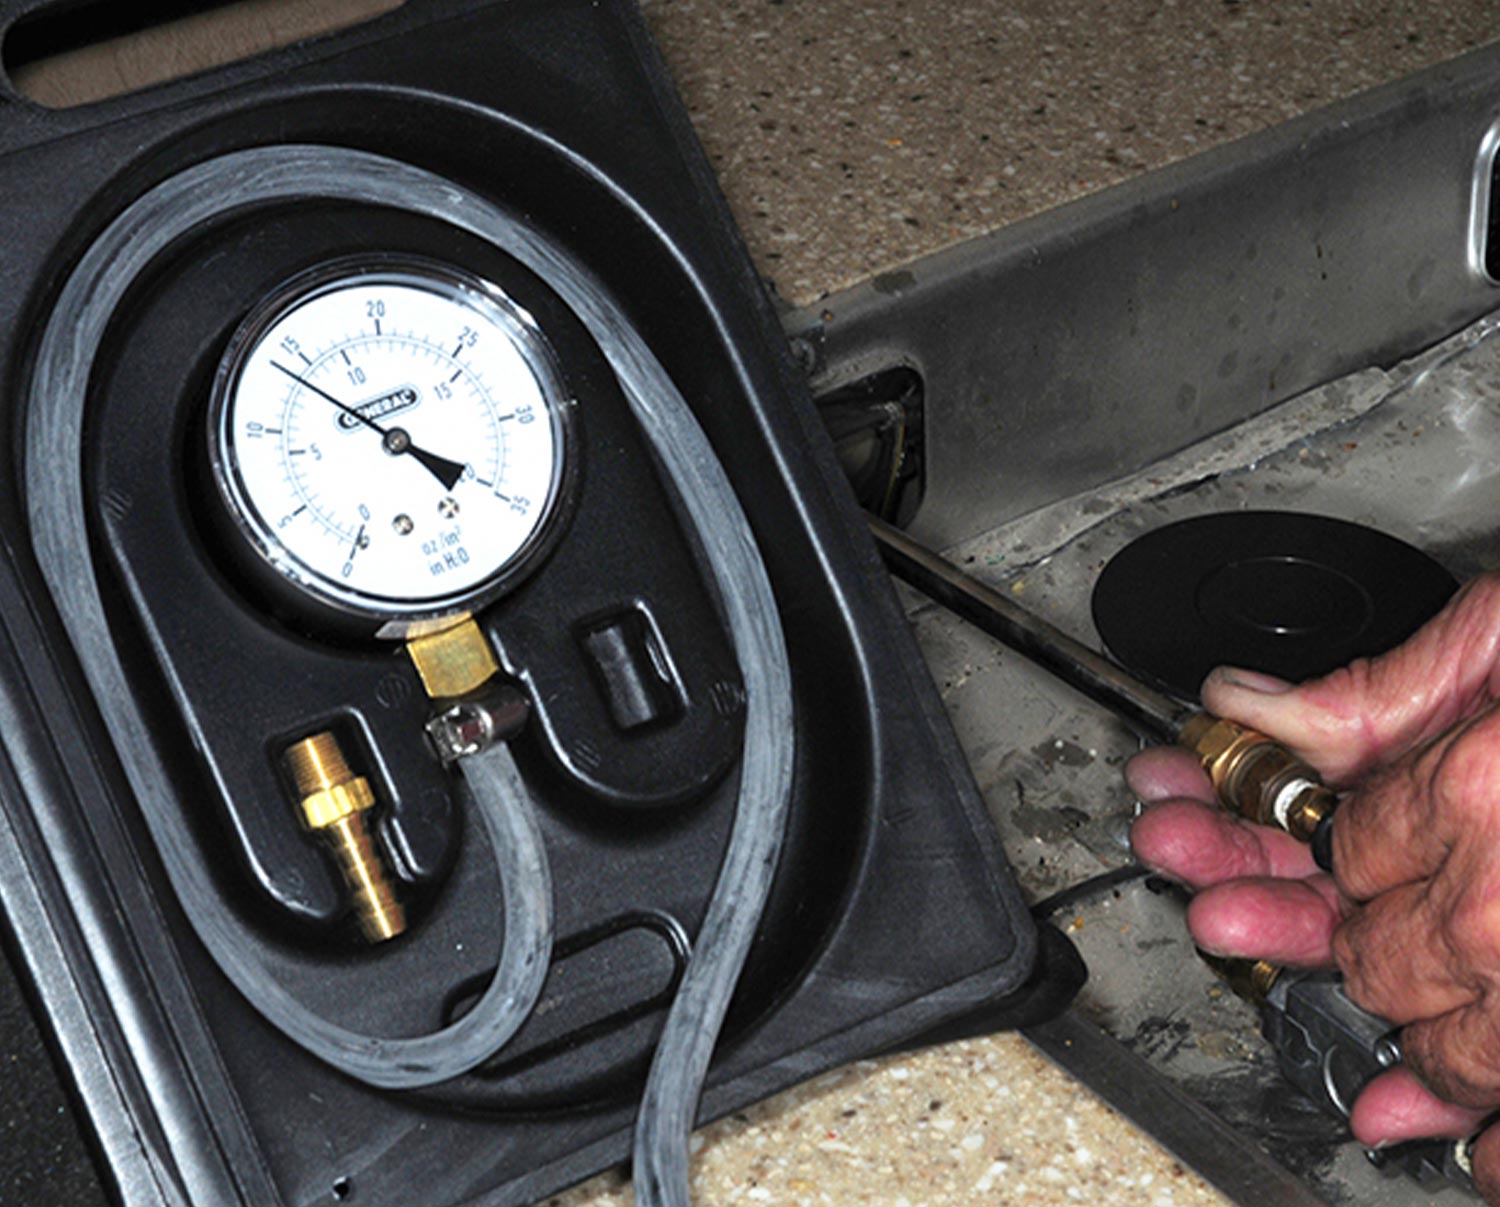
Dennis, electronic-controlled furnaces can be cantankerous at times — and because there are so many pieces that come into play for the ignition cycle, it gets to be a challenge when bench testing. If the furnace works when they bench-tested it, there’s no way of fixing something that’s “not broken.” With that in mind, there are several things that need to be checked first — and most important is the gas pressure to determine if the regulator is up to par.
Next, it’s important to confirm that 12-volt DC power is consistent with the furnace specifications; it needs to be at least 11 volts DC for the circuit board to function correctly. If everything checks out OK at this point, I would replace the sail switch and the limit switch, which are usually the main problem areas that prevent proper operation of the furnace.

—Alex Trujillo
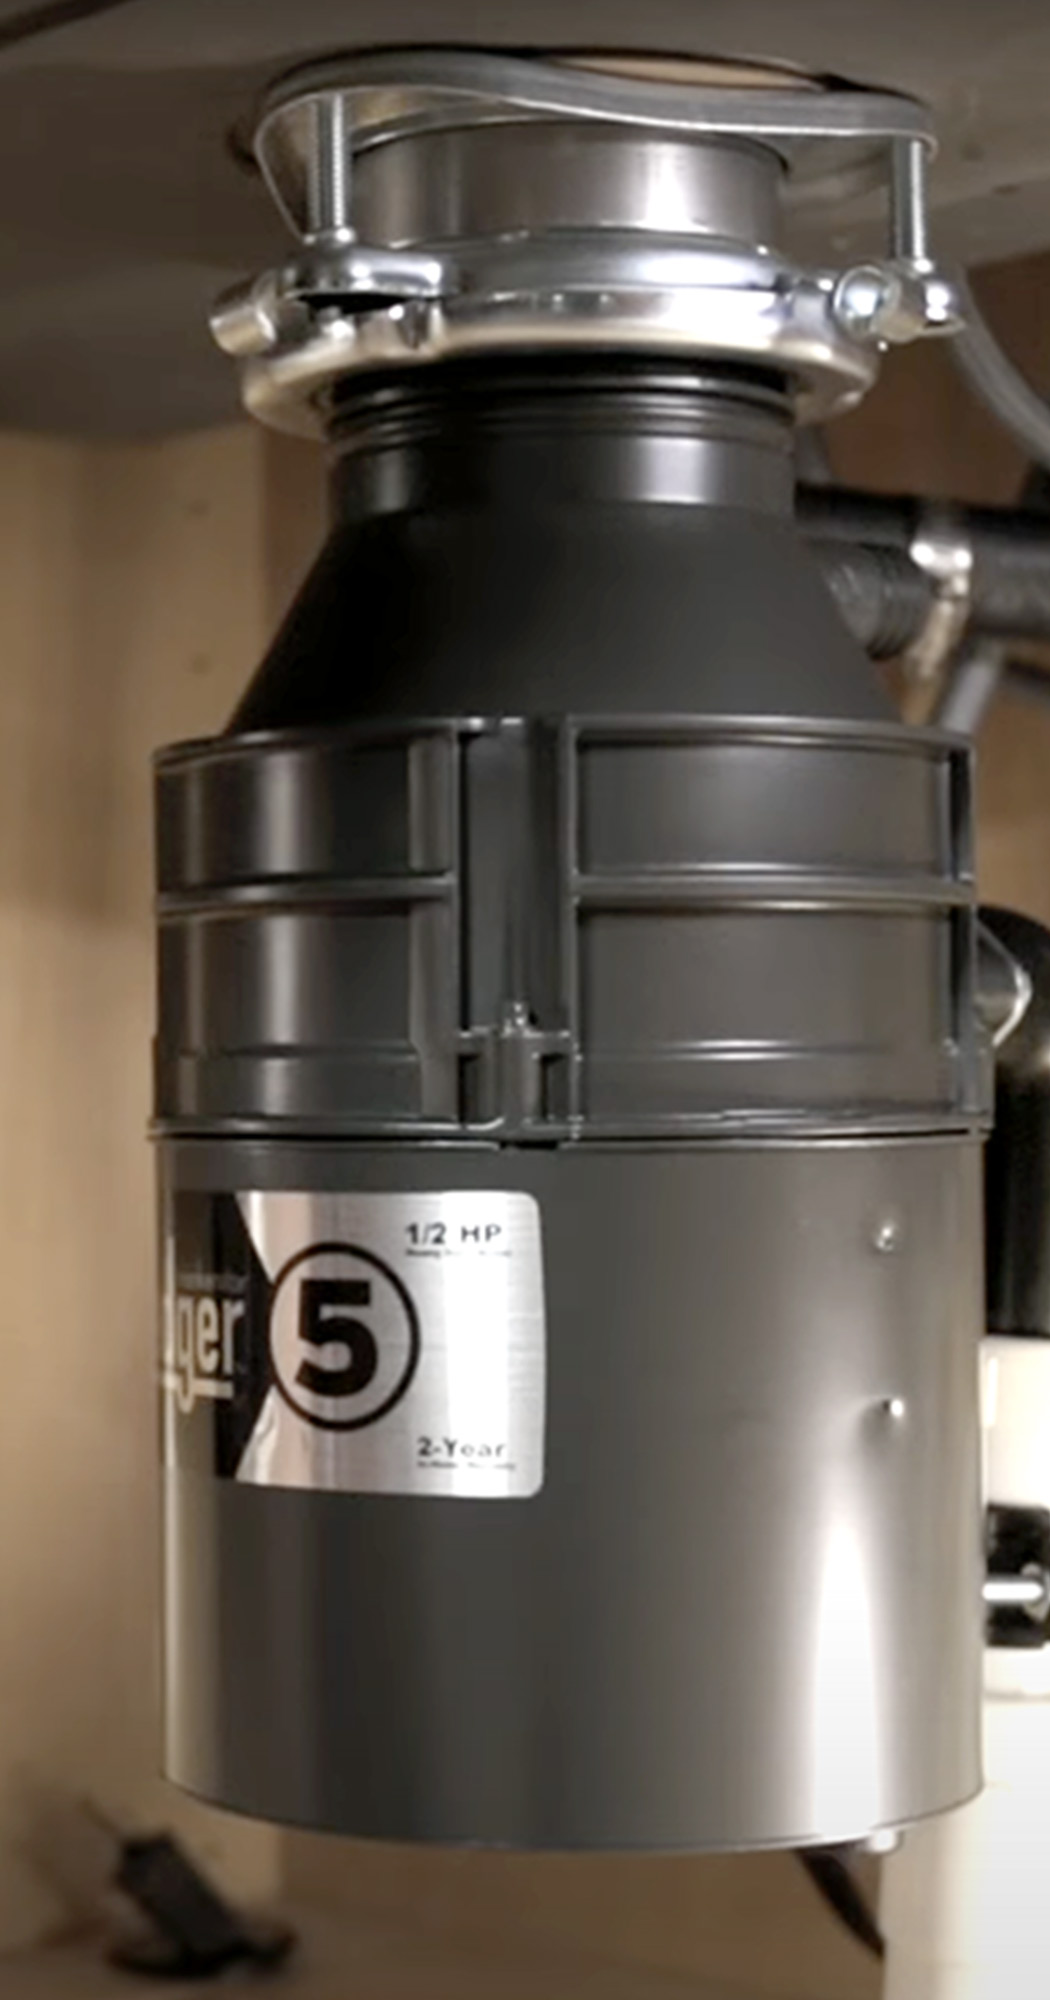
Alex, you’re actually not the first person that’s asked me about a garbage disposal — and, of course, the answer is “no.” In fact, one thing that you and your wife will need to learn is how to wash the pots, pans and dishes properly to prevent clogging of the plumbing (and the eventual drain stink that goes along with less-than-adequate cleaning procedures).
Simply put, make sure you wipe off any loose food from the cookware, plates, bowls and utensils before you wash them in the sink and rinse off the soapy water. You don’t want food particles and grease to be washed into the holding tank.
That being the case, there are several issues with having a garbage disposal — one of the worst being the amount of waste that goes down into the gray tank. This is destined to create a major clog in the holding tank — especially if the valve is left open, which is what many people do. And failing to thoroughly flush the holding tank will also lead to nasty odors. Of course, this is probably a moot point since there is probably not enough room to install a garbage disposal under the sink. Hope this gets you off the hook.

—Dean Walker
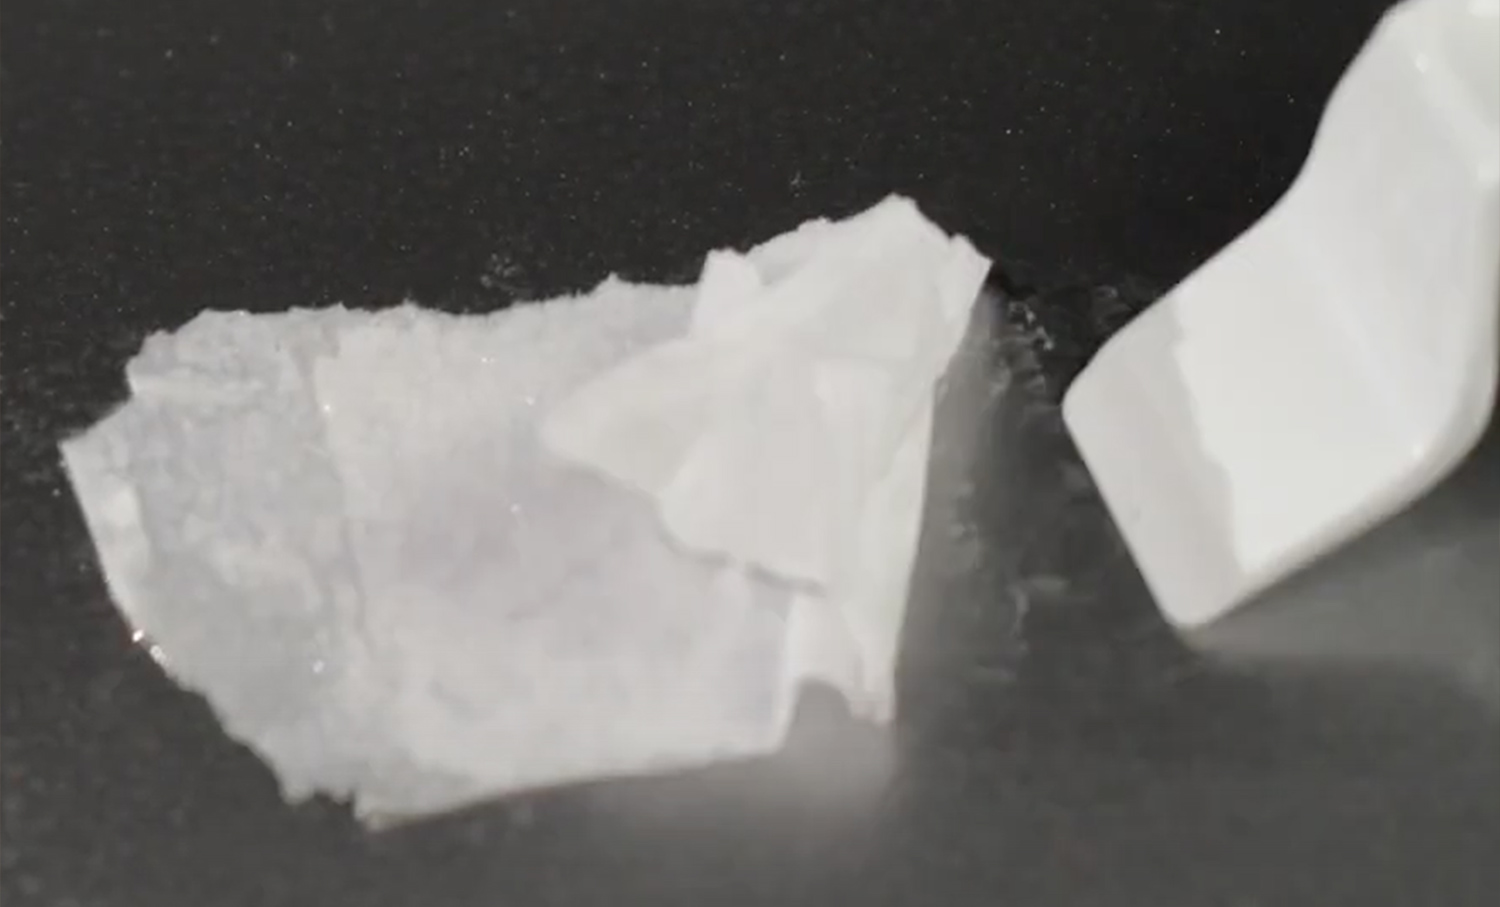
You do have a nasty job on your hands — especially if the sun has baked them on over several years, which really makes them difficult to get off. It’s not impossible, mind you, just very difficult. You can try one of the vinyl adhesive removers on the market, but they’re not always effective when dealing with baked-on vinyl.
What can you do? Purchase some plastic razor blade scrapers, which look like real razor blades but won’t scratch the fiberglass siding; a good plastic knife will also work. Don’t try to remove the stickers before softening the material. For this process you can soak them by holding an alcohol-saturated rag against the sticker long enough to soften the surface, which should make it possible to remove most of the material (leaving only the glue on the exterior surface to deal with). You can also try WD-40, but in either case, it takes more effort — and patience — to soften stickers while holding a saturated rag on a vertical surface.
Another method for softening stickers is to use a hair dryer, but be careful: you don’t want to get too close and burn or bubble the siding. Once you’ve gotten the sticker scraped off, you can use a commercial glue remover like Goo Gone (available online and at home improvement stores) but I like to use odorless mineral spirits, which is similar to paint thinner but without the odor. Always test a small, inconspicuous spot before diving in. Mineral spirits seem to be very effective for removing glue and tape residues.
After you’ve finally removed all the stickers you will most likely need to buff out the surface (use an orbital buffer) using compound to “cut” through the shadows left behind. Make sure you use a fine compound and don’t bear down on the surface with the buffing pad.
Yes, it’s going to take some time and elbow grease; however, it should be worth the effort.

—Sarah Dixon
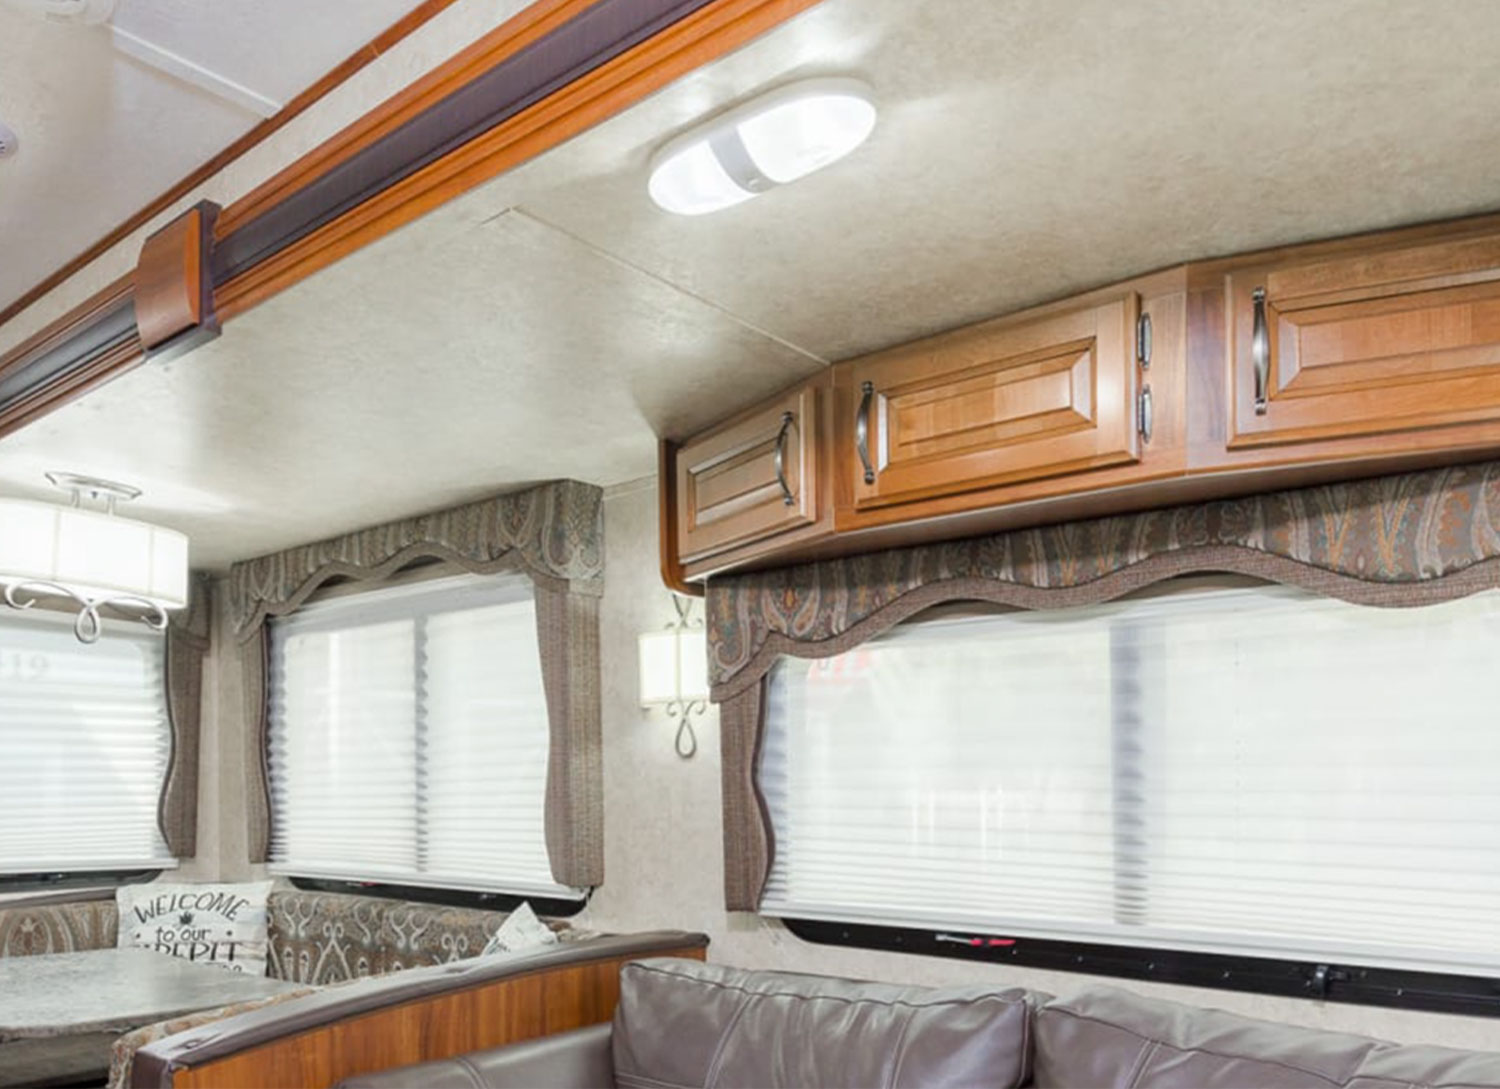
Sarah, this is a great question. You don’t often see window valances upgraded in RVs, but it can absolutely be done. Usually, if you look up between the blind and the valance, you can see that they’re held in place with just a few screws and are actually very easy to get down. After the valances are removed, you’ll see about a “thousand staples” holding the fabric and other pieces into place (okay, I’m just kidding — but it’s amazing how many staples are used in a typical RV). Then, too, sometimes there’s fabric with vinyl pieces to give it some pizzazz.
If you want to try doing this process yourself, it’s really not that difficult. Experiment with one of the valances that’s less predominant. Take it down and remove all the staples and added pieces and lay everything out on a table so that you can cut new fabric to match and re-staple them if the fabric was installed over thin foam rubber to give it some bulk. Sometimes there are two or three pieces to the valance that will come off separately and can be redone. Again, don’t be afraid to experiment and add some curves here or there or some longer side pieces. Just be careful not to destroy the original valance.
With a little creativity you can bring a new look to your RV’s interior fairly inexpensively — and be proud you did it yourself.

