e it motorhome, trailer or truck camper, an RV is comprised of many different parts. To the naked eye, nowhere is this more evident than the exterior. The roof, front and rear caps and the exterior walls — not to mention windows and vents — are all individual components on most units, carefully fitted and joined with rubber, caulks, and sealants. If all goes well, the RV in question should remain leak free for many years.
In the event of a defect or deferred maintenance, however, leaks can occur — and the worst part about that is, they may be too small to notice until it’s too late. Water creeping into the membrane on a rubber roof can cause dry rot to the wood underneath, while a constant drip into a wall can cause delamination. None of these problems are easy or cheap to fix, but the good news is, you can prevent them with a little maintenance and fix many small leaks yourself. We’ll outline the procedures to help guard your investment against the elements and, while we’re at it, present a few ways to seal leaky doors and windows from both water and drafts.
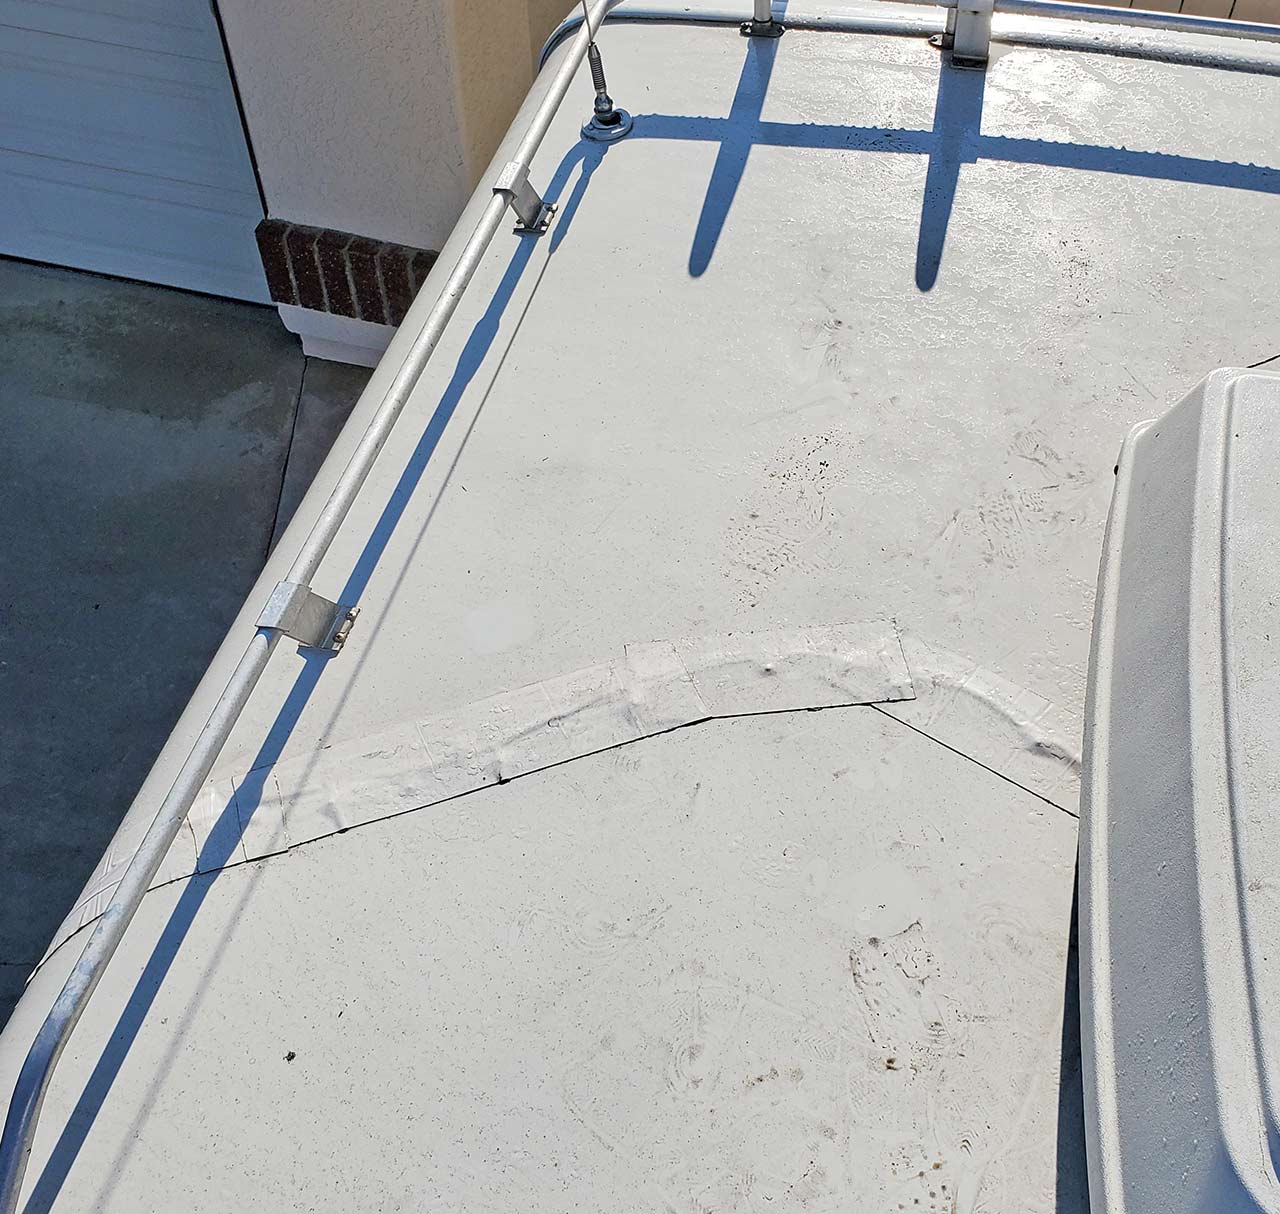
By far the most common RV roofing material is EPDM, as it generally does a good job of keeping out the weather and is relatively inexpensive from a manufacturing standpoint. When correctly installed at the factory, an EPDM roof can last 10-12 years (depending on whether the RV is stored indoors or outdoors, environment, maintenance, etc.). EPDM is a rubber membrane that is rolled onto the RV’s structural deck (typically comprised of plywood, particle board or luaun) and glued into place.
EPDM roofs consist of a black (bottom) layer and white (top) layer and must be regularly cleaned and treated with a protectant product to prevent the rubber from breaking down prematurely. EPDM roofs are most often associated with the dreaded “black streaks” that can run down the sidewalls. In truth, any RV roof type is prone to these if the roof isn’t properly maintained, but the deteriorating EPDM roof, with its black bottom, can make things worse.
TPO and PVC roofs are the latest additions to the RV industry and are used in a similar manner to EPDM. When most of us think of plastic, we imagine something bendable, yet firm, like a milk jug. But TPO is actually very pliable, which is why it is a viable choice for a roofing material. There are even TPO membranes, like Dicor Product’s DiFlex II TPO roofing, that are extremely flexible and as supple as most EPDM membranes, according to the company. (It should know, it makes both).
The key difference is that TPO is a type of plastic, which as we all know, takes a very long time to break down and does not require as much maintenance as EPDM. It’s also less prone to cracking and is not affected by environmental contaminants.
PVC, another membrane type, is thicker than most TPO products and has up to a 20-year warranty.
A fiberglass roof may be applied as a separate component, such as a one-piece fiberglass roof, or it may be integral to the overall structure. There are a few truck campers and travel trailers that use the latter method, where the body is just two pieces of molded fiberglass (upper half and lower half) bonded together. In any case, fiberglass is likely a familiar material to you already, so you probably already know that it’s tough and durable. It still requires maintenance and care when cleaning, however, as it can deteriorate quickly if the protective gelcoat layer (which is what makes fiberglass shiny) is damaged, removed or worn away.
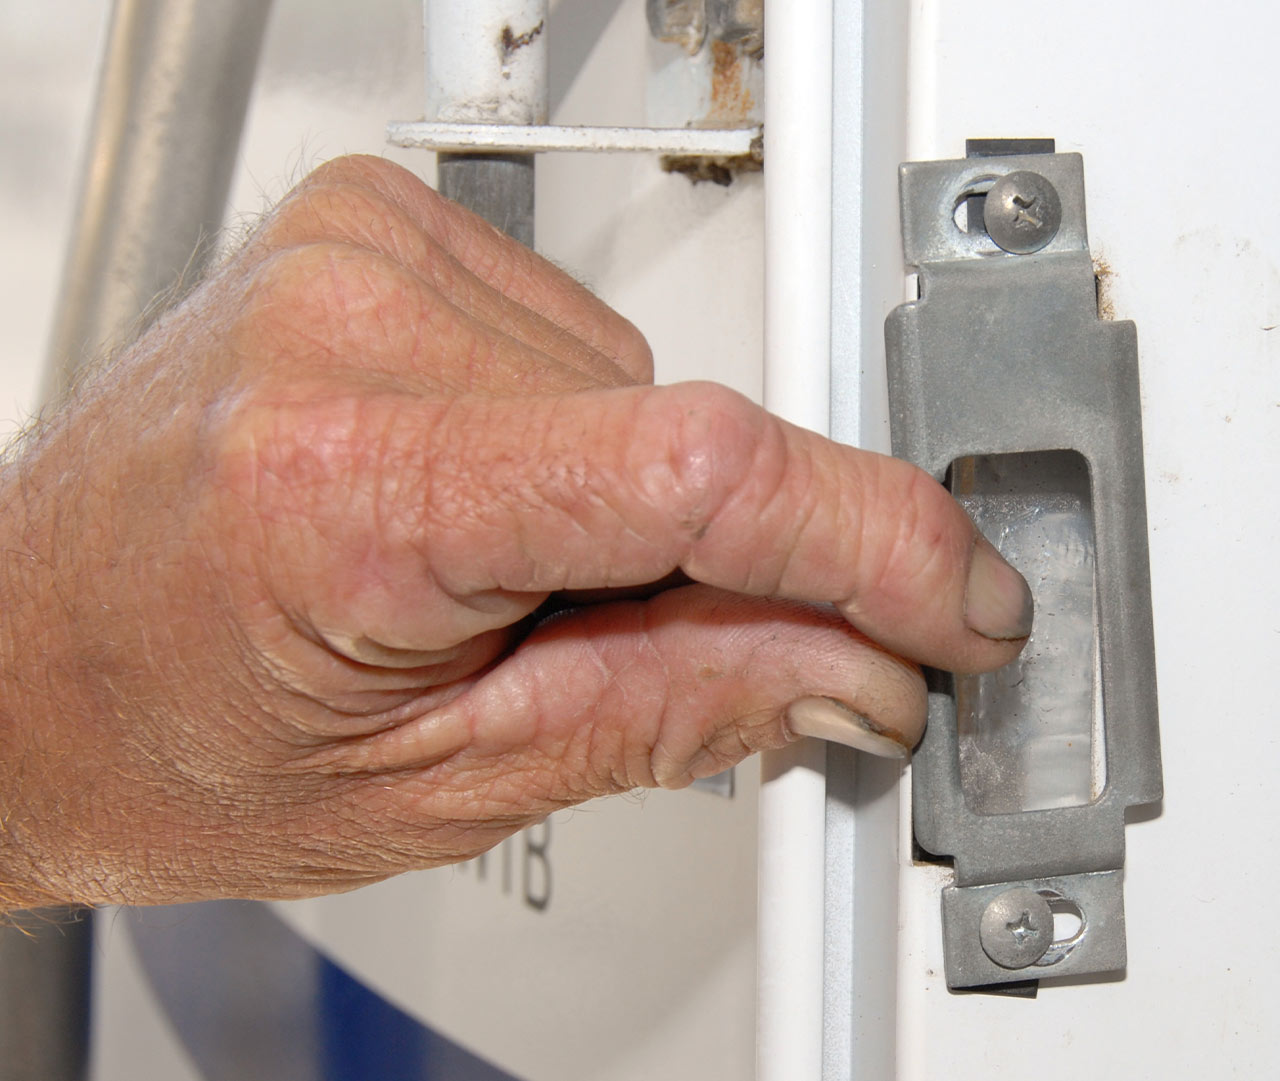
This strike plate is typical of those found on most RVs. Loosening the plate with a screwdriver reveals that the mounting holes are slotted, allowing the plate to be adjusted. If your door is stubborn to close, or doesn’t close tight enough, this simple fix could be all you need.
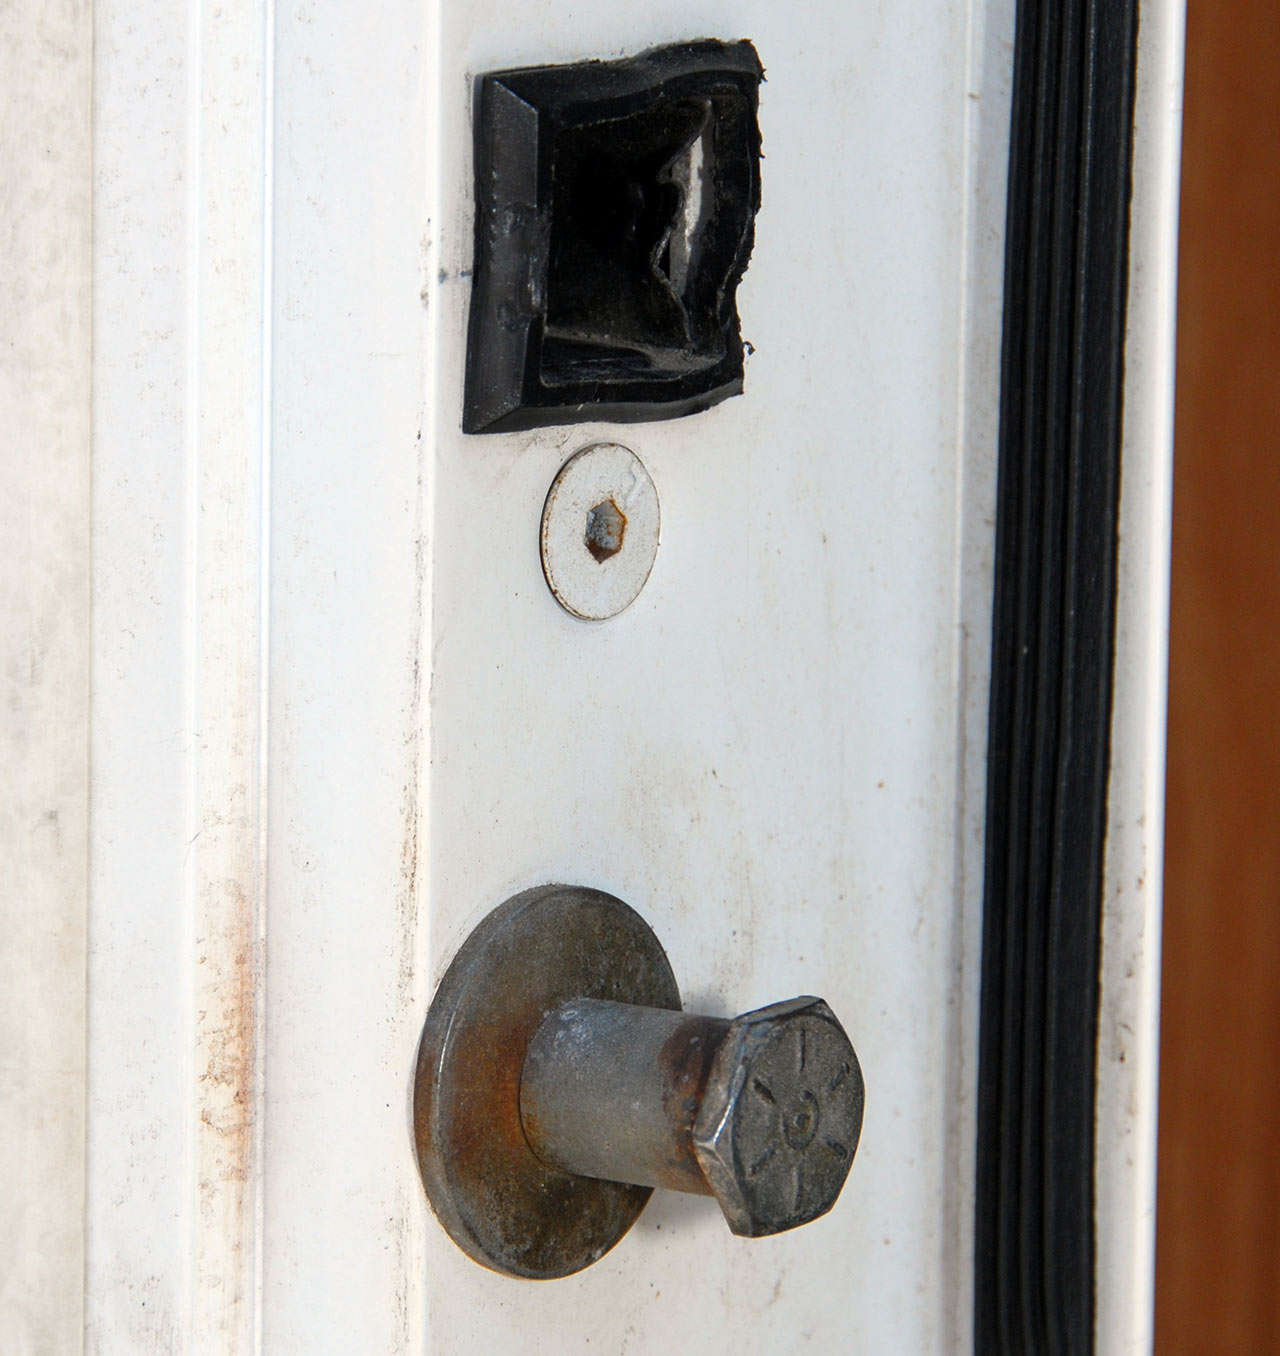
Some RV doorways incorporate a Nader pin instead of a strike plate. To adjust these, simply loosen the pin and turn it one direction or the other.
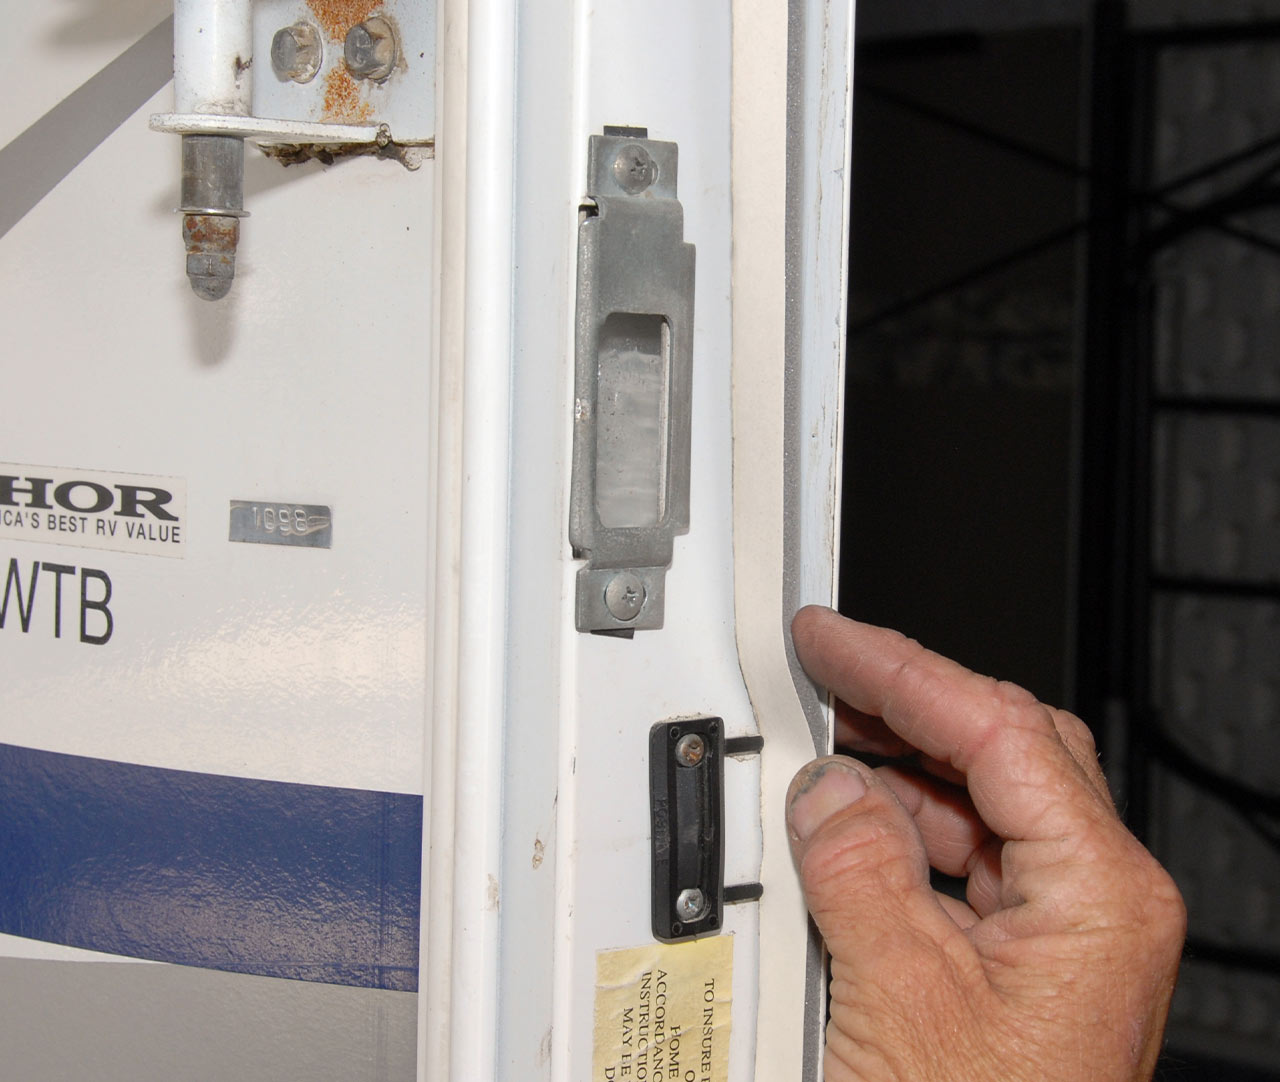
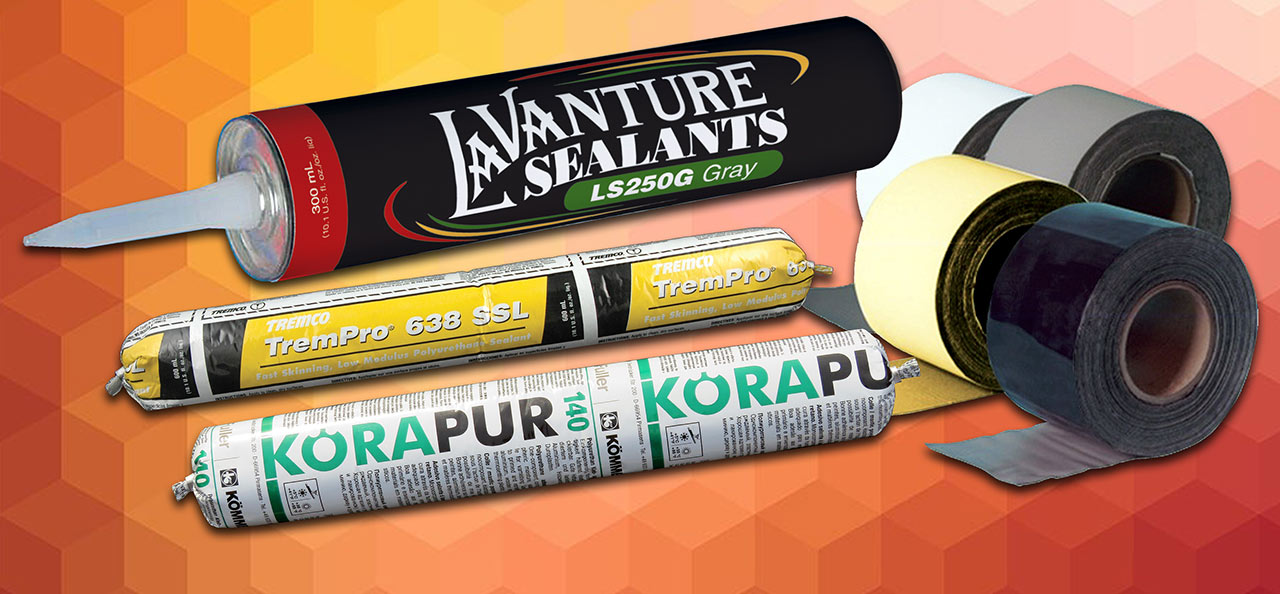
Many RVs use simple foam weatherstripping that can deteriorate and lose its resilience over time. Carefully scrape away the old weatherstripping as well as the old adhesive left behind then apply new foam weatherstripping to the doorway. Adjust the strike plate or Nader pin to achieve a tight, leak-free fit. If your RV has worn or damaged rubber weatherstripping, LaVanture Products can help — it carries a wide range of trims, seals, sealants and foam tapes for the automotive and RV segments.
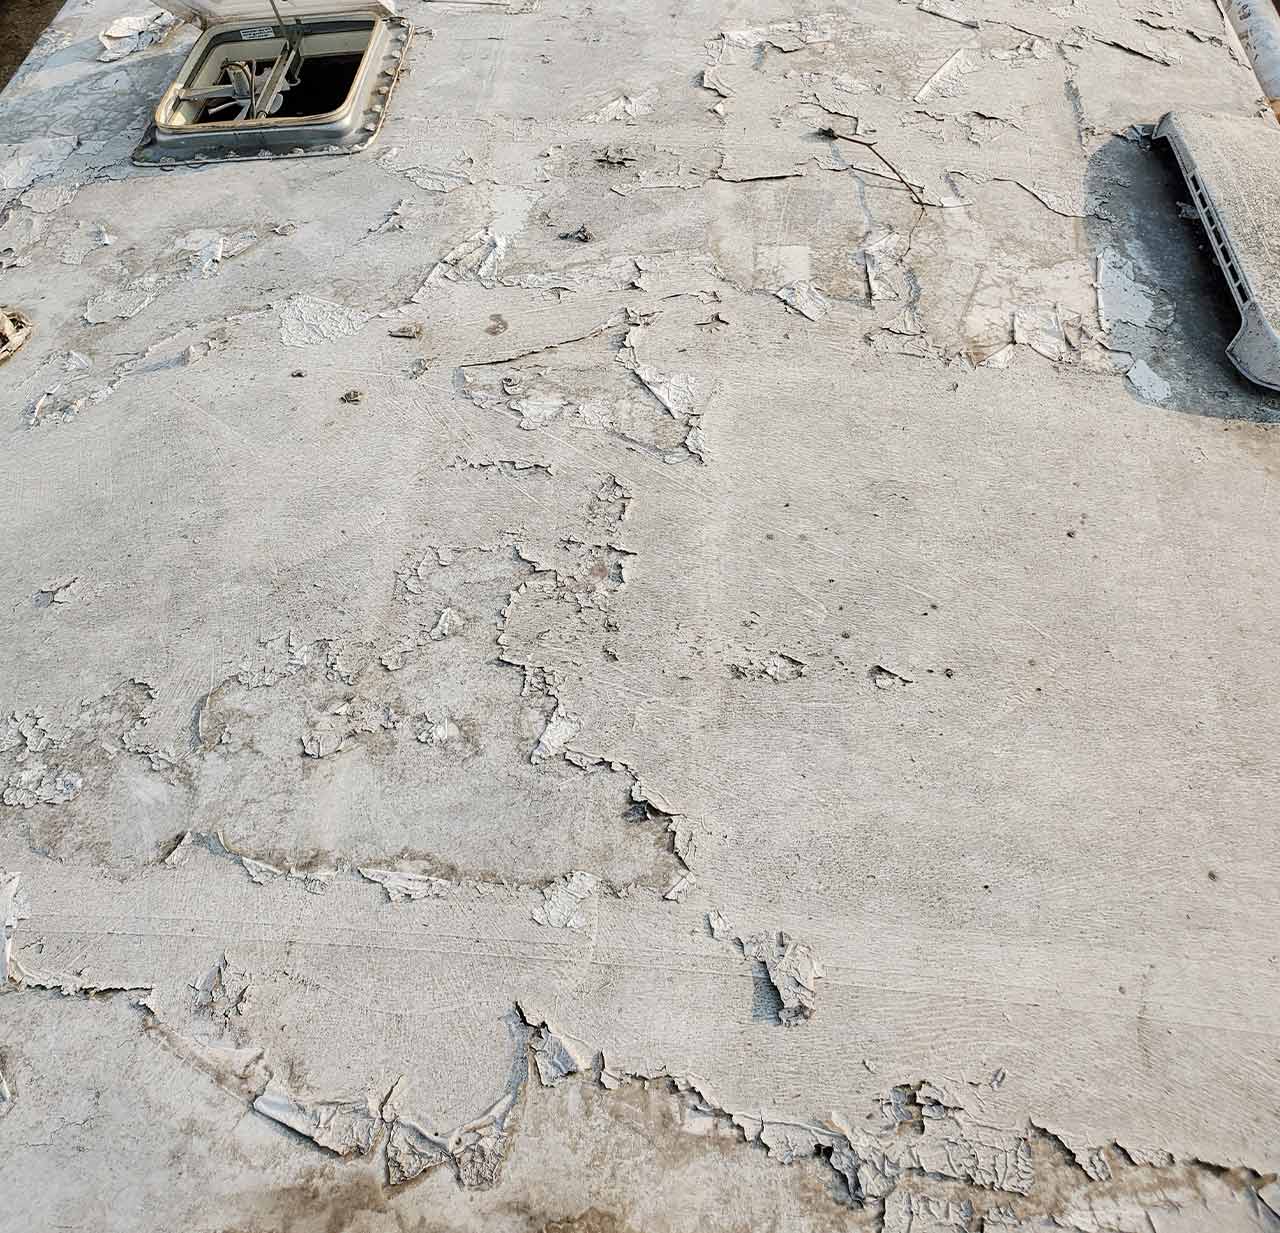
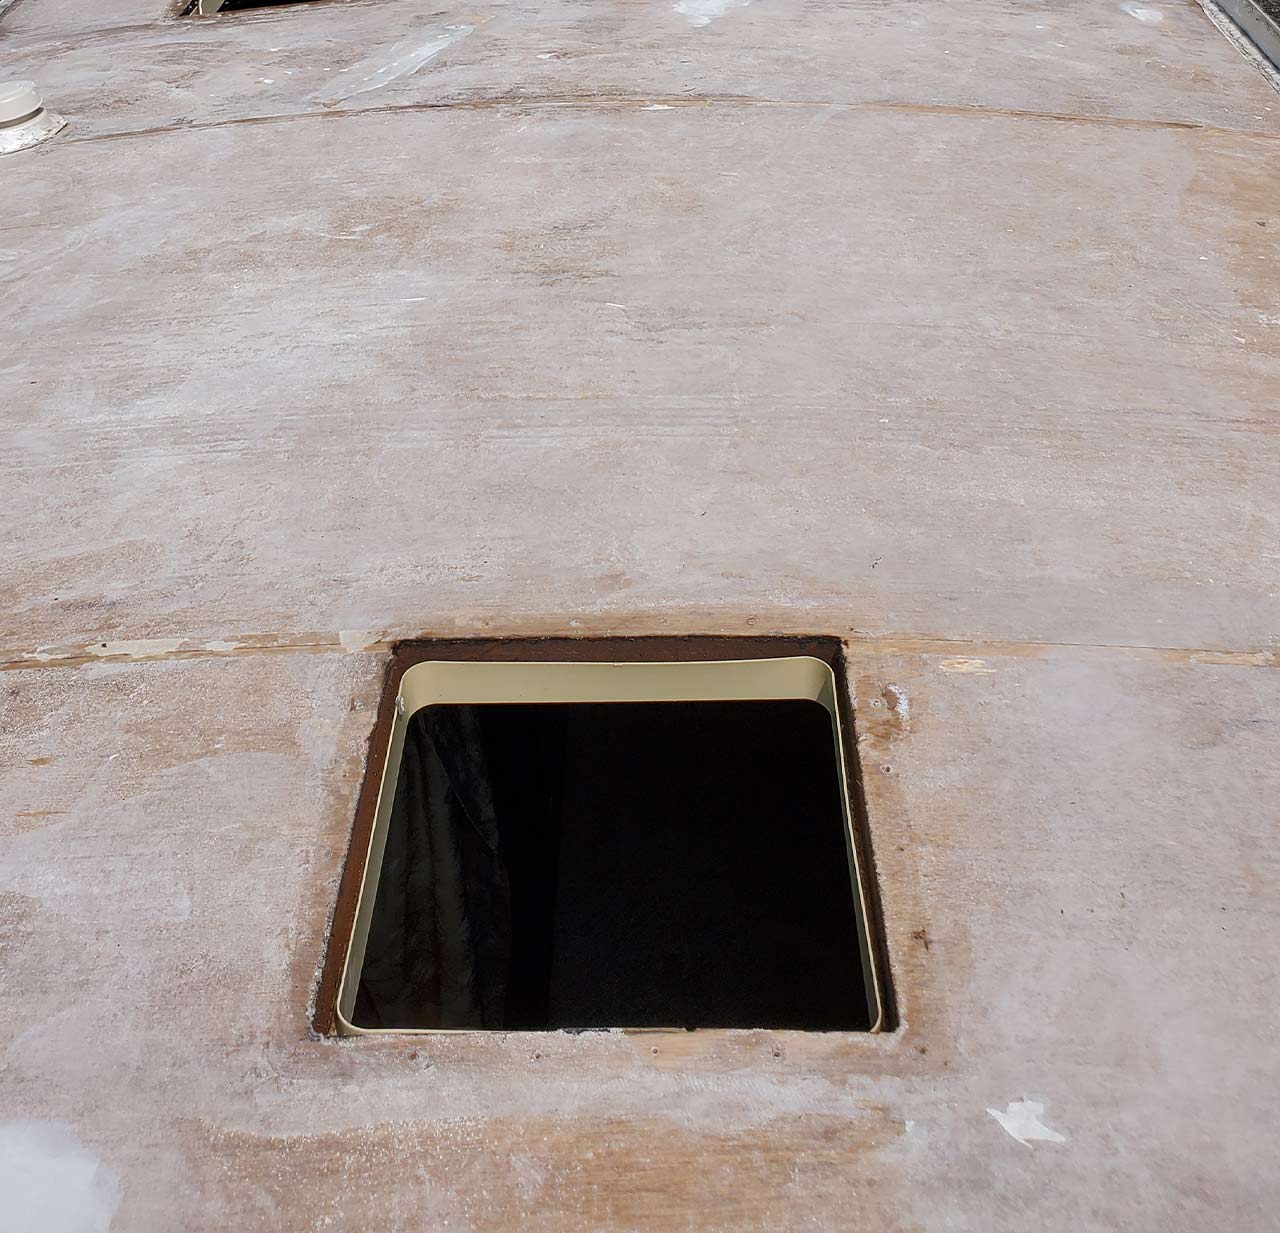
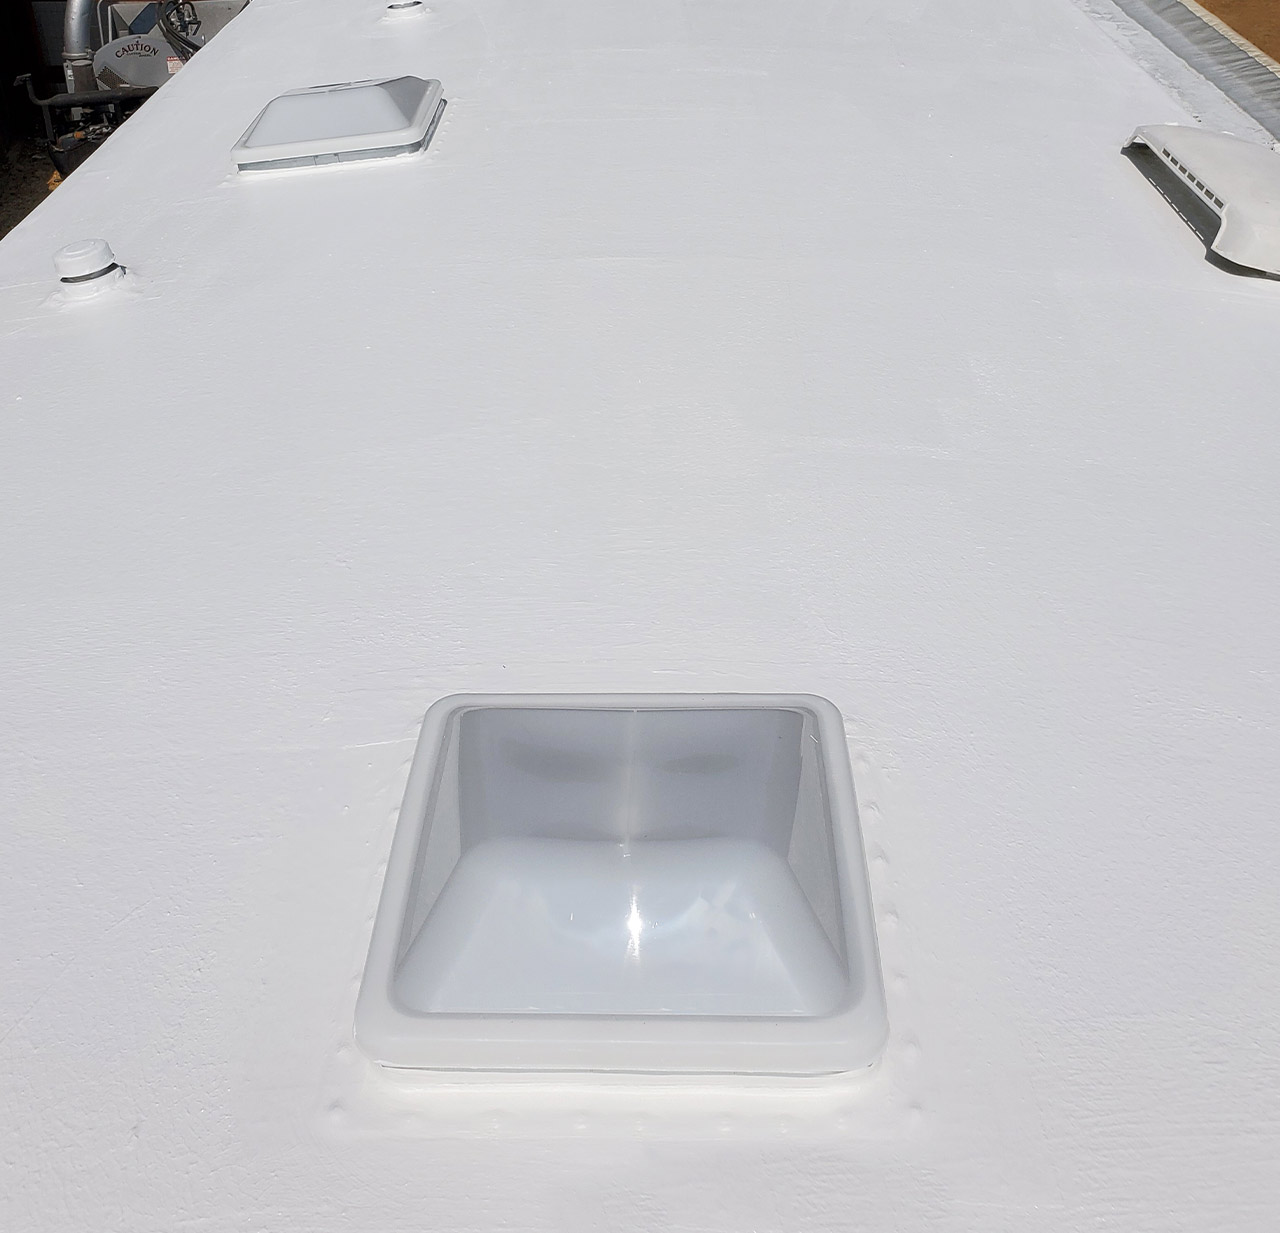
Metal roofs, as you may have guessed, are typically found on metal (aluminum) trailers, and were fairly common on vintage trailers as well. Metal is obviously a tough material, but it is difficult to work with and is comparatively heavy, which is why its use isn’t as widespread as other materials.
One thing all RV roofs have in common, however, is caulk (also known as sealant). It is used around every roof vent, skylight and antenna, as well as along any seams, such as between the roof and sidewalls, and front/rear caps. RV and roof manufacturers will often call out the types of sealant to be used on their products, and these recommendations should be followed carefully. RV membrane roofs should never be sealed with silicone caulk. In any case, sealants are designed to be flexible and water tight, but succumb to the effects of the environment and the flex of the RV over time, and need to be renewed.
Whether you bought your RV new or used, the first step toward leak prevention is to thoroughly clean and inspect the roof at least twice a year, although some manufacturers require an inspection every 90 days during the warranty period. “The goal is to remove dirt, road oils, and hopefully stains without using a chemically heavy cleaner,” said Scott Christian of RV Roofing Solutions, a mobile RV roof repair and restoration company. “Most experienced RVers clean with simple dishwashing liquid such as Dawn, Joy, etc. These cleaners cut oil and dirt very well and can be used on any roof surface.” A soft bristle brush, available at most RV supply stores, will help loosen dirt and grime in most cases, but if it’s really dirty or covered in moss, tree sap or other gunk, you might consider using a deck brush as the bristles are tougher. Work on your hands and knees to avoid slipping or falling.
While it may be tempting to use a pressure washer to speed up the job, the experts we talked to generally recommend against it. “Using a pressure washer on a rubber membrane isn’t recommended for a couple reasons,” said Christian. “Applying 1,000 psi-plus of pressure over cracked caulking can force water under the rubber membrane, causing a whole new set of issues because the water has no way of getting out. Holding a pressure washer too close to an older rubber membrane can actually cut it, again forcing water underneath. Owning a pressure washer and knowing how to use one are two different things.”
Instead, use a common garden hose, and as you rinse the roof off, watch for signs of wear. “One of the first signs of trouble (on an EPDM roof) is when you start to see black as you rinse away the soap,” said Luis Mendes of RV Roofing Pros, another mobile RV roof repair and restoration company. “That means the bottom layer is now fully exposed to the elements and will now start to oxidize, break down and begin cracking and splitting. If you see any black, you’re going to want to get the roof re-coated right away.”
Once the roof is dry, carefully inspect the caulking around each roof vent, skylight, plumbing/refrigerator vents, antenna(s), etc. While you’re at it, check these components for signs of wear or cracking and replace if necessary. Check any seams between the roof and front/rear caps, and where the roof meets the sidewalls for any splits.
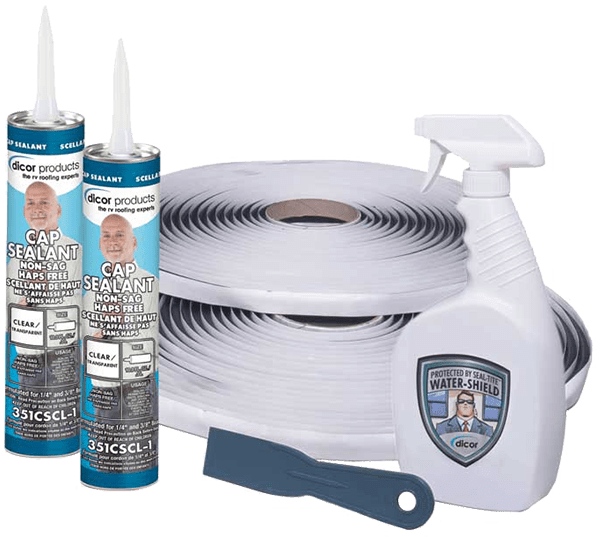
Older RVs utilize an aluminum flange around the windows, while many newer models feature sleek-looking frameless models. While fixing leaks in the latter is a story unto itself, fixing or preventing small leaks in the earlier models is a pretty simple task. Using a good quality silicone sealant (available from LaVanture Products and others), draw a small bead around the top of the window frame and around the top window radiuses. Finish the silicone bead by misting water onto the surface with a spray bottle, then running your finger along it for a smooth finish. If total re-sealing is necessary, you’ll find that framed RV windows are very easy to remove: simply locate the screws on the interior window frame (known as the clamp ring) and remove them. Pull the clamp ring from the window, then gently begin pushing the window outward. Have someone standing on the outside to catch the window as it comes out. To re-seal the window, Dicor offers its Seal-Tite Window Foamcore Kit, which includes 88 feet of foamcore butyl tape, two tubes of Dicor Clear Cap sealant, a putty knife, spray bottle and instructions.
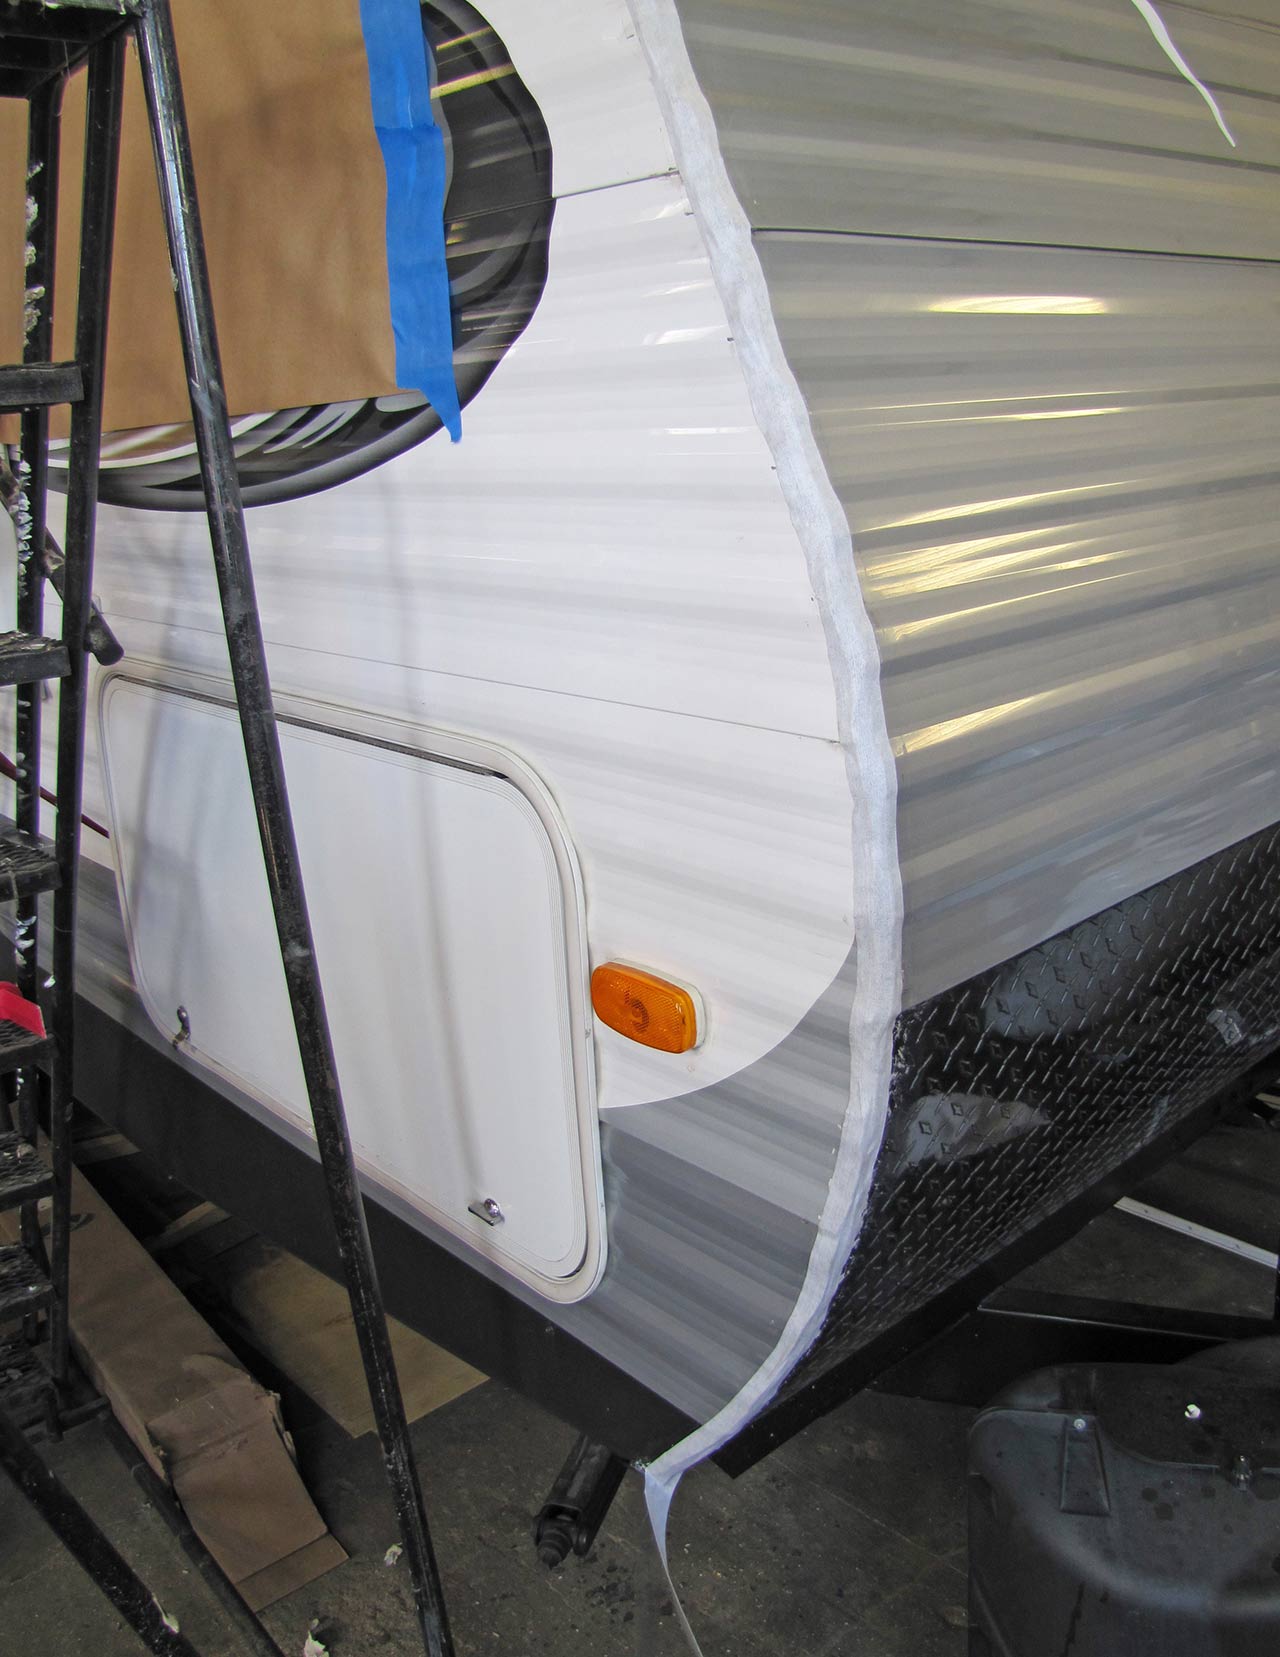
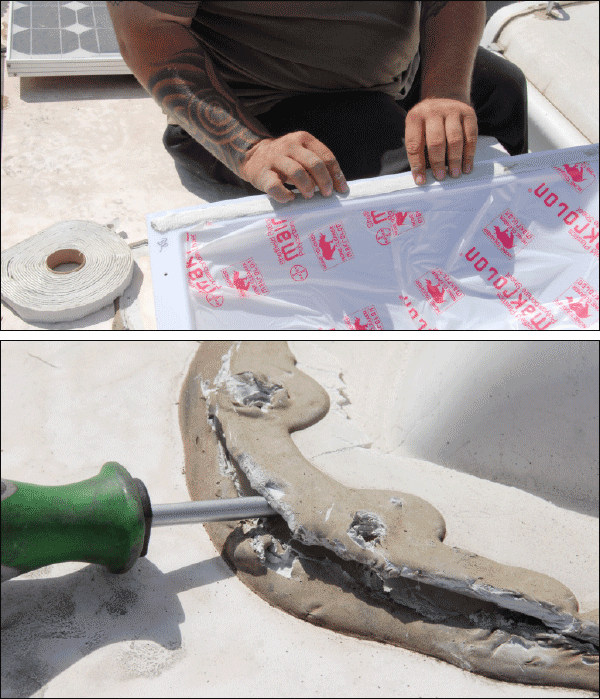
On travel trailers with metal siding, leakage in the corners can be an issue either because the factory did not install and/or seal the trim correctly to start with, or because the sealing tape underneath is no longer doing its job. If ignored, a leaky corner seal can cause a lot of damage, rotting the wood underneath. To fix problems like this yourself, Dicor offers its Seal-Tite Corner Seal Kit, which consists of corner seal tape, cap sealant, putty knife, spray bottle and instructions. After the corner molding is removed, the tape is placed over the gap, with the fleece side facing out.
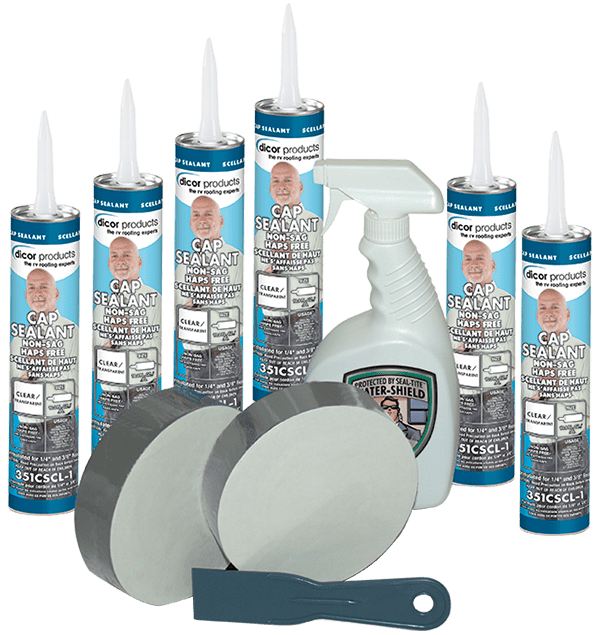
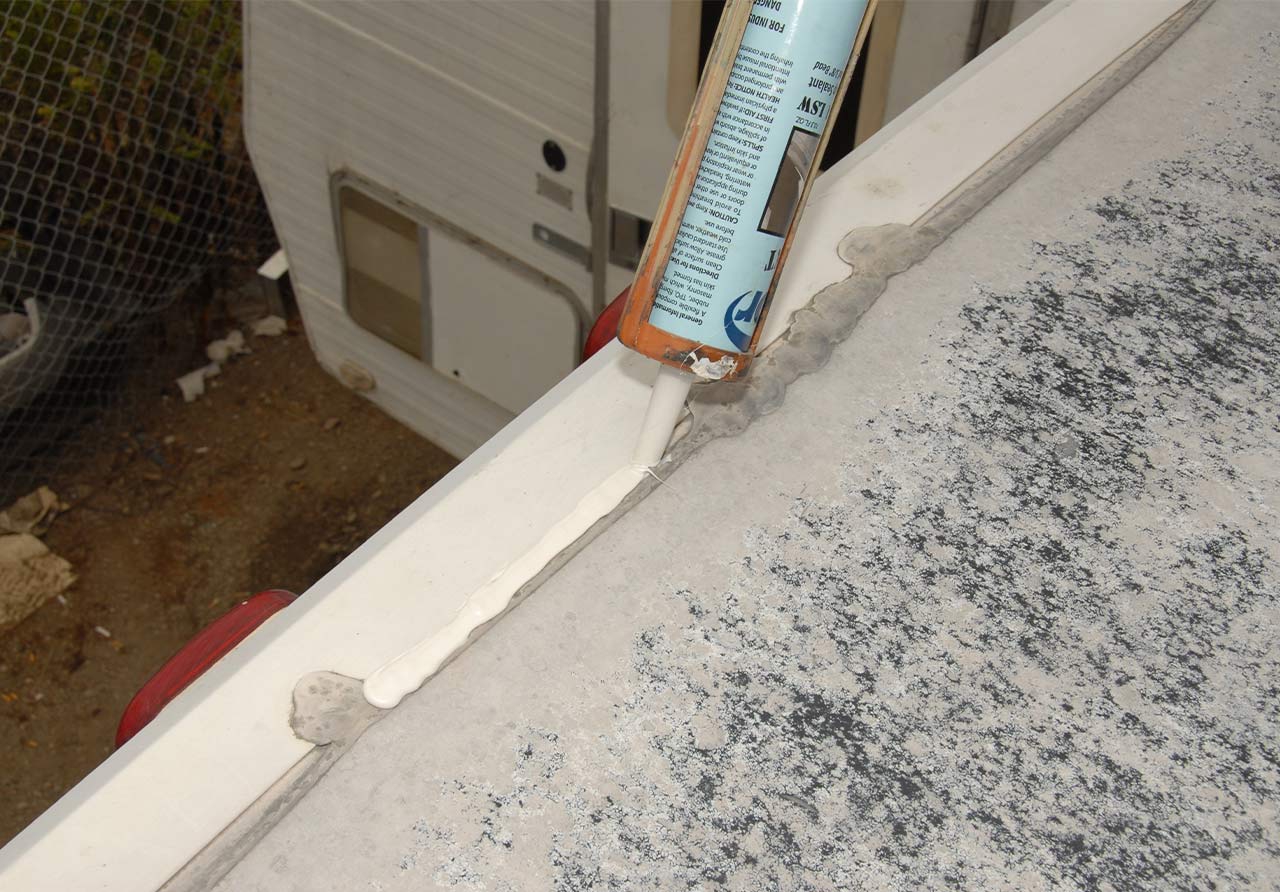
Cap sealant is applied inside the corner molding, which is then re-installed, squeezing some of the sealant out. Use a spray bottle to mist the bead of sealant with water. A caulk tool is used to clean away. If done correctly, you won’t have trouble with corner leaks again.
Want to see how it’s done? See a Dicor video of the process here.
While you’re up on the roof, now is the time to inspect other related areas, like roof vents and skylights. Over time these can fade, check, crack and, yes, leak. Roof vent covers are an easy remove-and-replace process, but skylights are built into the roof, making them a little more intimidating for the DIY RVer. The good news: It’s probably not as hard as you think, and a new skylight will usually cost between $100-$125 from sources like icondirect.com and others.
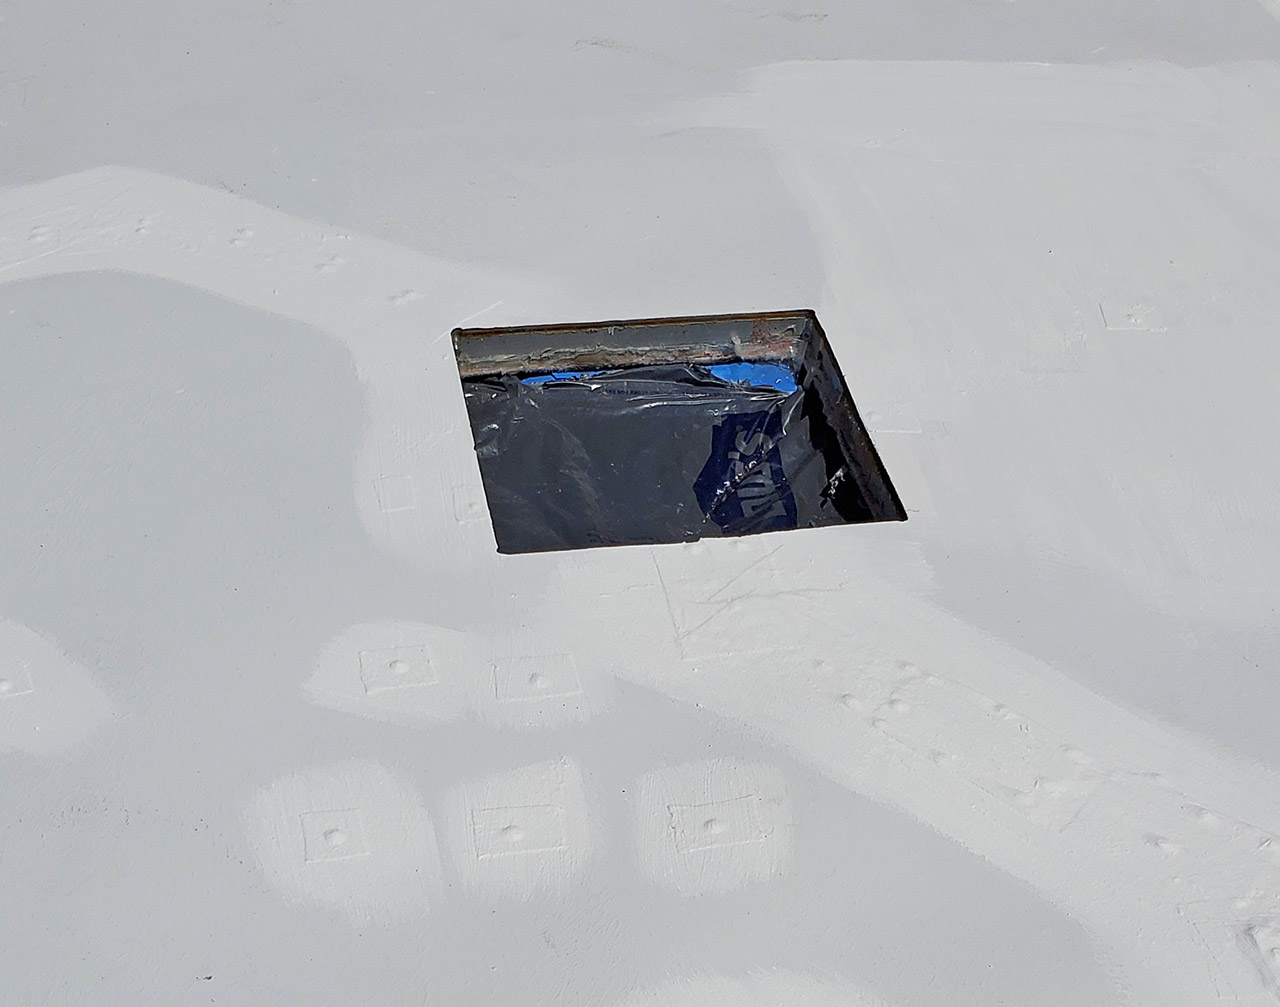
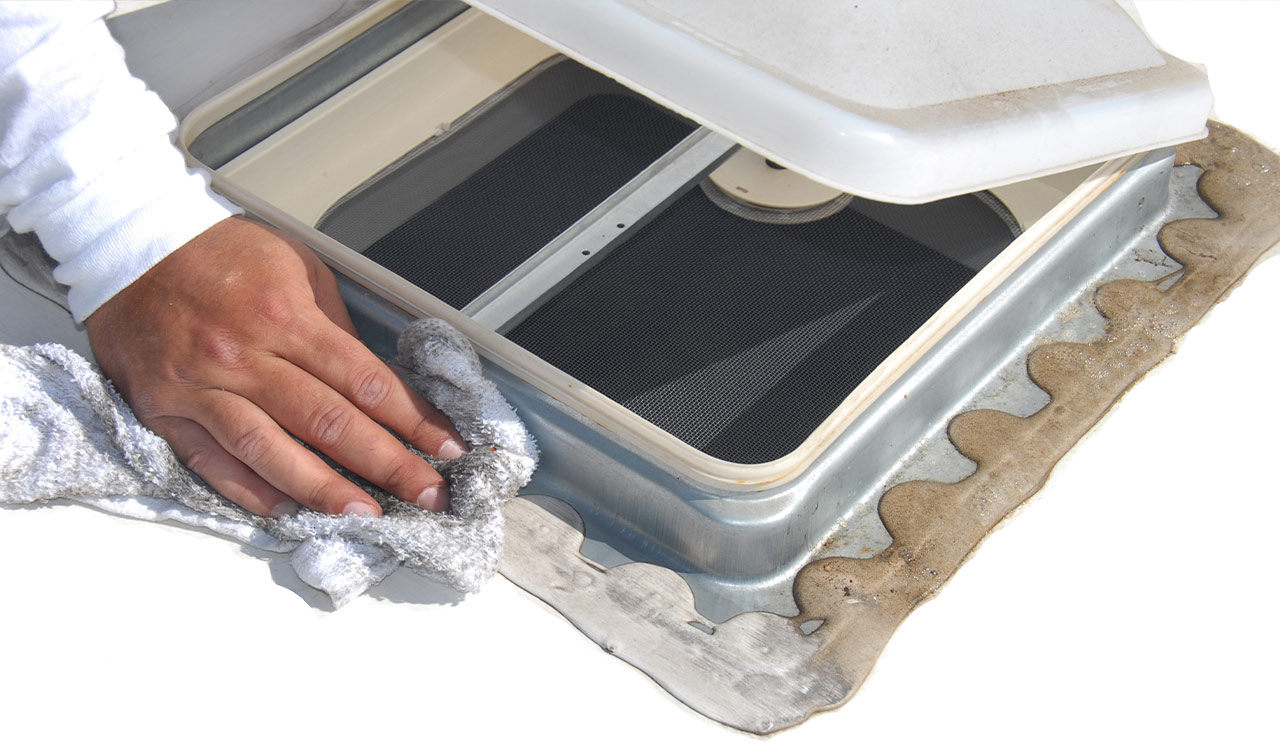
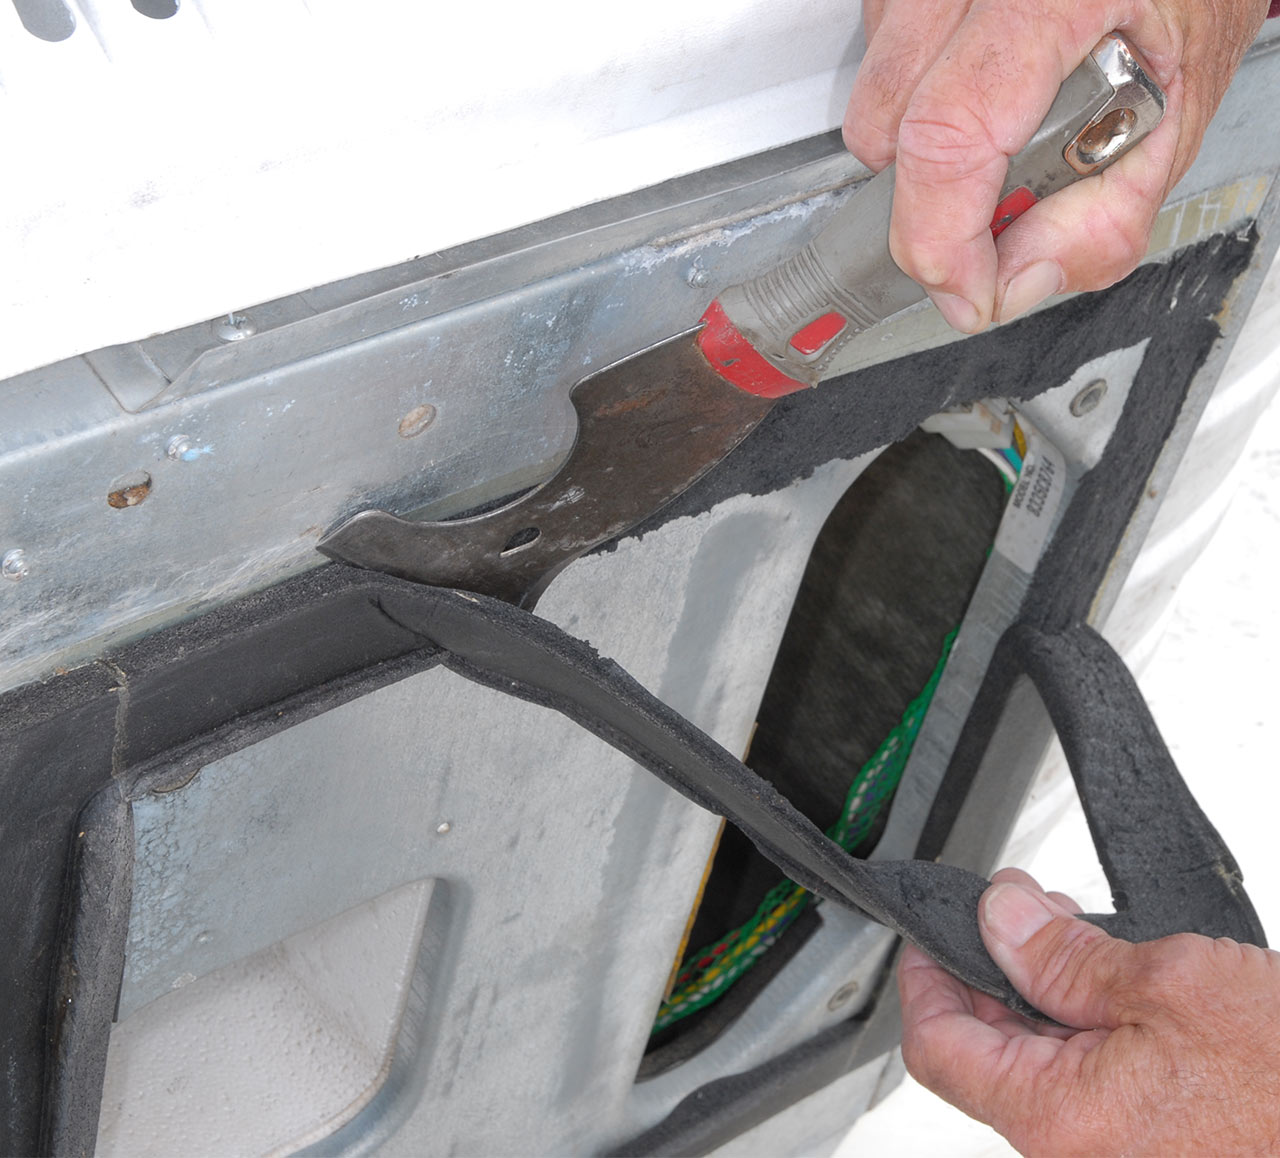
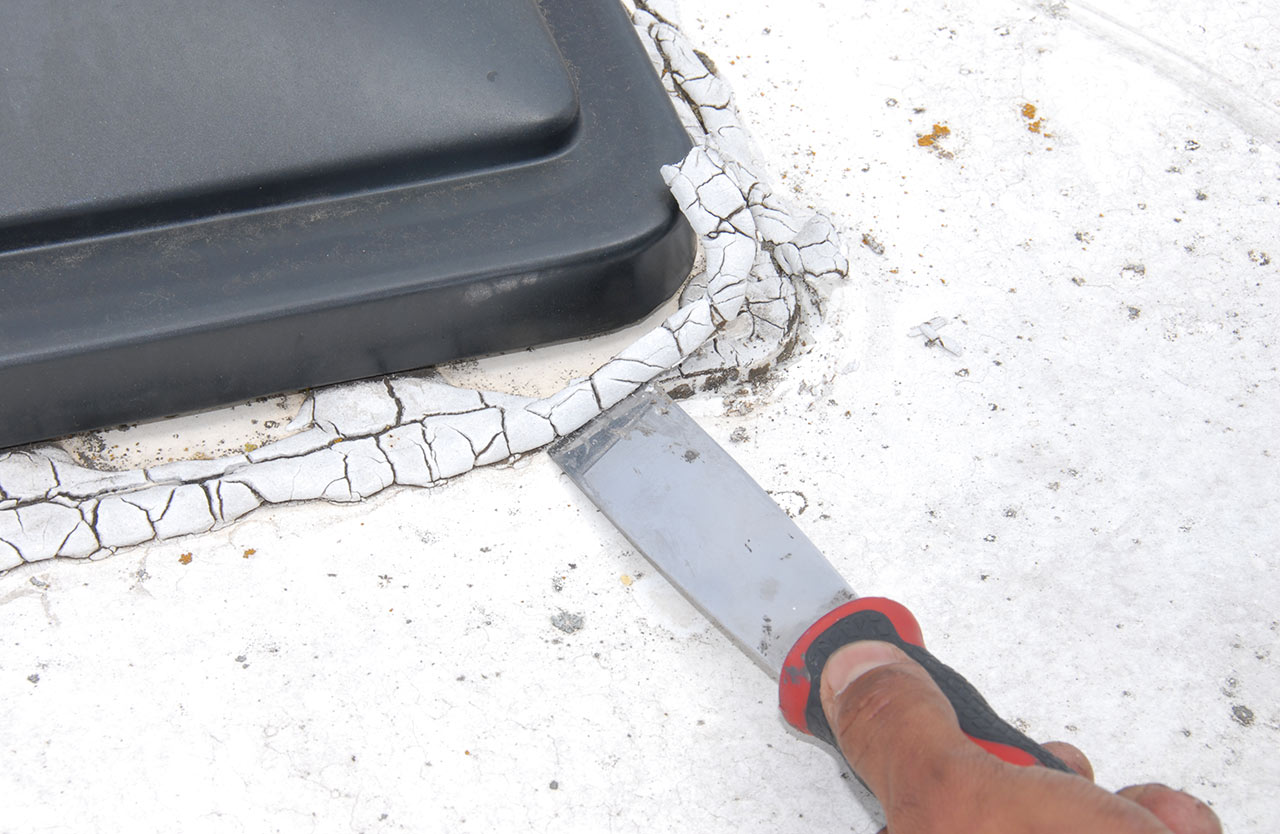
Anywhere there is a “loop” in the caulking, a fastener head is located underneath. Use a flat blade screwdriver to carefully pick away at the old caulking until the head is exposed. You’ll probably need a square (aka Robertson) driver bit for this and many other areas of an RV. Once you’ve removed all the screws, you should be able to see the edge of the skylight through the caulking. Run a screwdriver down the edge, all the way around the skylight. Work the screwdriver between the roof and skylight and gently begin prying it up until it can be lifted off altogether. If the cover breaks like this one did, don’t worry — you’ll be scraping off the old caulking along with any plastic left in it.
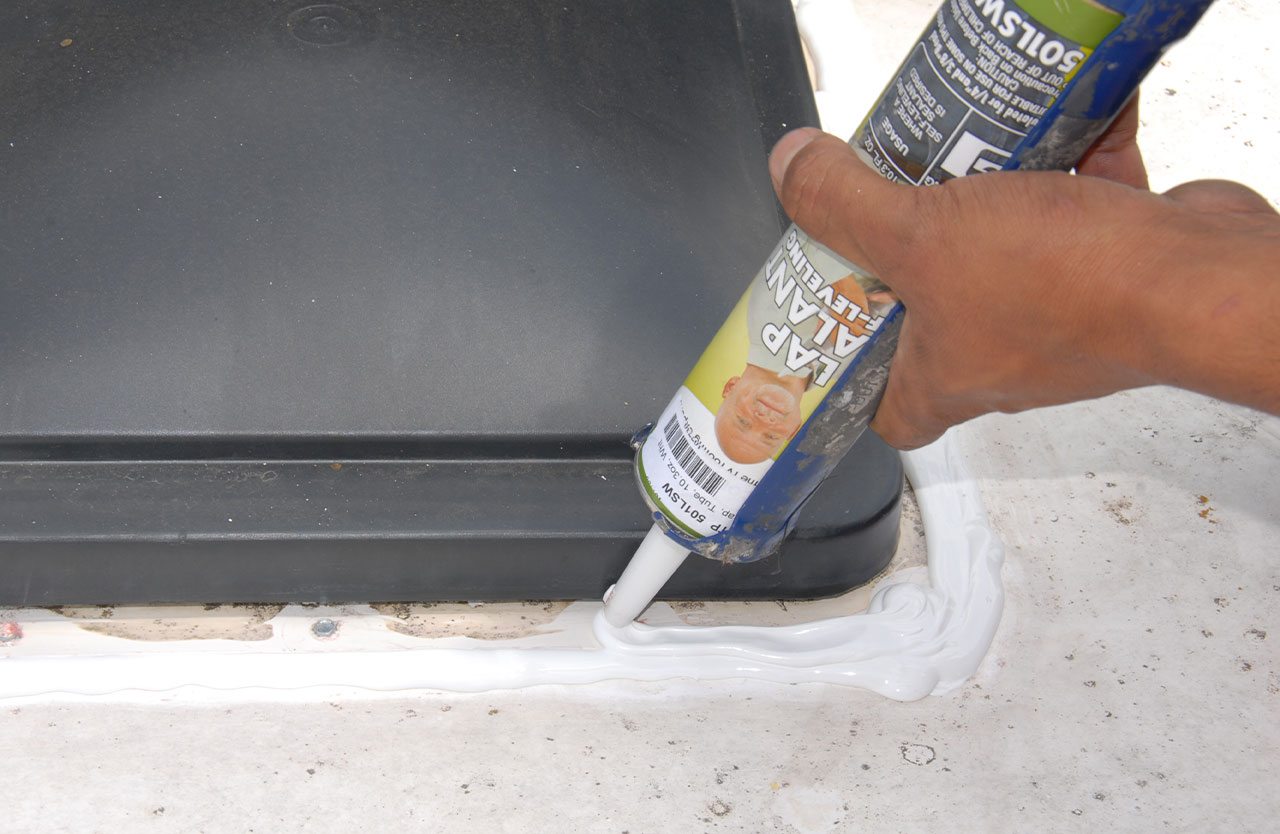
Some RVs have double skylights or there may just be a hole in the roof once the old skylight is removed. Unless the inner skylight is leaking or damaged, there’s no need to mess with it. After carefully scraping away the old caulking with a plastic putty knife and cleaning the area thoroughly, prepare the new skylight for installation. Apply a strip of putty tape (buytl is best) all the way round the mounting lip of the skylight. Camco offers a Universal Vent Installation kit that includes putty tape and screws to help you get the job done. Remove the paper backing on the putty tape and place the new skylight over the opening. Begin screwing the skylight to the roof, using the holes as a guide. It’s not important to line up the new skylight to the original holes; for one thing, you probably won’t get the exact skylight used on your RV, and for another, you’re just inserting new screws into the roof deck. The putty tape, combined with the caulking, will seal both the new screws and original holes. Self-leveling lap sealant is used to ensure a leak-free seal. Don’t worry if the finished job isn’t pretty — as long as it doesn’t leak, you did it right.
Cracks in the caulking are to be expected after a year or two (depending on the environment), but that doesn’t necessarily mean it needs to be replaced. More often than not, re-caulking, rather than complete removal and replacement, will get the job done.
“Re-caulking a roof should be done as soon as the existing caulking is showing signs of cracking, usually 18 to 24 months depending on the climate,” said Christian. He recommends that you wear gloves and work a small amount of caulking into the open cracks.
Once done, apply a layer of caulk over the area. “When to remove the caulk entirely is open for debate as there are many opinions on this topic,” he added. “Myself, I recommend removal once you have three layers of caulking and now need a fourth. Removing caulking is like removing five-year-old chewing gum — and will fight you every step of the way.”
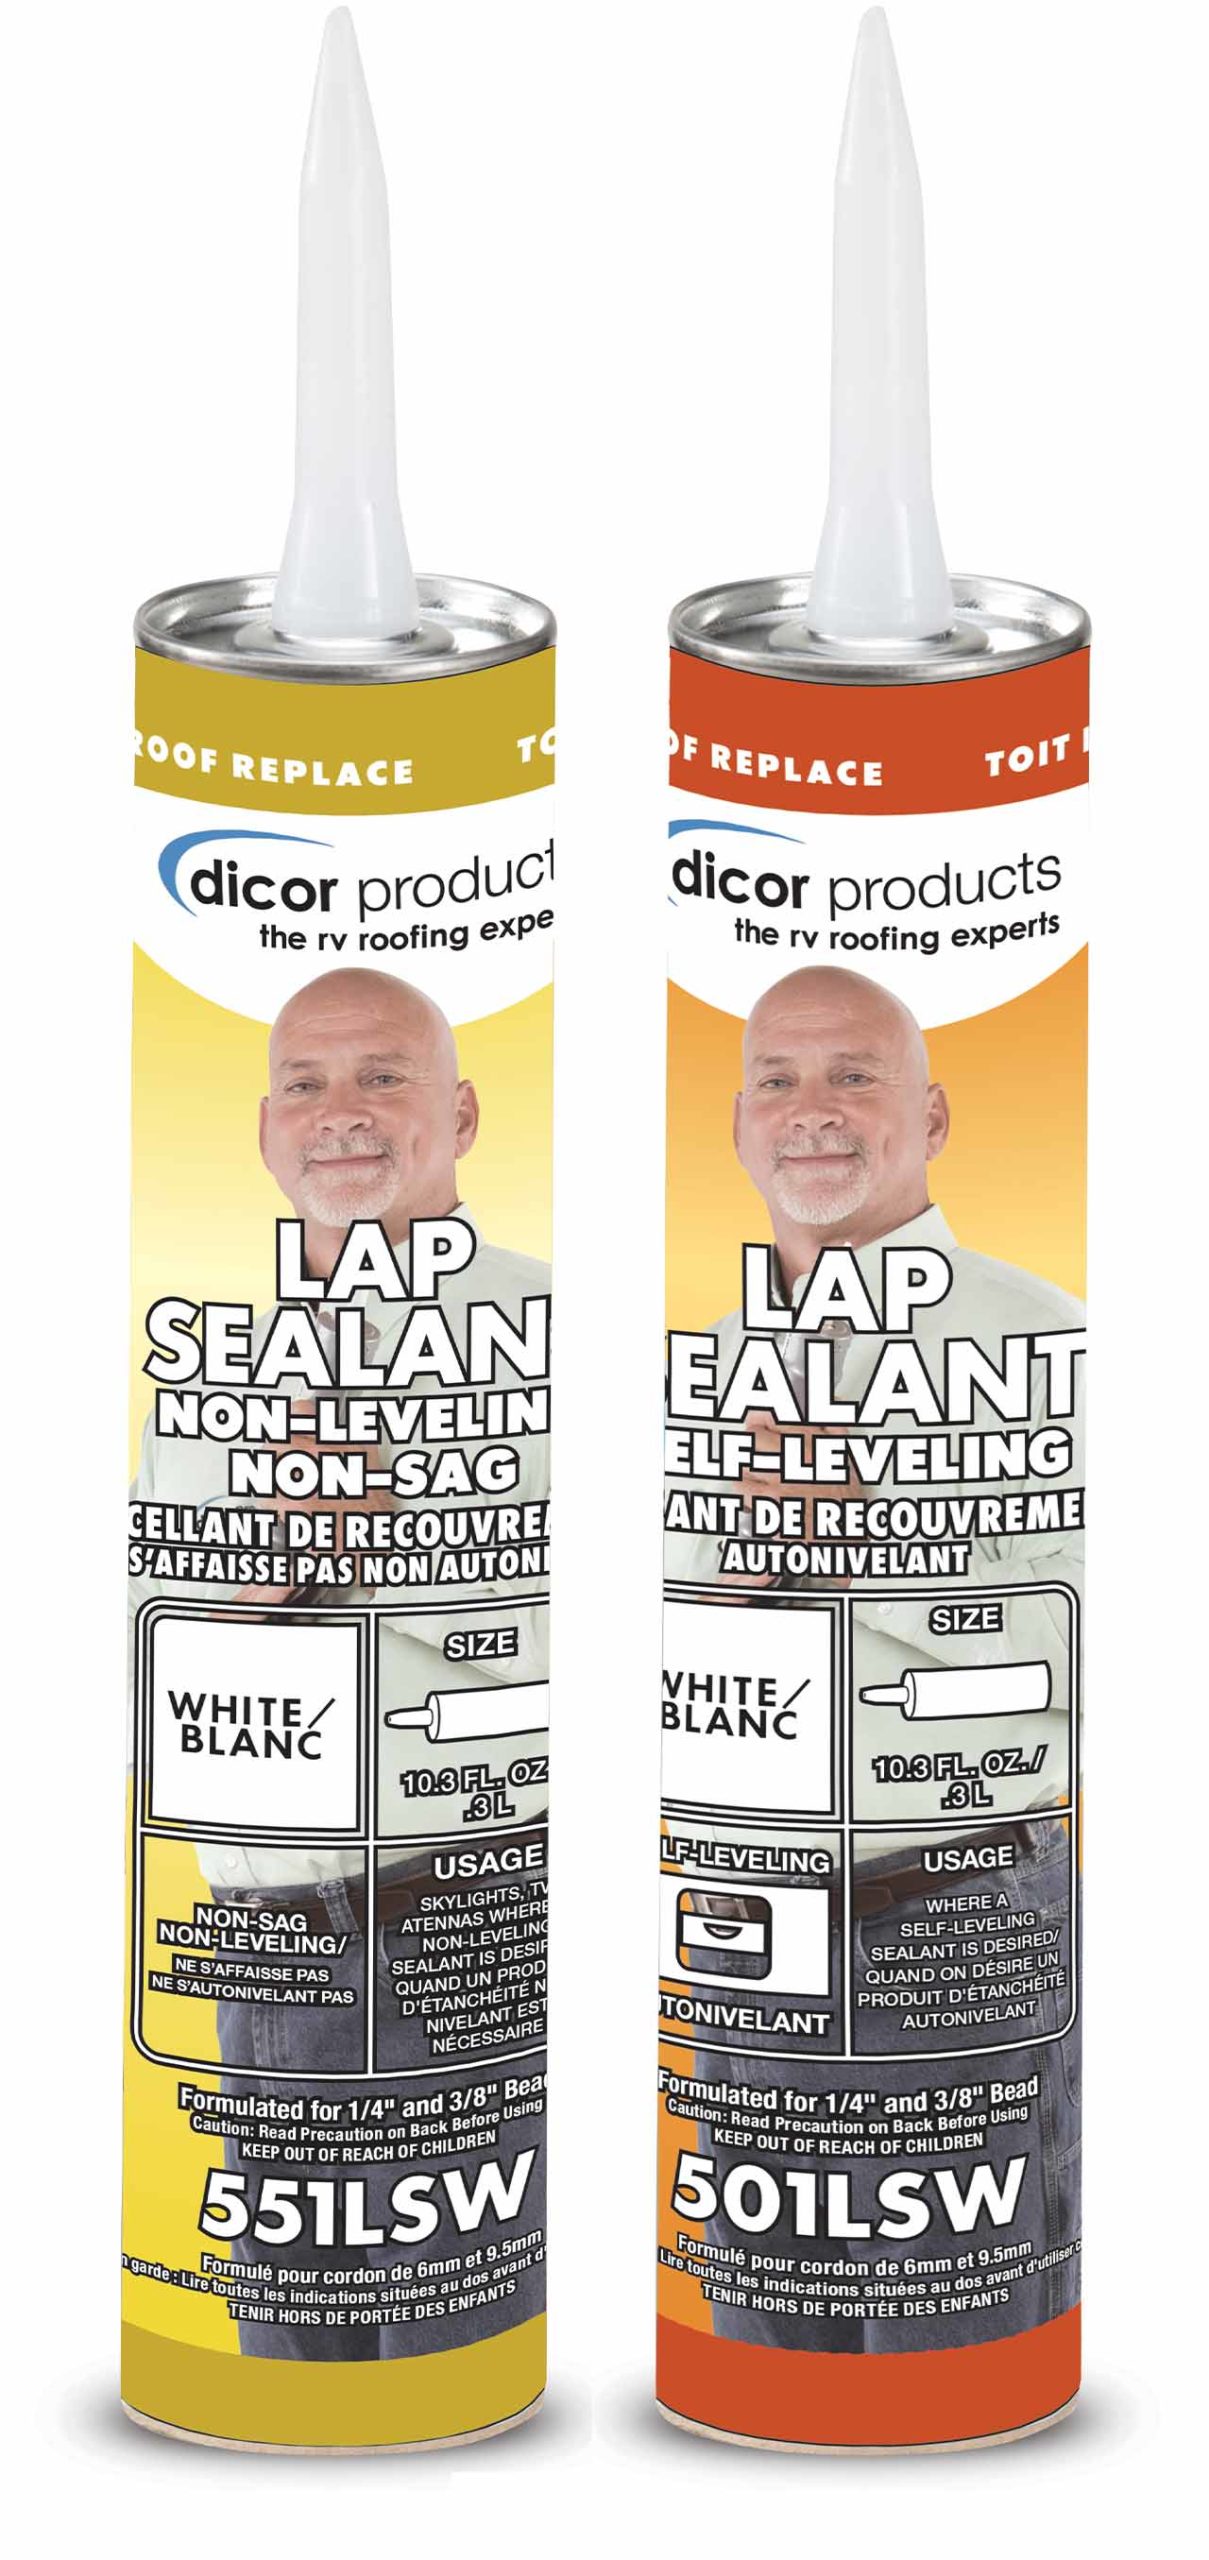
When re-caulking an RV roof, always choose a product designed for your RV roof, such as those offered by Alpha Systems, Dicor, Lasalle Bristol and LaVanture Products. Use self-leveling caulk for the roof, and standard (not self-leveling) caulk for sloped or vertical areas, like gutters and corners. One thing our experts agree upon, however, is to avoid products that contain silicone. “I’ve removed too much of it only to find water underneath,” said Christian. “The other downside is that nothing sticks to it, so if you decide it isn’t working for you, you can’t use anything other than more silicone for a reseal.”
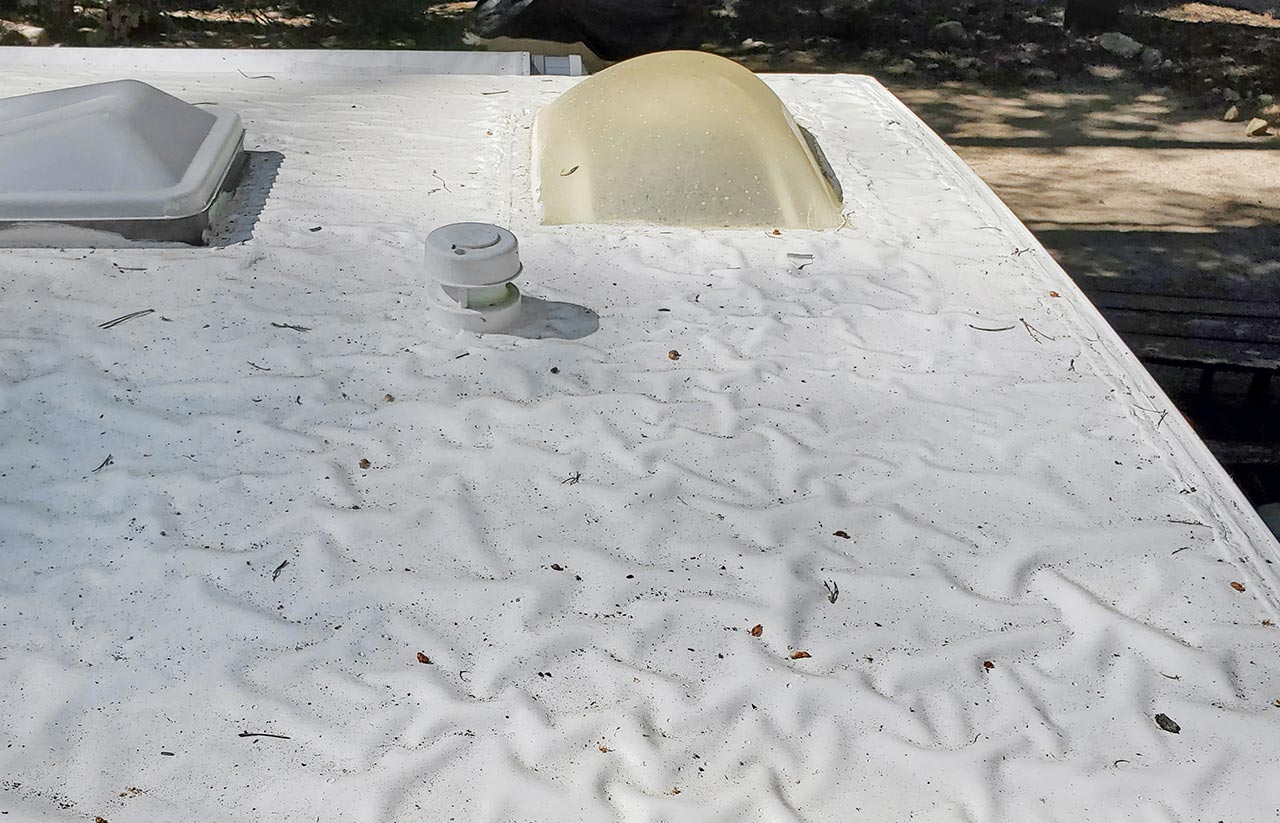
If replacing the caulk is necessary, you can do the job yourself — but keep in mind that it can be a tedious, labor-intensive process that is best broken up over a day or more. On the upside, you can save yourself a lot of money. “I’ve had some customers tell me they were charged $1,900 for a simple re-caulking job along all the seams and penetrations,” said Mendes. “That’s kind of high, but it’s not uncommon to get charged $900 or more.” Scrape away old caulk using a plastic, not metal putty knife — and if the sealant is stubborn to remove, leave it alone and caulk over it.
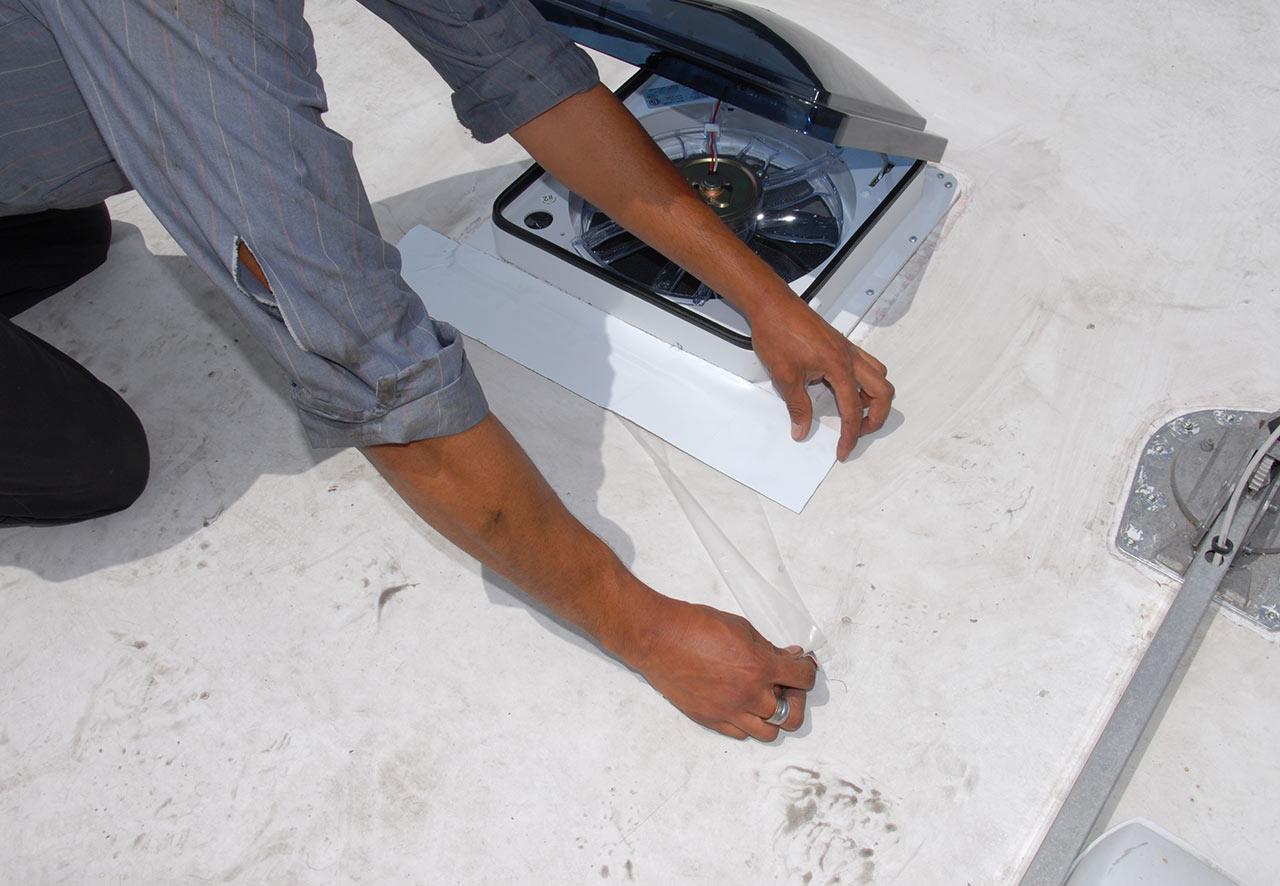
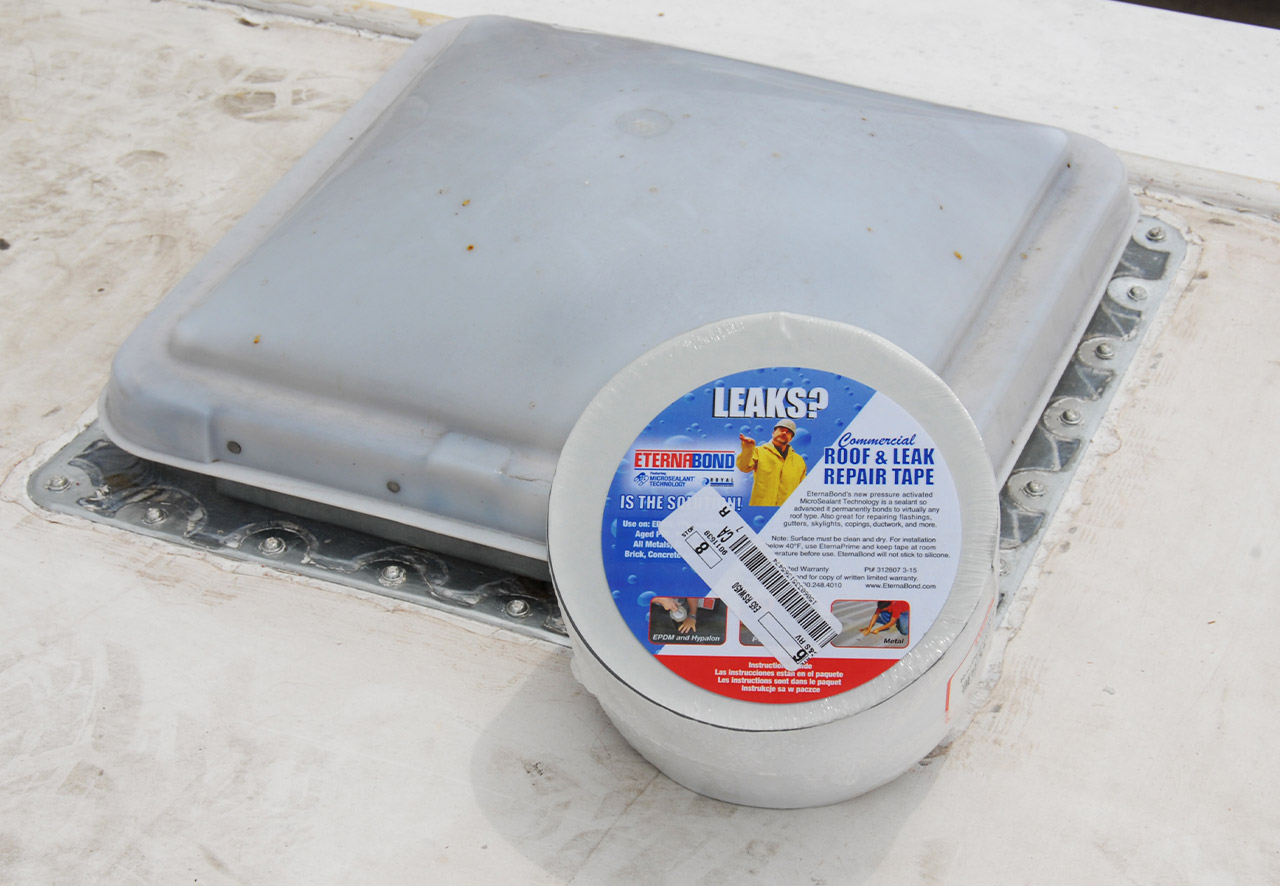
Small tears or punctures in the membrane are best repaired using EternaBond tape, which is suitable for all RV roof types and will last for several years. In fact, the company claims that EternaBond has an expected life of 18-35 years when exposed to the elements, depending on the environment. The key, however, is installing it correctly. “It’s not a cure-all,” Mendes cautioned. “If you’re applying it correctly at the right temperature and there is good adhesion, it can last for years. I’ve seen it used all kinds of ways. Any place there is a seam, you can use EternaBond. But if you have screws, old lumps of caulking, etc., sticking up, that will interfere with good adhesion.”
It’s a good idea to keep a roll of EternaBond with you for any quick repairs, but in an emergency, Mendes says you can even use Gorilla tape, available at any hardware o home improvement store, to shore up problem areas. “I’ve had customers bring their RVs to me with nothing holding down the membrane but Gorilla tape,” he said. “But whenever you apply tape of any kind, the surface must be clean. You can use denatured alcohol, even glass cleaner will work.” However, petroleum distillates and citric-based cleaners should be avoided.
Rubber roofs are not the only roofing type that can require replacement. “TPO lasts a little longer, because it’s plastic,” said Mendes, “but it eventually breaks down. So does fiberglass. I saw one roof that was unsealed and unwaxed for years, and there were fiberglass shards floating around everywhere.”
So if it appears your roof requires replacement, what are your options?
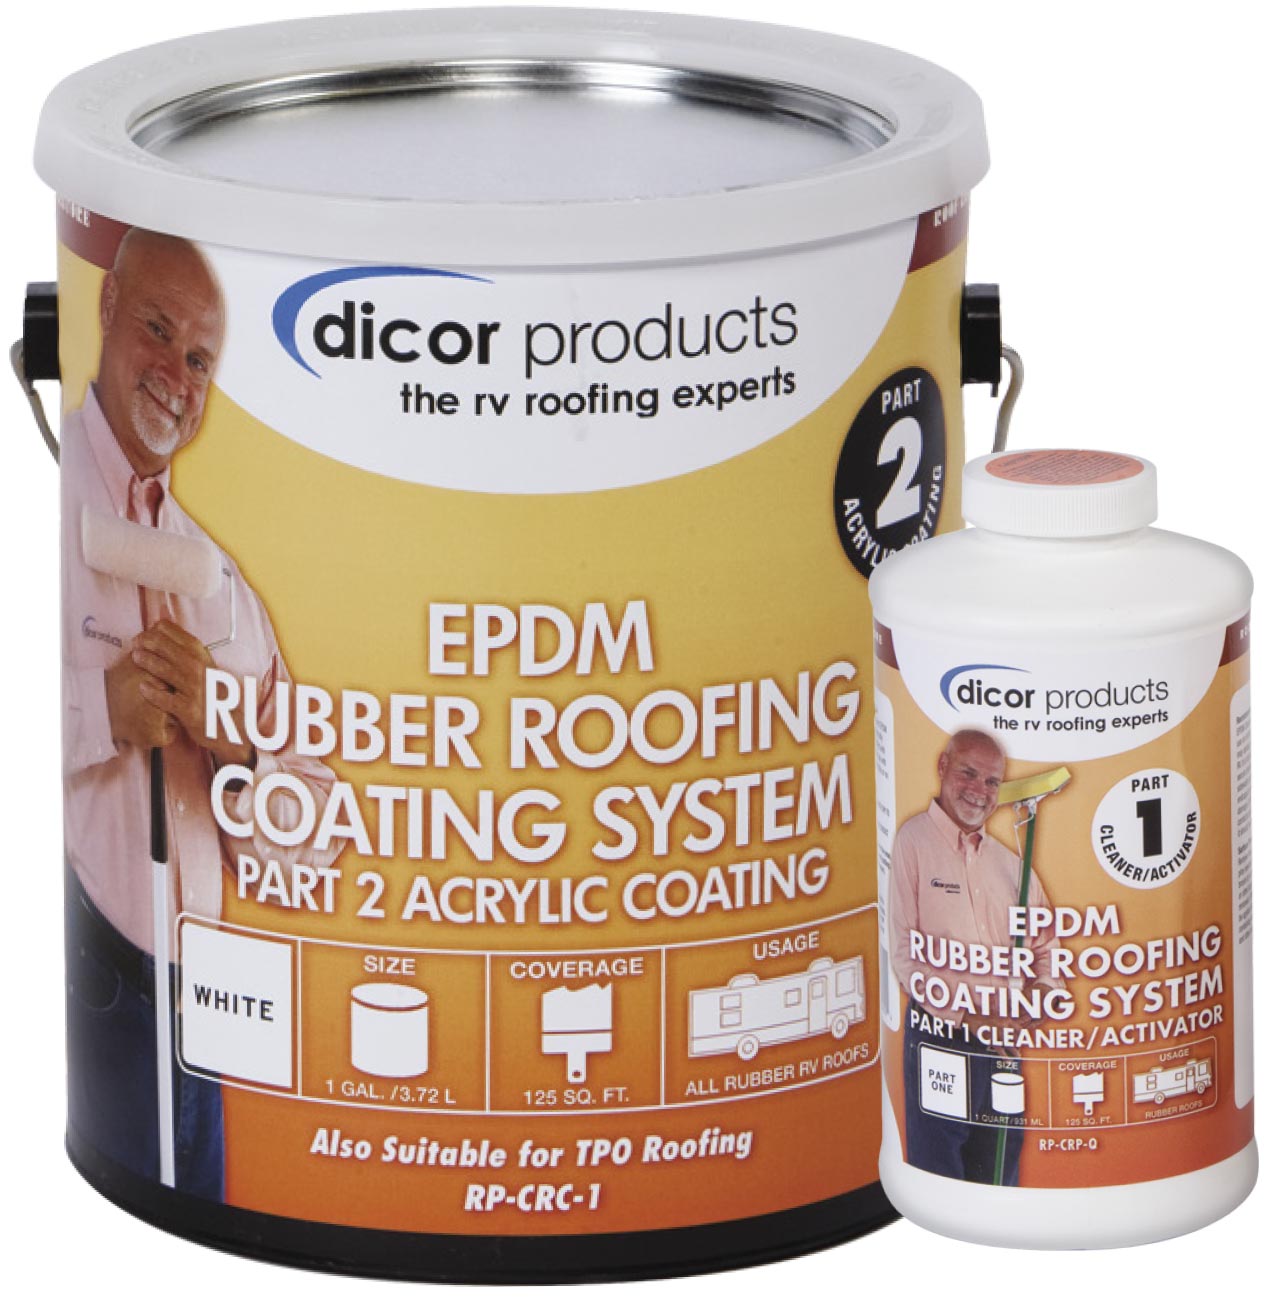
If your roof is EPDM, that depends on your budget and how long you plan to keep the RV. If the rubber is breaking down and the black layer is starting to show through, Dicor offers its two-part EPDM Rubber Roofing Coating System consisting of a cleaner/activator and a roll-on acrylic coating that Dicor claims will add years to your roof. The company also offers other coating options for EPDM as well as for fiberglass and metal RV roof coatings. If the rubber or TPO membrane is damaged or too far gone, you can have it completely replaced — but a complete “tear off” (as it is referred to in the roofing business) performed by a qualified dealer or RV center is very expensive (on the order of $8,000-$10,000 for an EPDM or TPO roof) and any warranty is for the membrane only.
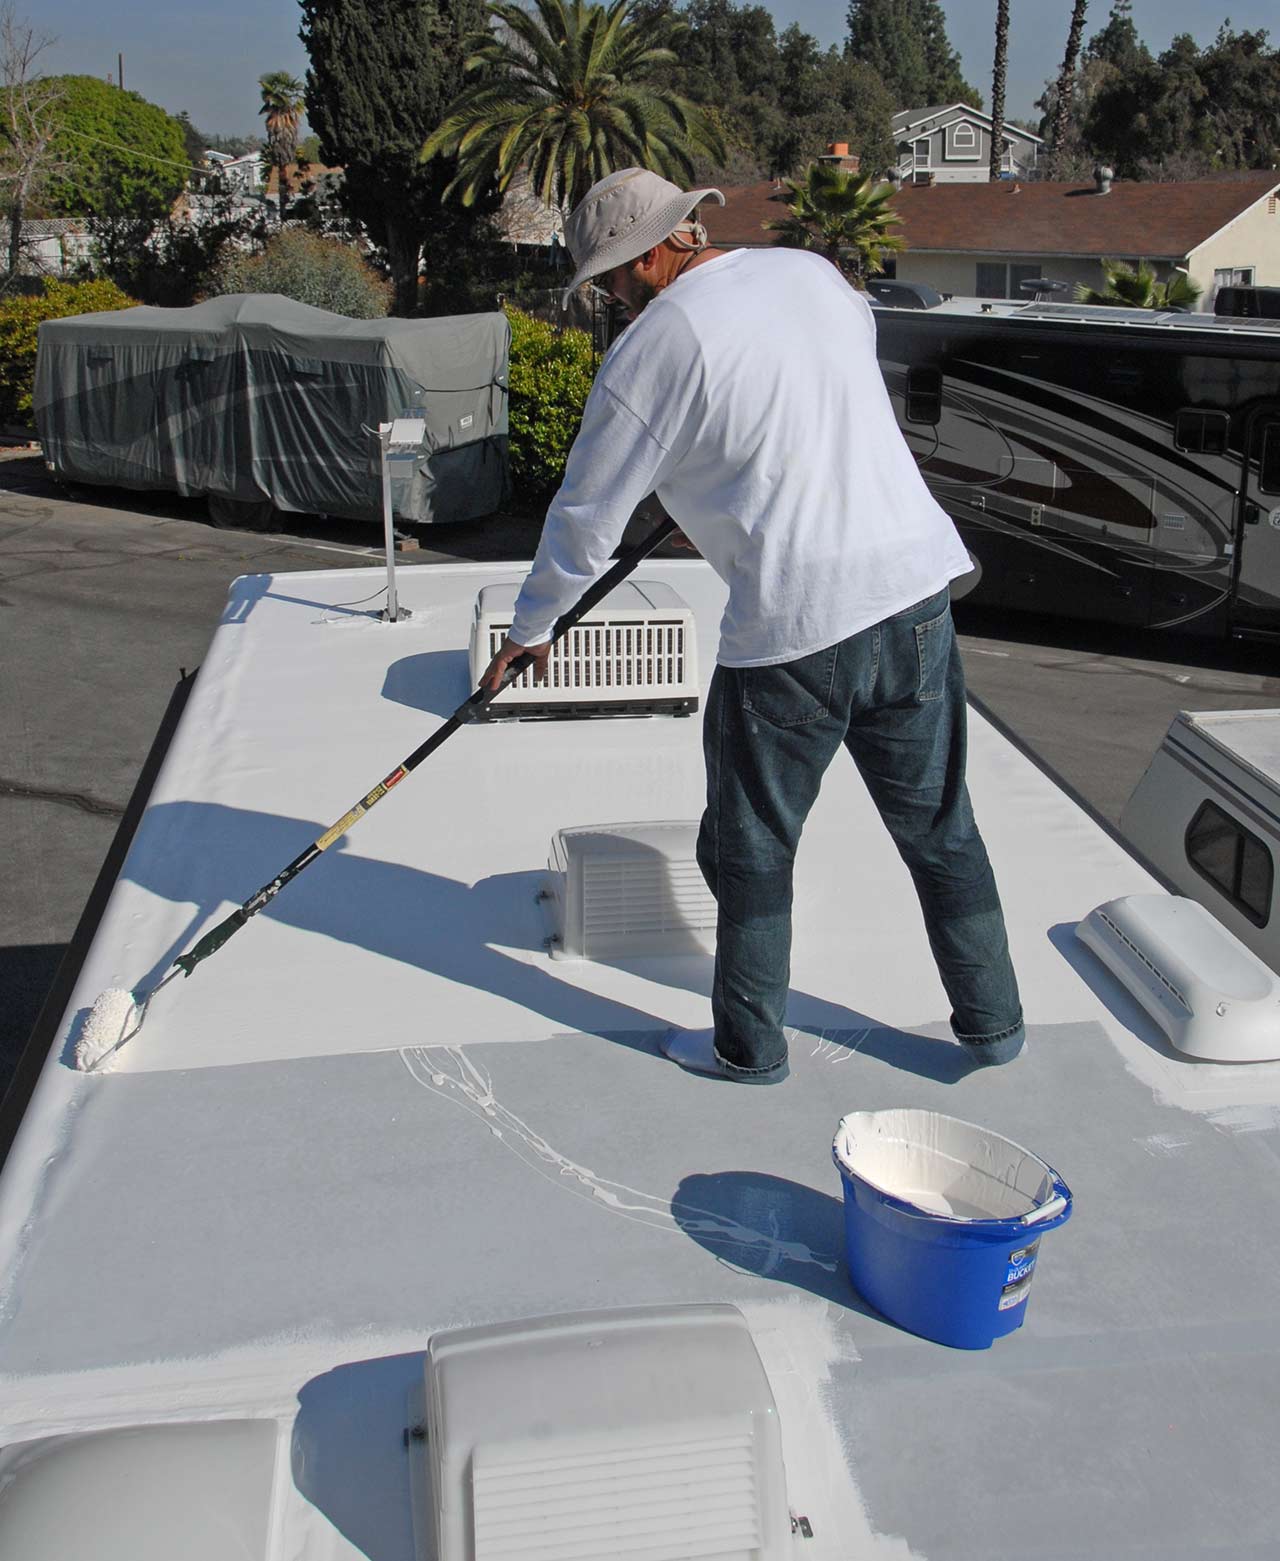
Bridging the gap between small repairs and total replacement are companies that simply re-coat your RV roof, regardless of type, making regular cleaning and maintenance unnecessary. Companies like RV Armor, RV Roofing Pros and RV Roofing Solutions can come to you wherever your RV is located and use a multi-step inspection, repair and re-coating process using their own roll-on acrylic products. The processes, materials and warranties vary from company to company, so do your own research to find out what works best for you. The advantage of these companies is that you don’t have to take your RV anywhere, the cost is substantially less than a new roof (around $150-$160 per linear foot) and the warranty is at least 10 years (material and labor). Some, like RV Armor, offer a lifetime warranty that follows the VIN of the RV, not the owner. All of these companies can also perform repairs, replace skylights/vents — even rebuild the roof, if necessary — before coating (at an additional cost that will vary depending on the company and the nature of the repairs).
Another company, FlexArmor, uses a spray-on polyurea product that must be applied at one of the company’s qualified application centers. The upside is that all work is performed indoors, so you don’t have to wait for good weather to get your roof replaced. FlexArmor can also perform all necessary repairs before recoating.
Finally, if you’ve got more time than money and are fond of DIY projects, Crazy Seal offers a DIY roll-on roofing system that the company says is seamless, permanent and backed by a 50-year product warranty.
800-462-4698
alphallc.us
Crazy Seal
800-963-0131
crazyseal.com
Dicor Products
800-837-2059
dicorproducts.com
EternaBond
A Division of Royal Adhesives and Sealants
800-248-4010 X 7106
eternabond.com
LaVanture Products
800-348-7625
lavanture.com
RV Armor
855-782-7667
rv-armor.com
RV Roofing Pros
833-776-6377
rvroofingpros.com
RV Roofing Solutions
888-847-7010
rvroofingsolutions.com
FlexArmor
904-830-5445
rvroof.com

