Slowing Down Safely
electric brake kit being used
red stop sign with all way sign underneath
Slowing Down Safely typography
electric brake kit being used
red stop sign with all way sign underneath
Lippert’s self-adjusting electric brake kit provides trailers with consistent stopping power with less maintenance
By Tom Morr / Photos by author
T

here are a lot of systems on a travel trailer or fifth wheel that we often take for granted will work when we need them–from the blissful, cool breeze of the air conditioner when it’s hot outside to a warm meal courtesy of the microwave oven. If these components don’t work properly, however, it can be aggravating — but won’t doom that long-planned getaway.

The same can’t be said of the brakes on that towable. A tow vehicle may have been designed with enough capacity and power to pull a trailer, but it wasn’t designed to have to continually slow and stop all the weight of the trailer. Put simply, the braking system on a trailer can make the difference between a stress-free journey and a potentially dangerous one.

Regular maintenance is crucial for keeping the electric brakes on a travel trailer or fifth wheel working properly. Many manufacturers, in fact, recommend adjusting the brakes every three months to compensate for friction-surface wear. It’s not a fun job, especially if you’re in the midst of an extended trip, but it’s a necessary evil.
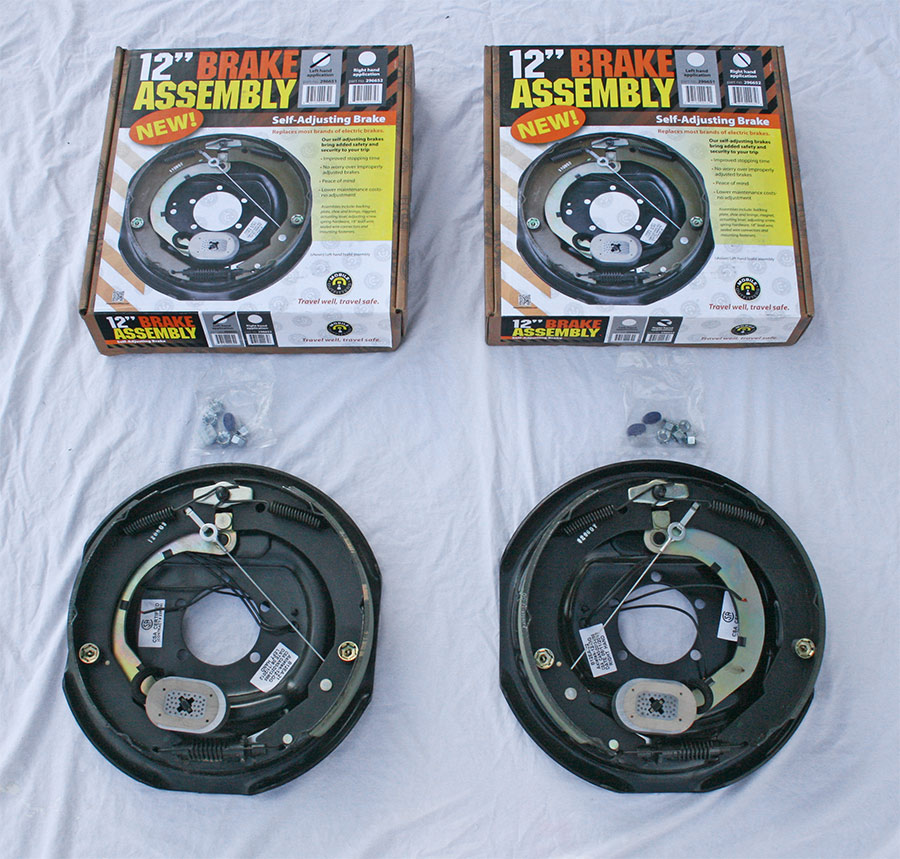
Lippert Forward Self-Adjusting Brakes displayed on sheet
Lippert Forward Self-Adjusting Brakes are available in 10-inch and 12-inch kits to fit popular 5-lug and 6-lug axles up to 7,000-pound capacity. Hardware and electrical connectors are included.
An easier, long-term option is upgrading to Lippert’s Self-Adjusting Electric Brakes, available in 10-inch and 12-inch models (5- and 6-bolt patterns) to fit many popular axles rated from 2,500 to 7,000 pounds. These kits are designed to save maintenance time and cost. Lippert touts that the brakes also improve safety by decreasing stopping distances by as much as 50 percent at highway speeds. That claim is based upon how the Lippert kit functions: During every forward stop, the clearance between the brake shoe linings and drums is automatically adjusted.

Basic brake system operation is similar for standard electric brakes and the Lippert self-adjusting system. Each brake has two shoes lined with friction material, joined by a star wheel adjuster. When the tow vehicle’s brakes are applied, the brake controller sends an electric signal to the brake assembly electromagnets, which connect to actuating arms that move the shoes outward to make contact with the drum armature However, each Lippert Forward Self-Adjusting Brake assembly adds a mechanism that optimizes the shoe locations during each forward stop to gradually spread the shoes outward, compensating for friction-lining wear. This is accomplished with a cable and pulley system between the shoes, attached to the brake adjusters.

Easy, Do-It-Yourself Installation
The Lippert Forward Self-Adjusting Brakes install in the same manner as standard brake assemblies. The job takes about an hour per wheel and can be done by RV owners who possess basic mechanical and wiring skills. Highlights of the installation are shown here on a Forest River Wildwood 34-foot fifth wheel. As we discovered, by the way, the installation also provides an opportune time to re-grease wheel bearings (see “Keep Rolling” elsewhere in this issue for detailed information on this subject).

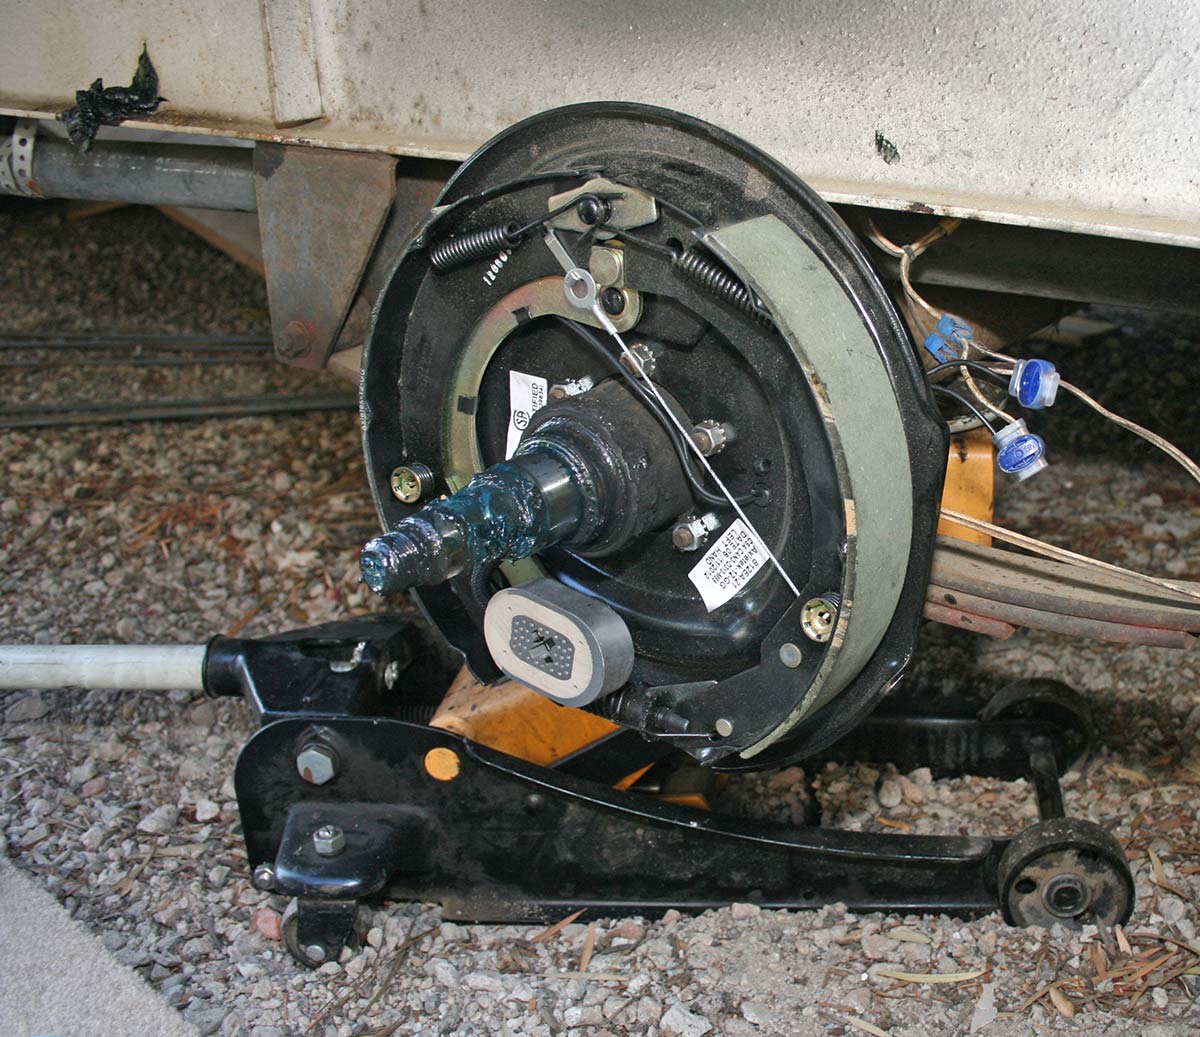
The Lippert brake assemblies are side-specific for proper self-adjustment. A white sticker on each backing plate identifies them as “left” or “right.” As back-up, the forward-facing primary brake shoes have shorter brake linings than the rear-facing secondary shoes. Although the brakes are self-adjusting, Lippert recommends seating/burnishing new shoes to conform them to the drum armature. This break-in period is accomplished by setting the brake controller at mid-gain and using its manual lever to slow the trailer from 40 mph to about 20-25 mph (without applying the tow vehicle’s brakes). The process should be limited to one-mile intervals to allow the brakes to cool between bedding sessions. Between 20 and 50 of these break-in cycles will properly seat the shoes and magnets. The driver should feel the improvement in braking power as the shoes conform to the drums. (Additional installation and maintenance information is in the Electric Brakes Owner’s and Service Manual on Lippert’s website or on the Lippert mobile app).
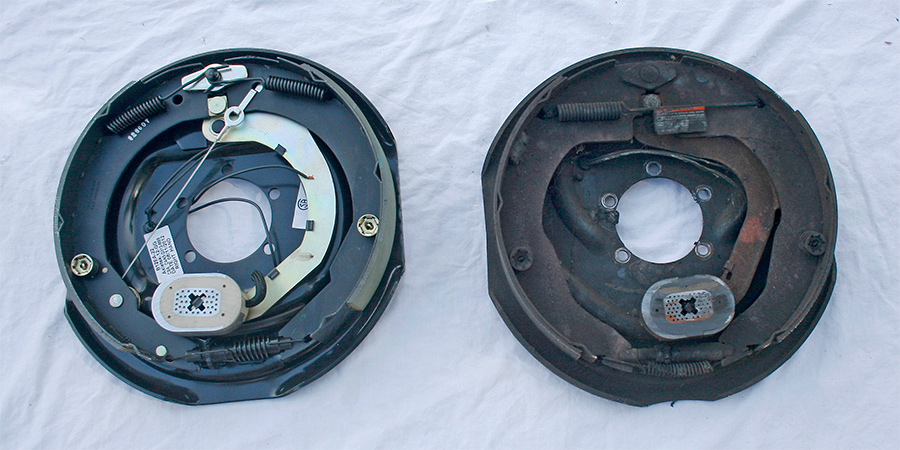
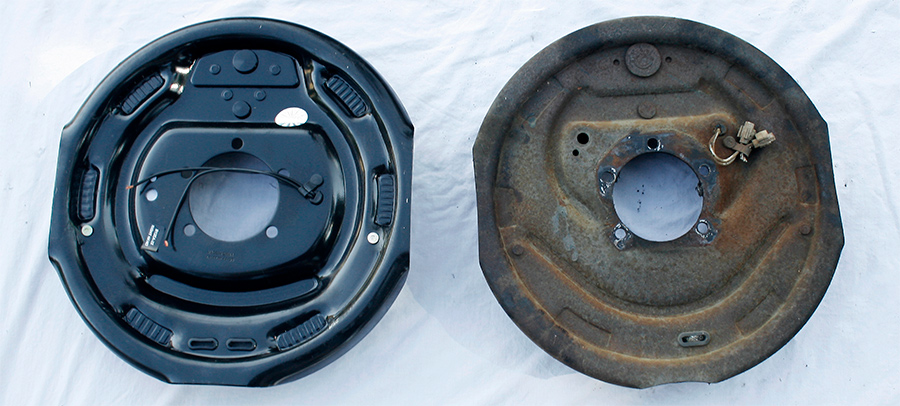
the standard electric trailer brake
The Lippert brake assembly (left) differs from the standard electric trailer brake (right) through its self-adjusting mechanism, which uses a cable and pulley between the shoes to automatically adjust shoe-to-drum clearance during forward stops.
new gel filled insulation displacement connectors
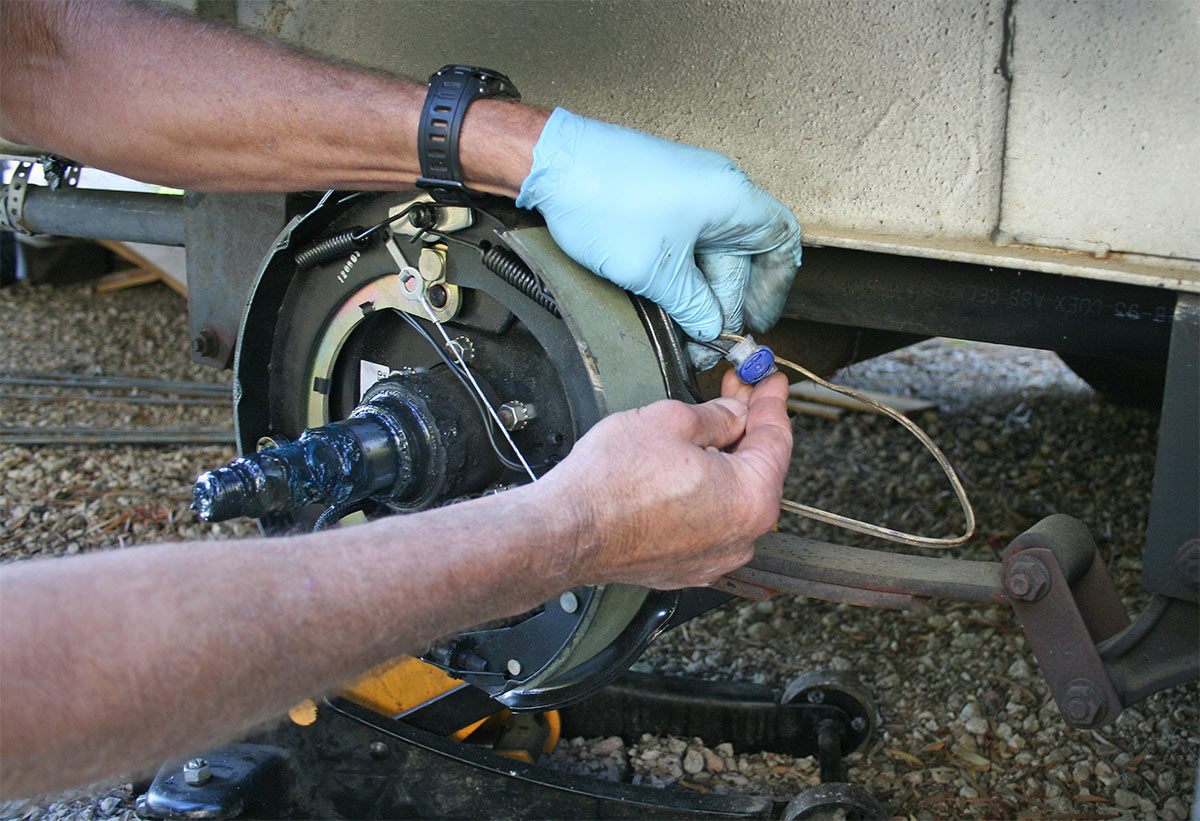
The Lippert kit includes new gel filled insulation displacement connectors (IDCs) but having extras on hand is recommended. https://amzn.to/2P38F8m
Lippert recommends inspecting brakes for excessive wear every 3,000 miles, and when it’s time to start swapping out used components, replacement parts are available.

The Lippert self-adjusting brakes can theoretically pay for themselves over time by optimizing brake-lining and magnet wear; this is far better and safer than compensating for trailer brake wear by increasing gain on the brake controller. The time saved by not having to crawl under the axle to adjust the brake shoes — or pay someone to do it — is an added bonus.
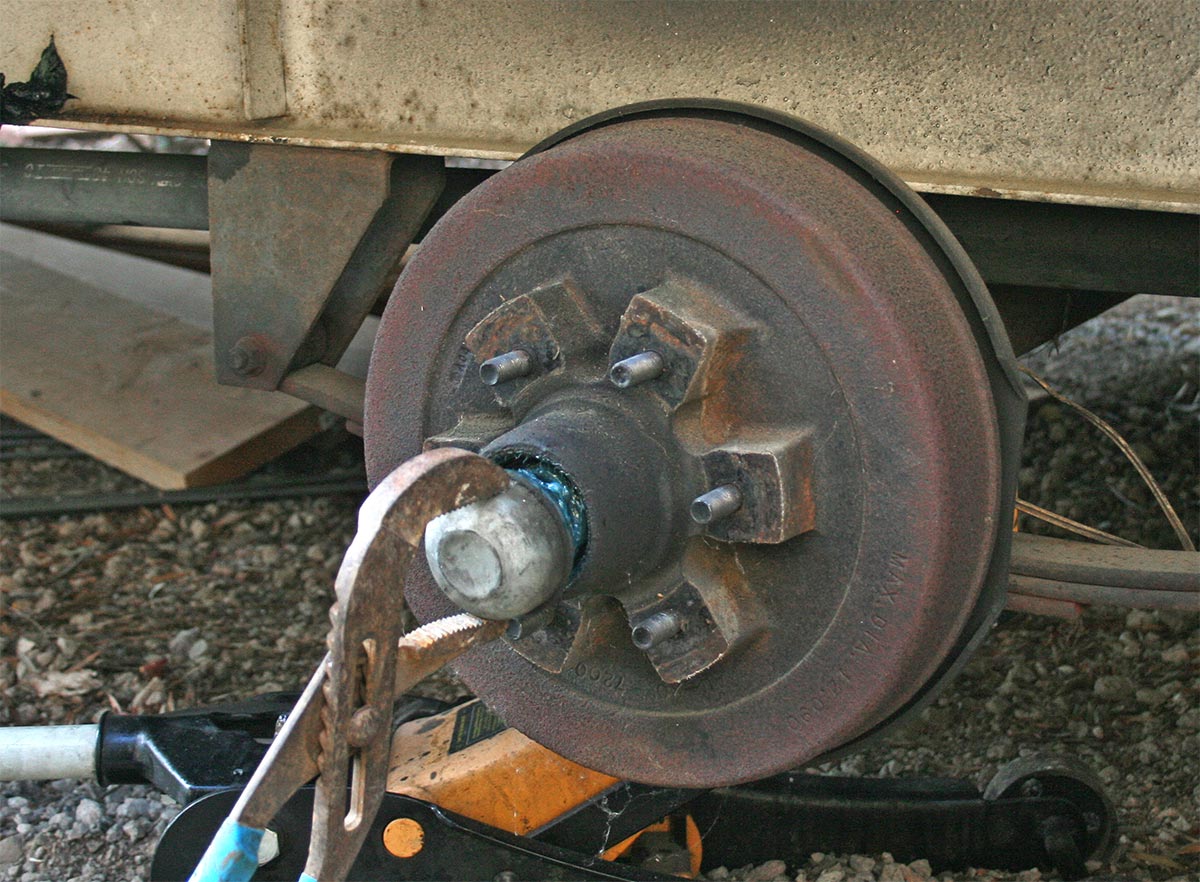
the trailer raised and secured with jack stands and wheel chocks
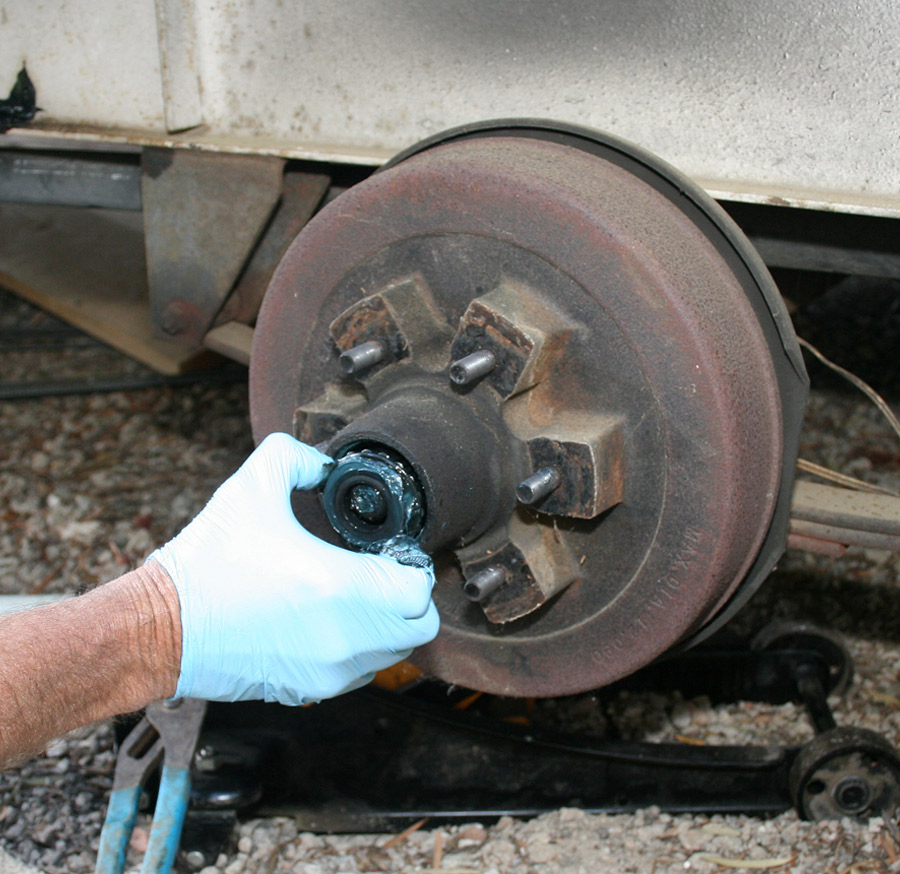
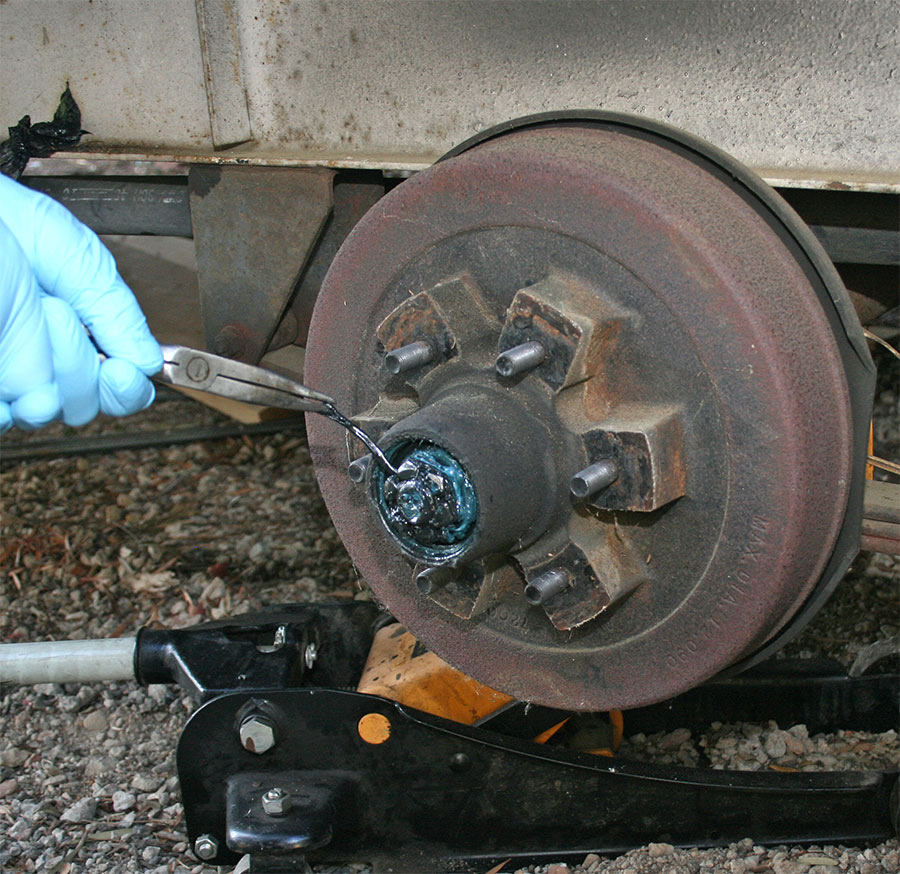
With the trailer raised and secured with jack stands and wheel chocks, the lug nuts and wheel are removed. Then, the axle’s dust cap can be removed with adjustable pliers or by prying it off with a screwdriver.
the castle nut with hand with glove
the castle nut accessed by first removing cotter pin
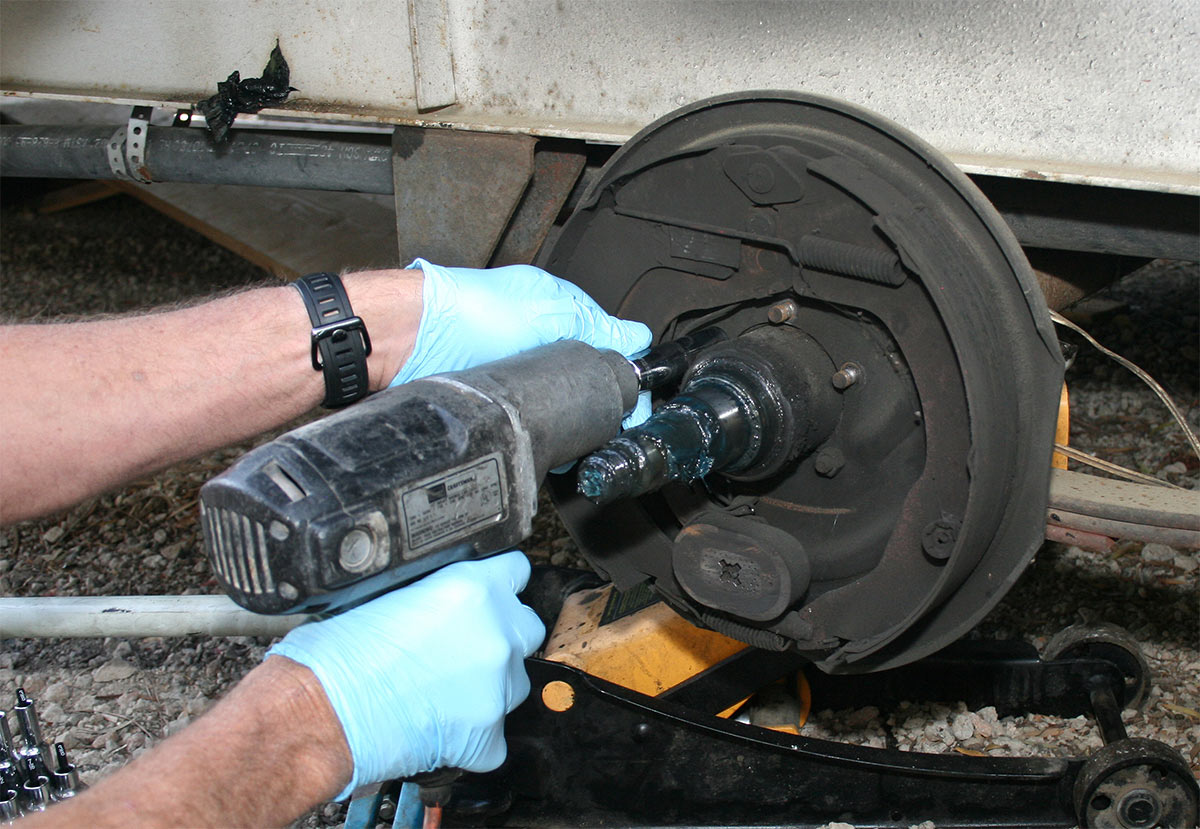
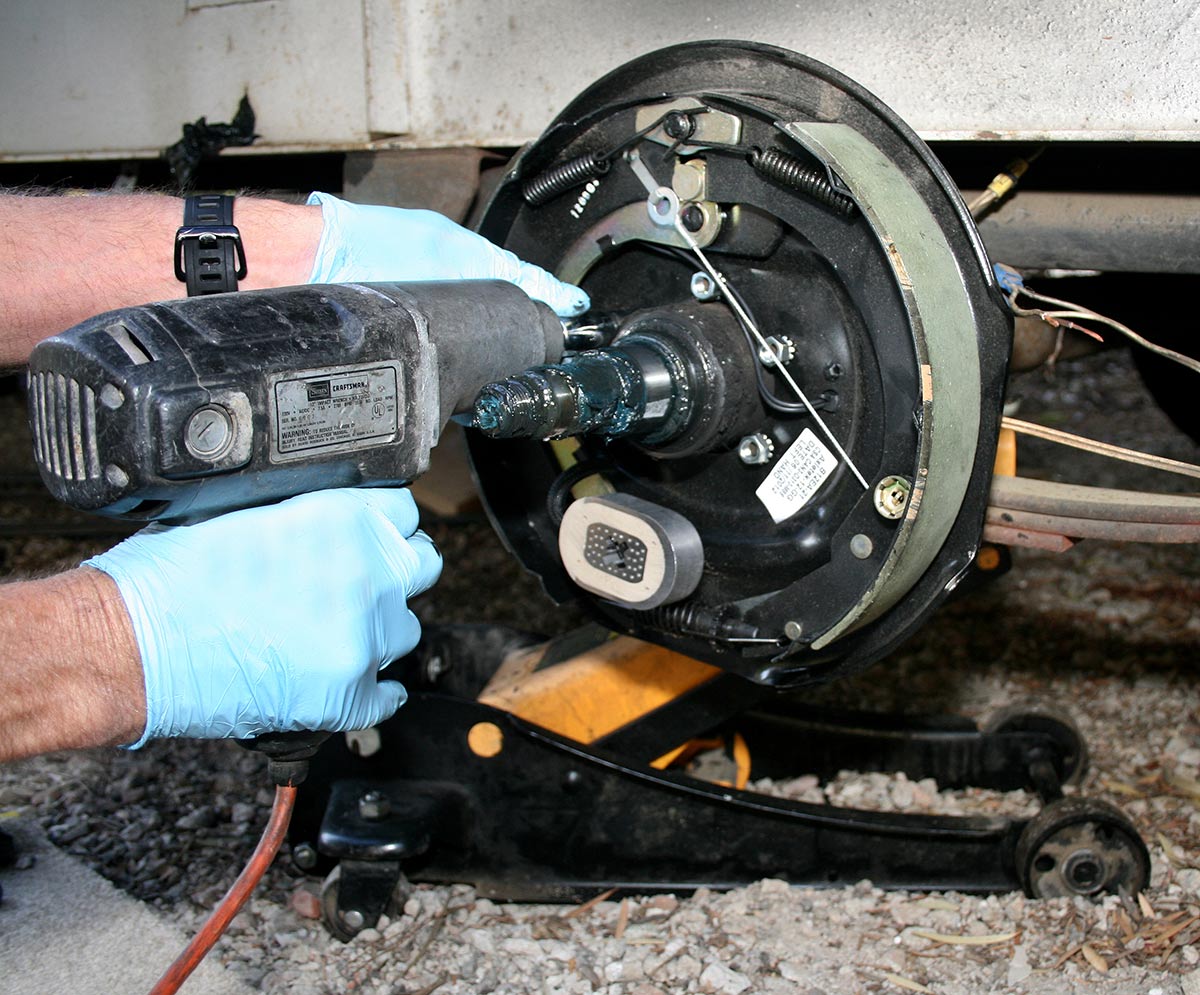
Next, the castle nut is accessed by first removing cotter pin or prying off the retainer, depending on axle style. After the castle nut is off, the flat washer and wheel bearing can be removed.
the drum opening access to the backing-plate retainer nuts
Lifting off the drum opens access to the backing-plate retainer nuts.
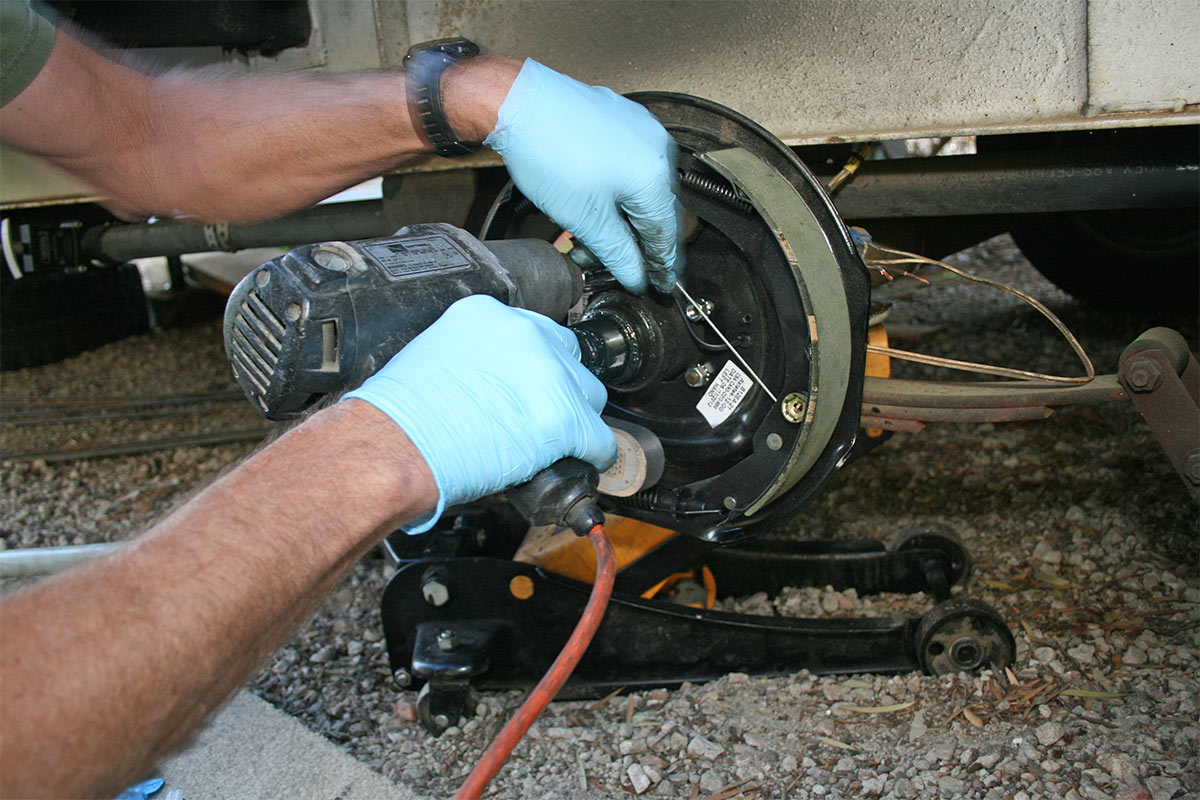
existing brake assembly being freed by cutting its wires
the axle seal being checked
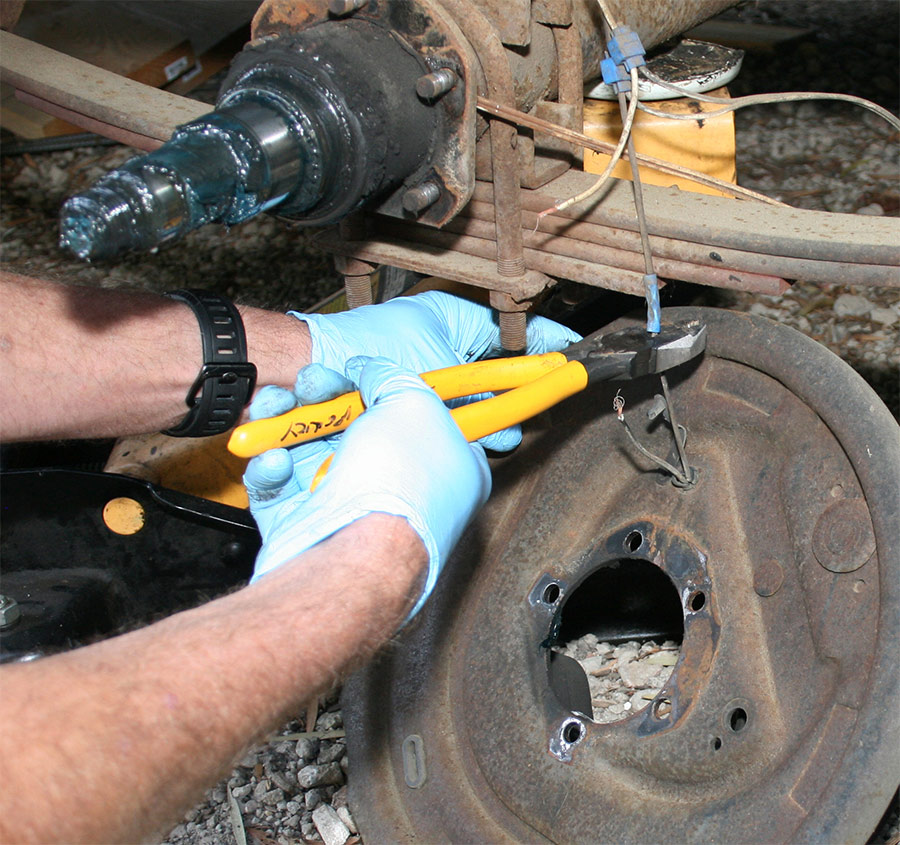
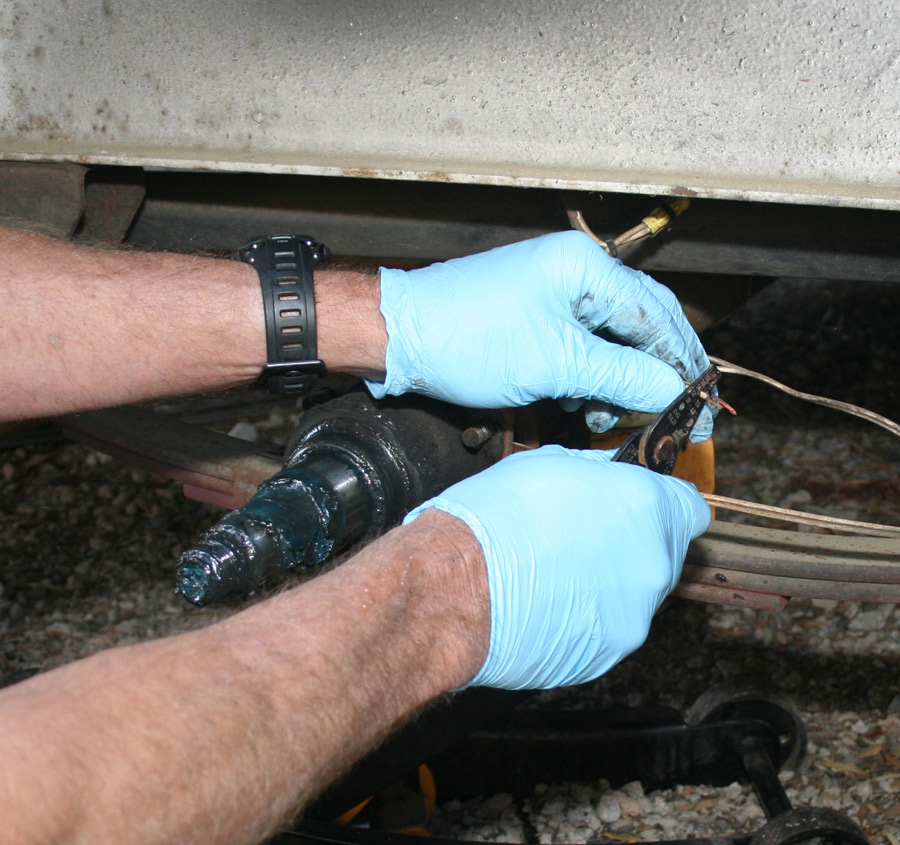
The existing brake assembly is freed by cutting its wires. This is an opportune time to also check the axle seal and repack the wheel bearings (recommended interval is 12,000 miles). The factory brake wires are easily accessible to strip for the new connector.
Installation of the Lippert brakes reversing the removal process
Installation of the Lippert brakes reverses the removal process. Note that the Lippert brakes are side-specific, identified by the white label.
The Lippert kit including weather-resistant electrical connectors packed with dielectric grease
The Lippert kit includes weather-resistant electrical connectors packed with dielectric grease. Polarity isn’t important.
the drum being inspected for excessive wear and scoring
Here’s the completed Lippert kit. Next, the drum should be inspected for excessive wear and scoring and resurfaced or replaced as necessary. Finally, the re-packed wheel bearing, washer and castle nut can be installed and torqued to specification after snugging, loosening, then tightening while rotating the drum; always secure the castle nut with a new cotter pin. Reinstall the wheel and you’re done. Lug nut torque should be checked after about 50 miles, then again after another 50 miles.
Source:
Lippert
(574) 537-8900
lci1.com