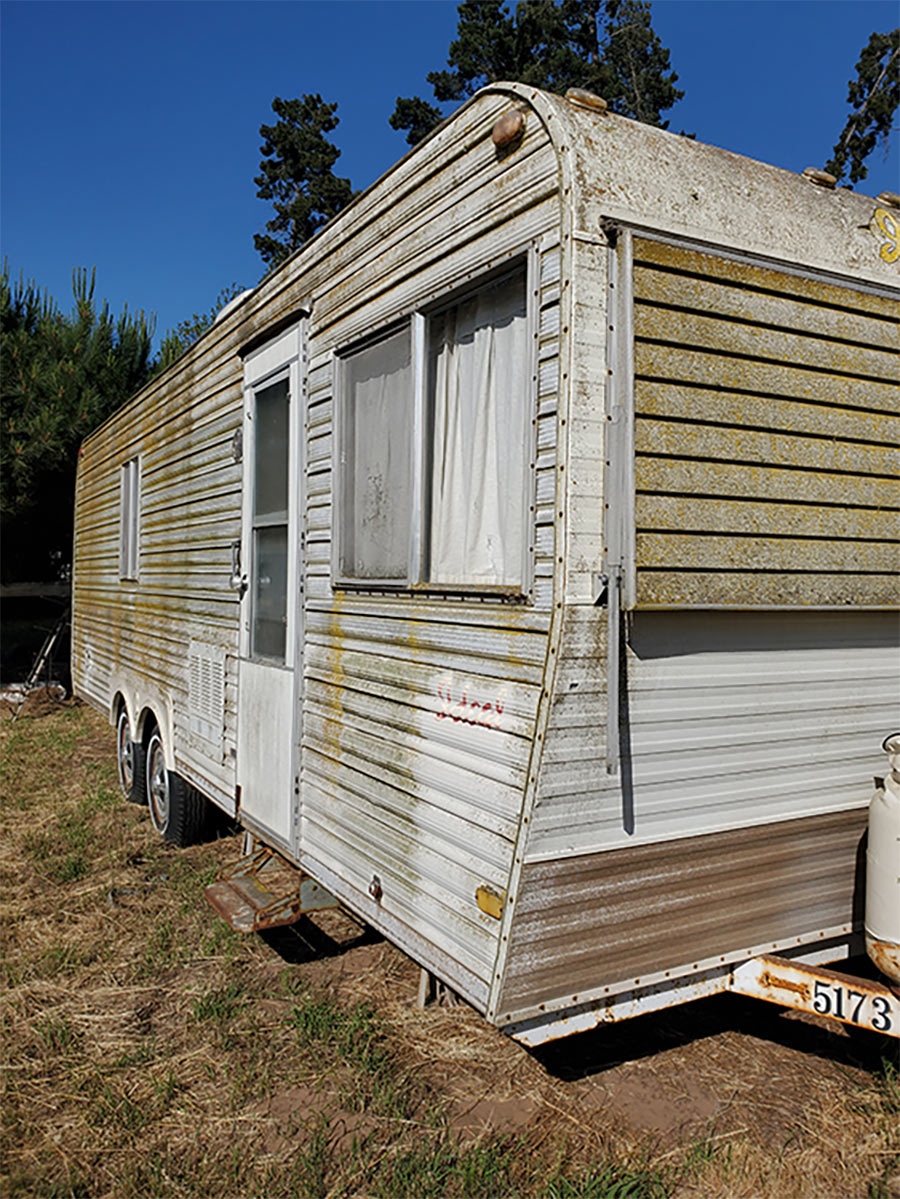
nspiration for RV renovation can come from just about anywhere — and in the case of DIY fanatics Janelle and Chad Payne of Nipomo, California, that just happened to be the next-door neighbor.
“She had this old 1974 Ideal travel trailer sitting on her property,” Janelle explained, “and I thought maybe she’d make me a deal. When I approached her, she said, ‘Thank God, I’ve been praying that someone would just come and take this.’ She just gave it to us. The funny part is, they had originally purchased it from the people that had owned our property. Now it’s back.”
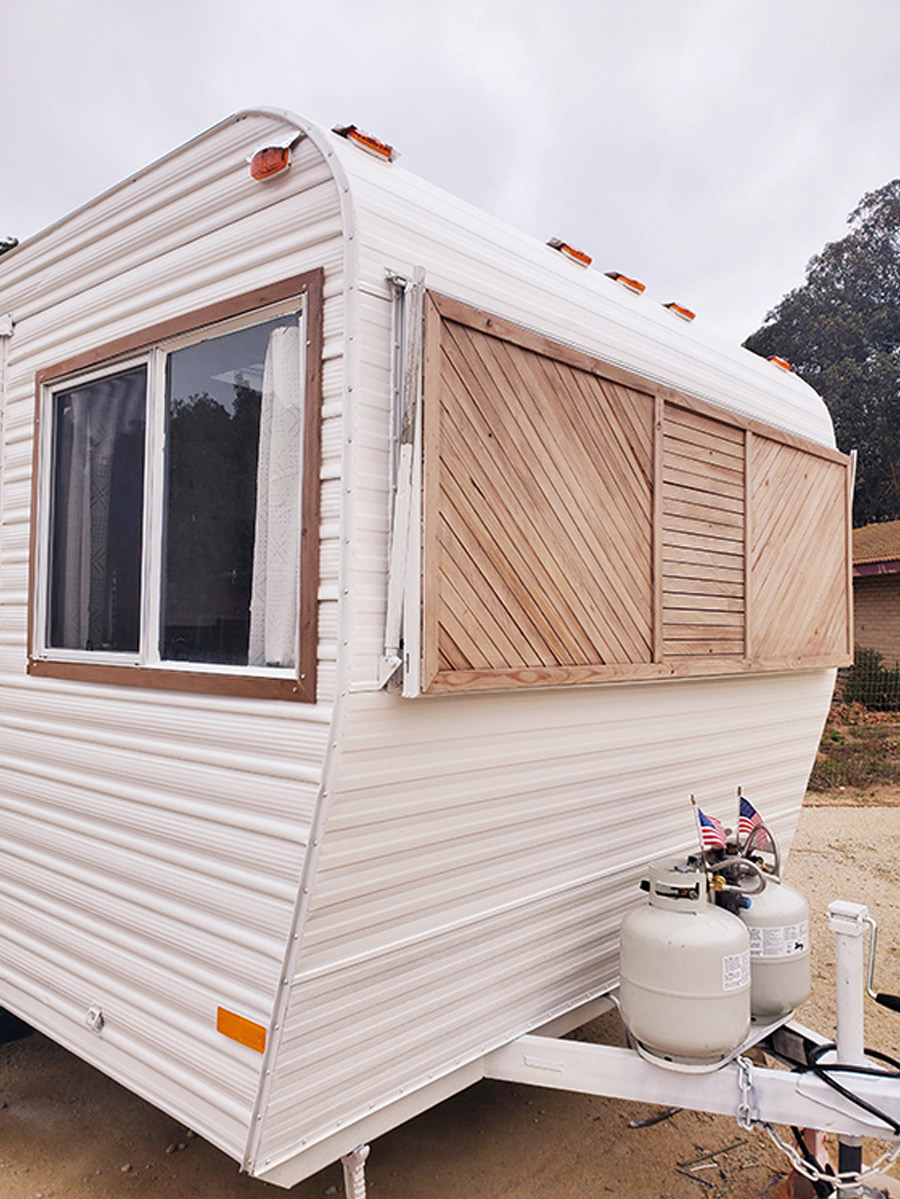
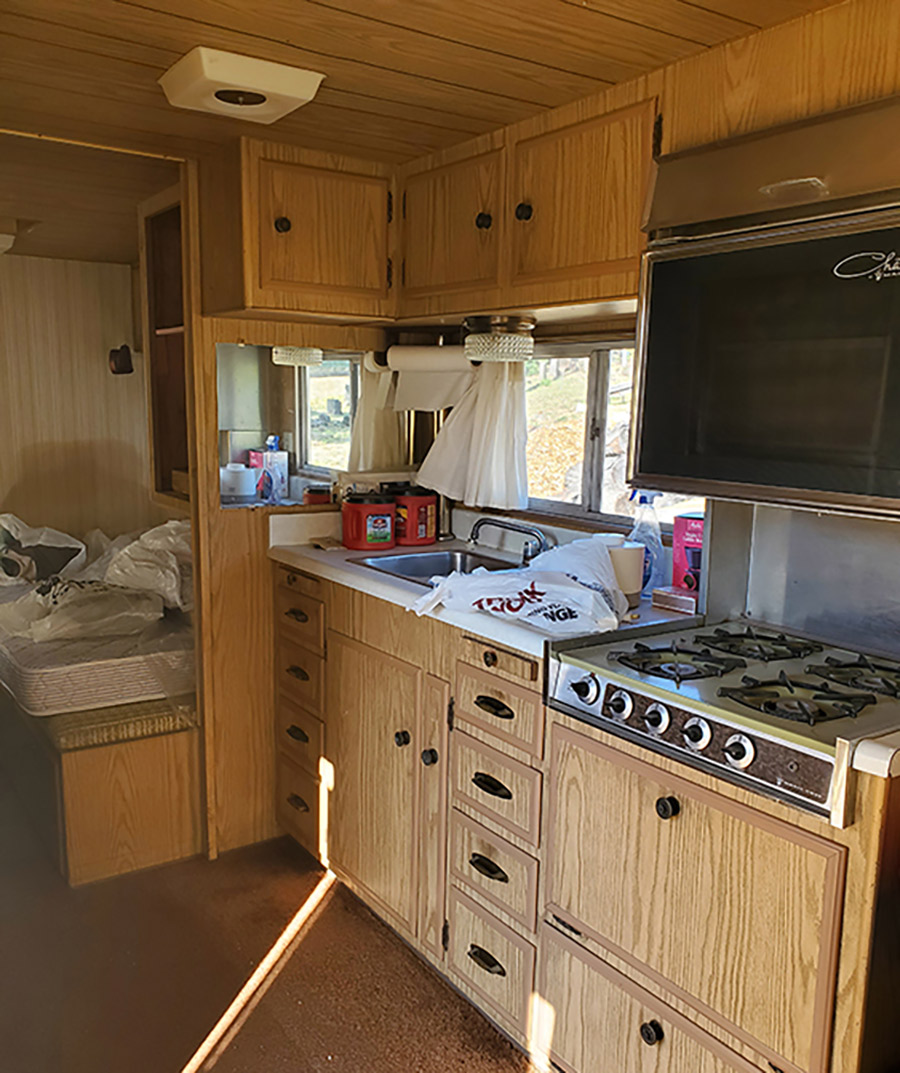
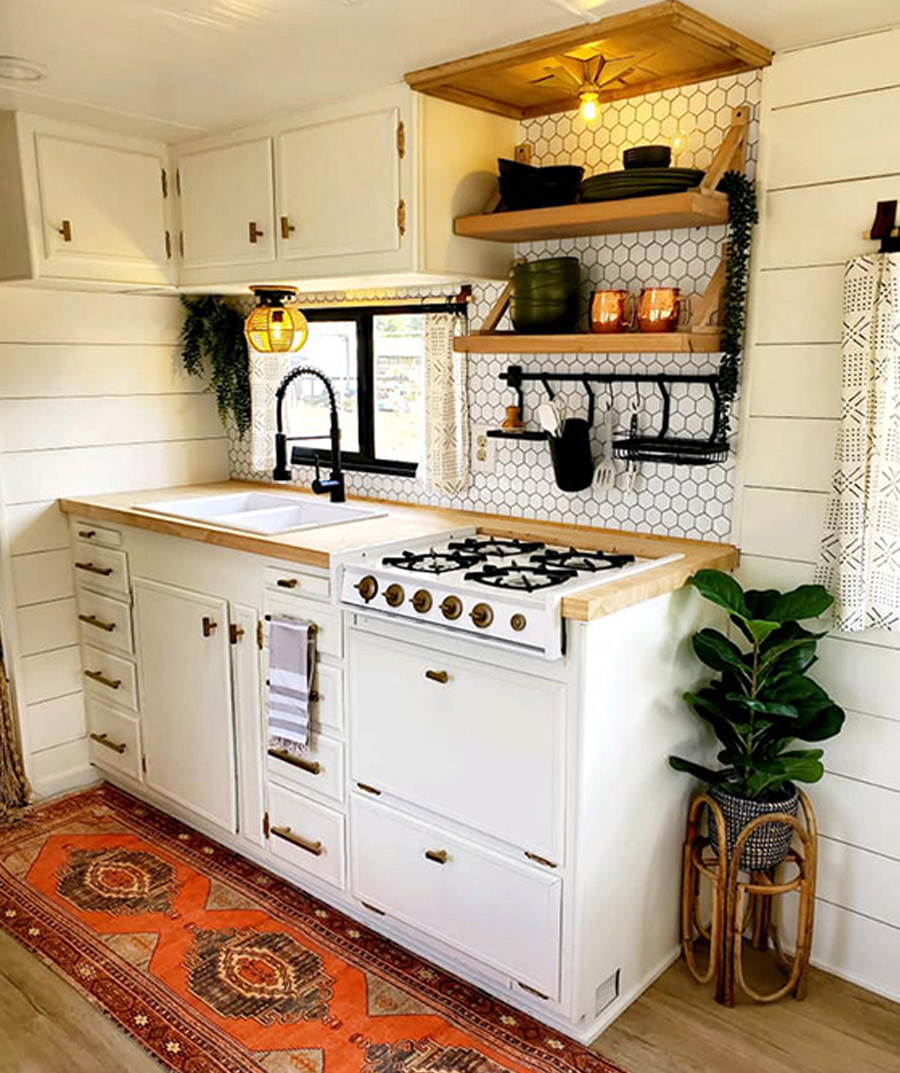
Getting the trailer for free allowed Janelle to fearlessly pursue her creative vision. “I don’t have a plan when I go into something,” she told RV Enthusiast. “I just knew that I wanted it white and bright. Everything was wood, and that was common, but it had oak — and, I don’t know, it’s not my thing. I wanted it to feel more open. I just wanted everything gone. There were so many closets in it, a huge TV opening, two full-size closets on the right of the bed, plus a cabinet above the master bed. In the bathroom next to the toilet, there was a huge enclosed closet…I think the furnace used to be there. I ripped it all out. My husband would come by and say, ‘Okay, what else is going to be gone?’”
After essentially gutting the trailer, Janelle started looking at the possibilities. “There was an area where the dinette table would fold up, but only one of the bench seats was there. If I were to make it a bed, it would be the size of a dog bed. I wanted a spot for each one of my boys. So that’s when I got rid of the closets next to the master bed, ripped all that out down to the floor and built bunk beds.”


Along the way, Janelle and Chad discovered other obstacles that had to be overcome — like a missing black tank. “They had basically bypassed it, so it always had to be hooked up (to a sewer line). My husband’s stepdad is a jack-of-all-trades, and he was able to install a new one for us.” The talented Mr. Fixit also installed a new Penguin roof air-conditioner with heat pump, reinforcing the upgrade with a metal beam for added support.
Though the couple has extensive remodeling experience, they learned a number of other things that are different about renovating an RV. “The walls are paper-thin, so you can’t just pop any old screw in; even finding studs is different. Then there’s the weight consideration — even if you think ‘This is an amazing couch’ you can’t just buy it and put it in. You have to make sure it will fit and that it won’t be too heavy. In a house, you don’t have to do that.”


“People were like, ‘Why would you do that?’ Because it’s cute, and I like cute things.” But there’s also some method to this madness: It takes Janelle just seconds to remove everything from the shelves before travel and put them away, and she uses hook-and loop-fasteners on little plants and other knick-knacks to keep them secure.
The trailer’s exterior was finished in high-gloss exterior household paint, which husband Chad applied with a common Grayco sprayer after a few coats of Enduro epoxy primer. “We didn’t want to use automotive paint because we’re cheap,” Janelle laughed. “Who knows if it will last, but it’s been good so far.”
In all, the project took five months and the couple spent $7,000 for the entire project, including new tires.
Janelle offers this advice to those considering an RV renovation of their own: “I think that people look at what we did and think they can’t do it,” she said. “Just take off those window coverings — it makes such a difference. Paint is amazing. And furniture. I feel like so many RVs are dark…all the furniture is dark and it’s like you’re walking into a cave. Paint it, swap those couches for a nice futon or something. You don’t have to gut it. Start small and get bigger. It’s totally doable.”

