n extended patio awning is a wonderful thing to have when you’re camping; one that’s ravaged by the wind is not. Strong, unpredictable winds can literally destroy your patio awning in a matter of seconds. Extreme weather is probably the Number One reason patio awnings are ruined, which likely also results in collateral damage to the RV, not to mention impacting your entire vacation. If you happen to be in the RV at the time of a wind event you can quickly retract the awning, but if you forget to retract it before leaving the site for a while, you have two choices: hope for the best in the event of an unexpected storm — or rely on an automatic closure system that retracts the awning at the first sign of trouble. We prefer the latter.
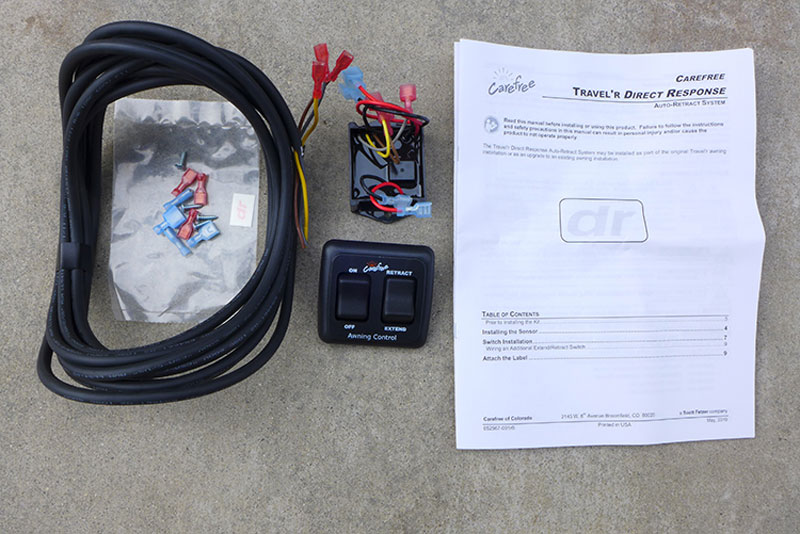
Carefree of Colorado, a leading manufacturer of RV awnings, offers a solution to this dilemma with its Direct Response electronic motion sensor upgrade, which will automatically retract the awning in strong winds. The device mounts in the vicinity of the motor/head assembly and has a preset sensitivity, which can be turned on or off when washing the awning fabric. The first hint of strong winds or a sudden gust will signal the system to retract the fabric. Many awnings are fitted with such a device, but it is typically reserved for more expensive RVs; most older rigs aren’t equipped with an automatic retraction system. The kit for the Carefree Traveler, part number SR0093, retails around $98, while the kit for the Eclipse model (SR0036) is $350. Most handy owners are capable of installing either kit.
Installation
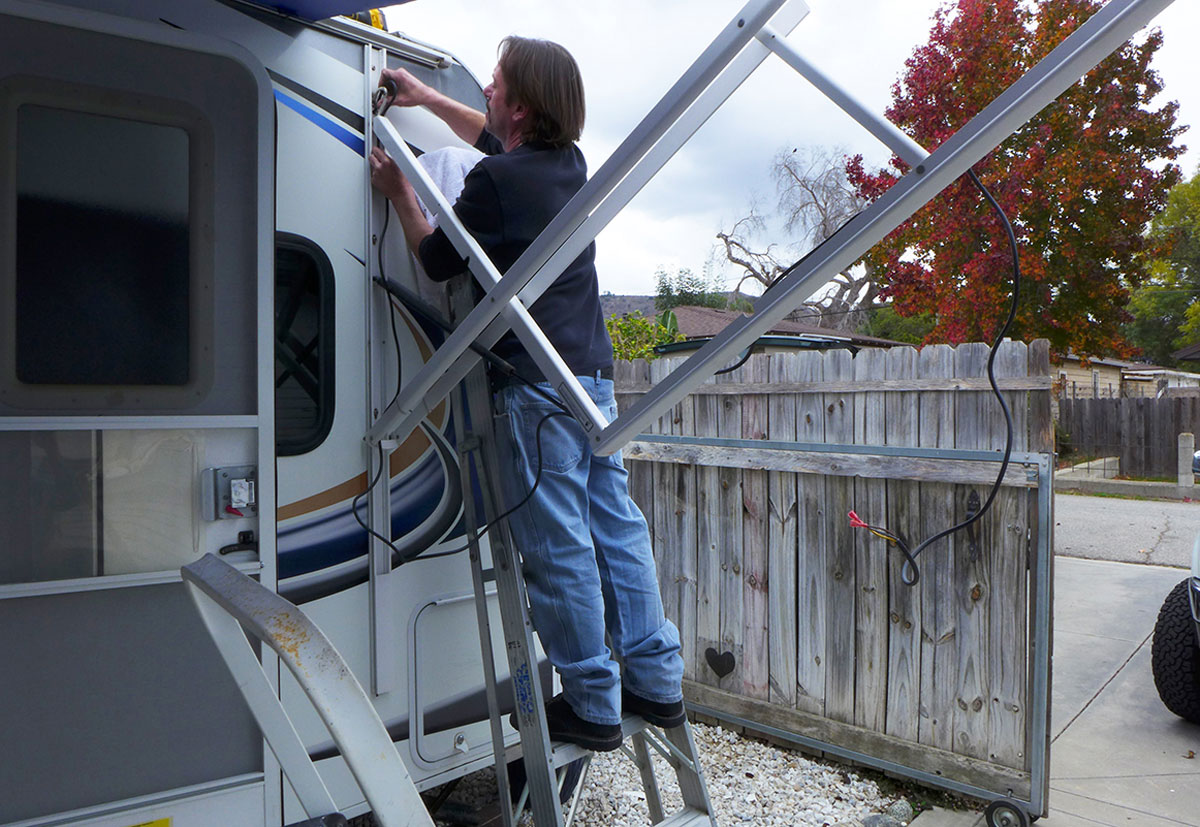
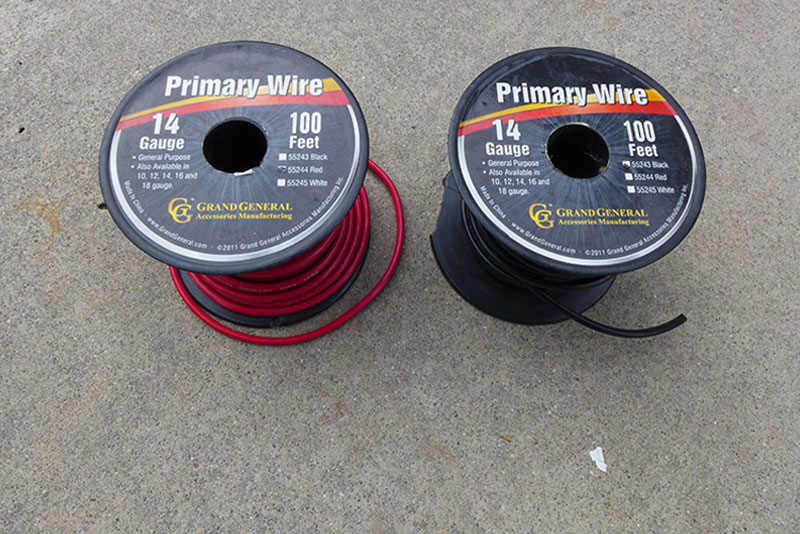
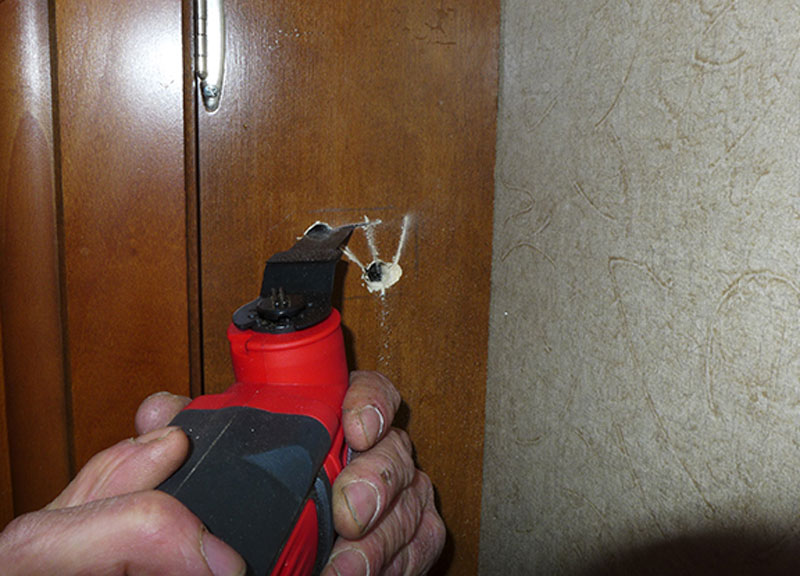
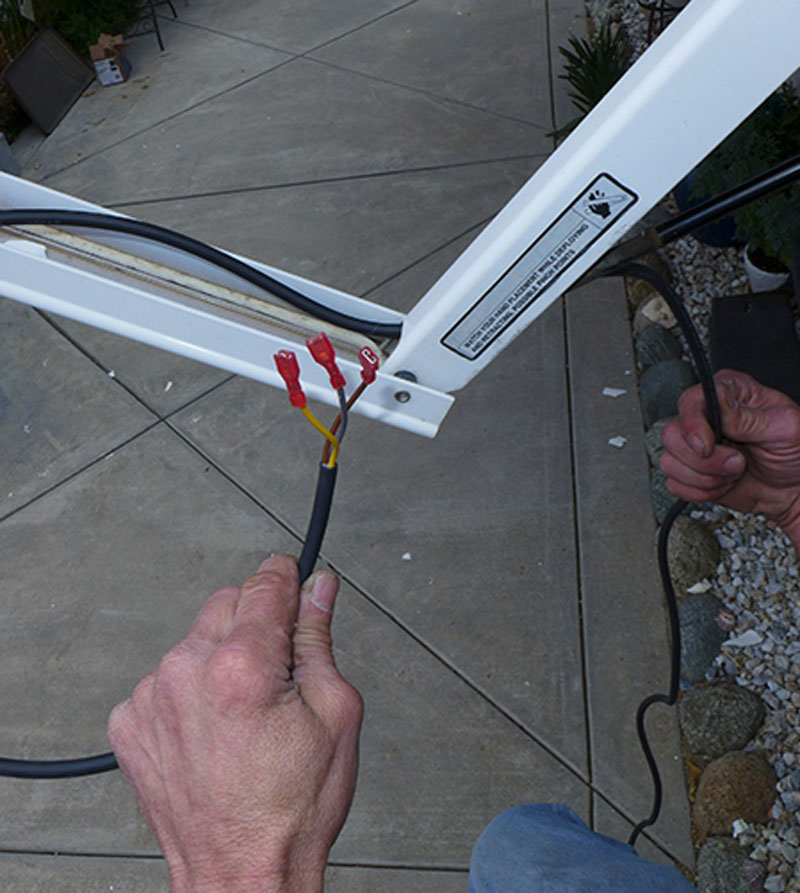
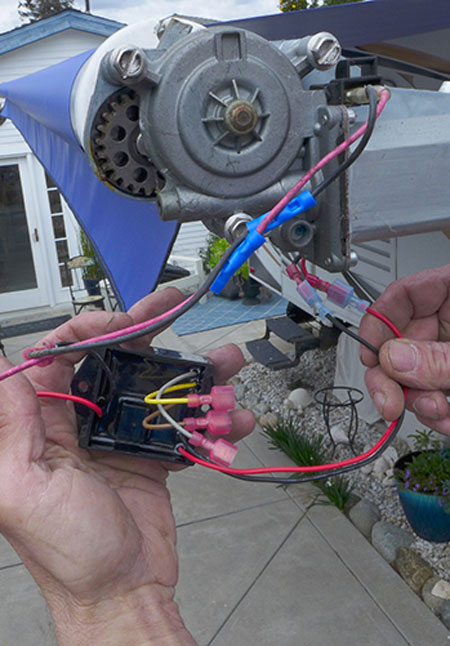
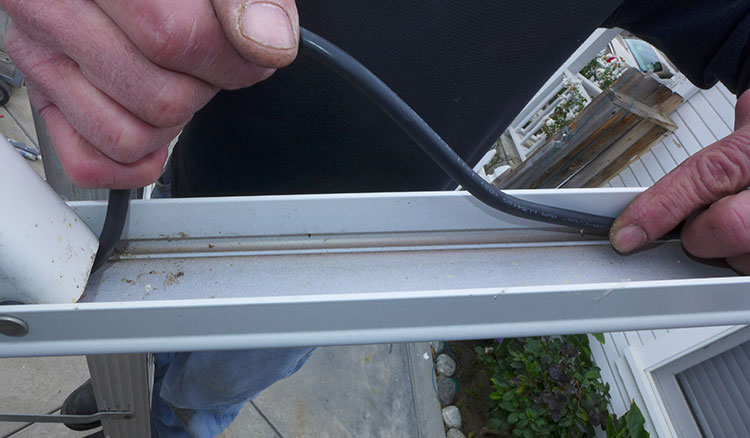
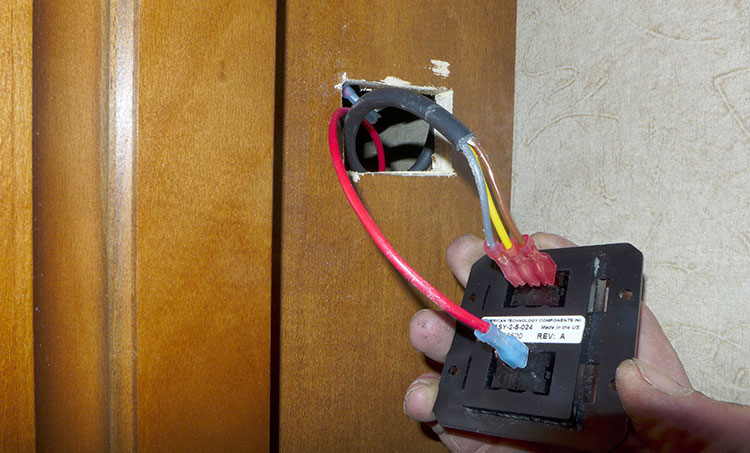
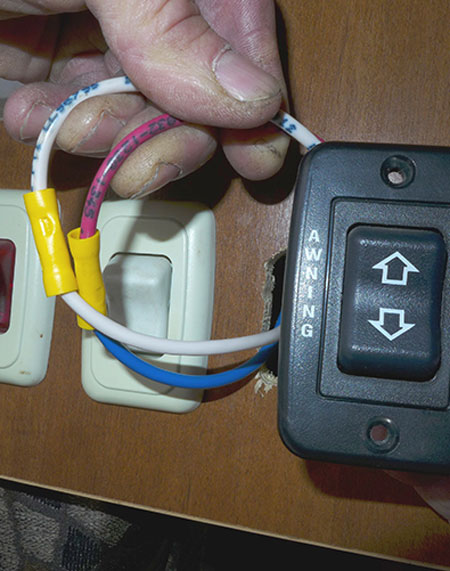
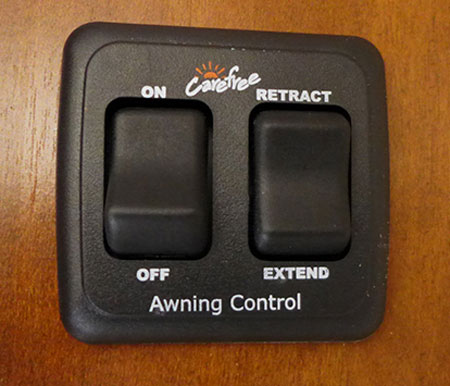
Access to the front motor/head assembly will be necessary to complete the installation, which should take just a couple of hours. You’ll have to route new wiring to the awning sensor — but before you get to that step, you’ll need to disconnect the power from the original switch after fully extending the awning. The original “extend and retract” switch will not be functional after the Direct Response is installed. It will be necessary to find a find a suitable location (in a closet or cupboard or on a wall) to mount the new switch assembly where a suitable 12-volt DC power supply is nearby — either from the original switch (like it was done for this project), a reading light or any other 12-volt DC source in the area. The wire for this step is not provided with the kit, so plan on procuring about 20 feet of 14-gauge stranded wire in red and black to have on hand. This circuit also needs to be protected by a 15-amp fuse.
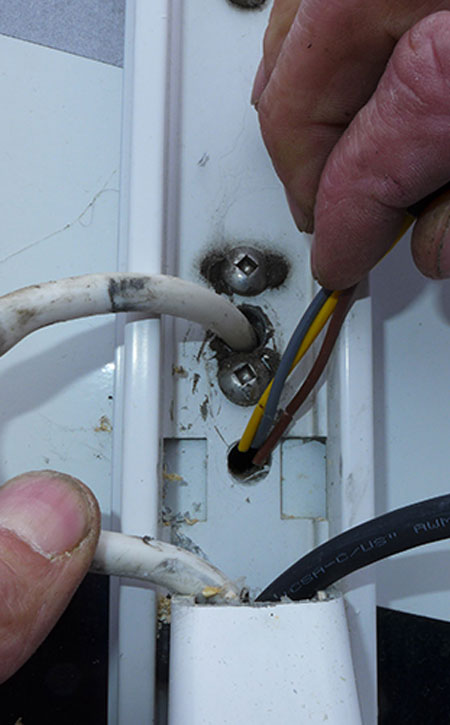
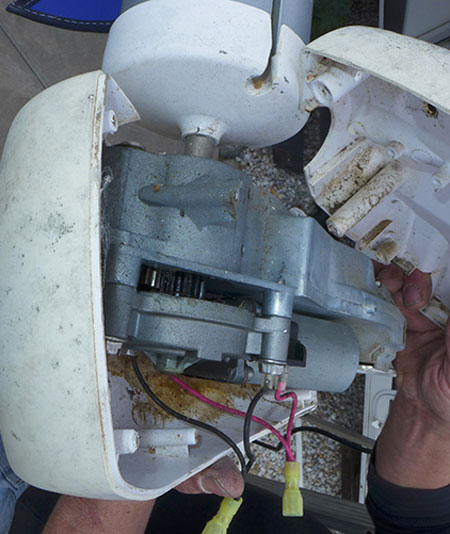
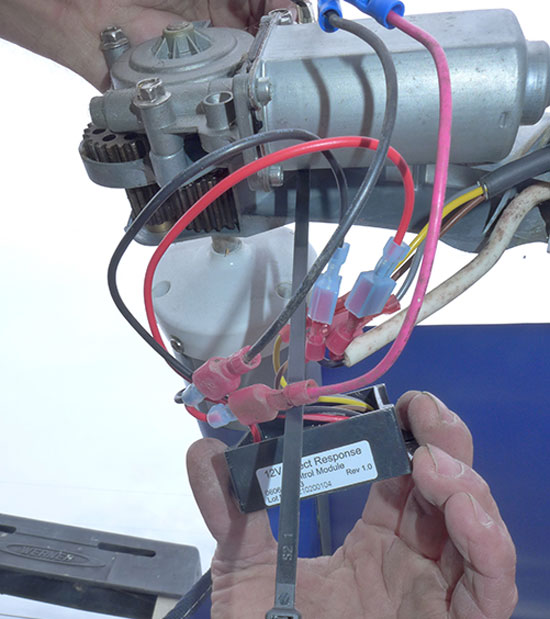
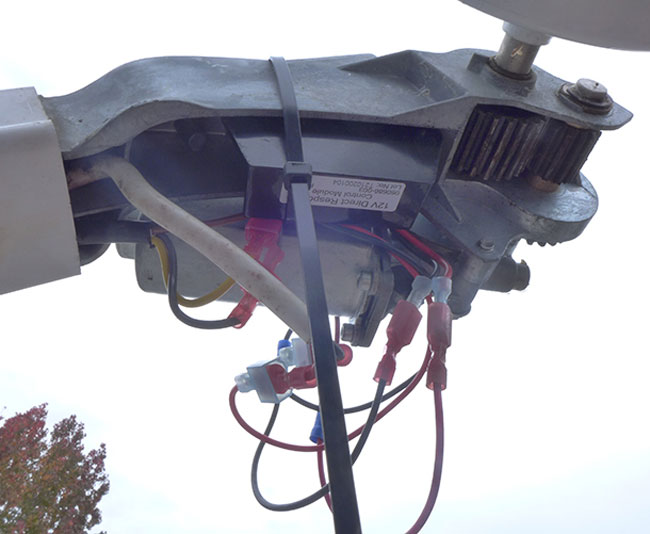
Once you establish a mounting location for the new switch assembly, you’ll need to follow the directions to complete the process, which are very explicit and supported by a wiring schematic. The sensor module will be mounted near the motor assembly, which is located under the front head cover (on the right side while looking at the awning).
Everything for this installation went pretty smoothly, although it was a little tricky pressing the wiring harness into the hardware assembly slot specifically allocated for this purpose. It was also difficult to understand exactly where the company wanted the sensor module to go; we put it into the slot that made the most sense and secured it with cable ties rather than the double-sided tape that was supposed to be in the kit (but wasn’t). That diversion turned out to be best, since double-sided tape has a tendency to loosen with age and exposure to heat and you don’t want the sensor unit flopping around inside the plastic cover that surrounds the motor assembly.
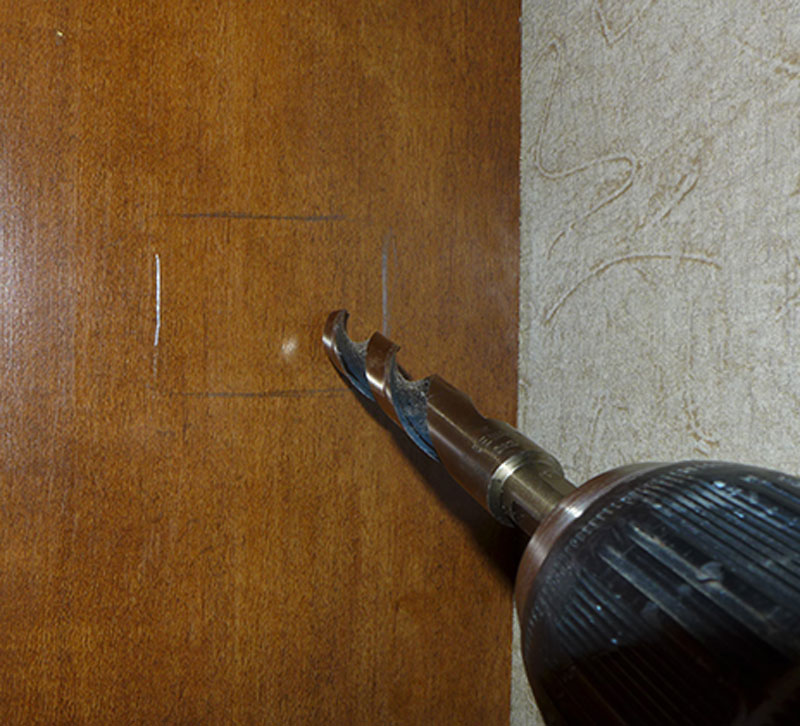
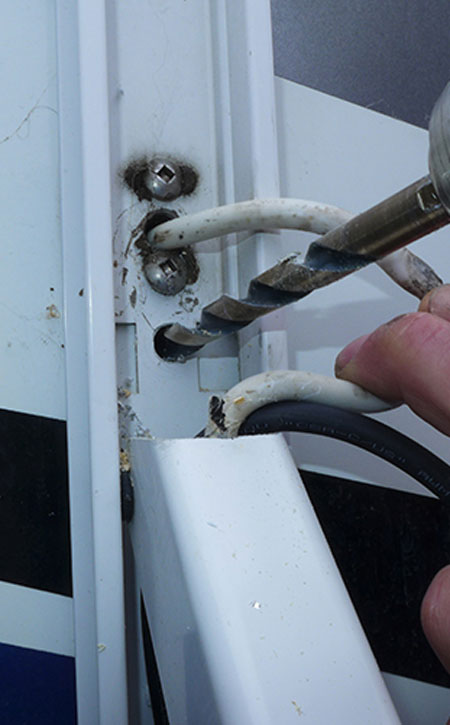
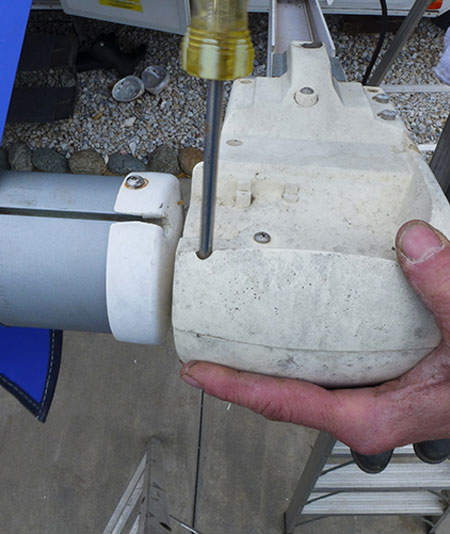
A second stumbling block was experienced when trying to remove the plastic cover. In this case, a couple of the screws were rusted and needed to be drilled out to free the cover. All rusted screws should be replaced — in any project. Also, there are a few safety standards that must be considered and are clearly outlined in the instructions.
Once the installation was finished, the mechanism was tested a number of times by simulating a wind event by bouncing the end of the awning with the bristle end of a broom. The system worked perfectly every time, offering a strong sense of security and comfort knowing that the awning and/or the RV won’t be damaged and it won’t be necessary to initiate an insurance claim. Obviously, the switch must be in the “ON” position at all times to put the system on standby.
Of course, while Direct Response keeps the awning safe from weather events, most experienced owners will still retract the awning when they are away from the RV. There’s no sense in allowing the awning to flop around in the wind before it hits the threshold that automatically retracts the fabric. When you forget, however, it’s nice to know you’re still protected.
carefreeofcolorado.com

