Conquering Darkness
Conquering Darkness
The diminutive light mounted to the skirt lip above the holding tank termination pipe/valve projected an amazing amount of bright white light. This image was taken when the area was pitch black.
A fun exercise to illuminate the holding tank termination pipe/valve area with an inexpensive LED daytime running light provided unexpected results.
By Bob Livingston / Photos by author
D

umping the holding tanks or routing hoses and TV cable at night can be clumsy — and sometimes frustrating — due to the lack of lighting. It’s one area that manufacturers seem to have ignored when it comes to otherwise installing strategic lighting fixtures around an RV. Sure, a flashlight will work, but unless you’re wearing a headlamp you’ll find yourself running out of hands.

Searching for some type of inconspicuous lighting fixture that could be mounted on the skirt above the holding tank termination pipe/valve turned up a real unexpected find: daytime running lights. While perusing Amazon, we discovered small LED lights that are marketed as—are you ready? — YUK 10x 12SMD 12W Eagle Eye DRL LED Rock Lights for Jeep ATV Off Road Truck Under Trail Rig Lights White (https://amzn.to/3FCb9PY). You’ve got to love overseas manufacturers for their descriptive names for products.

And, they were really inexpensive. Anytime you can buy 10 lights for $13, you’re taking a flyer whether the product is any good — and when you read the reviews, you’ll wonder. But these lights are actually pretty nice, and so far they are still working. But who cares? Even if the light only lasts for one season, you have nine more waiting in the wings.

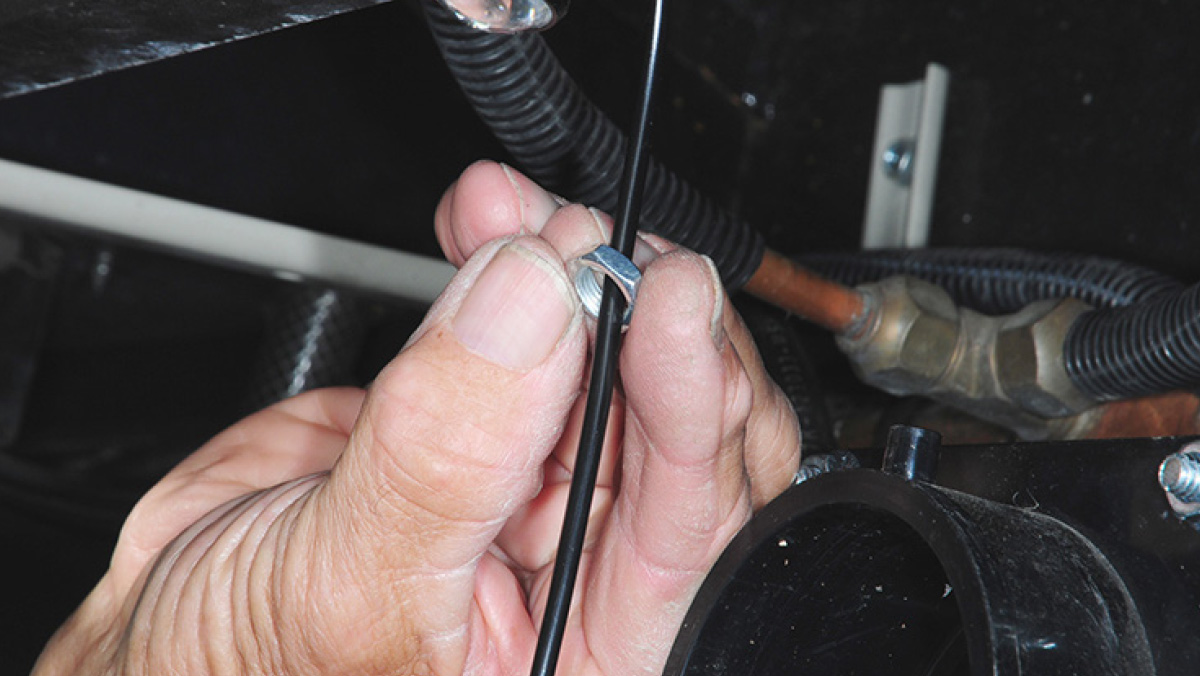
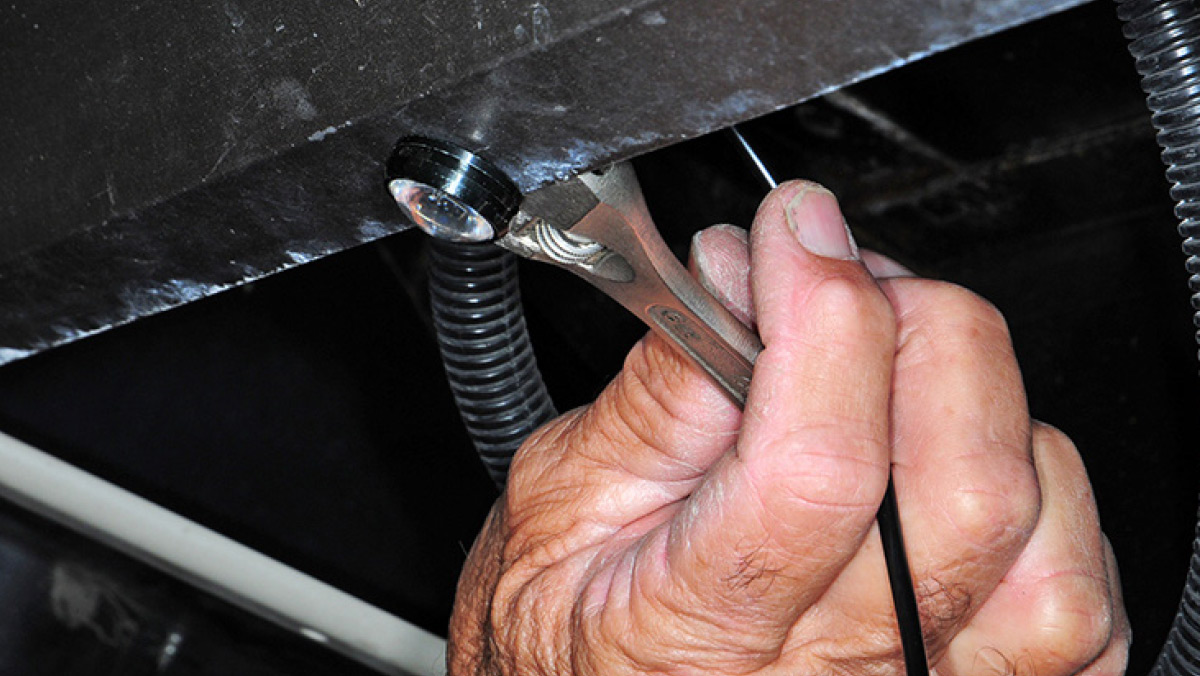
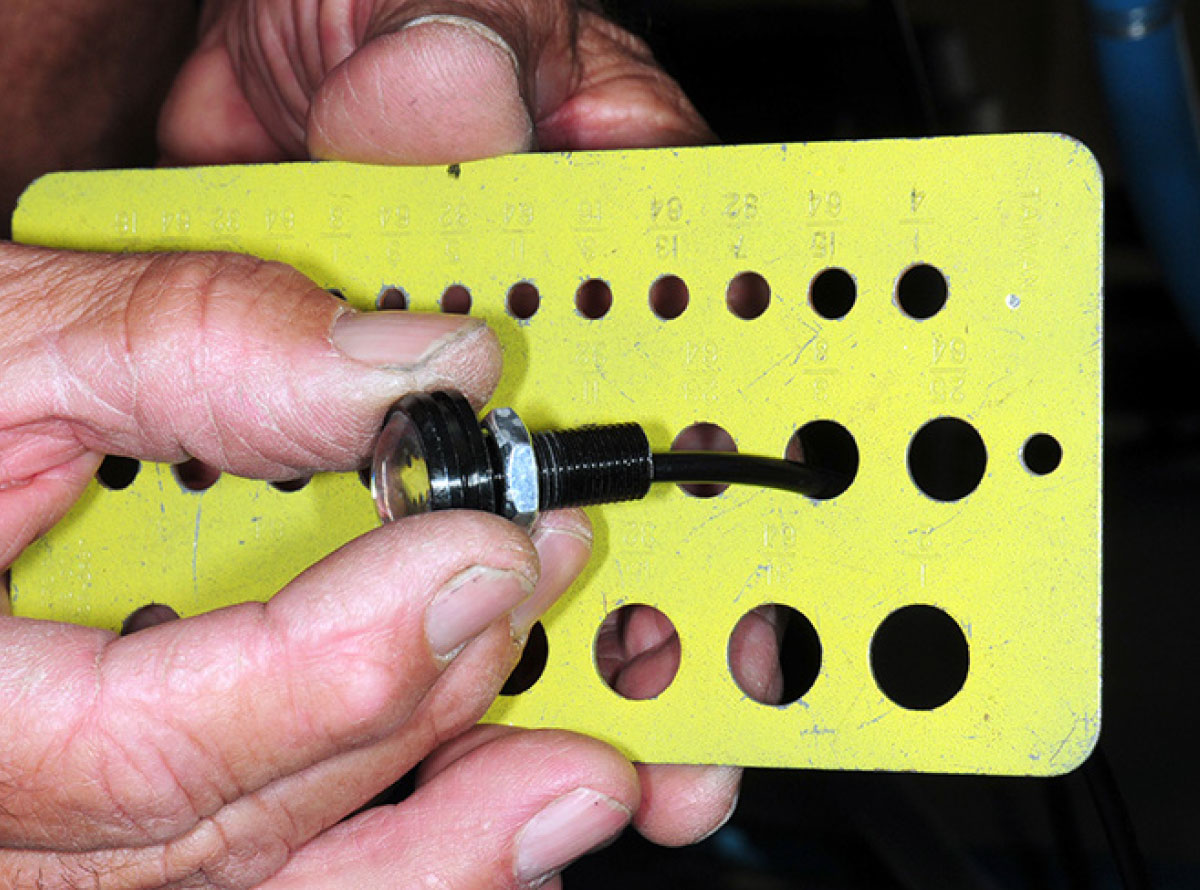
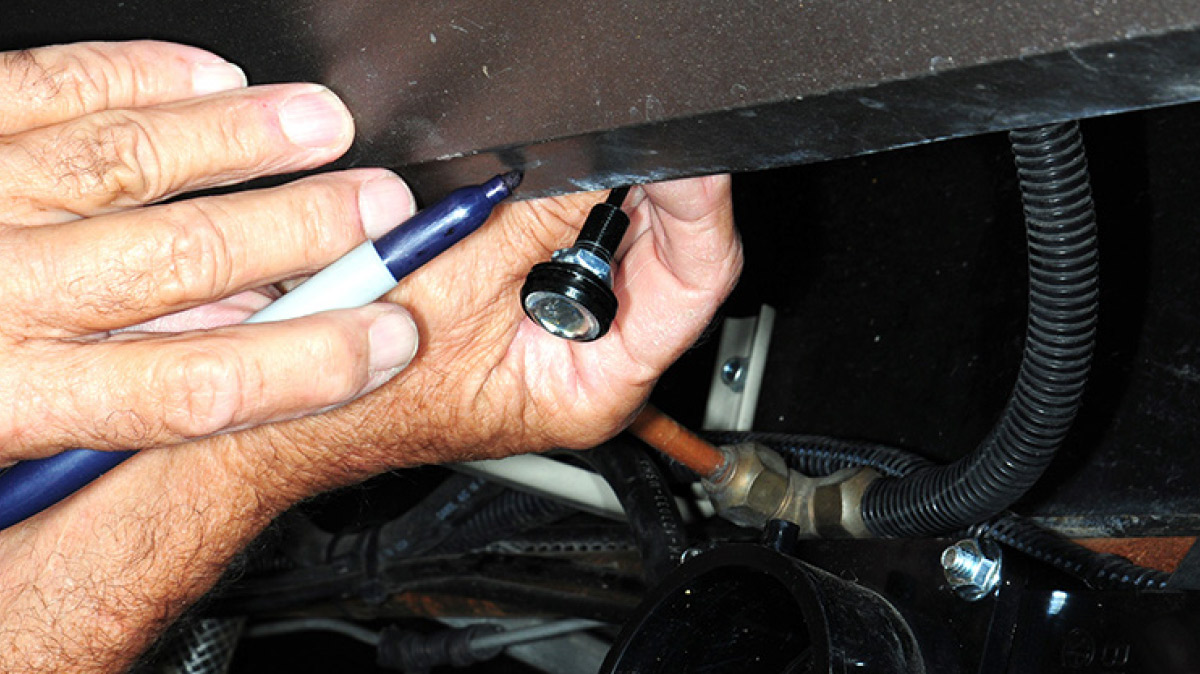
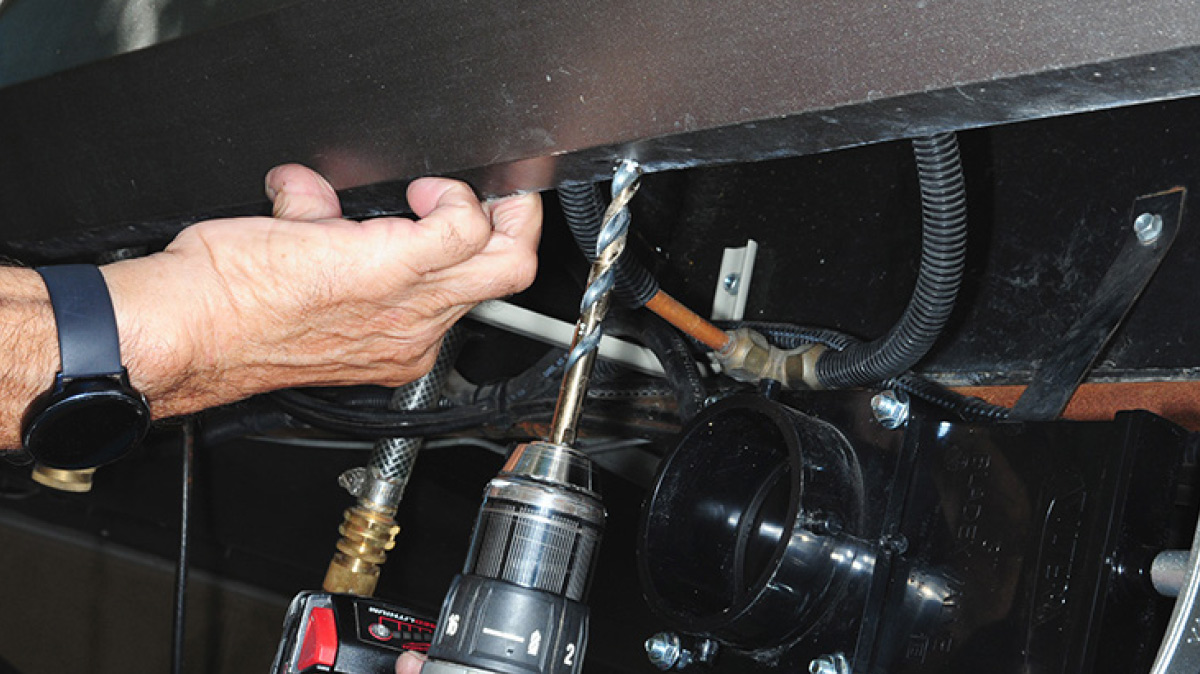
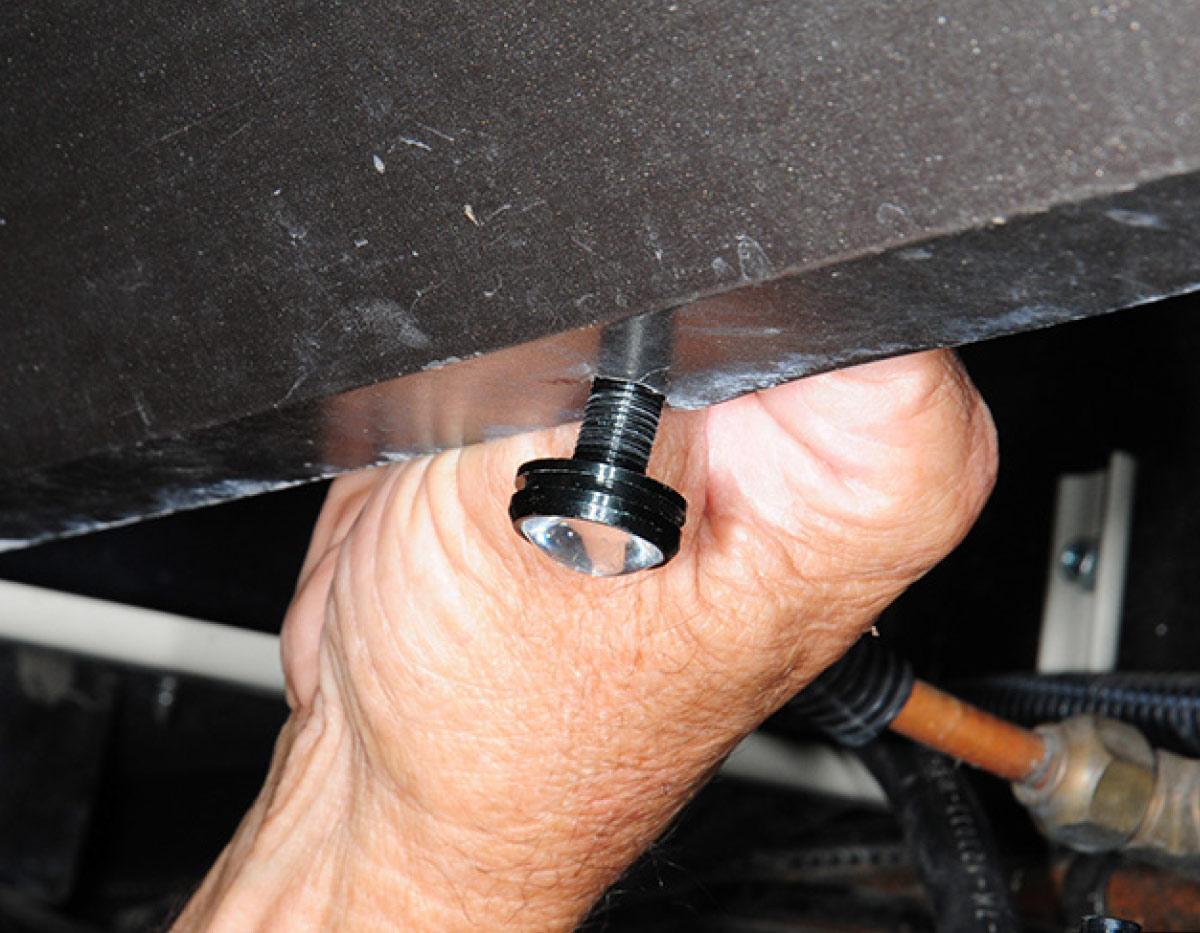
Once the location for the light was pinpointed, its shaft diameter was measured with a drill size guide. We simply drilled the appropriate size hole using bits in stages to make sure the opening was consistent and smooth. These lights have a threaded aluminum alloy shaft and a steel retaining nut. The wiring pigtail is first routed from the outside, the retaining nut slides over the wire and the light fixture is tightened in place. It doesn’t get any simpler than that. When done, the light fixture is barely noticeable as it’s flush mounted against the lip of the metal skirt that terminates beyond the sidewall.

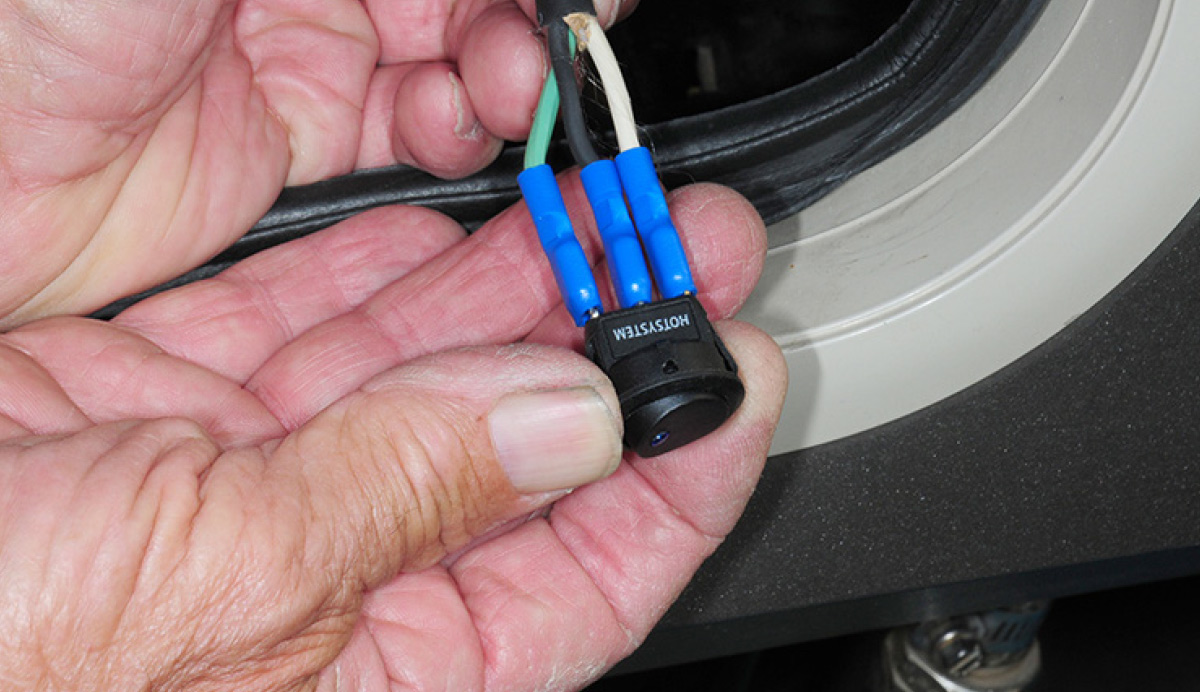
Picking up a 12-volt DC power source and installing some type of on/off switch takes the most time. We found a new lighted rocker switch in our box of spare parts that fit the bill perfectly. There are hundreds of similar switches on the market, and Amazon probably sells most of them. If you’re more touchy-feely, you can visit a local automotive parts or hardware store; just make sure the switch is not momentary and is rated at 12-volts DC.

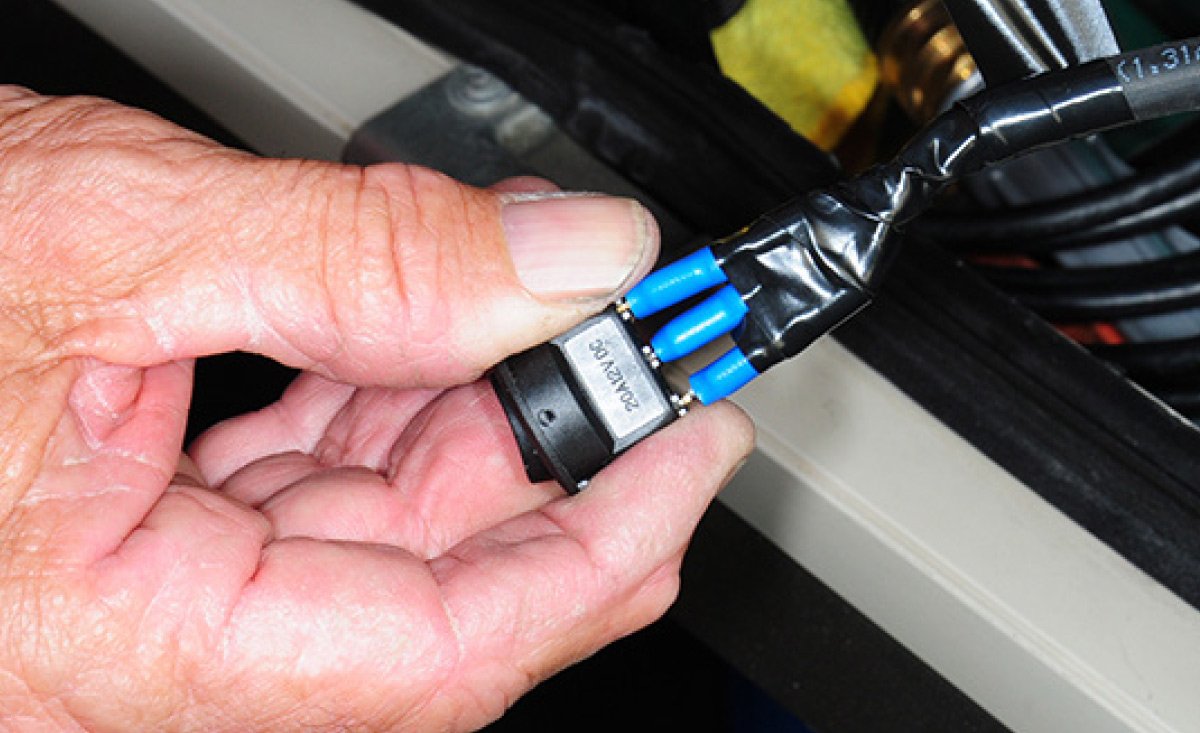
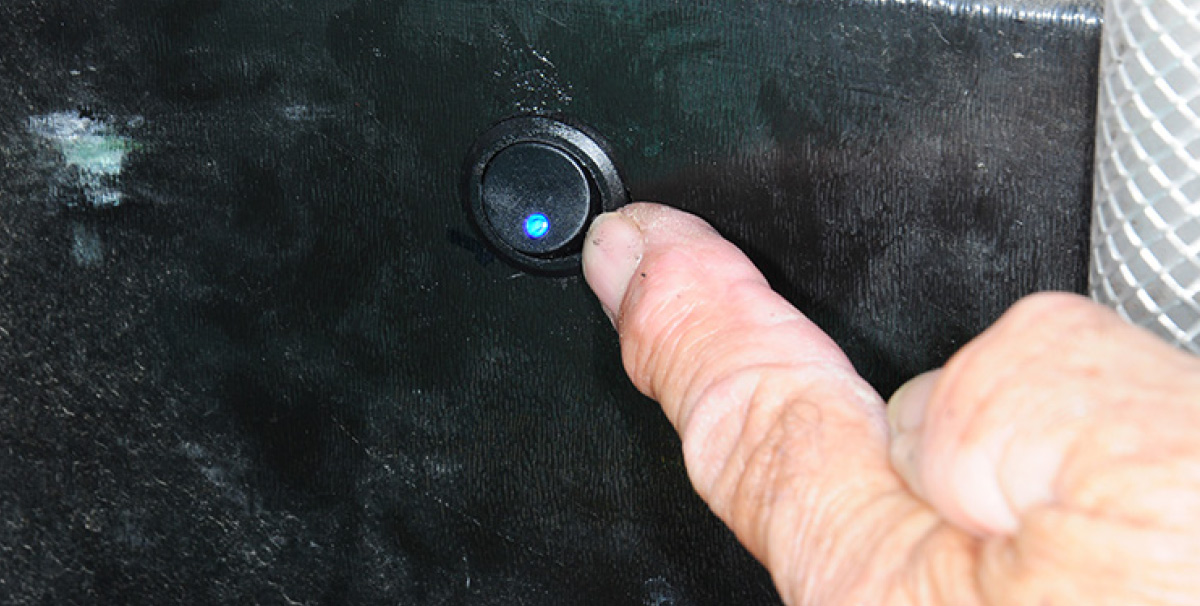
The rear wall in the molded plastic box in the storage compartment — located in the utility area — made a perfect place to install the switch. An appropriate size hole was drilled through the plastic and a round file used to make final cuts to accommodate a notch in the switch body. Since the switch terminals were destined to reside outside and be subject to moisture and dirt, they were covered with silicone sealer.

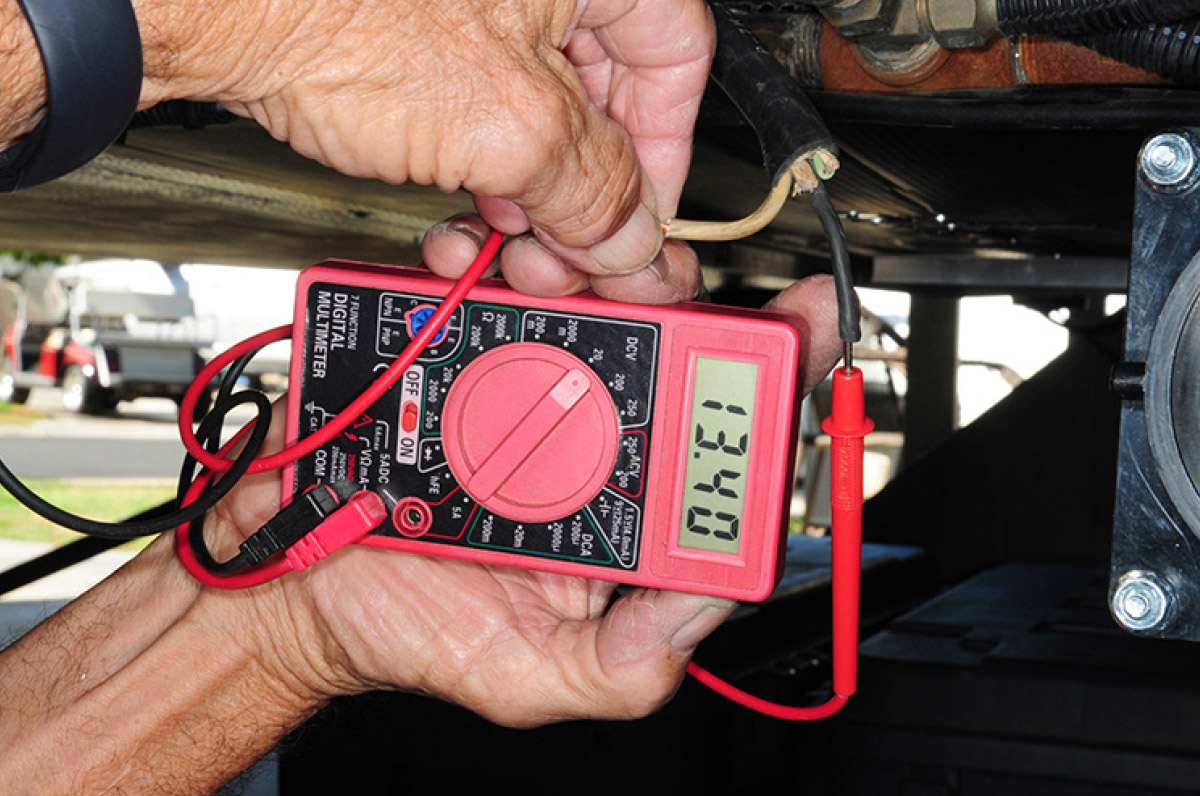
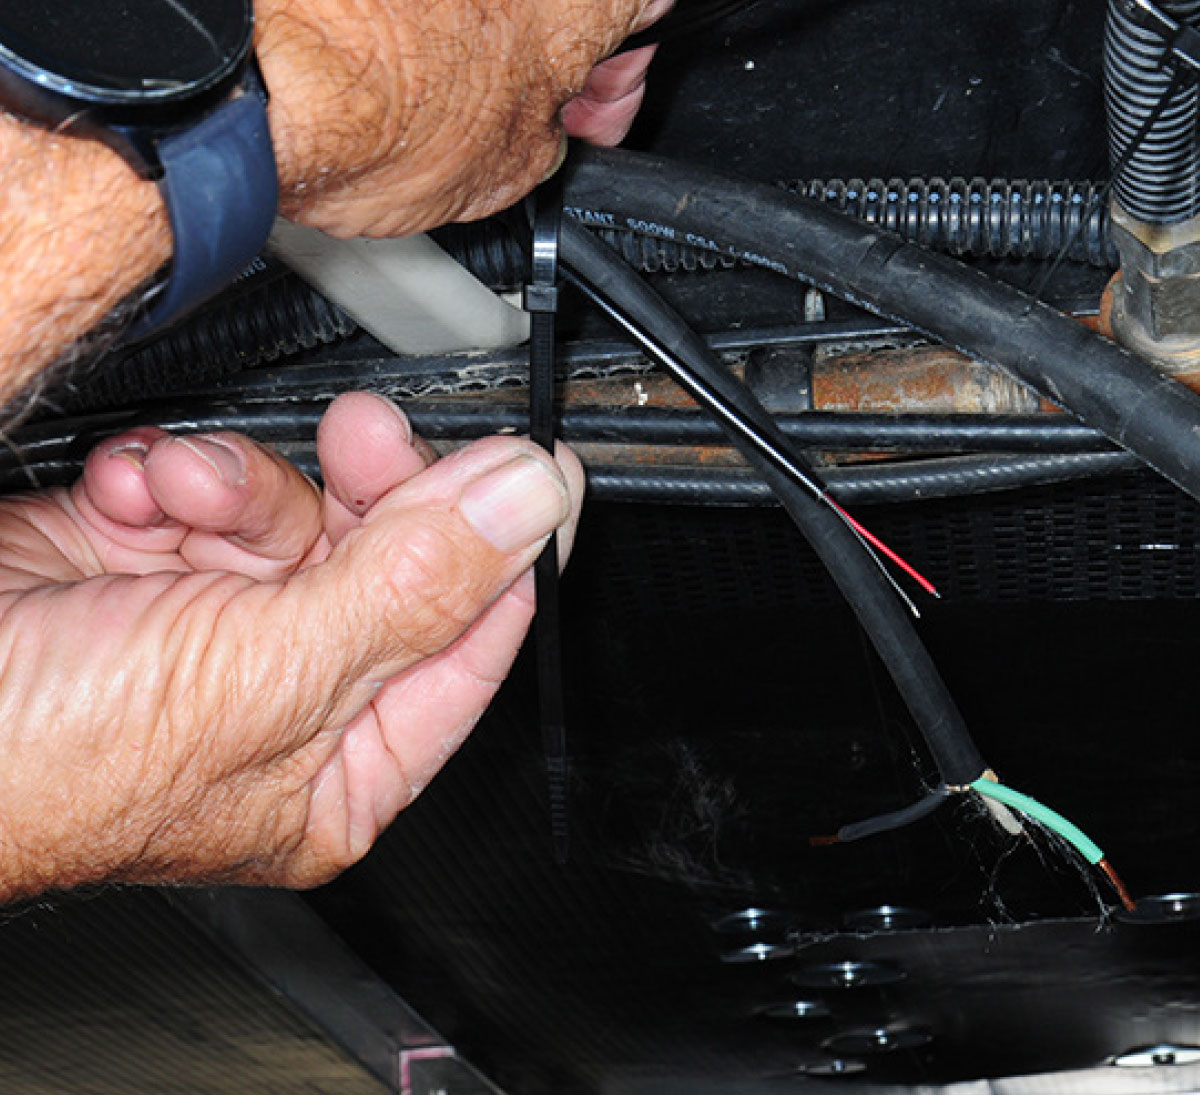
Picking up power in the fifth wheel we “enlightened” was easy, since at the time the solar system was installed, we routed a 12-volt DC, 12-gauge wire cable (and fuse) from the lithium battery bank to give us the option of connecting portable accessories outside. It should be fairly routine to find power in the utility compartment from a light fixture or switch; just make sure to incorporate an inline fuse rated for the light. Wire size is dependent on the length of the run, but 16-gauge automotive wire should do the trick. In this case, the light is rated for 15 watts. Once the light is wired to the switch, you’re done.

The threaded aluminum alloy shaft
The threaded aluminum alloy shaft is measured with a gauge to determine the right size bit for drilling the hole in the metal skirt
The perfect spot for installing the light
Pilot holes were drilled into the skirt
The perfect spot for installing the light was right above the termination pipe/valve. The location was marked for drilling. Once pilot holes were drilled into the skirt, the final size bit was used to make sure the hole was big enough to accommodate the threaded shaft. We had just enough room to drill without damaging adjacent parts; an angle-head drill motor might be necessary.
After feeding the wiring pigtail
After feeding the wiring pigtail through the hole, the threaded shaft is put into position.
The light is waterproof and dustproof (IP67 rating for 100% protection). It’s said to last 50,000-100,000 hours and should outlast the RV. Again, that’s provided the light doesn’t break prematurely (common when buying cheap electronics from overseas). The light gives off a very bright and wide pattern. As a matter of fact, the level of illumination and reach was much better than expected — and we’re now searching for other places to mount these lights.

Don’t expect these lights to be available at all times; it’s the nature of the beast when buying online parts. One day we checked Amazon and the lights were not available; a week later they were. So, we looked for an alternative and found the Eagle Eye LED Chip Car Fog White Light DRL Bulb 9W 18mm 5730 Reverse Backup Parking Signal 10 Pcs 6000K lights (https://amzn.to/3nCC7Rm).

We soon found ourselves asking why we didn’t do this years ago. No more fumbling in the dark — and an unexpected benefit is the ability to illuminate the inside of the clear bayonet fitting while dumping the holding tanks during the day.

The metal retaining nut is run up the wire to hold the light in place
Using a metal nut on aluminum threads
The metal retaining nut is run up the wire to hold the light in place. It can be a little awkward to maneuver the wrench to seat the retaining nut due to the skirt lip angle and surrounding hardware/components. Using a metal nut on aluminum threads could lead to galling, which would make removal difficult. Our worries were short lived, since the thread tolerances are rather sloppy (but still close enough to secure the light without wiggling).
Pre-existing wiring from the lithium batteries
Pre-existing wiring from the lithium batteries in the front compartment of the fifth wheel was terminated in the vicinity of the new light and checked for polarity with a multimeter. Wiring from a 12-volt DC source can usually be picked up from a nearby utility area. Make sure an appropriately sized fuse (based on light output) is placed inline, near the battery(ies).
Wiring is secured with cable ties
Shrink seals to resist water intrusion
Wiring is secured with cable ties and then connected to the light pigtail with terminals that have heat-shrink seals to resist water intrusion.
Perfect location for the switch was in the molded storage bin
A perfect location for the switch was in the molded storage bin in the exterior storage compartment. The rocker switch was already in our box of spare parts; there are hundreds of inexpensive 12-volt DC on/off switches available online and at auto parts/hardware stores.
Step drill bit was used to make the hole in the molded storage bin
Notch out the hole for the switch using a round file
A step drill bit was used to make the hole in the molded storage bin to accommodate the switch. It was necessary to notch out the hole for the switch using a round file. This step is often necessary when the switch base is not perfectly round or needs a notch to accommodate a small extrusion.
Three terminals are required for connecting lighted switches
Three terminals are required for connecting lighted switches; one is the ground, one the positive wire and the third is switched hot.
Electrical tape was wrapped
Dust-proof the terminals
Electrical tape was wrapped around the three wires and silicone sealer was used to water and dust-proof the terminals, which were exposed to the outside elements.
The lighted switch is within easy reach inside the exterior storage compartment
The lighted switch is within easy reach inside the exterior storage compartment housing the utilities.