Blowing in the Wind
Blowing in the Wind
two men with slide out topper in hands
When the outside elements have their way with slide-out toppers, Tough Top Awnings comes to the rescue with replacement fabric that will stand the test of time.
By Bob Livingston / Photos by the author and Lynne Livingston
S

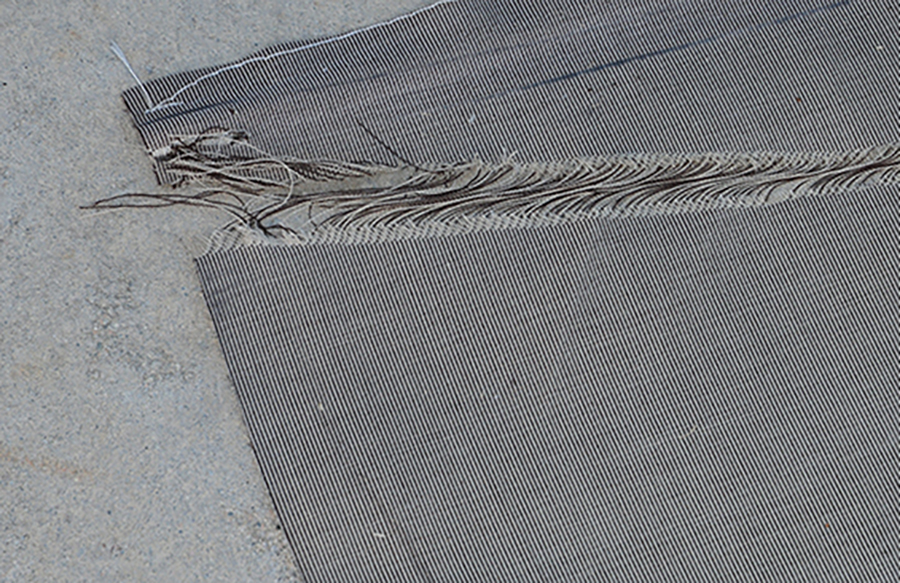
lide-out toppers play an important role when it comes to protecting an RV and are arguably one of the most abused accessories in the RV space. They shelter slide-out roofs from water intrusion and debris, quiet down the noise in rainstorms and generally improve the appearance of any RV. But slide-out toppers are always exposed to the elements unless they are retracted, and that’s only when the RV is in storage or on the road. The constant beating from strong winds will weaken the fabric — not to mention the cacophony of noise inside the rig — and eventually the material will tear, usually at the poly cord seam nearest the awning rail on the sidewall.

Last summer, the five-year-old acrylic fabric (the more expensive stuff) on all three slides in our fifth wheel were damaged beyond repair in a strong windstorm; within seconds, they were history.

Granted, over time any fabric exposed to the sun — and potential damage from branches and other debris that can collect on top when parked under trees — will weaken the material. Also, roller-tube springs that are not wound tight enough will allow the fabric to flop around, which will decrease longevity, as will ice, snow, hail and debris that’s allowed to roll up on the tube during retraction.

You get the picture: Slide-out toppers are subject to constant abuse.

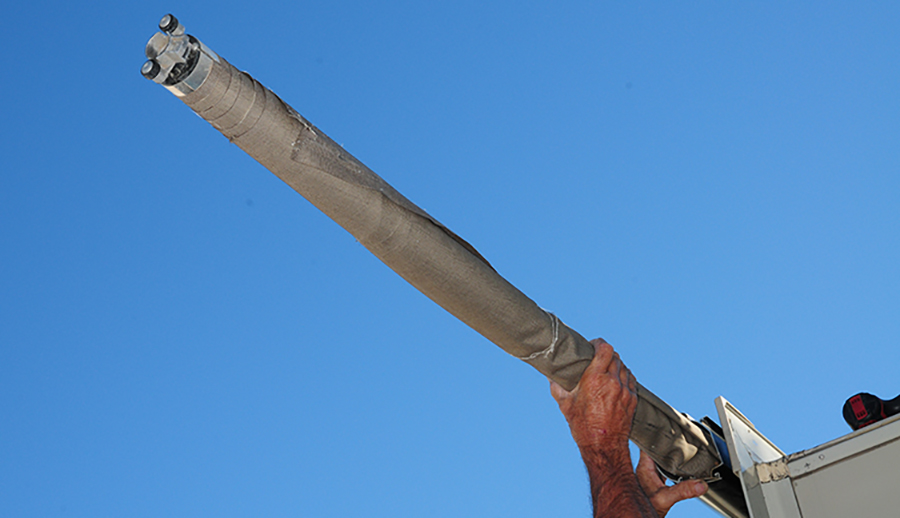
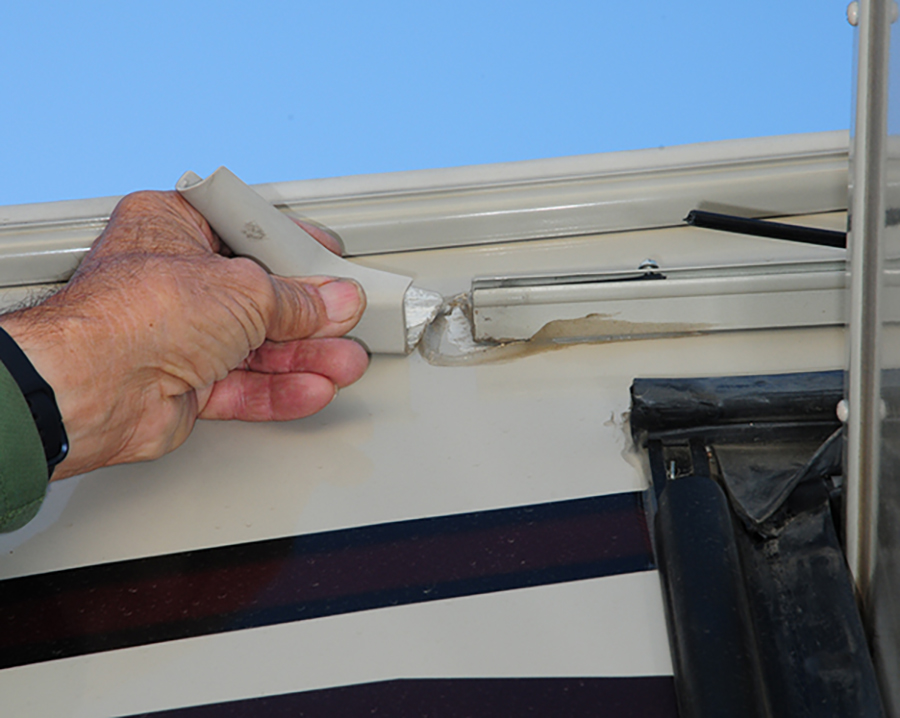
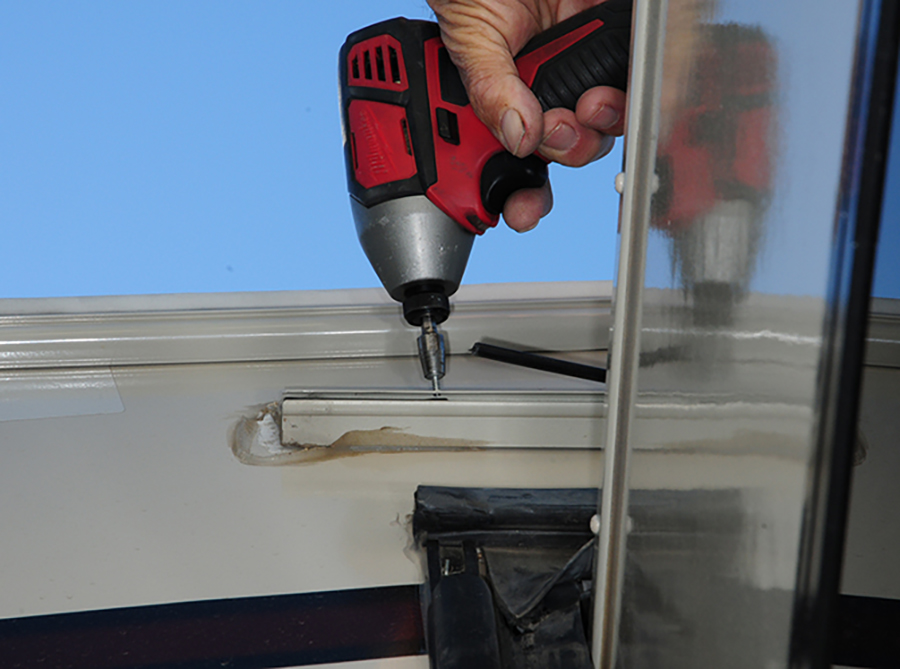
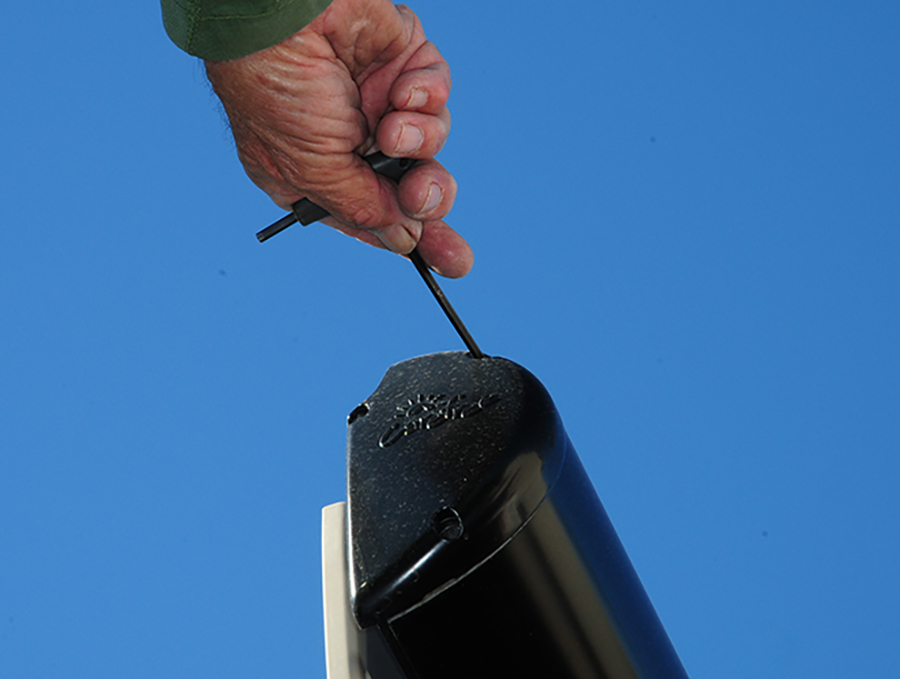
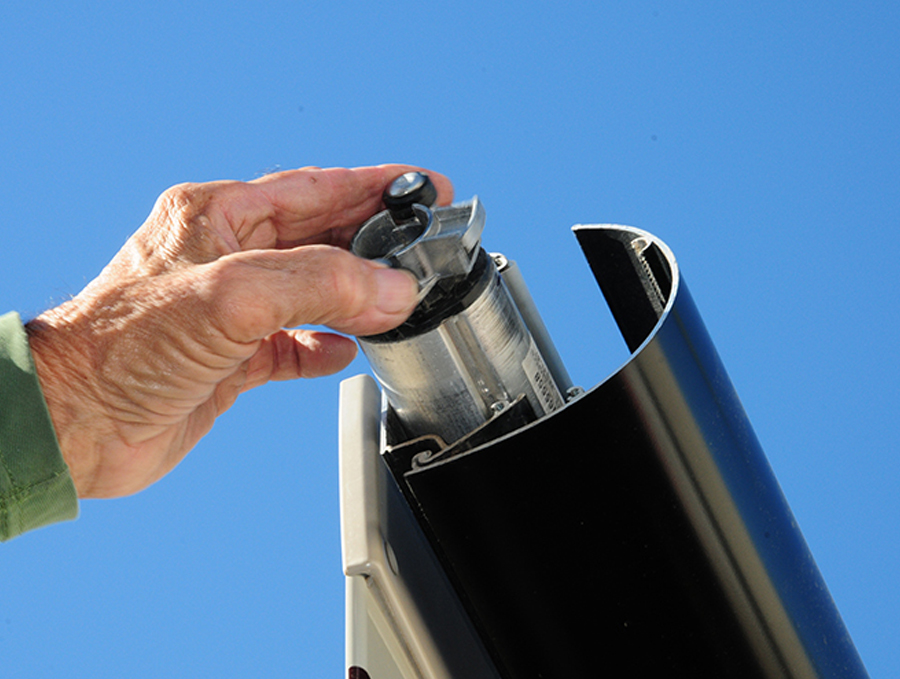
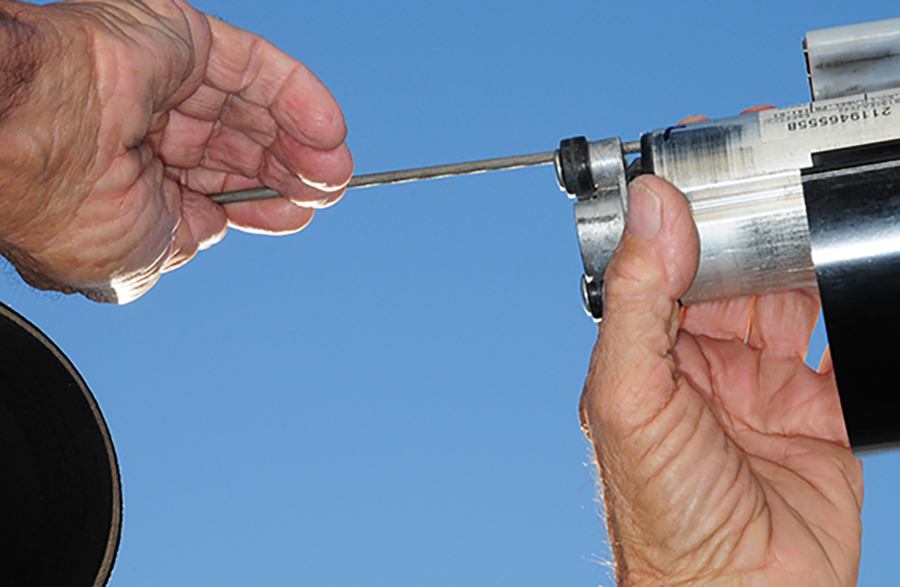
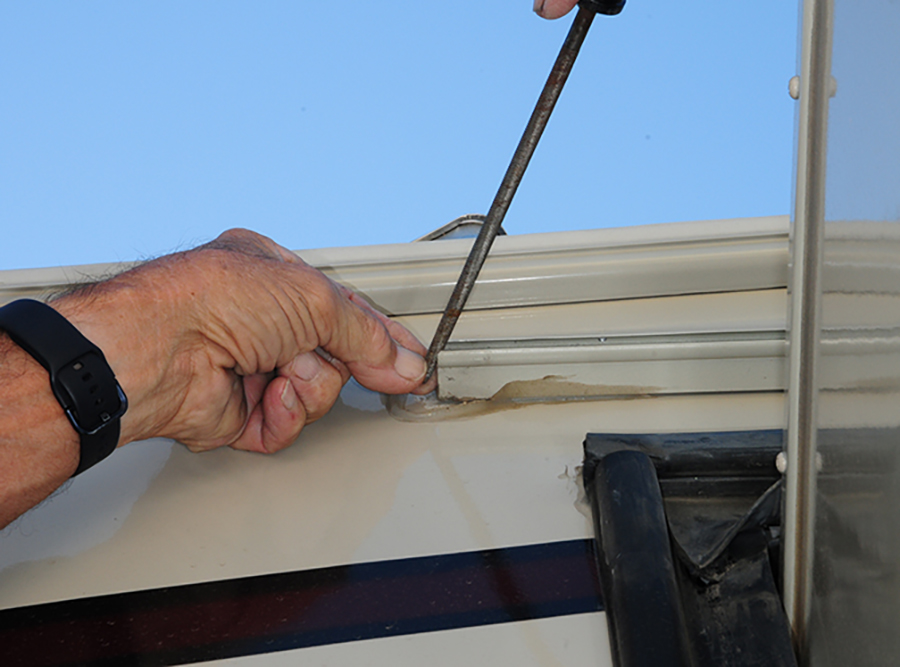
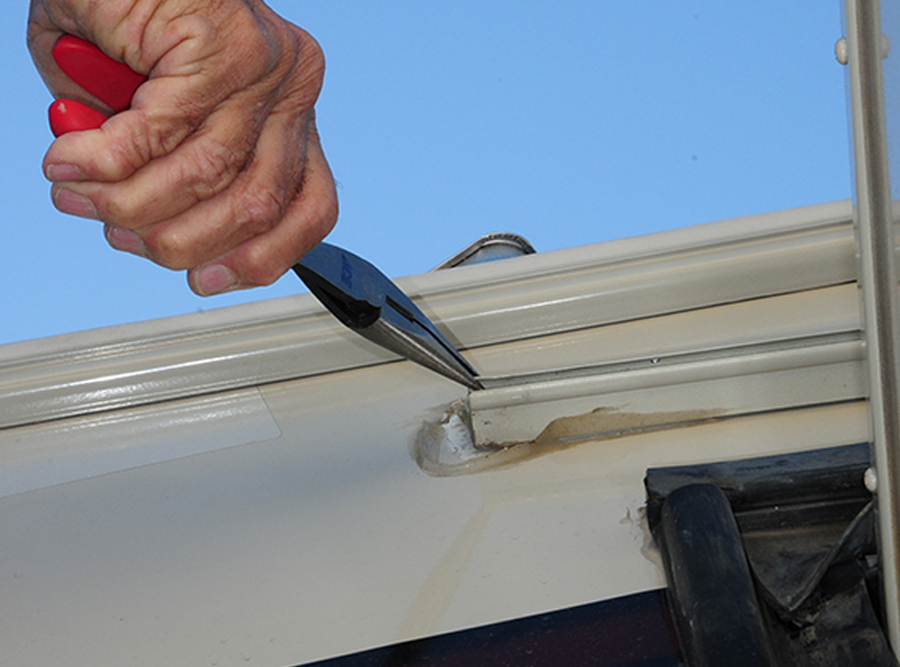
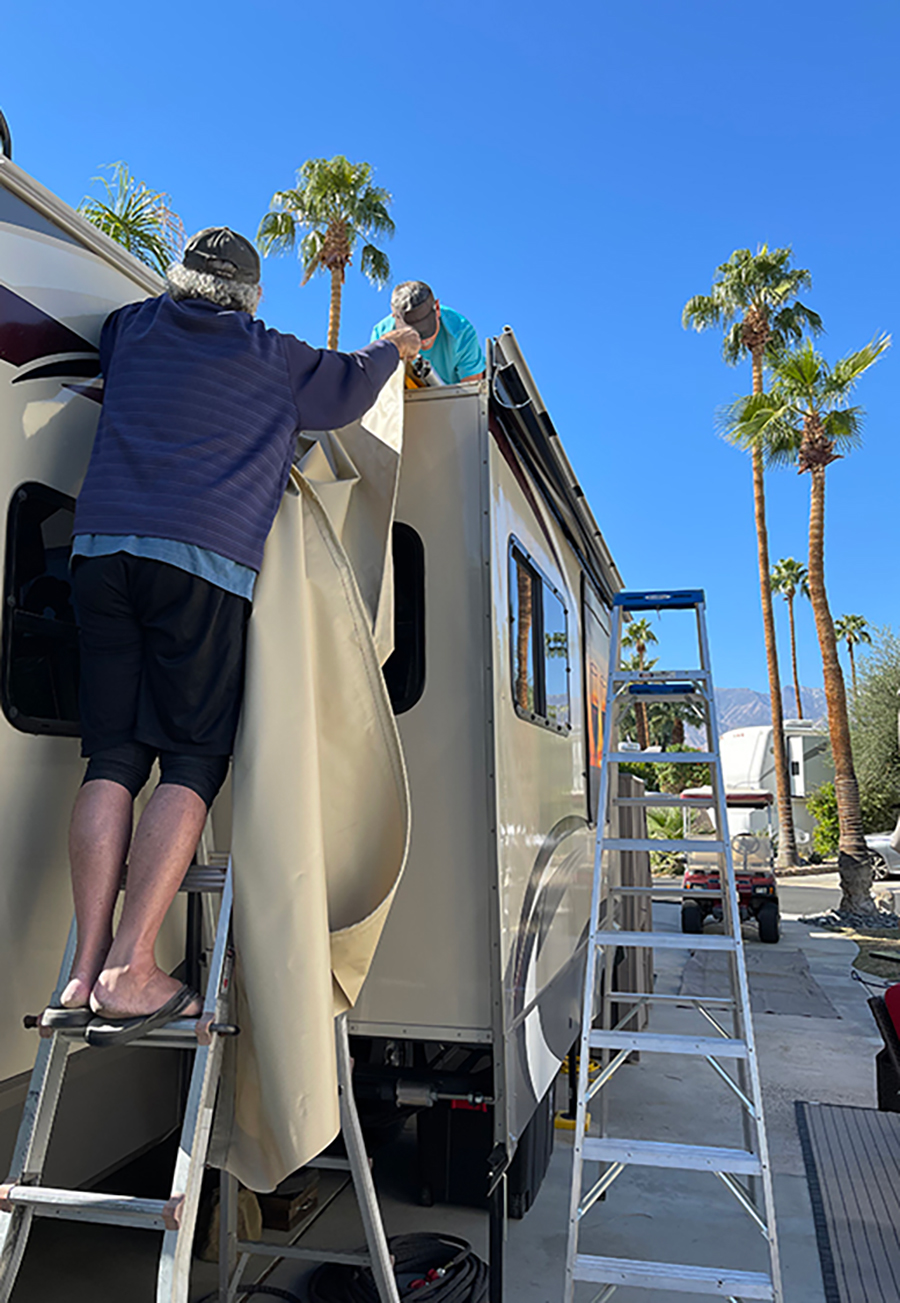
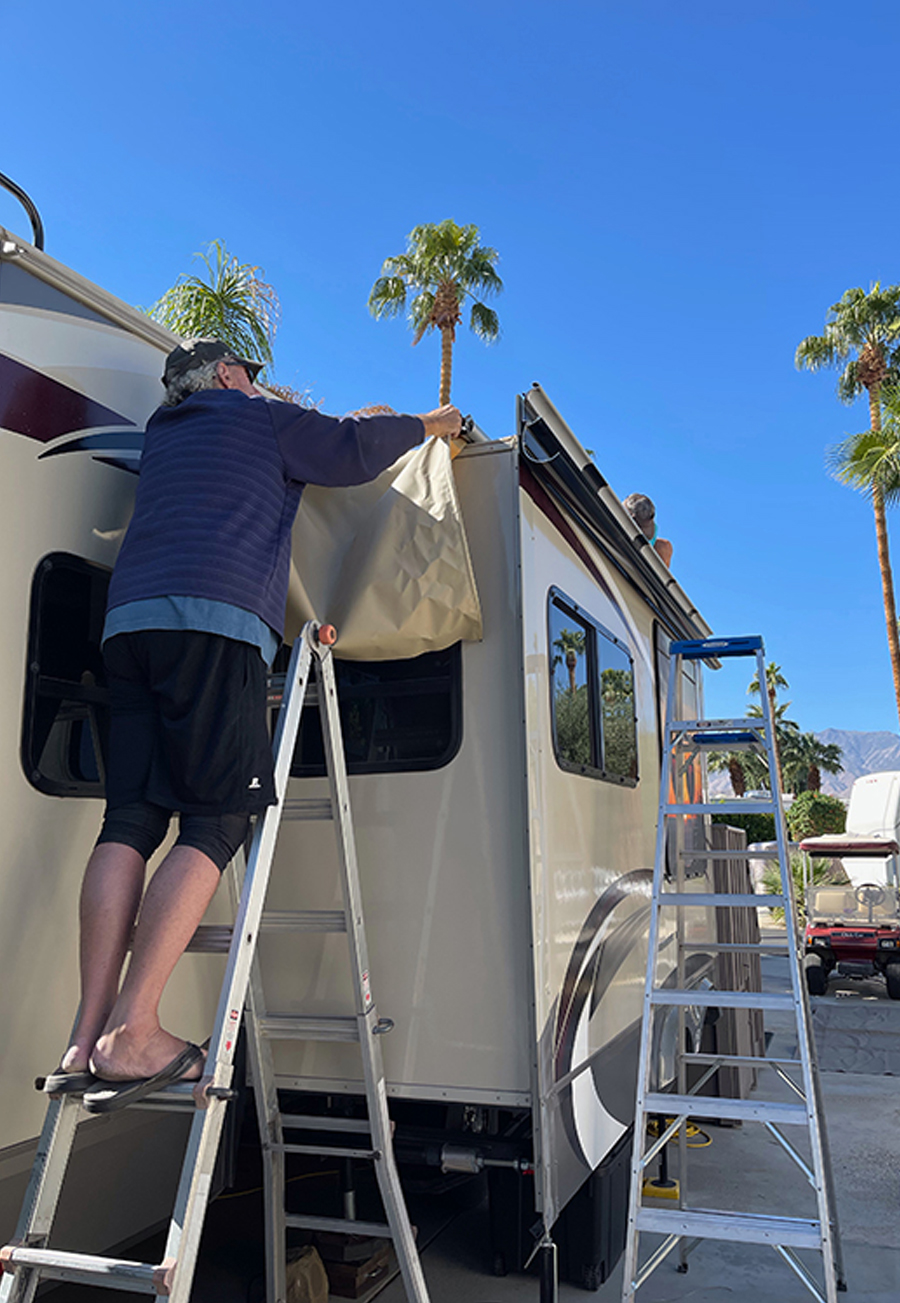
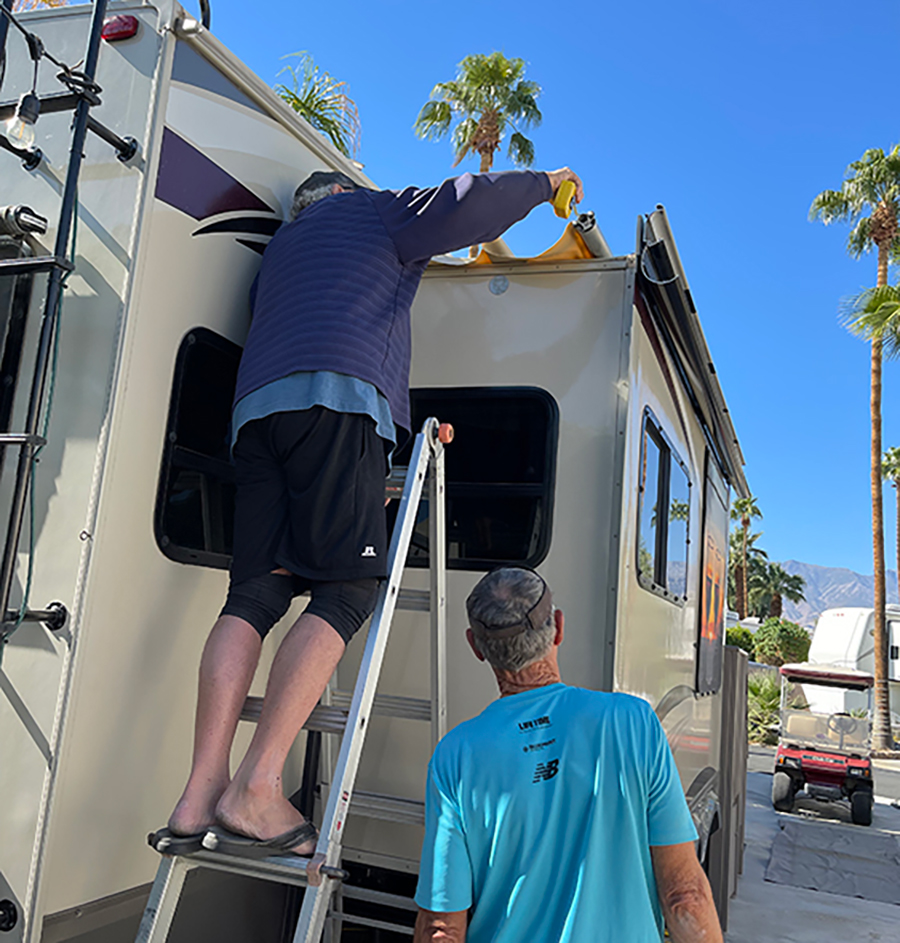
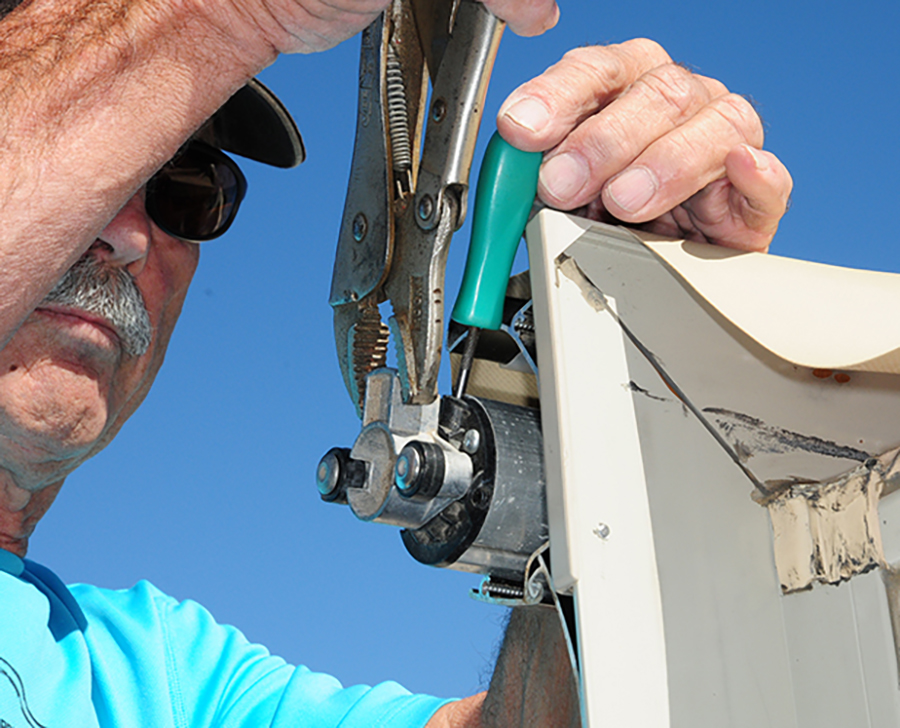
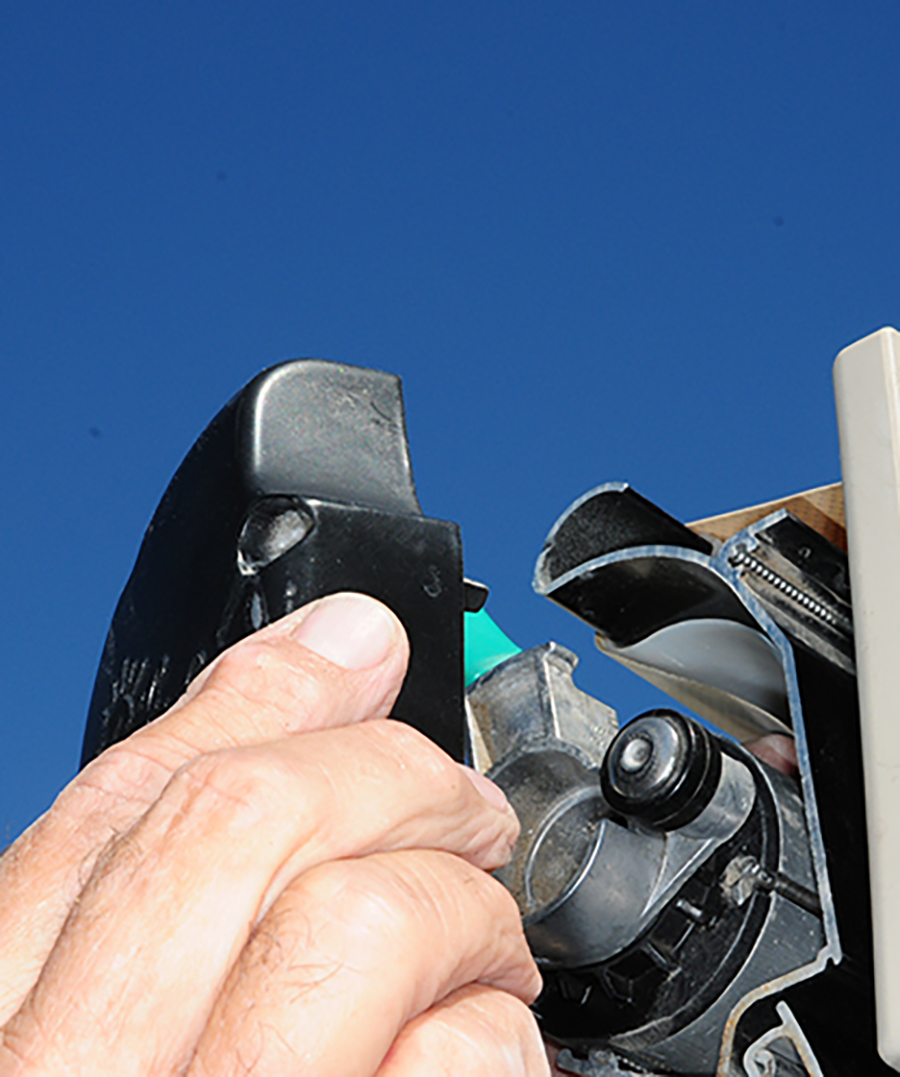
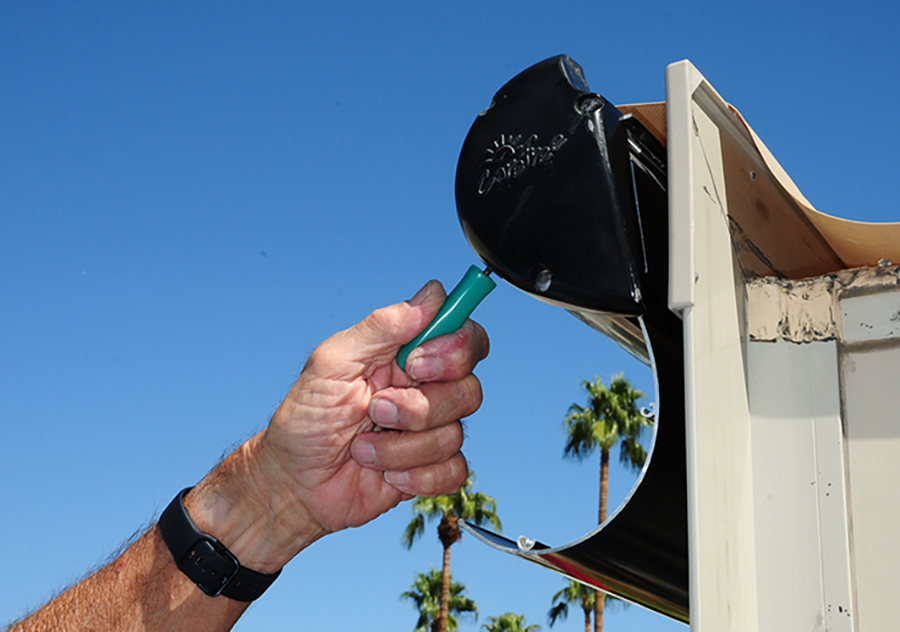
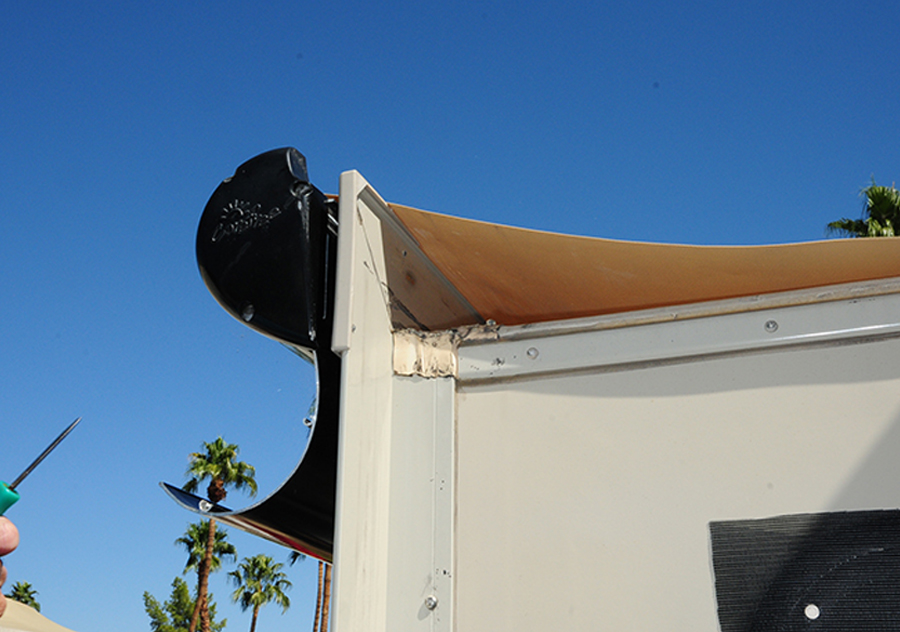
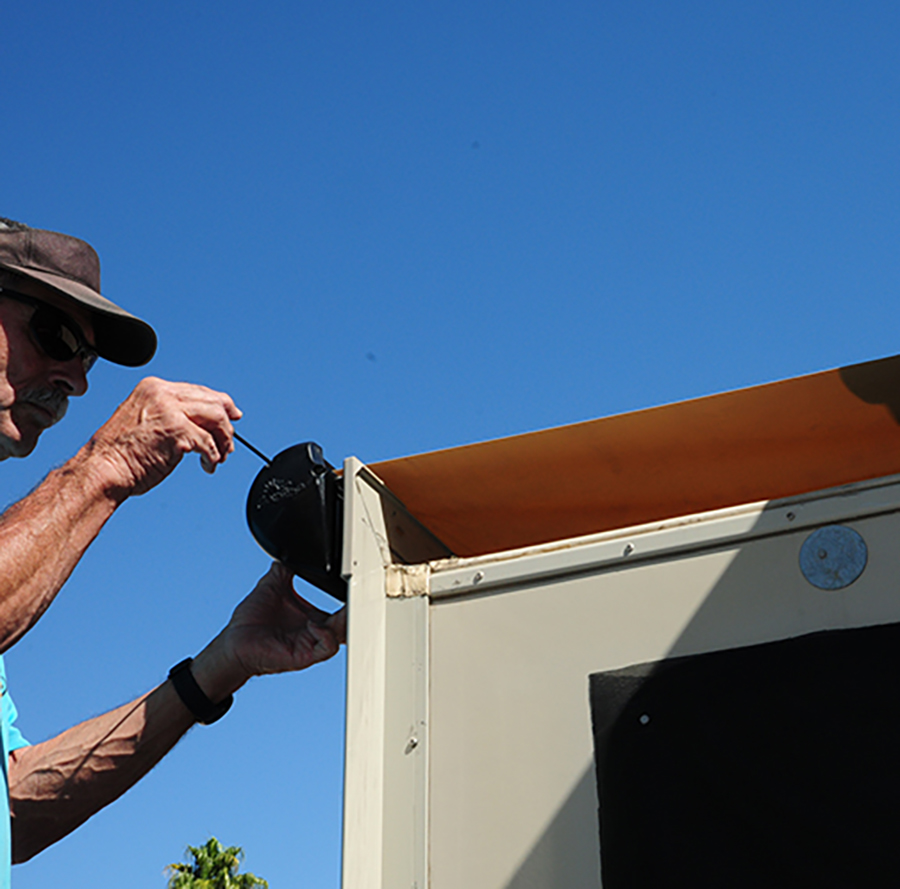
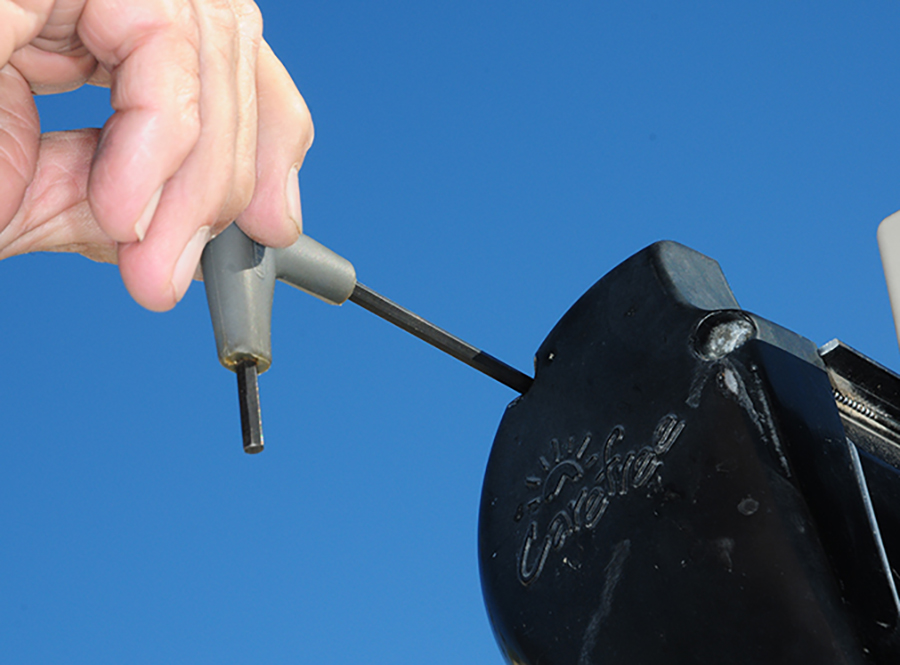
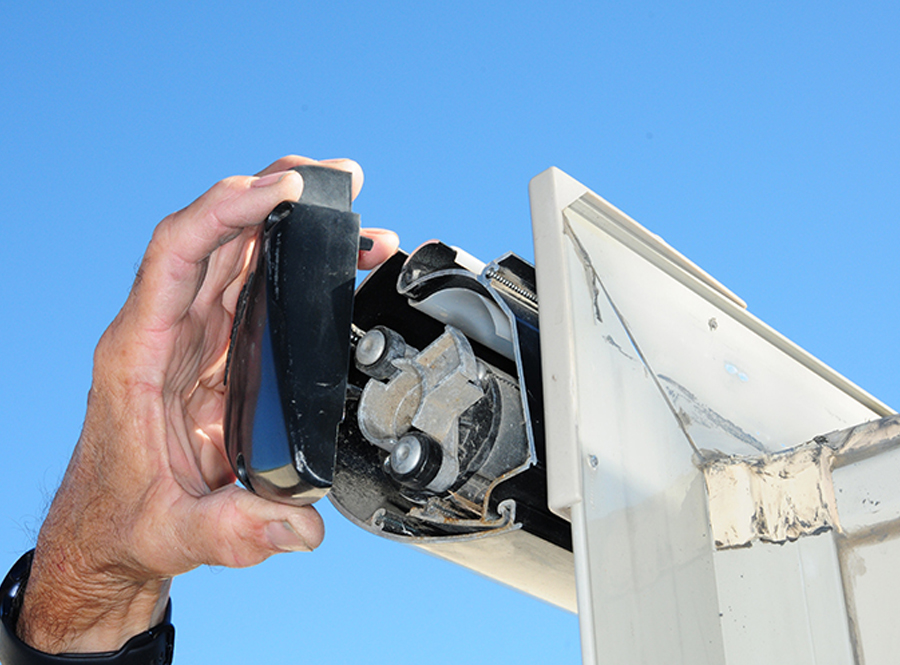
Once we surveyed the damage, it was clear that the stitching holding the poly cord in place deteriorated much faster than the remainder of the fabric. When the seam on each topper finally let go, the fabric separated from the awning rails mounted to the sidewalls and retracted violently into the roller tube covers; some of the fabric also ripped in the process. The Carefree of Colorado Ascent slide-out topper hardware was still in good shape, however, so we elected to replace the fabric — which is not difficult, but is more complicated with this model.

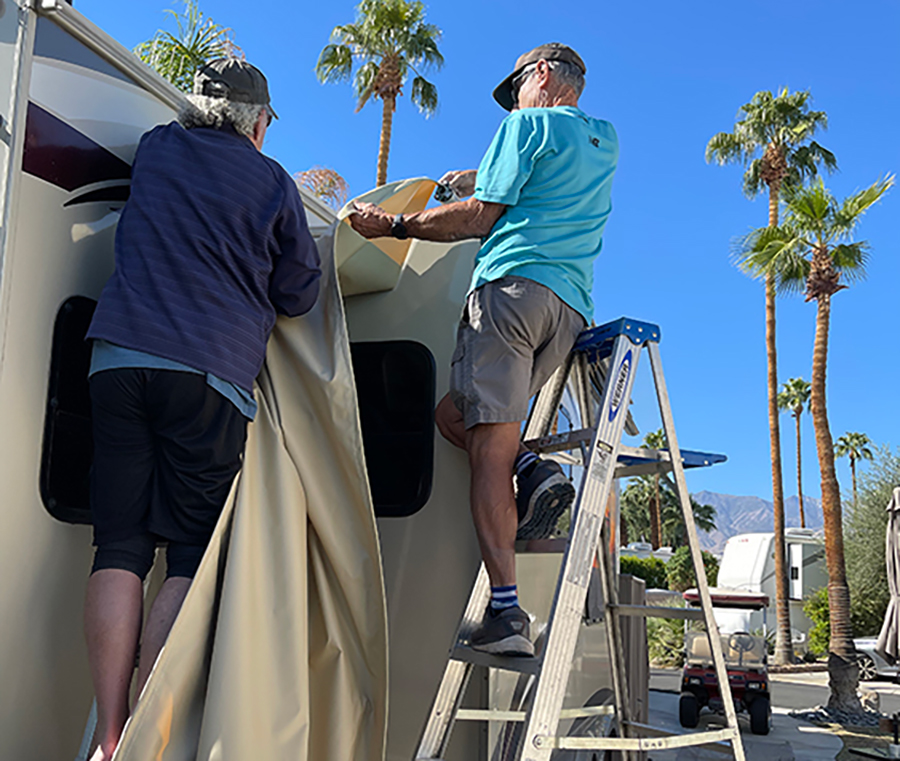
The lack of available fabric during the current supply chain snafus and pandemic slowdown led us to Tough Top Awnings, a company that specializes in replacement fabric for patio awning and slide-out toppers. As we discovered, Tough Top’s fabrics are thicker and stronger and the company uses marine-grade thread (for boat sails) to sew in the poly cord. We figured (rightly, as it turned out) that if boat sails can take the punishment from the wind, the toppers would also fare well. Also, the company’s reputation is sterling and it has a five-year warranty, so we decided to give up on finding the same acrylic fabric used for the original toppers (that also matched the patio awning) and go with material from Tough Top in a beige color that was the closest match to the old toppers.

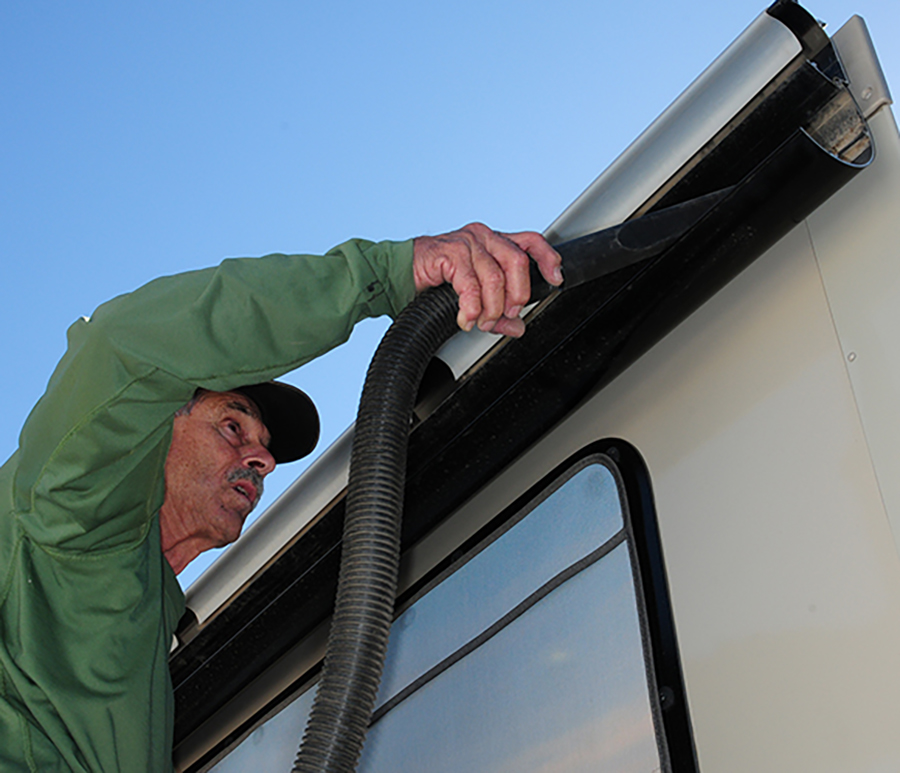
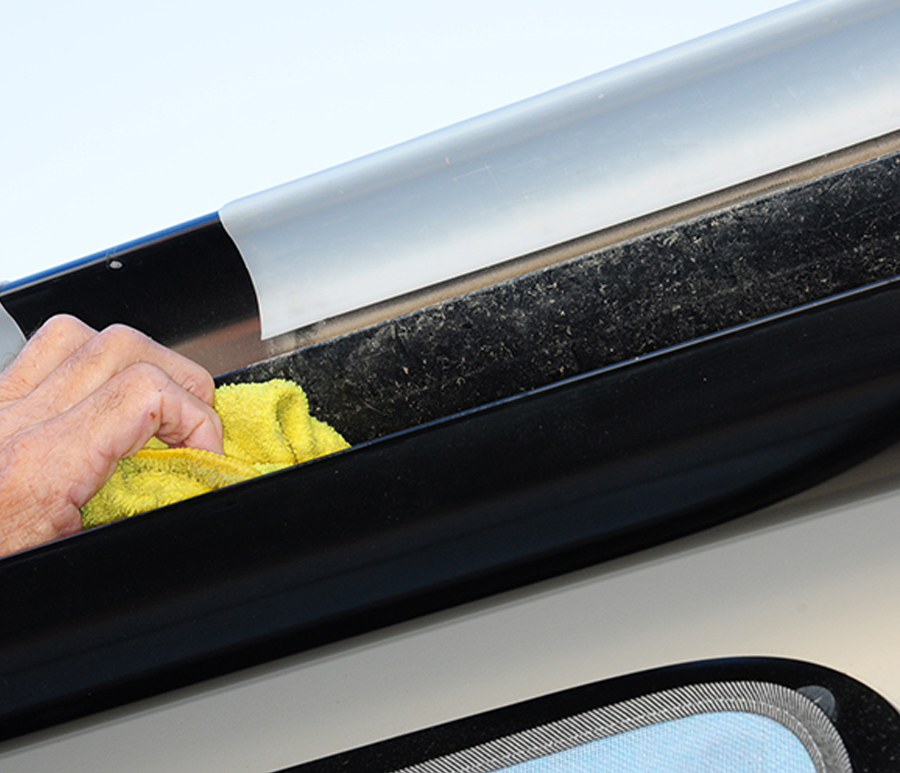
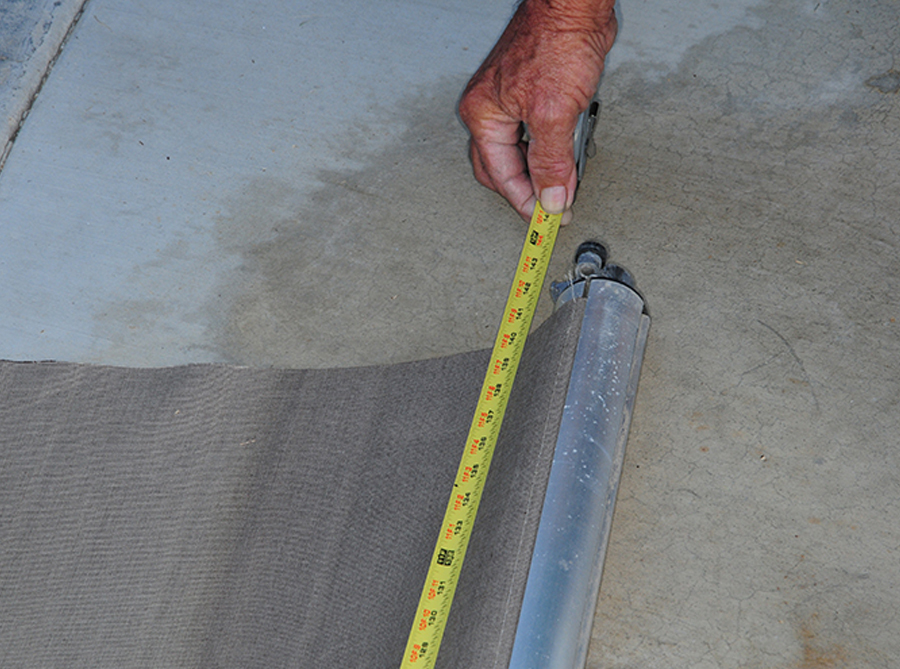
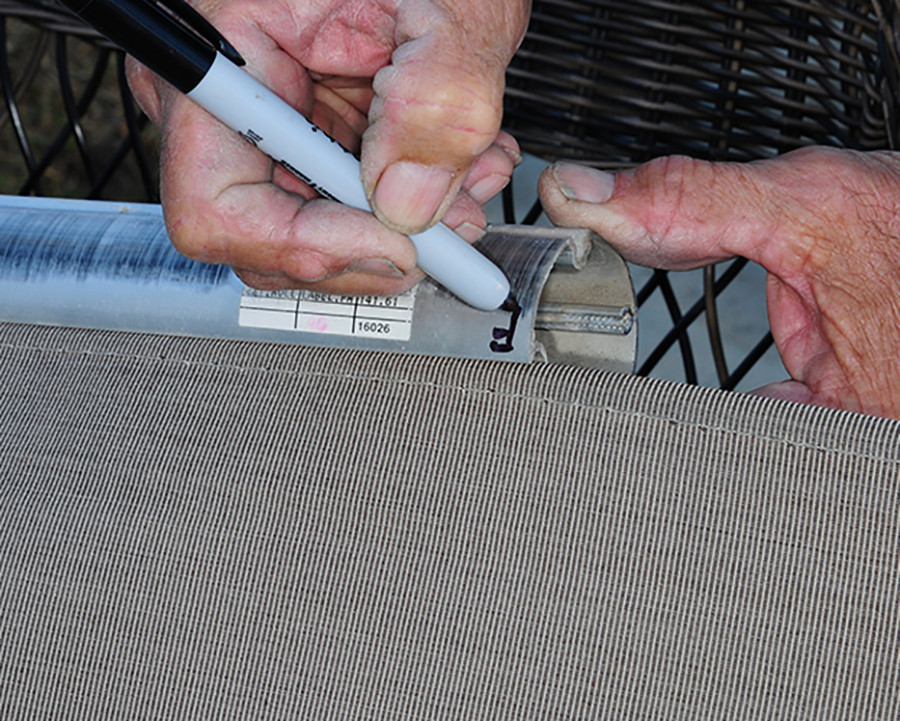
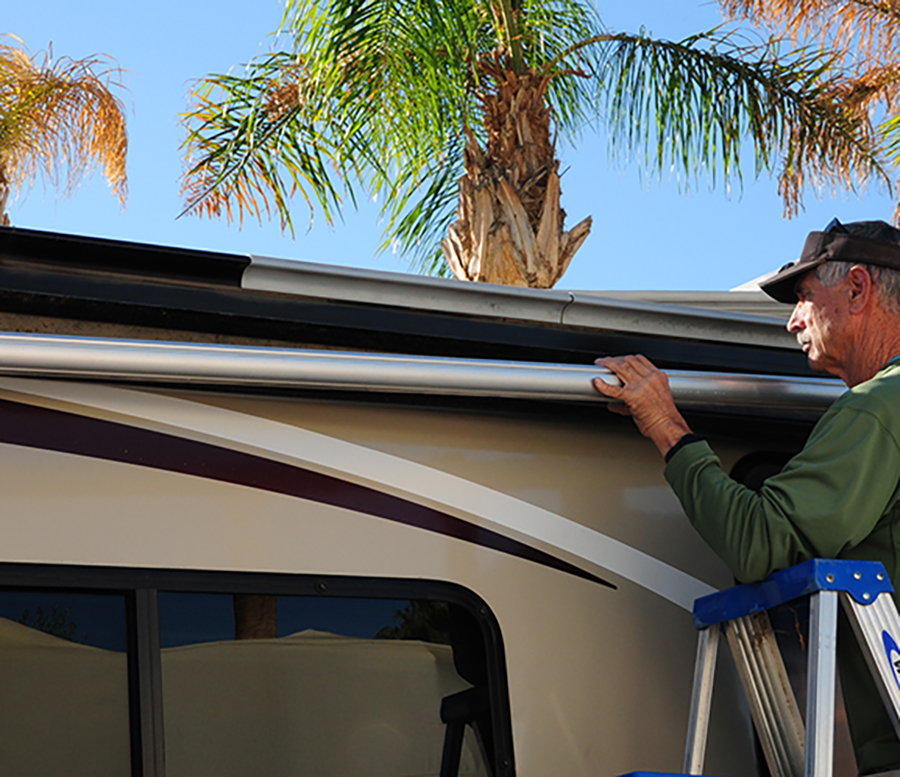
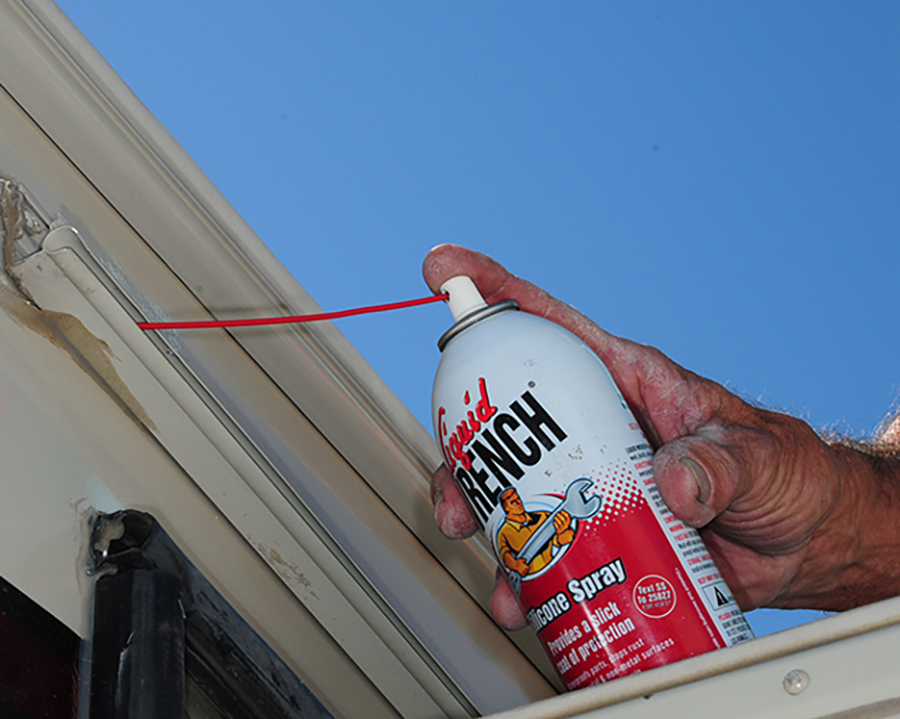
The first step was to determine the sizes of the toppers that were being replaced. The onus for this is on you, but the company’s website has explicit instructions on how to do measure properly, and easily accessible company personnel are well versed in this process being RV owners themselves. Although the videos on the website will show how to measure existing fabric, we varied the procedure by actually removing the roller tube and measuring the fabric on the ground. This gave us the opportunity to clean out the channel where the roller tube resides, which was filled with leaves, twigs and dirt. Again, the procedures will vary depending on the brand and model of slide-out topper.

Measuring the existing fabric in the Carefree of Colorado Ascent slide-out topper
end caps being removed in order to drop down the cover
Measuring the existing fabric in the Carefree of Colorado Ascent slide-out topper took a little time. The end caps are first removed in order to drop down the cover and expose the roller tube and fabric. The company will assist with the process for measuring the fabric, but the owner takes final responsibility.
If you discover debris or nests, remove the vent assembly and clean any obstructions. Be sure to replace the gasket or seal before reinstalling the vent assembly. If you suspect a mud dauber has built a nest inside of the blower assembly, you will need remove the furnace in order to gain access to clean out the debris. If you’re not comfortable with removing the furnace, leave this job to professional RV technicians.

The next step is to remove the interior or exterior access panel for inspection. You’ll be looking for lint, dust and/or debris on the circuit board and blower wheel(s). Be careful not to disturb the wiring or compromise any of the components, which could lead to a furnace malfunction. Use a bright flashlight to inspect the interior of the partially hidden blower assembly to determine if a build-up of lint is present. With the help of a long-nose air nozzle, compressed air (at no more than 125 psi) can facilitate the removal of dust in the hard-to-reach areas. Avoid directing high pressure air toward the circuit board or other electrical components (play it safe and adjust air pressure to 20 psi when cleaning the board.)

Thoroughly inspect all of the wiring; it is not uncommon for rats or mice to chew through electrical insulation and conduit. Damage to wiring or other components may require the assistance of a certified RV technician.

the poly cord seams ripped apart and the fabric retracted
Since the poly cord seams ripped apart and the fabric retracted, the spring was already unwound. Here the roller tube and fabric are lifted from the cradle so the fabric could be removed and measured on the ground.
Dropping the cover and removing the roller tube
a collection of twigs, leaves and other debris that caked up over time
Dropping the cover and removing the roller tube revealed a collection of twigs, leaves and other debris that was caked up over time. The area was vacuumed out and wiped clean with a wet microfiber towel.
the poly cord seams failing
While the poly cord seams failed, some of the fabric was also ripped from the harsh winds.
existing fabric being measured on the ground
the width of the slide-out and length of the fabric next to a measuring tape
The existing fabric was measured on the ground. If the existing fabric is still in place, the width of the slide-out and length of the fabric will provide Tough Top with enough information to place an order. The company website and personnel can provide excellent reference material for this process.
existing fabric being marked in relation to the roller tube
The existing fabric is marked in relation to the roller tube. This is just an additional step to make sure the new fabric goes back in the right place.
gutter spout on the end of the awning rail
The gutter spout on the end of the awning rail where the new fabric will be started must be removed. When replacing, don’t forget to seal the spout and screw with silicone.
screw that prevents the fabric from moving in the awning rail
 old fabric still in place
The screw that prevents the fabric from moving in the awning rail will have to be removed to pull out the poly cord (all that was left here). If the old fabric is still in place, a cotter pin or awl will have to be inserted in the retention hole to prevent the roller tube from unwinding to allow the fabric to be unrolled and pulled out of the channels. As long as the roller tube is immobilized, it might be easier to cut the fabric away from the awning rail with a razor knife.
stored roller tubes
removing the end caps and removing the roller tube
We stored the roller tubes in their cradles while the fabric was on order. Once the fabric arrived, the process of removing the end caps and removing the roller tube was repeated. The retaining screw to hold the roller tube to the end caps was missing in this model, which made the process somewhat more difficult.
Dropping the cover
Dropping the cover, which is hinged, made it easy to remove the roller tube. One person was able to handle this job here, but two people will make it more stable when removing longer roller tubes.
A round file being used to remove sharp burs from the ends of the roller tube channel
A round file was used to remove sharp burs from the ends of the roller tube channel. You don’t want the new fabric to hang up and possibly tear when installing.
end of the awning rail where the new fabric will be started
opening up the end of the awning rail slightly with a long-nose pliers
The end of the awning rail where the new fabric will be started was filed to smooth out any rough edges. It’s best to open up the end of the awning rail slightly with a long-nose pliers to make it easier to insert the new fabric. Tearing brand-new fabric will ruin your day.
new topper fabric
The new topper fabric was rolled up in a strong box neatly and arrived with no damage. It took about two weeks from the time the order was placed to when it was delivered.
Spraying the awning rail with silicone
Spraying the awning rail with silicone made it much easier to push the fabric-wrapped poly cord into the channel without bunching up.
Heavier fabric from Tough Top Awnings being maneuvered into the awning rail
Heavier fabric from Tough Top Awnings is maneuvered into the awning rail and roller tube. This process is a little awkward and takes two people on ladders to accomplish. Starting the fabric into the awning rail and roller tube channels was a little tricky. This fabric is definitely heavier, which made handling more difficult.
two men struggling with the material
RVE Technical Director Bill Gehr on the slide-out roof
We struggled with the material until we got our rhythm. Once RVE Technical Director Bill Gehr got on the slide-out roof to pull on the material, the procedure went pretty fast.
fabric being measured on each end of the roller tube to ensure it was centered
The fabric was measured on each end of the roller tube to ensure it was centered.
the fabric completely in place
Once the fabric was completely in place, the extra material was rolled on to the tube and set in its cradle.
the original fabric retracted when the poly cord seam released
Since the original fabric was retracted when the poly cord seam released, the roller tube spring had to be re-wound. This is potentially the only dangerous step if not done right. Most installers will use locking pliers to wind the spring to spec, which was up to 18 revolutions for this size topper. Winding the spring to its maximum ensured that the fabric would be taut. An awl is placed in the retention hole to prevent the spring from unwinding; some people will use a cotter pin.
winding the spring and removing the locking pliers
After winding the spring and removing the locking pliers, the end cap was replaced. As mentioned previously, provisions for the retaining screw were missing in this model, so getting everything to fit took some patience.
the roller tube being secured in its cradle
Tension on the spring allowing the fabric to travel harmoniously
Once the roller tube was secure in its cradle, the awl was pulled and the fabric snapped into shape. Tension on the spring allows the fabric to travel harmoniously when the slide-out is moved in and out.
closing the cover
The last step was to close the cover and secure it with the screws in the end caps.
Source:
Tough Top Awning / 360-953-3299 / toughtopawnings.com