Mount ‘Em Up
[maghub_sidebar]
Mount 'Em Up
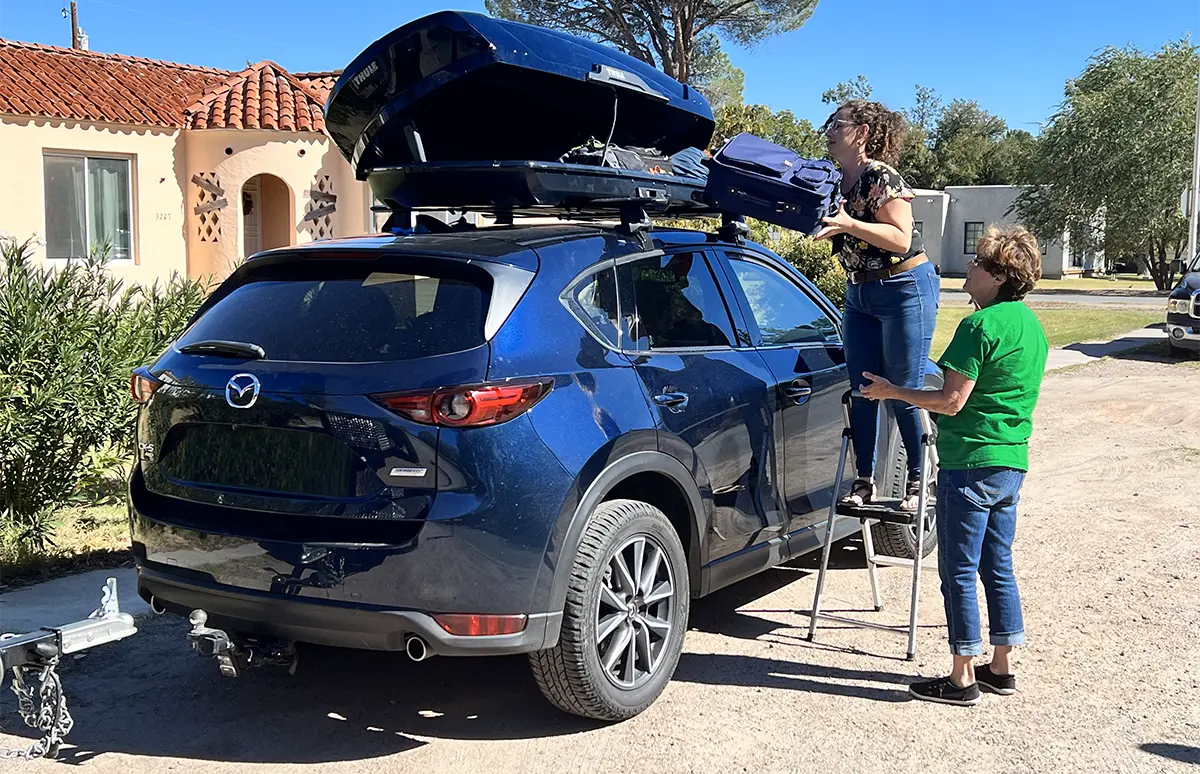
Two people packing roof box on a Mazda CX-5
Installing a Thule Evo roof rack system on your car is easy — if you follow the directions
By Bruce W. Smith / Photos by author
W

hen I bought my cross-over SUV back in 2018, I had no intentions of using it for anything more than a commuter vehicle and possibly as a dinghy towed behind a motorhome. So, I purchased it without the factory optional roof rack. Now, some five years later, my lifestyle has changed along with how I’ve started using my Mazda CX-5. The naked roof screamed for a roof rack to provide more room inside as I use it more and more for trips instead of just cruising around town.

Having worked with different pickup truck and RV suppliers while at various magazines, I knew Thule is highly respected for its cargo systems, so it was natural to use one of its products to put cargo rails and a box carrier on the roof. The system I picked is the aerodynamic WingBar Evo (MSRP: $509.90) which has two aluminum load bars supported by 4 feet that attach to the car via a clamp system specific to each vehicle. This rack system can support 220 pounds.
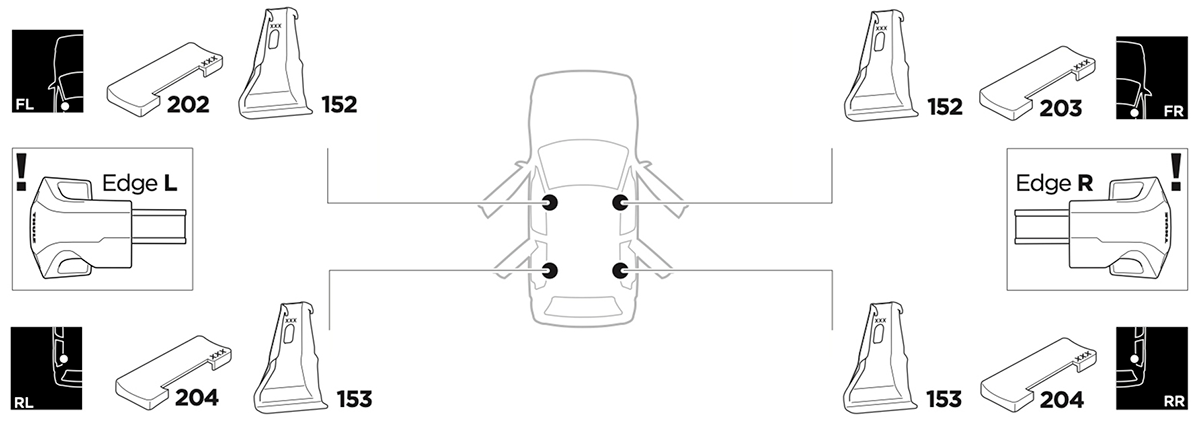
Thule WingBar instruction diagrams
The included instructions show exactly what goes where — via diagrams. Pay close attention.
One aspect of this installation I can’t stress enough is: pay attention to the instructions. The Thule WingBar Evo instructions are totally via diagrams. If you don’t follow the steps in a specific order — and exactly as diagramed — the load carrier feet will not fit properly, as I found out when doing the installation on my CX-5. I know, because I didn’t. As the saying goes, “There’s always enough time to do it right the second time around.”

With the Wingbar Evo in place — installation only takes about an hour —you can now add a cargo box of your choice. And yes, Thule has you covered there, as well. In fact, the Thule website (thule.com/en-us/) includes a cargo box buyer’s guide that helps to find the best rooftop cargo carrier for your lifestyle — because whether you’re using your ride as a dinghy or a tow vehicle, you might as well maximize its potential and minimize your traveling discomfort.
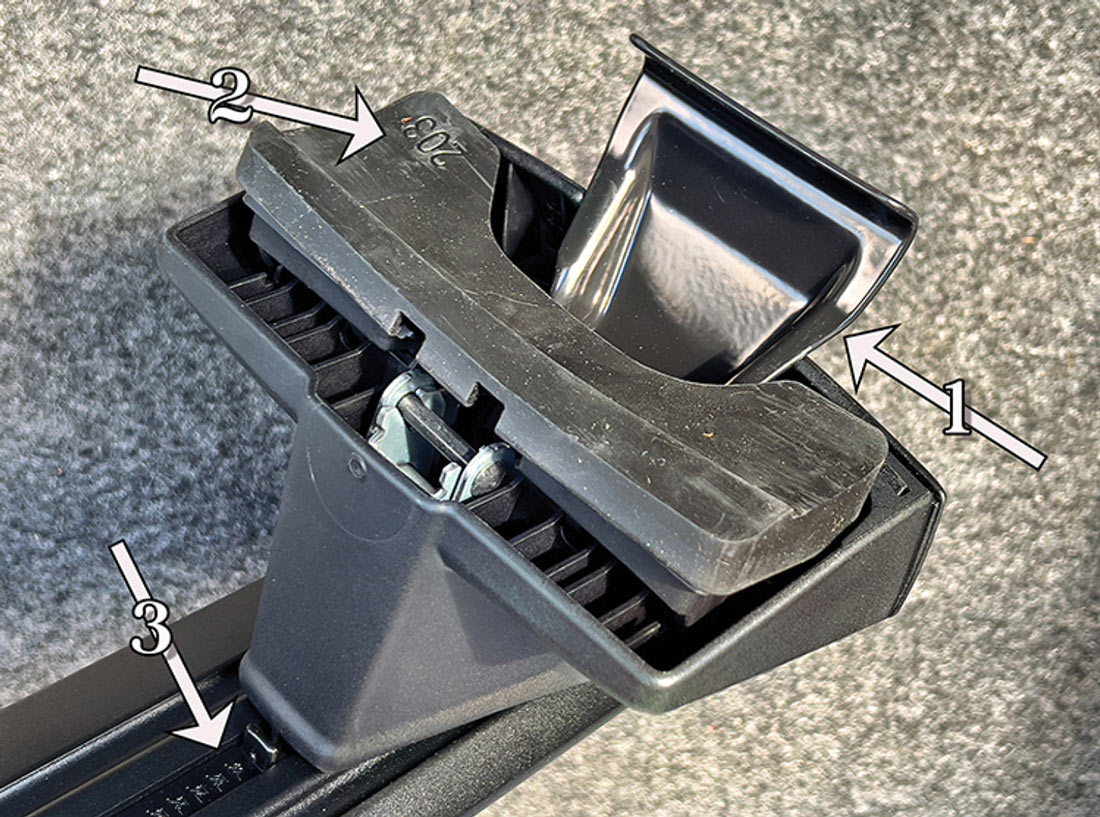
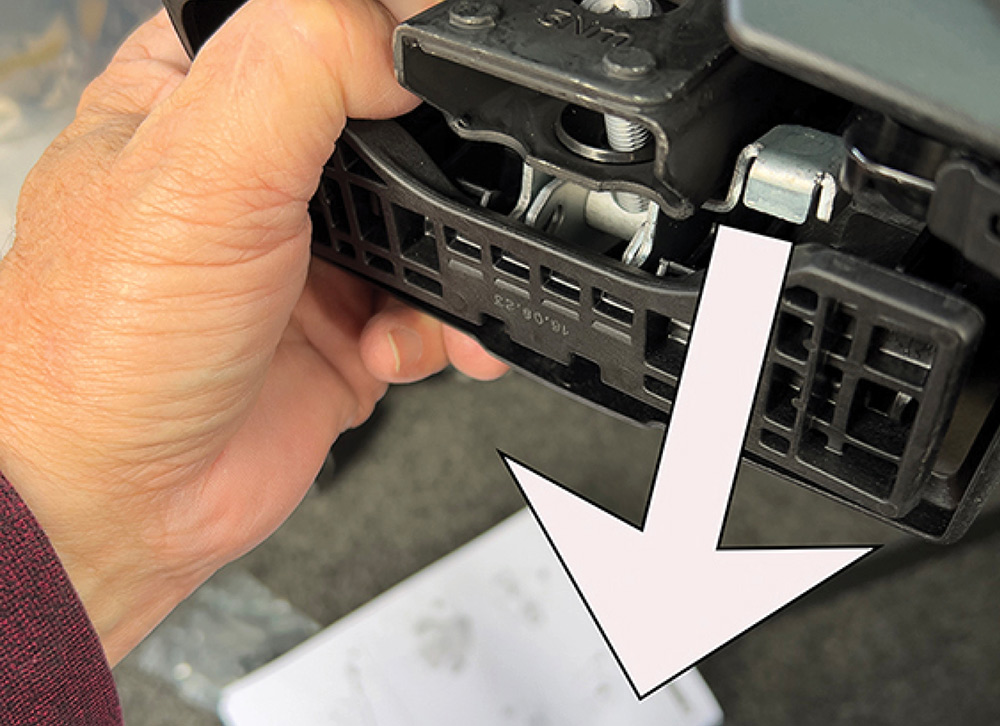
Underside of clamp
The most important steps are installing the correct clamp and rubber foot pad for each of the four corners of the car. The foot pads and metal clamps that attach to the vehicle’s door edge look the same at first glance — but they are not. There are minute differences in thickness and length (at least on the Mazda CX-5). Thule has the numbers imbedded into these parts — along with a diagram of what clamp (1) and number pad (2) goes on which roof rail support for what specific location on the vehicle. Mixing up these components will result in the supports not fitting when it comes time to tighten them down! Width adjustment is done using the built-in plastic measurement strip (3) at each foot.
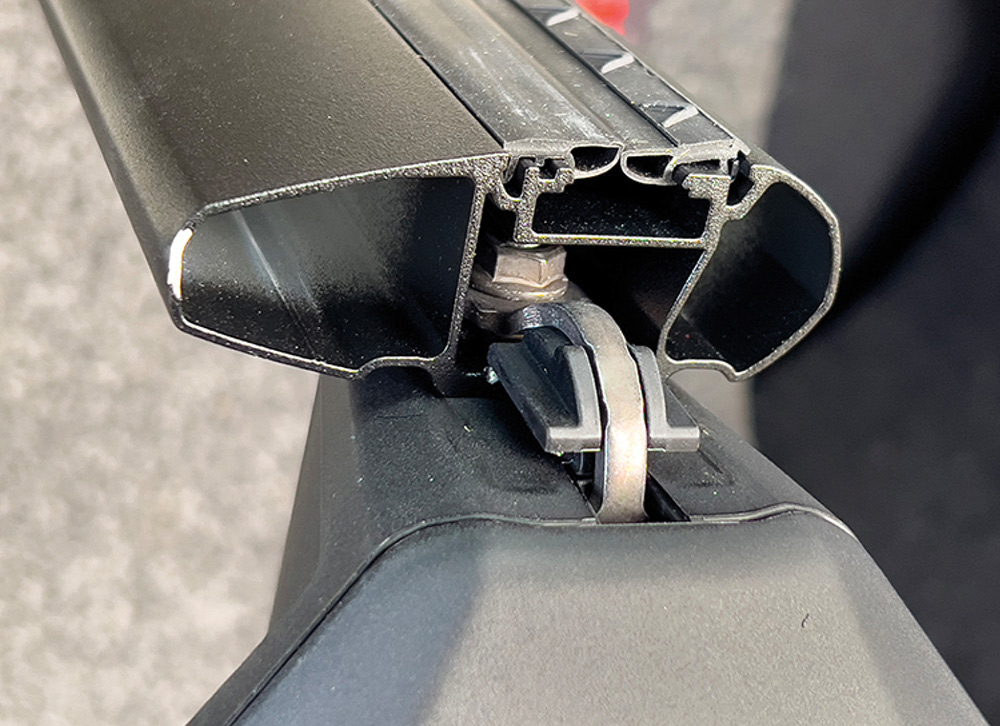
Hinge inside roof rack bar
Roof bar clamps
The instructions don’t make it clear how to slide the feet into the end of each rail. Tip: You use your thumbs to push the silver tabs inward toward the back of the foot to raise the spring-loaded clamp enough so it can be inserted into the rail end. Another installation tip is knowing how to utilize the cool built-in measuring system Thule incorporates with this kit. Each rail has a plastic strip slide into each end with numbers embedded into it. Those numbers are inch measurements to help center the rack on the feet. They also help set the feet the exact distance apart to fit the roof location of a specific vehicle.
Adapter kit diagrams and measurements for mounting
Slide the feet to that “X” (front) or “Y” (rear) number, according to the adapter kit instructions for the specific vehicle, and the racks install easily when positioned as shown on the diagram(s). Once the metal clamp is locked into the mounting foot, the clamp acts like a release lever to slide the foot to the desired location. Squeeze the clamp toward the back of the foot to slide the foot on the rail.
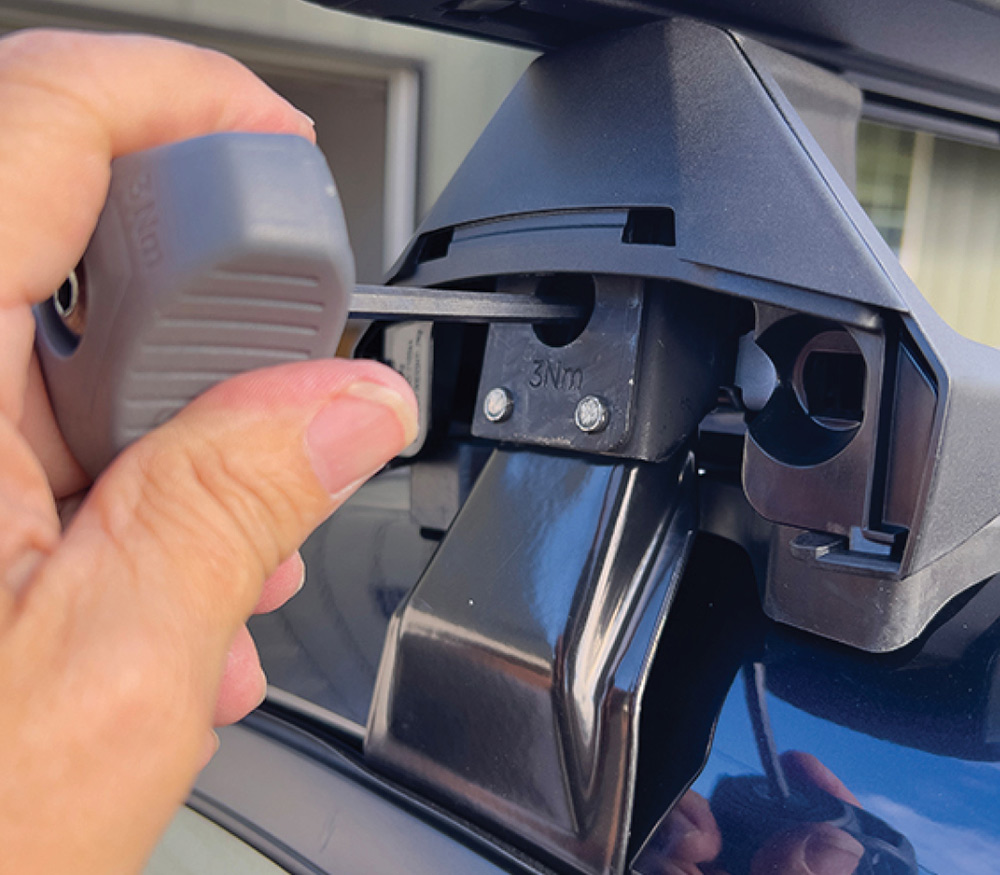
Tightening clamp with included palm wrench
Once the Thule WingBar Evo rails are set into the proper location, the supplied palm wrench is used to tighten the clamp to an exact torque spec. The wrench clicks at the proper tightness.
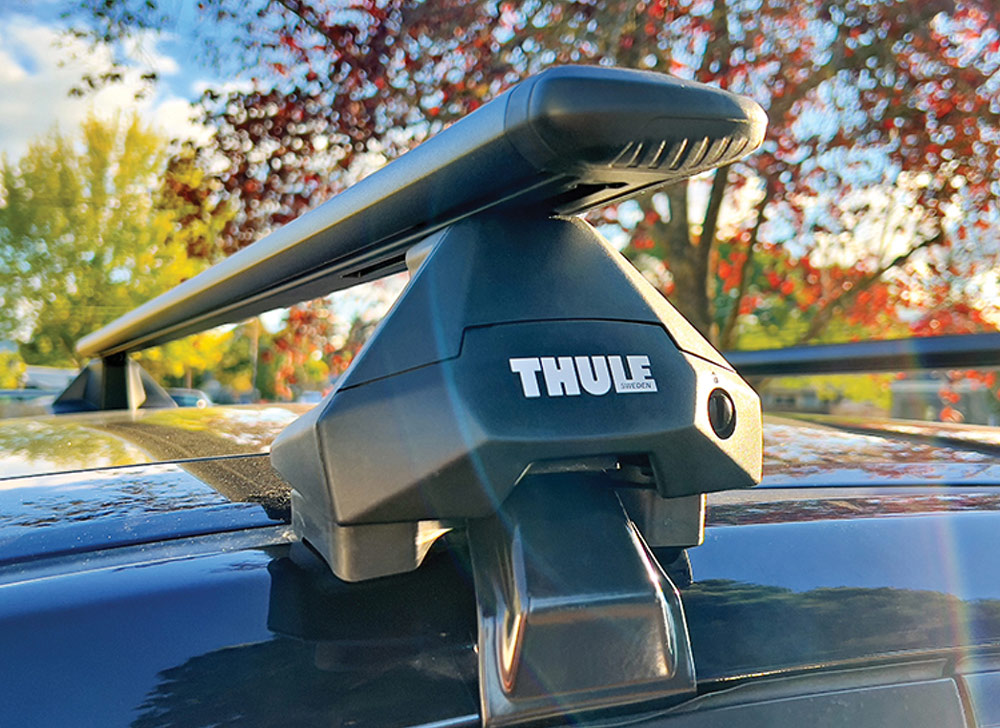
Assembled and installed roof rack
The Thule rack system makes a strong base for whatever cargo carrier you opt to mount to it. We elected to go with Thule’s aerodynamic Vector, but the company has others available depending upon your lifestyle and storage requirements.