retty wheels add a lot of pizzaz to any travel trailer or fifth wheel, and chrome lug nuts add to the finished look. In many cases, the lug nuts are capped with a thin metal chrome-plated sheath to improve aesthetics — after all, no one wants to look at ugly studs protruding through standard lug nuts. In typical lets-save-some-money fashion, however, capped lug nuts are cheaper to manufacture and are provided with many of the trailer wheels rolling down the highway.
But trouble can be lurking — and not rear its ugly head until you have to change a wheel/tire on the road.
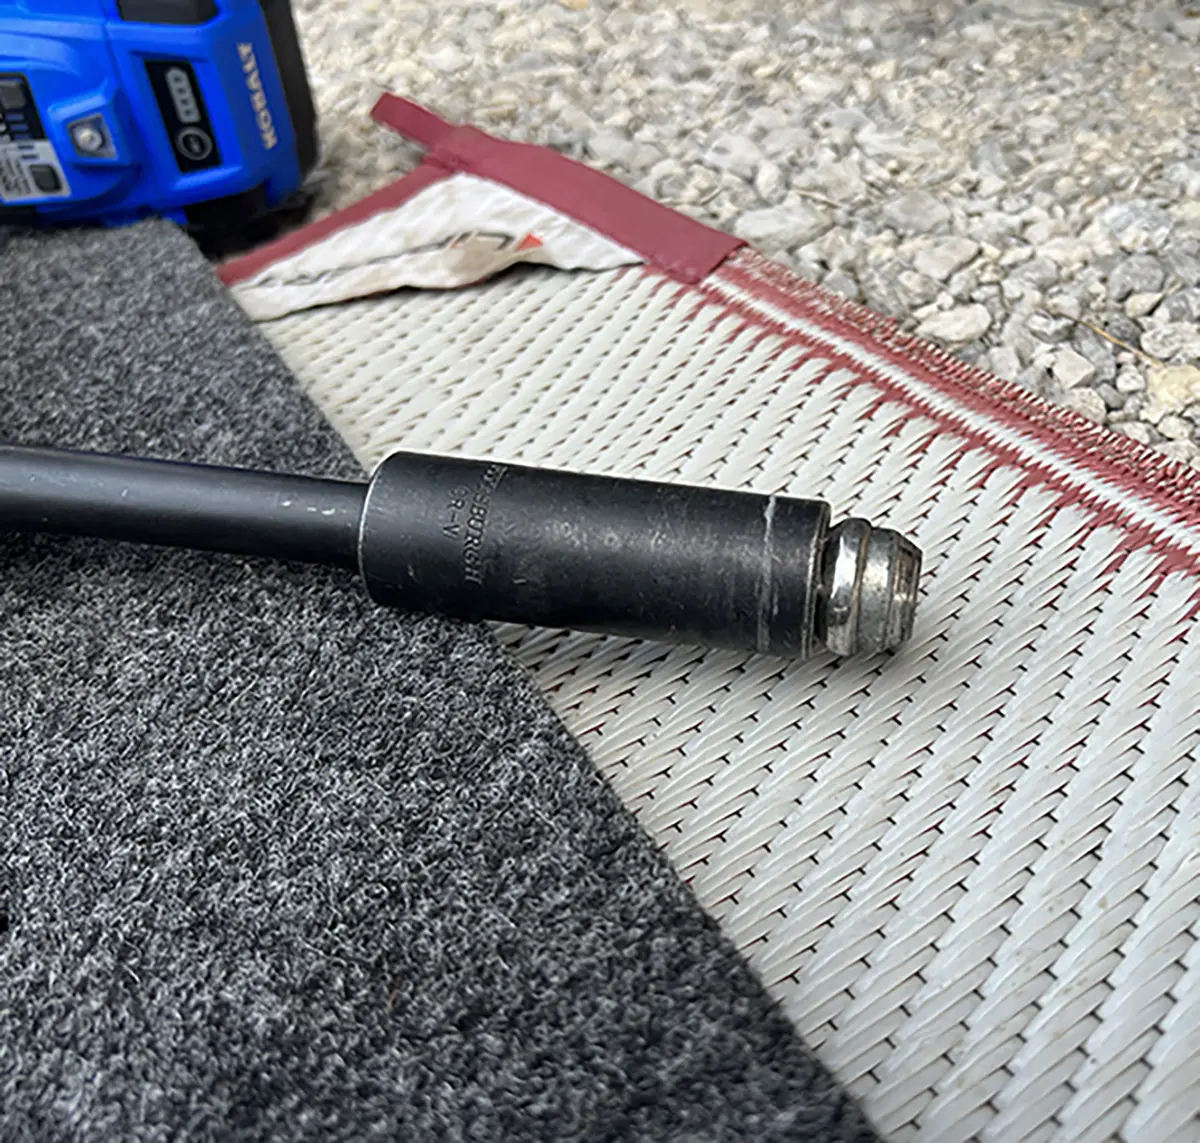
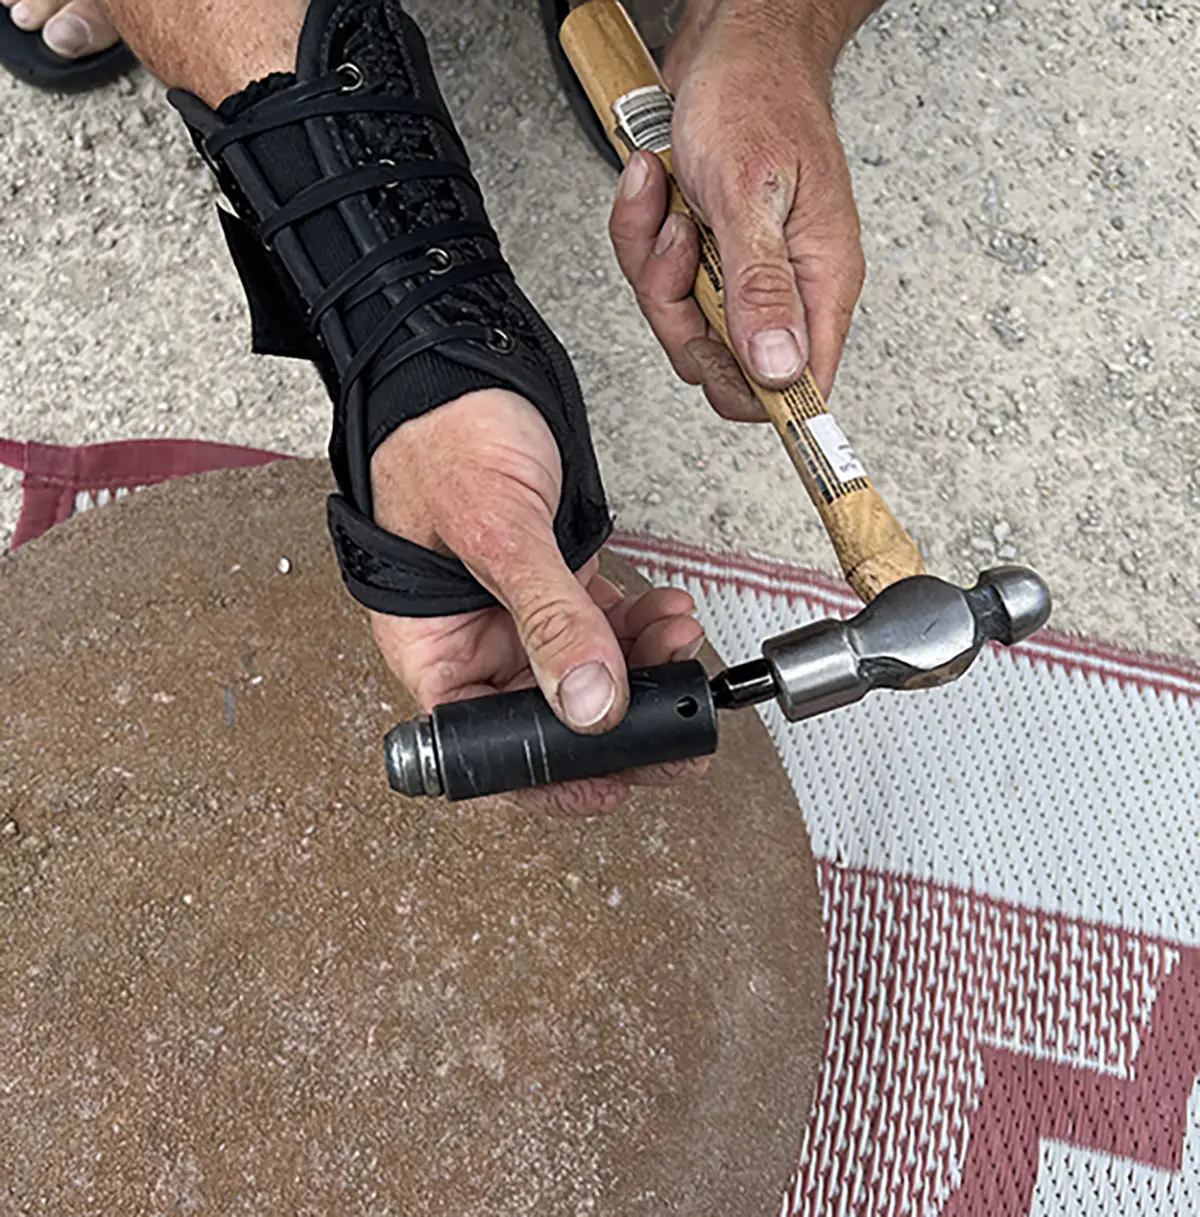
The problem? Over time, these capped lug nuts can build corrosion, swell, deform and crack, which makes them prone to failure — or, at least, create problems when they need to be removed or tightened. I make it a habit to torque lug nuts to specifications before and during all trips and, unfortunately, the tires on my fifth wheel have been replaced way too often (due to failures) so the lug nuts have been “harassed” more than normal. Recently, I noticed the lug nuts were “sticking” while torquing to specifications and some of the lug nuts were getting jammed into the socket because of the deformed chrome caps — and getting them dislodged was frustrating and time consuming. During a recent trip, in fact, one of the original lug nuts became so deformed a cheap (sacrificial) socket had to be forced on with a hammer to provide enough grip. Not only is this inconvenient, but you also have to be careful not to pop out the stud if the lug nut is not fully seated while hitting it with a hammer.
Obviously, this is a less-than-adequate solution only initiated out of necessity. After a few more episodes of wrestling with the lug nuts, I realized it was past time for replacements.
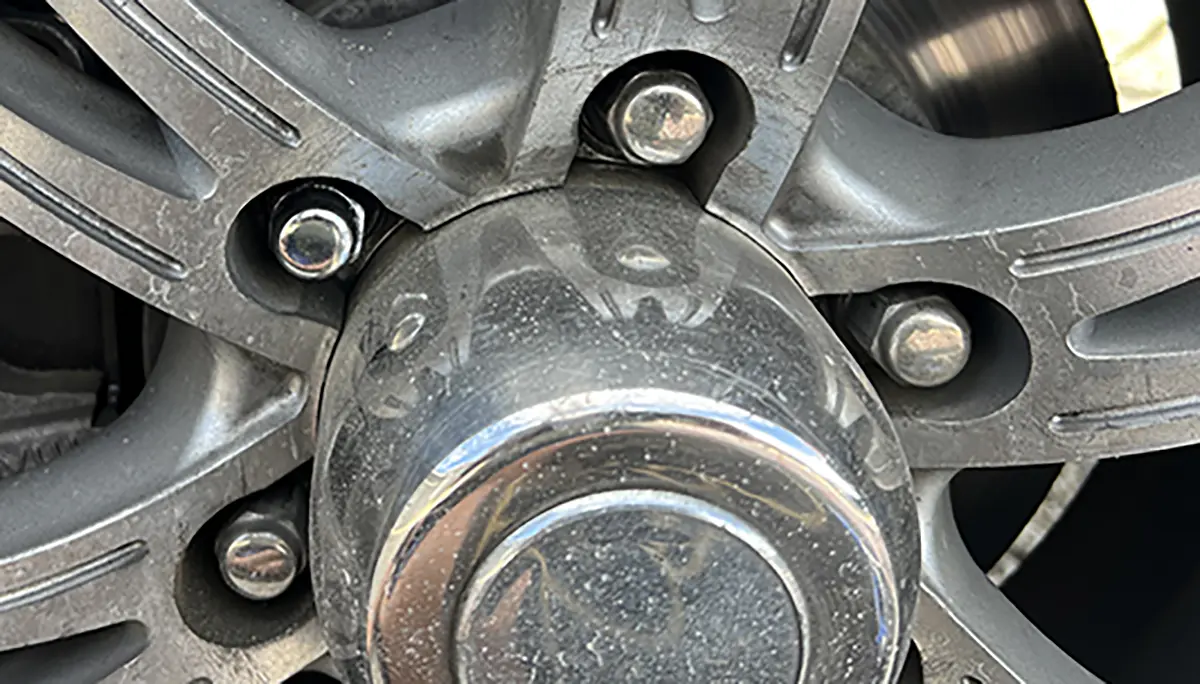
Surprisingly, it was more difficult finding lug nuts in a tire store than one would expect. After visiting three tire and four auto parts stores and coming up empty-handed for my required 24-lug-nut requisition, I checked out availability online and found just what I wanted at Summit Racing (summitracing.com), a well-respected speed shop among car aficionados. I was hell-bent on finding quality, solid Acorn lug nuts (no chrome caps) and Summit Racing offers a good selection of quality products, rather than settling only on the cheaper counterparts which are prevalent online. I bought 24, ½ -20 lug nuts for $51, which were much nicer than the original capped counterparts. It’s possible to purchase higher-grade lug nuts from Summit Racing at twice the cost, but I figured that wasn’t necessary considering the ones I bought looked pretty darn decent — and light years better than the originals. Time will tell if that was a good decision.
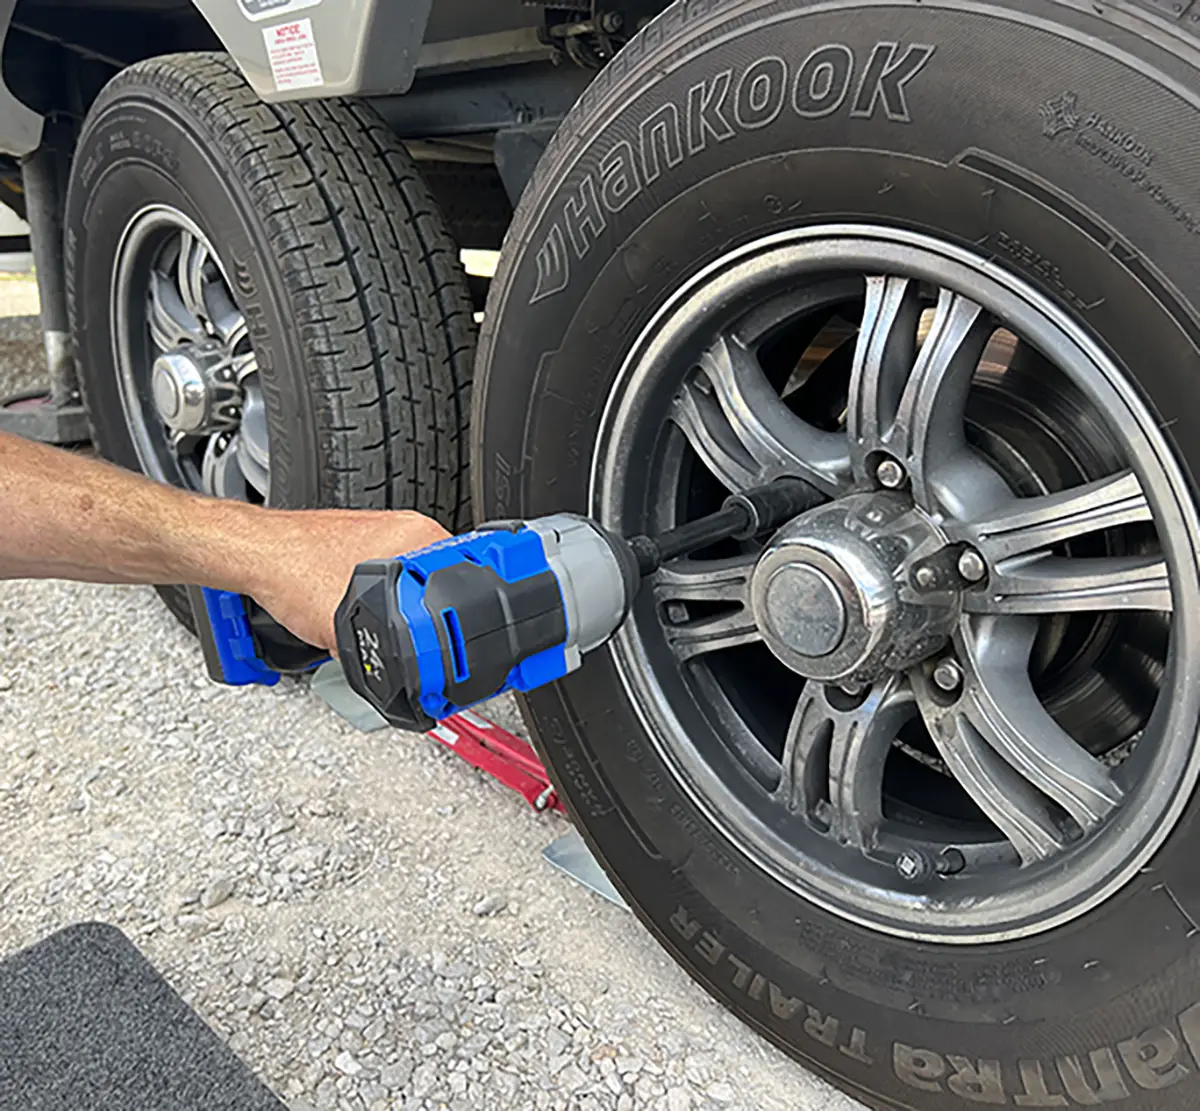
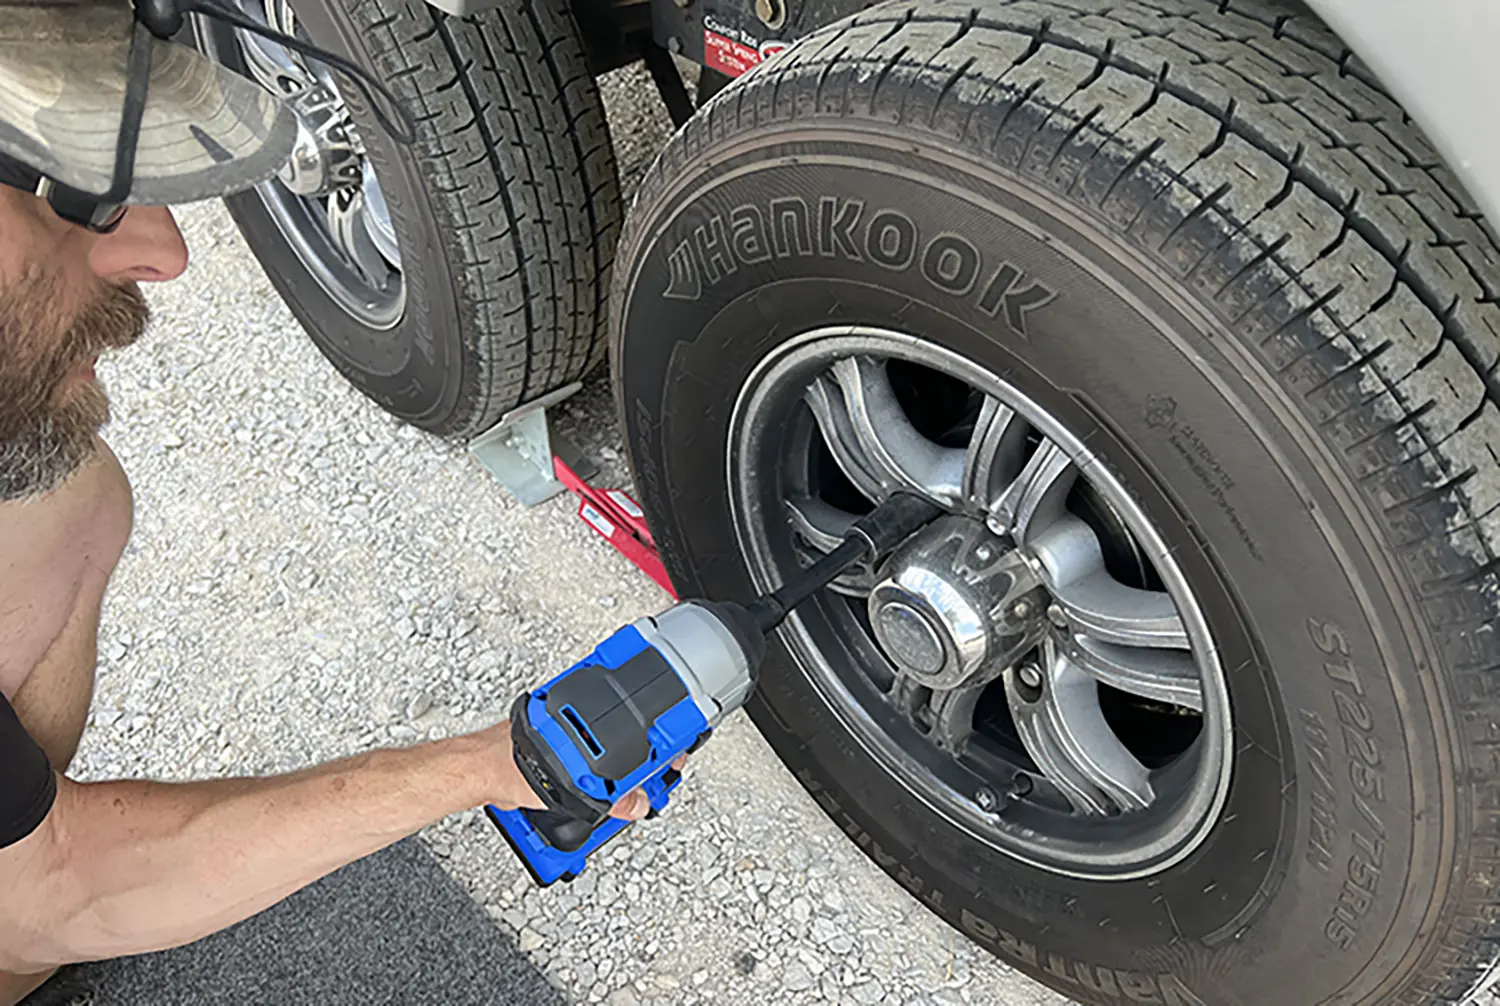
The lug nuts were replaced one at a time using an impact gun, which made easy work of removal. Each new lug nut was first threaded on by hand to make sure there was no cross-threading; if the lug nuts are not on right, the powerful impact gun can damage the studs and create even more problems. After setting the impact gun to the lowest torque value and to only “hand tighten,” (not all impact guns will have this provision) each new lug nut was seated individually. When all six lug nuts were tight, they were tightened to 100 ft.-lb. with a professional grade torque wrench (although many less-expensive torque wrenches will suffice).
New lug nuts require several torquing sessions to make sure they are fully seated in the wheels. Check torque after 50 miles, then again at 100 miles and then at 200 miles. After that, it’s just a matter of torquing the lug nuts before heading out on the road and preferably before leaving an RV park. It only takes a few minutes to do this.
Granted, I am a fanatic when it comes to lug nuts, but after a friend lost a wheel from his fifth wheel at 60 mph on the highway, I figure the extra effort to keep a wheel from becoming a deadly projectile on the highway is worth it.