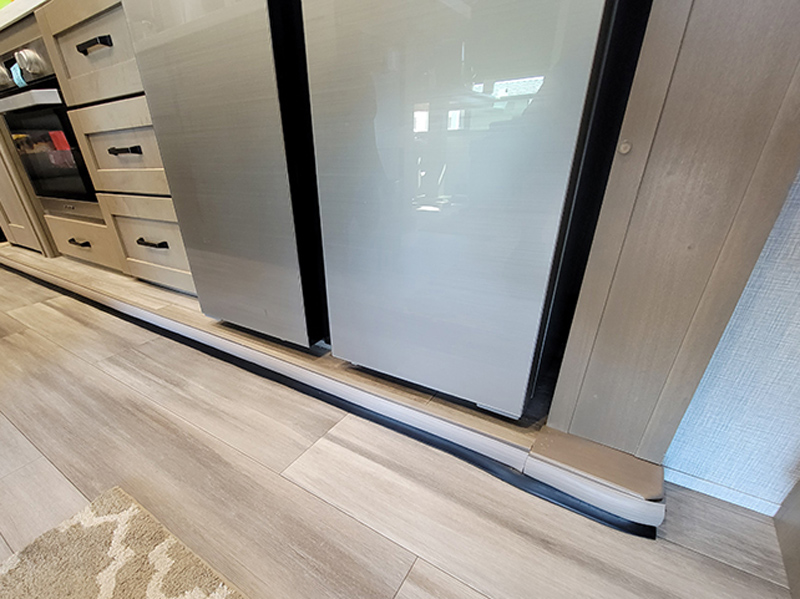
he floorplan in my new fifth wheel works well, but the gap between the floor and the kitchen/entertainment center slideout is wide. It didn’t take long for bunch of spilled M&Ms to disappear under the ledge and spread out under the slideout floor. Chasing the wayward candy revealed other items that left my clumsy hands and found sanctuary under the slide — not to mention the dust-bunnies that escaped the vacuum cleaner’s suction. RV Enthusiast Publisher Bob Livingston has the same gap under his fifth-wheel’s slideout and he’s still finding Cheerios that fell on the floor more than a year ago.
It’s just not a good scene, and likely attracts bugs and mice looking for some nutrition. I needed a solution.
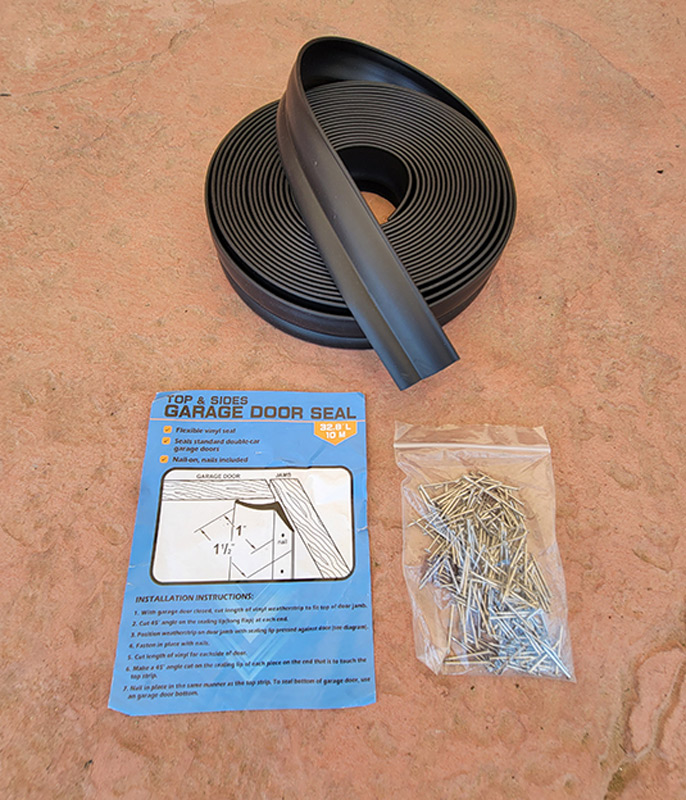
Since the gap is more than an inch high, there’s plenty of space for just about anything that falls on the floor to take sanctuary. I turned to Amazon and while surfing different types of seals I ran across a garage-door seal that looked promising. What I was looking for needed to be long enough to attach to the front of the slideout lip and reach the floor — and not look like an afterthought. Fortunately, the “garage seal” I found — “Garage Door Top & Sides Seal 32.8 feet, Weatherproofing” (Amazon, $10.47 for a 32.8-foot roll) fits the bill.

The step-down molding came in a tight roll, so it didn’t take me long to figure out I needed to let it bake in the sun for a while to straighten out the material naturally. The garage door seal was pliable and did not need to be set in the sun.


I started at one end and drilled the first pilot hole through the seal and front lip of the slideout, then drove in a nail. From there, the other pilot hole locations were marked with 6-inch spacing and drilled one at a time, and each nail was set. I was hoping that I could make the turn around the edge of the slideout ledge, but that didn’t work because the lip on the side of that curve was too narrow to set a nail. In the end, it was a straight run. The nails have a small flat head on them, so I decided not to pound them into the seal too hard for fear of cutting through the seal.
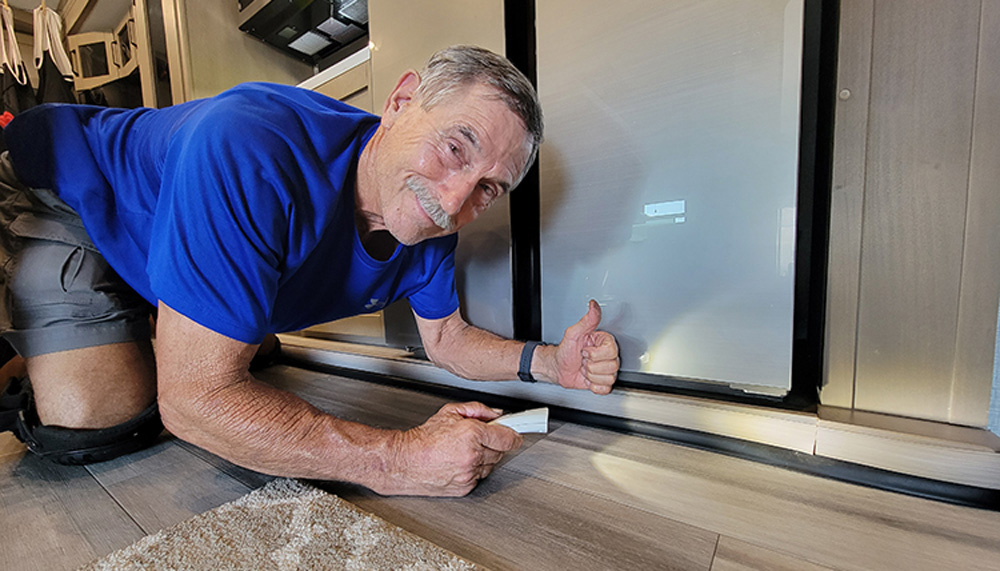
Satisfied that the seal was in place, I used a paper towel and alcohol to clean the entire length of where the molding — which has strong double-sided tape for adhesion — was to be applied. I set the lip of the molding right on top of the rubber seal, which gave me a gauge between the top of the seal and the top of the lip for making a nice straight line all the way across the slideout. The tape stuck better than I thought it would; if it starts to come loose down the road, beige-colored brad nails can be driven through the molding into the slideout floor facing.
Granted, I was a little worried about how the black seal would look hanging down from the slideout floor, but it actually looks like it was factory-installed — and even matches the black fireplace and oven. When the slideout moves in and out, the new seal follows the slideout pathway nicely and remains straight when the room is extended fully — and finally closes the gap to dropped items.