Roadmaster’s Comfort Ride Slipper Spring Suspension System
[maghub_sidebar]
Suspended Animation
Roadmaster’s Comfort Ride Slipper Spring Suspension System
placing a Comfort Ride slipper spring box
R

oadmaster Inc. of Vancouver, Wash., is well-known for its dinghy towing products — which range from baseplates and tow bars to auxiliary braking systems and more — but the company is fast making a name for itself in the suspension aftermarket for parts such as its Comfort Ride slipper spring and shock absorber kits (available together or separately) for tandem-axle and triple-axle trailers.

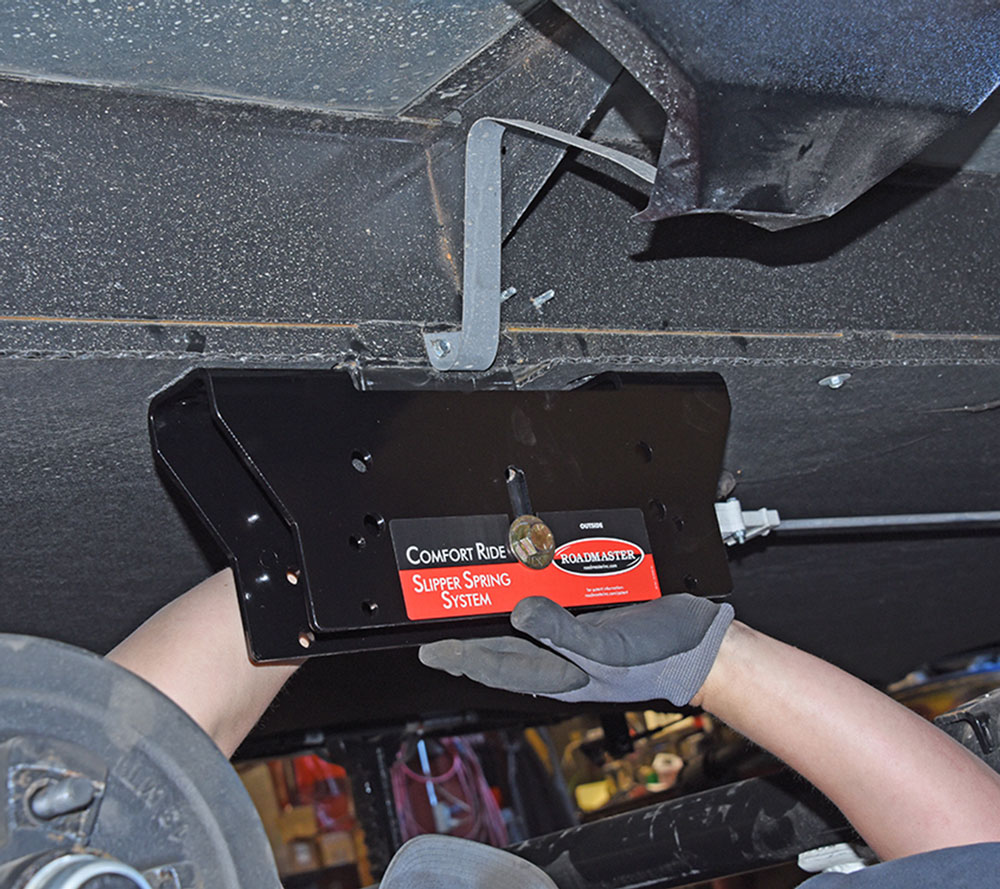
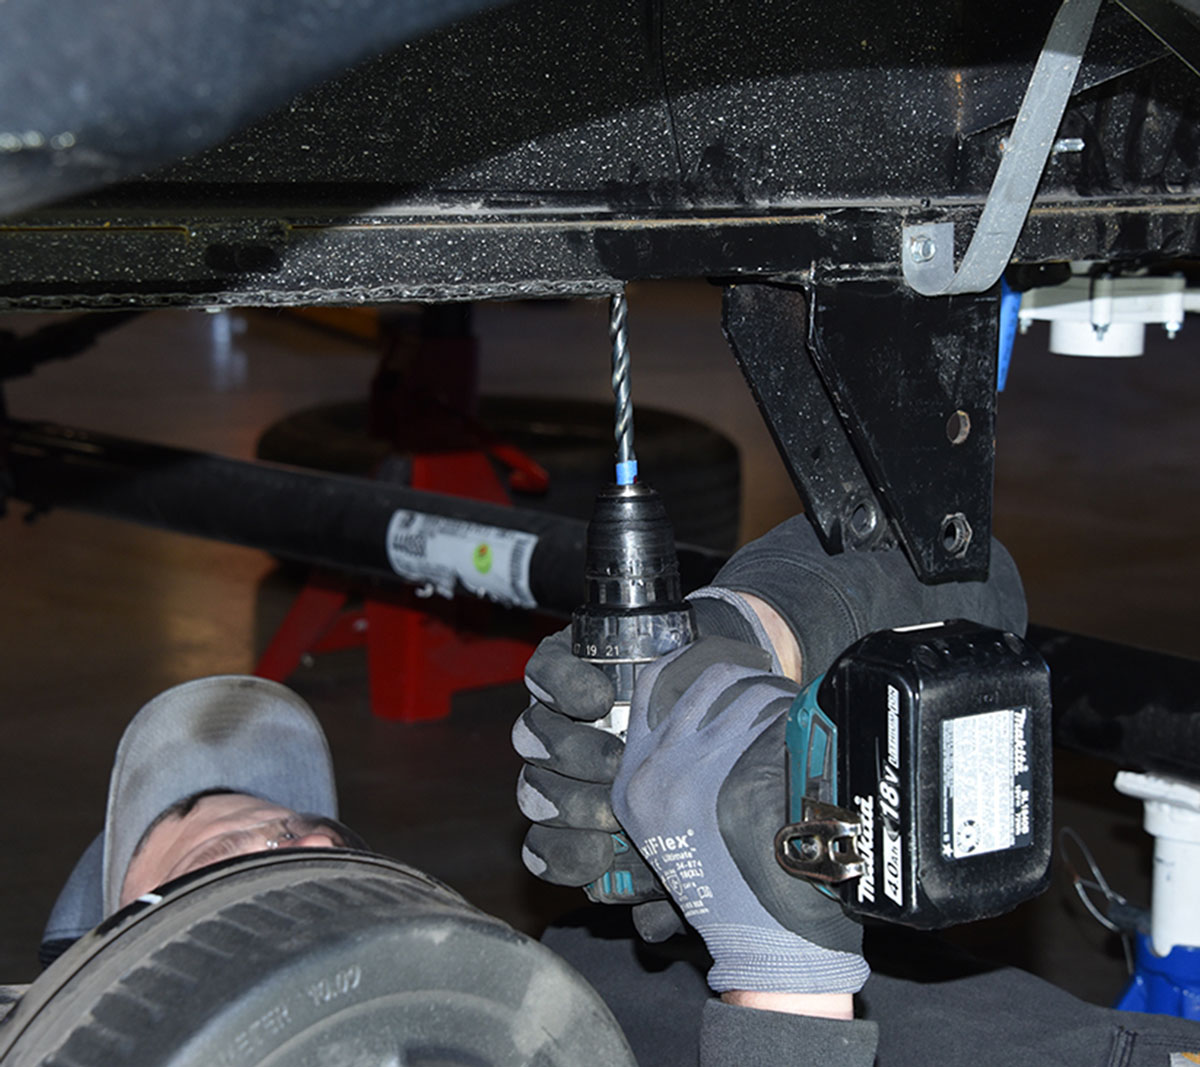
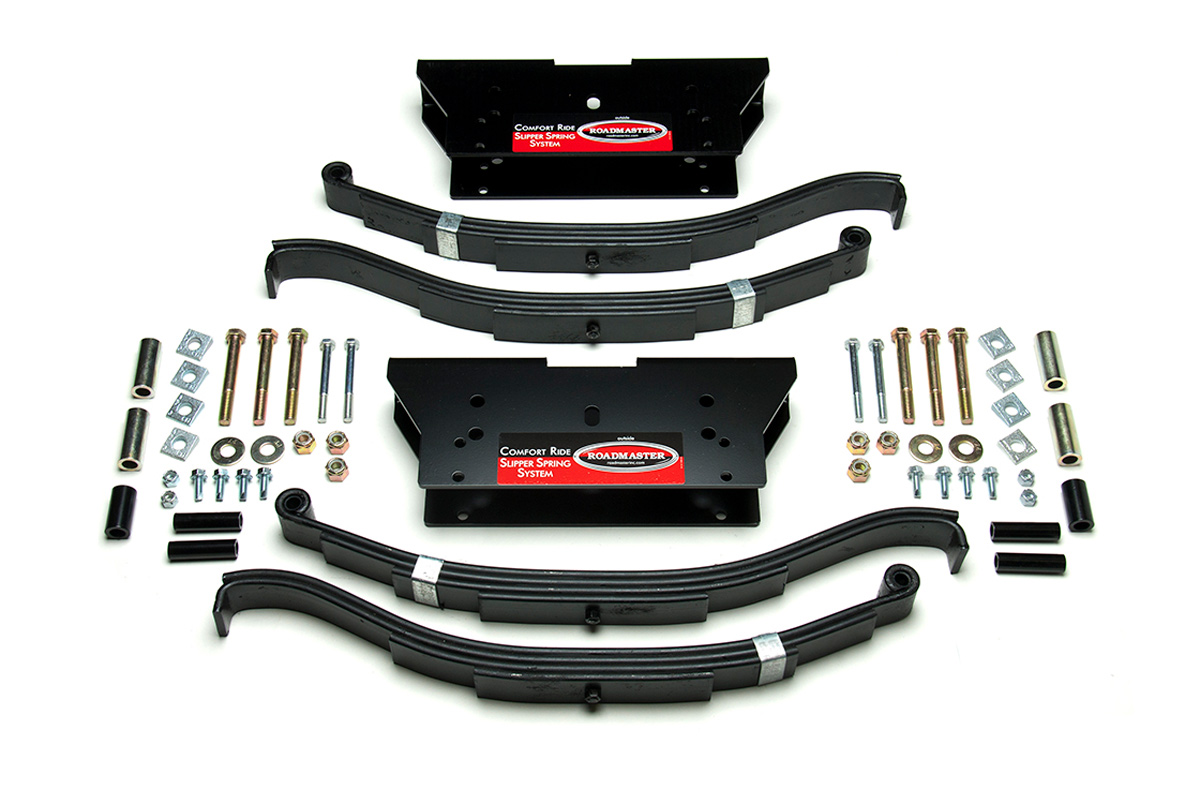
The slipper spring kit is engineered to reduce bucking and bouncing by replacing the leaf spring equalizer (as well as the leaf springs themselves) with a steel box structure that bolts to the equalizer bracket and to the trailer’s frame. The spring box incorporates rollers and wear plates, which are designed to accommodate the specially designed leaf springs.

At one end, the replacement springs have a traditional “eye” that bolts to the spring hangers — but the ends that locate inside the spring box have open, curved ends. The curved ends locate over the rollers inside the box, while wear plates located above these ends keep them properly positioned. As the spring compresses (flattens), the curved ends ride on the roller assemblies, which prevents them from transmitting force to the chassis and to the adjacent leaf springs/axles. To a large extent, this allows each axle/spring assembly to operate independently of one another, instead of transmitting force to each other through the spring equalizer.

Slipper Spring Kit
Whether springs-only (seen here) or the complete system, Comfort Ride products are designed for a bolt-on installation and universal fit on trailers with a standard leaf-spring suspension. Trailer chassis can vary slightly in design, however (including so-called “wide stance” axles), so if you have any concerns, contact Roadmaster customer service to make sure the kit (or kits) is a good fit for your trailer.

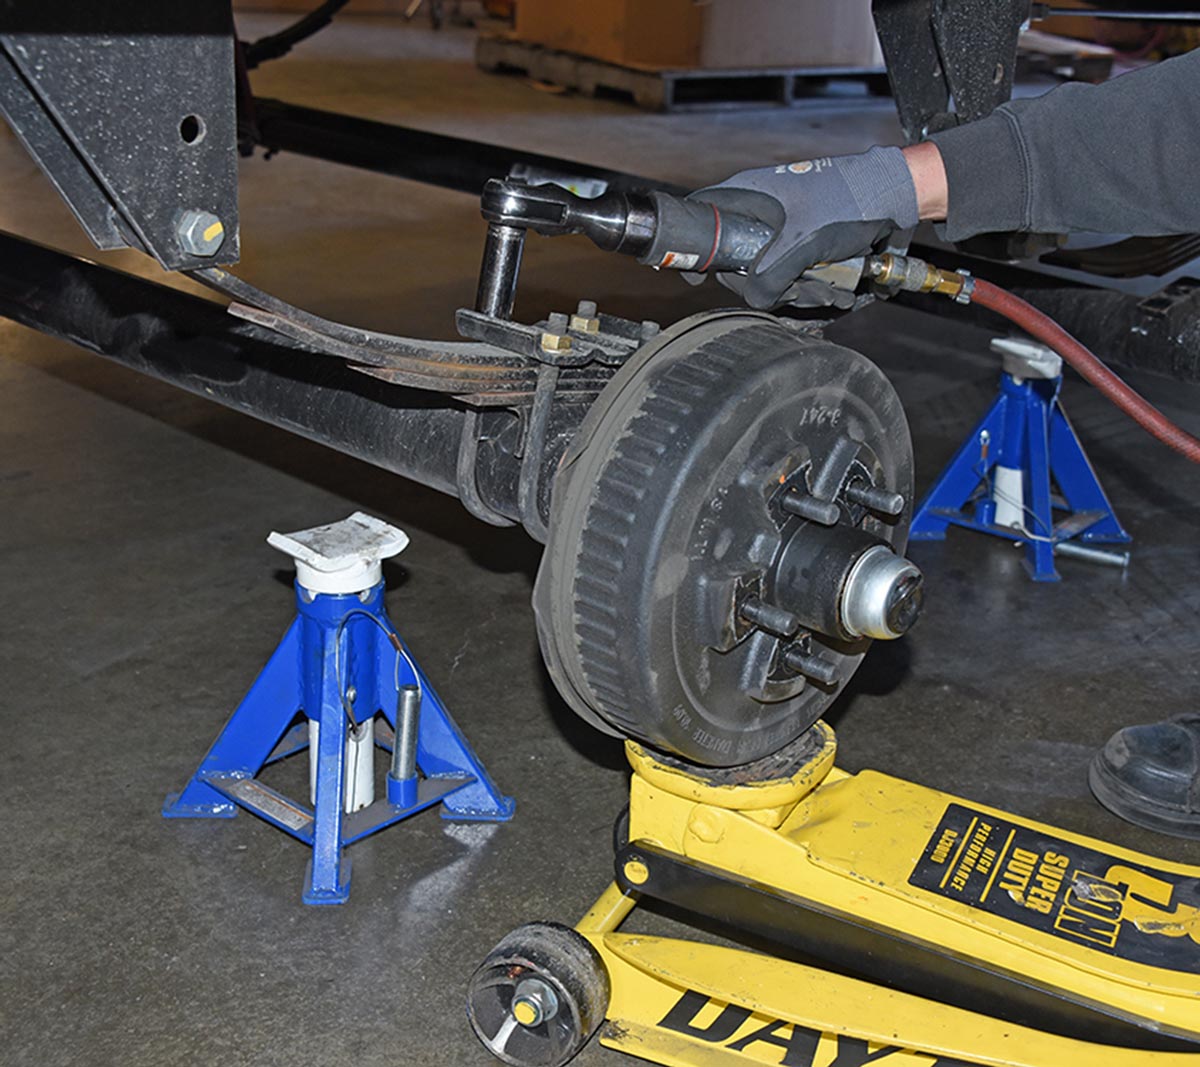
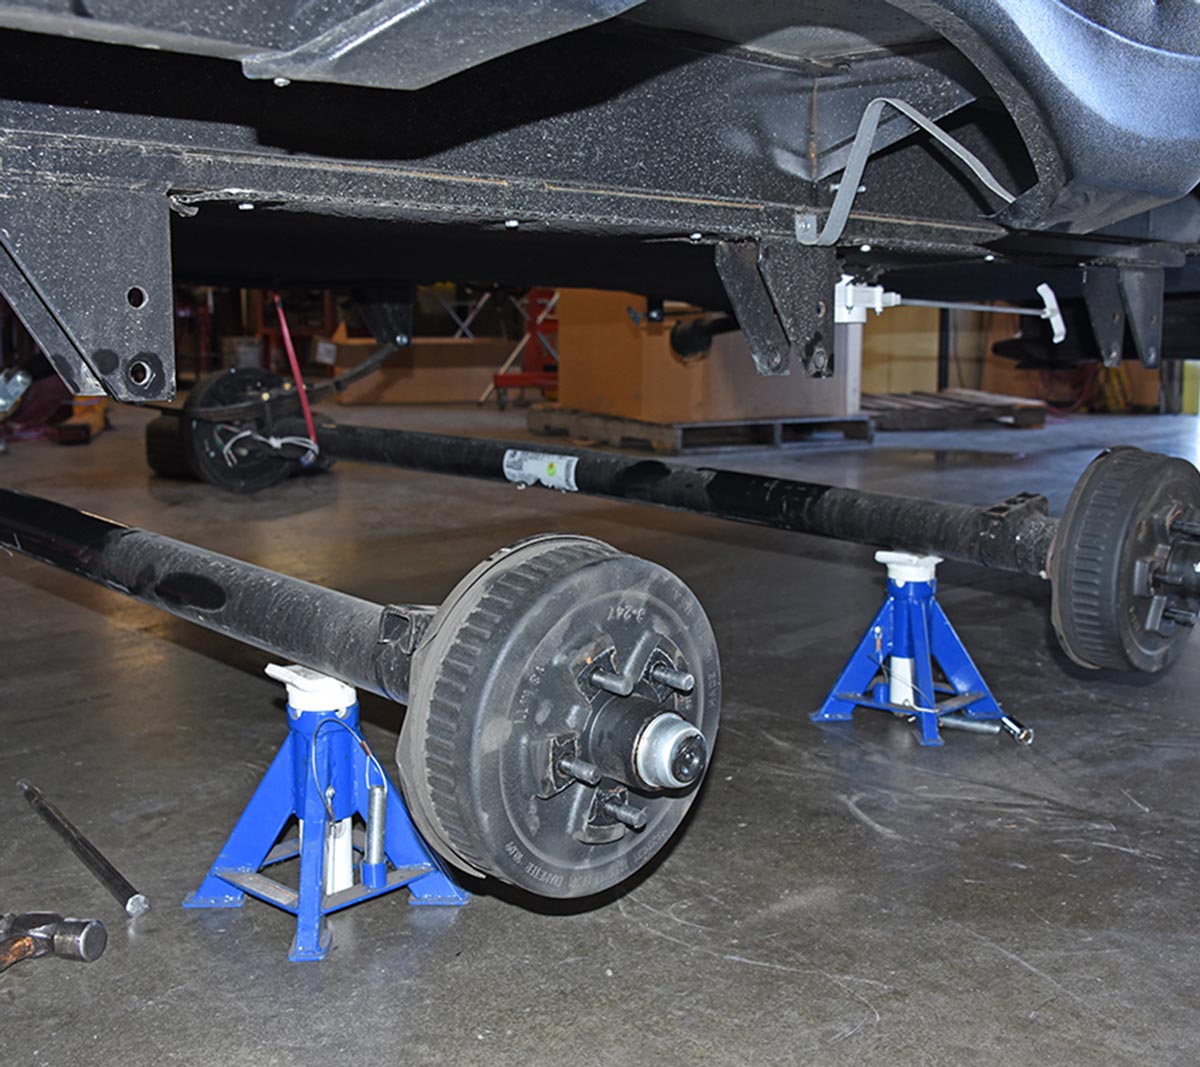
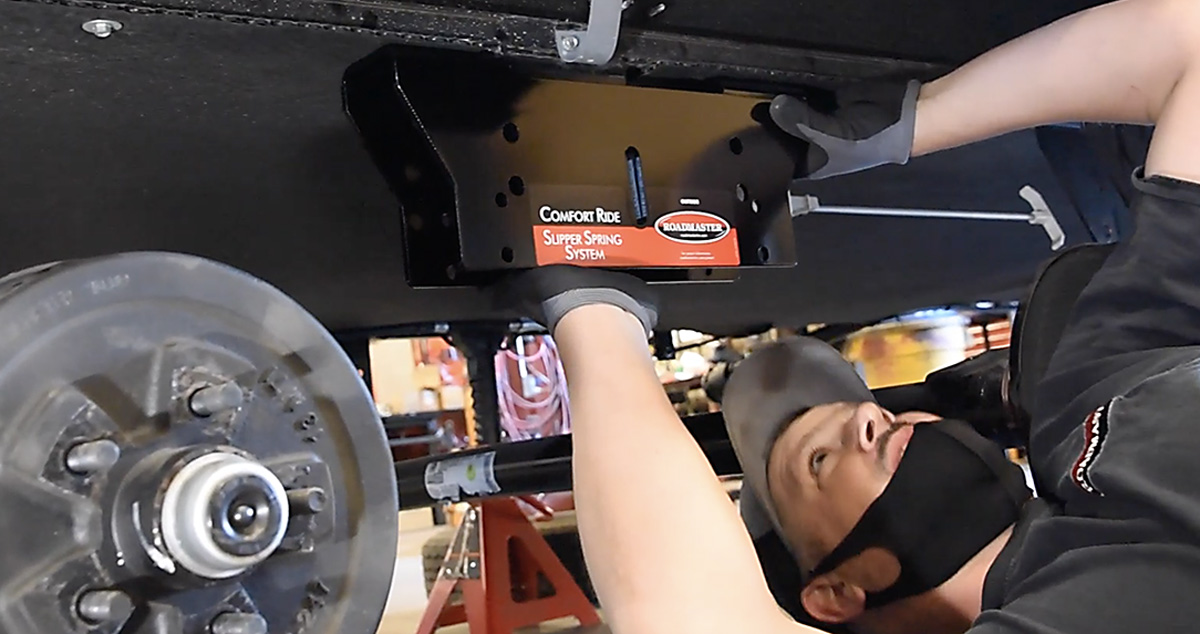
As we witnessed when following an installation, swapping for the complete package (including the shock kit) took approximately three hours for a professional tech with air tools; we estimate that a competent DIYer with hand tools could complete the same job in about twice that time, or 6-8 hours (there’s a how-to video on Roadmaster’s website at roadmasterinc.com/products/travel_trailers/comfort_ride.php). That’s a chunk of time, we know, not to mention a significant investment: you can find the slipper springs kit online for about $800-$1,000, depending upon kit size (they are available for axles rated at 5,000-, 7,000- and 8,000 pounds capacities), while the shocks kit will set you back from $400 to $700 (depending upon number of axles). You can also purchase the complete package from places such as etrailer.com. If you use your trailer for more than the occasional weekend outing, however, it’s tough to put a pricetag on the peace of mind which comes from better handling.

Removing the nut from the bolt that runs through the center of the equalizer
lossened plate nuts at each spring
 entire stock spring/hanger assembly
Most travel trailers and many fifth wheels are equipped with a simple spring equalizer, which connects the ends of both springs in a central location attached to the frame, as shown here. With the axles properly supported and wheels removed, the first step to replace the stock part is to remove the nut from the bolt that runs through the center of the equalizer (the bolt has serrations near the head designed to prevent it from loosening, so attempting to remove the bolt rather than the nut will damage the inside of the bracket). Next, the tie plate nuts at each spring end are loosened and the U-bolt nuts are removed; the entire stock spring/hanger assembly can then be unbolted and removed as a unit.
fitting the Comfort Ride slipper spring box
drilling the bottom of the mounting frame
The Comfort Ride slipper spring box is then trial fit over the equalizer bracket on the frame, and the bolt/nut assembly loosely installed. A line is then traced around it and the underbelly material trimmed away with a razor knife. The spring box is then used again as a template to mark the mounting holes that need to be be drilled in the bottom of the frame. It’s recommended that red thread locker be used on the bolt threads before installation; then torque the bolts to specification.
spring end placed over the roller assembly in the spring box
The wear pad is located above the roller assembly; the roller itself is positioned in the lower hole after the curved end of the spring has been inserted into the box. Here, you can see that one of the spring ends has been placed over the roller assembly in the spring box, with the wear pad located above.
a bolt placed through the hanger/spring eye
 nuts being tightened and torqued
The ends of the Comfort Ride leaf springs that attach to the factory spring hangers use typical closed spring eyes. A bolt is placed through the hanger/spring eye and finger tightened; the spring then rests on the spring perch. For heavier spring packs, longer replacement U-bolts are required. The nuts are first tightened, then torqued to specification.
placed Comfort Ride slipper spring box
With the springs in place, you can see how the system works: The curved ends of the springs ride on roller assemblies, while the wear pads are positioned above the ends to control up/down movement. By allowing the spring ends to move freely, the suspension can operate independently instead of being tied together by an equalizer. Torque all fasteners to specification, and you’re done.