Singing in the Shower
Singing in the Shower title
installing a water heater in an RV
Truma’s AquaGo instantaneous water heater is designed to fit in the same opening provided for all RV counterparts. No modifications need to be made to the opening and surrounding sidewall.
Upgrading to Truma’s AquaGo instantaneous water heater is a game-changer for those who love to linger under a stream of endless hot water
By Bob Livingston / Photos by the author
H

umans love their shower time. Maybe it’s the comfort afforded by personal time standing under a brisk waterfall of soothing water or maybe it’s a place where new songs are tested. In a stationary home, there’s plenty of water to linger under the shower — but that’s not the case in an RV. Conventional RV water heaters have limited supply, controlled by a LP-gas burner or electrical element. Most can provide 6 to 12 gallons of water, but there’s always down time if back-to-back showers are taken by multiple occupants. Truma’s AquaGo instantaneous water heater overcomes that annoyance by providing all the hot water you want — without interruptions.

There are several manufacturers who include the AquaGo as part of their build, but for those who would like to upgrade, one of these sophisticated water heaters can be retrofitted by Truma at its Elkhart, Indiana, facility or by one of its certified dealers scattered throughout the country. Truma (www.truma.net), a company with a huge presence in Europe (headquarters in Munich, Germany), does not sell the AguaGo to the aftermarket unless the unit is being installed by one of its trained technicians.

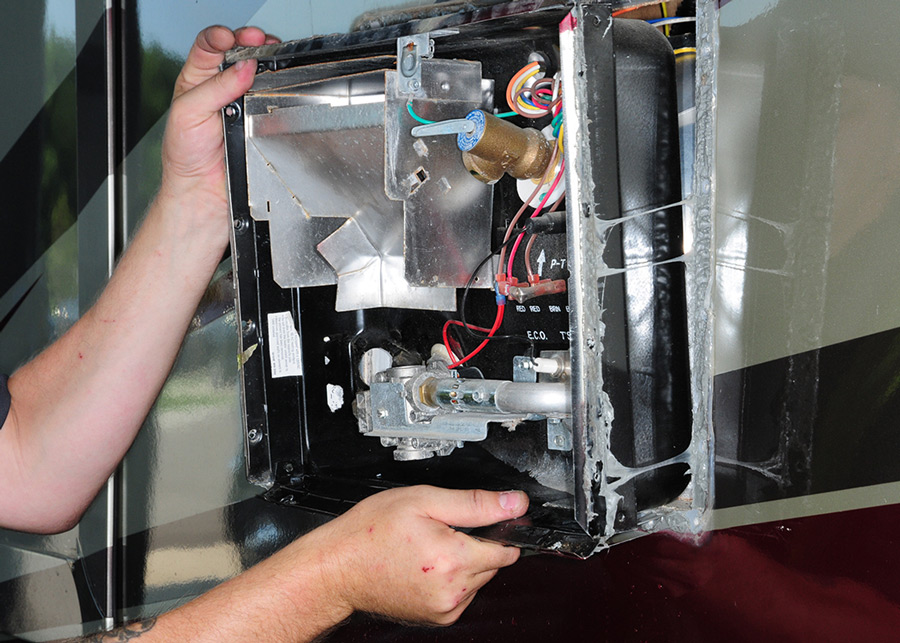
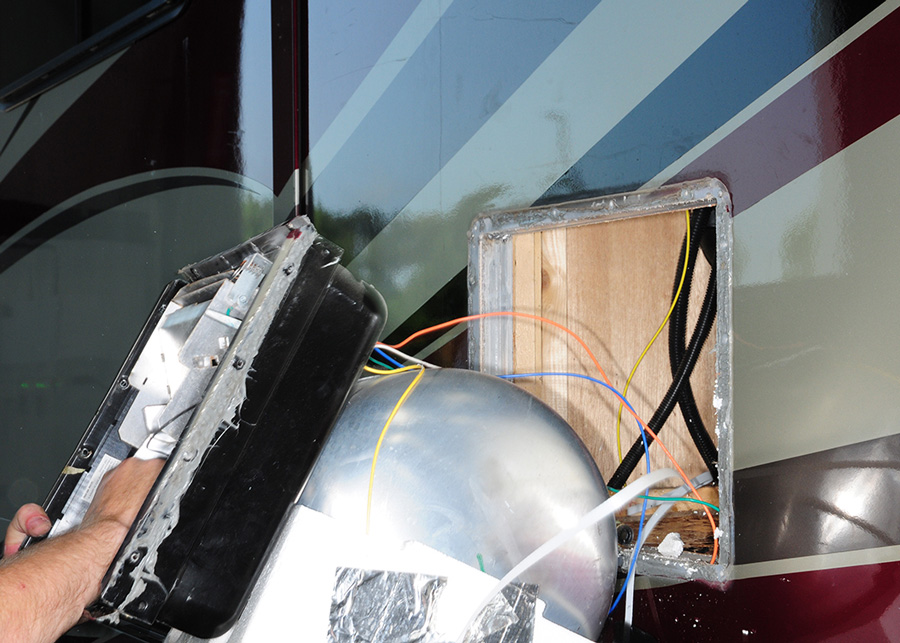
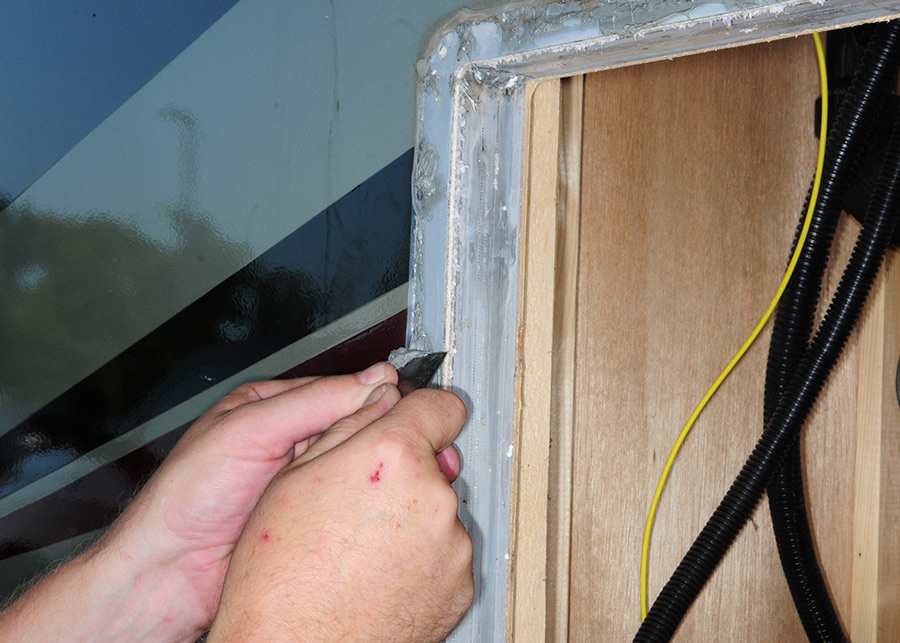
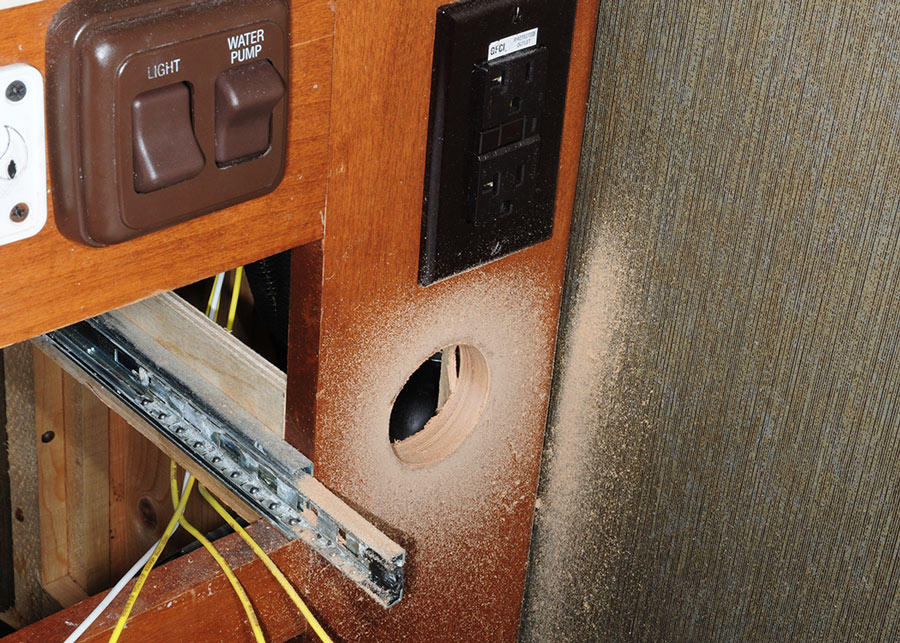
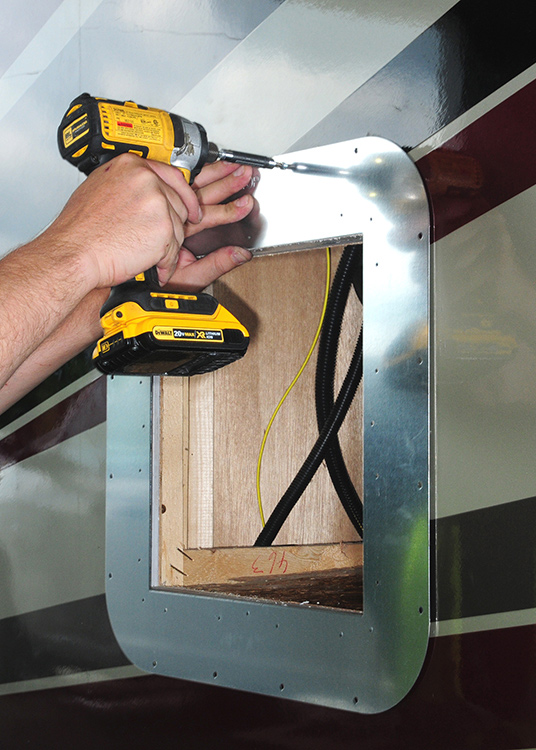
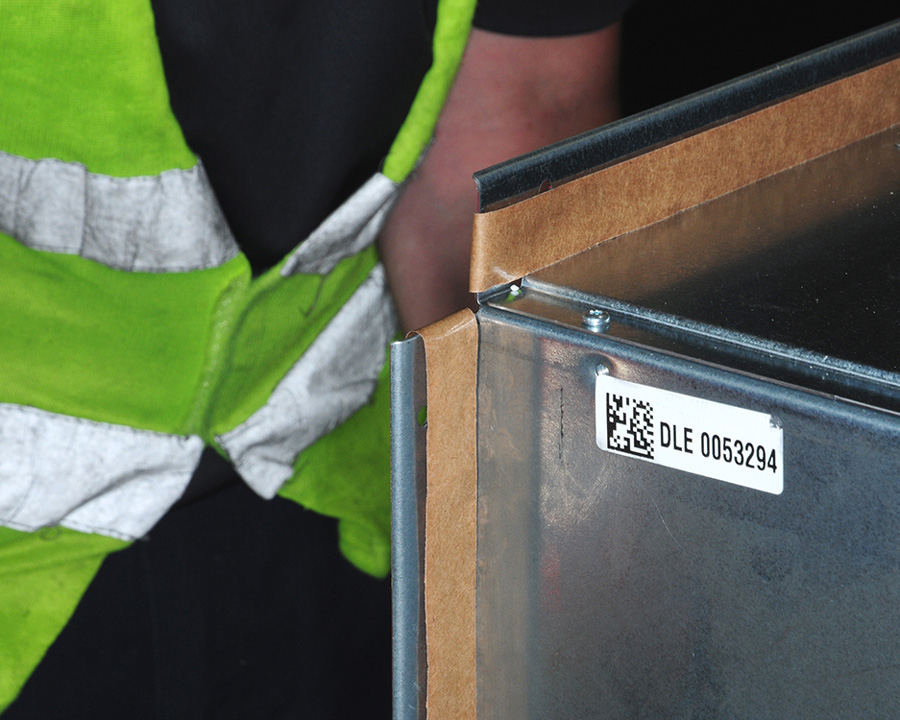
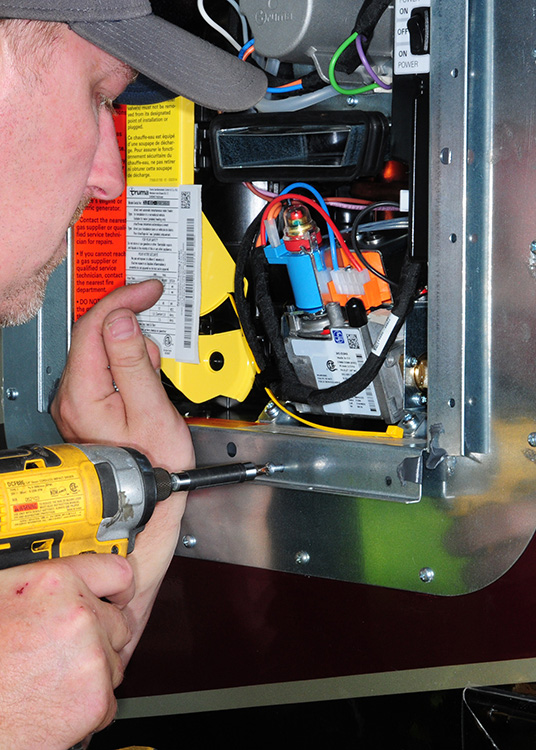
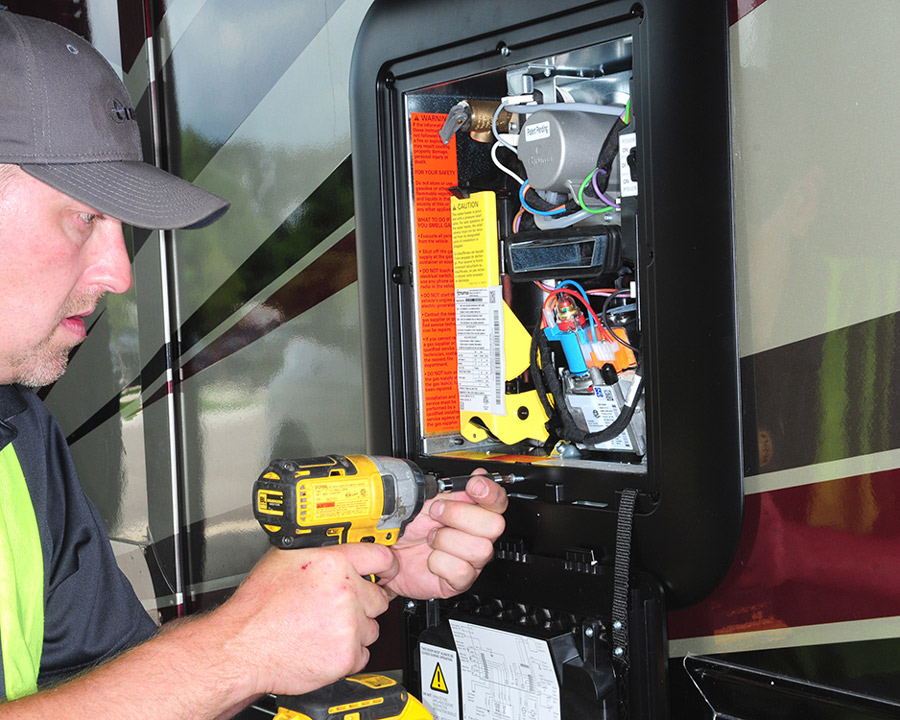
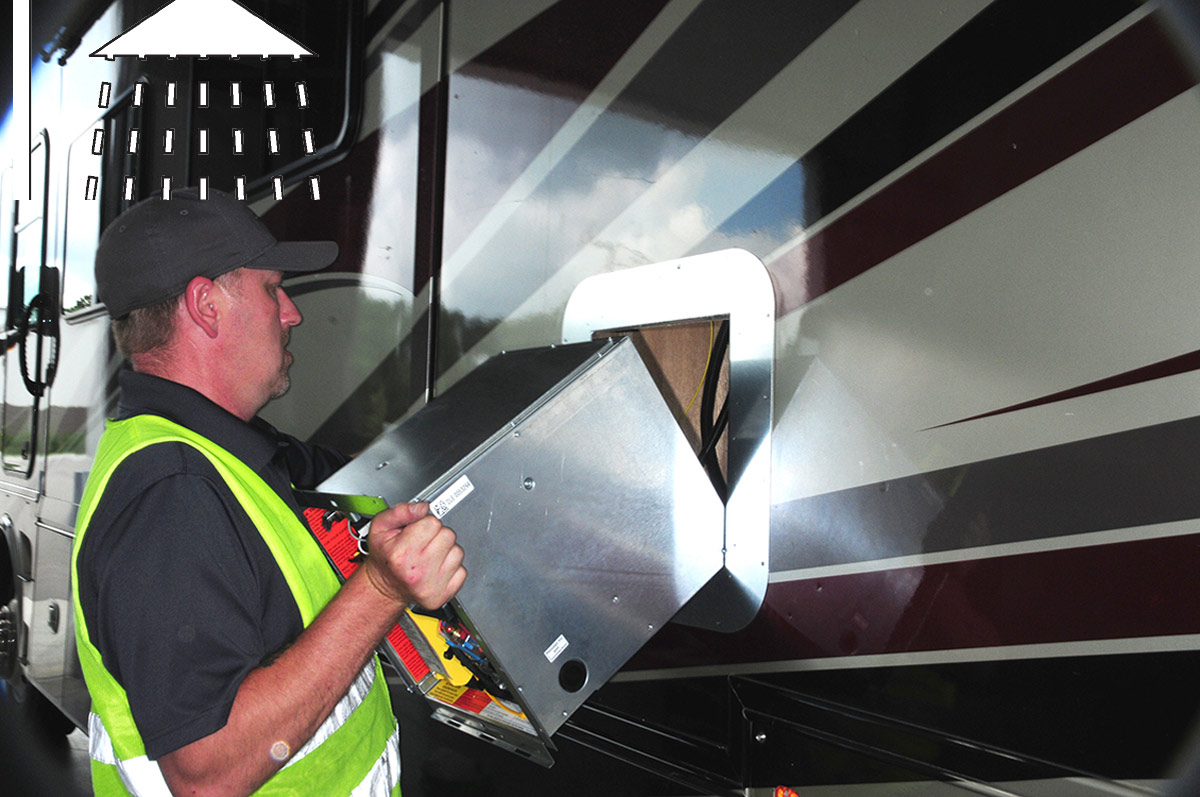
German engineering really comes into play with the AquaGo. The Germans have a reputation for building sophisticated machines (think cars) with redundant features that assure quality and longevity. In that vein, Truma also designed this unit so that it can be retrofitted into any opening that housed a 6, 10 or 12-gallon RV water heater without making any modifications to the original compartment and/or sidewall. What’s really impressive, though, is the manufacturing process — where every component is coded and captured on a computer program that keeps tract of each water heater built and its respective parts. If something goes wrong (which is rare), the water heater can be connected to a diagnostic computer that will identify the issue on the spot and pinpoint the offending component by serial number so that, if need be, a technician can take immediate corrective action. Every unit also is bench tested before being boxed for shipping.

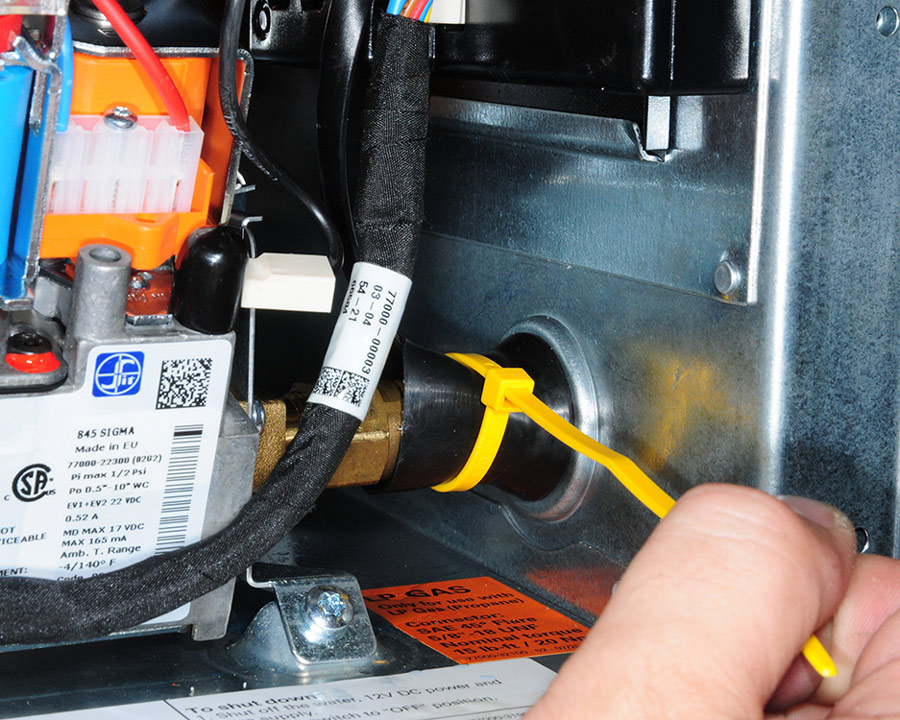
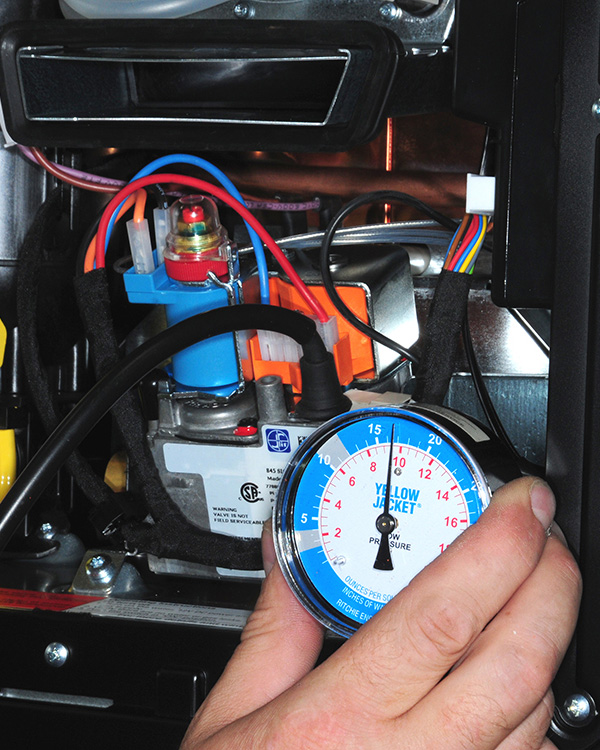
The operation of the AquaGo is straightforward. When water is detected by the volume-flow sensor (which responds to an open faucet), the LP-gas burner is fired up and the water is heated instantly; there is no reservoir that holds heated water that eventually cools and needs to be heated again. The water temperature is regulated not to exceed 120 degrees F., which prevents scalding as long as your skin is not exposed to unmixed (with cold) hot water for more than five minutes. This safety feature was tested multiple times to assure compliance.

The AquaGo only operates on LP-gas, other than the control board that requires 12-volt DC power. I had one of the original units installed five years ago and not only is it still working perfectly under full-time service, but propane consumption is also amazingly low. Based on my usage, a 7-gallon cylinder will last for at least three months (the LP-gas furnace is rarely turned on and all the other appliances in my rig are powered by electricity).

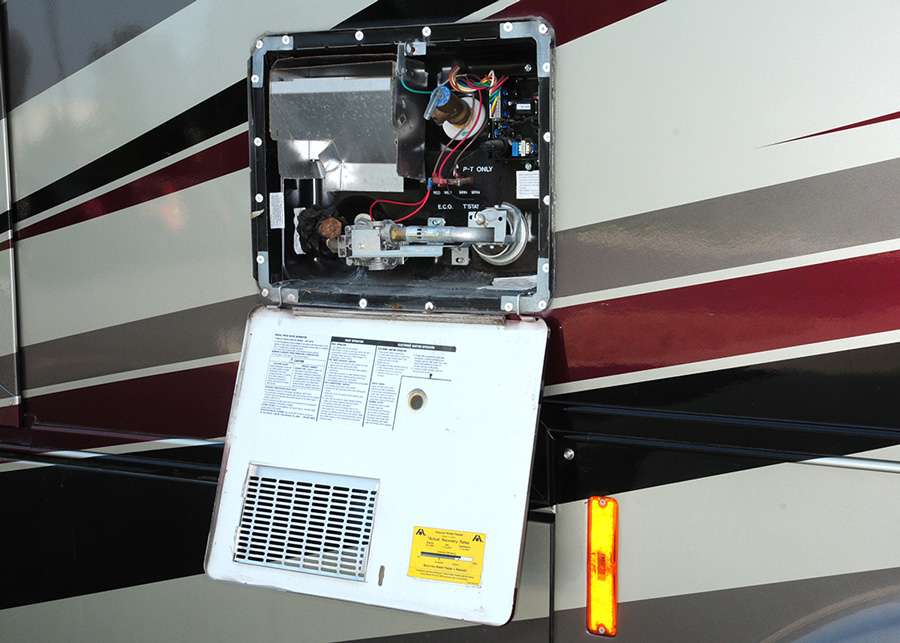
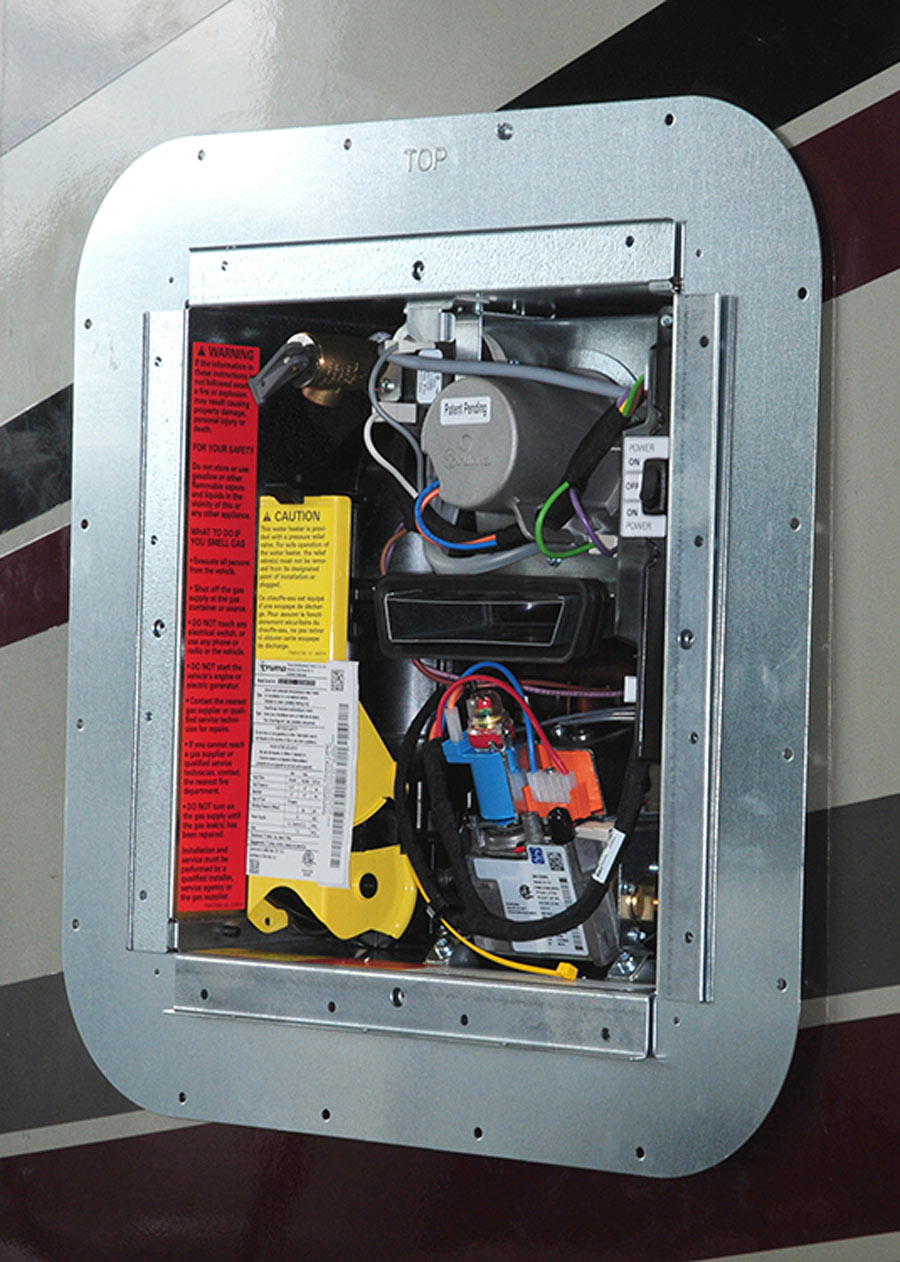
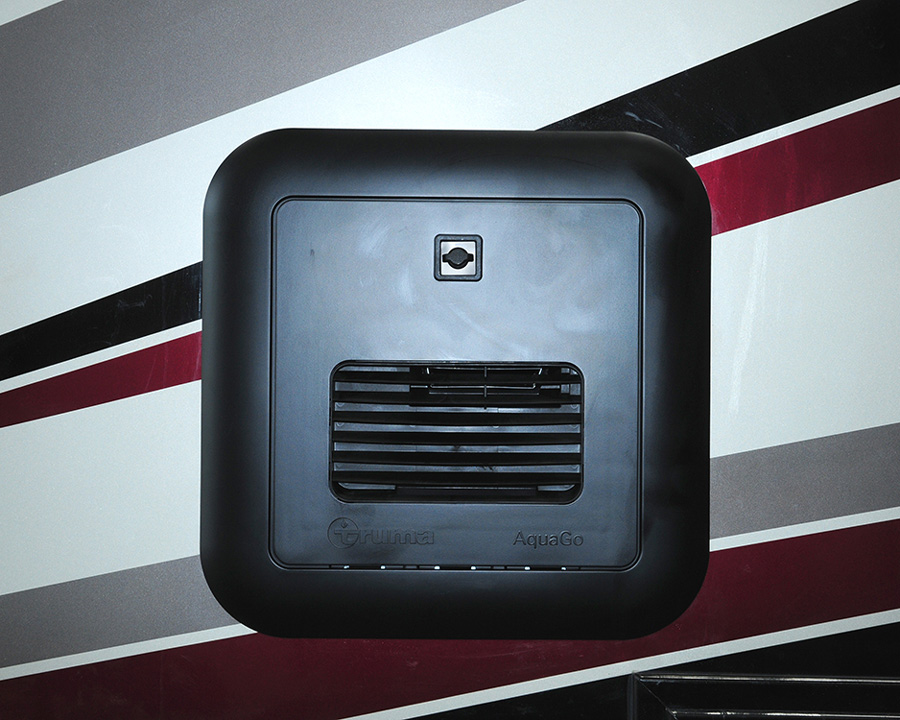
The exterior door of the AquaGo is also designed to flow fresh air to the burner and exhaust any gas in an efficient manner via an integrated ventilation grid. And it looks nice, too — trim plates are used to provide an OEM look.

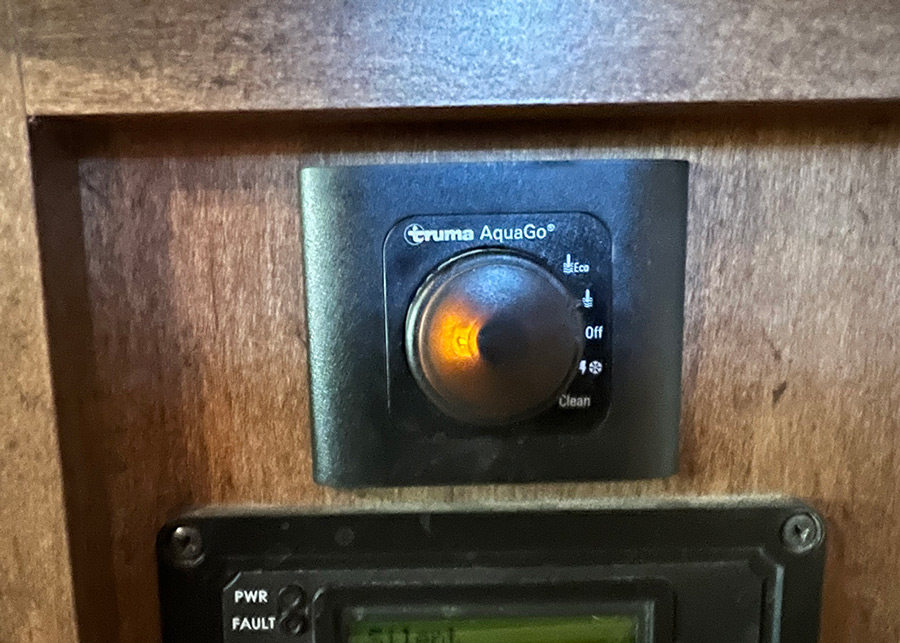
Beyond the water temperature regulator, a number of other features are integrated into the system for safety, including provisions to monitor voltage, current, fan operation and flame condition. If current goes too low or high, the unit will shut down, and there is even freeze protection built into safety programming. If there’s a problem, like LP-gas interruption (empty cylinder or tank), a light in the control panel knob will flash to provide a code, which can be crossed-referenced by legends on the Internet or in the instruction book. This same knob will also tell you when the unit needs to be decalcified, a process that’s required every year in our fifth wheel based on notification from the control panel. Decalcification frequency, of course, depends on water quality and usage of the RV.

Truma offers the AquaGo in two models: the Comfort and Comfort Plus. In the Comfort model, users can choose Eco or Comfort modes. When in the Comfort mode, water is automatically held at 102 degrees F, which provides hot water to the faucets more rapidly. The Comfort Plus model is only available to OEMs; the system allows hot water to be maintained at full operating temperature for a super-quick flow to the faucets. In this mode, the unit will automatically heat the water in short bursts throughout the day to maintain the proper temperature. If you want to conserve 12-volt DC power and LP-gas while boondocking, leave the switch in the Eco mode but you will use more water, depending on distance from the water heater to the faucets/showerhead.

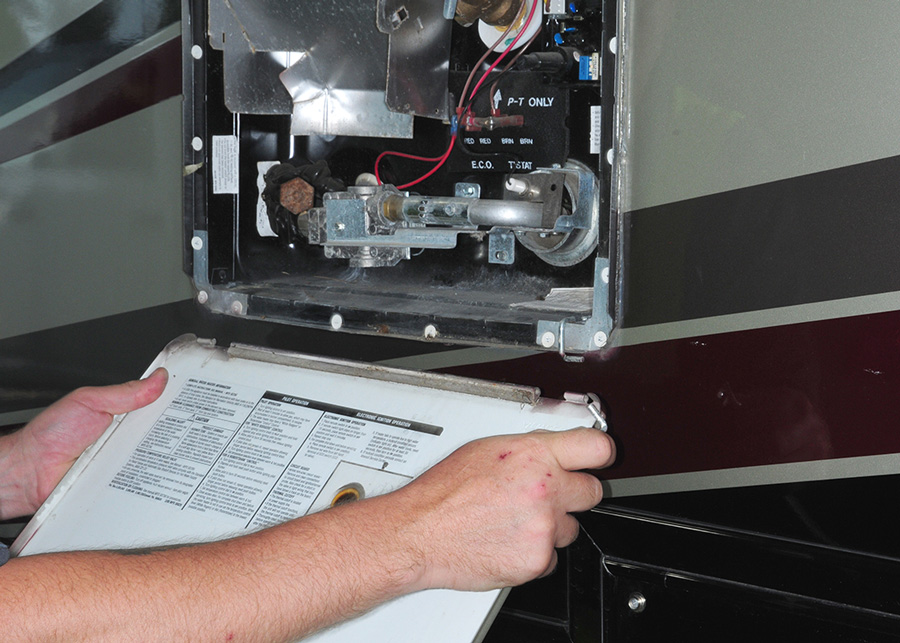
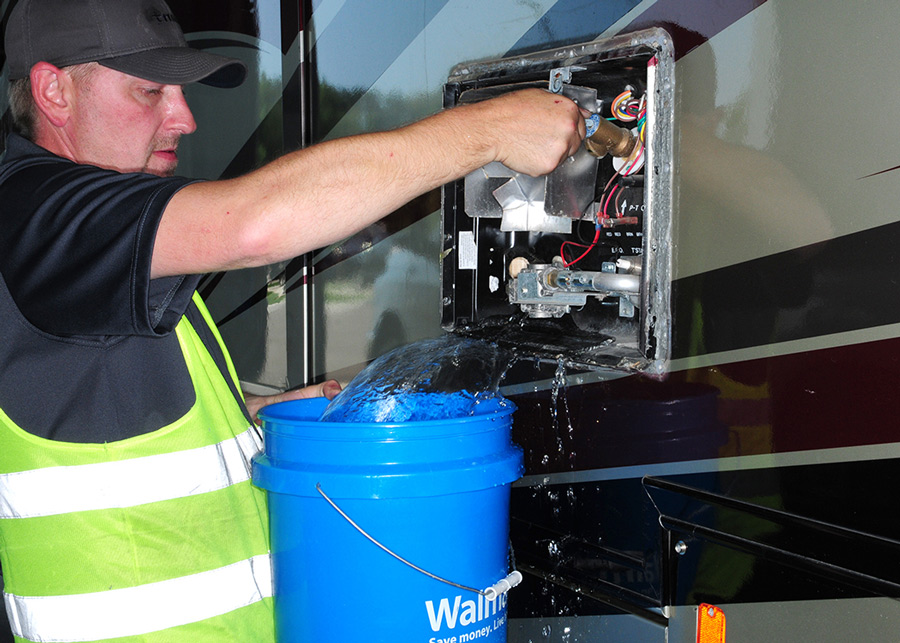
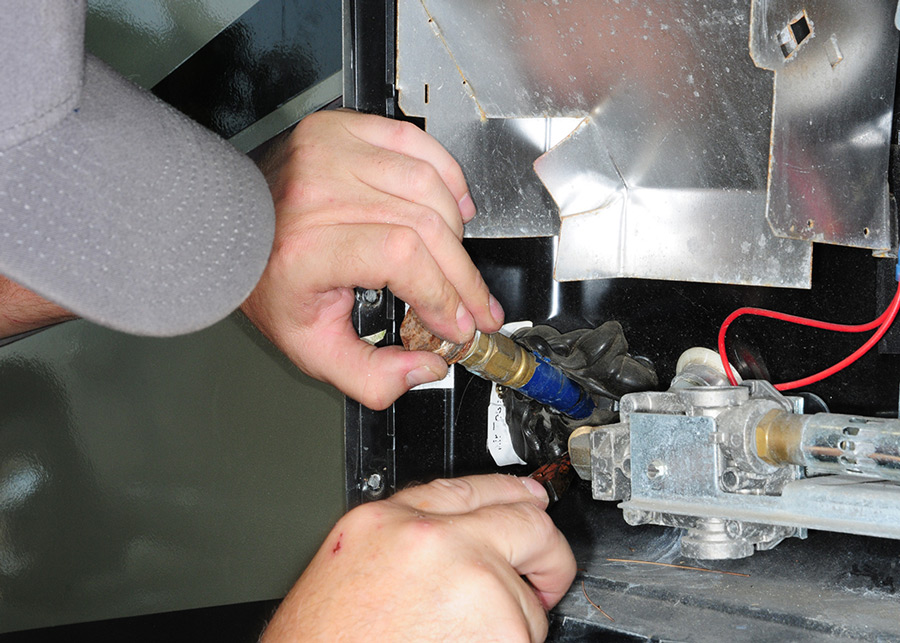
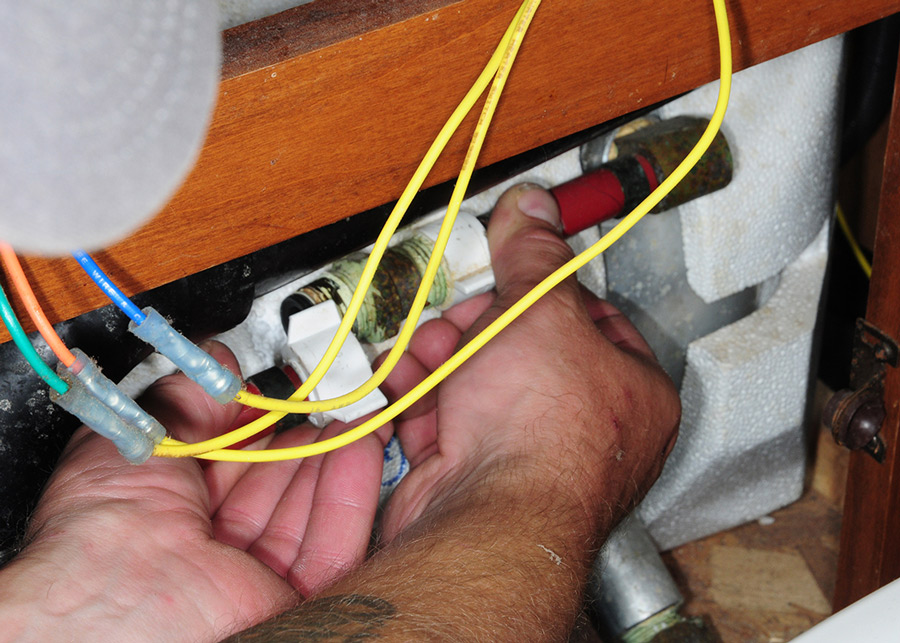
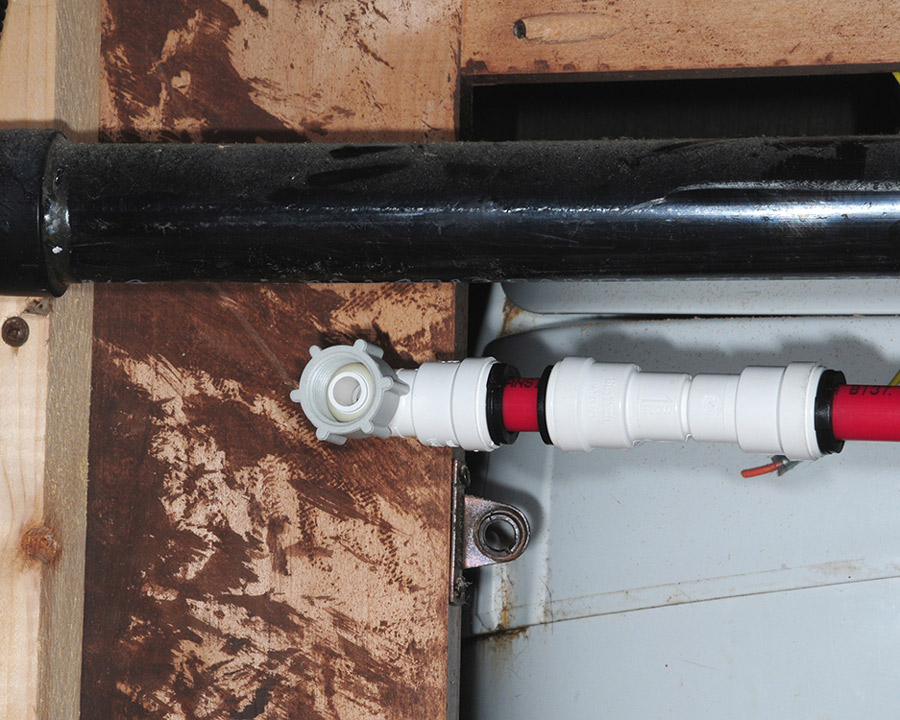
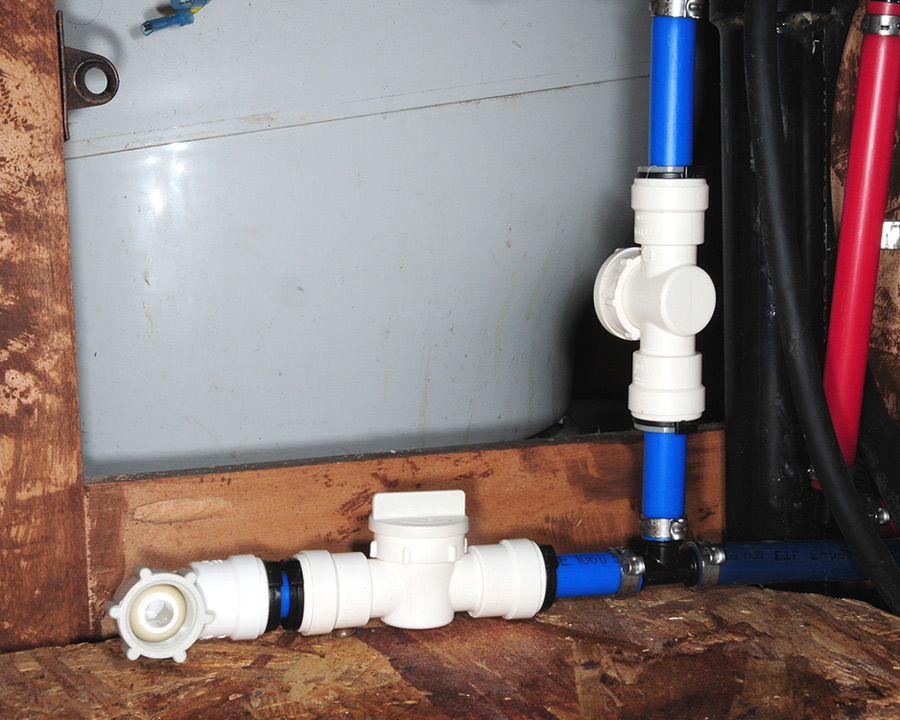
Other than the decalcifying process, there’s not much to service — and what there is to do is really simple. Water can be drained from the tank via a “snout” that is released and rotated down. Since there is no tank to speak of, don’t expect too much water to be drained. Just make sure the water heater is in the Off position and that the water has had some time to cool — if you don’t follow this procedure, expect to get wet from pressurized water. Also, there is a reusable filter in the snout that can be cleaned. When performing decalcification, tablets (available online from Truma) are stacked into the filter opening and the knob is turned to the Clean detent in the remote panel. The whole process is fairly simple once you’ve done it; following the overwritten instructions provided online or in the owner’s manual can be confusing.

The AquaGo is a product you’ll likely never stop bragging about. Granted, it’s more costly — about $0,000, plus $000 for labor — but the reliability factor and convenience afforded by endless hot water are well worth the investment. Who knows — you probably will have enough time in the shower to learn new songs.

opened water heater door
removing heater door
The original hot water tank in this motorhome was in good shape, but the owners were full-timers and wanted the convenience of on-demand hot water. The door was removed from the original water heater to begin the process releasing the housing from the sidewall.
Draining the heater
Once the original water heater was turned off and allowed to cool down, the drain plug was removed and the pressure-relief valve opened to empty the water from the tank into a bucket.
Removing screws
scrapping old sealant off
The screws were removed from the frame and the old sealant was cut with a scraping tool to release the water heater from the opening in the sidewall.
modifying the line
After closing the LP-gas tank valve, the line to the water heater was removed. This line was modified later since the connection for the LP-gas is on the right side in the AquaGo.
disconnecting water lines
All water lines in the back of the old water heater were disconnected before pulling it out of the opening in the wall—of course, after all water sources were closed.
Resealing the heater from the RV
A little tugging was all that was needed to release the old water heater from the opening in the wall.
Removed water heater
As you can see, the original water heater has a tank where the hot water is held until used. Once the water starts to cool, the burner starts up to bring it back to the set temperature. This process is eliminated with the AquaGo.
Scraping putty off
wiping residue off
The Truma technician spent some time scraping off the old putty, which can be a tedious job but is necessary to seat the new trim. Any residue was wiped off with alcohol to make sure the surface was squeaky clean.
Drilled hole for control pannel
A remote panel used to control the AquaGo functions can be installed in any convenient location. The one in my fifth wheel is in the galley area, while this one was cut into the sink cabinet in the bathroom.
installed control pannel
The remote panel makes it easy to turn the AquaGo to On or Off and set the operational modes. A blinking light in the knob provides the codes for any function problems; it also lets the owner know when the unit should be decalcified. Turning the knob to the Clean detent starts the decalcification process.
applying new sealant
Sealant was applied to the trim plate to make sure it was watertight when the AquaGo was installed.
Applying trip around the opening
attaching trim with screws
The trim was carefully applied to sidewall surrounding the original opening. It covers any gaps to compensate for any differences in sizes between the original water heater and the AquaGo. After proper placement of the trim plate was established, it was attached to the wall with screws.
modifying water and LP-gas lines
placing lines
All the necessary water and LP-gas lines were modified and rearranged inside the opening to accommodate the different hookup scheme. New lines were sized and the proper ends crimped into place.
Capped power line
The original 120-volt AC power line for the electric element in the old water heater was capped and placed in a junction box that was mounted on the wall inside the opening and out of the way. This is a much safer way to handle the old power wires.
Red line with slip on fittings
Blue lines with slip on fittings
In order to make sure the water lines were sized accurately, several Watts AquaLock (Sea Tech) slip-on fittings, including valves to turn off the water, were configured into the system.
AquaGo housing covered with butyl tape.
After all the water and propane lines were completed and routed neatly, the flange around the AquaGo housing was covered with butyl tape.
AquaGo fit perfectly
The AquaGo fit perfectly, looking like an original installation. All the components, including the control board, are accessible from the outside.
AquaGo attached to the wall with screws
Finally, the AquaGo was permanently attached to the wall with self-drilling screws. The technician is pointing to the mechanism (snout) that can be unlatched and rotated down to drain the water and access the cleanable filter. This is also where the tablets are loaded for the decalcification process.
tightening a bold
tightening ziptie
Before attaching the new LP-gas fitting, a special boot was slid over the line and secured with a cable tie. This makes it unnecessary to glob on a bunch of silicone rubber to seal off the LP-gas connection from the inside of the RV — in compliance with code.
installing access door
installed and shut access door
The last installation step was to install the access door, which not only looks nice but is also designed to flow fresh air to the burner and exhaust any gas in an efficient manner via an integrated ventilation grid.
Pressure drop test
A pressure drop test was performed to ensure that there were no LP-gas leaks in the system. This is required anytime the LP-gas system is opened for repairs or the installation of new appliances.
In the unlikely event that something malfunctions, the components can be scanned after plugging in a computer with proprietary diagnostic software. All the parts have bar codes specific to respective water heaters.
backside powerswitch
There is also a power switch located in the backside of the water heater that must be turned on to operate the water heater. This switch is left on so the water heater can be controlled at the remote panel. A green light here will flash a code if there is a malfunction.