f you want to maintain a nice-looking motorhome you have two options: Learn to do it yourself, or pay someone on a regular basis to detail it for you. Some of us love detailing in general and look forward to washing and waxing our coach. It’s not much different from the care you may have put into the cars of your youth, except there’s a lot more real estate to cover. Nobody ever said motorhome ownership was easy — and a full detail job on a motorhome is a lot of work.
For a professional detailer and a small crew, it’s a task that can be easily finished in a day. However, for an individual person doing a full paint correction plus wax/sealant on the paint and polishing the wheels, it can take multiple days.
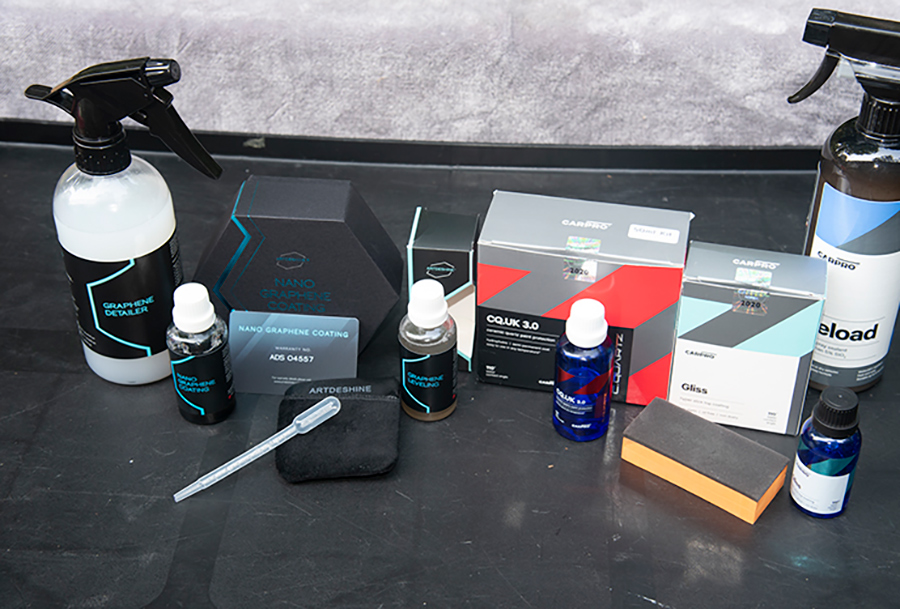
One aspect about detailing that is constantly changing is the type of products that are available. In the past, detailers mostly used “old school” waxes such as carnauba or longer-lasting synthetic/polymer sealants. For most professionals today, however, it makes little sense to spend hours waxing a large motorhome with a carnauba wax that lasts weeks when it is actually easier to use a modern synthetic polymer sealant that lasts months. Also, during the last five years a new class of products called “paint coatings” have come on the market — usually ceramic or graphene-based chemicals that are applied in a different manner than a normal wax or sealant. They literally can last for a few years instead of a few months (see sidebar for more on ceramic paint coatings).
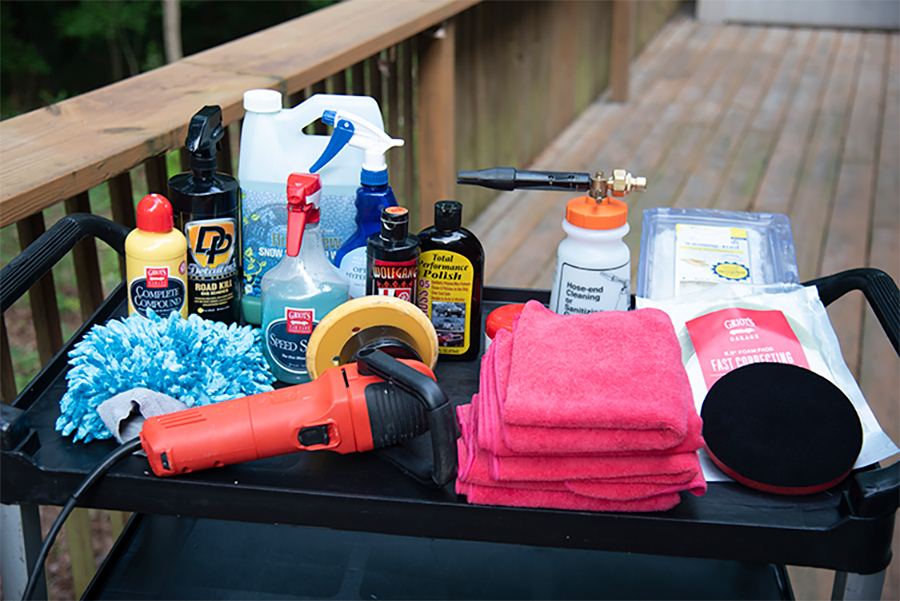
Throughout this article we will reference brand names and products you may not be familiar with; unlike the cleaners and waxes found on the shelves of the big-box retail store, these are very specific products mostly used by serious detailing enthusiasts and professional detailers. Most of these are available online at specialty detailing product dealers (and, in most cases, Amazon); very few of them will be found at normal retailers or, in some cases, even auto parts stores. There are usually good alternative products stocked at such locations — but I’ve found the best results are achieved by products used by the pros.
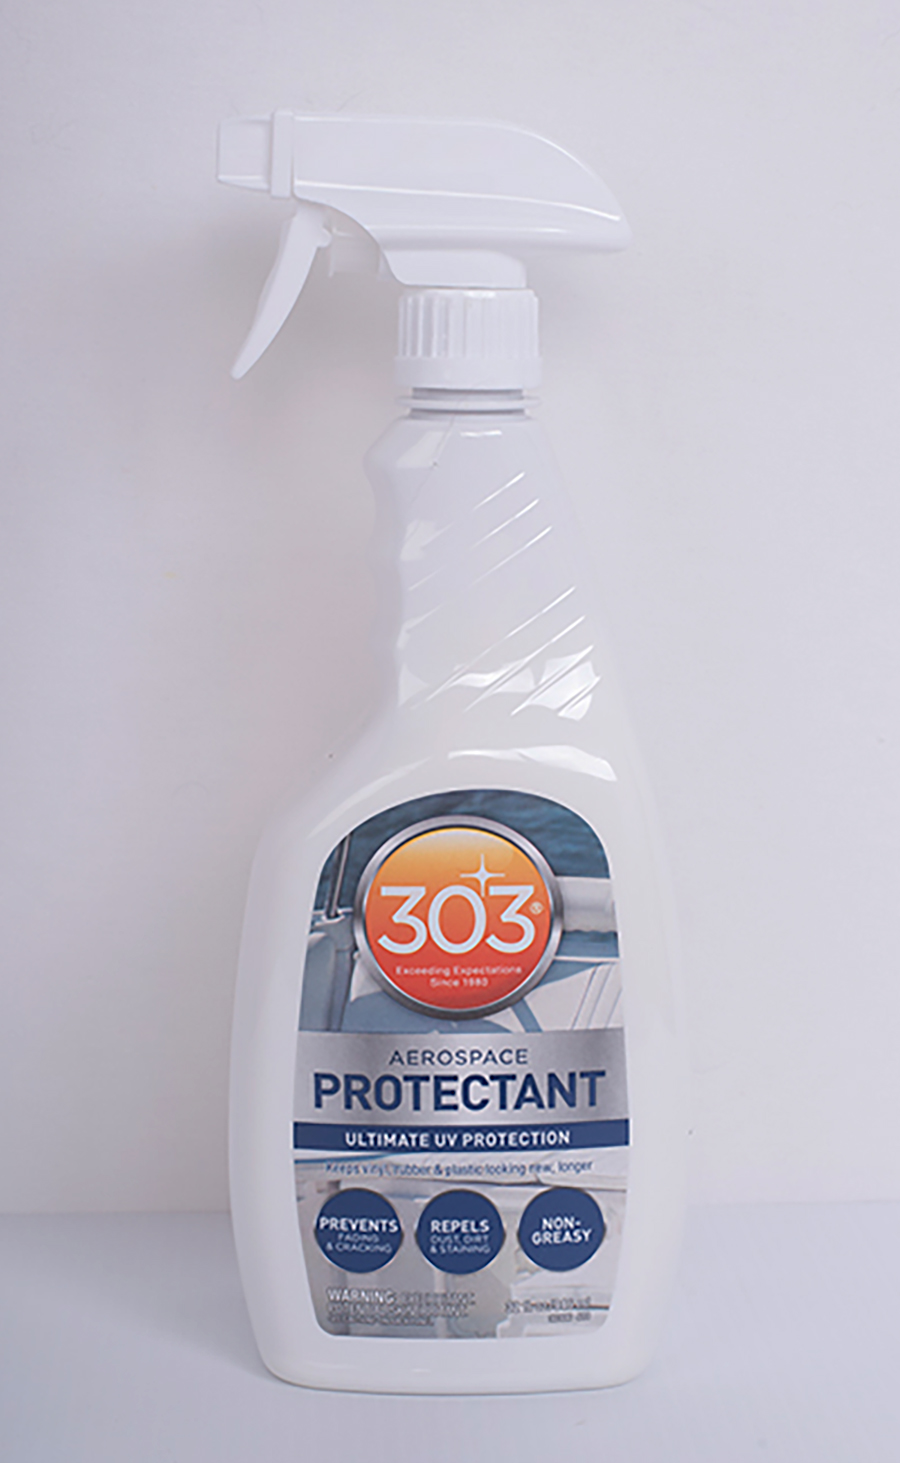
Start by first completely wetting the front end of the coach and allowing the water to soften the bugs and to rinse off as much dirt as possible. Each brand of bug remover has its own directions, so refer to each before using. Spray the bug remover on and allow it to remain for 30-60 seconds, then use a specialty bug-removing cleaner pad to scrub away the bugs before rinsing everything off. Sometimes two or more applications may be necessary for caked-on bugs. (Know, too, that if you notice that the paint is not beading water anymore, you may need to re-wax/seal the paint.) If your motorhome has a clear bra on the front, it may have special cleaning instructions. Diamond Shield (clear bra), for example, suggests not using any bug and tar removers and to only use its own brand of soap and a soft cotton or lamb’s wool wash mitts. Next, apply 303 Aerospace protectant to the clear bra after each washing.

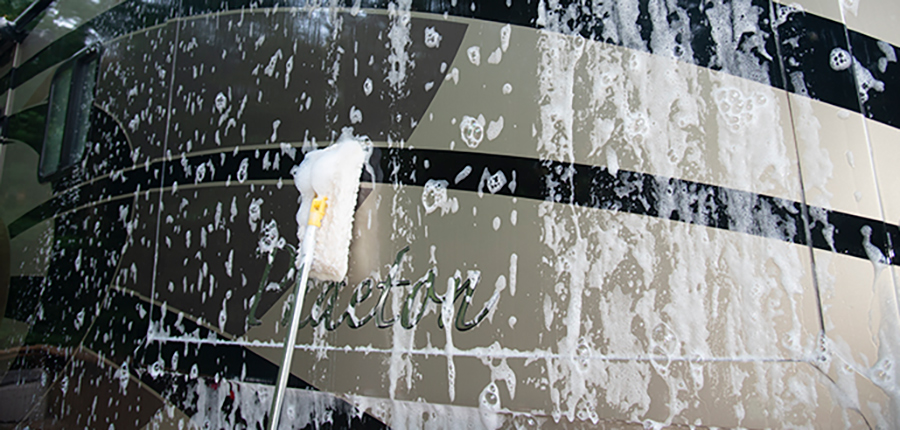
Generally, we wet the entire side of the coach we are working on, and then spray soap on a smaller section at a time. It helps to split each side of the coach into several equal sections and work on each area in succession to prevent the soap from drying before rinsing it. If possible, work when the sun is not directly shining on the paint to help prevent water spots; using deionized water for the final rinse will also help. After spraying the soap, give it a minute or so to loosen the dirt then use the Swobbit to remove the dirt — and make sure you have a clean bucket of soapy water with a “grit guard” in the bottom to rinse the Swobbit after each section. Continue until the coach is completely washed and rinsed. If you have a leaf blower, you can speed up the drying process and reduce water spots by using it.
If you have awnings or slide covers and want to clean those, it may require opening them up and getting on the roof or a ladder. You can usually use the same soap on them, but there are special soap and cleaners for awnings and vinyl should you have a particularly dirty one.


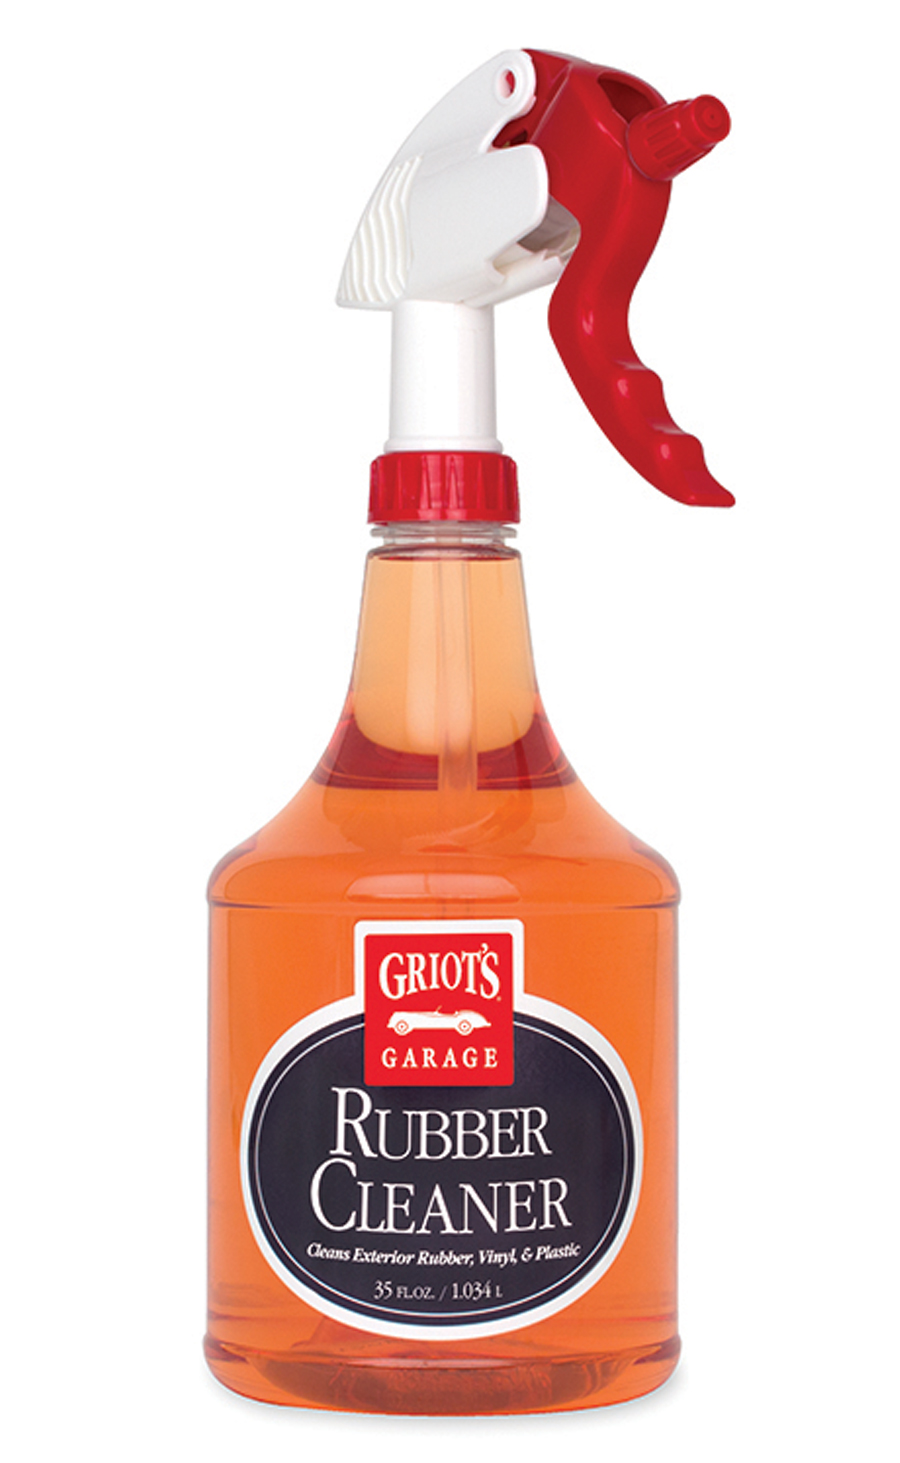
Most (but not all) motorhomes have plain uncoated wheels, so we will cover that process here. First, use an all-purpose wheel cleaner and a wash mitt to completely clean the wheels. Simply spray it on, then agitate it completely — making sure you clean around all the lug nuts and center cap — then rinse fully. Follow that up by using a soft brush and a dedicated rubber cleaner to scrub the sidewalls of the tires. We really like the Griot’s Garage product called “Rubber Cleaner” — it’s made just for rubber and will not accelerate or dry out the rubber on your expensive tires. After cleaning the tires, dry and treat them with 303 Aerospace Protectant; this is one of the best protectants on the market today and with regular use will help extend the life of rubber and vinyl.
The process starts with a decontamination wash, the iron and/or mineral deposit removal, and the prepping of the entire painted surface with a clay bar. The entire painted surface must then be paint-corrected (polished) to remove scratches, swirls and micro marring. This can take one, two or sometimes even three entire polishing steps with a powered buffer to leave the paint glossy and free of surface defects. Finally, the last step before application of the paint coating is an IPA (Isopropyl Alcohol) wipe-down to remove any traces of oil or fillers left from the previous work. Only then is the paint clean and smooth and ready to accept the ceramic coating.
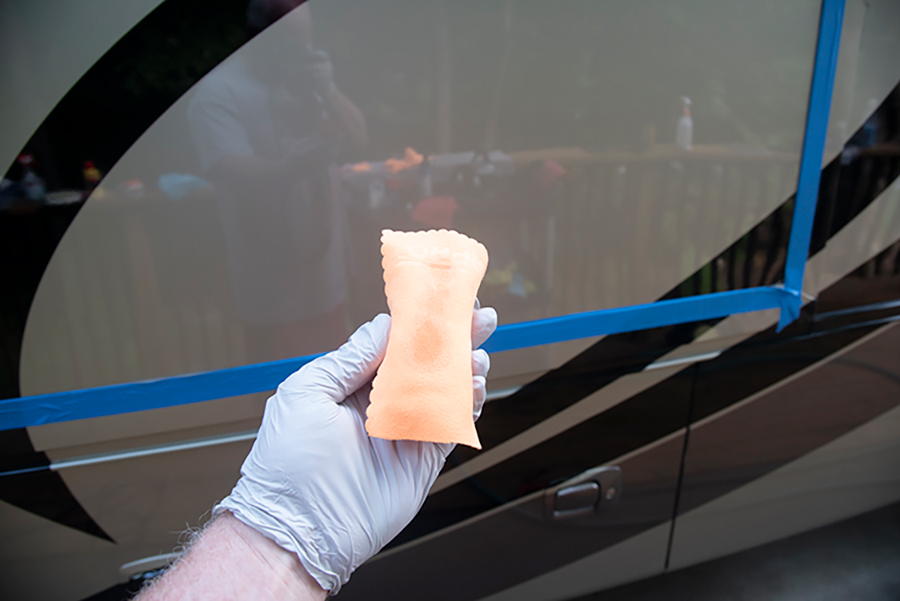
Depending on the brand and type of paint coating used, it may require as little as one layer to as many as three layers of ceramic coating to achieve the desired results. Each layer is hand-applied with special application tools and pads and then allowed to slightly “flash” before wiping down (leveling) with a clean microfiber towel. Once a microfiber towel has been used to wipe off a ceramic coating it should never touch paint again as the coating residue dries in the fibers and can lead to scratches. (This is, as you might have surmised, a very strict regimen and not usually attempted by do-it-yourselfers at home without considerable experience.)
Leveling the ceramic after it cures is tricky and if not done correctly can lead to the forming of streaks or “high spots.” After the coating has cured, the only way to remove a high spot is to mechanically polish the paint again with a polishing media — the coating is that hard and durable. Most coating companies also suggest the use of a topping spray after the coating is applied to protect it during the curing process. Typically, the paint needs to cure from 1-7 days where it is not exposed to water or wash soaps, etc., after the coating is applied. In some cases, IR lights are used to accelerate the curing process.
With all the added cost and complexity of application, you may be wondering why even bother with a ceramic coating. The benefits are many, but most noticeable as an owner is the ease of keeping a coated motor-home clean and looking great. Because of the incredible hydrophobicity — the finish’s little or no affinity for water — after coating, the paint is presenting a surface to water and dirt that they do not want to be on. The water stands up on the surface of a coated surface in a way that has to be seen to be appreciated. This surface makes the paint much easier to wash, dry and to clean, as well.
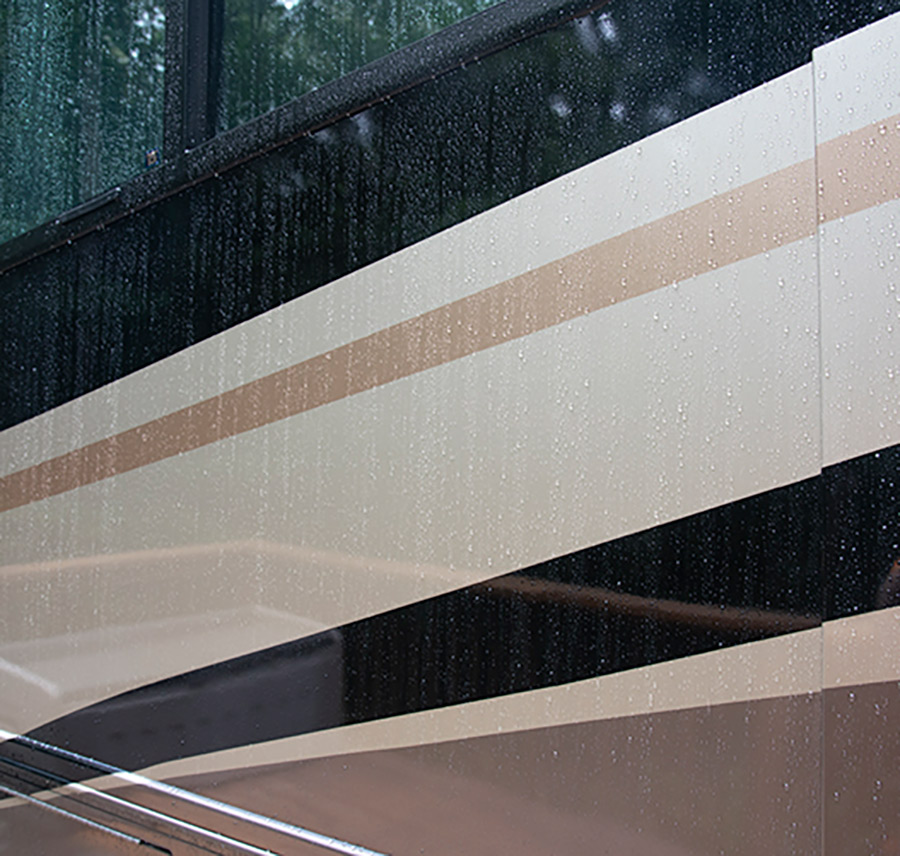
The process of coating a large motorhome is expensive even if you do it yourself. Expect to spend several thousand dollars to have it done by a professional (and manufacturer accredited) installer. There are many brands of coatings, and each has their own network of installers across the country. Popular brands include Optimum, CarPro, Gyeon, GTechniq, Adams and our current favorite, Artdeshine. On our coach we had the Artdeshine Nano Graphene Coating applied — which is a true professional-grade coating with a multi-year warranty when applied by certified installers — topped with the Artdeshine Graphene Detailer Sealant. This is a true one-coat ceramic coating and after application the surface was incredibly slick and hydrophobic. The water beading is insane compared to a regular wax job and it lasts for years.
In addition to paint coatings, there are specific ceramic coatings for other parts of a vehicle such as glass, plastic trim, rubber, leather and more. In general, the glass and trim products tend to be the most beneficial to motor-home owners. We have used many of them and found they do last significantly longer than their traditional counterparts.
Start by applying polish to the PowerBall and then use the drill to spin it, moving it over the entire wheel. The black slurry that is formed is a sign that it’s working. Some areas of the wheel, such as around the lug nuts and center cap, may not be accessible with the power tool; you will have to do those by hand. After you think it is polished, use the Viva towels and wipe away the residue — the shine should be revealed along with any missed spots. If you did miss some places or don’t think its shiny enough, make another pass. Each wheel can take from 15 to 45 minutes or more, depending on how neglected they are.

Although it’s not required, a clay bar step improves the whole job by removing bonded contaminants on the surface of the paint. You can use either an actual clay bar (available at most auto parts stores) or a clay bar mitt (by hand) or a pad that can be attached to the buffer. Make no mistake: This is an arduous process when done by hand — but after finishing the clay bar step, the paint will be smooth like glass.


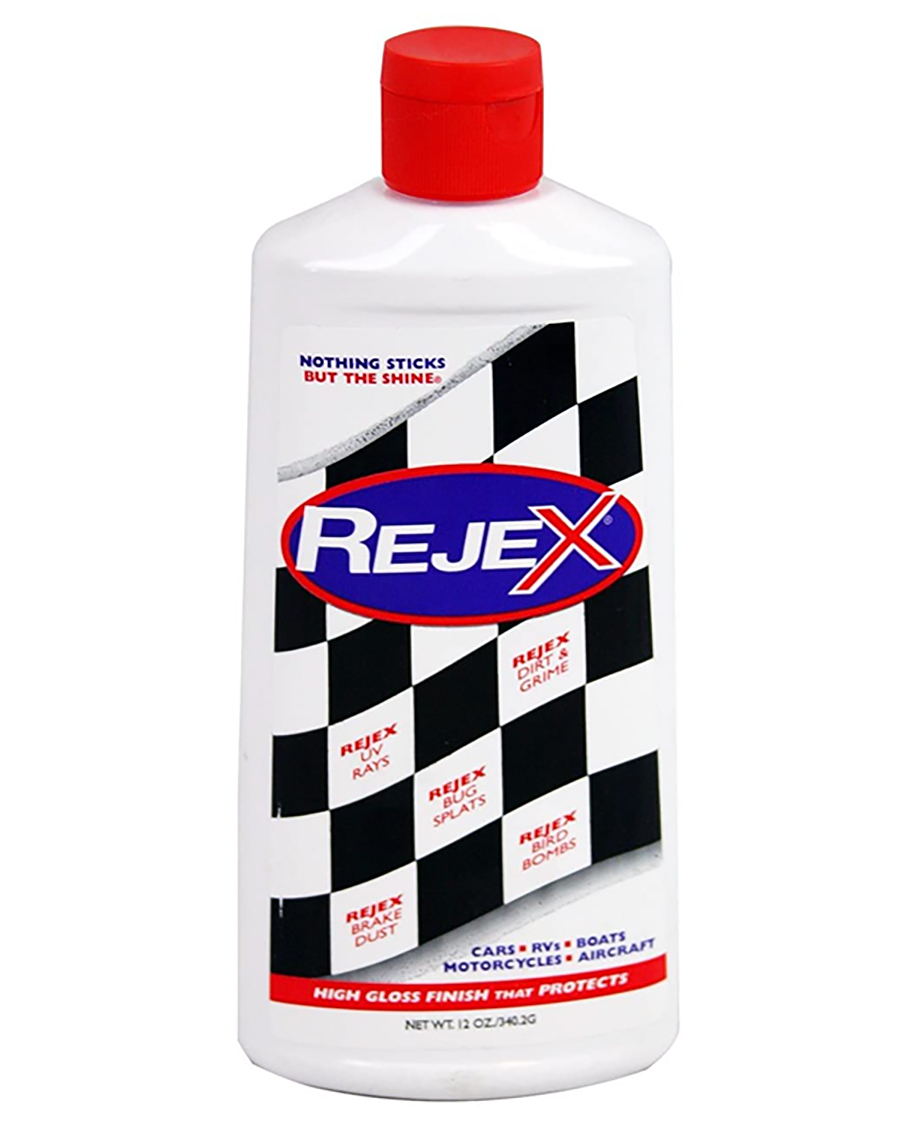
For most of us, however, a simple one step sealant with a mild polish will do fine. Paint protection (some call this “step waxing” or sealing) is usually the final step of the process. Using a Dual Action Orbital buffer with the correct pad will make a huge difference in the time of a project like this. There is a lot of surface area involved and, depending on what type of paint protection and polishing you are trying for, it could take anywhere from a few hours to a day or more if you are working alone. Products such as Griot’s Garage Finishing Sealant, DuraGloss 105 Total Performance Polish or Rejex can be used; all are available online and in some stores. They will all do a good job and last many months.