


t’s a fact of RV life that many RV roofs which utilize a membrane-type roofing material will need to be replaced at some point in time. Not surprisingly, it’s one of the biggest worries RVers have related to their home on wheels — while camping, that thin membrane is the only barrier between them and Mother Nature. Long-term exposure to UV rays, severe heat and cold, rain, snow, hail and other elements wreak havoc on membrane-type RV roofs, which will eventually deteriorate and lose their ability to keep moisture at bay. Left untreated, moisture intrusion quickly breeds mold, rots wood, delaminates sidewalls, creates exterior stains and destroys interior ceiling and wall paneling.
A damaged, deteriorated or leaking RV roof is also an expensive item to have replaced, whether it’s a newer model RV that has suffered some type of roof damage, or the roof on an older RV that has come to the end of its natural life.
Teresa Carrier, co-owner of Carrier RV Service with her husband, Tom, replace and repair RV roofs every month at their Eugene, Oregon, RV repair center. She told RV Enthusiast customers come in on a regular basis after having purchased a well-used RV only to realize afterward that their unit has a serious roof issue. That’s when they learn a cold, hard fact: Replacing an RV’s membrane roof material is a costly fix because the job is very labor-intensive.

“The Number One problem we see is that the roofs on these used units have never been cleaned or maintained properly,” Carrier said. “Consequently, the years of exposure to the elements, combined with poor maintenance, have ruined the roof membrane — to the point where it has to be replaced. This is a labor-intensive repair that typically costs between $4,000-$8,000, depending on the type of RV. If the membrane isn’t replaced, further water damage to the supporting roof structure, sidewalls and interior is guaranteed.”
What RV Roof Covering is the Best
There are three types of membrane-type roofing materials used on motorhomes and trailers: EPDM, TPO and PVC. The roofing material and complete RV roof repair kits for all three types are readily available through many sources including Flair Distribution, Home Depot, Camping World, etrailer.com and Amazon.
The majority of older RVs have EPDM (Ethylene Propylene Diene Monomer) — aka a “rubber roof.” EPDM is a stretchy, rubbery multi-layer membrane that’s been around for decades. It’s easy to determine if your RV is so equipped: one side of EPDM is black while the other side is white or dove-colored. Its estimated life span is 15-25 years when properly inspected and treated as necessary (usually every 6-12 months.) When it deteriorates, the roof turns black and stains begin running down the sides.


“But the majority of RVers rarely read the owner’s manual or pay attention to following the EPDM cleaning and conditioning regimen,“ said Tom Carrier, a master RV technician with more than 40 years of RV service work under his belt. “When EPDM loses the top UV protective coating, it deteriorates and turns from white to black and eventually starts leaking. EPDM is very susceptible to punctures and tearing, and it usually costs considerably more per roll than PVC or TPO.”
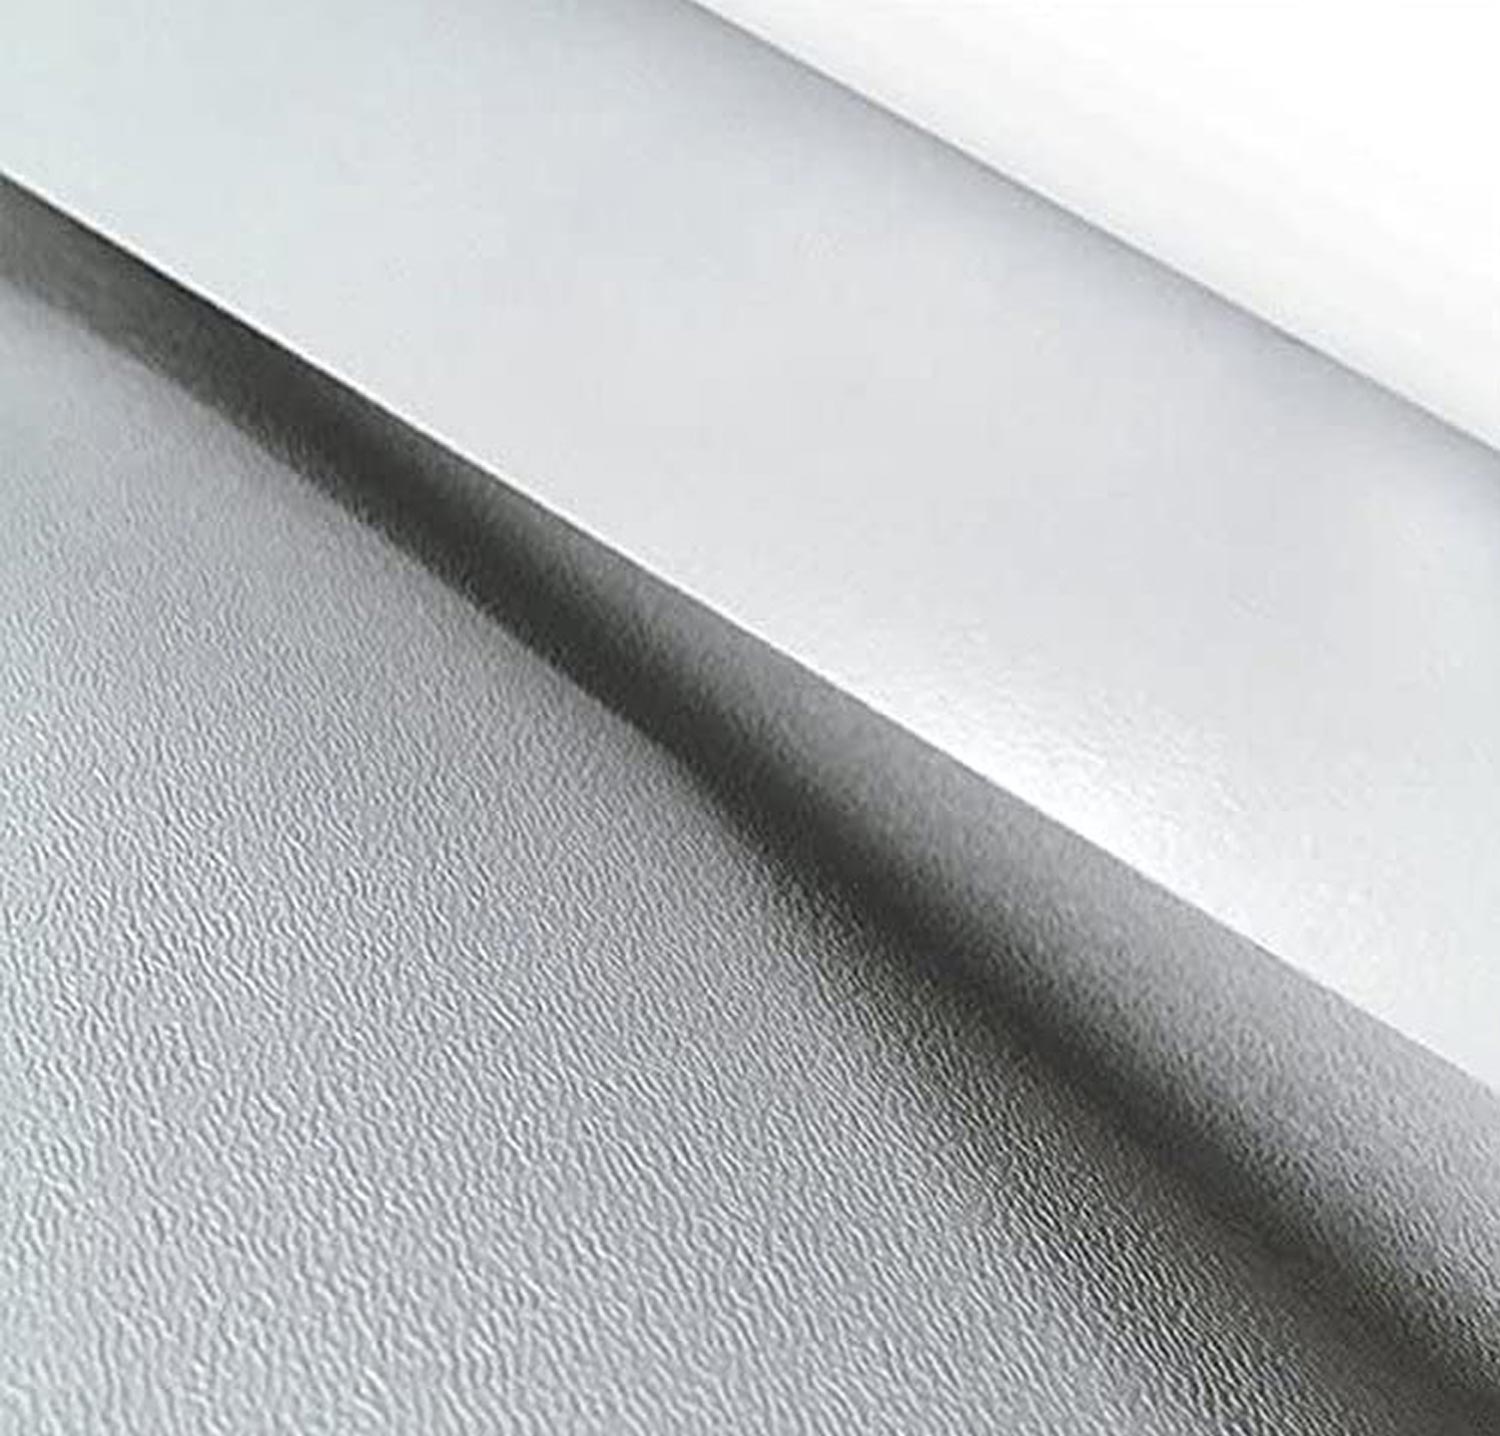
Alpha Systems Superflex TPO
A newer RV membrane-type roofing material that’s a step up in performance from EPDM and is starting to gain in popularity among RV manufacturers is TPO (thermoplastic polyolefin). TPO is easily identified because the version used on RVs typically has a white top and bottom with a textured top surface (it may also have a fleece backing). It’s also much thinner compared to EPDM or PVC membranes.
At the time of this writing, Alpha Systems SuperFlex and Dicor DiFlex II are the most popular brands of TPO RV roof membranes. This membrane material is lighter in weight than EPDM, works well on roofs that have complex compound curves and is generally less the least-expensive of the three products.
However, TPO’s thin composition makes it very susceptible to tearing and punctures from encounters with tree limbs, wind-blown debris or walking on the roof. It also has the shortest life expectancy (15-20 years) of membrane-type roofing materials — even when properly cleaned and conditioned, which might be required as many as 3-4 times a year to keep its warranty.
PVC RV Roofing: The Best Alternative
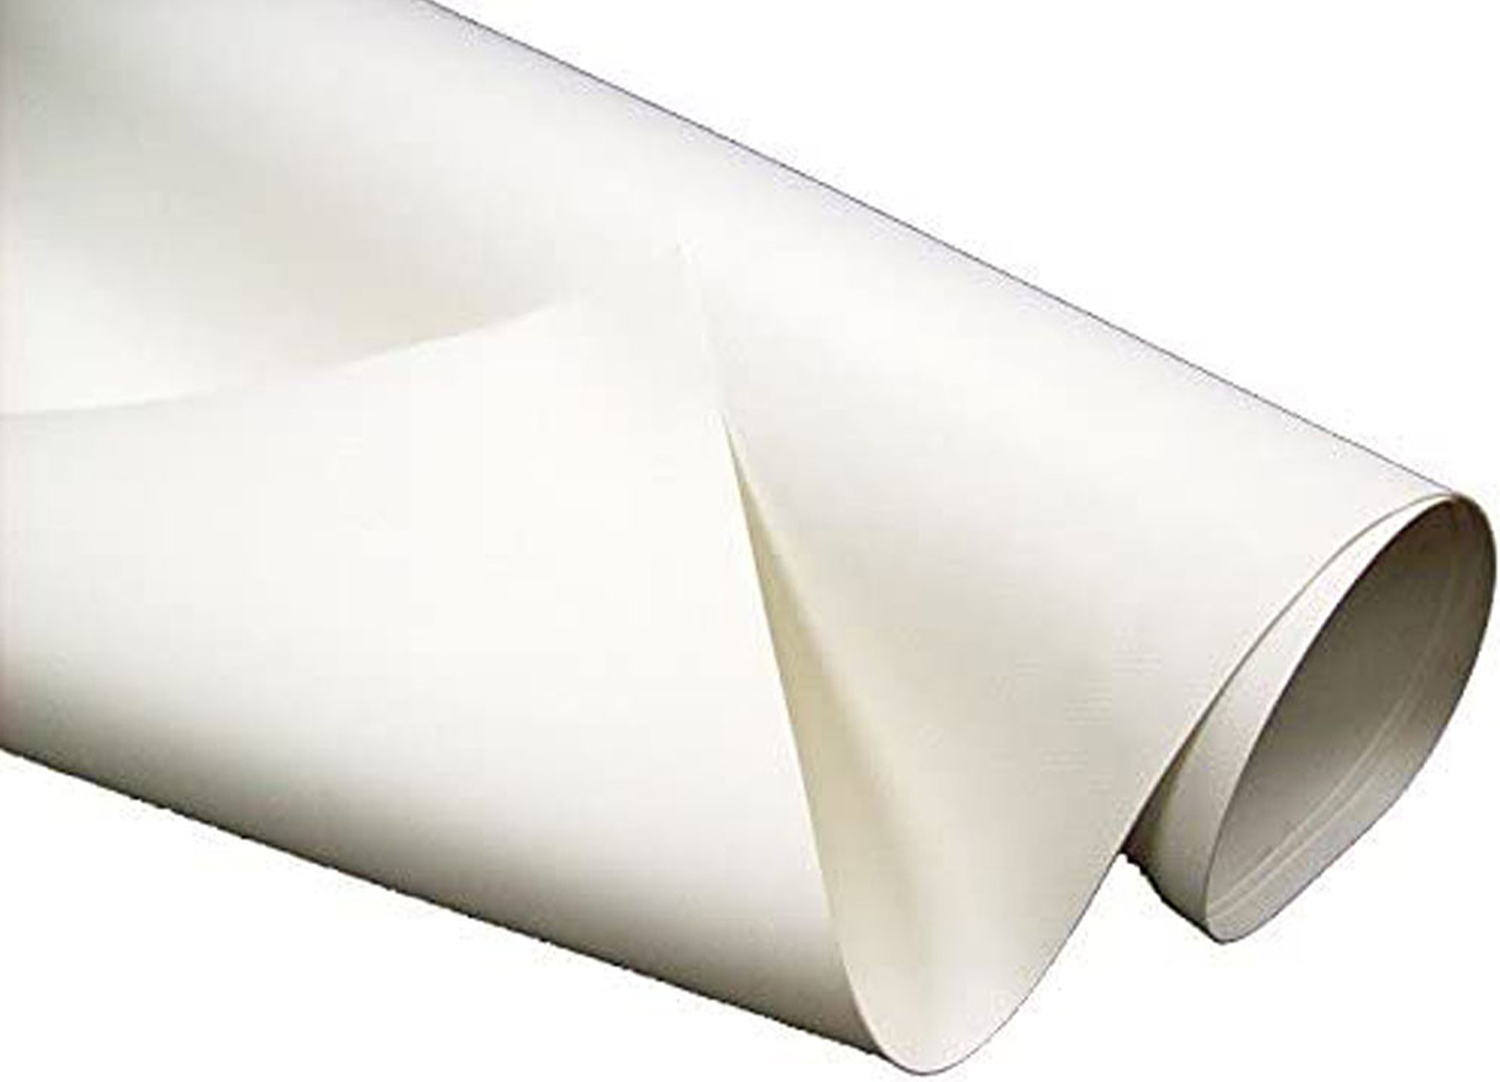
PVC (poly vinyl chloride) roofing membrane is the newest of these coverings and is a single-layer vinyl; it’s similar in looks to TPO, but without the texturing or a backing. PVC is a step up in performance over both TPO and EPDM RV roofing materials in its strength against punctures and tears, UV resistance and deterring mold and mildew, as well as offering excellent ability at reflecting radiant heat.
According to Tom Carrier, a PVC roofing membrane is generally considered the most durable of the three common RV roofing membranes and has a life expectancy of 25-30 years with just an annual cleaning. Two popular brands of RV PVC roofing membrane on the market are Lasalle Bristol’s XTRM Ply and Dicor’s Tufflex.
When it comes to replacing the roof, Tom Carrier’s 40 years in the service side of RVs is pretty clear on his choice. “EPDM and TPO roofing materials are readily available, but neither provide the durability and strength of PVC roofing for an RV,” he said. “PVC roofing is easier to maintain and is generally just a higher quality roofing on all fronts.
“PVC’s slightly higher cost over TPO — maybe $100-$200 more a roll — is a bargain when you consider it provides the most durable membrane with the highest tensile strength and the best warranty,” Tom added. “It installs smoothly, which saves on labor costs. It’s also very flexible, which means you get a better seal around openings like bathroom vents, skylights, A/C, satellite antennas and the front cap. Unless a customer insists otherwise, we always use PVC roofing.”
How RV Roofing is Replaced
Many RV owners who are DIYers start looking skyward to the roof of their motorhome or trailer and instantly begin thinking replacing the roof membrane is something they can handle. After all, it can be encapsulated into a short YouTube video. In reality, however, replacing that thin, white membrane that covers the roof decking is a multi-day project even when the installers are professional RV repair technicians.
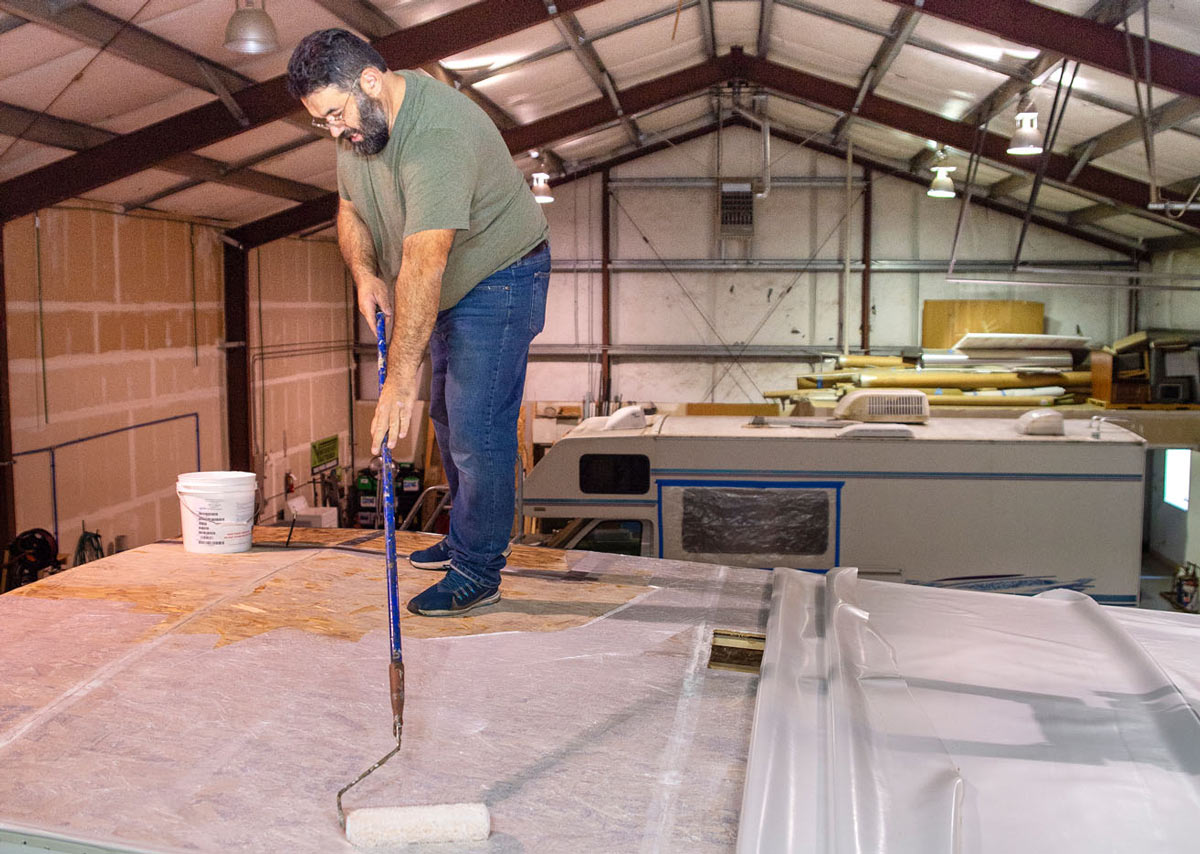
Replacing a rubber RV roof is a tedious process to do it correctly. The basic steps require carefully removing the trim around the entire roof; removing every item mounted or attached to the roof; peeling or scraping off the old membrane; replacing any damaged roof decking; smoothing rough areas and removing any debris or small particles on the bare roof decking.


Once the roof is clear and clean, a water-based adhesive is applied, the membrane is rolled out over the wet glue, it’s squeegeed to remove any air pockets and all roof-mounted components removed earlier are re-installed — using great care to make sure they are properly screwed down and sealed.
Replacing the membrane-roofing material on an RV is not only labor-intensive, but also a task that is best handled by two people while working 10-12 feet above the ground. Safety has to be a big consideration for the RV DIYer; sturdy ladders and scaffolding are a must. It’s also highly recommended to have a high-roofed, warm shop to do the work inside. And, of course, having the proper RV roofing materials and a good installation kit makes the job a little easier. (A good source for RV roofing materials is the RV Parts Center.)
Bubbling on an rear interior ceiling panel months after it was damaged is what alerted this trailer’s owners the roof had a serious problem. A closer roof inspection revealed the membrane was punctured and water had penetrated into the oriented strand board (OSB) roof deck and the fiberglass insulation beneath. Rot and fungus were thriving in the damaged rear corner roof area of the 25-foot toy hauler.


The repair required removing the OEM TPO roofing membrane, cutting out and replacing the damaged OSB deck material, then recovering the roof by upgrading from TPO to PVC. It’s the type of repair that is common when the integrity of an RV rubber roof is compromised and left unchecked. The job took three days with professionals doing the work and cost $6,500, which included repairing related interior water damage. The lesson here: Get up on your RV’s roof at least annually — more frequently is always better — to clean and inspect the roof over your head.


