iven the wealth of factory-installed and aftermarket solar power systems available to today’s RVs, living off the grid is becoming a lot more commonplace. That said, with all but the most potent systems — or more powerful AC generators — most boondockers still need to forego the comfort of an air conditioner and will need to carefully monitor what appliances are used at any one time to monitor amp draw and prevent overloading their power supply.
If you want all the bells and whistles while camping or using the RV in your driveway when guests arrive, you’ll still need a major power source — in other words, hookups. Shore power, that source of 120/220-volt AC (alternating current) from a campground pedestal or your home’s electrical system, allows you the ability to run all the “home” AC electrical gear as well as larger RV electricity hogs like A/C units, residential appliances, heaters and microwaves.
Typically, small- to medium-sized RVs are equipped with a 30-amp shore power connection, while larger RVs require a 50-amp power supply to keep things inside operating smoothly because they usually have higher amp-draw residential appliances and a pair of roof-mounted A/C units.
What’s the difference between these two electrical systems? A 30-amp RV service is a 120-volt AC, single-pole supply that uses a NEMA (National Electrical Manufacturer’s Association) TT-30 plug and receptacle. A 50-amp RV service is a 120/240-volt AC, two-pole supply that uses a NEMA 14-50R plug and receptacle. With a 30-amp service, your RV is supplied with 30 amps total at 120-volts AC. With a 50-amp service, the distribution system in the RV is split into two 50-amp legs, which means you have 100 amps total — in theory.
Some very small RVs from the old days would have a 15-amp 5-15 type plug on them; this is the residential receptacle we’re all familiar with. There may be the occasional tiny trailer that still has a 5-15, but most start with the TT-30.
Why Add an RV Connection at Home?
If you mentally picture wiring like a hose and electricity like water, it’s easy to understand the conundrum. Simply stated, the bigger the hose, the more water that can flow through it. A typical household 15-amp receptacle can, at most, handle 15 amps — but household receptacles are on a circuit with a number of other receptacles plugged into them. Plugging the RV into a household receptacle can “over-amp” the circuit — and, at the very least, lead to a tripped breaker. If the house wiring is questionable, however, the increase in amps needed can overheat the receptacle and/or wiring, which can cause a fire. Then there’s the issue of reduced voltage, which can negatively impact RV systems.
Many folks rely on a “dogbone” adapter, as they’re frequently called, to provide power to their RV in the driveway. For a 50-amp RV, that often means using two adaptors (50- to 30-amp and 30- to 15-amp). Less than ideal.
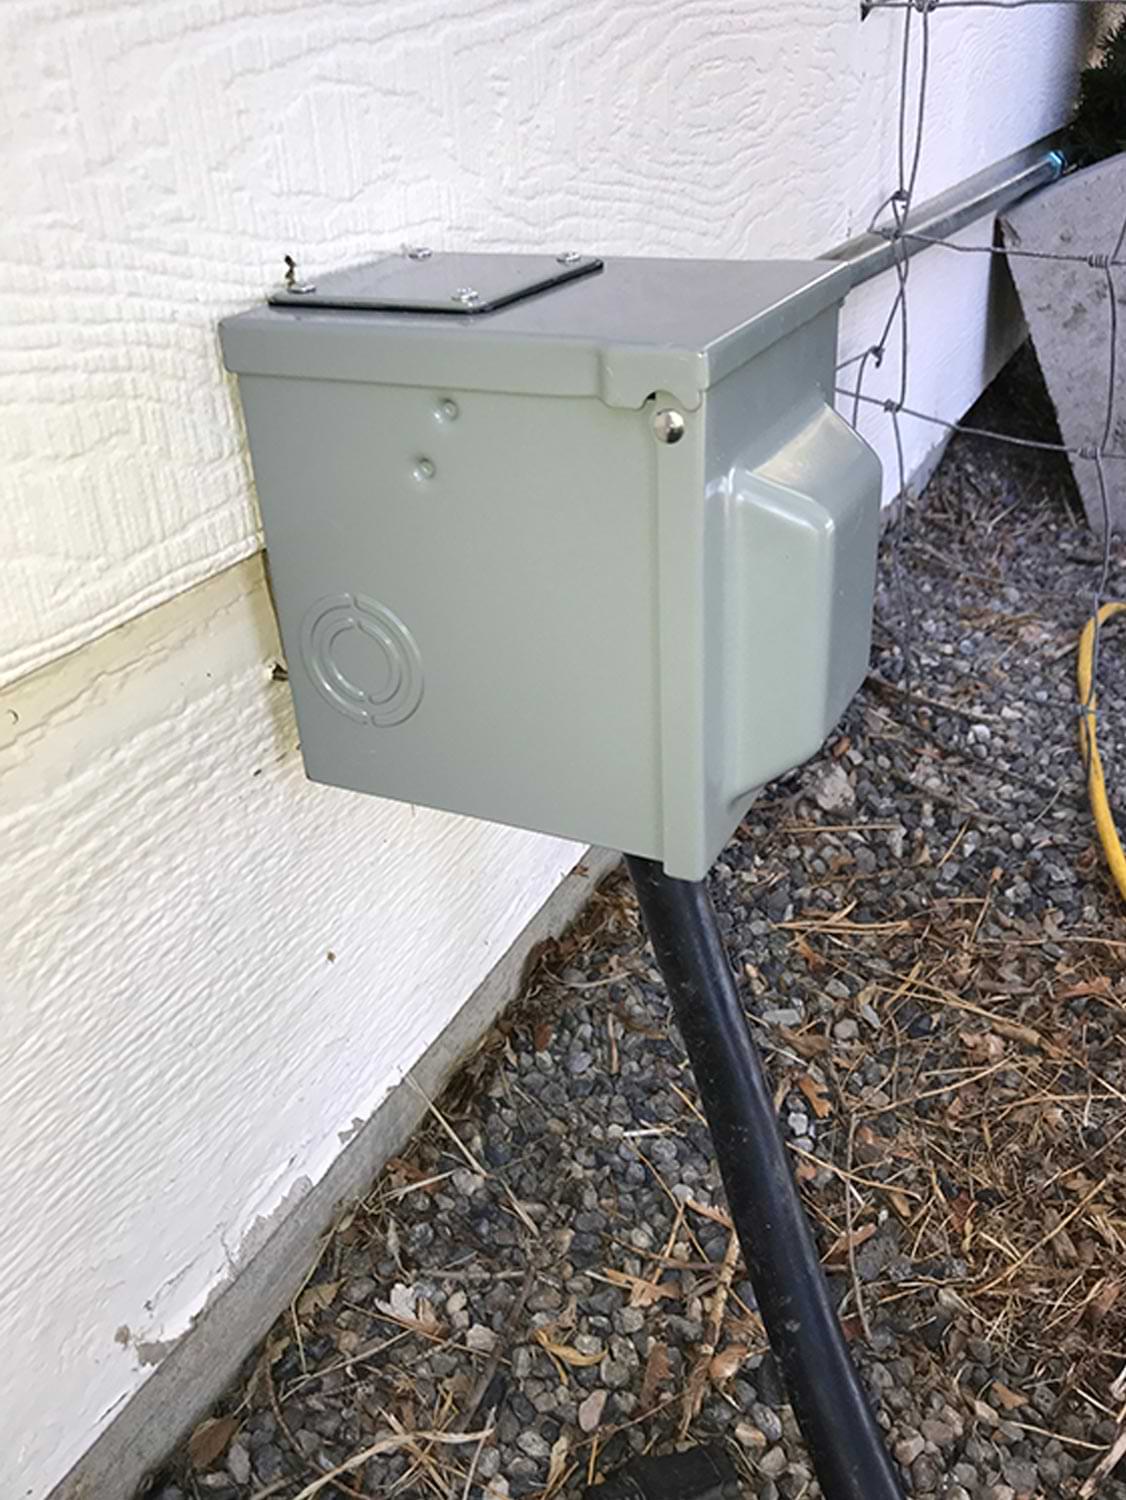
Installing a 50-amp RV outlet box at home is a convenient way to provide adequate shore power to larger RVs so roof A/Cs and other appliances can be run without fear of overloading the typical 15-amp home wall outlet circuits.

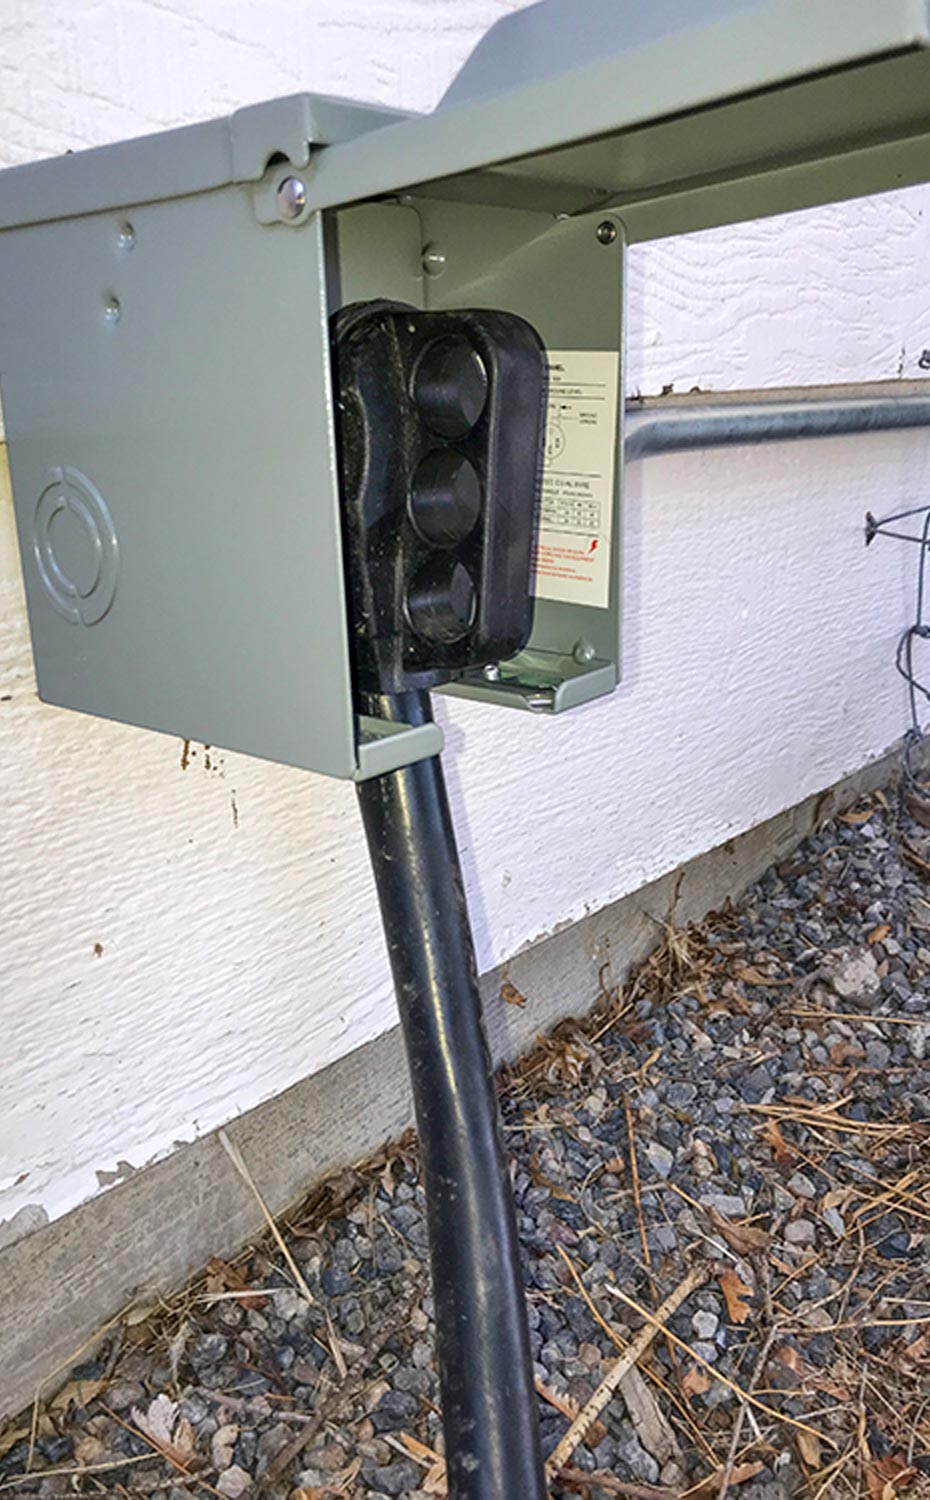
Replacing a 50-amp-to-15-amp step-down adapter with a dedicated 50-amp outlet (right) makes full use of larger RV’s power needs, especially in high-electrical-demand situations such as full-time RVers experience.
Because air-conditioners can easily draw up to 14 amps each (running, more to start), keeping the RV cool while watching TV, operating the microwave, a hair dryer or other appliances — not to mention the battery charging system — would easily overburden a typical 15-amp system.
The best and safest way to power your RV at home is to install an RV receptacle — they’re not that expensive — while the solution to having enough electrical juice for a larger RV parked at home to operate at full capacity is to install a 50-amp service. A four-prong 50-amp service also allows you to plug in a three-prong 30-amp power cord to meet the needs of smaller RVs by using a “dogbone” step-down power adapter. Also, if you purchase a new RV down the road that has a 50-amp service you’ll be all set.
One important point to remember: If you’re installing a 30-amp TT-30 receptacle, make sure the electrician chosen to run the wiring and make the needed upgrades at the house’s distribution board (fuse box) is familiar with RV connections, and that he/she wires it for 120 volts AC, not 240. The receptacle looks similar to a NEMA 10-30, which is a 240-volt AC receptacle for a residential dryer. Many electricians have made this mistake, causing the RV to have “magic smoke” come out of everything.
According to Scott Barker, the master electrician selected to help us run a correct home hookup, installing a 50-amp RV outlet at home is an easy job for a qualified electrician. However, he also stressed that even though the job is easy, it’s not something an amateur should try to do themselves due to all the safety and building code issues related to home wiring. “Always call a pro to do the electrical work behind the circuit breaker panel,” said Barker.
Where a homeowner/RVer can save money is by doing a lot of the prep work, such as installing the cable and/or conduit that protects the wiring between the shore power outlet box and the home circuit breaker panel and running the wiring in the conduits. Those are labor-intensive tasks that don’t require any electrical expertise.
What You Need to Install an RV Shore Power Outlet
Barker provided a laundry list of parts to gather at our local home improvement center to install a 50-amp shore power plug-in located 45 feet from our home’s main electrical panel:
- 50 feet of 10-gauge (green) for the ground wire
- 50 feet 8-gauge white (neutral)
- 100 feet 8-gauge (black) for the hot leads
- (5) 10-foot sections of rigid EMT ¾-inch aluminum conduit
- A ¾-inch threaded EMT conduit body
- (6) ¾-inch EMT Compression Couplings
- 50-amp RV Power Outlet Box
- 50-amp 2-Pole circuit breaker
(Note: The store we used to source all of the above items was out of 8-guage black wire, so we purchased 150 feet of white and used a felt marker to mark which one of the three 50-foot sections we cut was “neutral” so our electrician didn’t have to spend extra time using a circuit tester.)
Before Barker arrived to wire in the 50-amp service, we laid out the conduit, fished the four wires through them, connected the conduit and used a 1-inch spade bit so the wiring could be routed through the exterior wall and into the circuit breaker panel.
We left the four wires at both ends of the conduit exposed so all Barker had to do was make the connections at the RV outlet box and at the home’s service panel. Doing this prep work helped reduce the labor cost.
Installing our 50-amp RV outlet only took about four hours. When it was complete, we had a convenient, dedicated, secure and waterproof shore power source to plug in our RV’s 50-amp power cord — and it’ll come in handy over the ensuing years when visiting friends and relatives drop by with their RVs.
Note: As with any electrical-related project, go over all the details with a licensed electrician prior to undertaking the work to make sure everyone is on the same page as to local codes and what part of the prep work you are allowed to do. Regulations and permits can vary widely, depending on where you live.


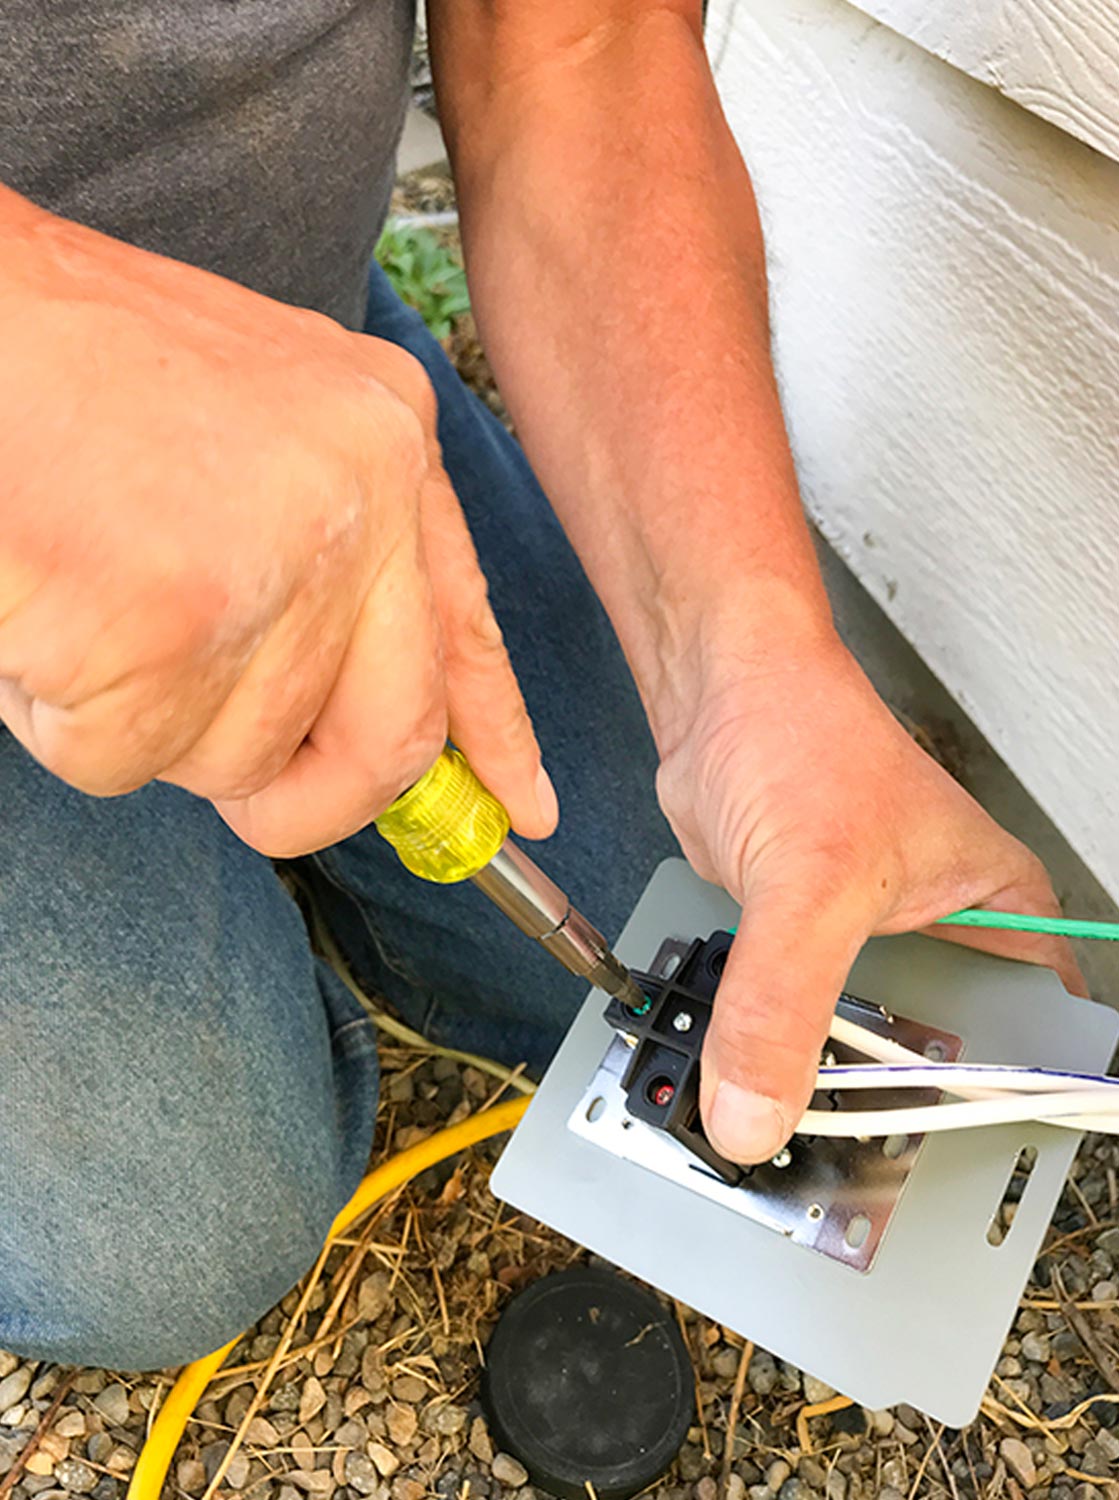
Barker attached the 10-gauge ground wire (green) and the three 8-gauge wires to the back of the new RV outlet plug. Note the middle white wire has blue marks, indicating that’s the “neutral” wire. We used the same markings on the wires exiting at the circuit breaker panel end.

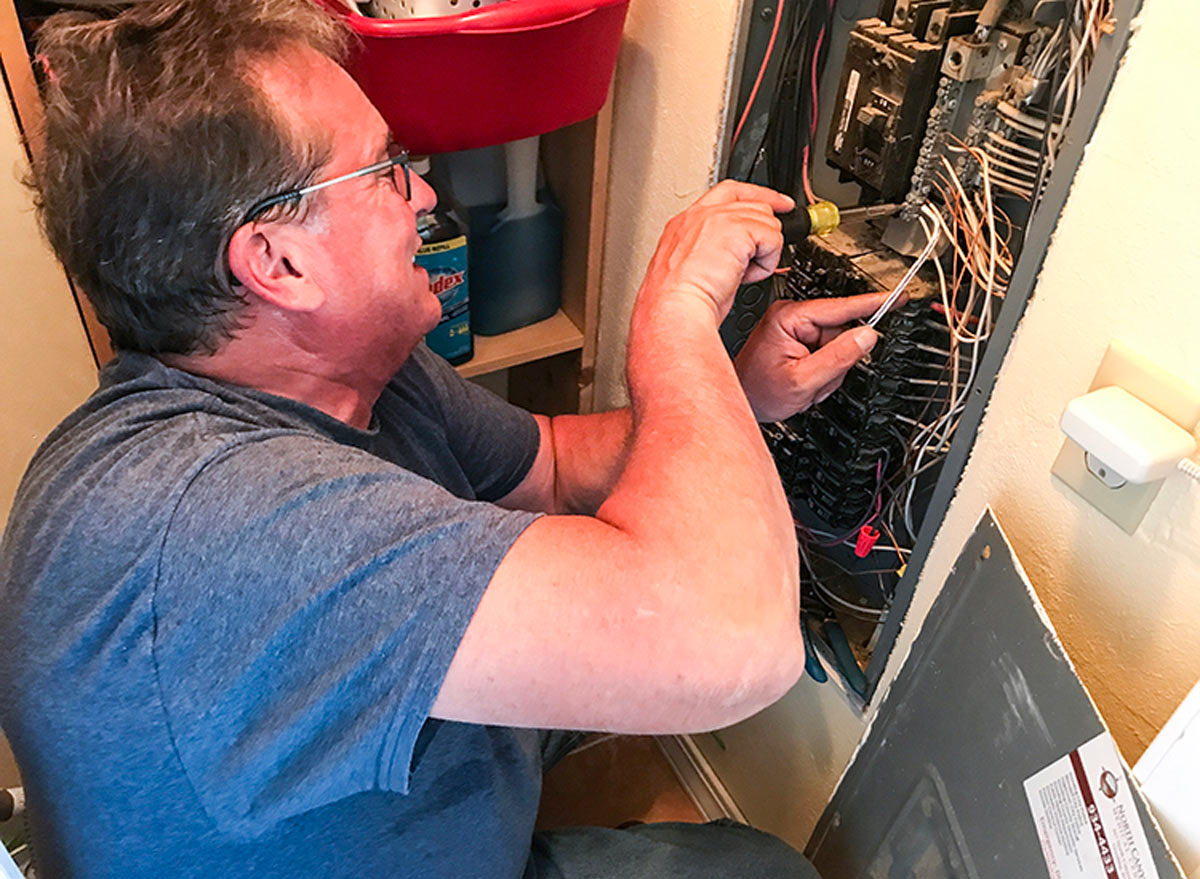
Barker of Scott’s secured the new wiring for the 50-amp service to the house main circuit breaker panel. This is a job best left to professional electricians for both safety and building code requirements.