Cold & Safe: Another Layer of Defense
[maghub_sidebar]
Cold & Safe typography
Another Layer of Defense
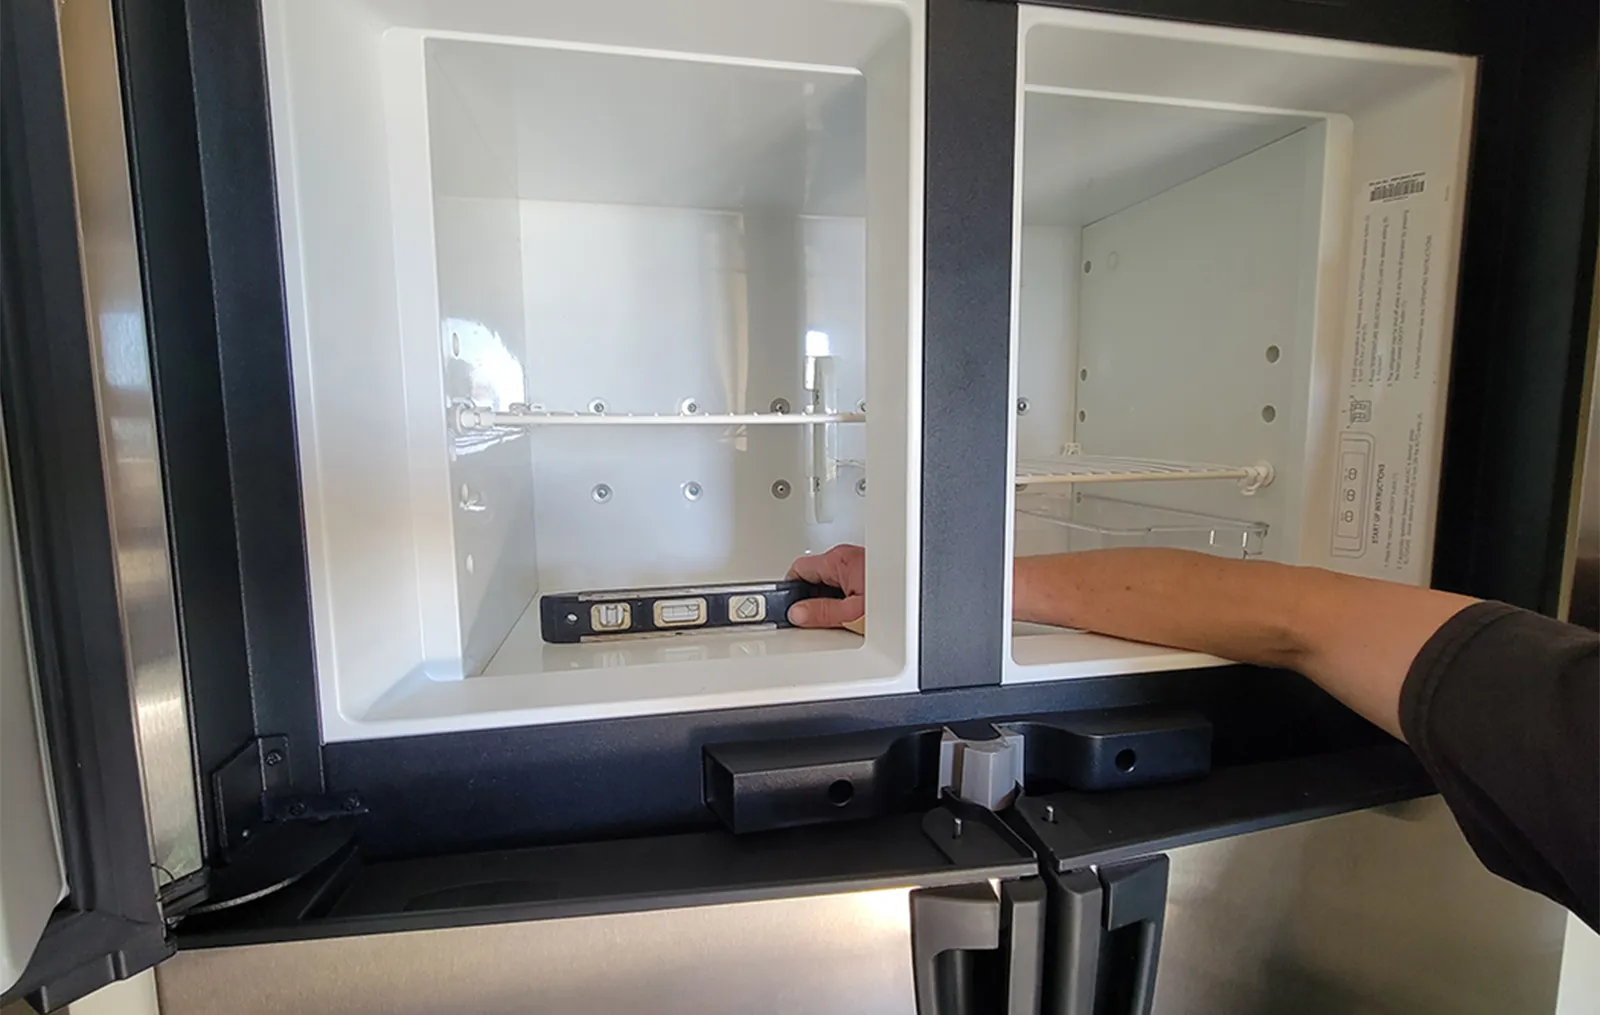
person using a level to check if the fridge has been installed straight
If you park off-level, the ARP Fridge Defend will automatically shut down the refrigerator if it senses that operating temperatures have risen to a predetermined level, preventing damage.
Installing an ARP Fridge Defend protects an absorption refrigerator from overheating by turning it off when operated off-level or if it gets too hot from other conditions.
By Bill Gehr / Photos by the author
A

ll gas/electric refrigerators now (or fixed under a recall) have safety devices to limit high temperature. To ensure any possibility of overheating is mitigated, I am a true believer in a safety device called the ARP Fridge Defend that’s been on the market for quite some time and has a strong reputation for controlling overheating. Essentially, this device monitors the boiler and absorber coil temperatures. When threshold temperatures are reached, the device shuts the refrigerator down for a period of time predetermined by internal electronics — which in turn allows for a safe cool down.

This device is especially important on the road if you’re climbing or descending mountains or when parked off-level long enough to cause damage. The company also offers optional fans that can be installed in the back of the refrigerator or inside the refrigerator box to improve airflow, something I also opted to do.

Fridge Defend kit on a wooden table
There are various Fridge Defend kits available, depending on the refrigerator brand and model. This upgraded kit for the Dometic 1350 included two larger blower fans. The four smaller fans for the interior are part of an optional kit.
Installation is straightforward and ARP (arprv.com) offers videos, wiring diagrams and pictures on its website for do-it-yourselfers with moderate experience installing devices that require electrical wiring. The Fridge Defend operates on 12-volt DC power and the installation is a safe procedure that will not destroy an electrical component on the refrigerator if a mistake is made. The website is quite detailed, so plan on spending a fair amount of time deciphering the content.

That’s important, because the Fridge Defend does not come with instructions; you’ll need to visit the website and download the installation procedure for your refrigerator model. Since you’re already there, it makes sense to watch the videos beforehand. Also, know that the temperature sensor for the boiler may be difficult to access on some models without sliding the refrigerator out a few inches to give you enough room to work. Fortunately, on the project model, a Dometic 1350, the access to the boiler tube was easy. Mounting the control box and connecting the wiring were uneventful.

person removing the protective plate to gain access to the boiler flue cover
The first step is to remove the protective plate to gain access to the boiler flue cover for installing the temperature sensor.
hand removing the cover on the boiler flue
In order to install the temperature sensor, the cover on the boiler flue was removed by squeezing both sides and pulling off.
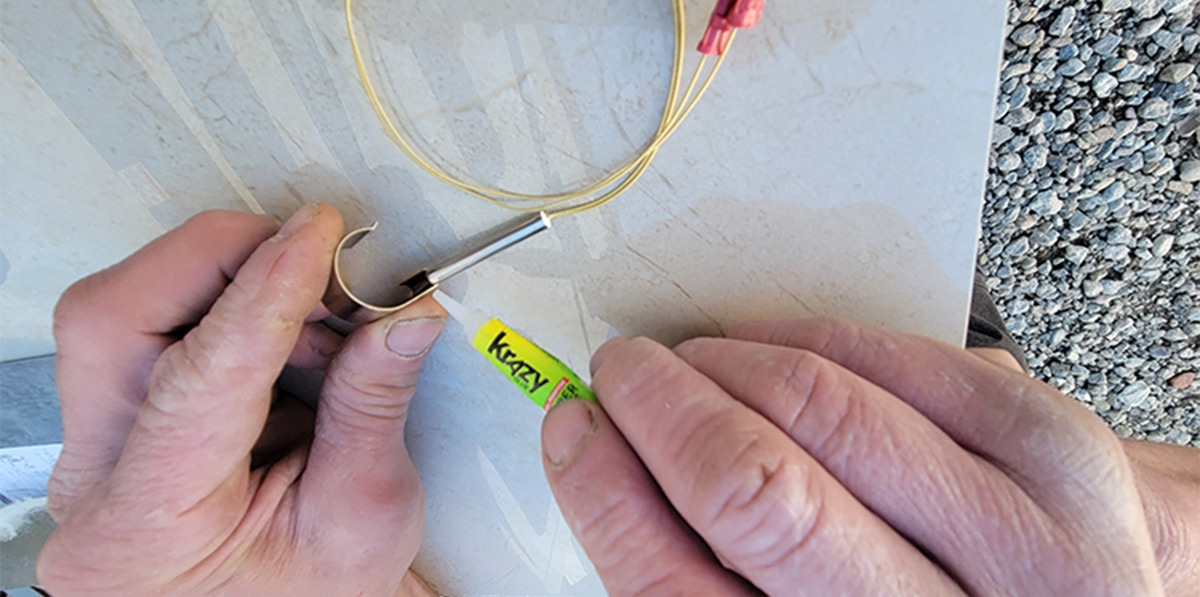
super glue being applied to the bracket
sensor attached to the bracket using super glue
Super glue was used to hold the bracket in place for installation purposes. Gluing the sensor to the bracket makes it possible to install the parts into the tight space with only one hand.
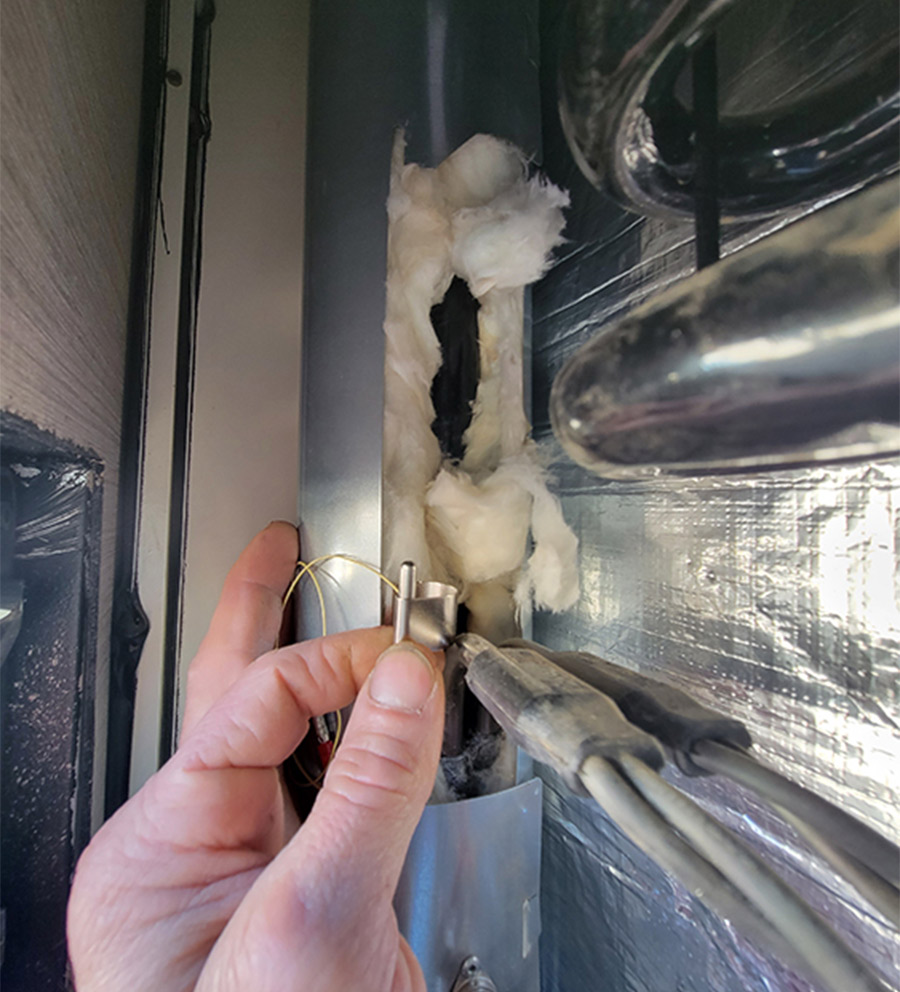
hand moving the bracket and temperature sensor onto the boiler tube
bracket and temperature sensor mounted on the boiler tube above the dimples
Here the bracket and temperature sensor were maneuvered onto the boiler tube right above the dimples. If mounted too high, the sensor will send a late message to the controller to shut down the refrigerator.
Installing the blower fans took the most time. Since the refrigerator was installed in a slideout, the upper sidewall access vent provided better access for installing the upper cooling fans. Just be sure to follow the directions carefully, because the procedure varies from model to model to accommodate the size of the cooling unit. Fans are mounted below the absorber coils, where heat dissipation is most important, and on the back side of the vent/access doors. While there are wires already in place on some models to control the factory fans, I recommend installing another switch from a separate 12-volt DC source so that the fans can be operated as long as necessary to return the cooling unit temperatures to normal. The new blower fan installed in the upper door needs to be mounted so that it pushes the hot air out through the louvers.

The brushless ARP fans are designed to run at a higher speed quietly and last for a long time. Although it’s possible to acquire similar size fans online, it’s best to opt for the ARP versions — which are also quieter — when ordering the Fridge Defend kit. I also installed longer wires so that the vent doors could be opened and set aside without pulling on the wires or removing the fans. This can also be accomplished by connecting two-prong plugs in the wiring, which can be separated when removing the access door.

finger pointing at the factory relay
The factory relay (finger pointing) had to be relocated in order to find an adequate place to mount the controller. You’ll want to mount the controller so that the readout can be seen clearly when removing the bottom vent panel.
person removing the sensor without cutting wires
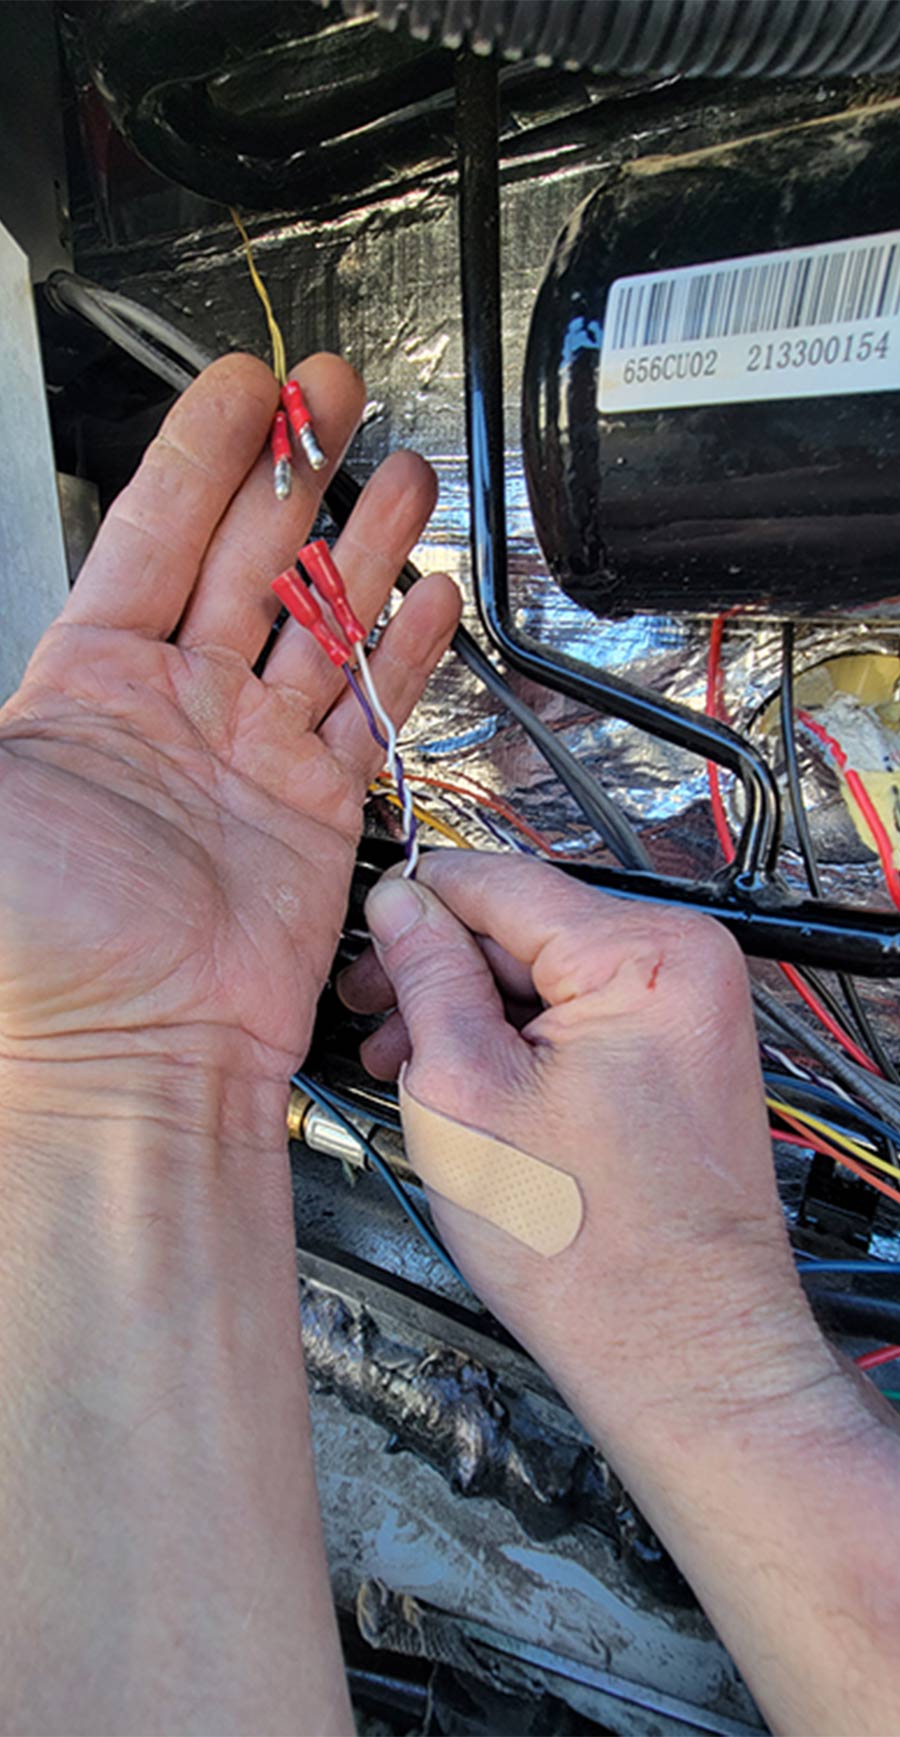
hands holding up the bullet connectors on the wires
ARP provides all the connectors necessary to install the kit components. These wires from the controller use bullet connectors so the sensor can be removed without cutting wires.
wires running to the controller box
The positive (12-volt DC) lead was first removed from the refrigerator junction box and butt-connected to a wire that was routed to the controller. A separate wire was routed from the controller to the refrigerator (not shown).
hose clamp attached to a second temperature sensor
A hose clamp was used to attach a second temperature sensor to one of the lower absorber coils. This is a redundant temperature sensor to ensure proper monitoring if the other one fails, which is unlikely if the installation is done properly.
I believe that the ARP-offered interior circulation fans are as important as the exterior cooling fans. For two-door refrigerator models. I recommend three fans; four fans are needed for the four-door models. These fans can be mounted with hook-and-loop material and aimed in different directions to cover all the fins at the back of the refrigerator. The wiring is fairly simple: Run a 22-gauge positive wire down through the drain hose (that exits through the lower vent door or terminates inside the compartment) and connect it to the positive side of the fans and to an ON/OFF switch that can control both the exterior and interior cooling fans since they will all need to turned off during storage of your RV. The ground wire can be spliced into an interior light on most models.

ARP offers several different kits, ranging from a basic device to those with the aforementioned interior and exterior cooling fans. I highly recommend that you install the fans, which reduced the temperature control setting on the project refrigerator from #5 to #2 — but more importantly, the refrigerator performed effectively even in ambient temperatures well above 100°. Kits start at $165 up to $285 with fan kits. Extra external fans are $38 and the interior fans are $19.

Once installed, I did notice that the Fridge Defend turned the refrigerator off in response to high boiler temperatures, even while running on AC power. Actually, this should not have happened since the electric elements maintain a constant temperature, but they do produce more heat than when running on LP-gas because the element is in a tube welded directly to the boiler and the propane runs up through the flue with a baffle that helps retain some of the heat. Nevertheless, we were happy that the Fridge Defend did its job. Historical information can be read on the control box, giving you information on how many times the refrigerator was shut down during a certain time period.

four blower fans installed to the top portion of the refrigerator
Four blower fans, as part of the optional kit, were installed to the top portion of the refrigerator liner above the evaporator fins. Painter’s tape was used to line up the fans, which were then attached to the liner with hook-and-loop material.
finger pointing at wire running through the condensation drain tube
Power (12-volt DC) was routed through the condensation drain tube after temporarily removing the capture tray. Here both the positive and negative leads are routed because there is no logical place to get continuous power inside the box on Dometic refrigerators. The ground wire can be connected inside at the light fixture on Norcold models.
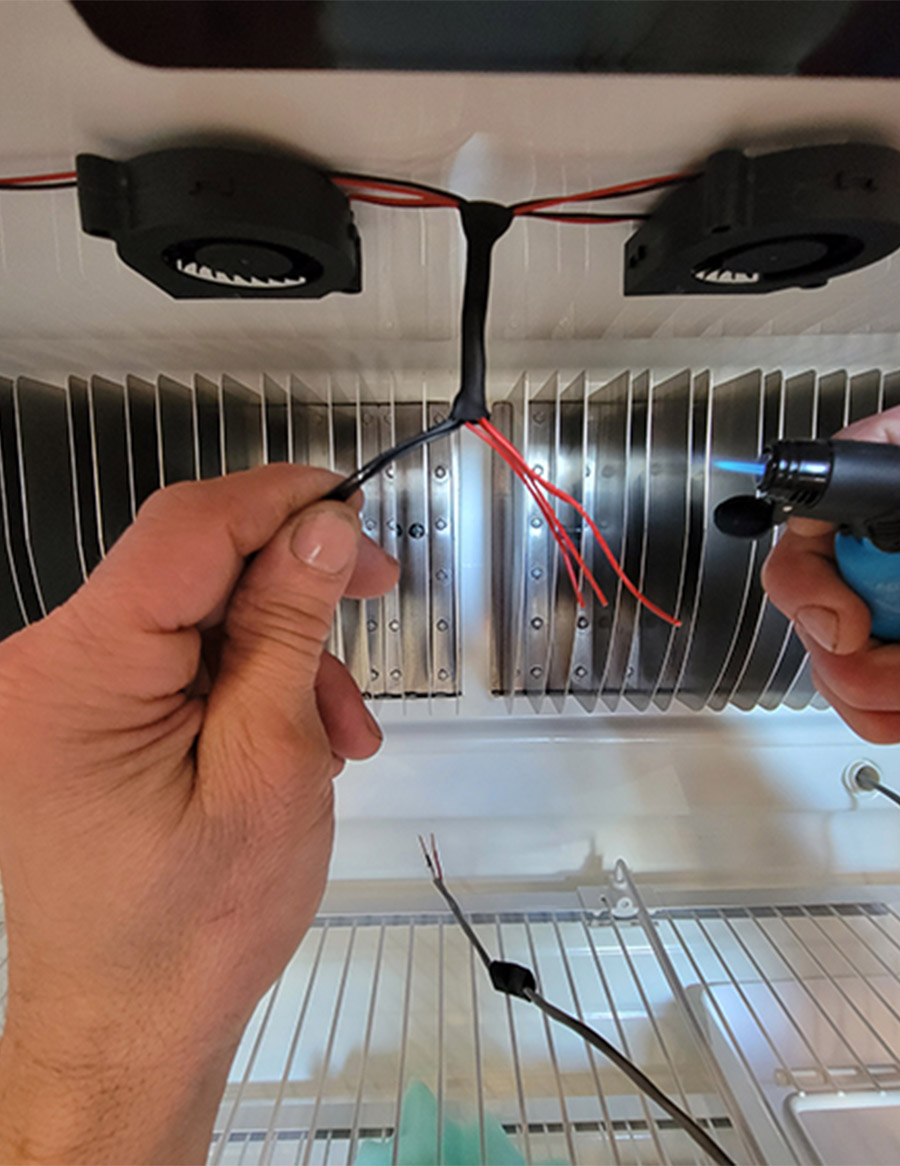
closeup of person soldering fan wires into shrink tubing
All four fans were wired in series and shrink tubing was used to waterproof the connections, which were soldered.
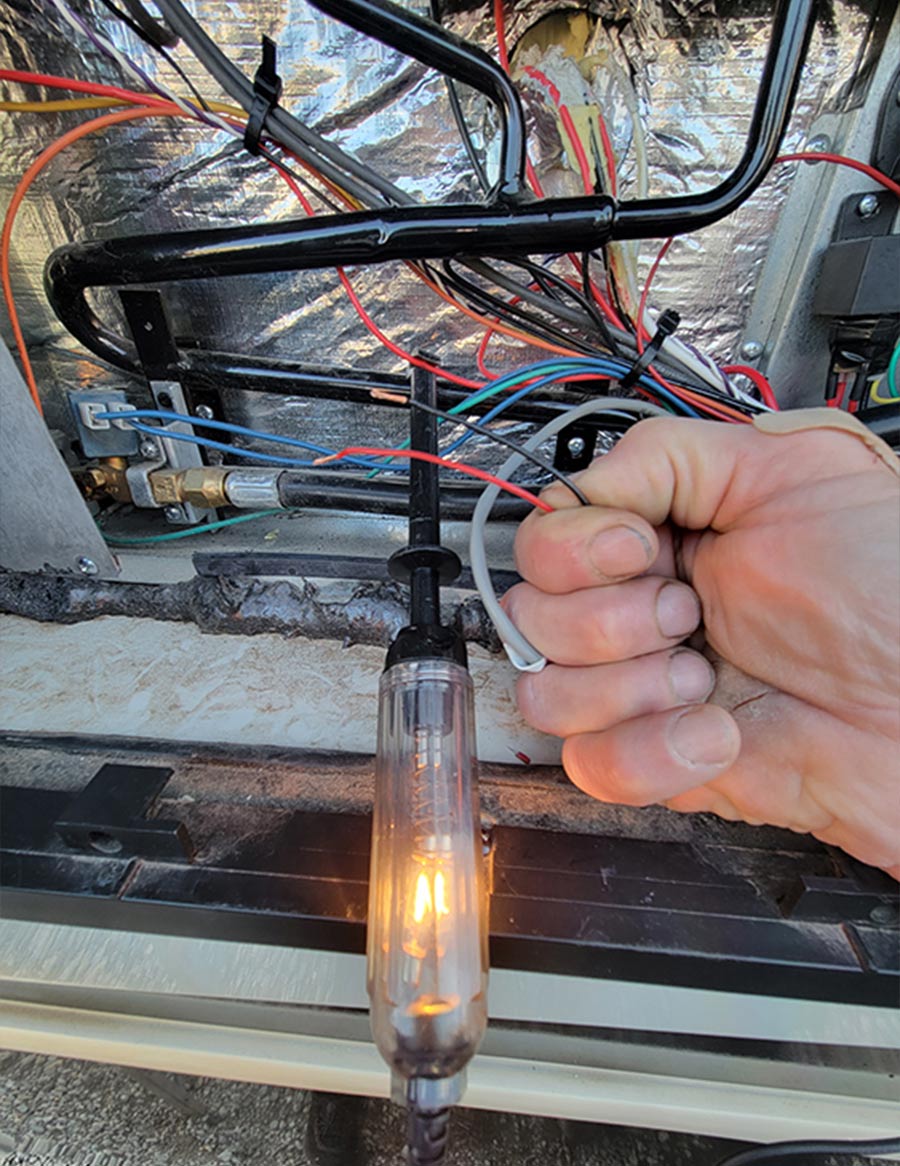
test light being used to source a constant 12-volt DC power wire for the interior fans
A test light was used to source a constant 12-volt DC power wire for the interior fans. The ground wire for this installation was connected to metal via a ring terminal.
exterior blower fan being installed to the bottom access door using cable ties
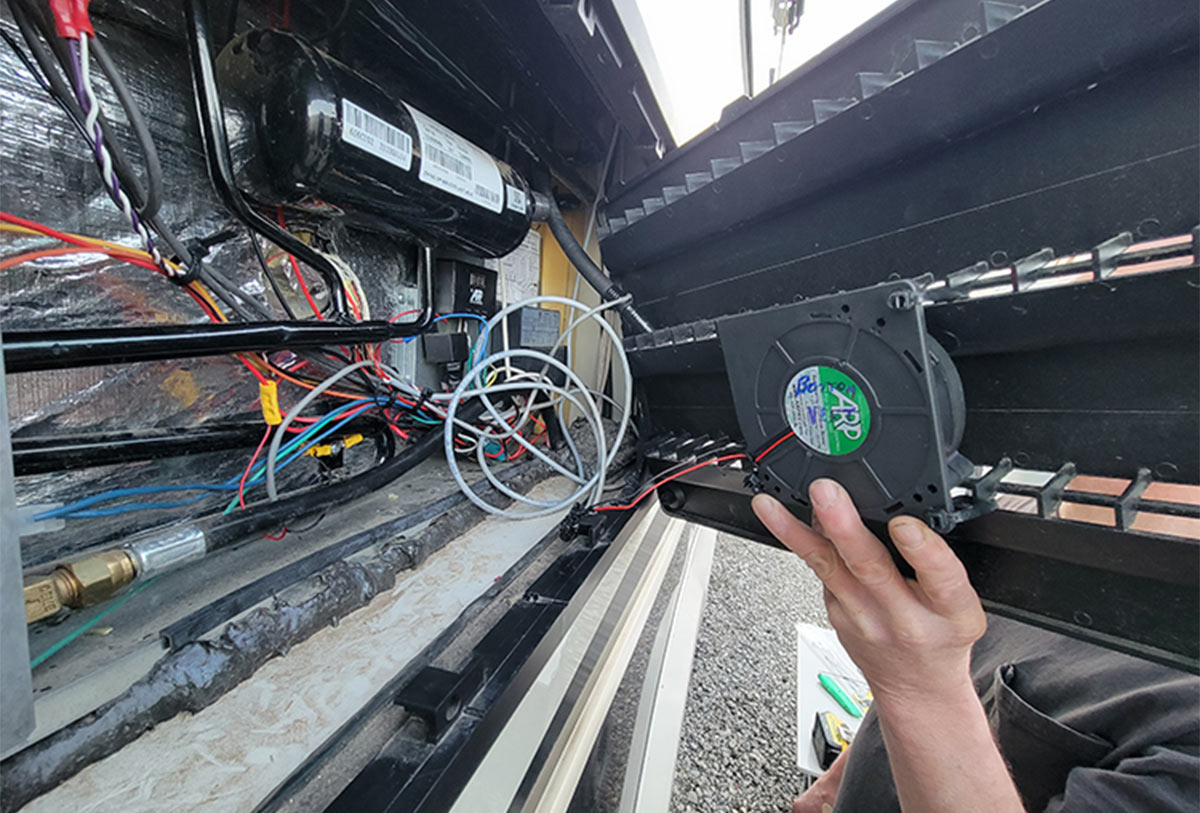
view of exterior blower fans on the access door
One of the exterior blower fans was mounted to the bottom access door with cable ties. This fan blows upward through the absorber coils. The top fan was mounted on the top access door and positioned so that the hot air is expelled from the compartment.
longer wires connecting the fans to the controller
Longer wires were used to connect the fans to the controller so that the access door can be removed and set on the ground without disconnecting. Two-way rubber marine connectors can also be used for the same purpose.