ow many times have you been traveling hour after hour and needed to make a stop to pop into the bathroom or got up in the middle of the night — only to discover that the water pump switch in the other room was not “On” when you needed to flush the toilet? If you’re human, the answer is, “too many times.” There’s no question that this has happened to all of us at one time, leading to vows to find a solution.
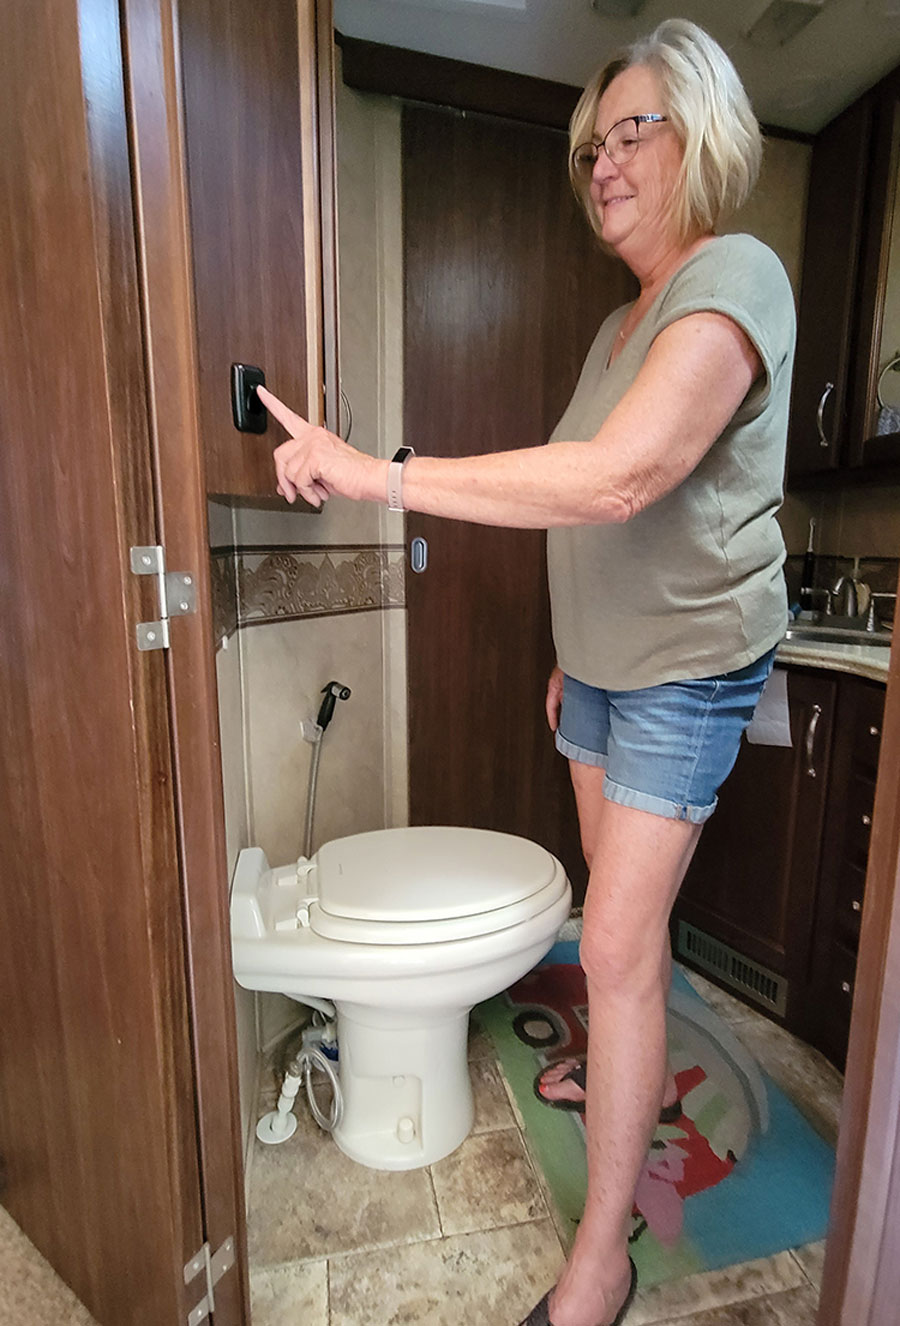
Fortunately, a number of manufacturers have installed a secondary water pump switch in the bathroom and maybe another in the utility center located in one of the exterior compartments. Unfortunately, like owners of most older RVs, the person holding the title to this trailer did not have a bathroom switch — and after multiple grumblings while using “the facilities” with the pump turned off, the owner was desperate to install a secondary switch in the bathroom. So, we set about installing one.
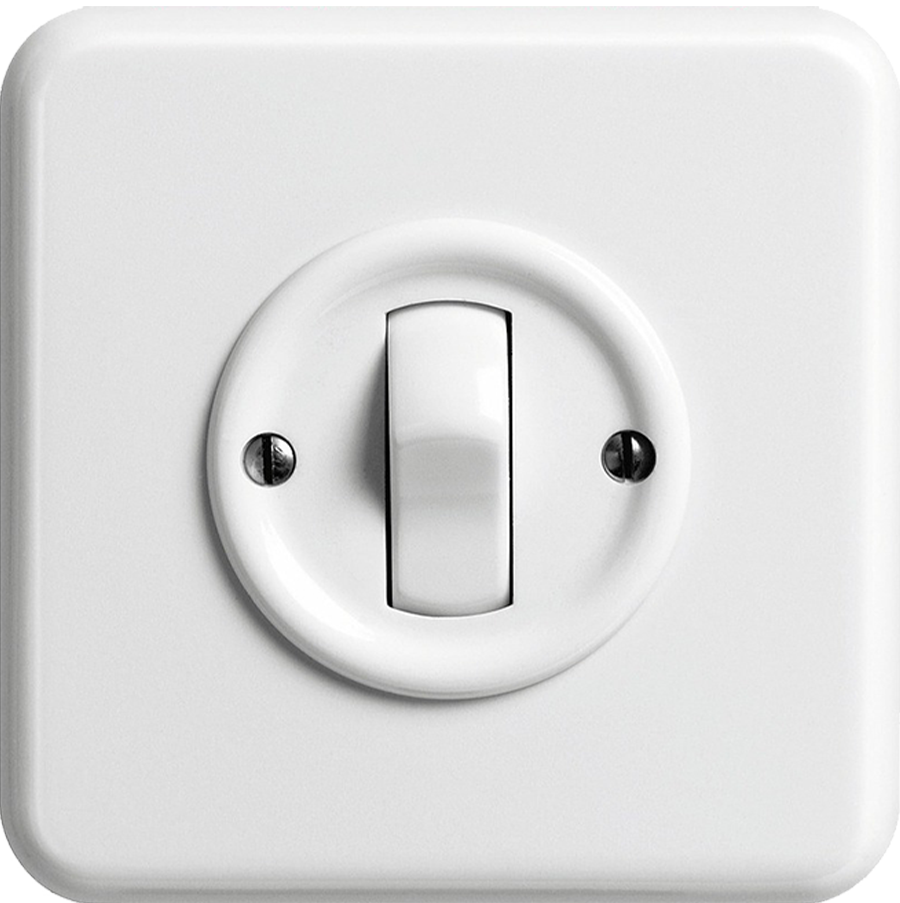
I found a matching switch to the others used in the trailer on Amazon ($9.99 — search for an American Technology Components Single SPST On-Off Switch with Bezel). So, we had the switch; now we had to make sure we could use it.
The first step was to find a 12-volt DC source from a nearby location to power the switch, then establish a pathway to run a new feed wire to the water pump. Luckily, there was a switch in the bedroom (at the bottom of a shared wall with the bathroom) that operated an overhead light. Meanwhile, the demand water pump was under the bed, accessed after removing the mattress and platform. That made it possible to pull power from the wall switch that fed the ceiling light, which was on the wall opposite to where the new water pump switch would be mounted.


Of course, nothing is ever really easy: The majority of space under the bed structure was occupied by the water tank, which made it difficult to work in that location, especially when trying to use a fish tape to pull power up to where the new switch would reside.
The first step was to find the needed wire from the ceiling light switch. To access the hot wire, the existing switch that feeds the ceiling light was removed and a visual check was made to make sure that there wasn’t a stud or anything else that would impede cutting a hole for the new water pump switch. Once it looked like the coast was clear, measurements were taken and a rectangular hole for the new switch was marked; the cutout was made with a cordless oscillating tool, which really comes in handy when working with thin wall paneling.
A fish tape was inserted all the way down inside the wall to a location near the water pump, which was installed on the floor. Luckily, there were multiple holes in that area that had wires running in and out and, with more effort than expected, I was able to hit one of those openings and pull the fish tape and a 12-gauge wire that would be connected to the water pump’s positive wire. The 12-volt DC hotwire was pulled from the light switch through the wall and to the new pump switch. A test light was used check both wires to the light switch to find out which one was permanently hot (a 12-volt DC negative wire was not necessary since the water pump was already grounded).
It’s important, however, to install a fuse or a circuit breaker near the water pump to protect the hot wire running from the switch. I elected to use a 15-amp circuit breaker, which has an auto-reset feature because the location under the bed was difficult to access. Next, a short wire was tapped into the positive wire on the water pump and connected to the circuit breaker. On the other side of the breaker, I attached the wire that was routed to the newly installed pump switch. Before you completely install the new switch, test the water pump to make sure it functions on that circuit; this will only work on a 15 amp or larger circuit.
Because we were unable to install a double-pole, single-throw water-pump switch (which, for this installation, would require running a really long wire from the monitor panel where the factory water pump switch was installed), the pump will always be active when the new bathroom switch is in the “On” position. To restore control from the monitor switch, just make sure the bathroom switch is turned off after using. This is not a major deal if you leave the bathroom switch on, but it’s best to turn the water pump off when not in use or hooked up to city water.
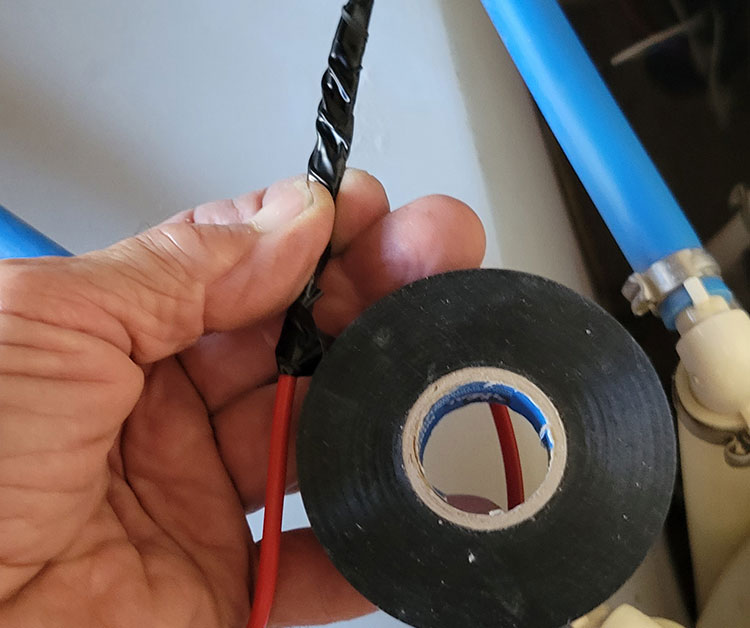
Parts and materials needed to complete this project included the aforementioned On/Off switch to match the existing wall switch, along with enough 12-gauge wire to reach from the switch to the pump terminals, a circuit breaker (or a fuse and holder) and black electrical tape. Tools included a cordless drill, bits, a fish tape, a drop light, a saw (cordless oscillating tool will make the job easier) and a file. You’ll also need a wire stripping and crimping tool and a wrench or socket to tighten the circuit-breaker nuts.
Figure on spending a couple hours to complete this project — but the end result will keep you from running into the main cabin to turn on the water pump with your shorts down.