No Strings Attached
[maghub_sidebar]
"No Strings Attached"
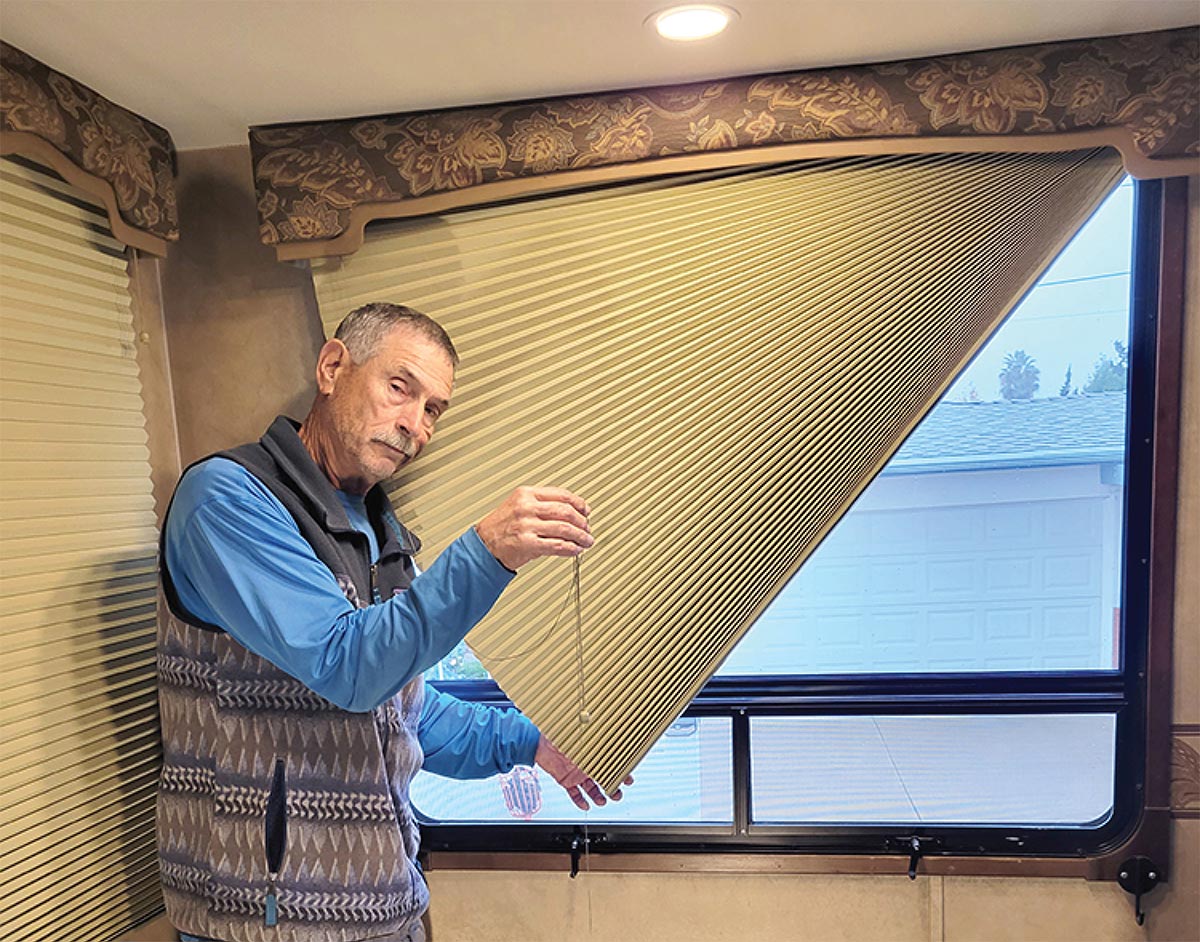
Bill Gehr holding broken window blind strings in RV
When the cords that control day/night shades — and other similar window coverings — give up the ghost, you can replace them, even while on the road. The process looks daunting, but in reality the fix is DIY-friendly.
By Bill Gehr / Photos by Lorie Swoffer
T

he window coverings of choice for many years have been shades controlled by some type of a string or cord that runs vertically on both sides. When they work, the operation is smooth — but when they break, the shades are rendered useless and drop like a rock. It’s a frustrating dilemma that most RVers have contended with until the proliferation of pull-down roller shades.

Most people open and close their pleated shades at least twice a day, so do the math: you can see why they have a propensity to break, usually at inopportune times. I’m a full-timer, which means window coverings are moved at least 730 times a year.

Fortunately, you can carry the cord and tools on board to make the necessary repairs without being at the mercy of service centers needing long lead times for appointments. My blinds see heavy use and after one of the chords came apart, I figured it would only be a matter of time before the rest of them started breaking, so I initiated the restringing process.

There are different types of shades that are beholden to strings. The most common style is the day/night blind that basically folds up or down with a chord on either side attached to a spool at the bottom that secures the cord and allows for tension adjustments. Although the original blinds on my fifth wheel were changed to a cellular honeycomb style with light-blocking capability and insulation, they still used a single string on one side to raise and lower the material. Either way, replacing the cord is roughly the same process.

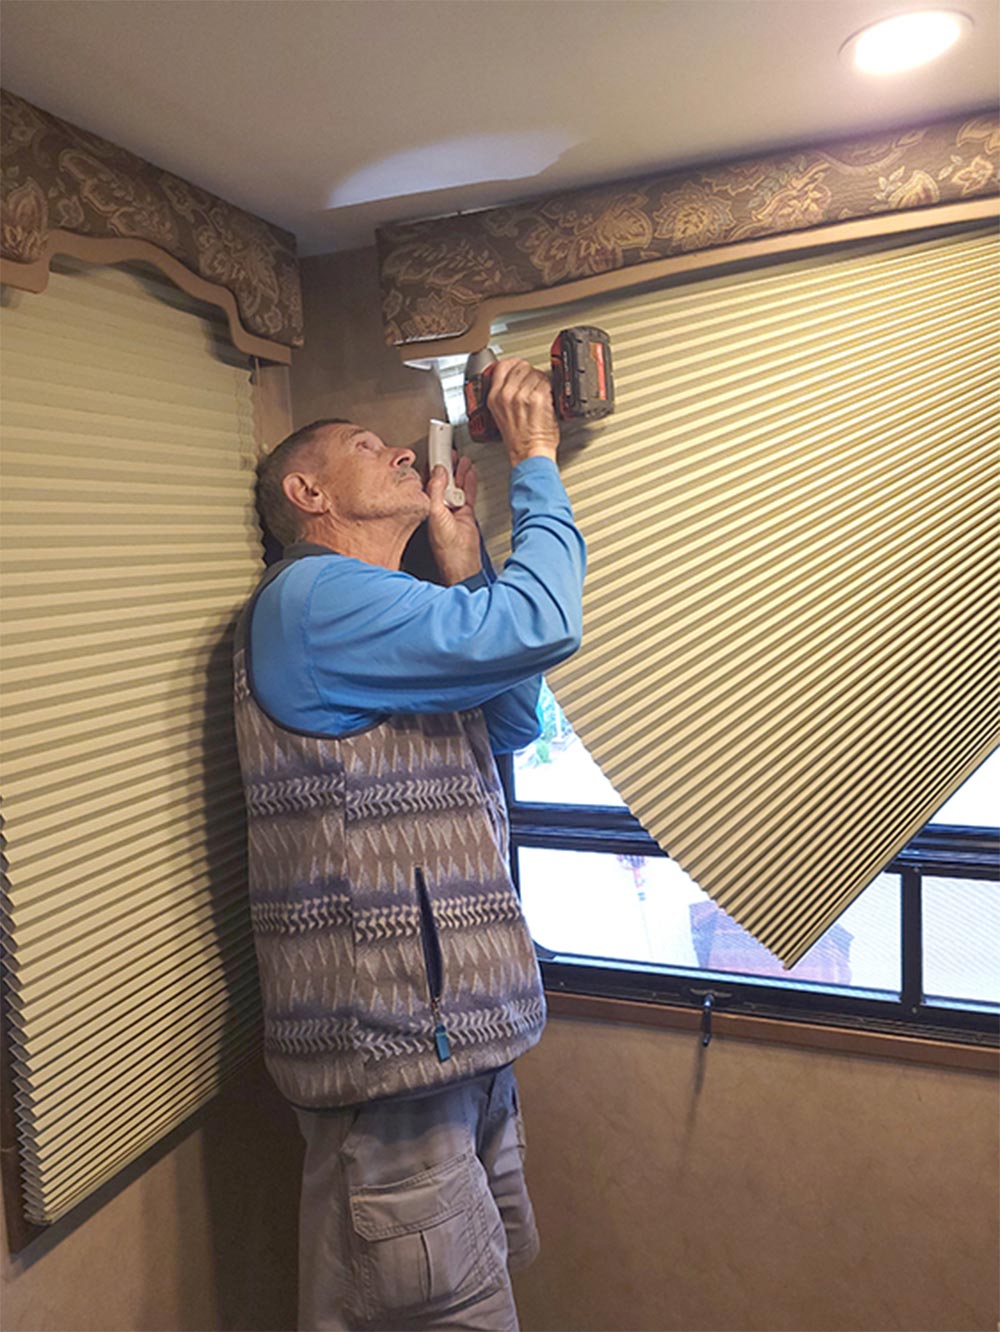
Unscrewing window valance
The first step is to remove the valance, which will be slightly different depending on RV model, but most are held in place by a few screws. It’s best to use a screw gun or impact driver (on low torque) and a long extension to prevent damaging the valance.
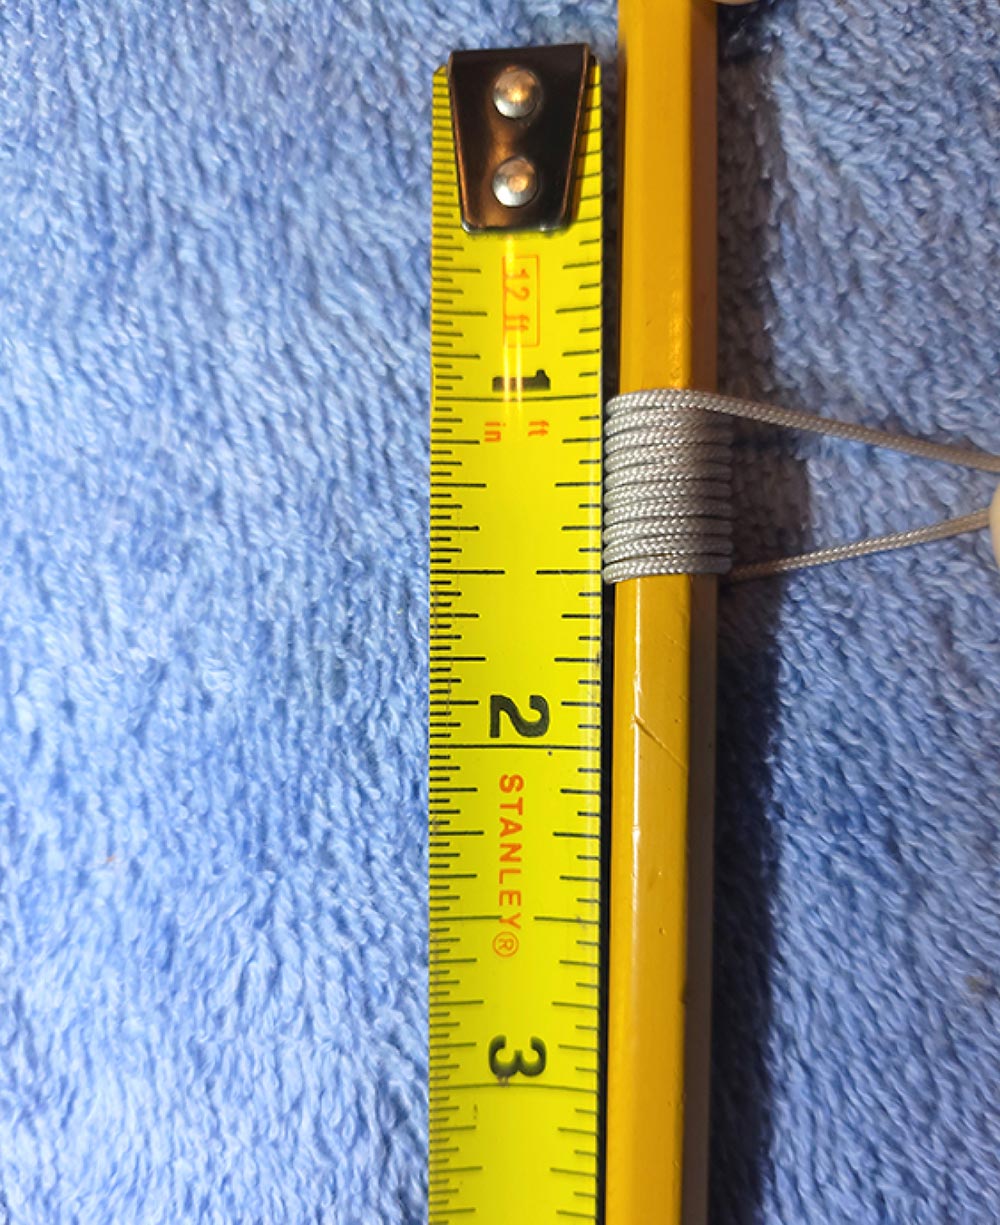
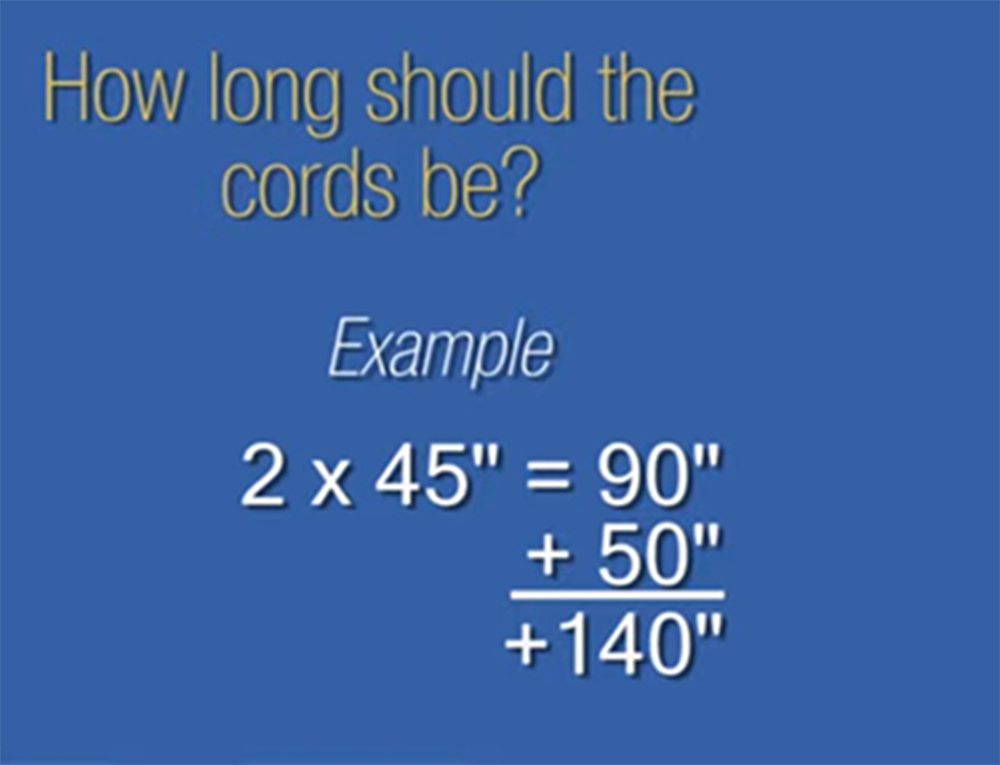
Start the process by ordering the cord length and color. After some investigating, I found that FixMyBlinds (fixmyblinds.com) offers the best advice and selection of restringing kits. In order to cross-reference the cord you will need, measure two times the height of the blind or shade plus the width, then multiply that by the number of cords that go through the blind from top to bottom. You will also need to determine the diameter of the cord and the color, which can be done by wrapping the old cord around a pencil 10 times — tightly butted up against each loop — and measuring the width. That measurement will lead you to the right diameter replacement cord on the company’s website. Go to “Identify Your Blind” and click “RV Day/Night Shades” and then “Lift Cord & String” and you will see the cord choices. If the shades are old, more than likely it will be impossible to obtain an exact matching color, but you can usually get close.

Next, you will need to order the wire lacing tool that allows you to pull the cords through the blind. Depending on the blind, there may be some nylon inserts to keep the cord from tearing through the material; you may want to order a couple of them just to make sure you have them ready to go. If you’re having trouble with the blind staying in the up position, you can also purchase cord locks.

Replacing the cord seems like a daunting task, but once you change the first one, you’ll get the hang of it. Fortunately, you can find some pretty good videos on the FixMyBlinds website that will guide you through the process. Just watch the videos a few times to get the process down.
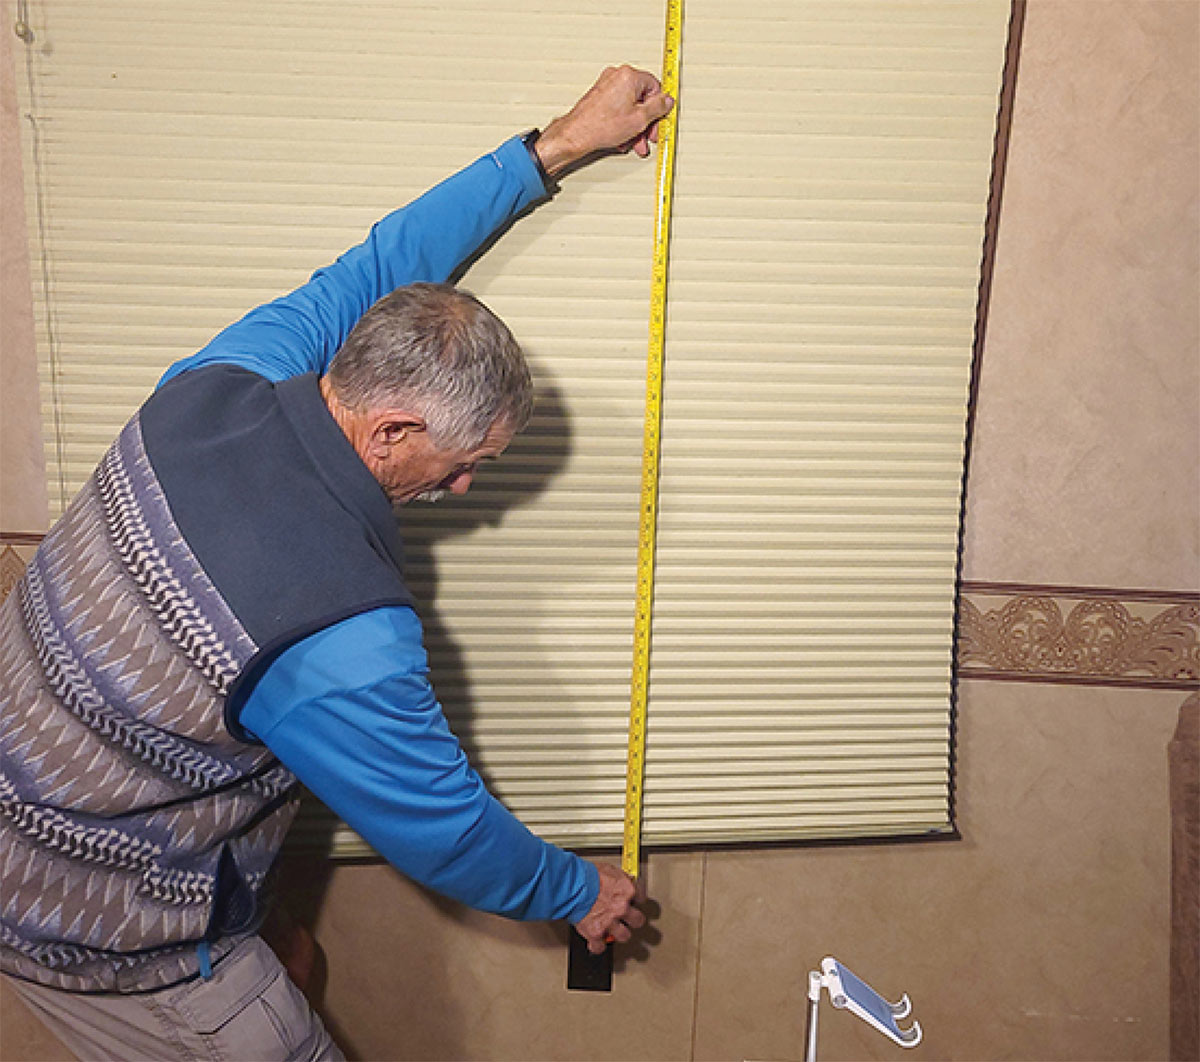
Measuring length and width of blinds
Before removing the shade, measure the length and width to determine the length of the cords that will be needed for each project.
The first step requires that the valance (if so equipped) be removed to gain access to the brackets that hold the blinds — in some cases, releasing the blind can be tougher than replacing the cord, depending on access. If you look up between the blind and the inner part of the valance you will see the screws that hold the valance in place; a screw gun or impact driver (set to a low torque setting) will make this task much easier. Still, count on using a long extension for your impact driver since there is usually not enough room between the blind and the valence to get a cordless tool between the two.

Before removing the valance, take a few measurements so that you get it back in the same place. More than likely, you’ll need some help as the valances can be quite heavy, especially if they’re made of wood and are on the long side. One valance in my fifth wheel, for example, spans almost the entire width of the rear wall and is very heavy and bulky.
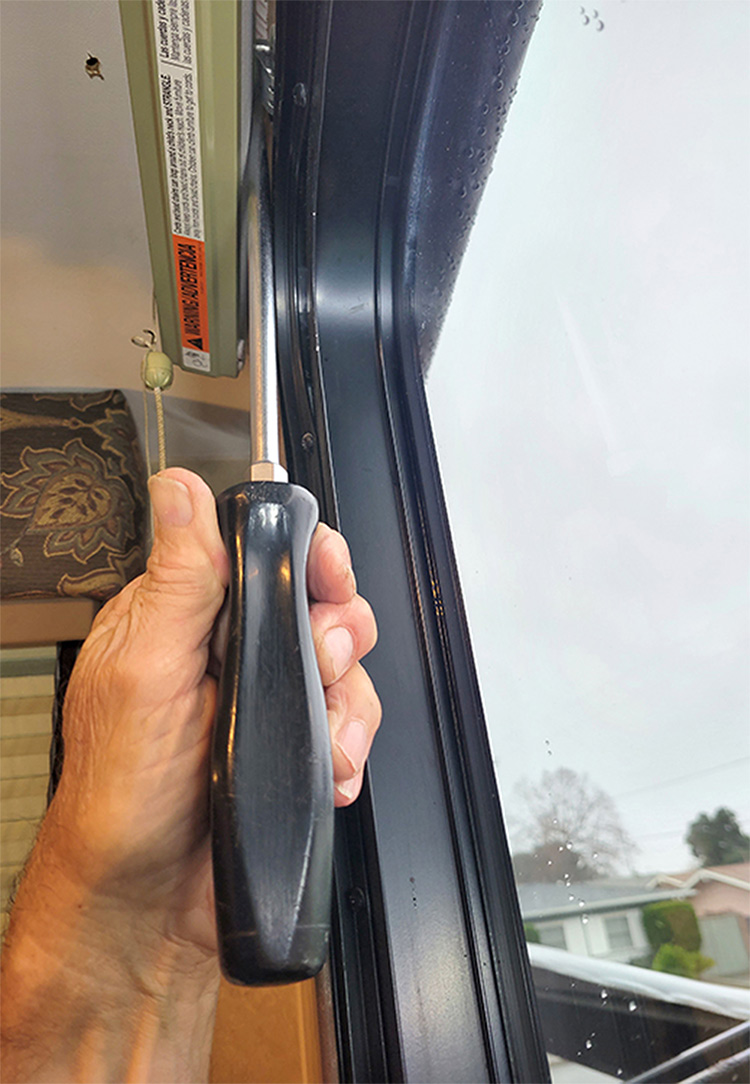
Using flathead to release brackets
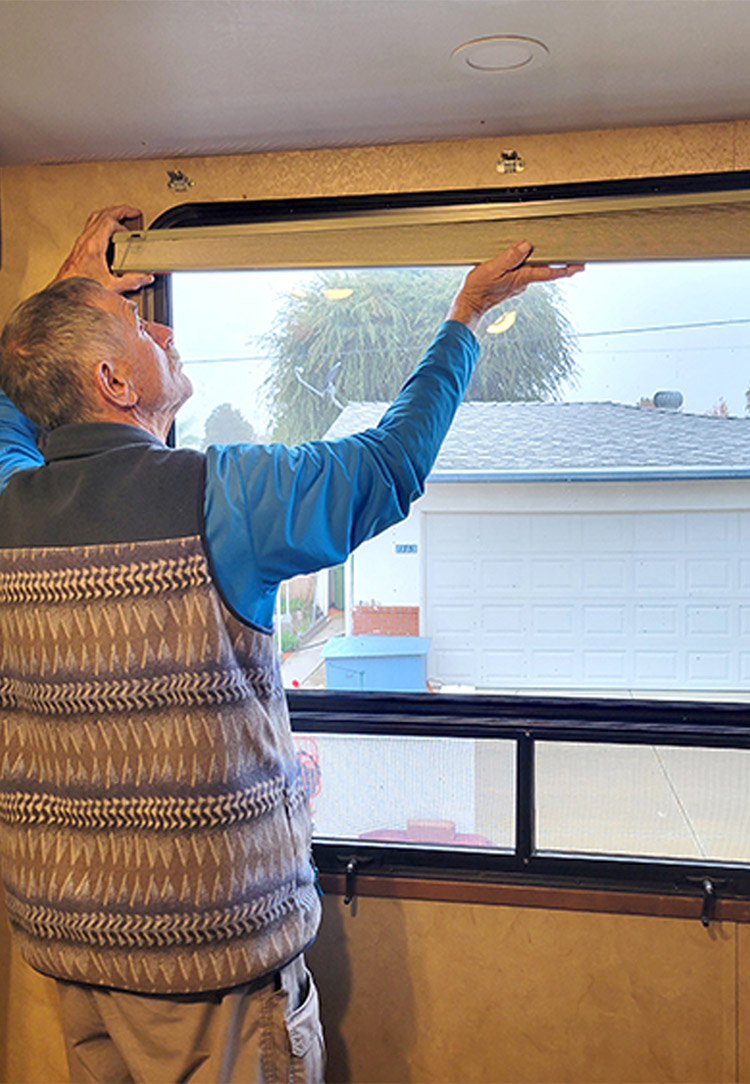
Removing blinds
On this Bali Blind it was necessary to use a large, flat-blade screwdriver to release the spring-loaded bracket from the top of the blind. Common day/night shade brackets can be opened by using the screwdriver to twist open the latch. Some of these blinds can be heavy, depending on size, so it may be necessary to recruit some help.
After removing a valances, you will need to release the blind from the brackets, and the configurations vary. For example, in this fifth wheel, it required the use of a long, heavy-duty flat-bladed screwdriver to unlatch the bracket. Some day/night shades maybe be held in place with screws driven through the top of the shade itself. Remove the blind and set it on a flat surface that is wider than the blind and put a rubber band around each end to hold the blind together. Start by removing the headrail; they will vary depending on the type of blind (here, there was only one screw at the top holding it in place). Then remove the bottom rail, which may only be held in place by the end caps. When removing the rail out of one end of the blind, make sure the rubber band on the other end of the blind is secure so that it stays together.

Next, remove the cords, paying close attention to where the length of the cords will go; the farther away from the latching assembly, the longer the cord. You also need to pay attention to how the cords go through the latching or locking assembly. As I recall, it was a nightmare to get the cords to go through the latching assembly in the Bali Blinds that were changed out years ago; standard day/night blinds are not as difficult to handle.

Double checking width of blinds when folded up
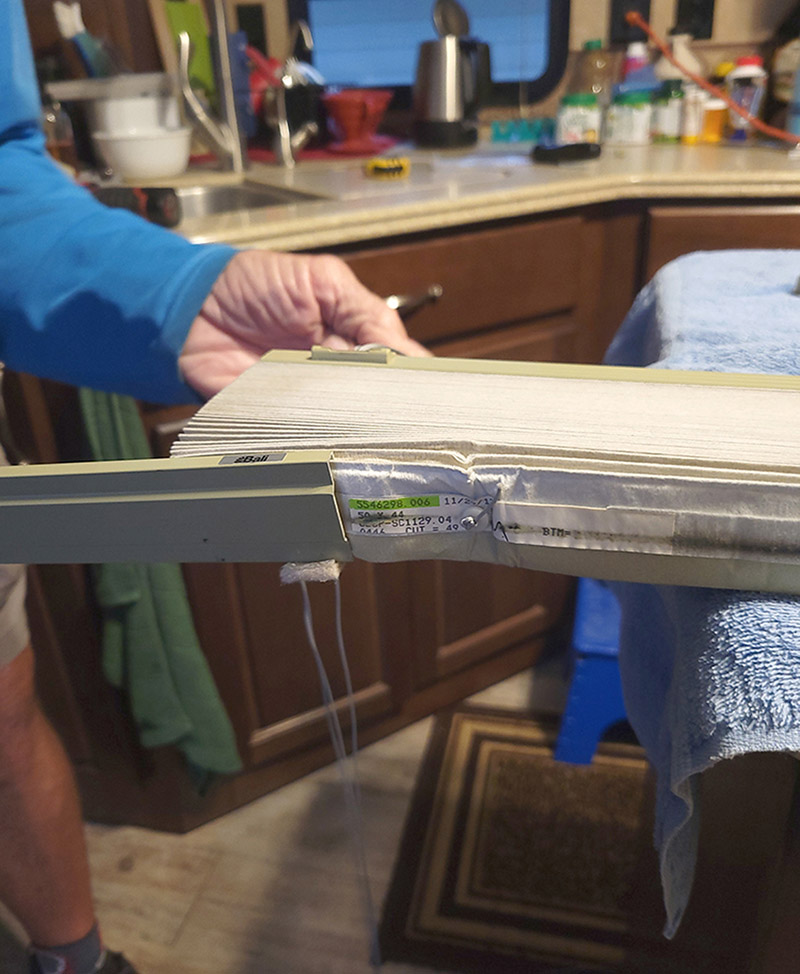
Once the blind was off the wall, it was placed on a table and the width measurement was rechecked.
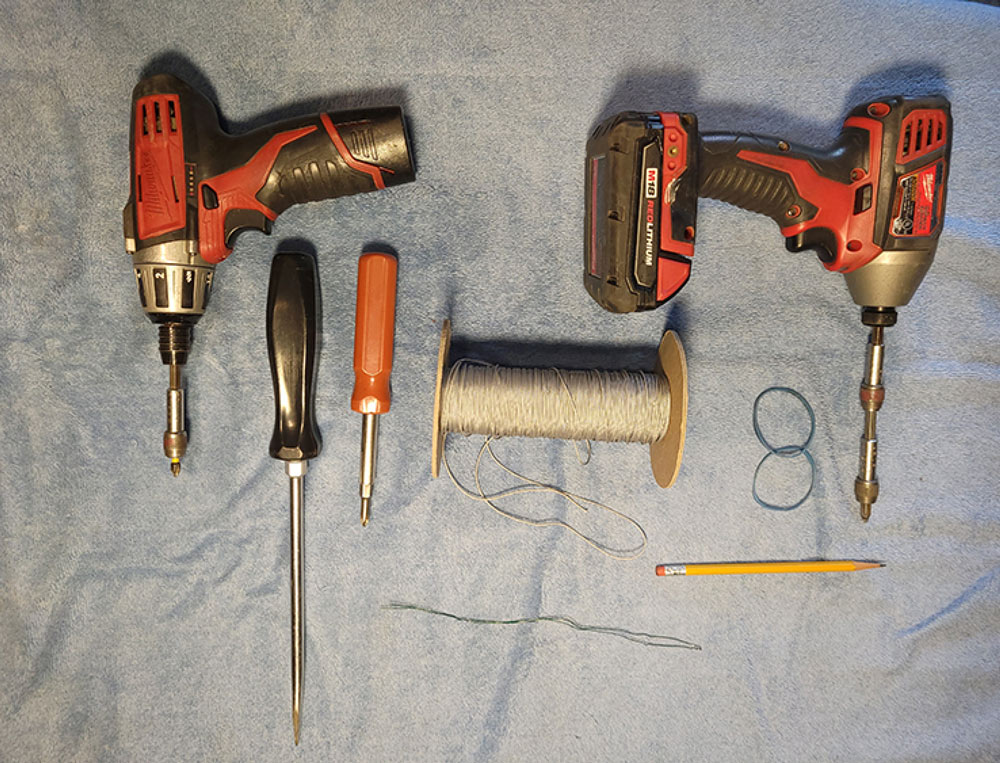
Tools needed for the job
Removing the blind and restringing requires the use of common hand tools. Although not necessary, the use of a screw gun or impact driver (on low torque to prevent stripping the screw holes) will make it much easier to get the job done.
Fortunately, the lacing tool was a big help in this process. The lacing tool makes it possible to pull the cords, one at a time, through the shade and out the bottom, At the bottom of the blind there’s a disc (or something similar) that will allow you to tie a knot on the other side to keep the cord from being pulled back up through the blind. Once the cords are pulled through the blind, lay them in the headrail side-by-side while being careful not twist (it will prove to be a problem later on if they get twisted). Feed the cord through the latching assembly, pull the slack out of all the cords and maintain the side-by-side order through the headrail.

Reinstall the headrail and bottom rails — making sure that the rubber bands stay in place throughout this process to prevent the blind from coming apart, which will lead to unnecessary frustration. At this point, don’t worry about the length of the chords. After the blind is installed, you will cut them to length and reinstall the knobs or handles that were attached to the cords. There may be a stop in the cord part way up to prevent the blind from dropping too far below the window.

Before you cut the cords to the proper length, raise and lower the blind carefully a couple of times to ensure that the cords will not get tangled up inside the headrail and everything works smoothly. Mount the blind back onto the brackets, making sure it’s centered on the window. Now you can cut the cords to length and attach the stops and/or the knobs. Reinstall the valance, check your measurements that you took before you removed it, and you’re back in business.
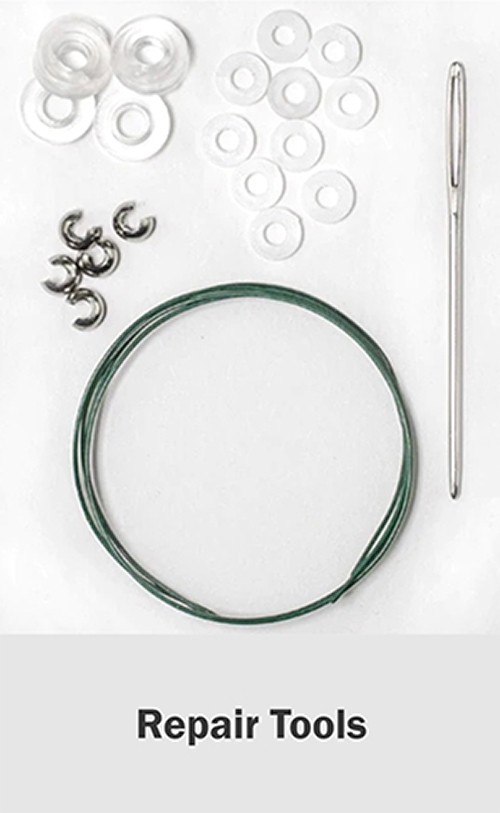
Washers and replacement string
Formula for determining cord length
A repair tool, purchased from fixmyblinds.com along with the replacement cord, is a necessity to be able to thread the new cord through the blind. The website provides a formula to determine the length of each cord. If you follow it precisely, you won’t get into trouble.
Measuring diameter of cord needed
To determine the diameter of the cord needed to make the repair, wrap a length of the old cord around a common pencil 10 times, keeping the loops tightly butted up against each other. Measure the distance from the first to the last loops and apply that figure against the reference chart on the fixmyblinds.com website.
Measuring new cord length
The new cords were stretched out on a table and the length measured again to make sure they will fit the new blind.
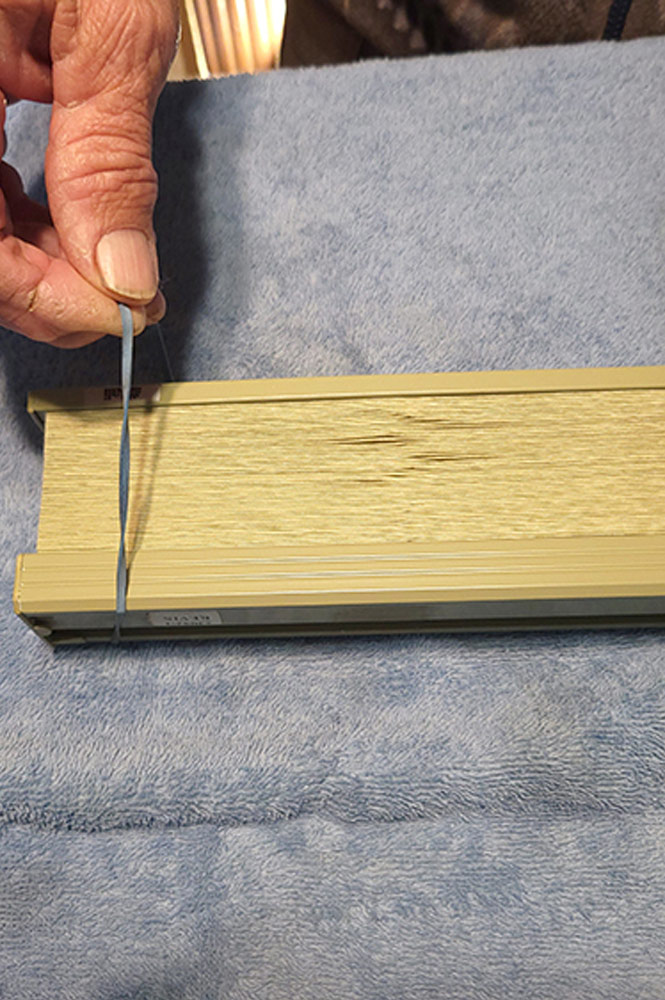
Securing collapsed blind with rubber band
Collapse the blind and put a rubber band on each end to keep it collapsed. Without the rubber bands, the blind will open wildly like an accordion and make it difficult to work with.
Cutting off cord stop
Start by cutting off the stop that prevents the cords from retracting inside the blind.
Removing set screw in headrail
The set screw in the headrail was removed before proceeding to the next step. There was only one set screw on this Bali Blind. Day/night shades might have two set screws that will need to be removed.
Removing end stops
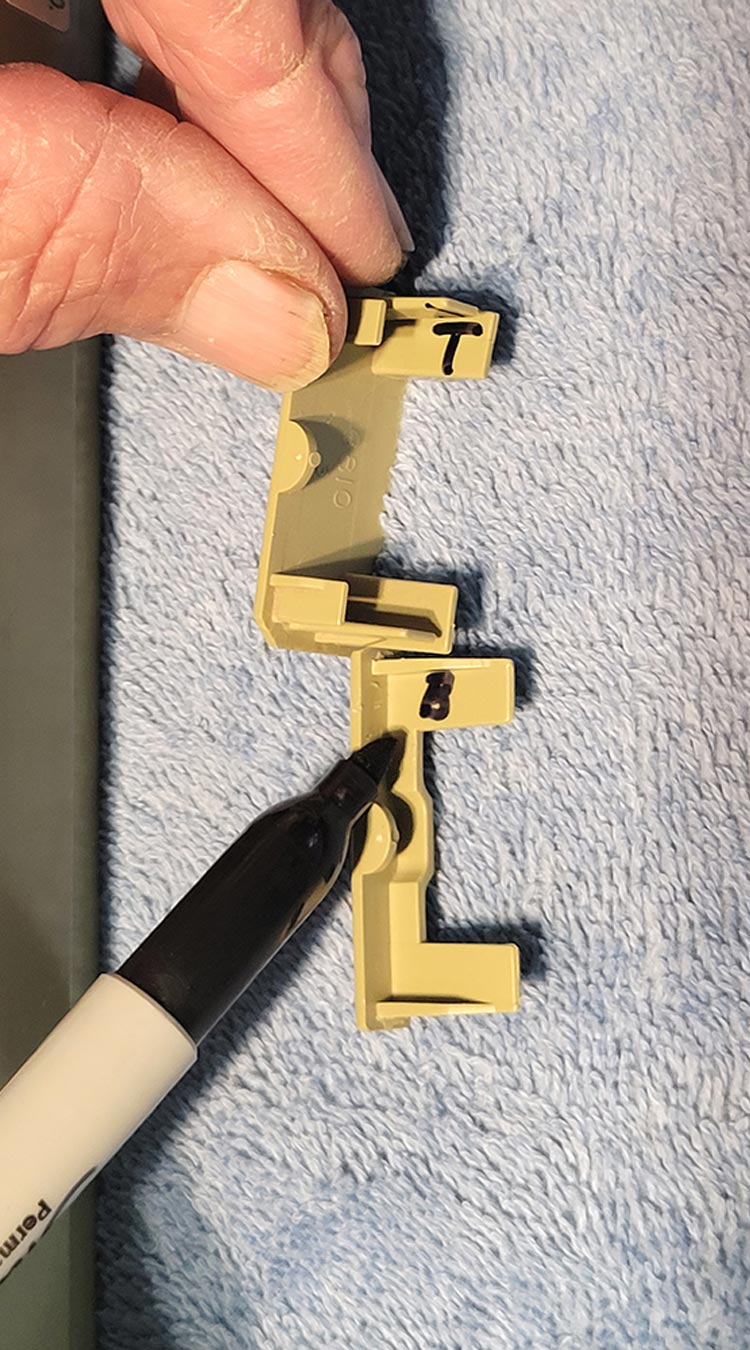
Marking top and bottom end stops for reinstallation
The end stops were removed from the head and bottom rails. It’s best to identify the top and bottom end stops with a marker to help with the re-installation. Make any marks in inconspicuous spots.
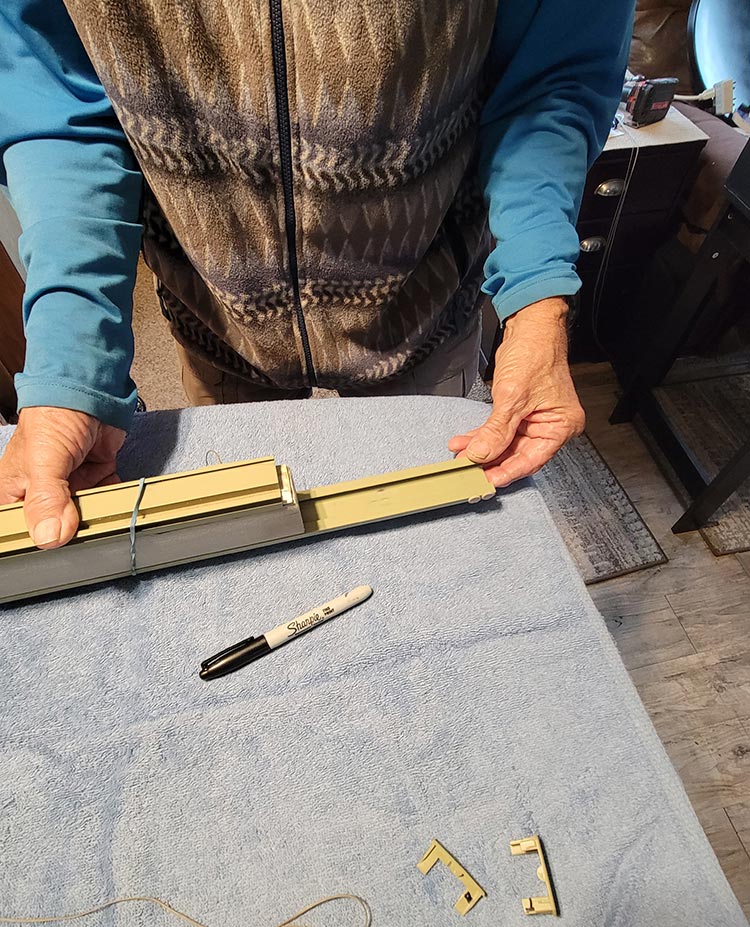
Removing bottom blind rail
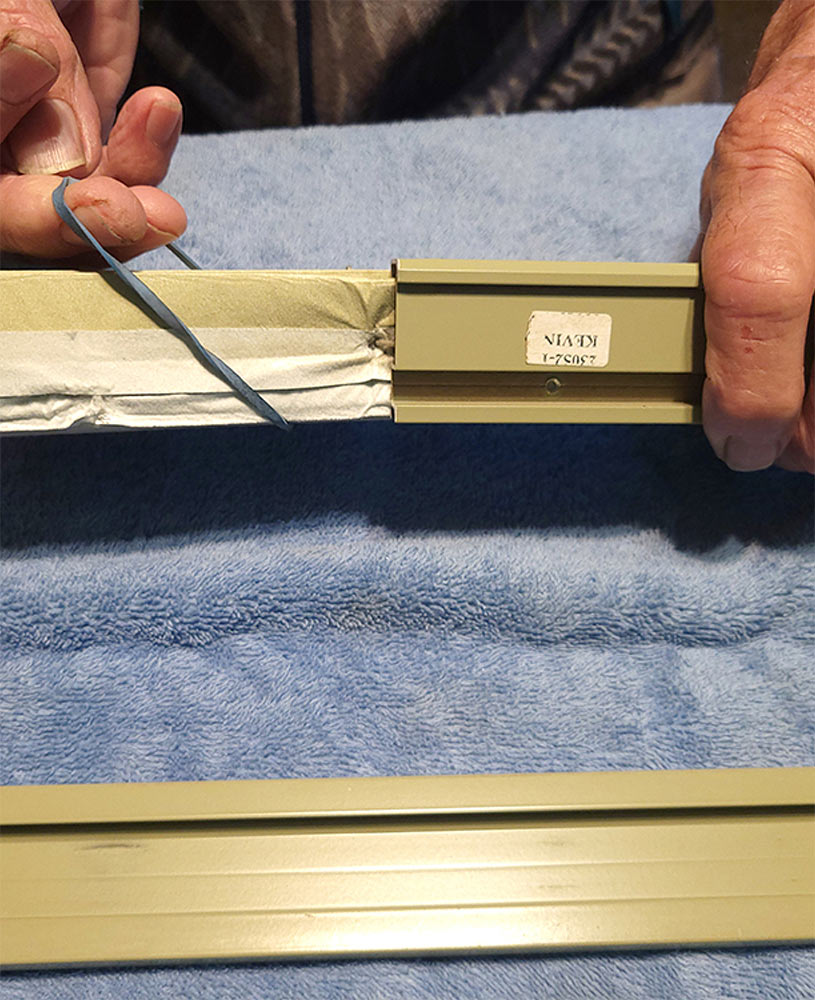
The rubber band is left in place while the bottom rail is slid off the fabric. Use the same process for the headrail.
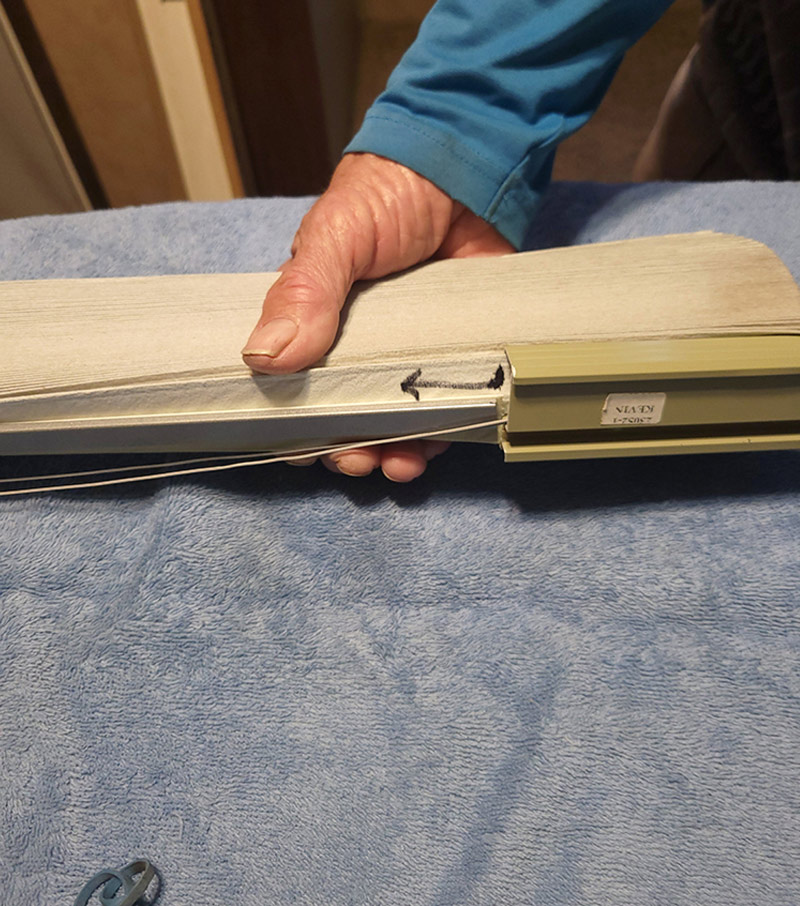
Marking direction of movement for bottom rail
To ensure the bottom rail will be reinstalled properly, the direction of movement is marked clearly with an arrow.
Removing headrail
The headrail is removed, making sure the rubber band remains in place. If the rubber band falls off, the whole blind will expand like a Slinky toy.
Protective metal collar in blinds for cord
Inserting awl into cord hole
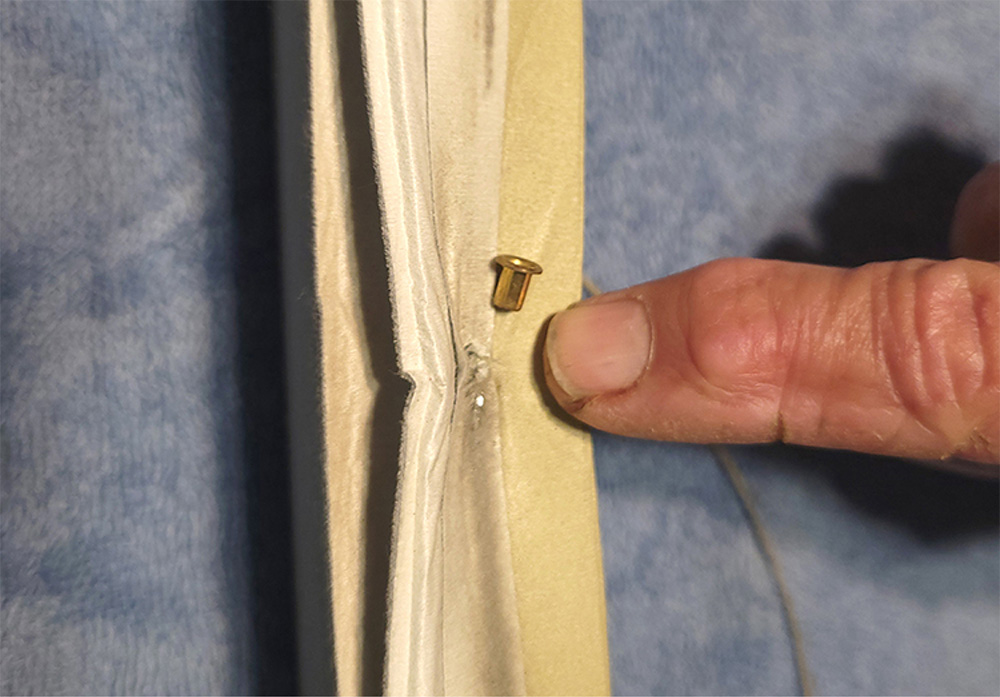
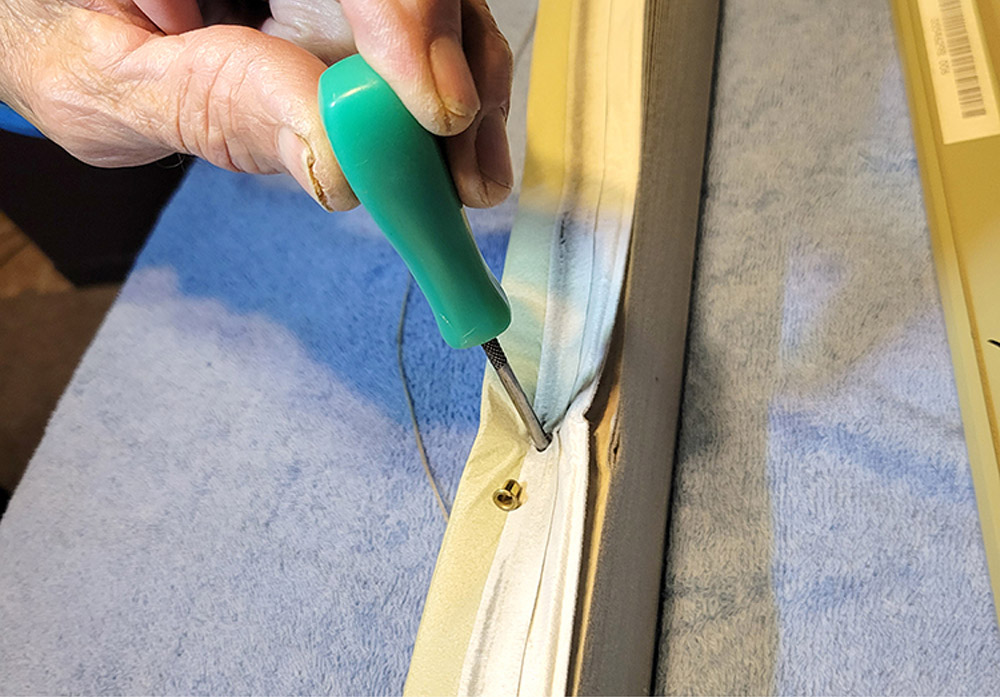
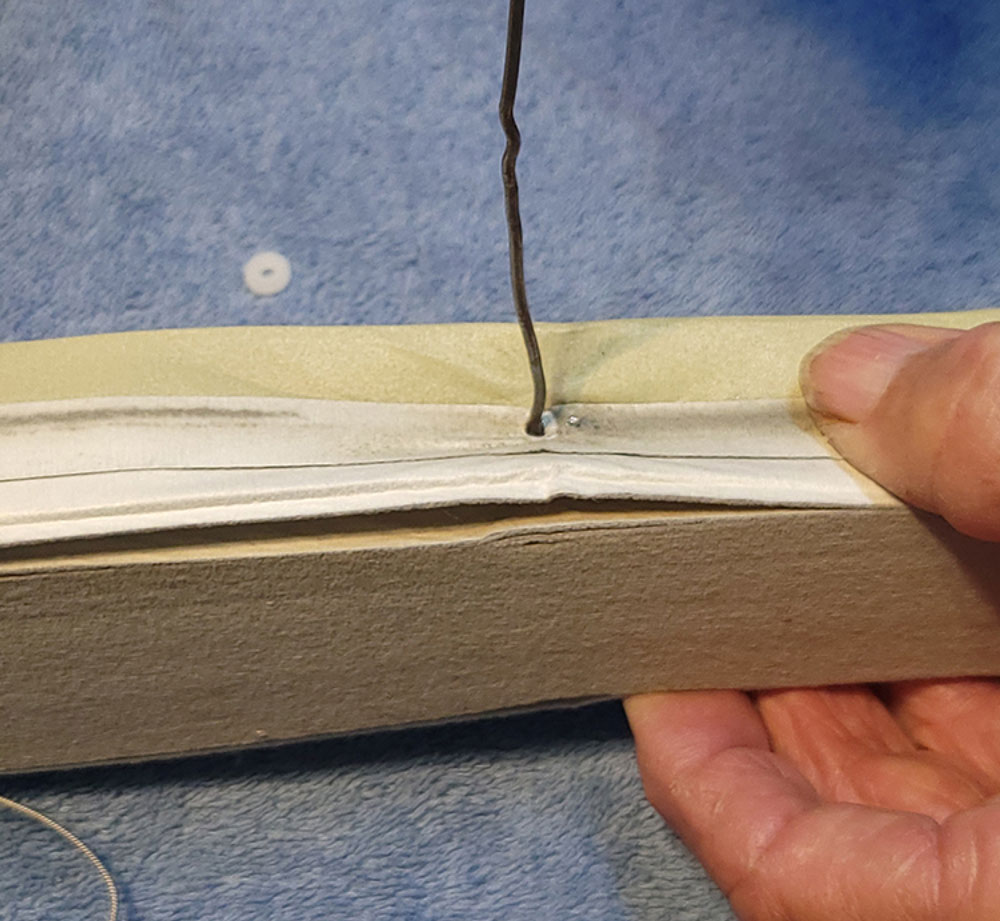
There’s a metal collar inserted into the fabric that keeps the cord from creating damage when moving the blind up and down. These collars are easy to lose, so watch for them carefully. Place an awl through the fabric to align all the pleated sections to replace the collar(s). A metal coat hanger can also be used, if necessary.
Pulling new cord through blind
The wire tool was used to pull the new cord through the blind. This tool is indispensable.
Pulling new cord through blind
Down the line, the awl/coat hanger was first removed before inserting the wire tool.
Temporarily securing metal collars with tape
Tip: If the collars refuse to stay in their respective holes, you can apply Scotch tape to keep them immobilized until the rails are replaced.
Placing washer onto cord
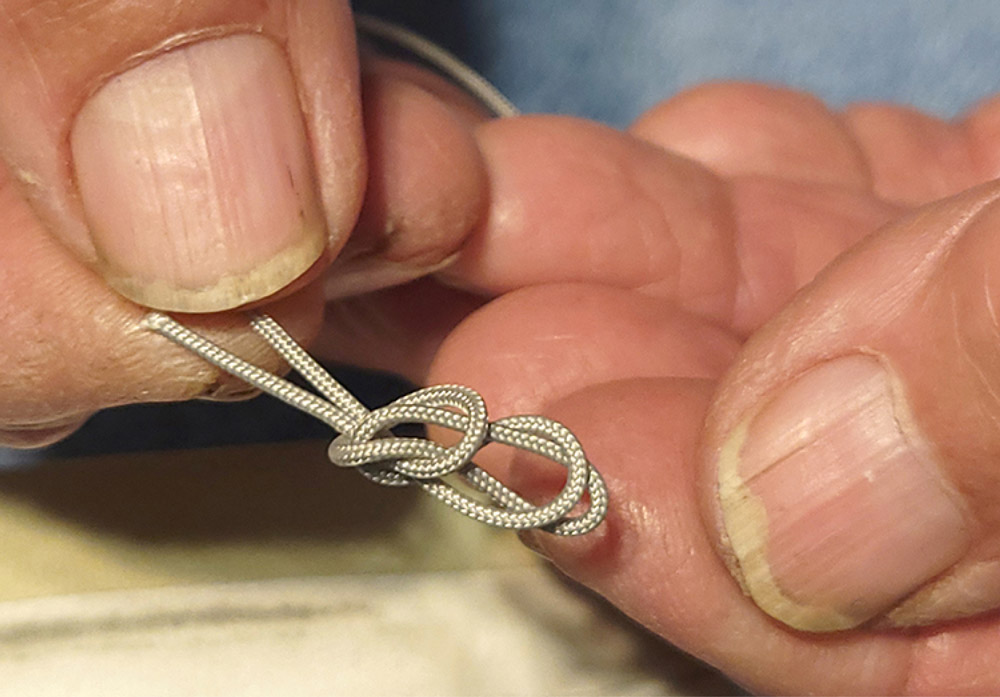
Tying end of cord in a knot
After the cord was pulled through, the nylon washer was put on and the end was tied in a knot.
Reinstalling headrail
Once the new strings were in place, the rubber band on one end was removed and the headrail reinstalled by following the previously marked arrow. The cords must remain centered and not twisted while the rail is slid on. If they get hung up or twisted the cords will be very difficult to pull — and will be uneven.
Pulling cords through latching mechanism
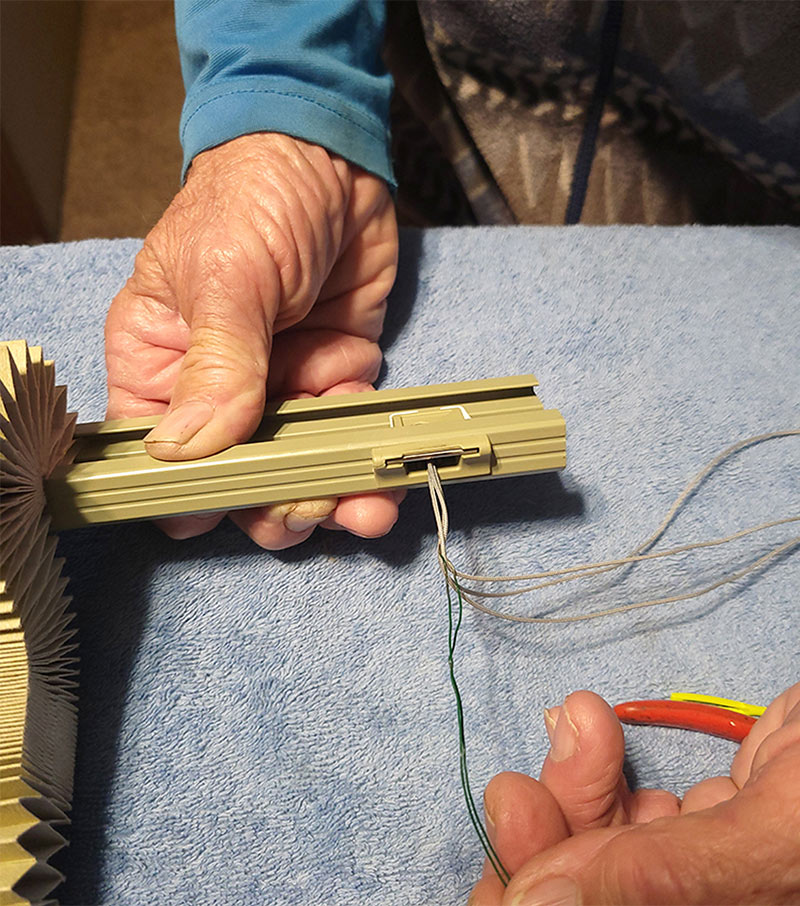
Now the “fun” part begins. Before the headrail was replaced all the cords were pulled through the latching assembly. The wire tool was used for this process, which was still difficult.
Reinstalling bottom rail
At this point, the bottom rail was easy to slide on because there was nothing to hinder the process.
Reinstalling end caps
All the end caps were re-installed at the same time. The earlier markings were followed to make they were in right places.
Cutting new cords to equal length
Securing stops to new cord
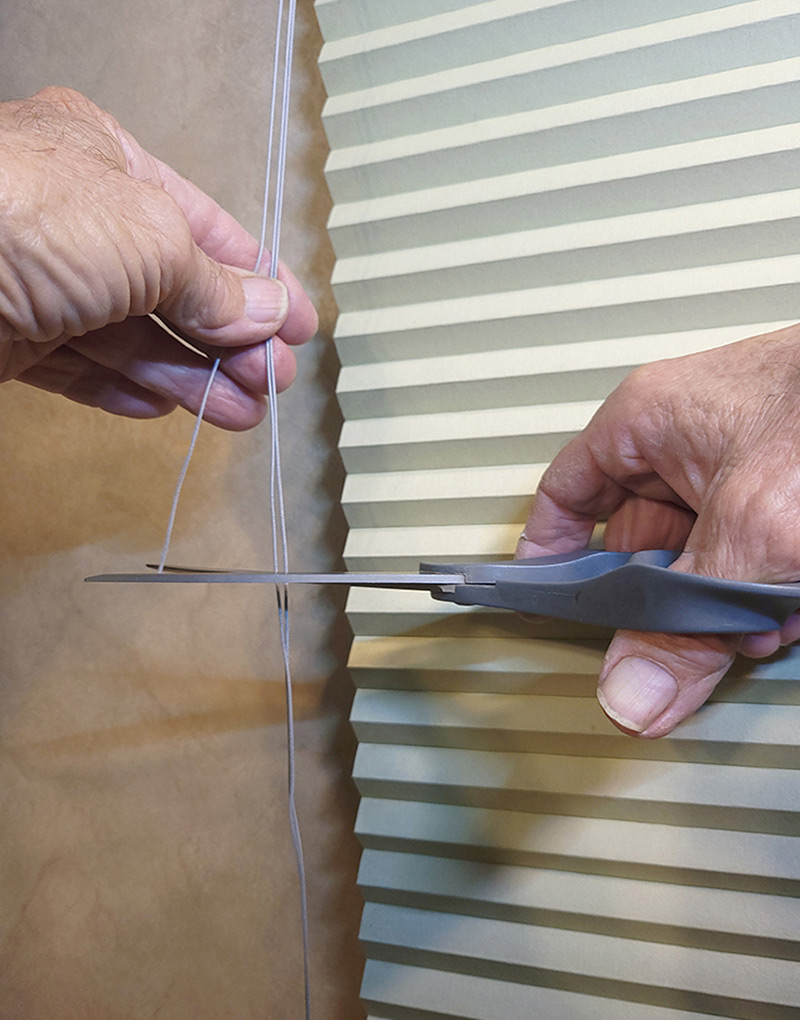
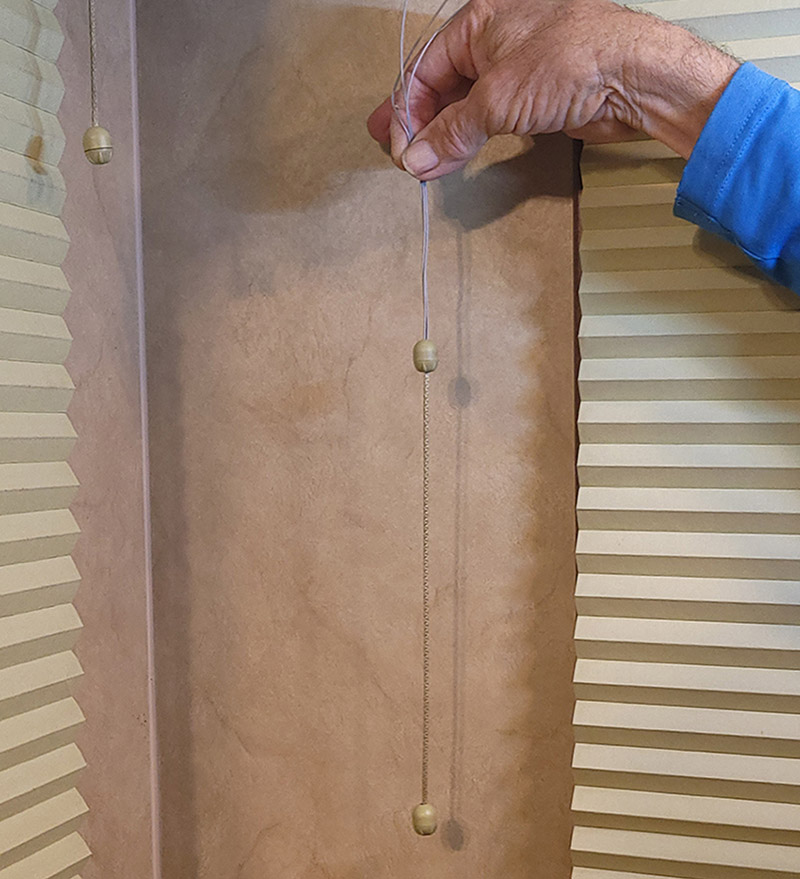
Once the blind was extended fully, the cords were cut to equal lengths. The cords were then inserted through the plastic stop and a double knot was tied at the end.
Securing new cord tails
Finally, the cord tail is screwed on to the plastic stop and the valance is re-mounted. Plan on about 2-2 ½ hours to restring each blind. Once you do one, the others will fall in place and make the process smoother.
Wall mounted cord tensioner
If you’re working with common day/night shades, the cords will terminate at a plastic tensioner (mounted in the wall at a point lower than the window frame), which allows for tension adjustments. Often the screw will strip out, which can be fixed with a dry-wall anchor (not shown).
New blind cord fully installed and working properly
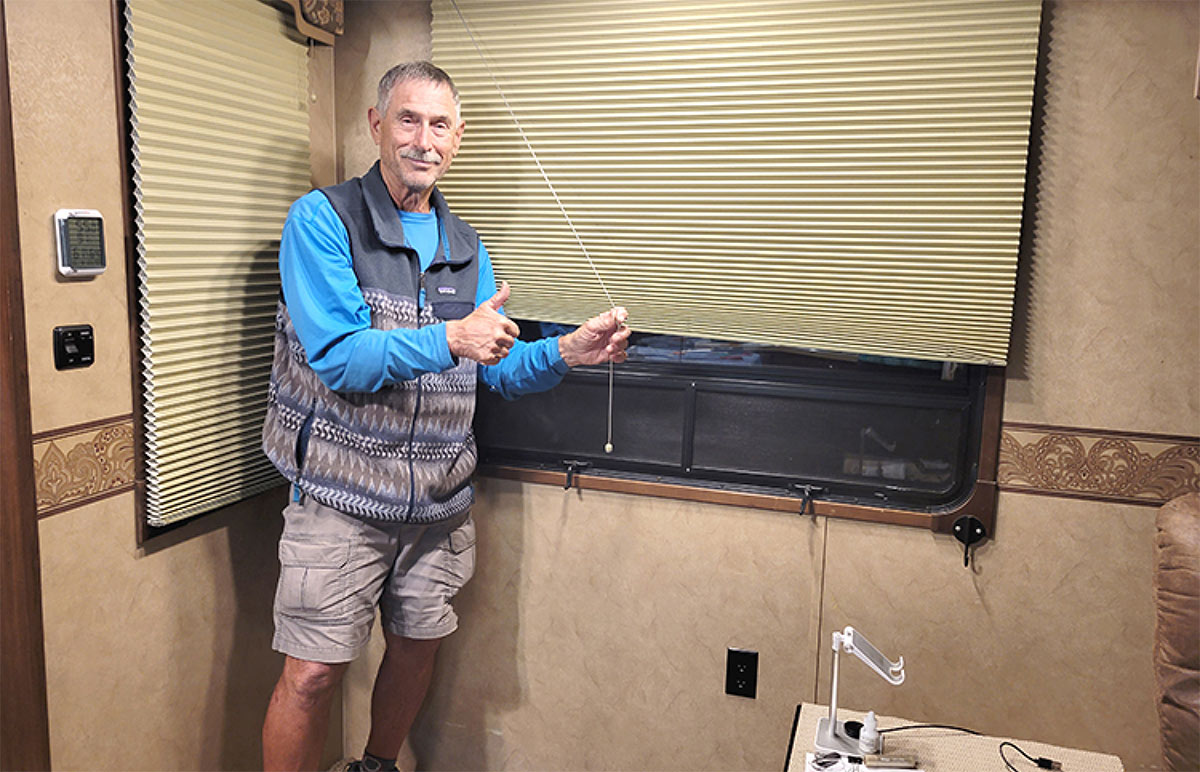
Thumbs up! The blind now works perfectly.