Don’t Get Unhinged
[maghub_sidebar]
Quick Tech
Don't Get Unhinged
hinges on rv door being replaced
Don't Get Unhinged
When the hinges on an RV screen door fail, the typical solution is to buy a new door assembly — which is pricey. Here’s how to make new brackets out of angle aluminum — an inexpensive repair that restores full use of the screen door.
By Bob Livingston / Photos by the author
W

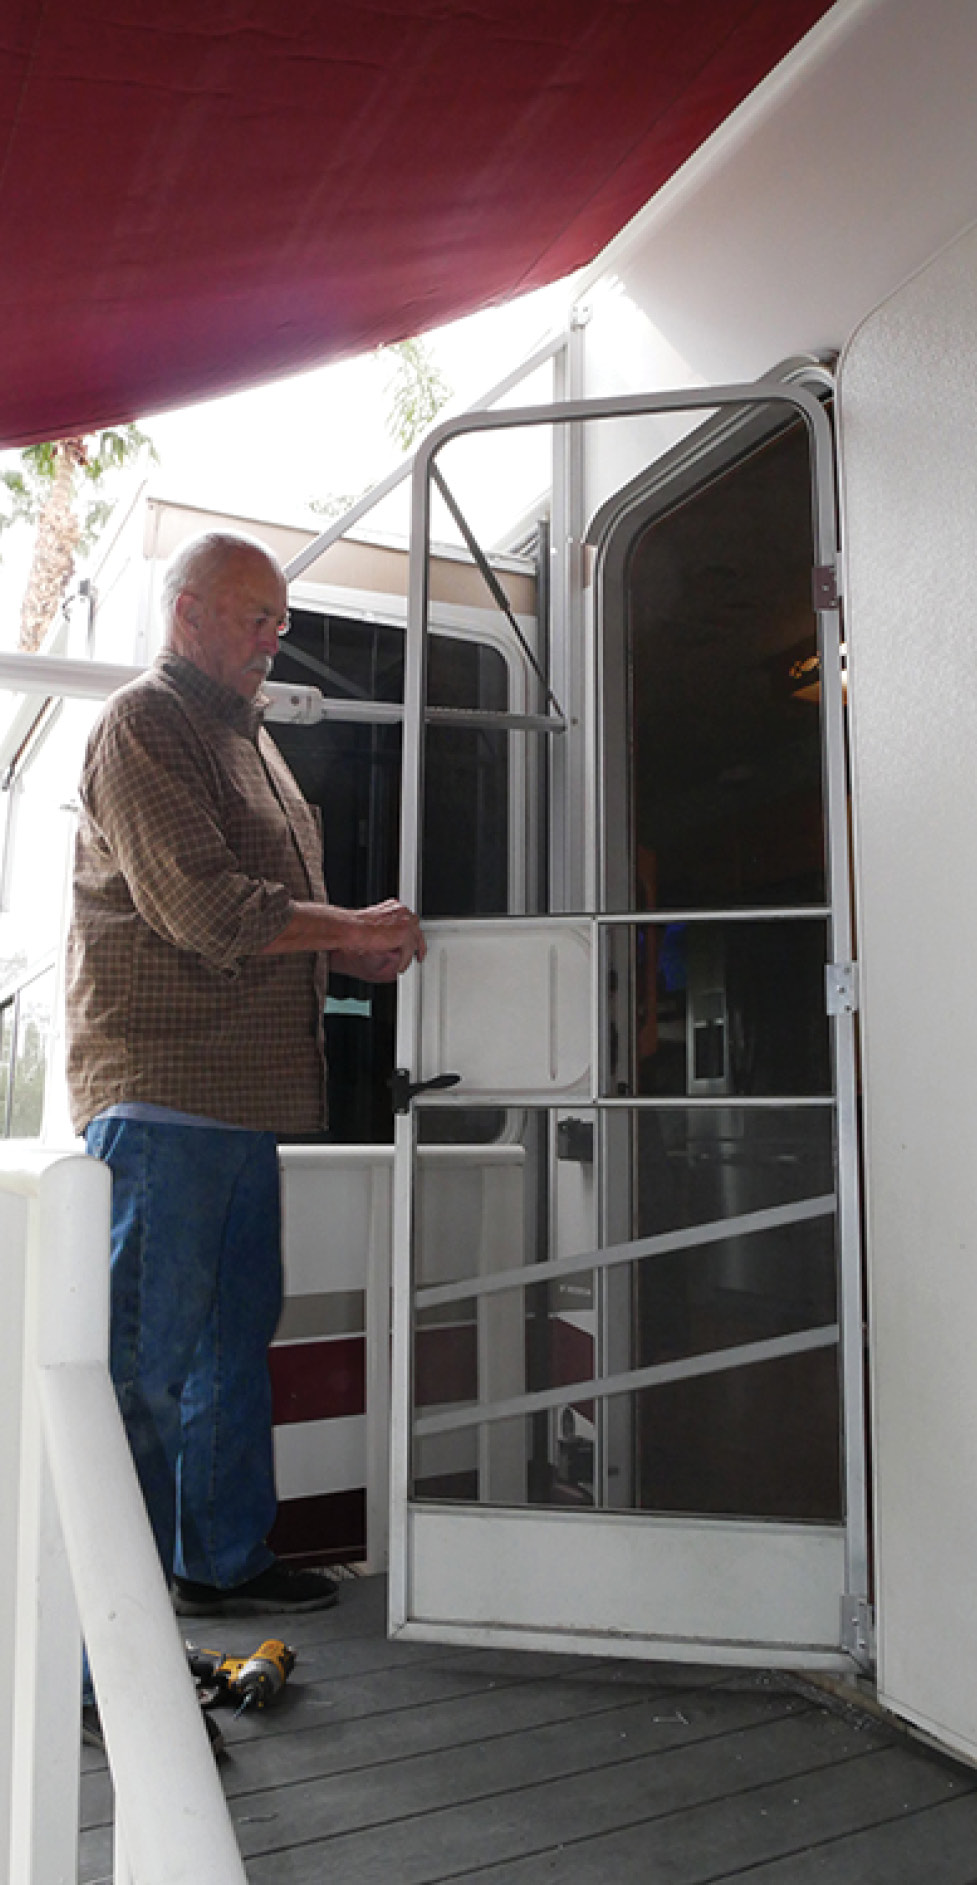
hen the hinges on the screen door break, it’s one of those “oh, no!” moments. While the screen door can be replaced by removing the screws in the hinges, it’s not possible to replace the hinges themselves when they break. Years of opening and closing can lead to broken hinges, a common situation, which rendered the screen door unusable on this older fifth wheel, and the cost — not to mention the labor — to replace the entire screen/entry door assembly can be daunting.

Fortunately, there is a rather simple solution: build new brackets to restore the function of the original hinges.

The process is not complicated if you’re the least bit handy — and it only takes about an hour to complete the job. You’ll need to purchase a short length of 1 ½-inch angle aluminum (although 1 ¼-inch stock may work, depending on the hinge size) at a local hardware store, which can be cut into brackets and mounted over the existing hinges. It may be hard to find a short length of angle aluminum, and since you’ll probably only need 9-12 inches worth, plan on having some leftovers.

For this project, the existing hinges were measured and marked accordingly on the angle aluminum stock; each hinge was 3 inches long and there were three of them. The aluminum was cut with a power angle grinder (although it can be easily cut with a hack saw) and the rough edges filed smooth. There’s a backing plate behind each existing hinge, which was used as a template to drill holes in the replacement brackets made from the angle aluminum. Once the holes were drilled, a new bracket was attached to the upper hinge position first on the screen door using the existing screws.

hinges on the screen door snapped in two
After years of service, the hinges on the screen door snapped in two, which made it impossible to replace the screen door without purchasing and installing a new entry door assembly — which would have been expensive.
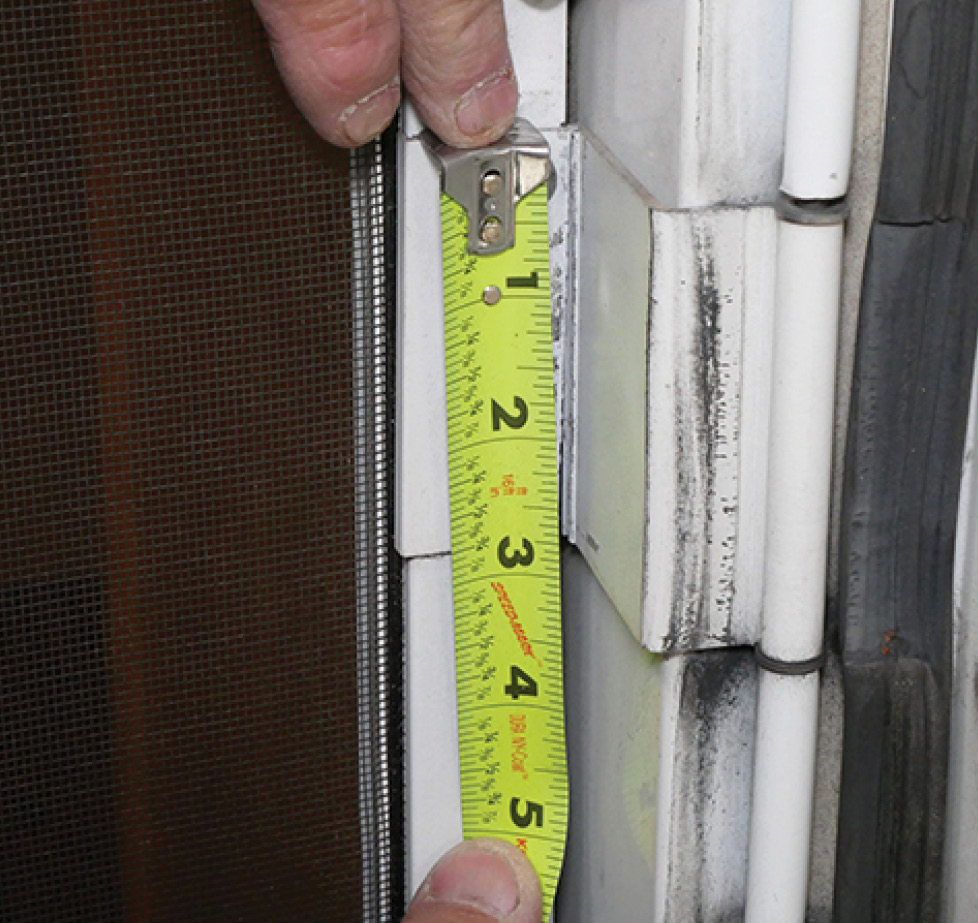
hinge being measured with measuring tape
A low-buck alternative was to attach a bracket to the remaining section of each hinge made from 1 ½-inch aluminum angle stock, commonly found in hardware and home improvement stores. The first step was to measure the existing hinges.
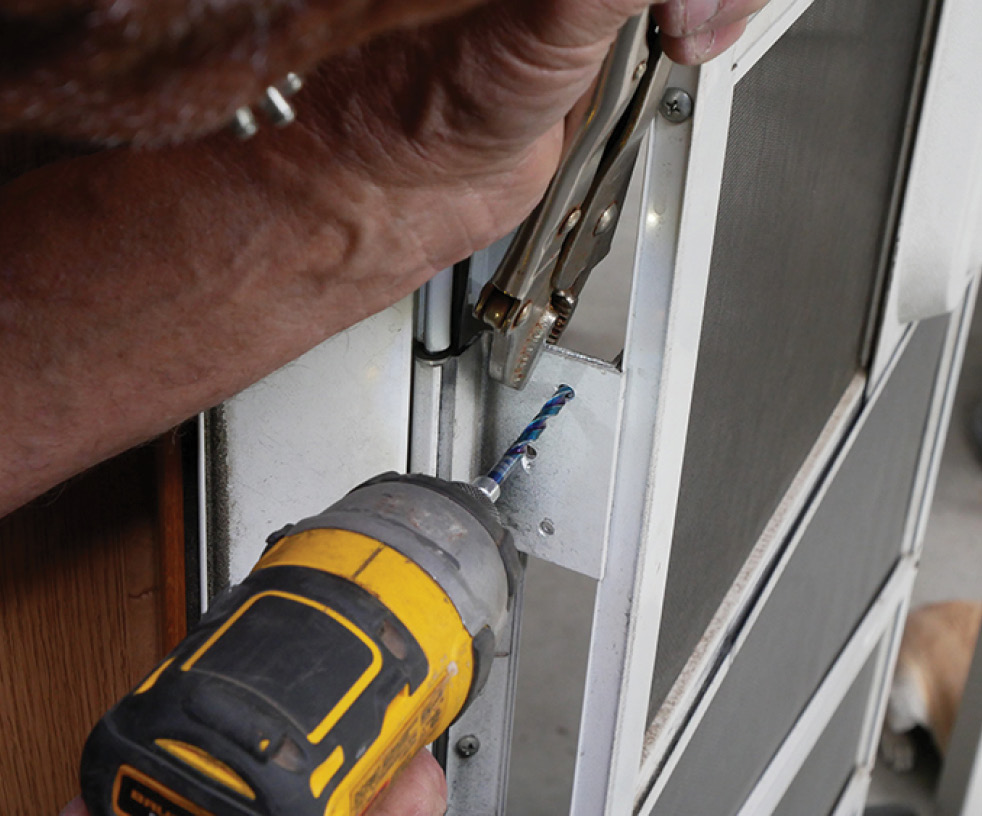
A locking pliers was used to hold the newly attached bracket to the existing hinge that was permanently attached to the entry door. Three new holes were drilled through the new bracket and the entry door hinge and screwed in place. From here the process was repeated two more times.

For this project, the owner of the fifth wheel elected not to trim the aluminum brackets, which extended into a portion of the screen material in the three hinge locations — he was just happy to get his screen back. In retrospect, trimming the brackets would have looked better, as would be painting them to match the screen door frame.

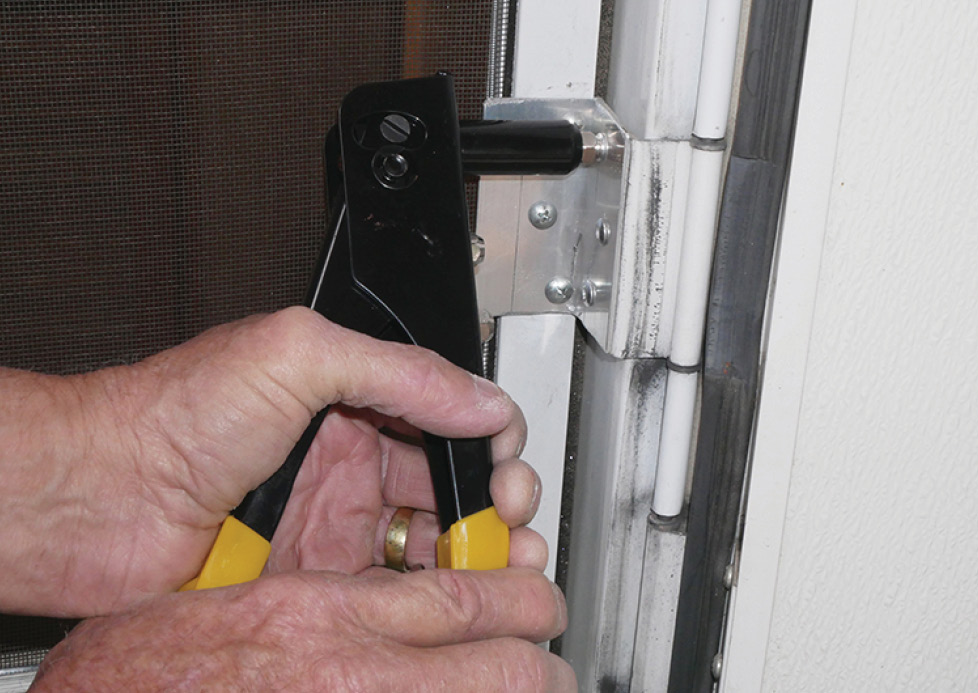
The newly installed brackets brought new life to the existing hinges with the same level of strength — and opening and closing the screen door was once again restored to a smooth operation.
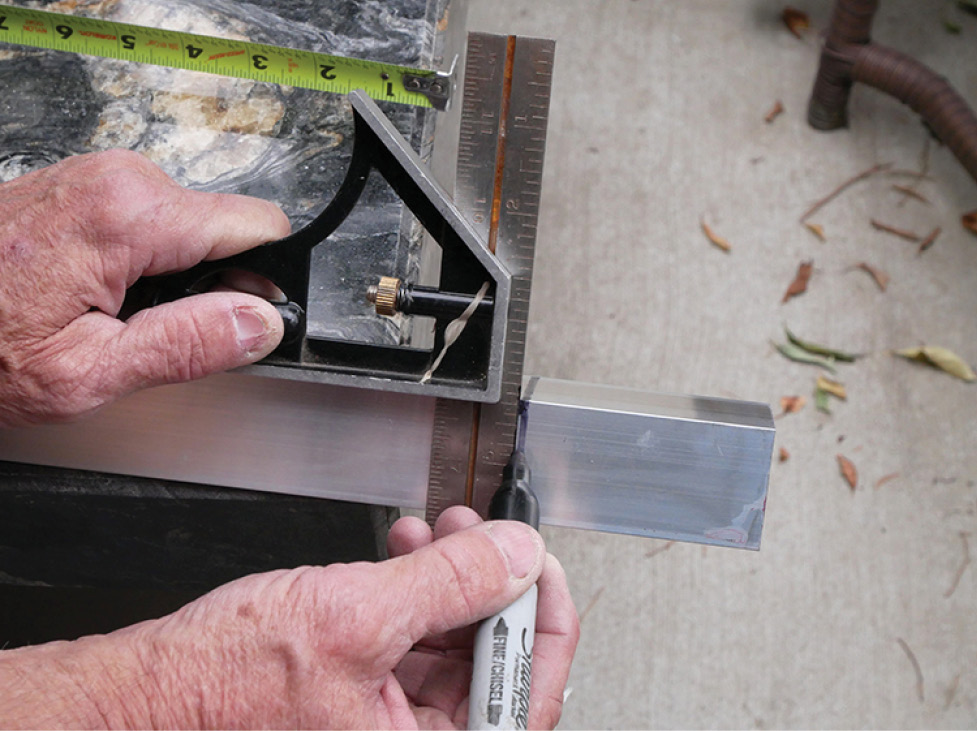
new brackets that are 3 inches long
man cutting the aluminum angle stock into three brackets
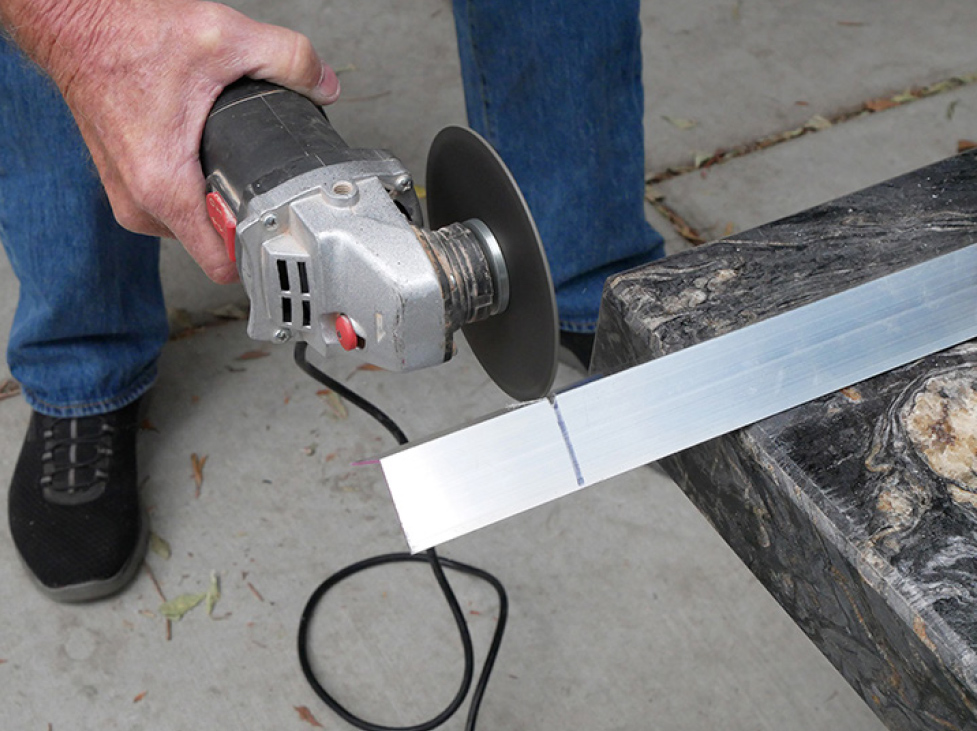
This project required that the new brackets be 3 inches long, so appropriate markings were drawn as a cutting guide. An angle grinder was used to cut the aluminum angle stock into three brackets. Aluminum is soft, so cutting is not difficult if only a hack saw is available.
broken section of each existing bracket being removed
backing plate being used as a template for drilling the three holes
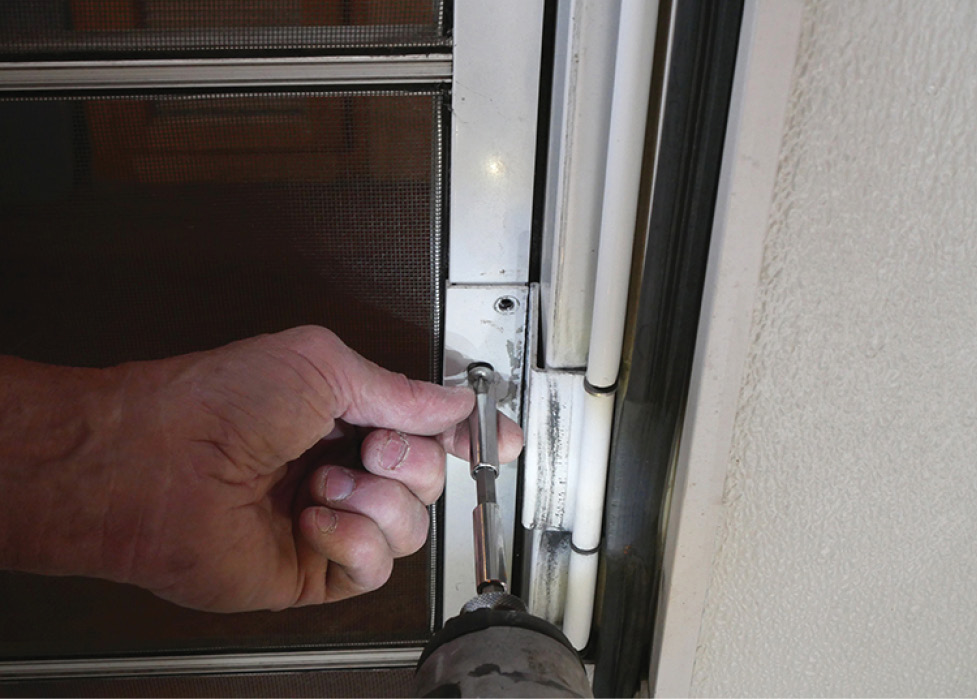
Once the new brackets were cut, the broken section of each existing bracket was removed and the backing plate pulled out. The backing plate was used as a template for drilling the three holes that would line up which those in the screen door frame.
holes being drilled
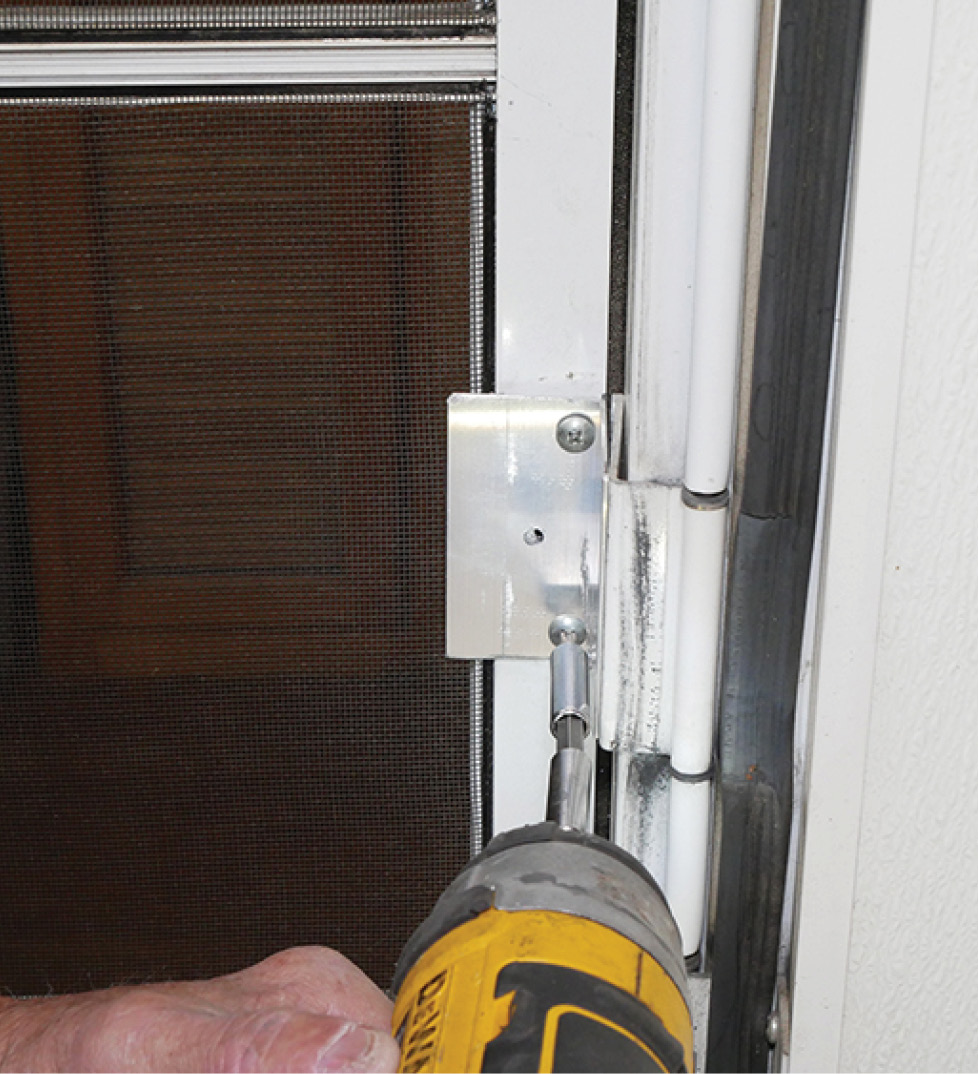
After the holes were drilled, a new bracket was first installed on the upper position of the screen door frame. The original backing plate was repositioned behind the new bracket and the existing screws were installed and tightened.
newly attached bracket being positioned against the leftover entry door hinge
Three holes being drilled through the new bracket
The newly attached bracket was positioned against the leftover entry door hinge and held in placed tightly with a locking pliers. Three holes were then drilled through the new bracket and hinge to accommodate rivets that were used to fasten the two pieces, preventing any movement between the two pieces of metal. This process was repeated two more times.
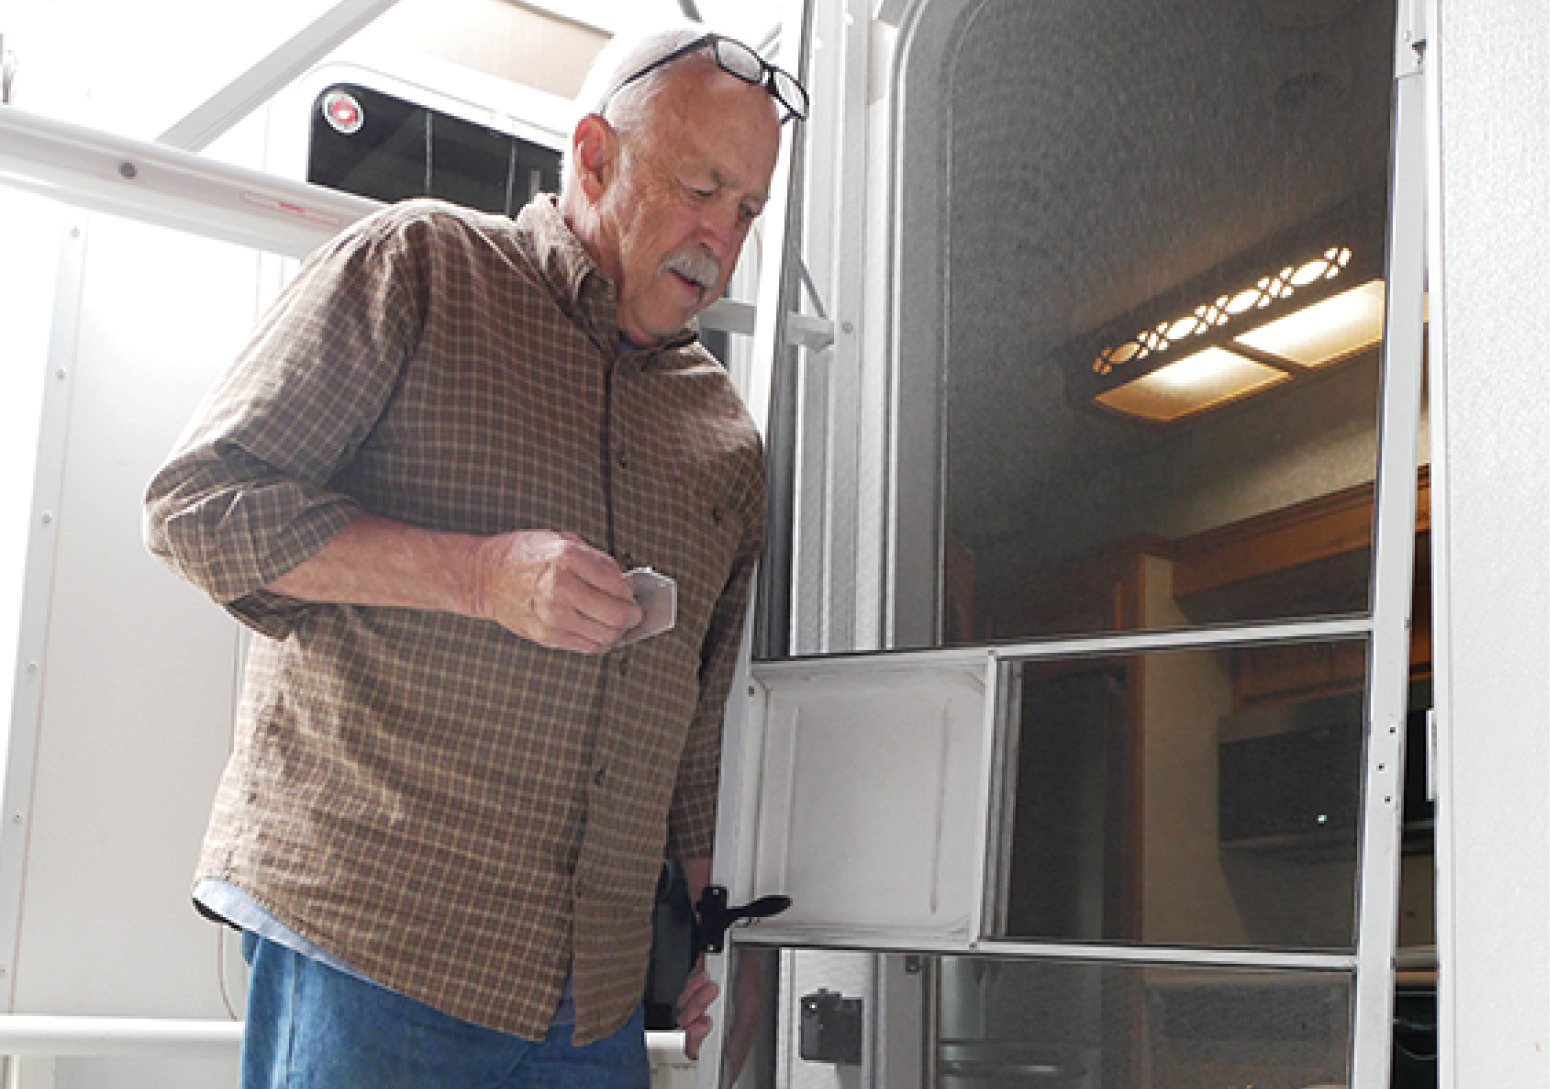
screen door now moving freely
A job well done. The screen door now moves freely and since the original hinge points were used, there was no dragging — and the latch lined up perfectly.