here’s a lot to be said for retaining ownership of an older RV, not the least of which is they have “good bones,” a solid build — and can be picked up for not a lot of money.
One place they tend to come up short, though, is in aesthetics. You don’t have to go back to the shag-carpet days of the GMC motorhome (built from 1972 through the ’78 model years, for those keeping score) to find looks that haven’t aged well. And, in the case of appliances, neither are they anywhere as efficient as those built today.
When the crew at Carrier RV Service in Eugene, Washington, was charged with replacing the three-burner cooktop in a customer’s well-cared-for 2008 Monaco Diplomat motorhome, appearances admittedly had something to do with it — “It didn’t go with the other upgraded appliances in the galley,” admitted Teresa Carrier — but it also had one burner that was inoperable, and finding replacement parts for the outdated and long-discontinued Atwood High Output gas stove was becoming a tougher task.
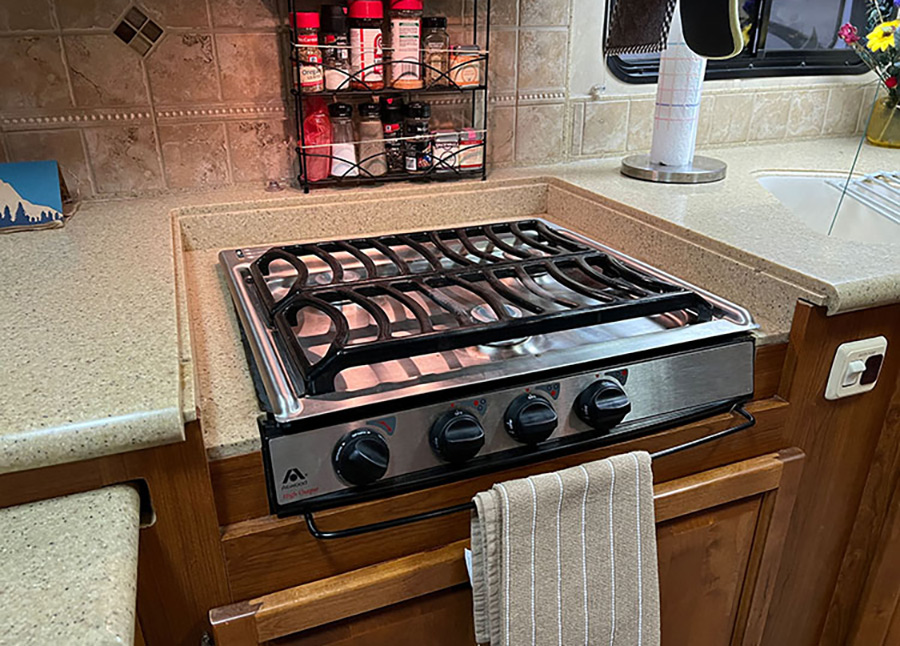
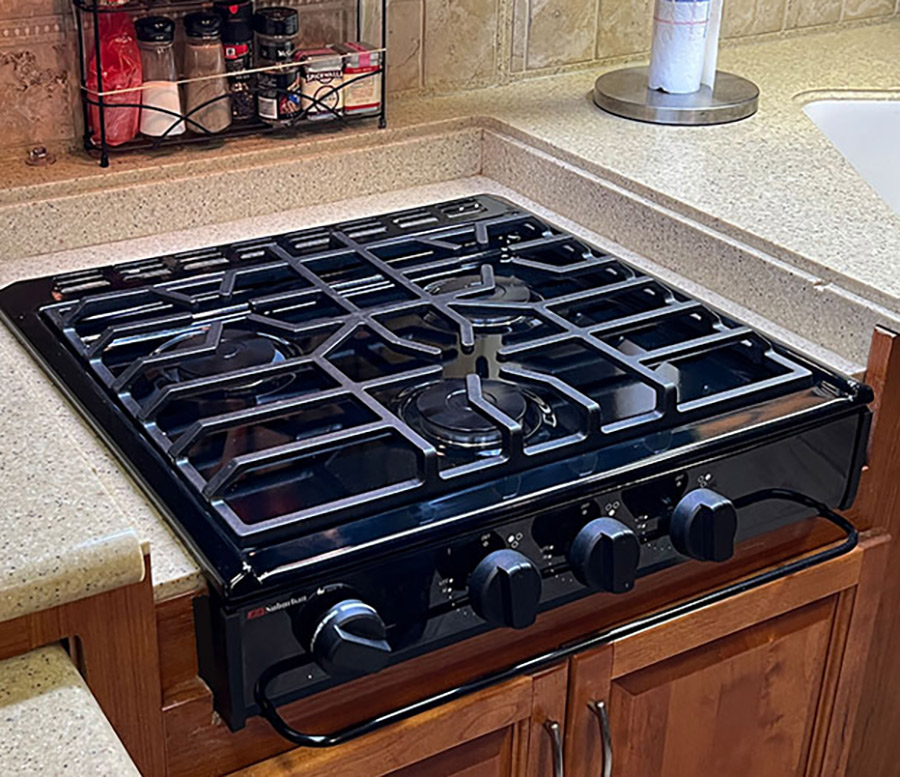
As the Carrier team demonstrated — we stuck around for the swap — replacing the Dometic for a new Suburban 3600A RV cooktop ($455 MSRP) was fairly easy — but it wasn’t quite the “slide-in replacement” anticipated.
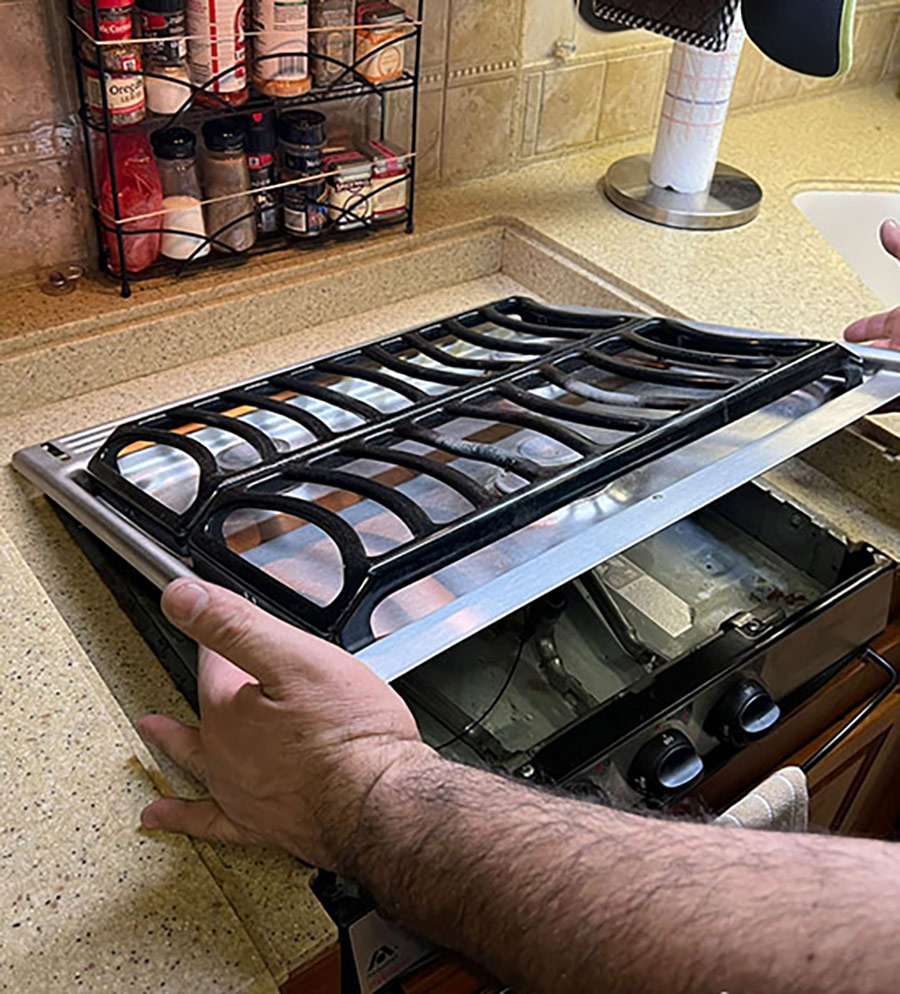
Yes, replacing an older OEM cooktop is, for the most part, a fairly easy job, requiring little more than a few open-end wrenches and a cordless drill-driver (or Phillips screwdriver), and possibly a small finish handsaw or oscillating multi-tool if the replacement stove is slightly larger than the original cooktop. However, in this installation the new stove ended up being an inch-and-a-half wider across the face and a ½-inch wider along the sides.
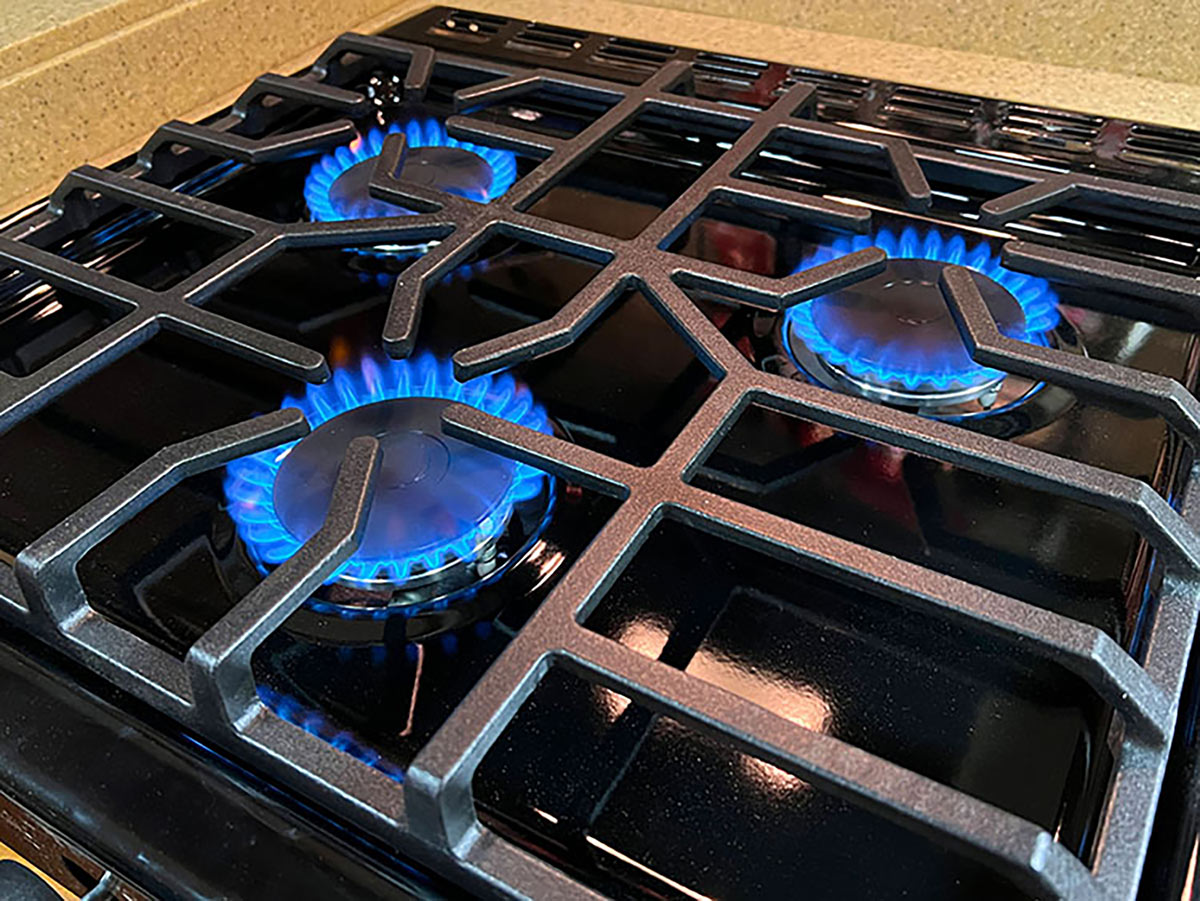
A new slide-in gas stove being slightly different in size than the unit it’s replacing is a common occurrence, according to the technicians at Carrier; a little trimming of the galley’s Corian countertop and birchwood facia took care of the fit issue. Start to finish, it took Tony Salazar, Carrier RV’s shop manager, just under an hour to make the swap. When it was done the customer was quite pleased, saying “Now we’re cookin’ with gas!”
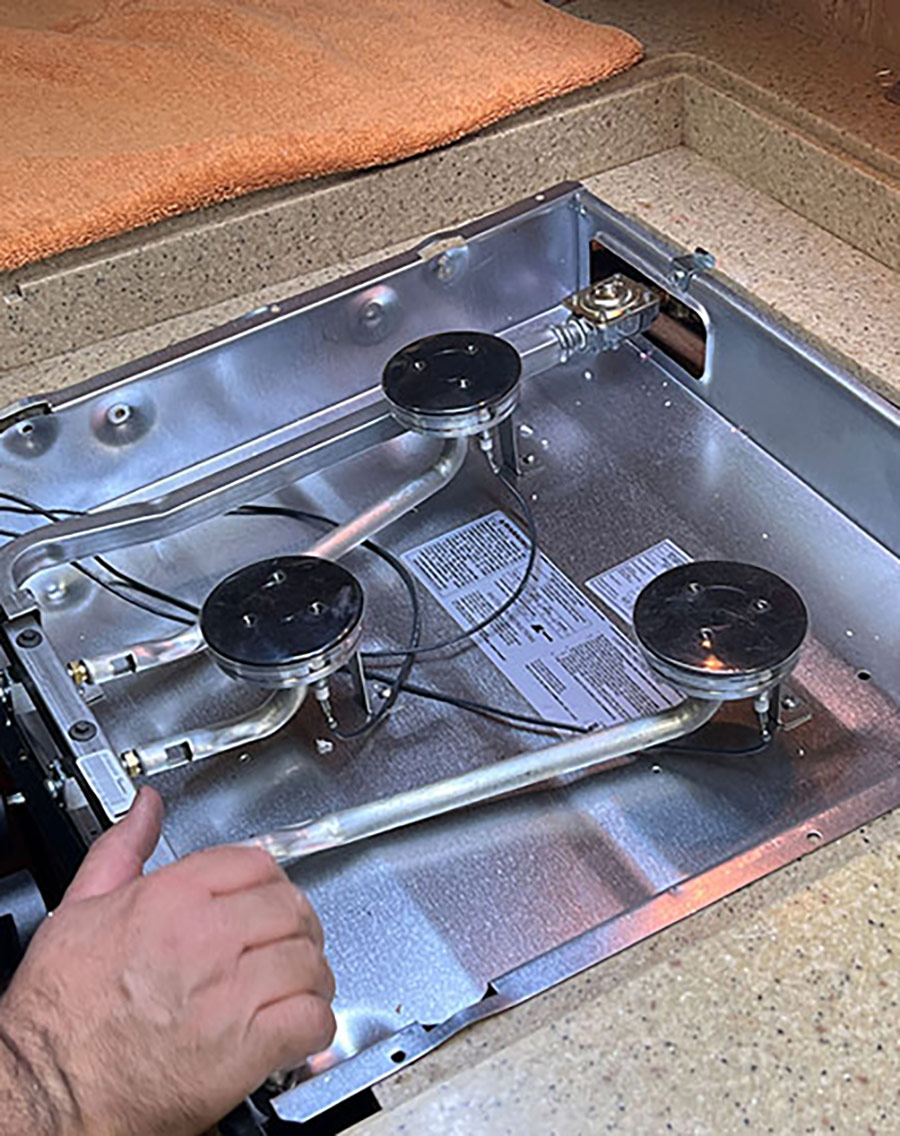
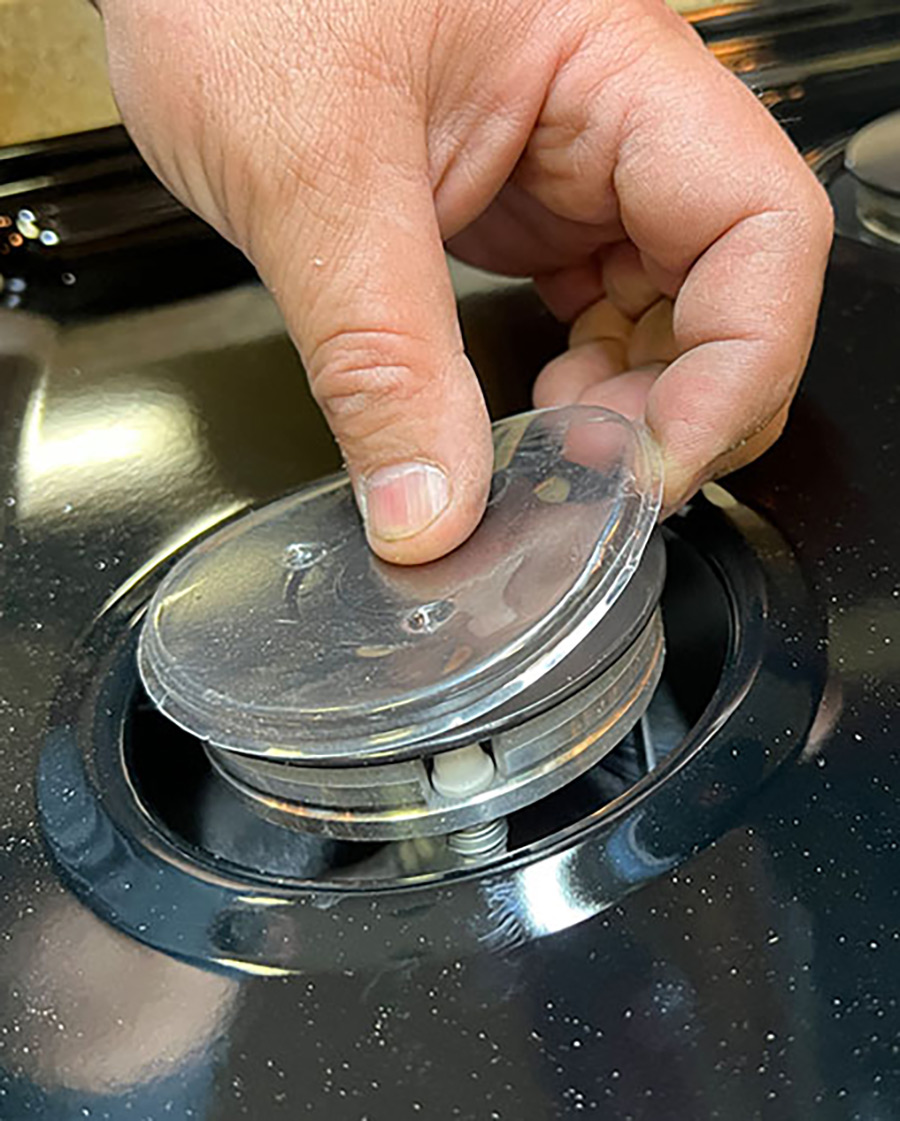
Want to tackle the job yourself? We followed Salazar every step of the way to show how the RV slide-in cooktop replacement is done.
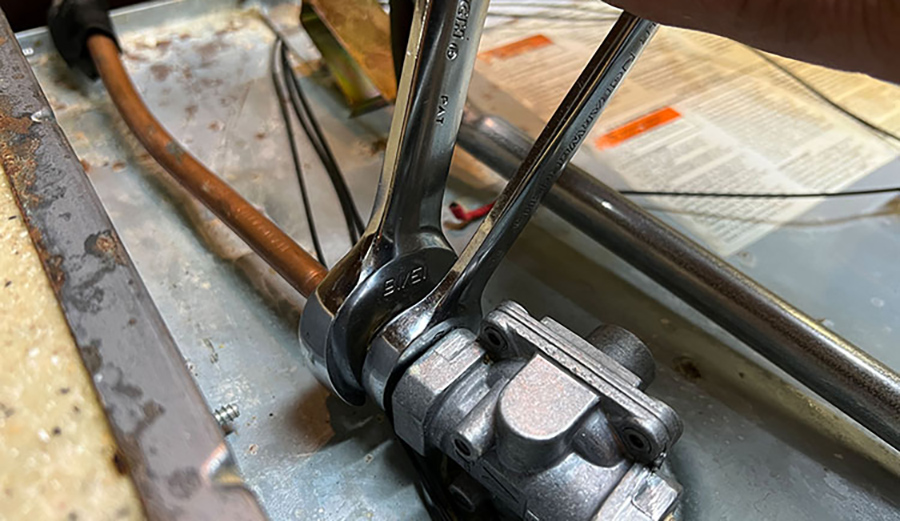
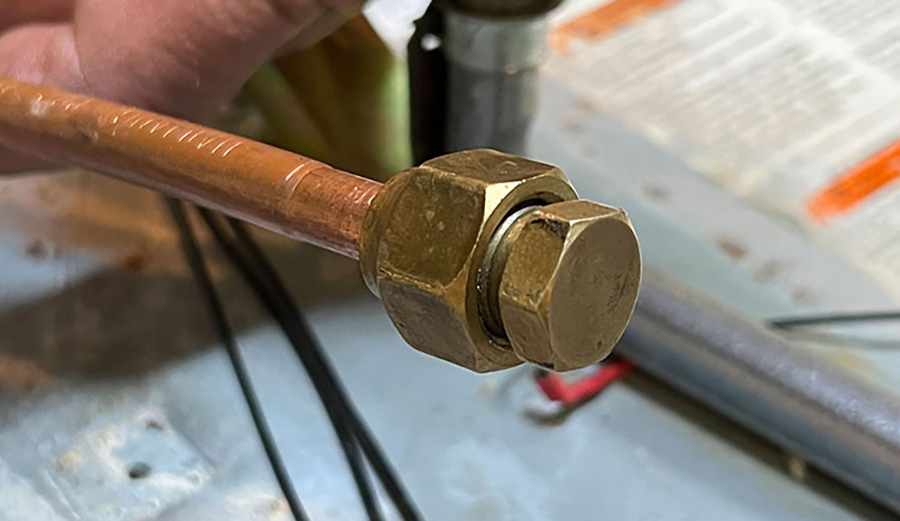


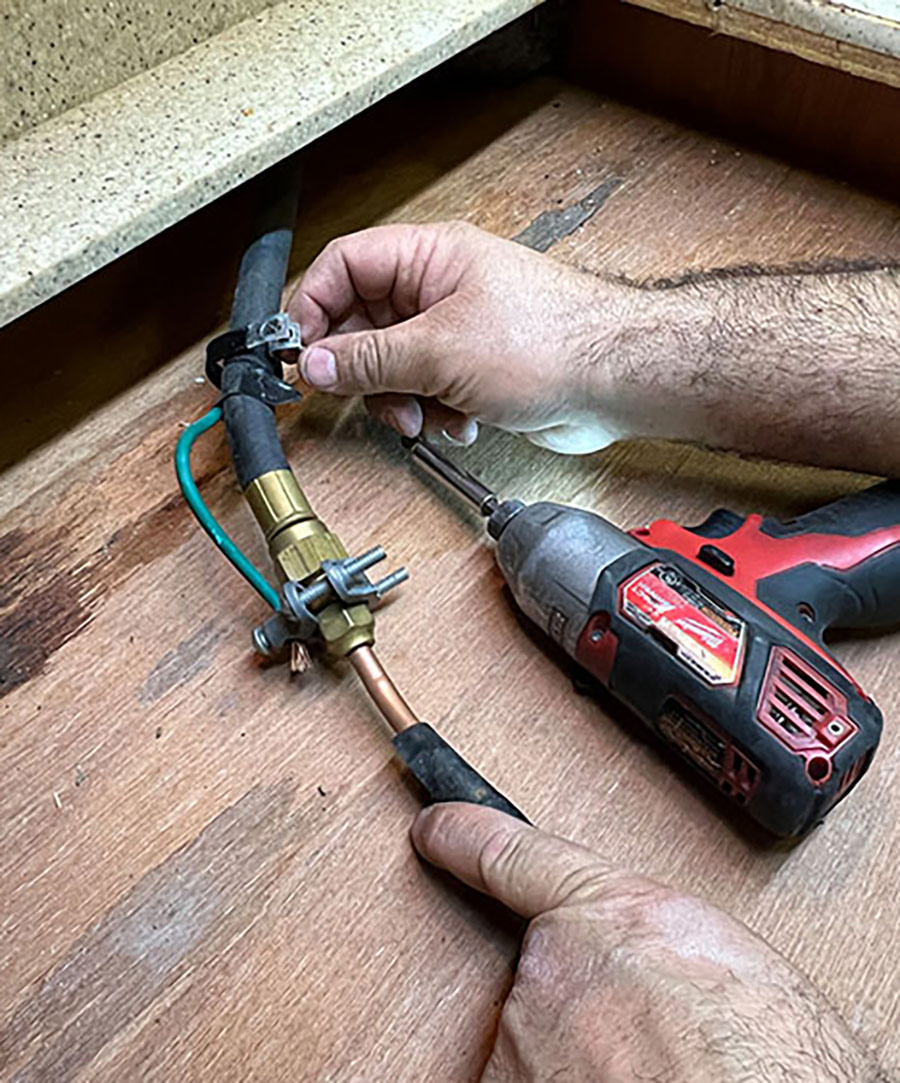
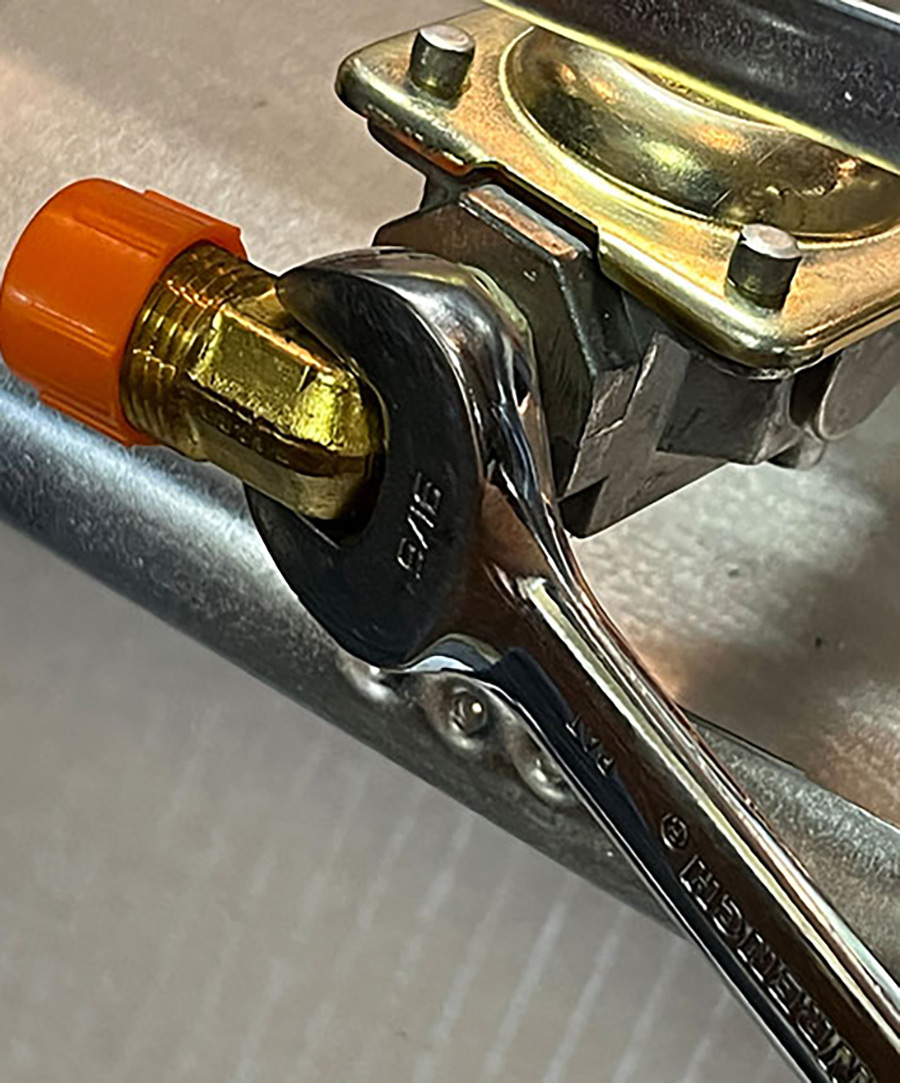


Once the new cooktop fit the space, Salazar re-installed the gas feed line, then sprayed gas leak detector fluid on the fitting and turned the gas back on to ensure there were no leaks.