



ost of us don’t give a lot of thought to our tires. Other than periodically checking them for the correct inflation pressure and giving them a quick scrub when washing our vehicles, tires are basically taken for granted. So long as they have adequate tread and aren’t outside the recognized aging window — Michelin, for example, allows for 10 years if the RV has been stored indoors but requires an annual inspection after five years, while other manufacturer’s recommendations may vary — they are just expected to perform.
When they don’t, however, all sorts of things can happen — none of them good.
“Air carries the load,” said Thomas “Bear” Musgrave, vice president of Pressure Systems International (PSI) and business unit director for Truck System Technologies (TST). “If there’s a problem and the driver isn’t aware of it, it can be catastrophic.”
As Musgrave noted, most people think blowouts occur because the tire swelled up or hit something and literally exploded. While that can happen, it’s rare. Most frequently, the problem can be traced to low air pressure.
According to Musgrave, a trailer tire is put together like a commercial vehicle tire; it has a tread package vulcanized to a tire carcass. The process utilizes a liquid rubber glue and everything is heated to about 212 degrees Fahrenheit.
“Running down the road on a hot summer afternoon, a typical trailer tire might see temperatures of around 170 degrees,” he said.
“A loss of 10 psi tire pressure from the manufacturer’s maximum cold tire pressure can raise that by up to 40 degrees — near to where the vulcanization process can start to break down. The tire gets hot, the rubber gets hot and the tire explodes — because you have 20 or 30 pounds of steel-belts flying around in a warm rubber cavity that can no longer hold it together.” In and of itself, a blowout can create a scary situation–but on an RV, it can also cause thousands of dollars in damage as pieces of tread tear through exterior panels.

PSI initially purchased the smaller company to test vehicle components. However, after TST National Sales Manager Mike Benson pointed out the company’s ongoing success in the RV market, PSI explored the possibilities and soon realized that very few new RVs come equipped with tire-pressure-monitoring systems — and there are literally millions of older RVs on the road without such systems in place.
Ultimately, the company removed TST products from the market, reengineered the products to bring everything — tire sensors, displays and signal repeaters — up to commercial vehicle standards and put the product back into production.
“What is now available through TST is the exact same system we sell, under a different label, on the commercial vehicle side,” Musgrave added.
Upgrading the components also allowed the company to extend the warranty on TST products to three years. According to Musgrave, TST is able to utilize real-world testing — measured in the millions of miles — by partnering with PSI’s commercial vehicle companies it supplies ATIS product to.
With its products dedicated entirely to the RV market, TST offers two different types of tire-pressure-monitoring systems: an internal design, where the sensor is attached to a metal band wrapped around the center of the wheel — generally used on RV OEM installations — and aftermarket kits using sensors that thread onto the tire’s valve stem.
The externally mounted sensors are available in a number of styles, including cap sensors (which require removal to inflate the tire), flow-through units (which allow tire inflation through the attached sensor) and a hybrid sensor that’s approved for salt-water immersion.
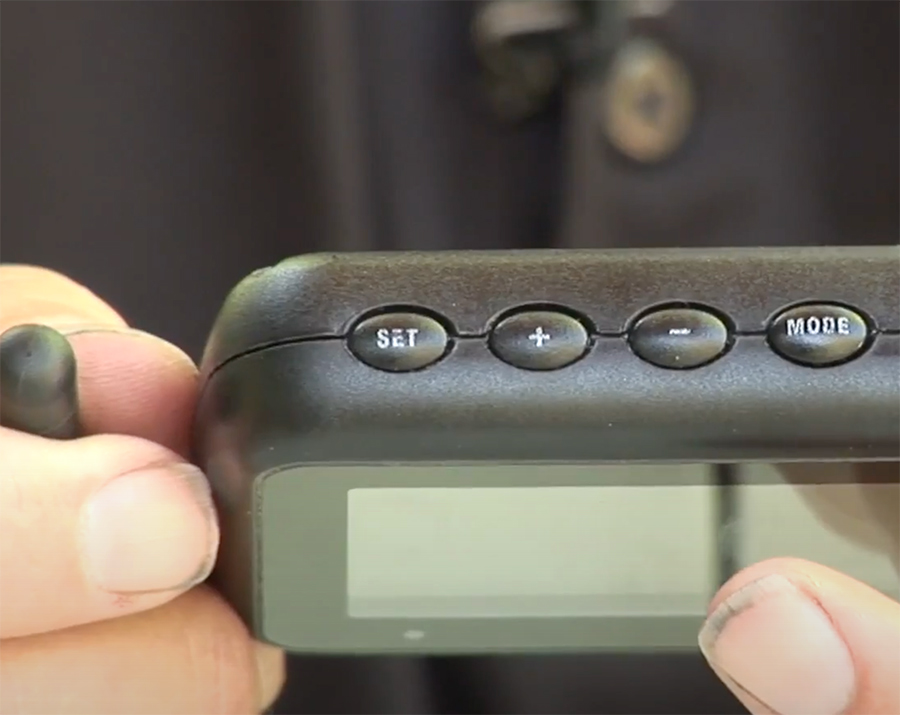
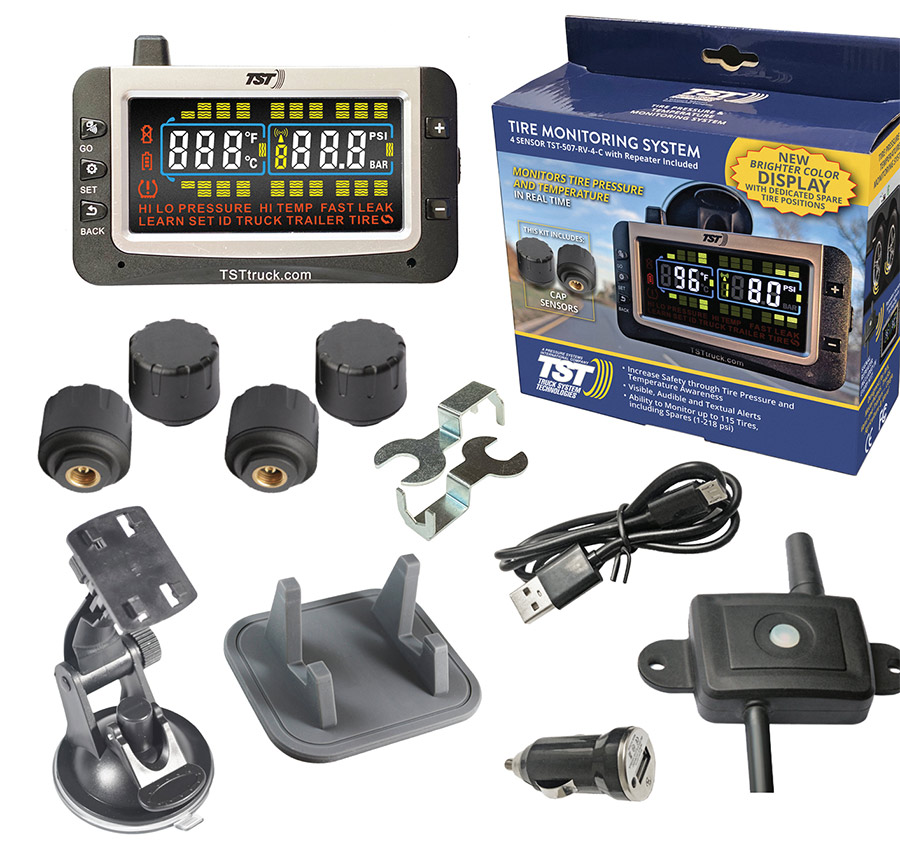
Kits are priced according to the number of sensors included and range from the high $200s for a two-sensor kit to about double that for an eight-sensor package. All kits include the sensors, installation wrenches, signal repeater and display monitor with dash and window mounts and, to power and charge the monitor’s lithium-ion battery, an adapter with micro USB cord that plugs into the dash power port. All kits also include extra hardware used during installation and extra O-rings used when opening the sensor to replace the battery. Additional sensors can be purchased separately.
Installing an aftermarket kit is, said Musgrave, a straightforward affair that only requires about 20 minutes to complete. After removing the stock valve stem cap, a hex nut is threaded onto the stem, followed by the sensor. Once the sensor is snug — when air stops leaking and it bottoms out on the valve stem — it’s given another quarter-turn (do not over-tighten). The hex nut is then reversed until it hits the bottom of the sensor and is tightened with the wrench. This is a safety feature that allows the sensor housing to spin on its mount; the actual sensor is difficult to remove without the wrench.
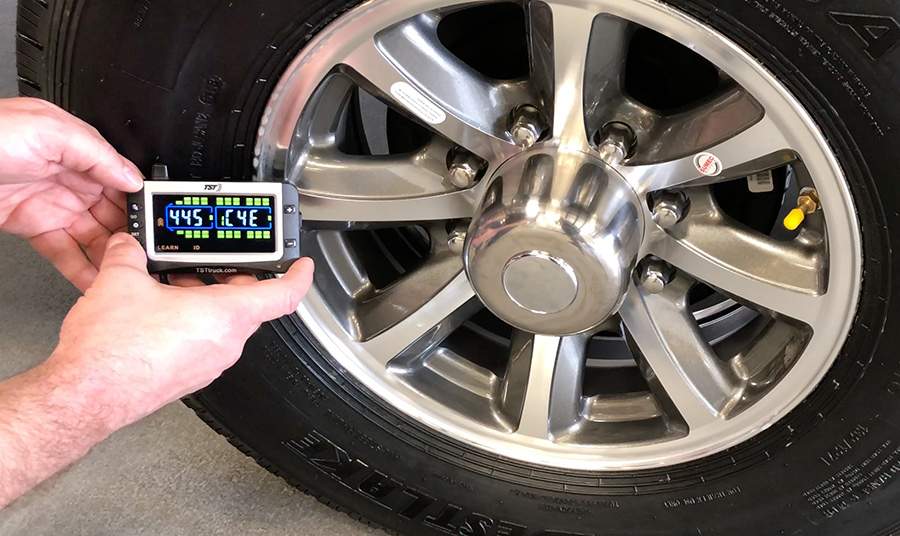
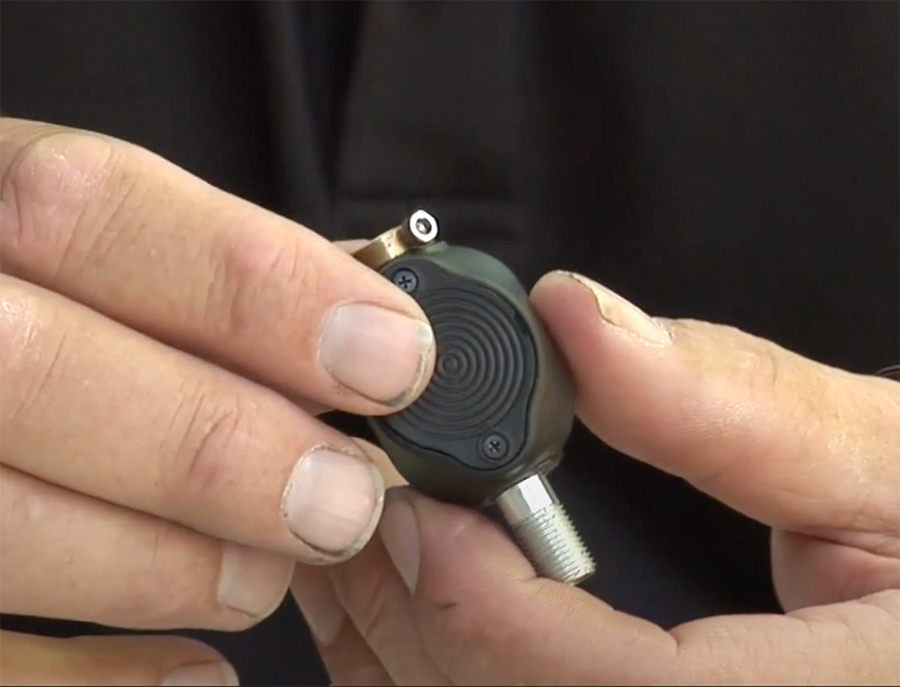
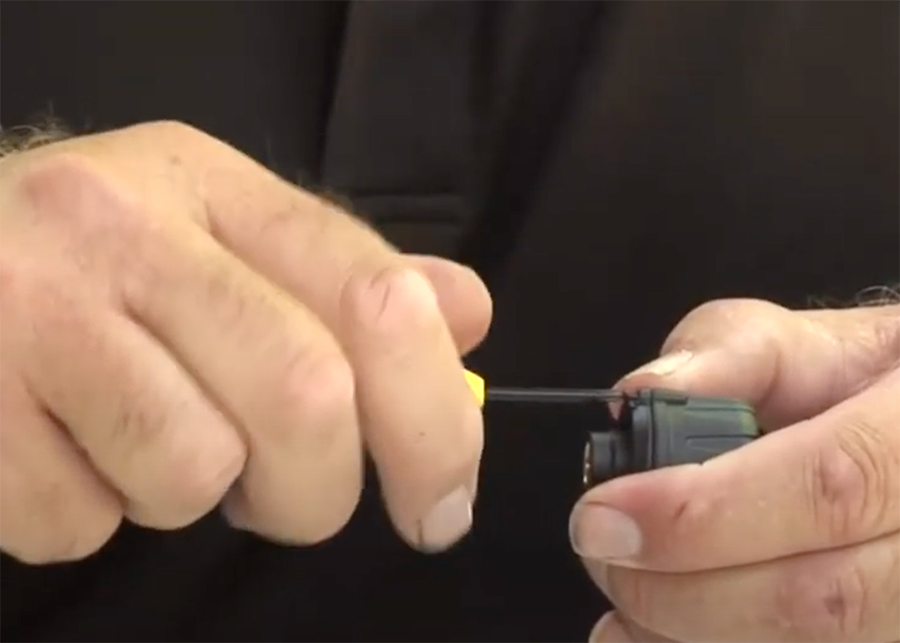
The display will also highlight low battery life. Each sensor incorporates a coin-style battery that’s good for between 12 and 18 months (battery life can be extended by removing the sensors from the tires when the RV is parked for extended periods). Replacing the battery requires removing the sensor housing from its baseplate, then using the supplied wrench to remove the inner cap from the sensor. The old battery is pushed out, a new one pushed in and the procedure is reversed using a new supplied O-ring between the base and housing. Changing the battery will not affect the data previously programmed in the display and the system includes small labels to affix to each sensor so there’s no confusion if more than one is removed at a time.
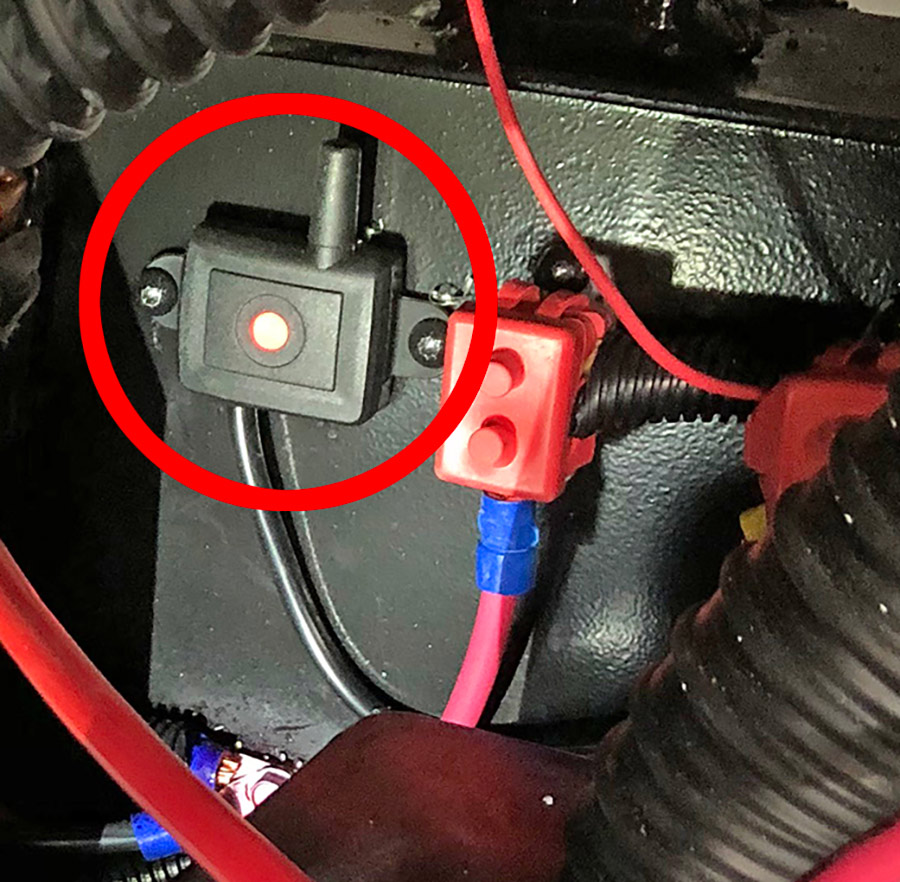
in place.
“The repeater boosts the signal out approximately 105 feet omnidirectionally, which covers even the longest RV,” Musgrave said. “And its parasitic power draw is just 0.06-amp.”
The sensors, by the way, can also be installed on tow vehicles or dinghy vehicles already equipped with sensors from the factory. This not only ties the entire system together but affords an extra layer of protection since factory sensors oftentimes only indicate low tire pressure. Consider it cheap insurance.