



magine you’re laying on the bed in your RV at a beautiful coastal campground. The window by your bed is open, and you can hear the ocean in the distance as a nice breeze flows over your body. Or perhaps you’re camped in the desert, where your RV sizzles under a relentless sun. Wouldn’t it be nice to be able to draw in more fresh air, or push stale, humid air out? You can. This is known as ventilation control — it’s the “V” in “HVAC” (Heating, Ventilation and Air Conditioning). When it comes to keeping RVing enjoyable, or for that matter, tolerable at any time of year, good ventilation is key.
Good RV ventilation occurs when fresh air is directed or drawn inward through one opening and allowed to exit via another. This can be achieved via one of two basic methods: natural and forced.
- Natural ventilation is when the atmosphere inside the RV is replaced either by the wind or via convective heat transfer. For example, when an RV is sitting in the sun, the heat warms the roof and exterior panels — which in turn heats the air inside the vehicle. If the RV has its roof vents and windows open, the hotter air escapes through the top vents and is replaced by cooler air rushing in from the windows.
- Forced ventilation is when air movement is accelerated by mechanical means — usually an exhaust fan or a positive pressure fan blowing into the space through one opening while the air escapes through another.


Ideally, we want a combination of natural and forced ventilation for our RVs because of the constant changes in weather and the environmental extremes we put them (and ourselves) through. Sometimes natural ventilation will suffice, and you’ll experience comfort with no expenditure of energy. At other times, using an efficient fan-forced ventilation system can aid in keeping the inside comfortable while minimizing energy drain.
Go With the Flow
If you took physics in high school or college, you learned that hot air rises and cold air sinks, and that heat moves to cold. It’s a simple concept — and, once you grasp it, you’ll always be able to keep your RV comfortable.
In almost every instance, ventilating your RV will involve drawing cooler air in from a relatively low point and exhausting warm air at a high point. Even if your RV is sitting in a sunny hot parking lot, air drawn in from below will be more comfortable than the air at roof level. And, when it’s cold outside and you need to remove humid, moist air from the interior, the warm air will draw cooler air in as it rises and escapes through an open roof vent.


Ideally, we want a combination of natural and forced ventilation for our RVs because of the constant changes in weather and the environmental extremes we put them (and ourselves) through. Sometimes natural ventilation will suffice, and you’ll experience comfort with no expenditure of energy. At other times, using an efficient fan-forced ventilation system can aid in keeping the inside comfortable while minimizing energy drain.
Go With the Flow
If you took physics in high school or college, you learned that hot air rises and cold air sinks, and that heat moves to cold. It’s a simple concept — and, once you grasp it, you’ll always be able to keep your RV comfortable.


As the graphic illustrates, the same process was used for the front of the unit — with little to no improvement. While airflow has increased both fore and aft, anyone in the main cabin would continue to suffer and the entire RV isn’t properly ventilated. Beyond that, with two fans now trying to circulate air, the amp draw on the battery has increased dramatically.
The problem? Too many open windows and not enough vent opening in the roof. As a result, the air exchange has been stalled.
The second illustrates one potential fix to help keep the entire unit comfortable: Run a powered exhaust fan at one end of the RV and open a window or windows at the opposite end until you get the airflow you want.
To be clear, this is not an exact science in RV-land. Differences in construction, location, insulation and other environmental factors can upset the apple cart. But if you get the concept and practice it, you’ll find you can really improve the inside comfort of your RV while conserving energy and enjoying the fresh air.

Cool Comfort
To truly enjoy your RV, you’ll want to do the best process for maintaining a comfortable interior environment at all times — even if you’re out of the rig for a bit. This is especially important if you have pets or items in your RV that are sensitive to heat.
When MaxxAir vent covers were first introduced decades ago, they radically changed RVing for the better. By covering the vent opening while providing enough room to open the hatch, roof vents could be open all the time, rain or shine, driving or parked. Later, high-efficiency 12-volt DC roof ventilation fans came to the market, which made the next big jump in keeping RVs comfortable on or off the grid. As you might imagine, the combination of the two was a logical progression.


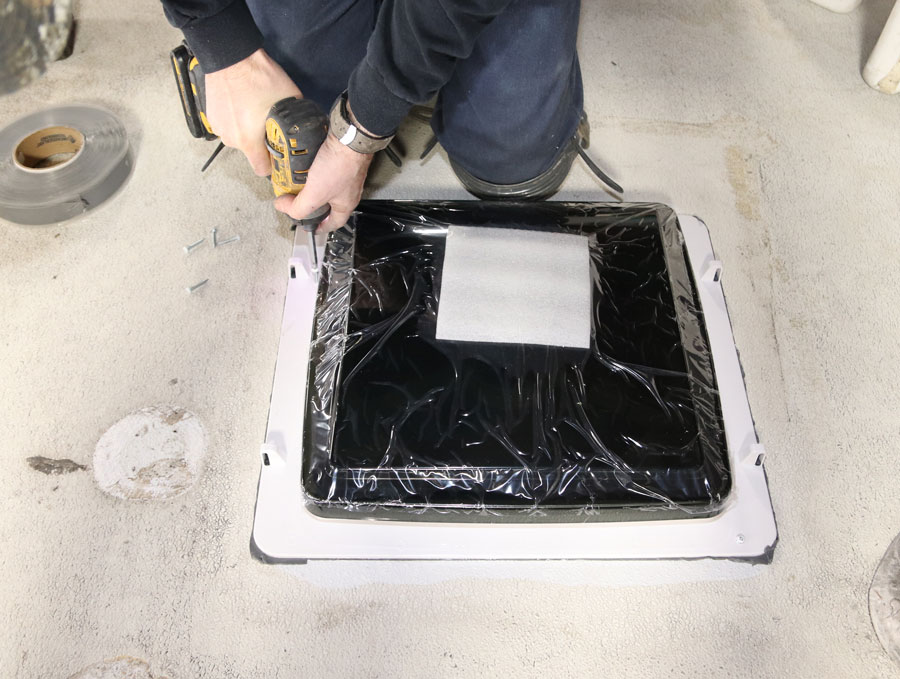
MaxxAir, now a division of Airxcel, offers vent covers in three basic styles and in up to three colors (black, smoke and white) to fit RV style and airflow requirements. The basic cover is adequate for standard vents or those with the small bathroom fan common in so many RVs. The brackets are bolted to the vent’s exterior housing, and the cover is bolted to the brackets with included stainless-steel hardware. The MaxxAir II is a larger model with internal bug screens that work with any powered vent fan. It also has more vent surface area to allow for increased airflow without a big difference in the cover’s footprint on the roof. Lastly, if you’re using a high-output fan such as the MaxxFan or Fan-Tastic Vent, the FANMATE cover allows the most airflow.
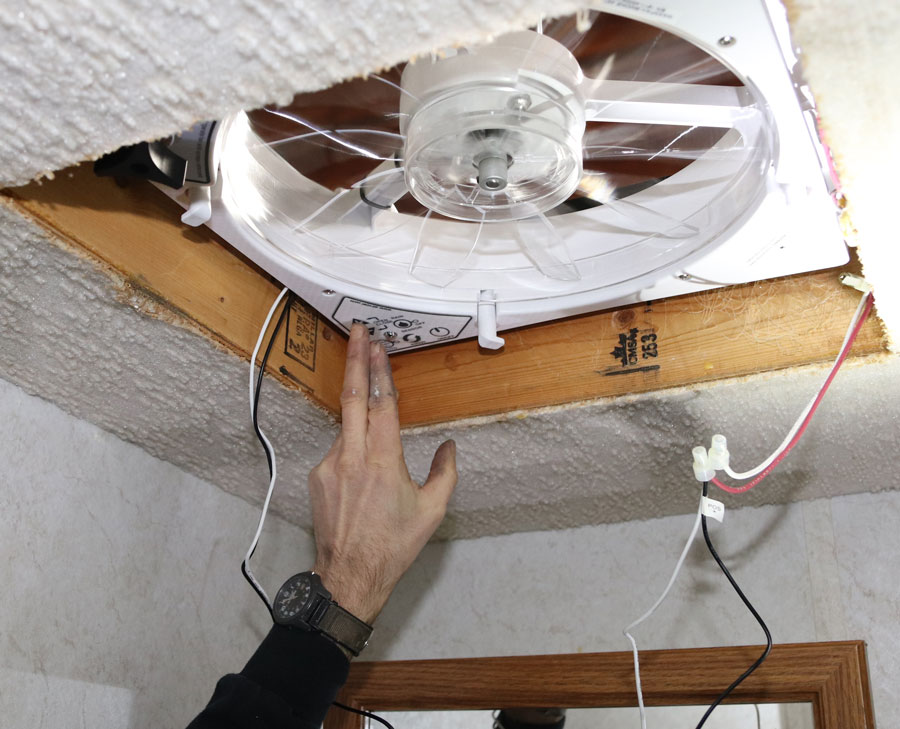
As noted earlier, one or more high-output fans will make a huge improvement in the interior comfort of your RV. Top models, like the MaxxFan Plus installed in this project, offer a host of benefits including exhaust and intake, multiple speeds, white- or smoke tint-colored lids, a rain sensor (which automatically closes the lid when raindrops start to fall) and an infrared remote control with temperature settings.

These can be fitted with vent covers like the MaxxAir II or FANMATE, the latter of which attaches to the MaxxFan without tools. Alternatively, the MaxxFan Deluxe has the cover “built-in,” which eliminates the need for an additional cover and reduces the roof profile when the vent is closed.
If you have pets, MaxxFans and covers are baseline protection for their comfort and well-being, and are a must if they’ll be staying in the RV when unattended. If the interior of the RV gets too warm and, as an example, the air conditioning should fail, the properly adjusted MaxxFan will come on automatically to keep the RV’s interior safe and comfortable. Just keep a window or two cracked open to allow airflow.


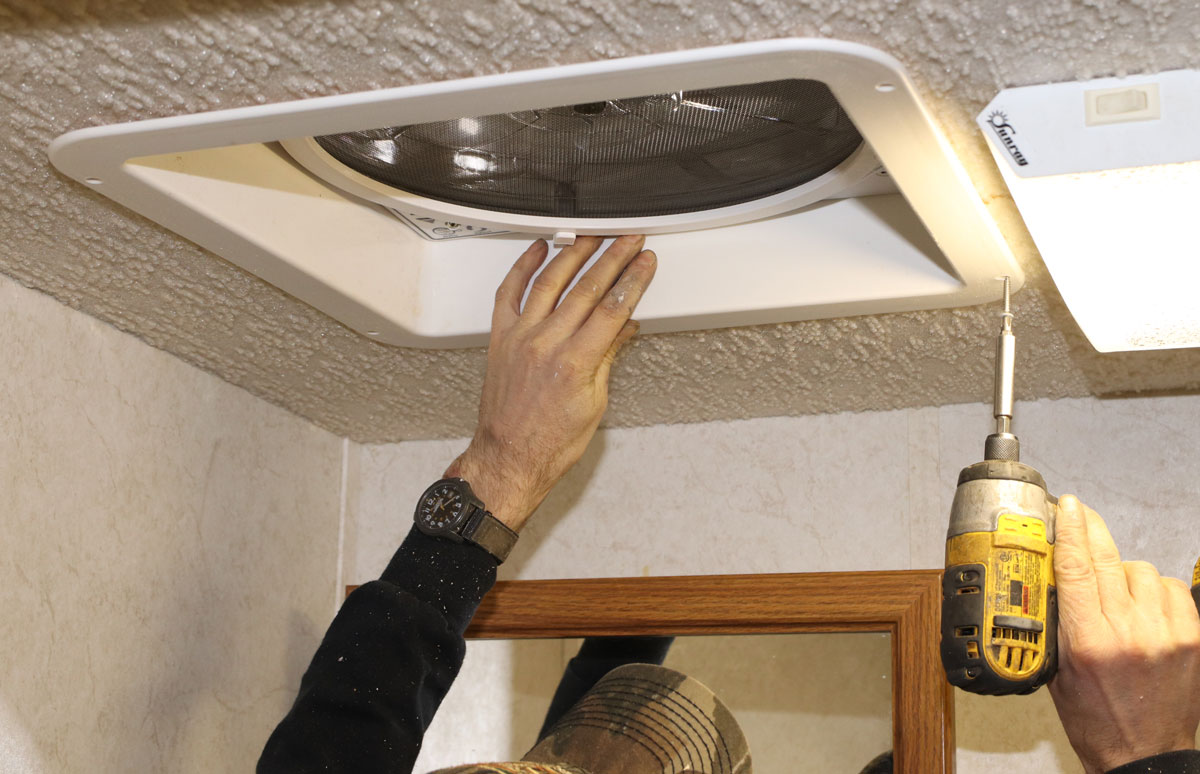
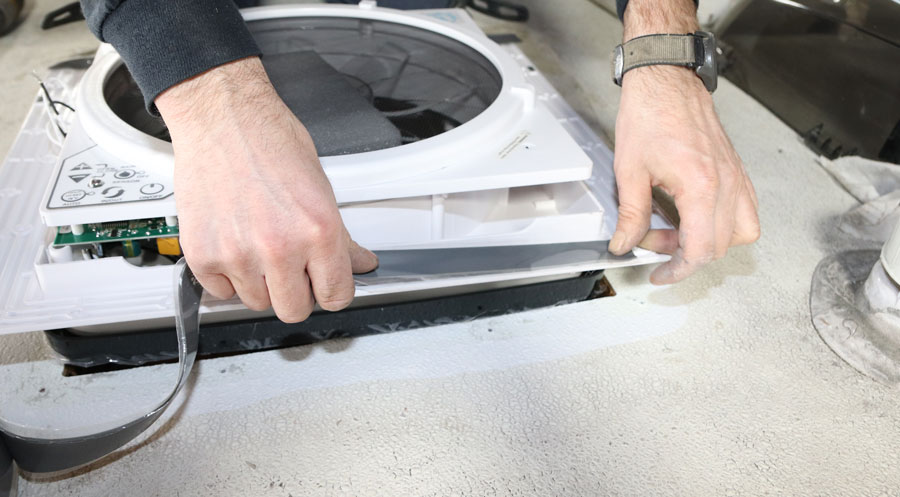
While visiting Tim’s RV in Erving, Mass., we followed the installation of a MaxxFan Plus 4500K Smoke with a FANMATE cover on a Gulf Stream Coach Class C motorhome. The existing bathroom fan did nothing to aid the comfort in the RV; replacing it with the new technology not only allowed the coach to be vented at all times, but the infrared (IR) remote control provided the rig’s owners with the ability to set exact temperature settings — even from the dinette bed.
As Brandon Turner, service manager at Tim’s RV, pointed out, replacing a vent fan — especially one that already has power — is a straightforward DIY project. Just make sure you follow the directions exactly and use appropriate safety measures when you’re working on ladders or on the roof of an RV. Also, be sure to use the right sealants for the roof type of your RV.
One thing’s for sure: If you follow these simple tips and add a high-output fan and cover, your RV will be a lot more comfortable.
Airxcel Inc./Maxxair Division
(316) 832-3400
www.airxcel.com/rv/maxxair
Tim’s RV Inc.
(413) 522-3410
Timsrvinc.com