f you own a trailer or fifth wheel, at some point you are going to need to gain access to the area above the underbelly — especially if you have one or more slideouts. You might need to service the dump valves, chase down a water leak or repair shorted wires; in my case, I wanted to dry-lube the rack-and-pinion mechanism for the slides, which required that I have access to the motor and gearbox.
Granted, it’s always possible to cut an access hole in the underbelly material and patch it later with tape, but that rarely works for more than a short period of time.
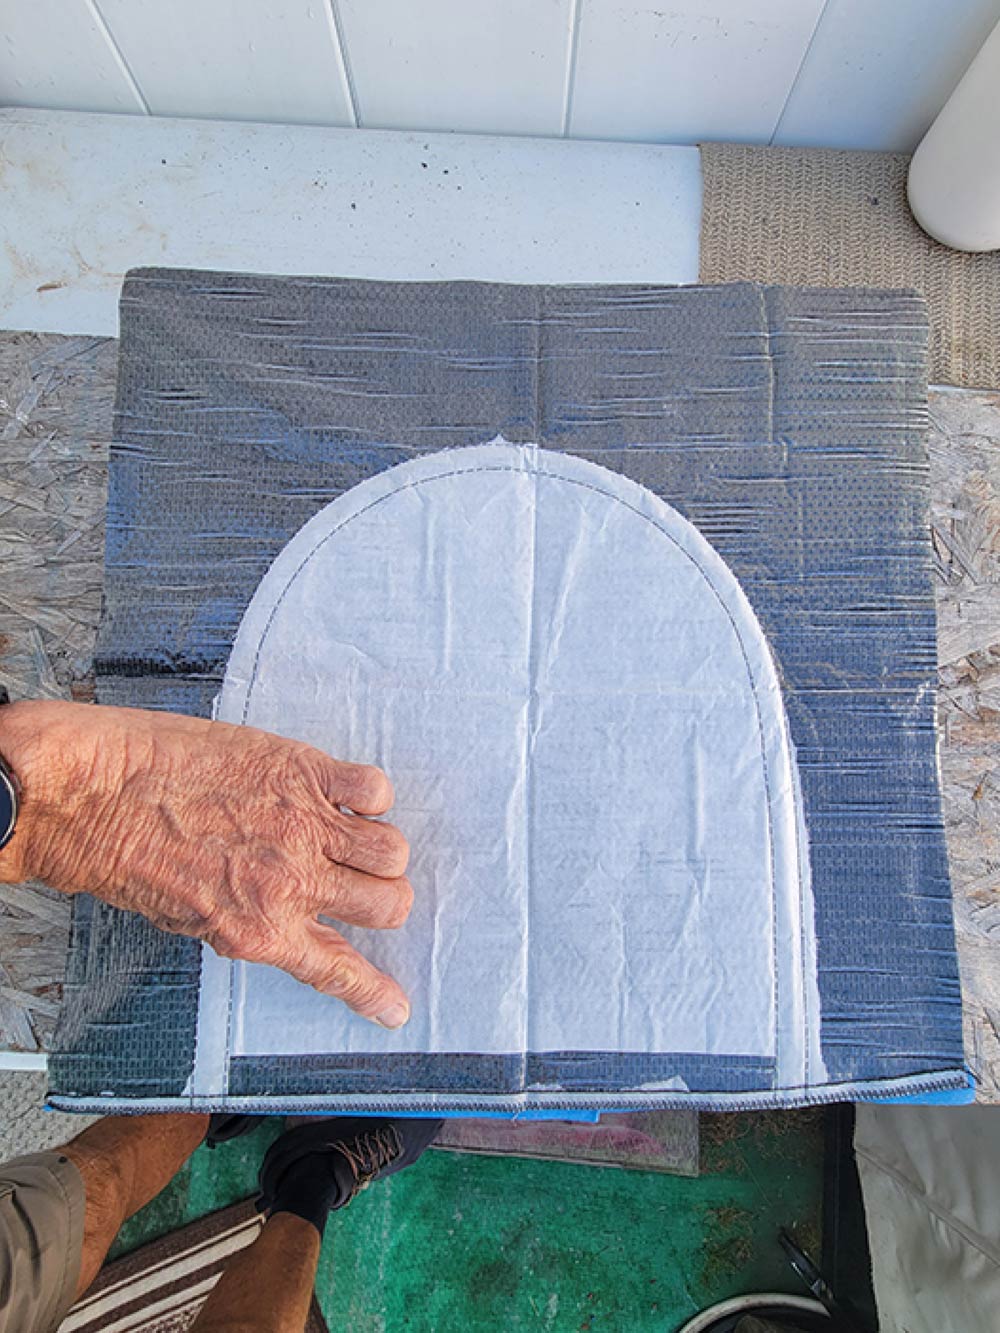
The solution is to cut-in a trap door — and you can find the right product for this purpose on Amazon. Normally referred to as a “trap flap” in the belly pan used for manufactured homes, the “Mobile Home Belly Bottom Repair Trap Flap” ($12.99) is a woven polyethylene, zippered access panel designed to adhere to the Coroplast or other underbelly material used on modern trailers; it’s 18 x 18 inches square and has a rounded flap that unzips to provide access through the underbelly.
Although slated for mobile homes, the underbelly materials are very similar (other than one is designed to handle road travel and the other is for stationary manufactured homes).
Coroplast or underbelly material has evolved from a basic plastic film to a modern honeycomb-type material with insulation glued to the inside. Unfortunately, these protective underlayment materials are universally installed in a single large section, which makes access much more complicated. Yes, you can cut holes, but putting them back to “whole” is virtually impossible. Cutting in a zippered panel saves hours of work when access is needed repeatedly — and damage to the underbelly material can usually be avoided.
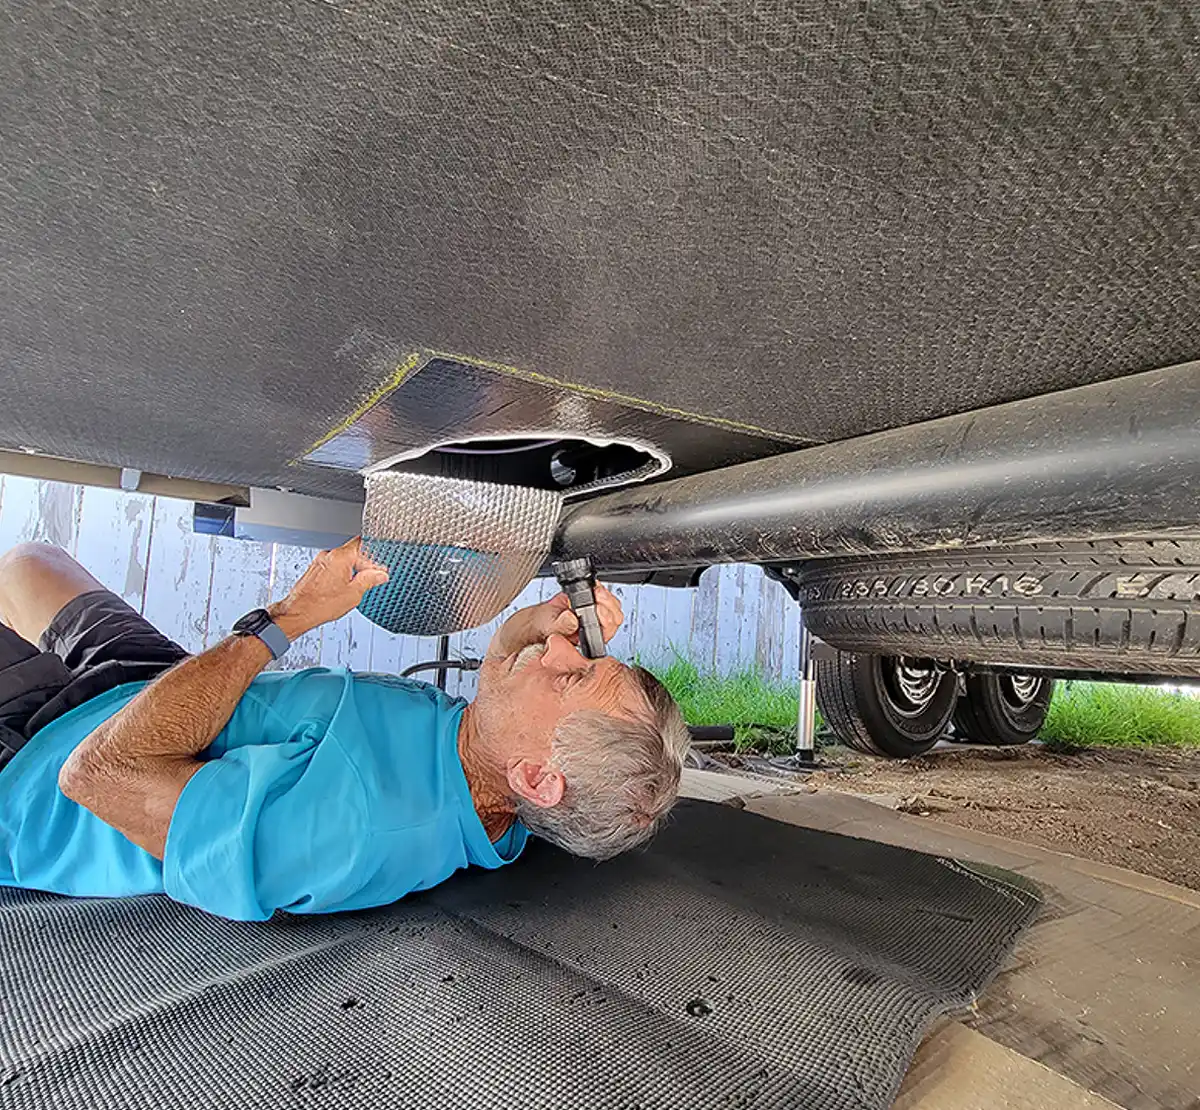
In order to install the zippered access panel, you’ll have to drop the edge of the underbelly material at an estimated location that will give you a look-see of the component(s) needing service. For this project, the motor and gearbox assembly were in the vicinity of the rack-and-pinion slide mechanism that I needed to dry lube, so I had to decide whether to put the zippered panel in the middle or toward the motor and gearbox, which ultimately made the most sense for access to my targeted components.
At first I followed the installation instructions, but that was a joke. After determining the location for the installation, I removed the paper backing that protected the adhesive and stuck it on the underbelly material; five minutes later it fell down. Unfortunately, the wind caught the zippered panel as it was falling and it was ruined.
I decided to use a cardboard backing for the second try. The cardboard made it possible to handle the access panel material without losing control. Blue painter’s tape was used to keep the panel and cardboard together. I remembered that RV Enthusiast Publisher Bob Livingston had a problem with his access panel and he opted to use contact cement to keep it in place, which worked perfectly, so I decided to follow suit. I used a yellow construction crayon to mark the black, rough underbelly material at the location where the access panel would be finally installed.
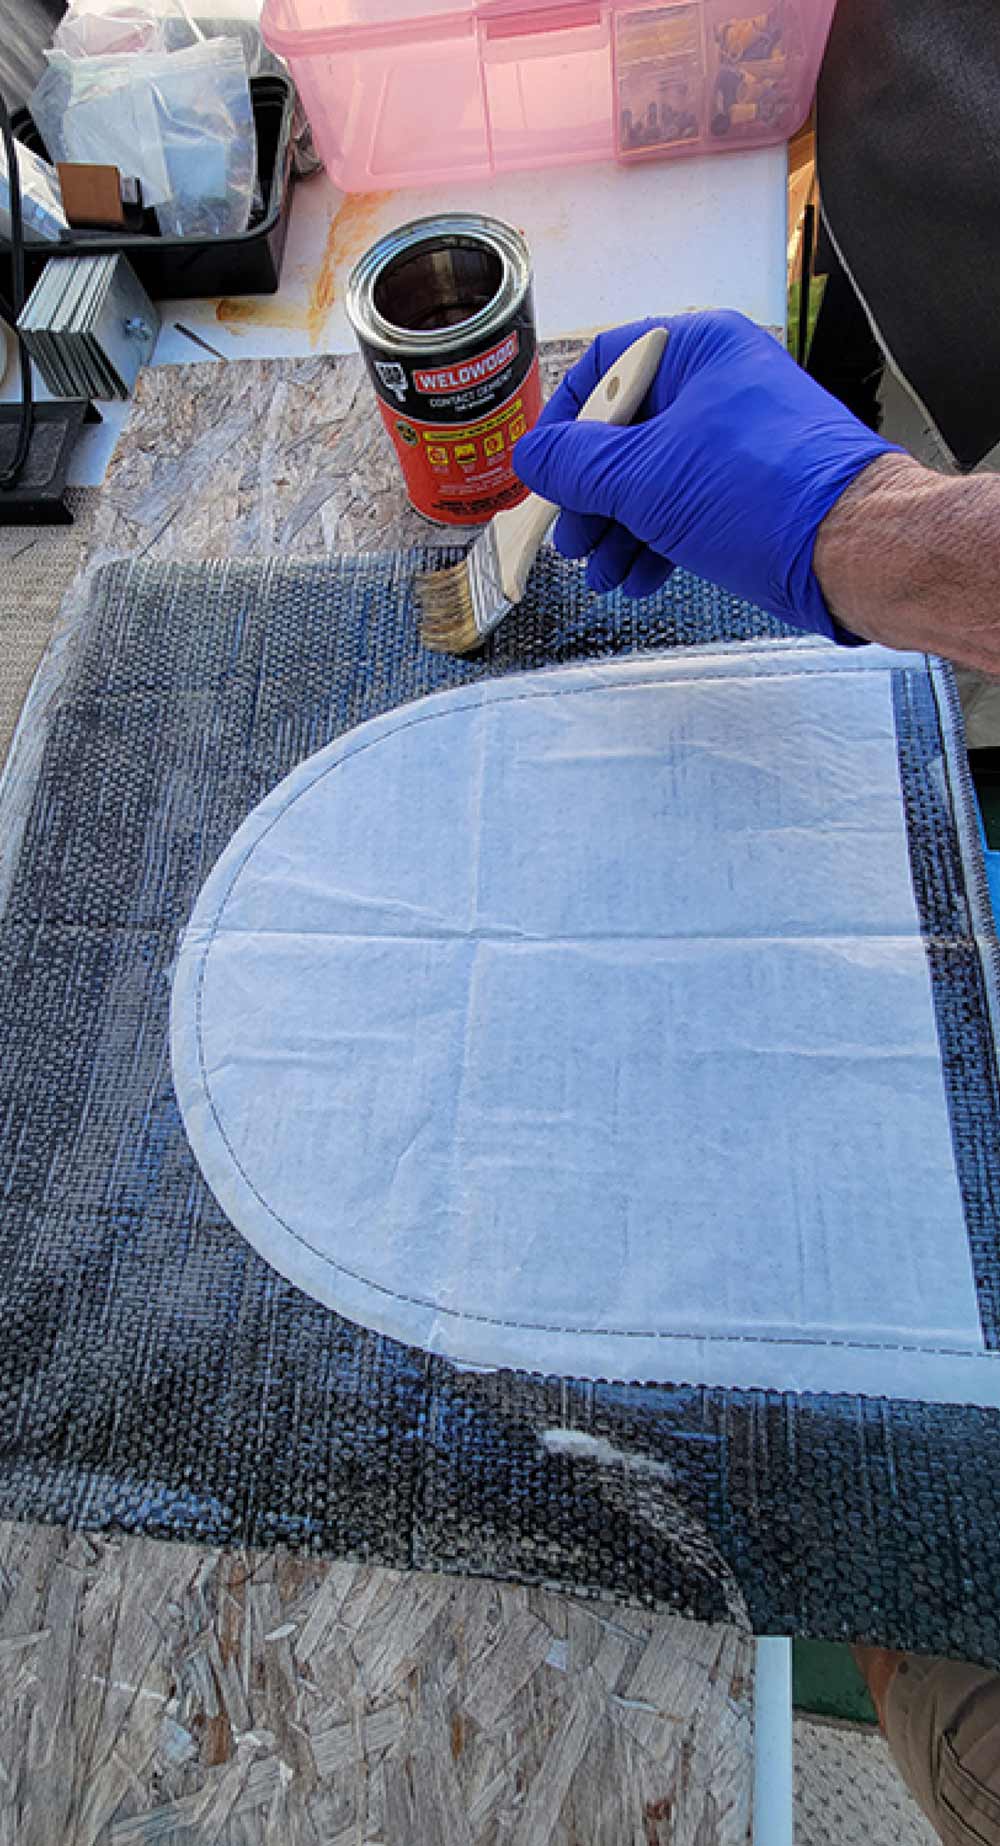
The cardboard backing also made it easier to apply the contact cement with a 2-inch-wide disposable brush. Once the zippered panel was coated with contact cement, I applied the cement to the area outlined on the underbelly material. After the cement was dry to the touch, I started the installation of the cardboard-backed zippered panel at one end and lined it up with the horizontal marks that I drew around the cardboard. From the one edge, I slowly moved it into place without a hitch. Although the glue seemed to hold just fine, I applied some cheap duct tape that didn’t have a lot of holding power around the edge and let it set up for 48 hours. All the tape came off easily and the access panel was stuck securely to the underbelly material.
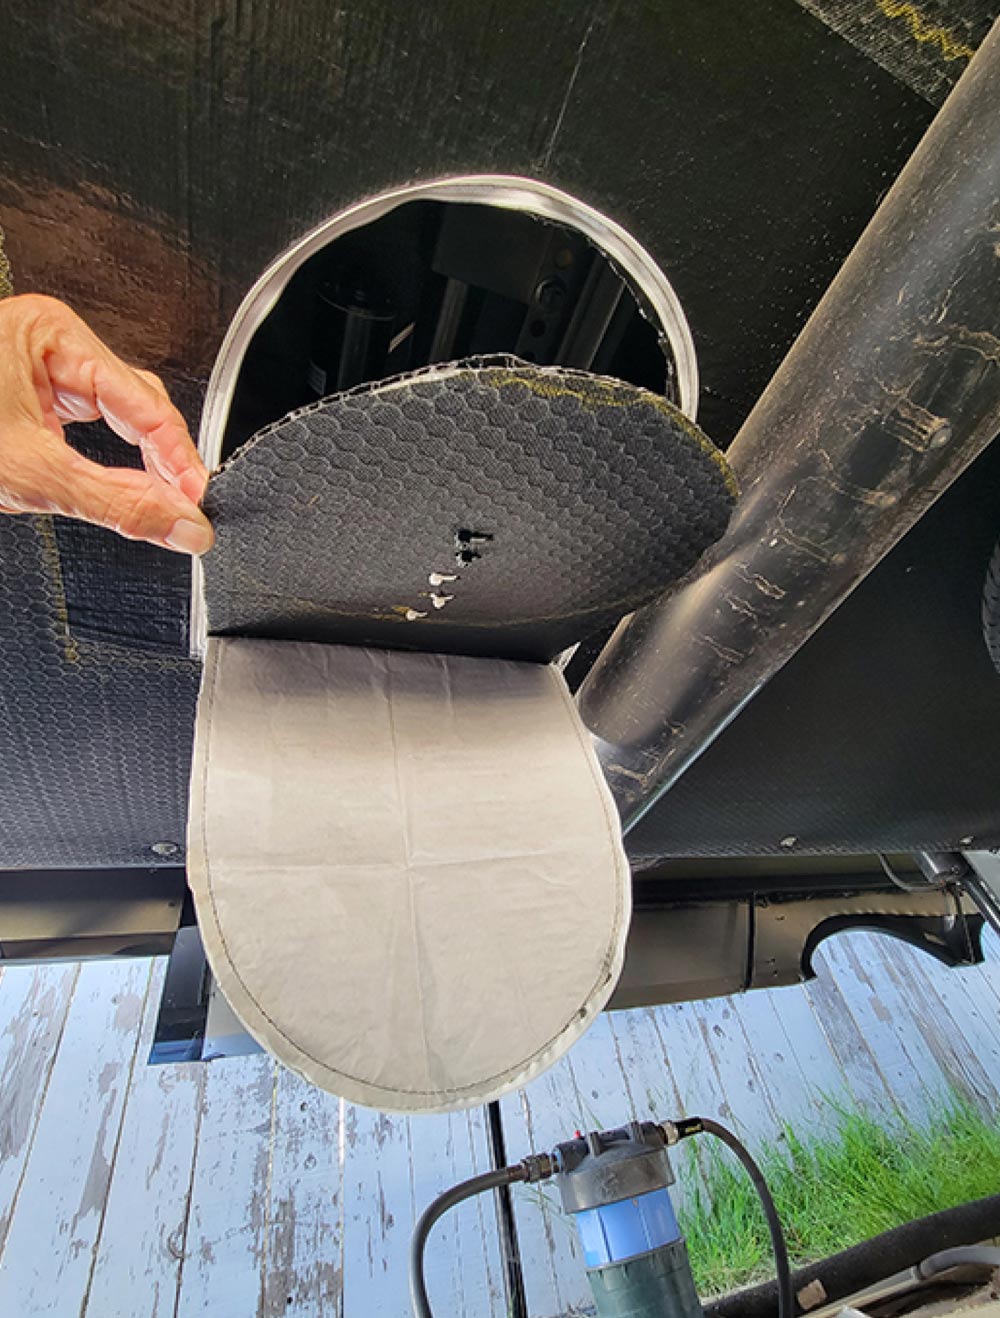
The next step was critical: The zipper was opened and a very sharp blade was used to cut between the zipper teeth and through the underbelly material. If you damage even one or two of the teeth, more than likely the zipper will not function. Contrary to the instructions, I opted not to remove the underbelly material under the access panel, which I felt would be easier on the zipper in the long run. To gain access I simply pull down from the rounded part of the underbelly material (without pulling on the zipper), and fold it out of the way when working in the area.
If you need a larger opening, you could always install a second zippered access panel next to the other one.