Backing on a Budget
[maghub_sidebar]
Extra Eyes icon
Backing on a Budget
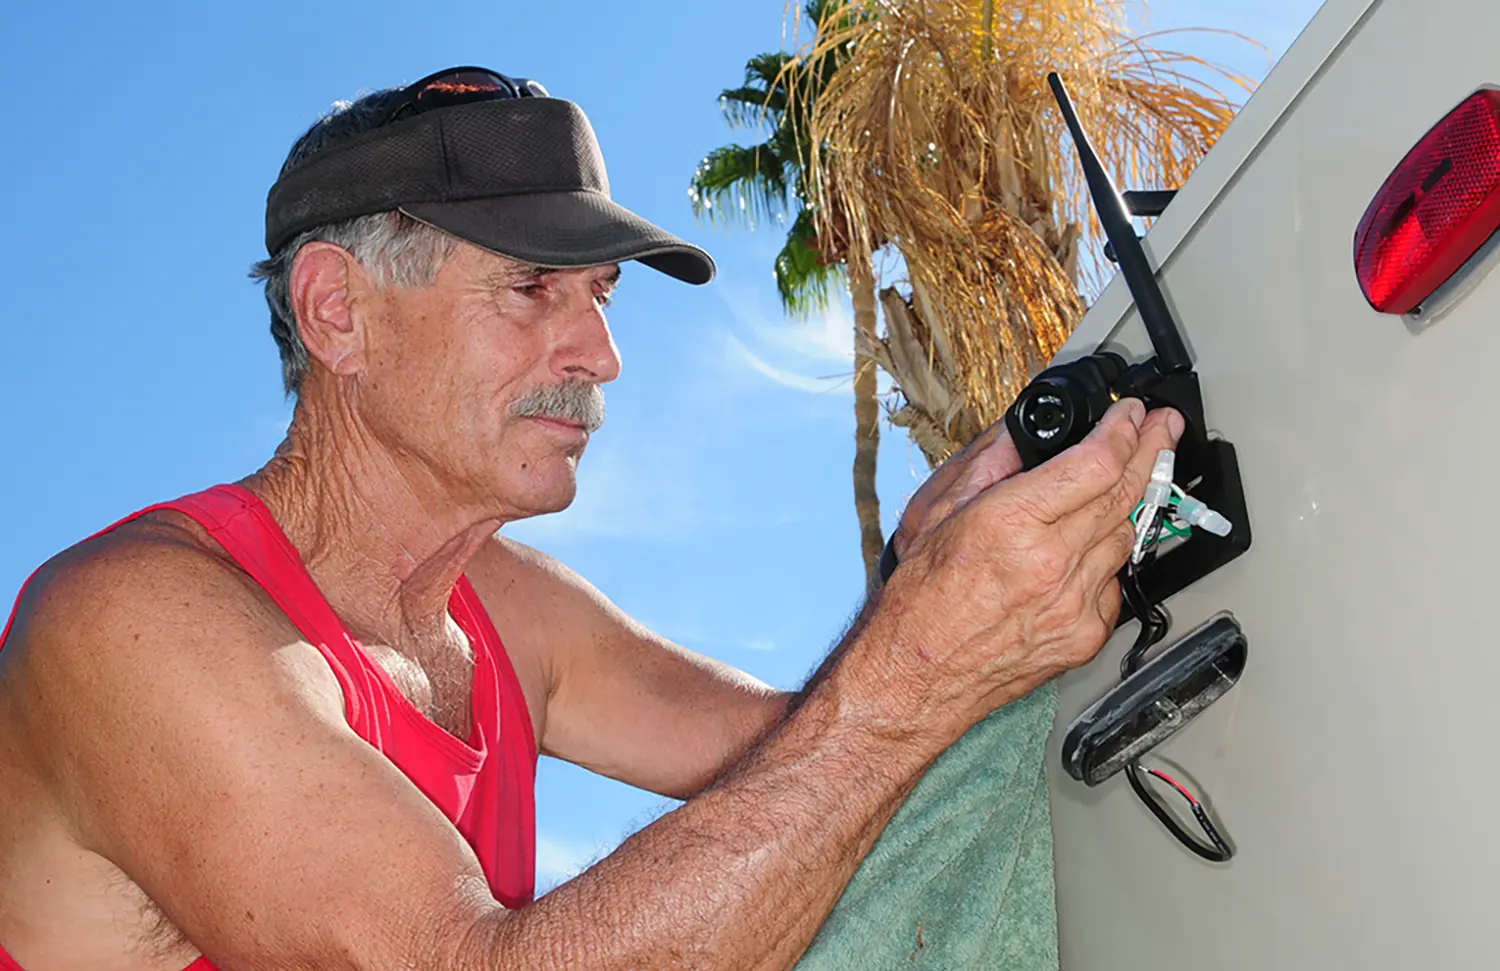
Landscape outdoor sunny clear photograph close-up view of Bill Gehr in a red tanktop and black visor hat with sunglasses situated on top of his head as he installs/adjusts a Hopkins' vueSMART backup camera onto the back surface of an RV trailer
Hopkins’ vueSMART backup camera is simple to install and is the least-expensive kit on the market. In lieu of a monitor, the wireless image can be viewed on a smart device, like a phone or tablet.
By Bob Livingston / Photos by the author
B

ackup cameras have proven to be a valuable tool to counter blind spots while driving or backing into an RV space. Just about all motorhomes have this provision, which is becoming more popular for trailer enthusiasts — with good reason. It can be argued that a view to the back and sides of a trailer or fifth wheel is even more important than for drivers of motorhomes. Recognizing the need to make towing a trailer as safe as possible, Hopkins Towing Solutions has devised an affordable product, the vueSMART backup camera (hopkinstowingsolutions.com), which can be installed in around 30 minutes to an hour.

The key to this system is a unique bracket that has been designed to supplant (temporarily) the center clearance light on the back of the trailer. A monitor for this system is not necessary; the images are transmitted via Wi-Fi to a smart device. There’s no provision for side-view cameras either, but this system was selling at etrailer for only $105 (etrailer.com), so you can’t expect the advanced features packed into the more elaborate systems.

The installation only takes place in the back of the trailer and you only need common hand tools. Once the original clearance light fixture is removed, the power wires will likely have to be fished out of the hole using long-nose pliers. While typical wire color coding signifies the positive and negative 12-volt DC leads, it’s best to verify polarity with a multimeter (the trailer’s clearance lights must be activated to provide power to the wires before testing). Once the polarity is established, it’s just a matter of connecting the camera leads and leaving pigtails for hooking up the clearance light wires when it’s reinstalled in the provided space in the new bracket.

If the camera is mounted in a location where there are no clearance lights, the bracket must be modified, but that complicates the installation and is likely not going to be necessary.

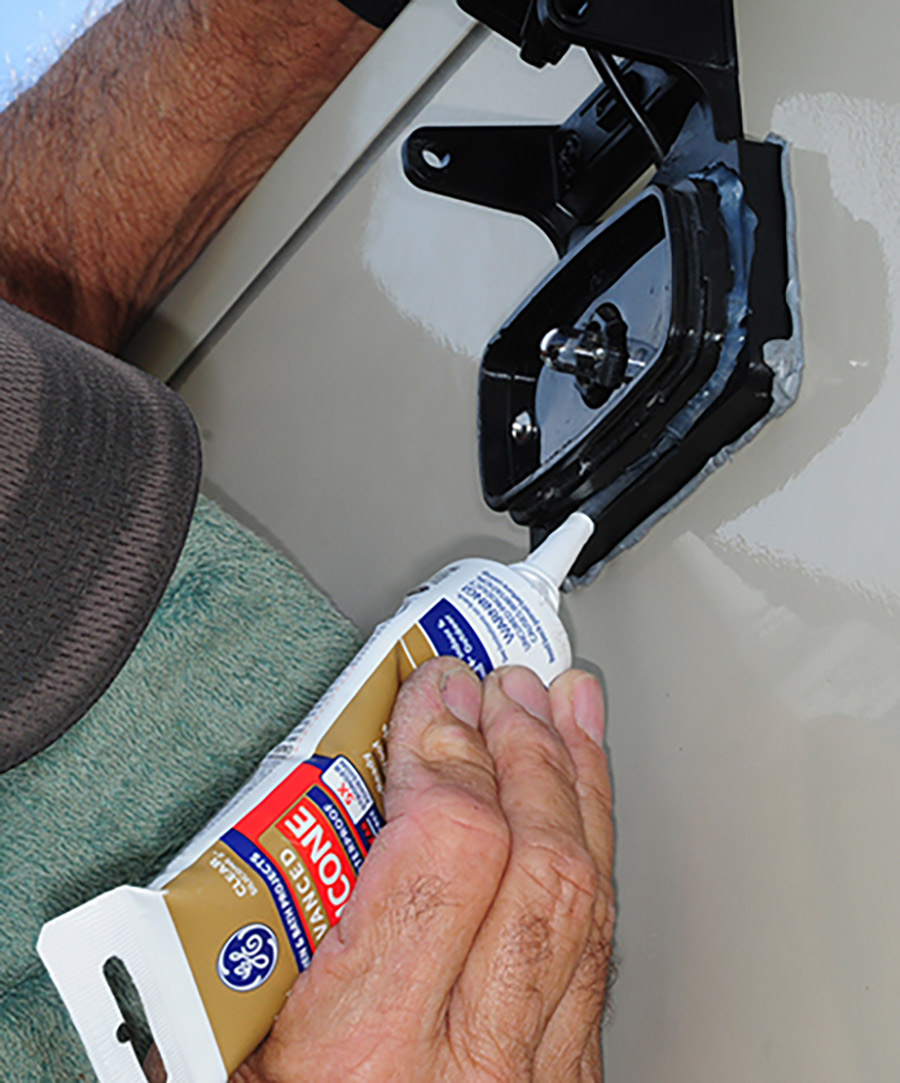
There are a few housekeeping steps along the way, including sealing the bracket with butyl tape and the screw holes with silicone — and making sure the wires are routed safely. The antenna attaches to the camera body and can be supported with a bracket that comes with the kit.

An app must be loaded into the smart device before pairing with the camera. The process is simple but there is one caveat: The smart device must have cell service in order pair with the camera. Once the image is on the screen, the camera can be adjusted to your liking; it has a wide 152-degree viewing angle and incorporates six LED lights that will illuminate dark space when backing up. Depending upon the size of the phone, using a phone screen might be a little small for some people; for them, a tablet might be the best choice for monitoring the view out back.

The vueSMART doesn’t have all the bells and whistles of other, more expensive systems with monitors and multiple cameras, but if you’re looking for a basic system, the Hopkins unit gets the job done admirably well.
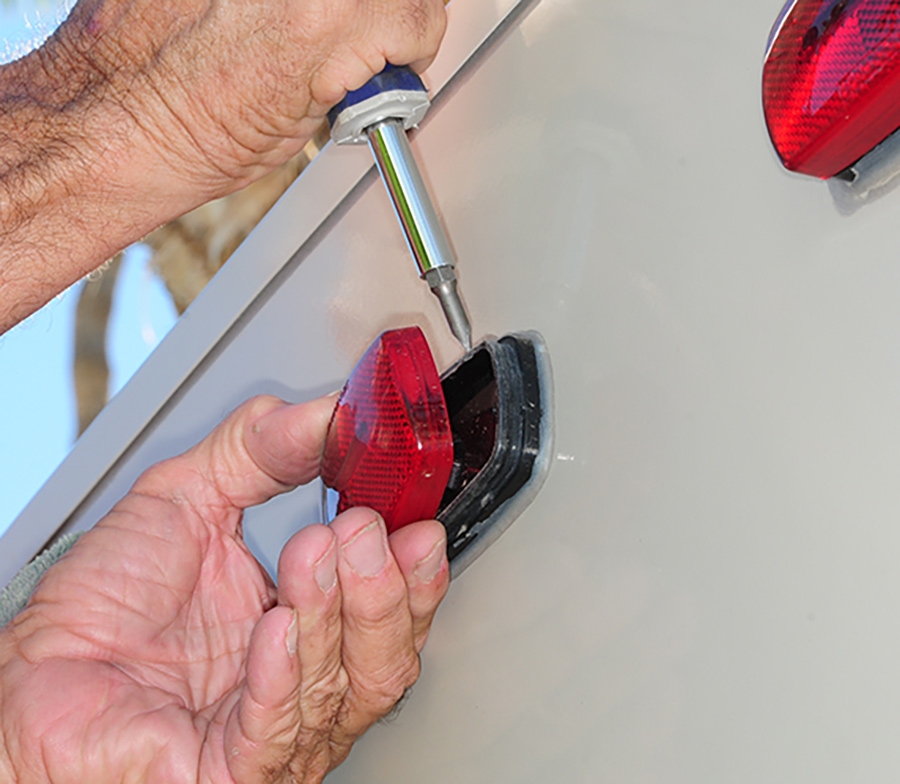
Portrait photograph close-up view of Bill Gehr's hands using a screw tool to mount the specially designed bracket in the location of the center clearance light in the back of the RV trailer surface area
Portrait photograph close-up view of Bill Gehr's hands removing this light by popping off the red lens, unscrewing the base and prying it off with a screwdriver (breaking the sealant) in the back of the RV trailer surface area; The clearance light will later be reinstalled in the bracket, maintaining the same position — in line with the other light fixtures
Installation simplicity is made possible by mounting the specially designed bracket in the location of the center clearance light in the back of the trailer. This light was first removed by popping off the red lens, unscrewing the base and prying it off with a screwdriver (breaking the sealant). The clearance light will later be reinstalled in the bracket, maintaining the same position — in line with the other light fixtures.
Portrait photograph close-up view of Bill Gehr's hands using long-nose pliers to fish out wires as power for the camera is supplied by the wires to the clearance lights; Go slow and easy here; you don’t want to break the connection and allow the wires to fall into the wall.
Power for the camera is supplied by the wires to the clearance lights. These wires needed to be fished out with long-nose pliers. Go slow and easy here; you don’t want to break the connection and allow the wires to fall into the wall.
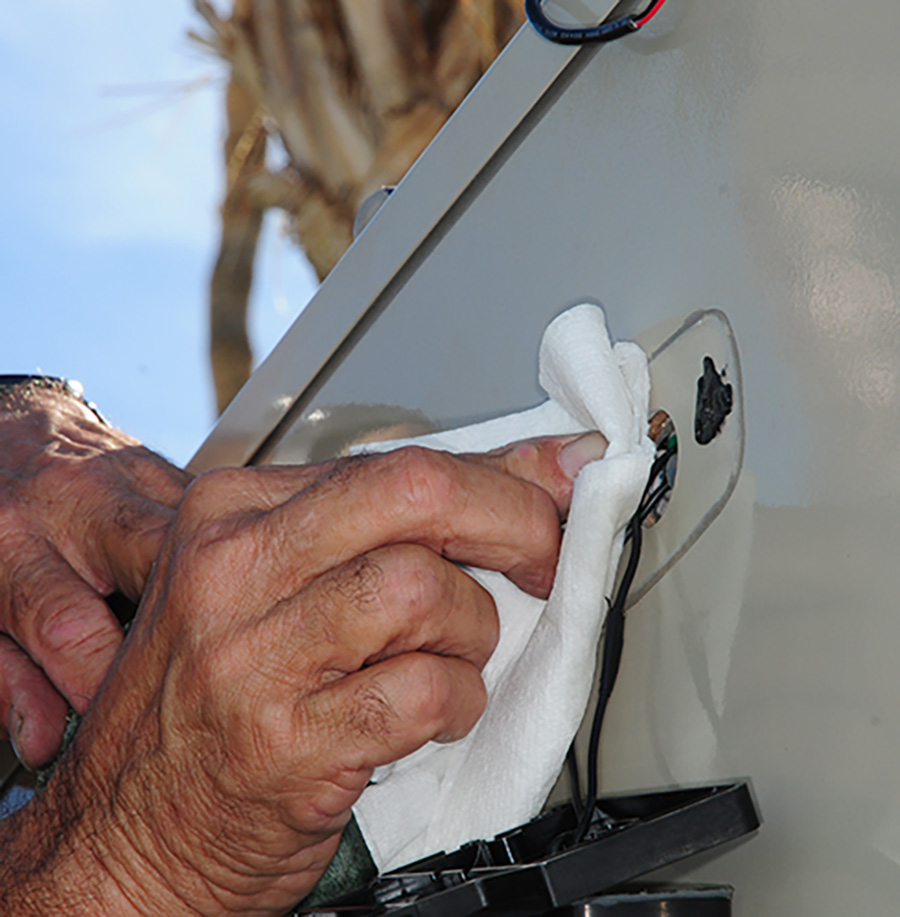
Portrait photograph close-up view of Bill Gehr's hands using alcohol and a rag/paper towel to clean the back surface area of a RV trailer for the excess silicone is scraped off once the wires are out and secure
Once the wires are out and secure, the excess silicone is scraped off and the surface is cleaned with alcohol and a rag.
Portrait photograph close-up view of Bill Gehr's hands adjusting the vueSMART bracket as it was first test-fit to make sure it lines up on the back surface area of a RV trailer; Next, the wires were pulled through the bracket.
The vueSMART bracket was first test-fit to make sure it lines up. Next, the wires were pulled through the bracket.
Portrait photograph close-up view of Bill Gehr's hands using cords to the adjust the bracket on the back surface area of a RV trailer; Rather than chance that the wire coding was right, polarity was checked with a multimeter. The trailer umbilical cord must be connected to the tow vehicle and the clearance lights turned on to power the wires. If the tow vehicle is not handy, you can connect the charge line to the clearance lights using a jumper wire in the umbilical cord plug (not shown).
Rather than chance that the wire coding was right, polarity was checked with a multimeter. The trailer umbilical cord must be connected to the tow vehicle and the clearance lights turned on to power the wires. If the tow vehicle is not handy, you can connect the charge line to the clearance lights using a jumper wire in the umbilical cord plug (not shown).
Portrait photograph close-up view of Bill Gehr's hands using butyl tape to apply completely around the frame on the back surface area of an RV trailer; Before mounting the vueSMART bracket to the wall, make sure the wires to the clearance light are accessible before pressing the bracket in place.
Portrait photograph close-up view of Bill Gehr's hands adjusting/securing the frame on the back surface area of an RV trailer; Before mounting the vueSMART bracket to the wall, make sure the wires to the clearance light are accessible before pressing the bracket in place.
Before mounting the vueSMART bracket to the wall, butyl tape was applied completely around frame. Make sure the wires to the clearance light are accessible before pressing the bracket in place.
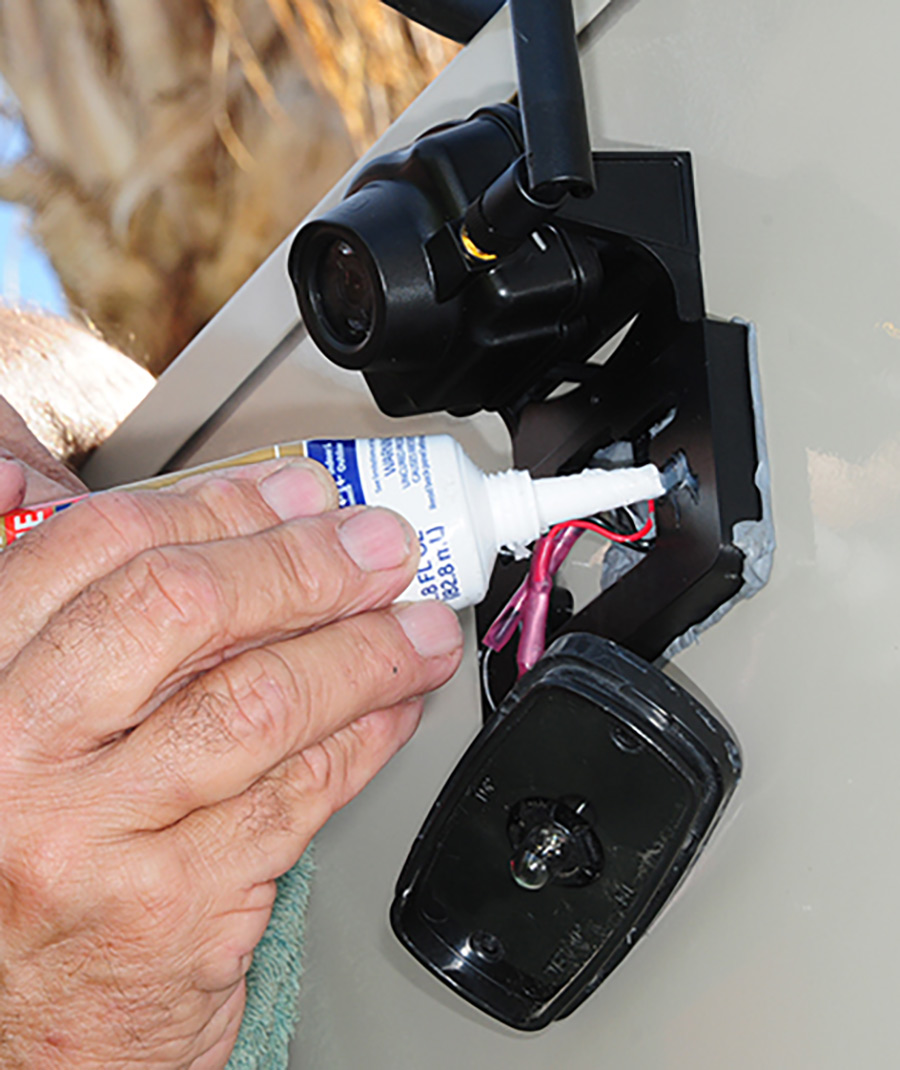
Portrait photograph close-up view of Bill Gehr's hands using a shot of silicone sealant to push through the holes of the bracket to protect against wet weather on the back surface area of a RV trailer
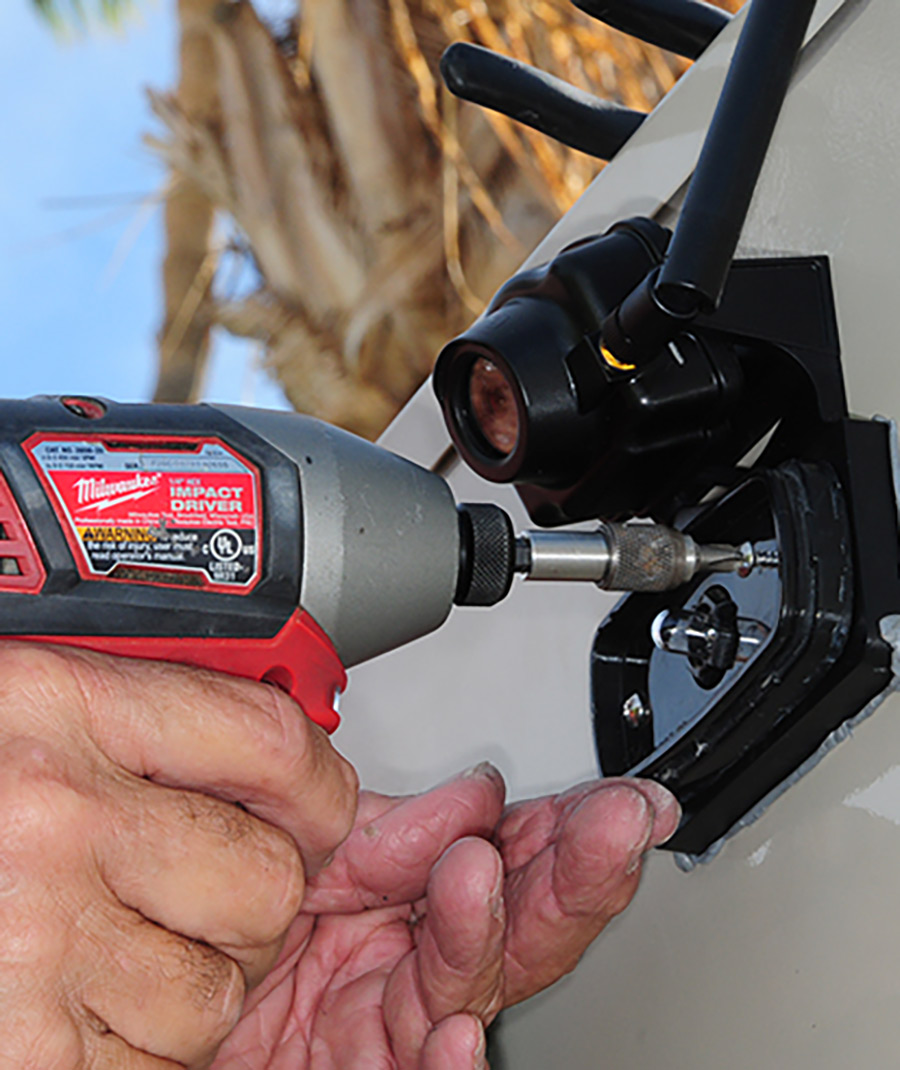
Portrait photograph close-up view of Bill Gehr's hands using a screw gun to attach the bracket to the wall using the provided stainless-steel screws on the back surface area of a RV trailer
The bracket was attached to the wall using the provided stainless-steel screws, but before they were driven into the wall with a screw gun, a shot of silicone sealant was pushed through the holes to protect against wet weather.
Portrait photograph close-up view of Bill Gehr's hands mounting the camera onto the bracket on the back surface area of a RV trailer; When mounting, the wires must be clear of any obstructions. The instructions call for a loop to allow for camera adjustments and to make sure rainwater does not travel into the hole in the wall.
When mounting the camera on to the bracket, the wires must be clear of any obstructions. The instructions call for a loop to allow for camera adjustments and to make sure rainwater does not travel into the hole in the wall.
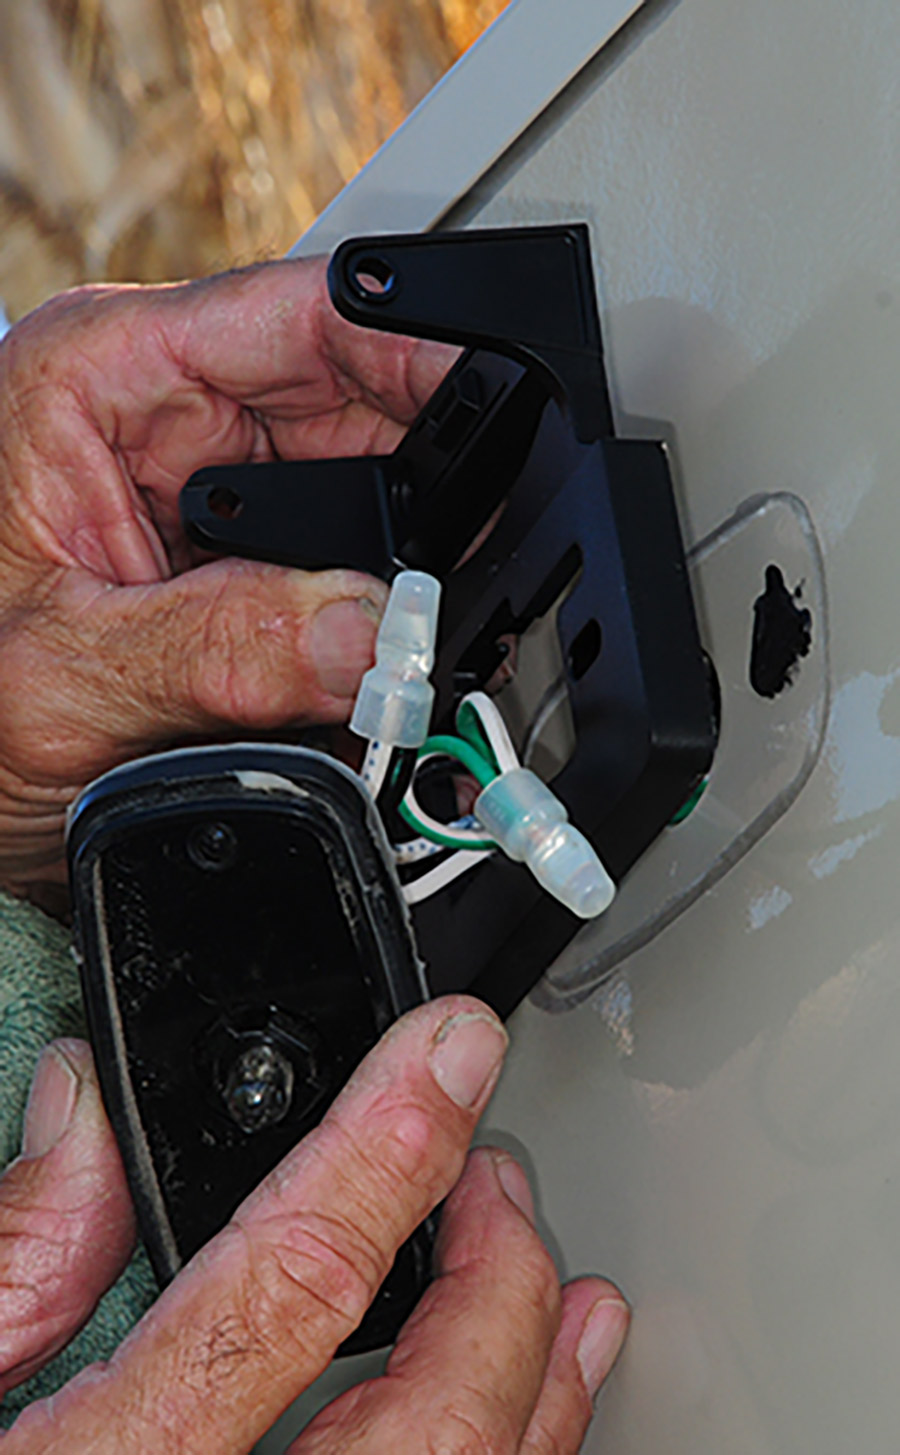
Portrait photograph close-up view of Bill Gehr's hands adjusting the wires as they were connected with heat-shrink terminals provided in the kit; A heat gun was used to melt the tubing; just make sure the heat is directed away from the trailer wall or the surface can be damaged.
Wires were connected with heat-shrink terminals provided in the kit. A heat gun was used to melt the tubing; just make sure the heat is directed away from the trailer wall or the surface can be damaged.
Portrait photograph close-up view of Bill Gehr's hands applying the Butyl tape to stuff into the opening in the wall to prevent moisture intrusion; The butyl tape around the edges of the bracket should do the trick, but a little extra “insurance” prevents problems down the road.
Butyl tape was stuffed into the opening in the wall to prevent moisture intrusion. The butyl tape around the edges of the bracket should do the trick, but a little extra “insurance” prevents problems down the road.
Portrait photograph close-up view of Bill Gehr's hands using a yellow razor cutter tool to cut the old silicone from the base of the clearance light fixture to make sure it fit tightly in the new bracket
The old silicone was cut from the base of the clearance light fixture to make sure it fit tightly in the new bracket.
Portrait photograph close-up view of Bill Gehr's hands using a shot of silicone sealant to force into the new holes in the wall before the clearance light was installed in the bracket
Portrait photograph close-up view of Bill Gehr's hands using a screw gun to firmly secure the bracket to the wall via provided stainless-steel screws on the back surface area of a RV trailer
Silicone was forced into the new holes in the wall before the clearance light was installed in the bracket.
Portrait photograph close-up view of Bill Gehr's hands using a red plastic putty knife to clean up the butyl tape that squished out when the screws in the bracket were tightened on the back surface area of a RV trailer
Portrait photograph close-up view of Bill Gehr's hands using a shot of silicone sealant to apply in the gap between the clearance light base and the bracket
A plastic putty knife was used to clean up the butyl tape that squished out when the screws in the bracket were tightened. Silicone was applied in the gap between the clearance light base and the bracket.
Portrait photograph close-up view of Bill Gehr's hands using a screw gun to plant the provided stainless-steel screws to firmly secure the antenna as it was secured with the bracket that came with the kit; The instructions show this as an optional step, but there’s no such thing as too much support when tooling down the highway. When done, the camera fits in nicely with the clearance lights. The camera angle can be adjusted to taste.
Finally, the antenna was secured with the bracket that came with the kit. The instructions show this as an optional step, but there’s no such thing as too much support when tooling down the highway. When done, the camera fits in nicely with the clearance lights. The camera angle can be adjusted to taste.
iPhone screenshot of the Hopkins Towing Solutions mobile app enter intro start-up screen
Rather than use a monitor, which drives up the cost, the vueSMART system relies on a smart device that’s paired to the camera; the clearance lights must be on to activate the system. You can control the six LED lights when the scene is dark, take a picture or record a video right from the smart device — and there are SmartZone lines in green, yellow and red to help guide backing process (not shown). The smart device must have cell service.