
A Shocking Experience
[maghub_sidebar]
Truck Tech topic heading
A Shocking Experience typography
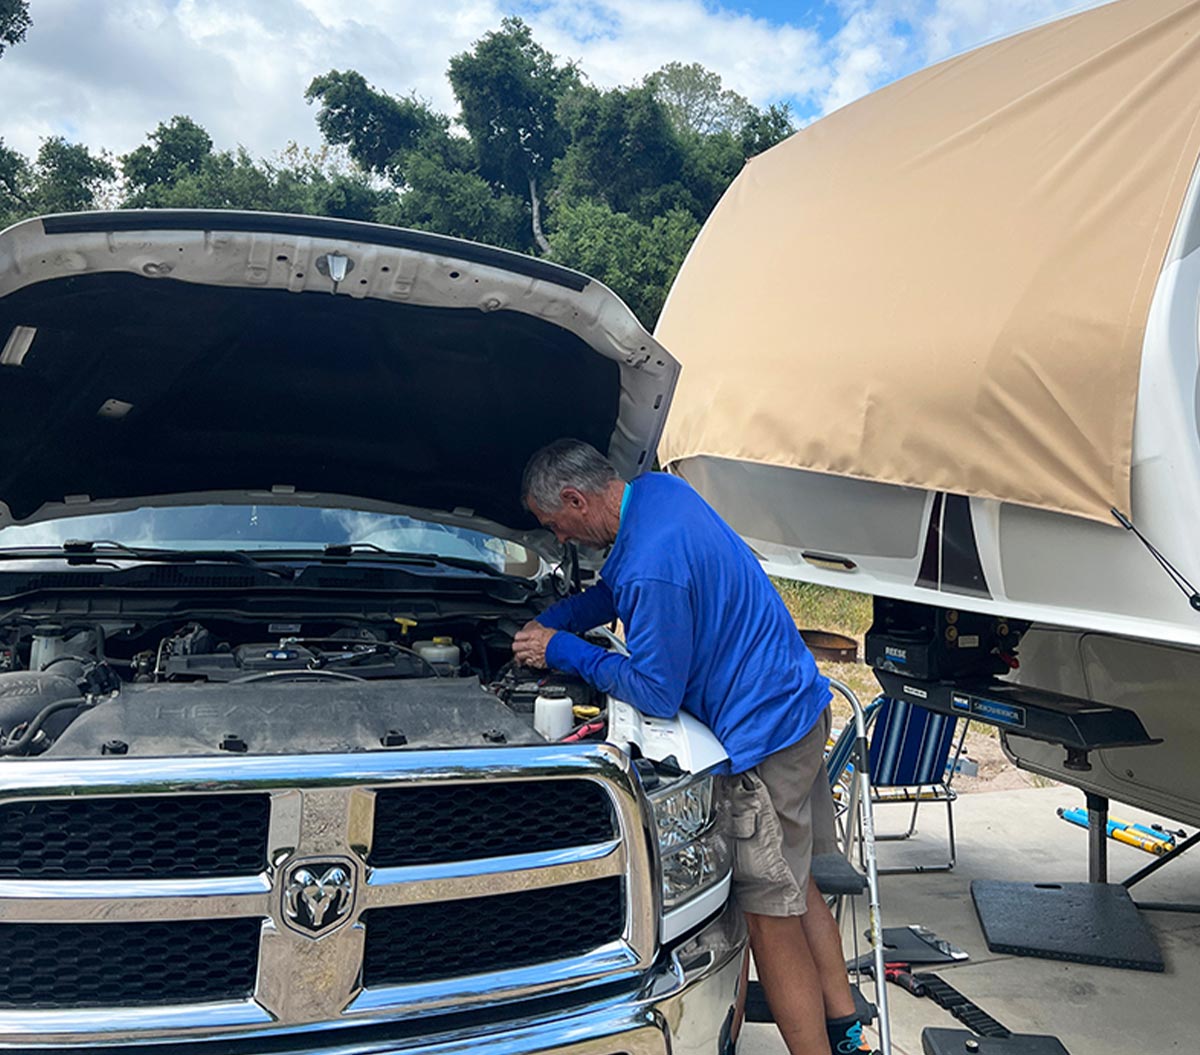
a man does work on a heavy duty truck with its hood open, parked in a driveway beside an RV trailer
Heavy-duty pickup trucks are great for handling big trailers and campers, but that capability comes with a rough ride. Replacing worn factory shocks with those from Bilstein will make a dramatic difference in drivability and damping proficiency.
By Bob Livingston / Photos by the author
I

t’s no secret that factory shock absorbers provide only minimal damping of road conditions. Why? Because vehicle manufacturers typically use mass-produced equipment to fulfill this important suspension role — these cylindrical devices that bridge the gap between the frame and axle are designed to limit the stress on the suspension while controlling tire hop and adverse tire wear. Without shocks at every corner, the suspension would react wildly, producing a harsh ride, suspension bottoming and ultimately, an unsafe ride.

Most factory shocks have hydraulic-fluid valving, whereby piston-rod movement is restricted to provide a damping effect between the axle and frame. The movement turns kinetic energy into heat, which is dissipated to allow the shocks to do their job. However, most inexpensive shocks do not dissipate the heat efficiently — and, thus, the movement turns into mediocre suspension control. This configuration has been around virtually forever and, unfortunately, it doesn’t take long before mediocre support turns to virtually no support.

Enter the shock-absorber aftermarket, which is loaded with products that improve the ride dramatically — and prevent premature wear. That was exactly the issue with my Ram 4 x 4 dually outfitted with factory shocks. Frankly, the shocks never did much to begin with, and the ride was rough, which was to be expected for such a heavily-sprung truck. The front- and rear-ends bounced and any less-than-smooth roads transmitted much of that jarring ride to the cabin and its occupants. At times, it was even hard to talk and use the instrumentation and media controls. Only the dog brushed it off as normal and had no problem being lulled to sleep.

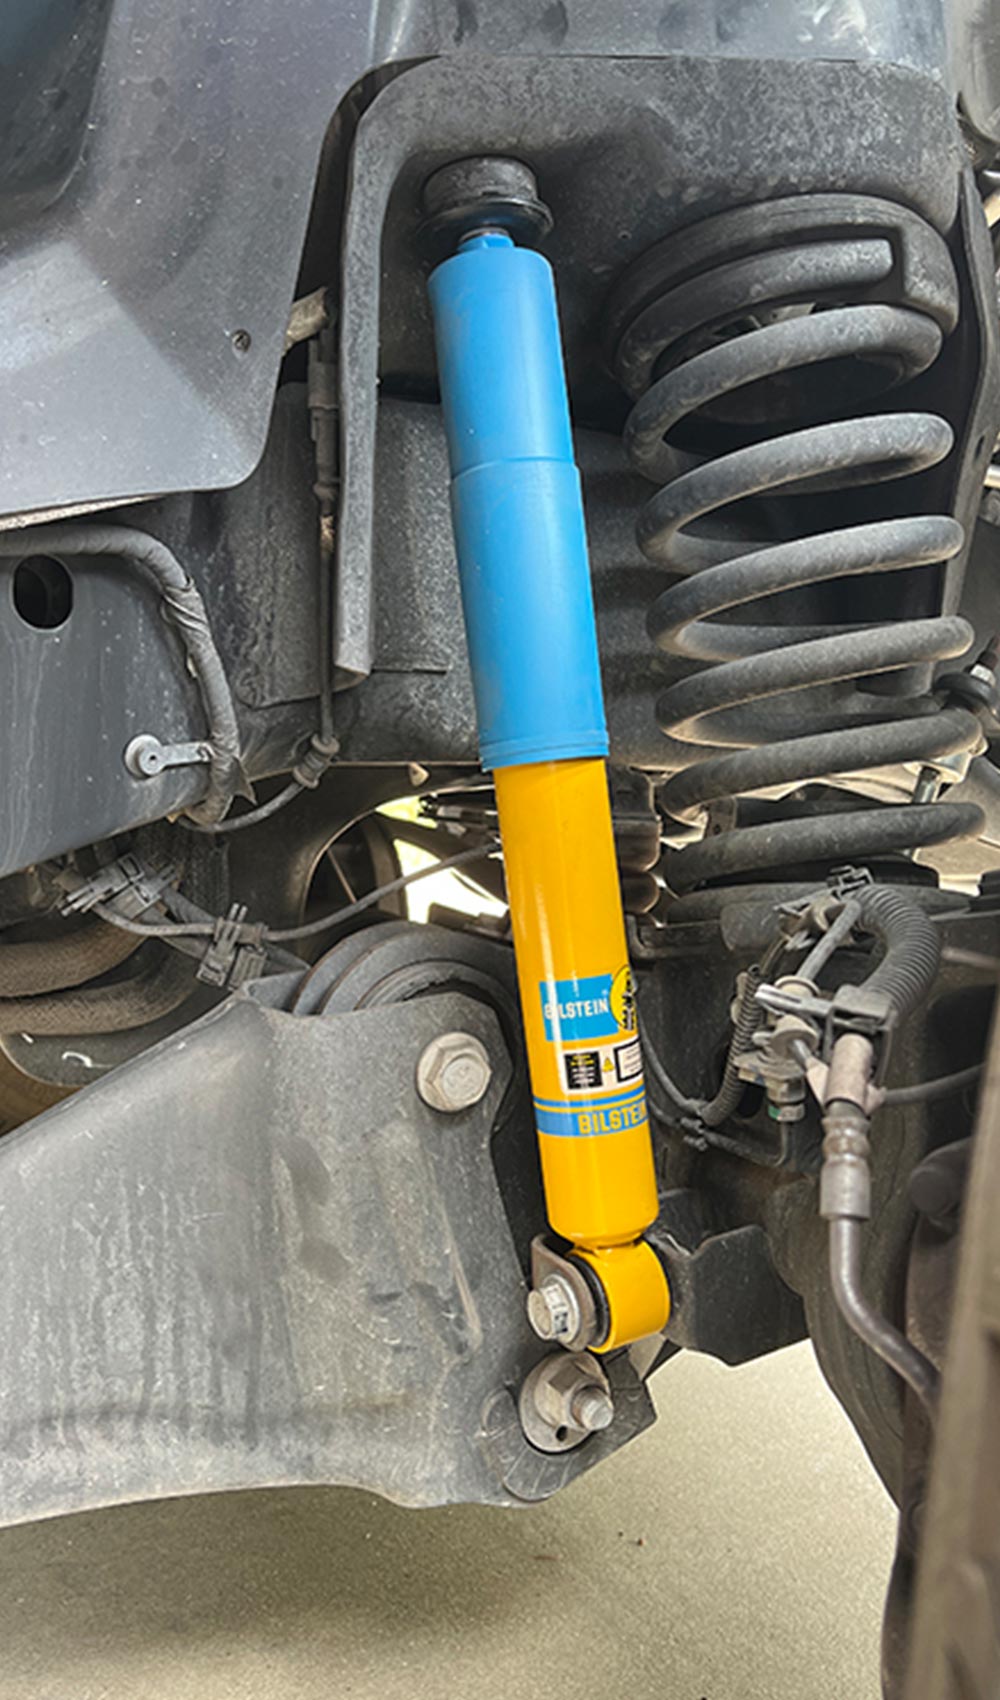
vibrant blue and yellow B6 4600 shocks are lined up for installation
Bilstein shock absorbers are clad in the company’s familiar yellow and blue colors and are tuned for individual vehicles. Here, the B6 4600 shocks are lined up for installation in a Ram 3500 4-wheel-drive dually. This is one of the most popular replacements for factory shocks in trucks and SUVs.
standing in front of a white heavy duty truck, a man holds up a factory shock in one hand and a Bilstein shock in the other for comparison
Old and new shocks may be similar in size, but that’s where the similarities stop. Typical factory shocks have hydraulic valving in a twin-tube design. While they work for a short while, factory shocks will not dissipate enough heat to do much good. Bilstein shocks have a nitrogen-gas, monotube design whereby the valving reacts instantly to road conditions and dissipates heat for fade free performance.
Then too, tire wear on the front was awful and the tread disappeared in irregular patterns much more often than expected, even with the proper alignment and balance.

Obviously, it was time for new shocks.

As previously mentioned, the aftermarket is flooded with good-quality shocks touted to improve ride and handling. For this project, Bilstein B6 4600 shocks (bilstein.com) were chosen based on previous experience and their reputation for performance and durability.

When you go into the company’s website, you can dial in the vehicle information and find fitment options. The B6 4600 shocks are the most popular factory replacements for trucks and SUVs. There are two options for the truck: the B6 4600 or a B8 5100, which is longer and adjustable and earmarked for vehicles that have been lifted. Both offer equal performance and durability and, according to Bilstein, there will be no difference in ride quality or capability. Some shops will push the 5100 shocks for the Ram trucks, even at factory height, suggesting that they will do a better job for those who spend more time off-road. But that’s counter to Bilstein’s recommendations. So, we stuck with the 4600 series shocks.
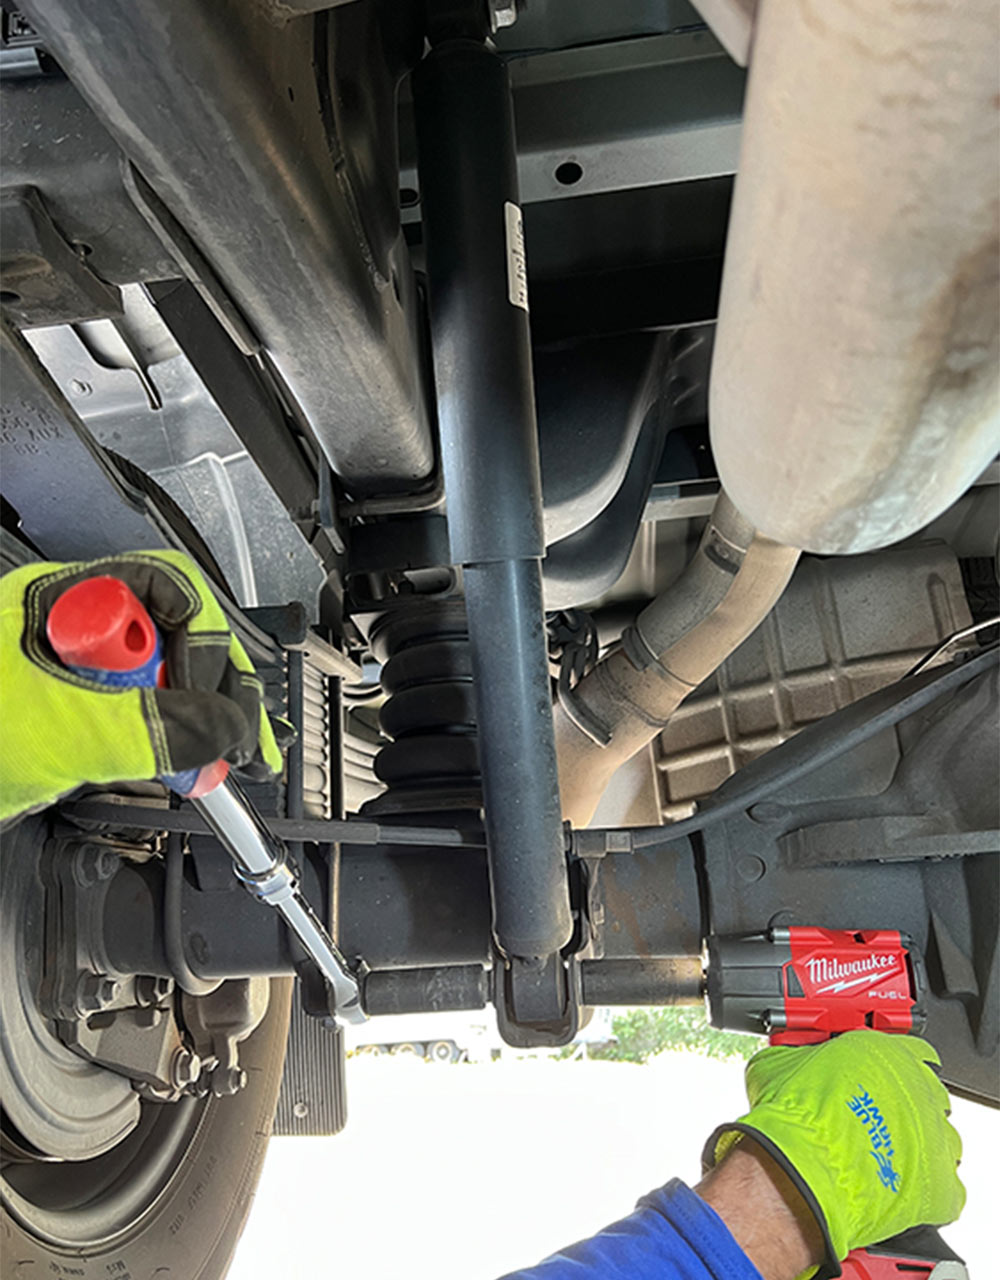
the bolt and nut in a lower “eye” of a bracket are loosened
the bolt and nut in an upper “eye” of a bracket are loosened
a factory shock is removed
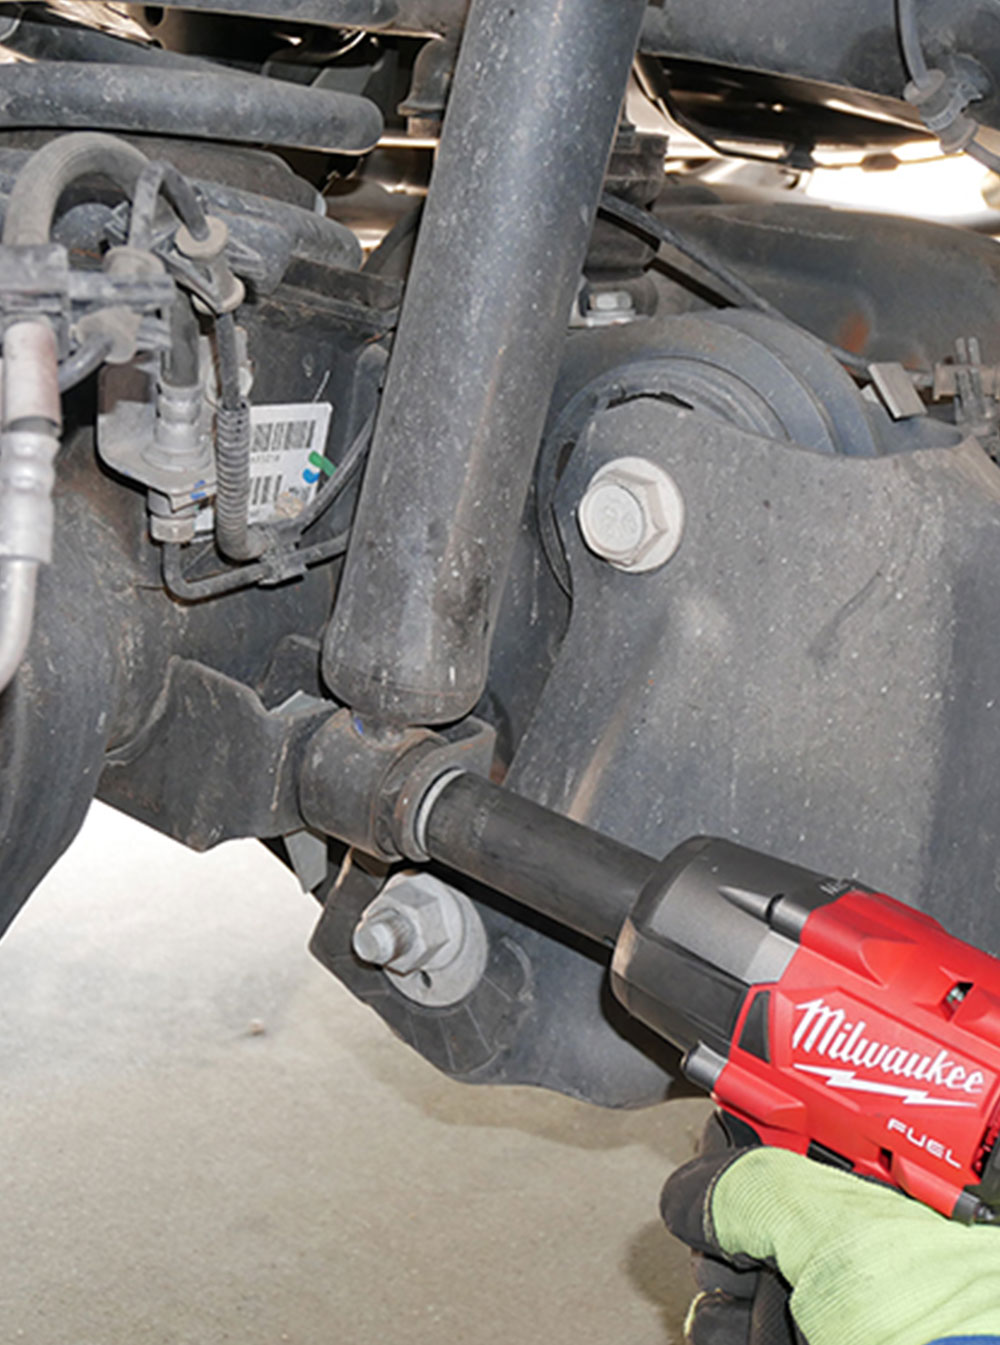
Removing the old rear shocks is just a matter of pulling the bolt and nut in the “eye” from the top and bottom bracket. It takes only a few minutes to remove the old shocks. Don’t be surprised if the old shocks seem well worn, lacking any damping action when moving the piston by hand.
the top “eye” of a Bilstein shock is lined up with its respective bracket
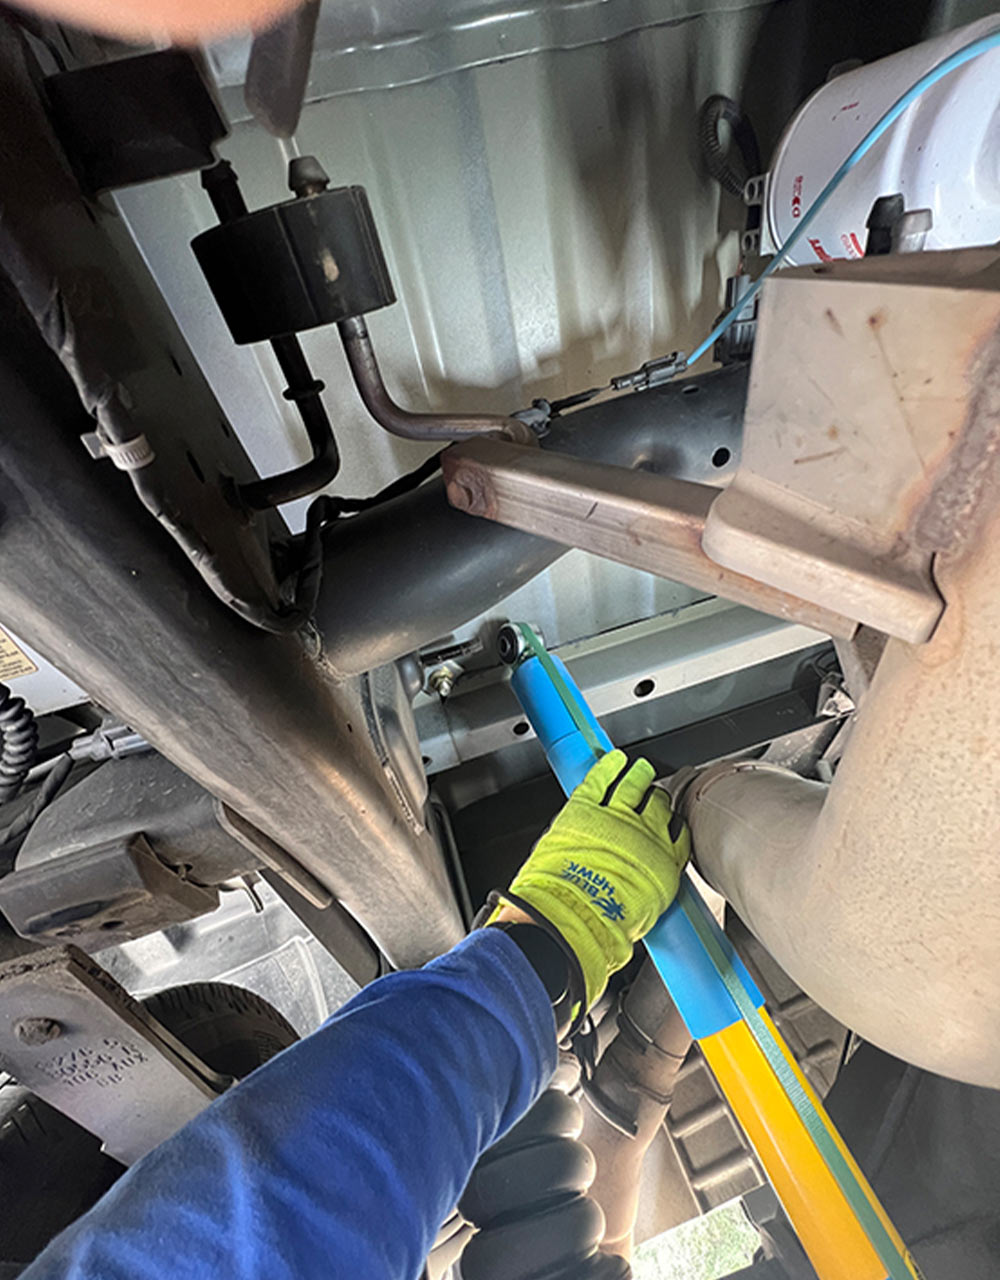
the top “eye” of a Bilstein shock is fastened using the existing bolts and nuts taken from the previous, factory shocks
the lower “eye” of a Bilstein shock is fastened using the existing bolts and nuts
Once the original shocks were free, installing the new shocks in the rear was straightforward, requiring that the top and bottom “eyes” be lined up with their respective brackets on the frame and axle housing. You’ll use the existing bolts and nuts, so be sure not to discard them once the old shocks are removed.

Bilstein hangs its hat on a 46mm monotube configuration that uses nitrogen-infused, high-pressure gas and digressive valving that react instantly to changing road conditions. Each model shock is tuned for the specific vehicle application and dissipates heat much faster than conventional, factory counterparts.

Installing the Bilstein shocks, of course, will not transform a heavy-duty dually into a smooth-riding half-tonner, but the results are refreshing as the ride becomes more civilized. The front end no longer porpoises after negotiating bumps and dips, and the general jittery feeling was squelched quite a bit. The truck never handled badly, but road feel, nevertheless, is better — and certain body parts are now jostled with less hostility. There’s no wiggle in the steering wheel and big bumps are taken with much more control, which improve driver fatigue. Even some of the body rattles have been tempered.

Going into this project, new front tires were wearing unevenly and had to be replaced at 20,000 miles, which is premature. We’ll see if that improves, although Bilstein claims the shocks will help stabilize tire wear.
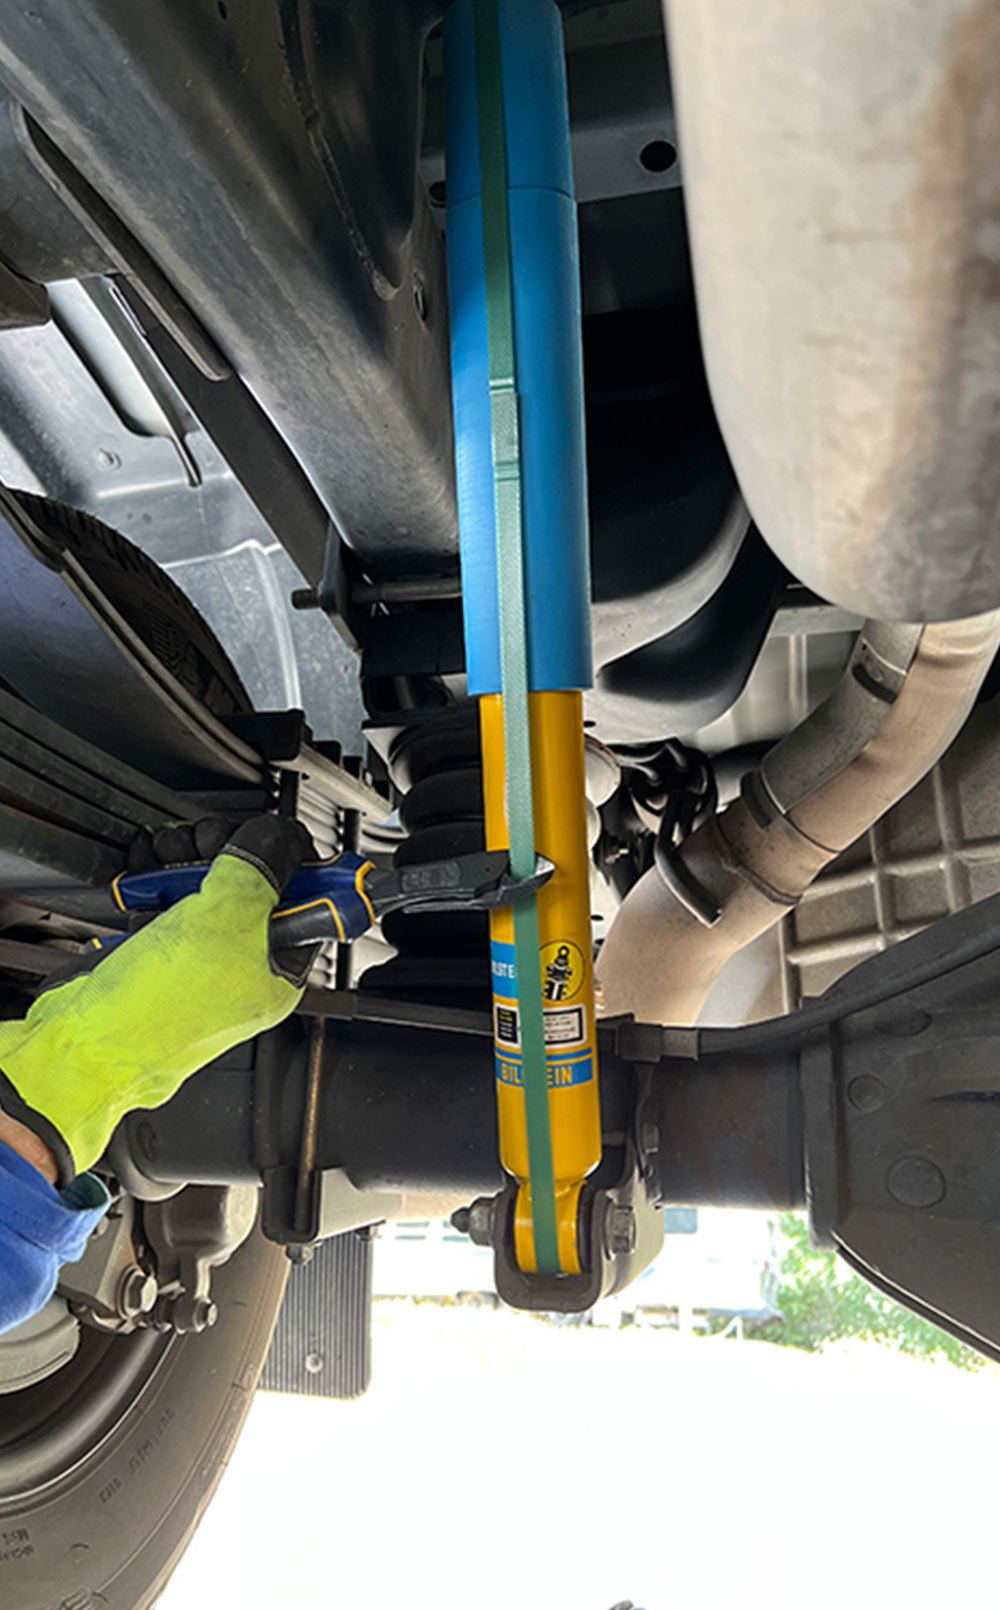
with the nuts tightened, the rear shock band is cut
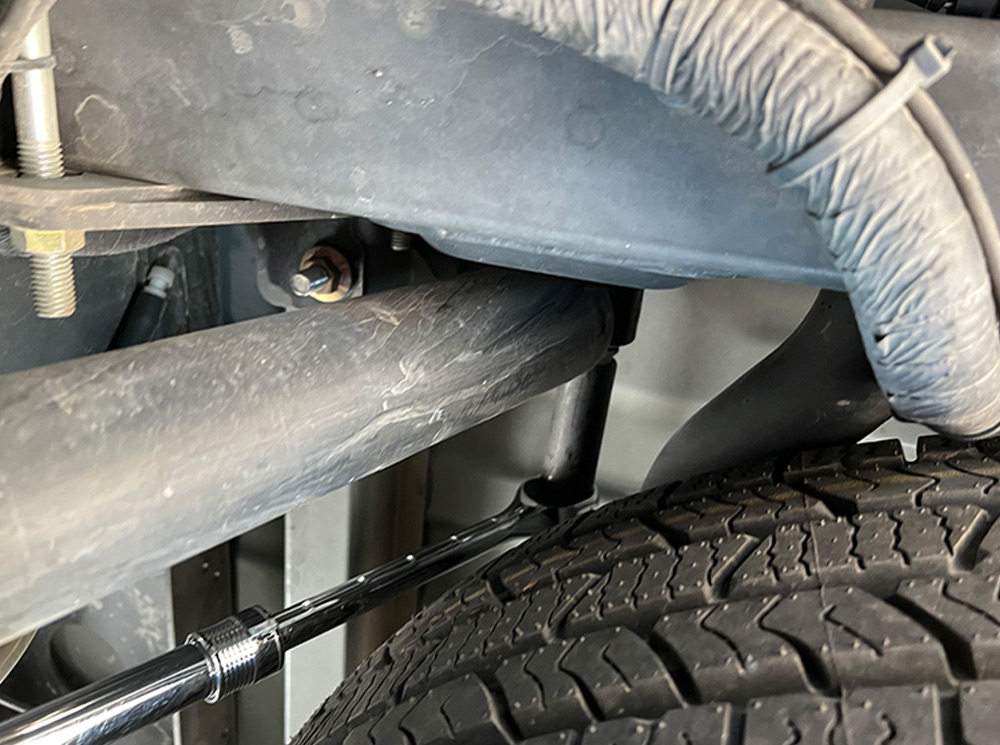
The rear shocks are banded so they will fit into the brackets without struggling to compress them. Once the nuts are tightened, the band is cut and discarded. If you cut the bands early, you’ll have to wrestle with the shock in order to make it fit — there’s a lot of pressure behind the piston.
view of the upper bracket
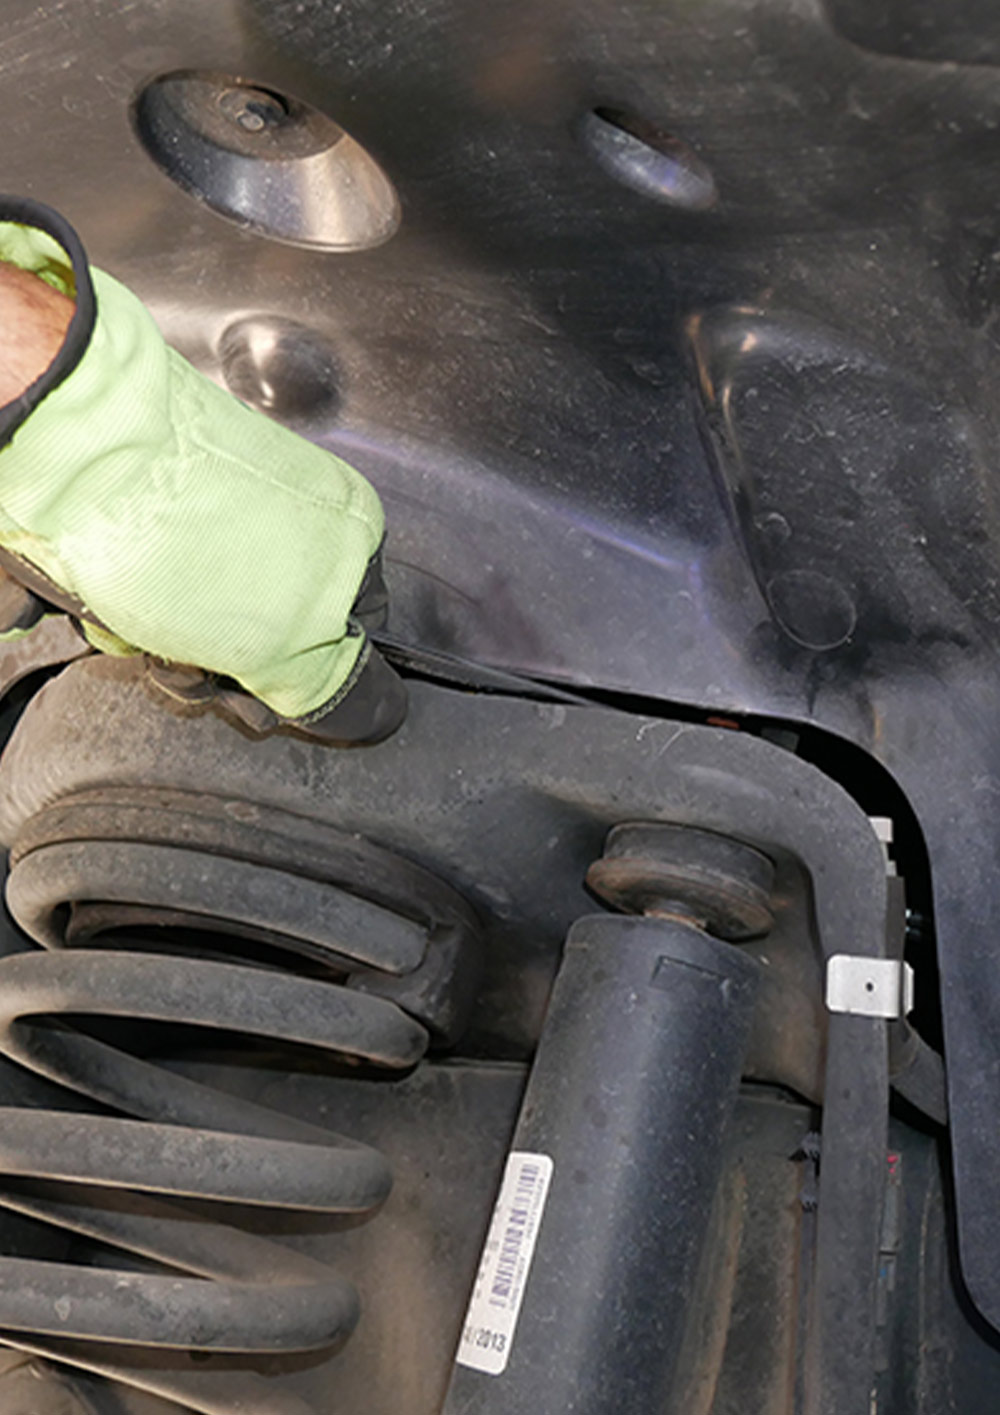
While access to the right-side, rear shock was wide open, it was more difficult to reach the upper bracket with a ratchet and socket. Take your time; it’s certainly doable if you don’t get frustrated.

Installing the Shocks
This is one job that just about any do-it-yourselfer can handle with not much stress. The new shocks bolt on using existing rear bolts; new bushings are provided for the front and, as long as there is access, the job goes pretty smoothly — just make sure the tires are chocked for safety. There was plenty of room to move around without jacking up the truck; those with big beer bellies might need to lift the frame somewhat and roam around on a creeper, depending on the model truck. If you do so, be sure to use jackstands rated for the weight of the truck.

Removing and replacing the rear shocks was uneventful and only common hand tools were needed, although a power ratchet will speed up the process. The Bilstein shocks are banded to keep them compressed for installation; once in place, the bands are cut and discarded.

Up front was another story and took some backyard ingenuity to get the new shocks mounted. The front shocks use a threaded rod and two bushings to keep them secured to the tower. Access is under the hood and removing the old nut was difficult because it was almost impossible to reach the nut from the top. Working the left-side wheel was even more restricted, so we pushed the plastic fender shroud out of the way with a screwdriver, blocked it to keep the gap open and used an open-end wrench to slowly remove the nut.

Getting the new shock placed required a ratchet extension and a swivel end with the socket, which was taped in place to prevent separation and digging out lost tools in the bowels of the engine compartment. Once the shock was in place, we were able to slowly get the top bushing in place and the nut tightened.

Even with fumbling with the front shocks, we had the job completed in less than two hours.

Granted, Bilstein shocks are more expensive than standard replacements, but if you shop carefully online, you can find decent prices. The shocks for this project were purchased on Amazon for $347.99, which is well worth the improvement in ride and handling, to say nothing of the mitigation of adverse tire and suspension wear.

a front mud flap is removed from the heavy duty truck to gain comfortable access to the front shocks
Installing the front shocks was more difficult because of access limitations. For this project, the first step was removing the mud flap on each side to keep it from digging into our chests when reaching up into the wheel well.
bottom bolt holding the old shock is loosened with a drill tool
the lever wedged against the bracket when tightening the bolt is removed
The bottom bolt holding the old shock was removed first. It’s threaded into a nut connected to a “fish” plate because there’s no way to get a wrench on the nut. This lever is wedged against the bracket when tightening the bolt.
Installing the front shocks was more difficult because of access limitations. For this project, the first step was removing the mud flap on each side to keep it from digging into our chests when reaching up into the wheel well.
The bottom bolt holding the old shock was removed first. It’s threaded into a nut connected to a “fish” plate because there’s no way to get a wrench on the nut. This lever is wedged against the bracket when tightening the bolt.
view of the connection point between the front shock threaded piston arm and the bracket tower
The front shocks have a threaded piston arm that is routed through a hole in the bracket tower. This is a common configuration in truck engine compartments that allows access to the arm on each shock from above.
a flat wrench is maneuvered between the plastic shroud in the wheel well to remove the bolt on the threaded rod on a front shock
the front shocks threaded piston arm is removed from the hole in the bracket tower
Removing the bolt on the threaded rod on each shock required two people. A flat wrench was maneuvered between the plastic shroud in the wheel well while the helper held the eod steady with a T-handle Allen wrench in the engine compartment.
The front shocks have a threaded piston arm that is routed through a hole in the bracket tower. This is a common configuration in truck engine compartments that allows access to the arm on each shock from above.
Removing the bolt on the threaded rod on each shock required two people. A flat wrench was maneuvered between the plastic shroud in the wheel well while the helper held the eod steady with a T-handle Allen wrench in the engine compartment.
a bearing sleeve is inserted into the rubber bushing on a Bilstein front shock
the rubber bushing with the bearing sleeve is placed onto the threads at the top end of the piston rod
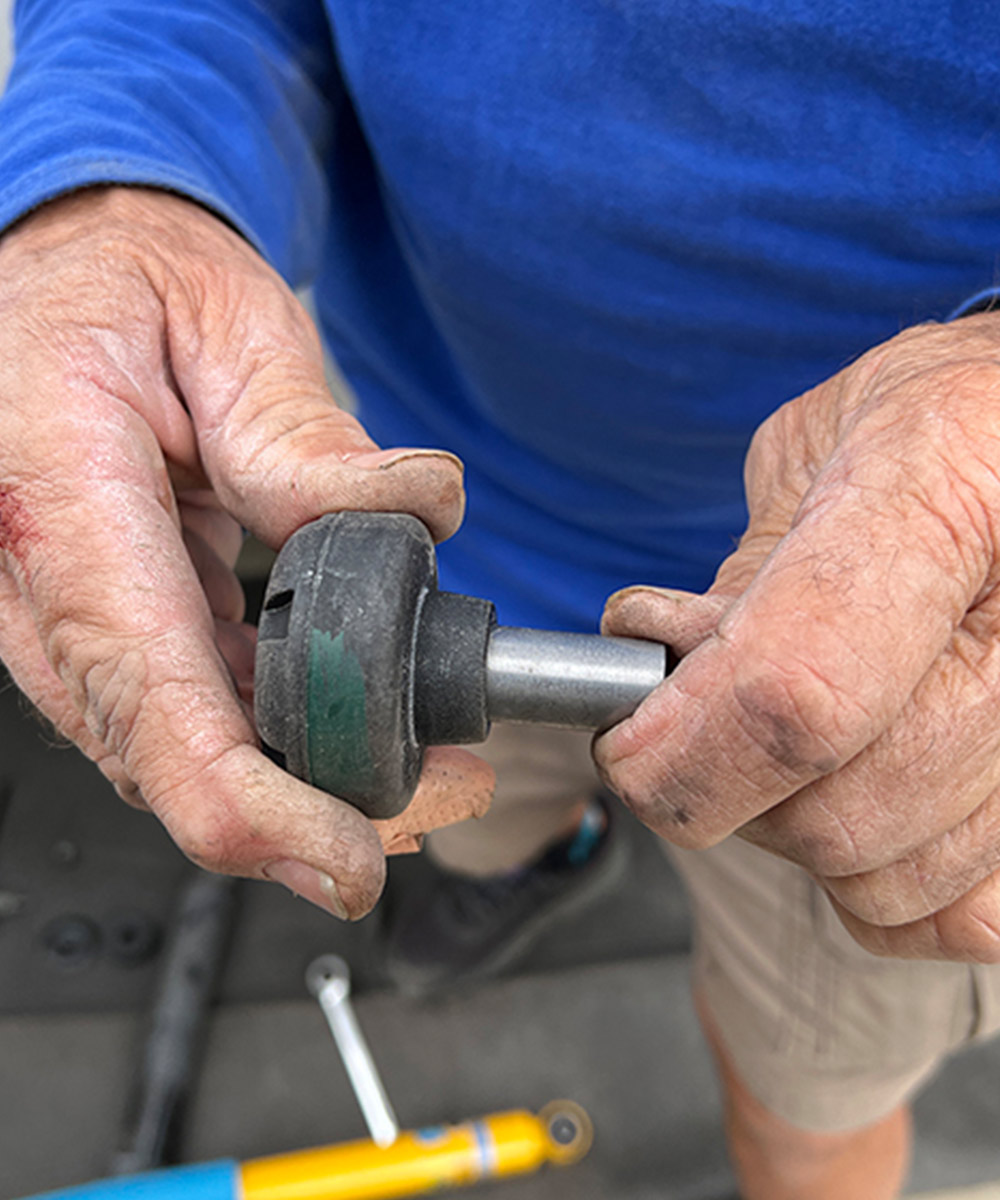
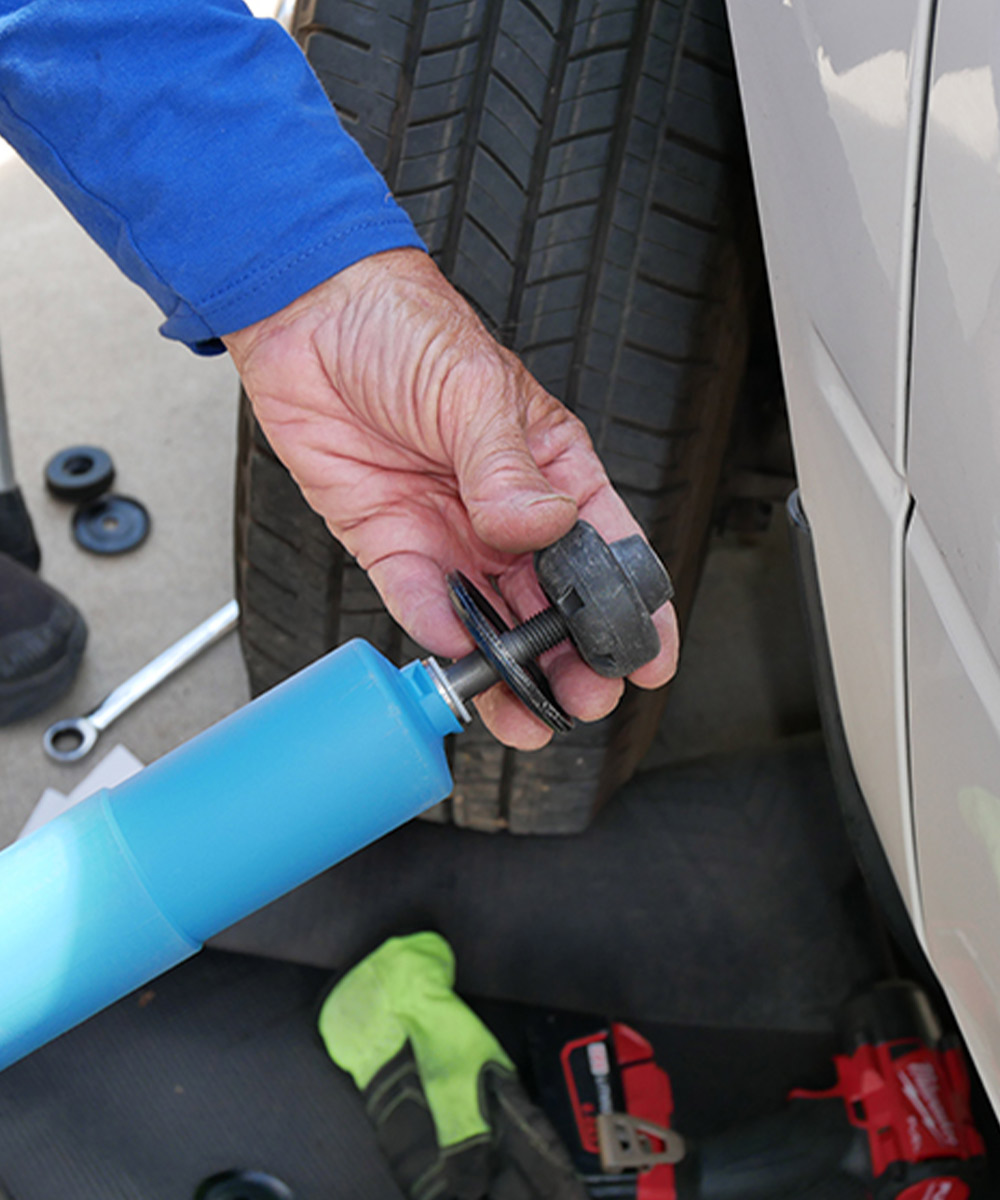
Before installing the front shocks, a bearing sleeve is inserted into the rubber bushing before sliding onto the threads at the top end of the piston rod. The sleeves and bushings are provided with the front shocks.
view of the new Bilstein shock in place, connected to the bracket tower
view from the engine compartment of the Bilstein shock's threaded arm
Each front shock was maneuvered into the hole in the upper bracket, which was fairly easy to do. Once in place, the nut was threaded onto the end in the engine compartment. Access to the bolt on each side was tight. The nut was left snug at this point.
with a shock is in place the bottom “eye” is bolted to the axle using the fish plate to secure the bolt on each side
Once the shock is in place, the bottom “eye” is bolted to the axle using the fish plate to secure the bolt on each side. The top nut is then tightened. (not shown).
black electric tape is used to attach a swivel end to an extension
the socket wrench and extension is used to tighten a bolt on a newly installed shock from the engine bay
Here’s a little trick we’ve been using for years: When attaching a swivel end and/or socket to an extension for work in tight quarters, we tape them on to prevent tools from escaping into the bowels of the engine compartment.
Once the shock is in place, the bottom “eye” is bolted to the axle using the fish plate to secure the bolt on each side. The top nut is then tightened. (not shown).
Here’s a little trick we’ve been using for years: When attaching a swivel end and/or socket to an extension for work in tight quarters, we tape them on to prevent tools from escaping into the bowels of the engine compartment.
a hand holds a tee-handle Allen wrench when working from the engine bay
A tee-handle Allen wrench gave us the best leverage when tightening the nut on the threaded end of the piston arm. Again, it took two people to tighten the top nut on shock.
full view of the newly installed vibrant blue and yellow Bilstein shock
Bilstein’s blue-and-yellow front shocks contrast nicely (it’s a car buff thing) with the front suspension components. Once the new shocks were installed, ride quality and handling improved dramatically over the tired factory shocks.