—John Augusta
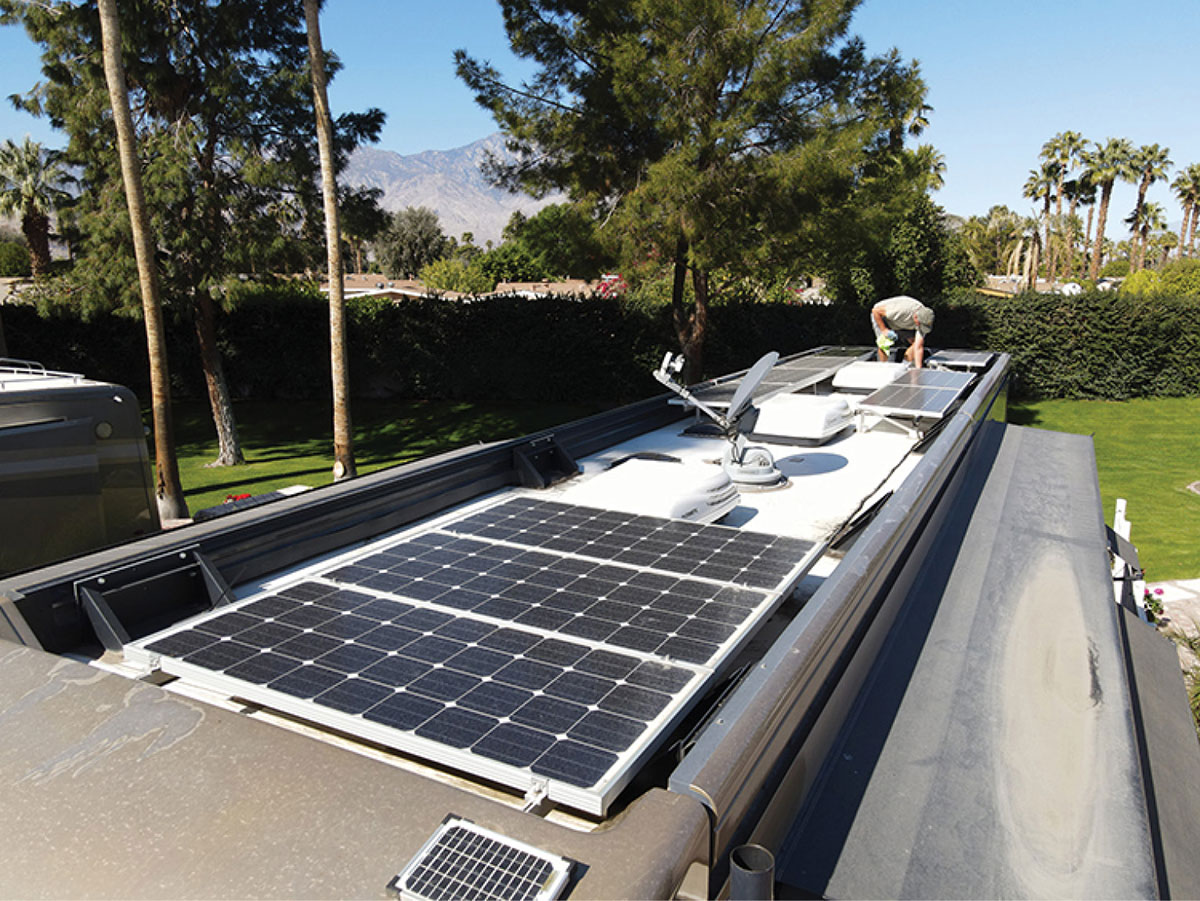
There are a couple of problems that I can think of right off the top of my head. You did not give me the wattage ratings of the solar panels, which could make quite a bit of difference; the bigger the panel, the more amperage that would be supplied to the charge controller running through the 10-gauge wire. If all six panels are run in parallel, the 10-gauge wire would absolutely not be big enough. If this is the case, it will take a 6-gauge wire, minimum, that is routed to the charge controller, assuming that the panels are rated at 100 watts or larger.
If two panels are wired in series, giving you 24 volts DC, and the three pairs then wired in parallel to the charge controller, the 10-gauge wire should be able to handle all of the panels. The real problem may be the charge controller not being large enough to handle the amperage output of your panels. That, of course is dependent on the output of all six panels.
—Jake Small
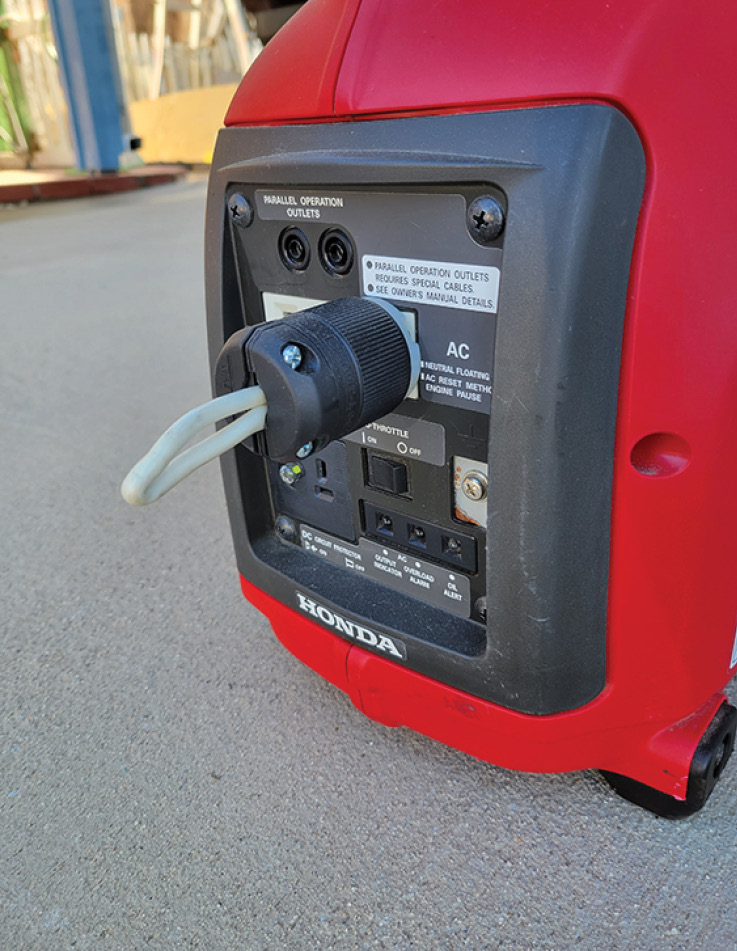
Jake, this is a common problem when using an inverter-style generator. Your EMS does not recognize the generator — essentially, there is no link between the ground and the white/common wire. Fortunately, there is an easy fix. Purchase a male replacement for an extension cord (readily found in any hardware or home improvement store) and, while using a piece of 10- or 12-gauge wire, create a” jumper” between the white/common terminal and the green/ground terminal. When you plug this into one of the 120-volt AC receptacles, your EMS will recognize the generator.

—Nolan Swanson
Nolan, since you first tried to reset the GFCI using the provided buttons in the wall plate, you might have already discovered the problem. If there’s no power to the 20-amp breaker, which more than likely supplies the GFCI and the connected outlets, you probably have a bad breaker. In order to test whether it works you would normally have to pull the breaker and check if it’s got 120 volts AC on the bus bar supplying that circuit breaker. Most mechanics will use a multimeter to determine if there is power, and as such, you will have to be cognizant that you’ll be working around electricity and live wires.
Last spring, I discovered a slick tool, the Bside-branded “A1 Fully Automatic Anti-Burn Intelligent Digital Multimeter” on Amazon that reduces the risk of checking live circuits (see RVExpert, April 5, 2023) and it sells for only $21.69. With this device, you can quickly determine if a breaker is bad or if the GFCI is not functioning properly, and all you have to do hold the device close to the breaker or outlet; probes are not necessary (unless you’re checking for 12-volt DC circuits).
If you discover that the 20-amp breaker does have power, you will need to start backtracking by checking all the outlets — one at a time, including the GFCI — to make the diagnosis. If you’re using a standard multimeter you can probe the slots, or if you picked up the Bside meter, an audible alert will let you know if there is power to the outlet. These outlets are generally wired in series and most manufacturers use a type of receptacle in which the wires are simply pressed into a bar that runs between the two parts of the outlet — almost like a set of teeth that hold the Romex into place. This type of configuration has been used for many years and it is not failsafe; there can be a loose connection where the Romex wire is pressed into the teeth. If 120-volt AC power is present at an outlet you just checked and not at the next one, you have figured out the problem.
—Anthony Garcia
Anthony, I’m assuming that you’re probably grounding the probe from the voltmeter to the chassis on the Jeep and, based on your description, the ground wire is not making a connection from the front to the back. That would explain why you’re getting power to the wires, but the lights are still not working. The chances that all the diodes have failed are very slim. I don’t think you need a new wiring harness. It’s possible that the ground wire has been severed somewhere along the frame or has become disconnected. If you are in doubt, just simply run a new ground wire from front to the back and I bet that will solve your problem.
—Lyle Elwood
Lyle, you are correct assuming that not much sticks to a polyethylene tank. That type of plastic is very dense and basically a non-stick material. My first suggestion is to get a plastic repair tool from Harbor Freight; not the one that uses a soldering/heating iron. You need to get the one that uses hot air to melt the polyethylene together; if done correctly, the repair should be successful. If you can round up a few pieces of an old tank, fine; otherwise, you can purchase polyethylene sticks (from Amazon or local hardware/home improvement store) that can be heated and melted into the material around the fitting and onto the tank. Be very careful that you don’t overheat the material and burn a hole through the tank.
Worst case scenario: Find a piece of polyethylene big enough to cover the hole and weld it to the tank. Then, drill an appropriate-size hole next to the repair (you need a clear, undamaged area) and install another fitting. I’ve been using the Specialty Recreation Self-Sealing Water Tank Fitting (TF1) for years and it works amazingly well. You’ll need to drill a 7/8-inch hole and thread in the fitting into the tank until it compresses the O-ring and is tight, Then, rig up a piece of hose to the ½-inch barbed end and add a valve. This also give you an opportunity to run the drain to a more convenient location, if need be. This TF1 fitting is available at multiple online stores; just Google the name.
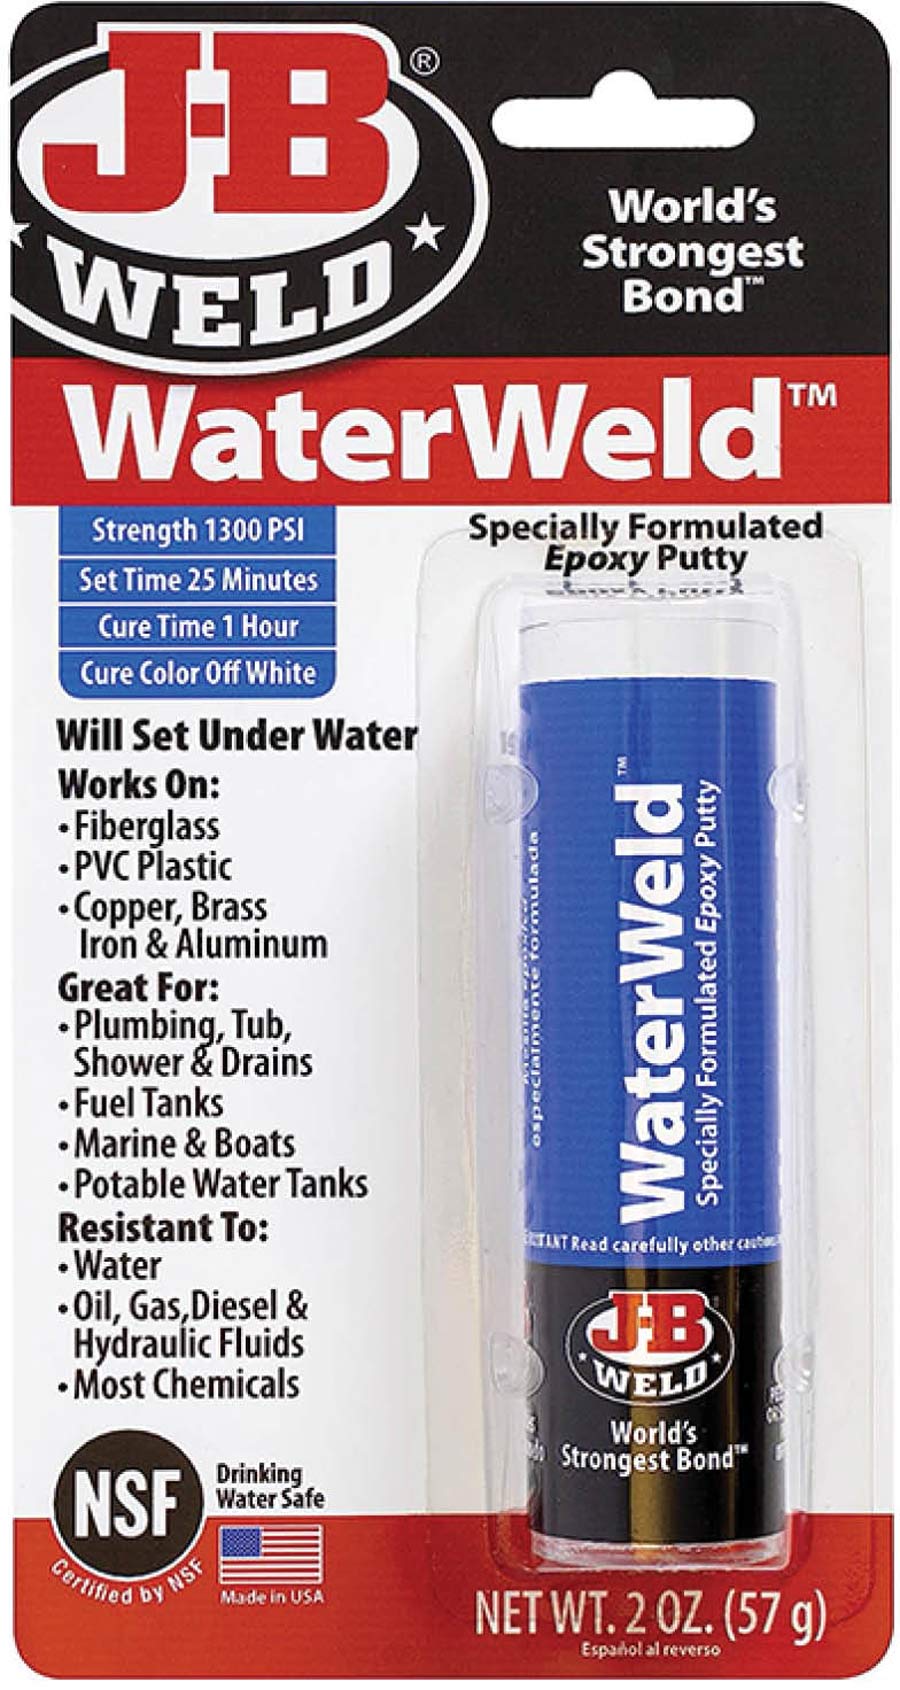
Owners who need an on-the-spot repair can try to seal the area with JB Weld WaterWeld. This stuff produces a strong seal and should stick to the fittings/tank. Although WaterWeld is good stuff, I prefer to consider using it for this type of repair as temporary. JB WaterWeld is one adhesive that I carry all the time and has gotten me out of more than a few jams. Preparation is the key to success; make sure the area is roughed up with sandpaper and cleaned with alcohol thoroughly before applying the WaterWeld.