ne big reason for the recent boost in popularity of RVing is the ability to camp with all the basics. Granted, there will always be a segment that truly appreciates “roughing it” with a tent and campfire for cooking, but having the ability to grab a cold drink from a refrigerator, make a hot meal in an oven or on a cooktop, retreat from noonday sun into air-conditioned comfort or, conversely, turn on a furnace on chilly mornings makes the outdoors a lot more livable for many of us.
Galley equipment is especially important. Manufacturers do their part by equipping contemporary RVs with the same sort of appliances that are critical to meal prep in a traditional brick-and-mortar home — though they are a bit different. And, all things considered, they are amazingly resilient. However, time does take its toll, especially on equipment subjected to constant pounding during travel, and RV appliances do require more upkeep. Properly maintained, though, they should continue cooking up memories for years.
The Basics — In and Out
In order for your galley appliances to work properly, their source(s) of energy must be correct and within specifications. For the galley, this means the LP-gas (aka propane) supply, 12-volt DC and 120-volt AC electricity all have to be within a specific range for the appliances to work correctly.
Propane-fueled RV appliances are set by the manufacturer to function at 10 to 14 inches of water column (a means of expressing a measurement of pressure). Since the gas inside your LP-cylinders is pressurized to as much as 250psi, that’s obviously too much pressure to cook with. The LP-gas system on your RV uses a two-stage regulator to bring cylinder pressure down to an industry-standard 11 inches of water column.
However, these step-down regulators can sometimes fail. Every regulator has a vent on it and sometimes — but not always, by any means — you can hear or smell gas escaping from the regulator. More frequently, though, they simply go out of adjustment. Again, sometimes you might notice this because the flame beneath your pot doesn’t look right due to the wrong gas/air mixture, but more often you just won’t be able to ignite it.
If your propane appliances aren’t functioning correctly, the first thing to troubleshoot is the regulator to ascertain it is operating at the correct pressure. The only way to test and adjust a regulator is to use a manometer — or, more correctly, to have the system checked by a technician using a manometer. It’s not recommended that RV owners perform this test themselves for two reasons: One, a manometer is an expensive piece of equipment that you’ll probably use once a year, at most (yearly analysis of your propane system should be on everyone’s annual RV check list); and Two, getting it wrong can have catastrophic consequences.
There’s a lot more to the propane system, to be sure — including the fact that some contemporary propane appliances also include an additional internal regulator that drops the incoming pressure down even further. (More information can be found at the website of the late Gary Bunzer, known as “The RV Doctor:” rvdoctor.com/2002/01/what-pros-do-propane-system.html).
Meanwhile, the status of the electrical systems can be determined with a multimeter — and this is something you can and should have in your RV toolbox. Generally speaking, most 12-volt DC devices can operate from 10-14-volts DC. The appliance in question will have a spec chart identifying its range. If the values fall below this, the system will not function properly, if at all.
If there is an issue with the LP-gas or power systems, those must be remedied first before further diagnostics can be performed.

Probably the most unique of all RV appliances is the refrigerator which, at its most basic, is a throwback appliance to the days of ammonia-based absorption refrigeration. And, while most RV refrigerators are electronically controlled these days (as opposed to pilot models), unless they are a residential unit (i.e., powered by 120-volts AC) or one of the newer 12-volt DC refrigerators — both of which are compressor-driven — they still function using absorption refrigeration.
An RV absorption refrigerator uses heat to activate the sealed cooling system, which contains ammonia, hydrogen, sodium chromate and water. The heat causes the mixture to boil. The gasses flow through the cooling unit and, as they cool, the mixture condenses and absorbs the heat from inside the fridge then expels it out the back.
As such, these refrigerators are all about rear ventilation and the ability to draw cool air in the bottom, have it move across the cooling unit, and expel it. If this process doesn’t work efficiently, the fridge won’t work right.
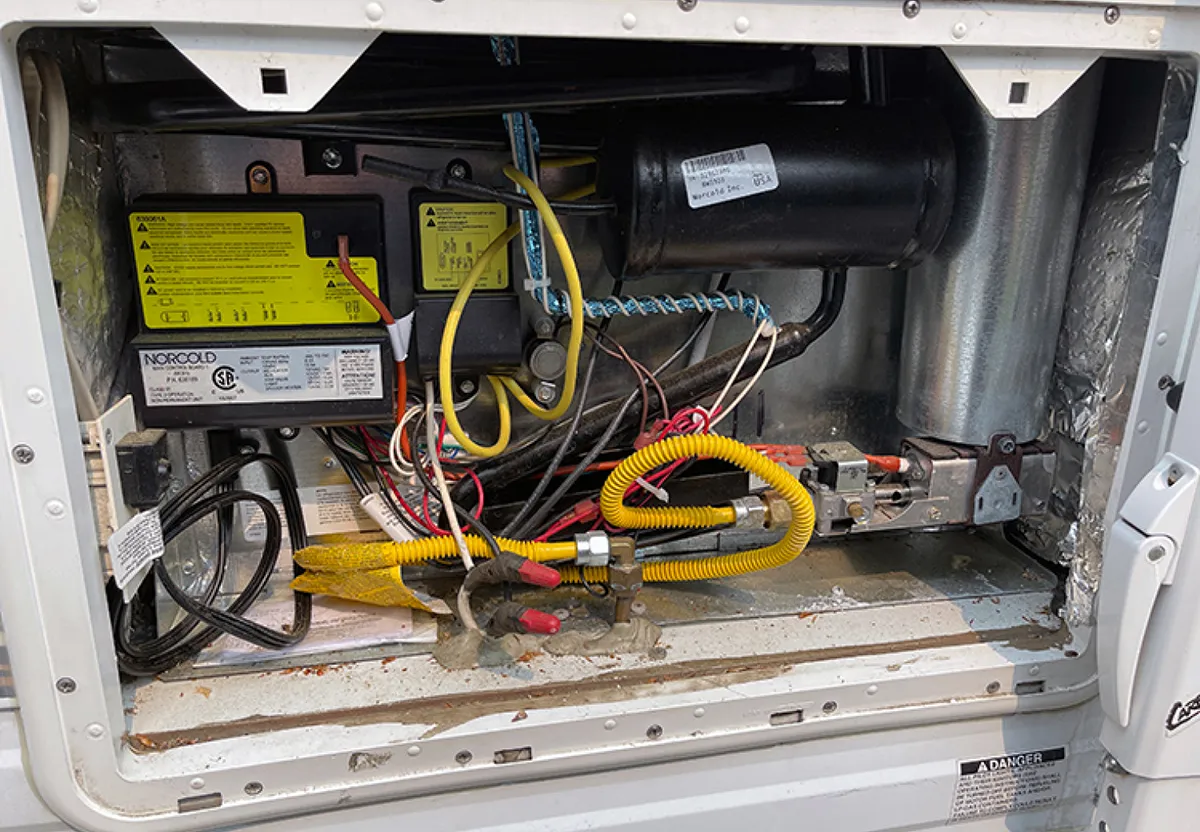
There are a number of factors that need to be checked when an RV refrigerator isn’t working correctly. Verify proper power input and gas flow, a good flame on propane and that the chimney and baffle are clear and able to breathe (chimney caps get blocked by insulation a lot). Also, make sure the electric element(s) are working properly. The bottom and top vents need to be clear of obstructions and lined up correctly. Baffles can be installed to better direct airflow, and circulation fans can often be installed as an aid to ventilation when needed; however, keep in mind that added amp draw is a downside when boondocking.
Refrigerator maintenance is all about cleaning, the most important of which will be done from outside your RV. Remove the rear vent door and, with the refrigerator turned off, take a look at the back of the unit and the compartment. Vacuum out any debris. Some refrigerator designs will allow you to swing a little door open to see the burner; if there’s a pile of rust in there, you can vacuum it out — but it would be advisable to have the fridge pulled and the chimney serviced and inspected by a factory-trained technician. Also, take a good look at the burner itself: The slots should be clear. A lot of rust will mean you’ll likely need to replace the burner. If there’s a lot of rust on the cooling unit, it’s recommended that you remove the unit and paint the cooling unit with a rust-preventive paint.
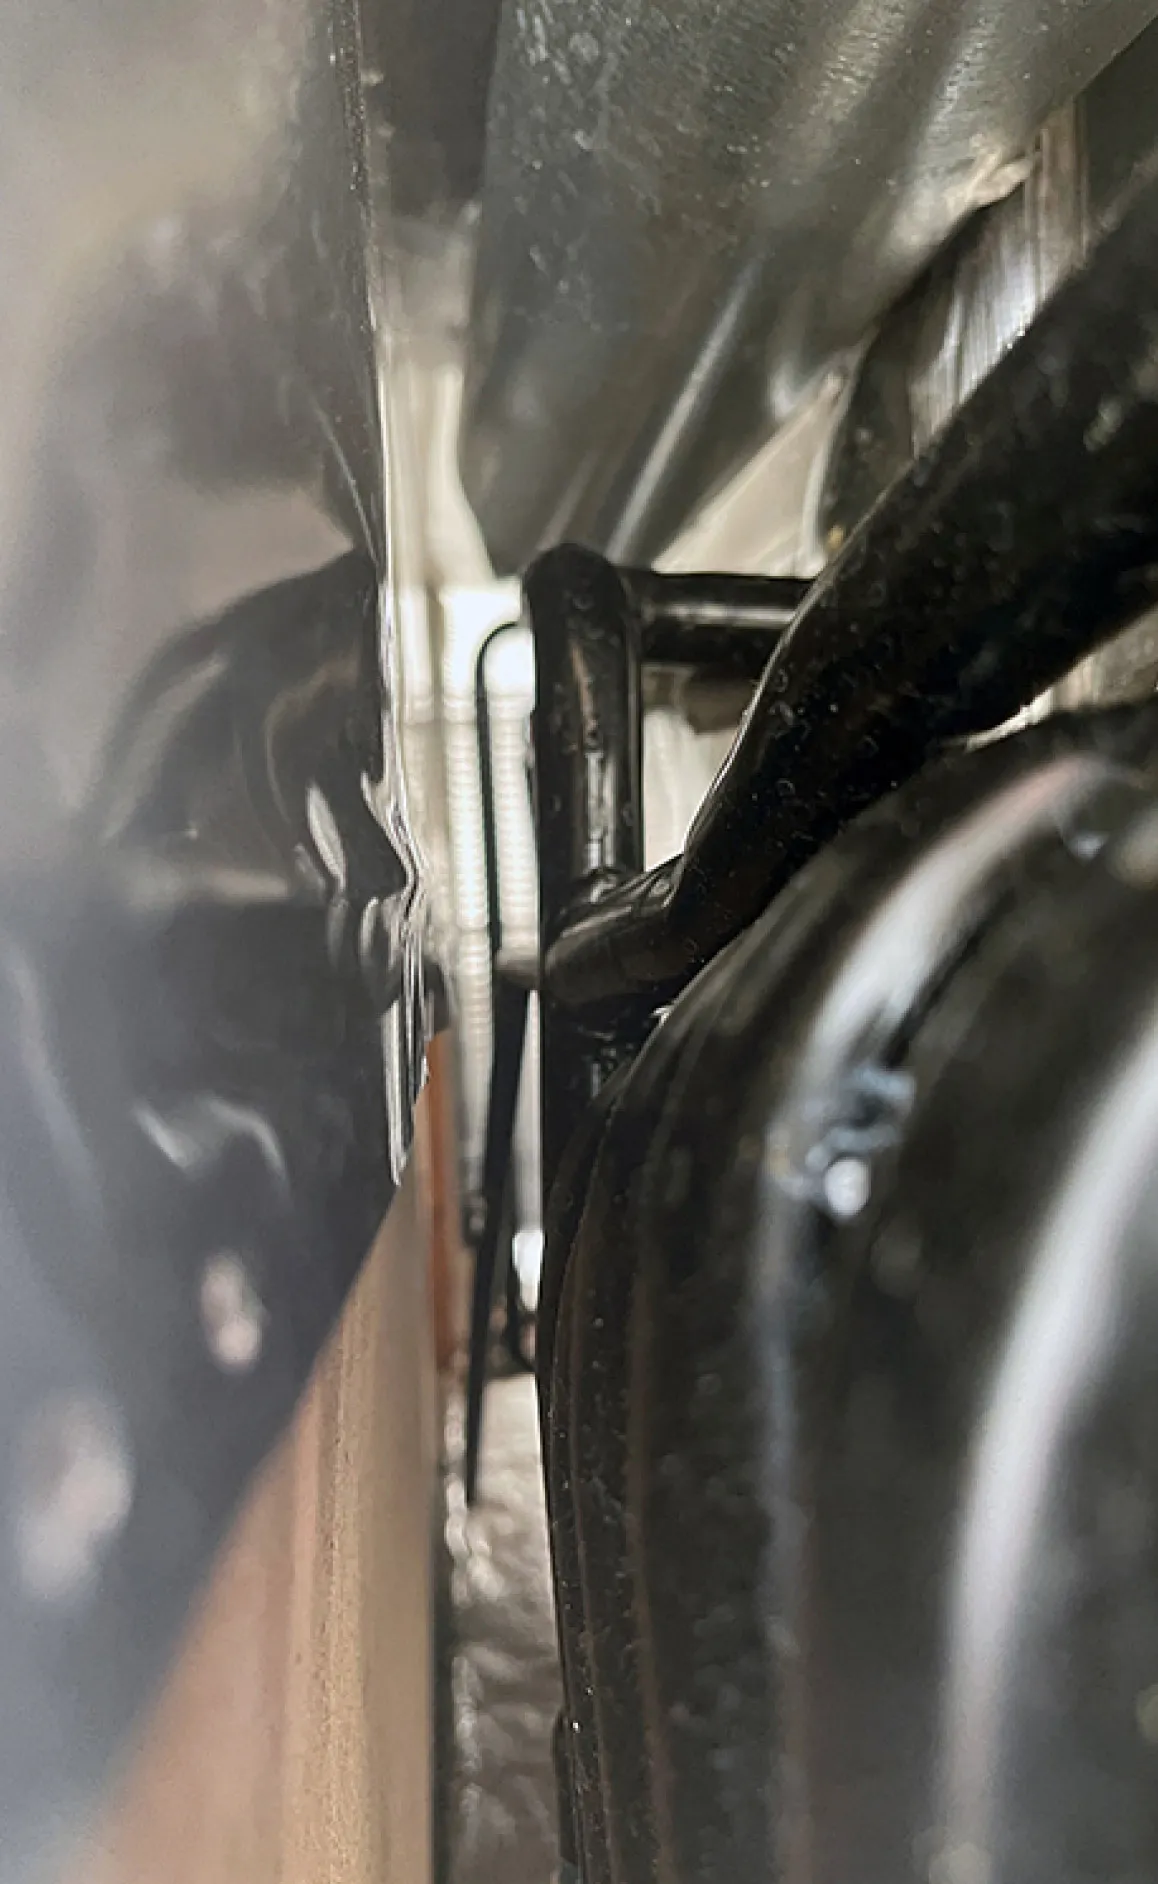
You can use your smartphone’s camera or a mirror to sight up the back of the fridge. Look for insect nests, damaged wall plywood, leaves and other debris. All dirt and debris should be cleaned away. If there are nests behind the fridge or in the top/roof vent, they must also be removed.
The sides and top of the cabinet are insulated with fiberglass. It should not be hanging down onto the top of the fridge or pushed around the burner. If it is, the fridge should be pulled, the fiberglass tacked up tightly, and the fridge reinstalled. Again, things have a way of shaking loose after untold miles of travel.
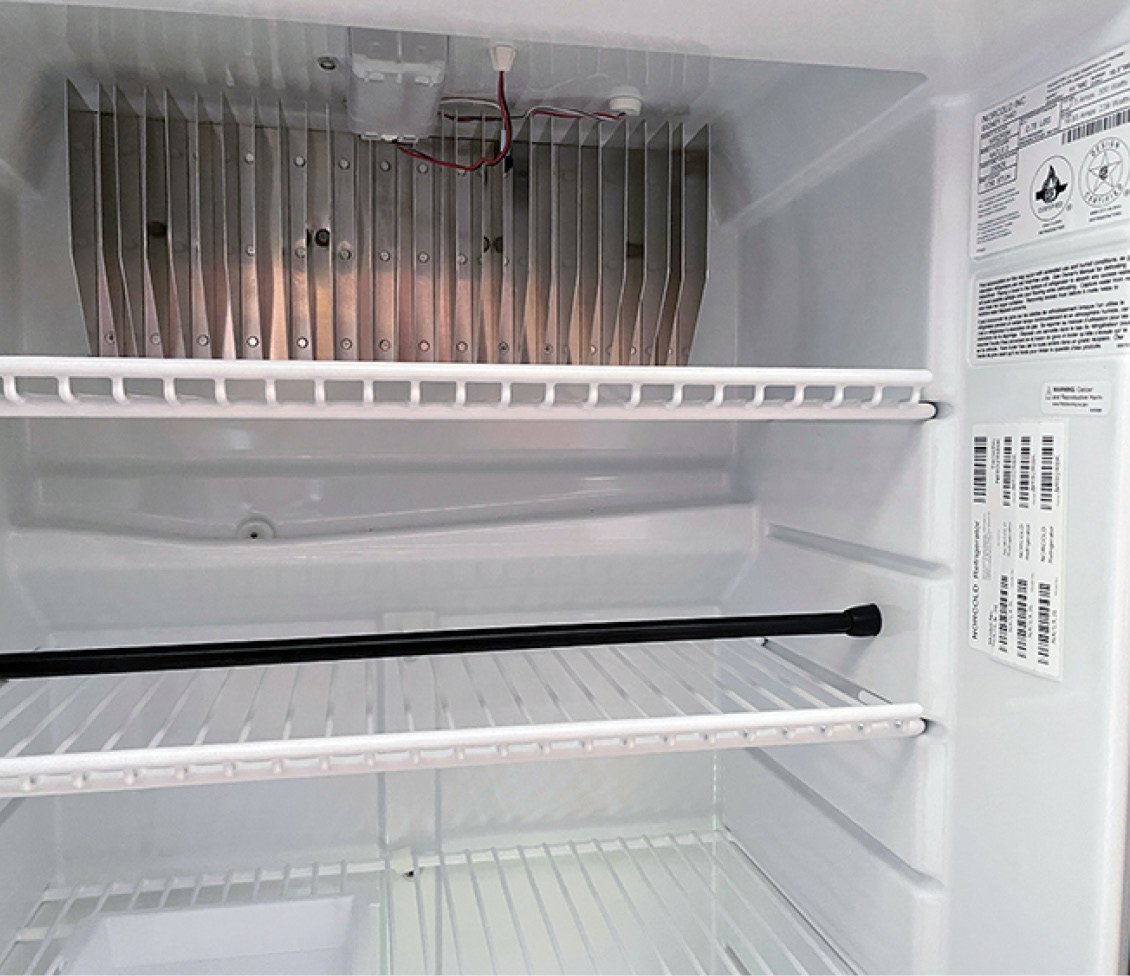
Inside the fridge, maintenance is mostly about keeping it clean. Some frost is normal just from opening and closing the doors, but excessive frost may indicate an air leak allowing warm, humid air into the fresh food compartment or freezer compartment. The same goes with excessive condensate draining.
Pro Tip #1: Speaking of condensate, there is a tray on the inside, under the fins in the back of the fresh food compartment, which connects to a hose that is routed outside the fridge. Often, these drain into a cup adjacent to the chimney. It’s recommended that you re-route this through the vent holes in the access door outside so excess condensation is removed from the rig altogether.
Pro Tip #2: When you’re done with the RV for the season and are storing it, first clean the interior of the refrigerator thoroughly with Clorox wipes to prevent mold and mildew growth — and leave the doors open slightly so the inside dries completely. Some melted frost water may collect in the bottom of the freezer; soak the water up with towels or a wet/dry vac and leave open to dry.
Pro Tip #3: Some doors on RV refrigerators have a mechanism (built-in or a card) that will keep the doors held open to dry. A rolled-up towel works also, and once clean and dry, the fridge can be closed up tight.
Ranges & Ovens
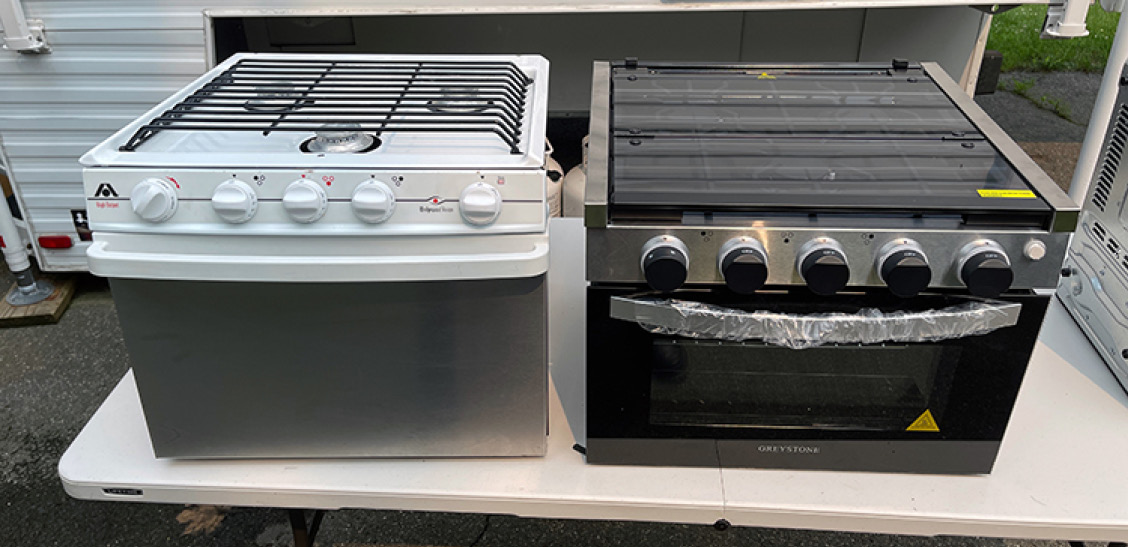
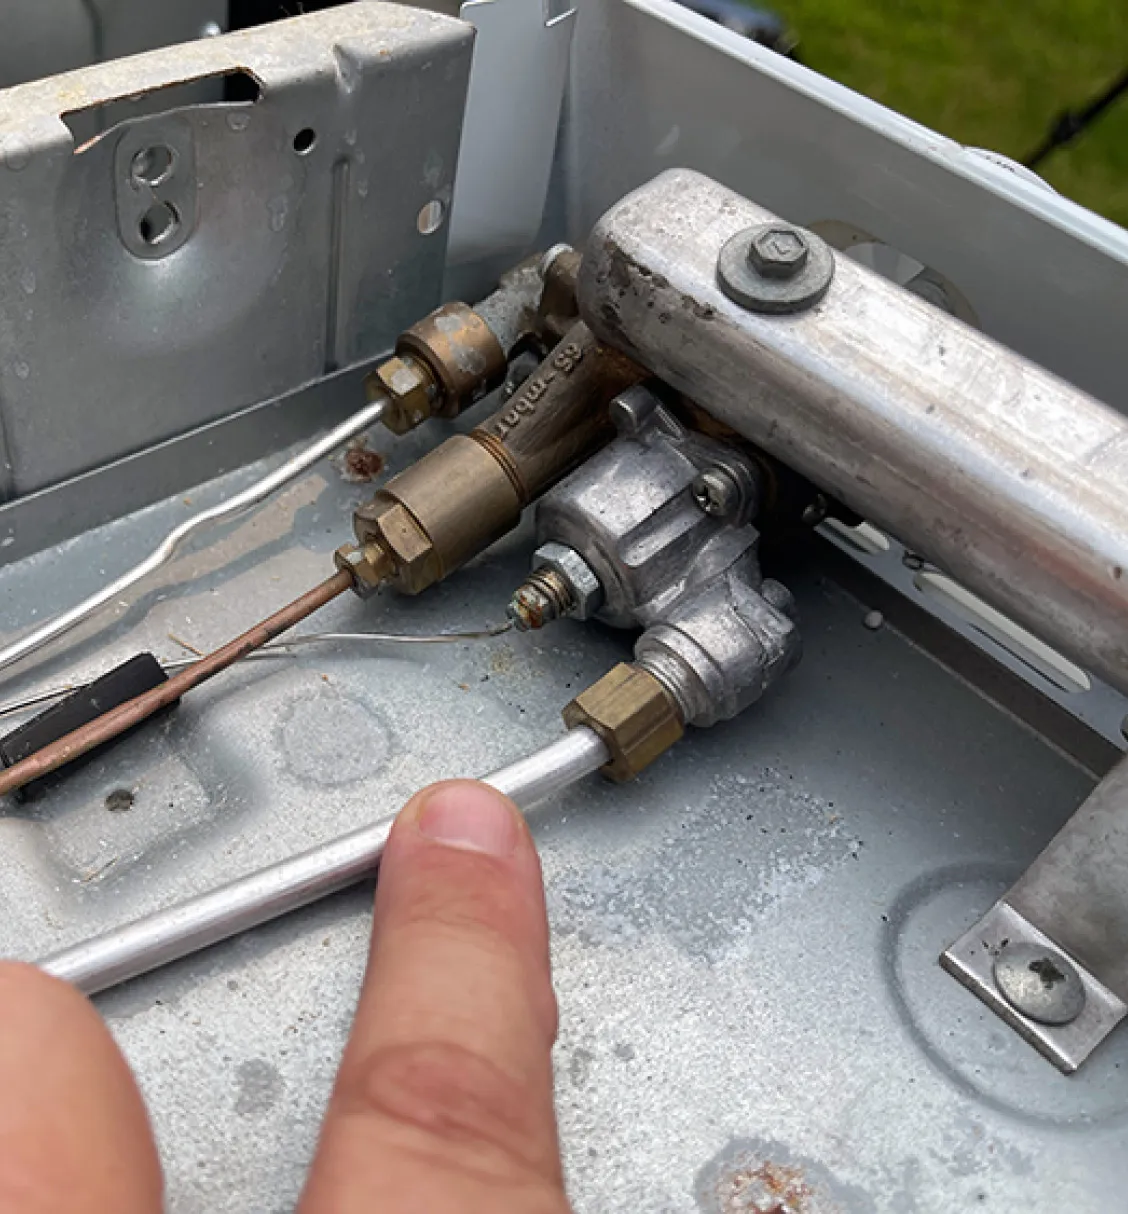
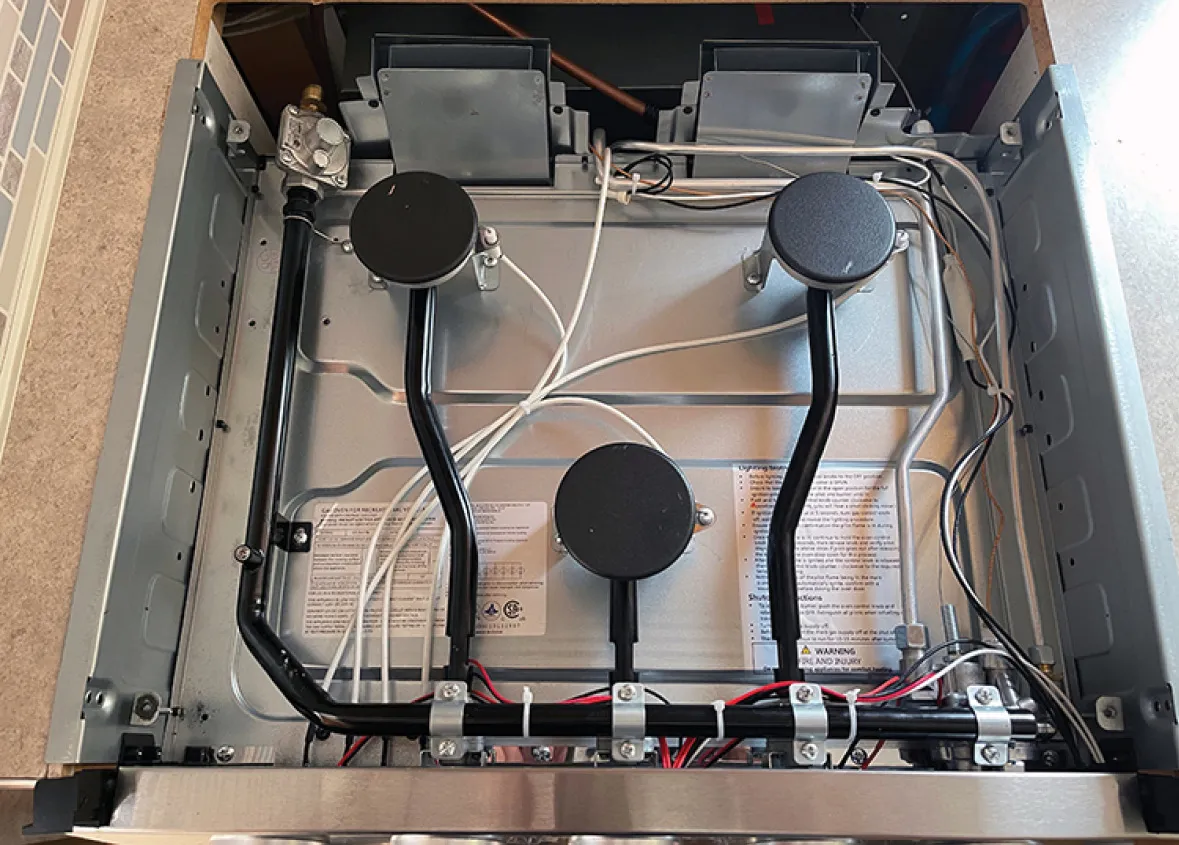
Most gas RV ranges and cooktops are a legacy design, with a pilot-fired oven and manual igniter for the cooktop, with propane entering through a 3rd-stage regulator. The regulator reduces fuel pressure to about 10 inches water column into a fuel rail that feeds the cooktop valves and a thermostatically controlled oven valve with pilot valve. These ranges are generally available in 17- to 26-inch models, with three burners.
Of course, the last few years have seen a lot of development in the space, and higher-end RVs are getting higher-end cooking appliances. Included are sealed-burner gas units with piezo or electric spark ignition; induction; or combination gas and induction cooktops, often combined with convection microwave ovens. The sheer number of options, combinations and brands was unheard-of in the RV space 10 years ago.

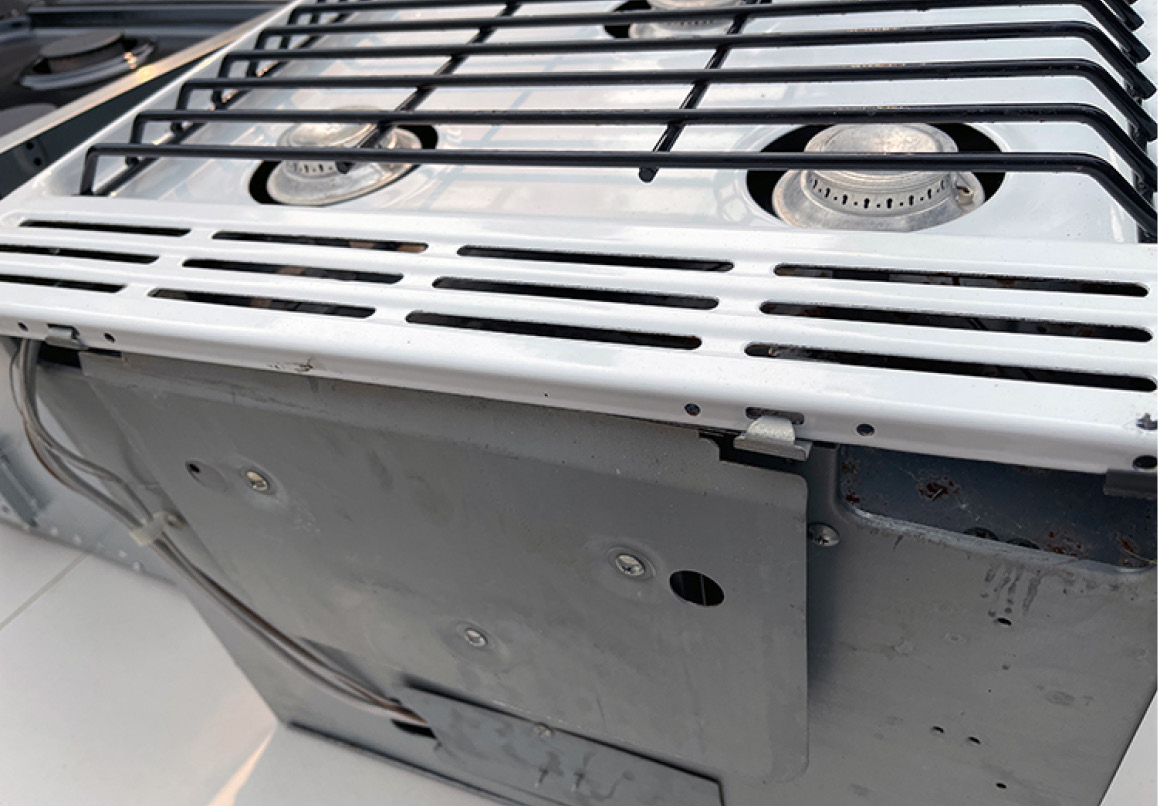
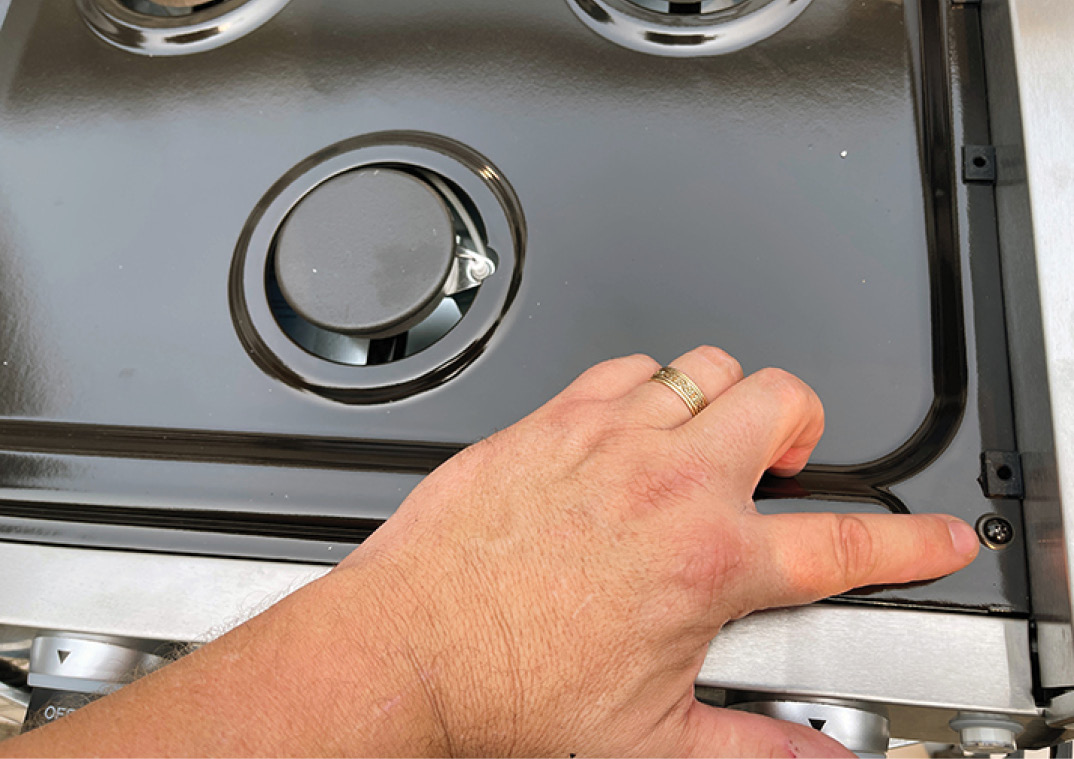
Cleaning your range — and especially the cooktop — inside and out, is essential. With standard cooktops, the surface is open to the “utility” area underneath around the burners. A boil-over or spill can make for a tremendous mess, especially since there are holes in that space that can allow spills to progress down into the range and the cabinet. A good way to help prevent spill migration, and spillage cooking onto the metal surface, is to line inside the cooktop area with aluminum foil. This way, some spills can be caught on the foil before they get away.
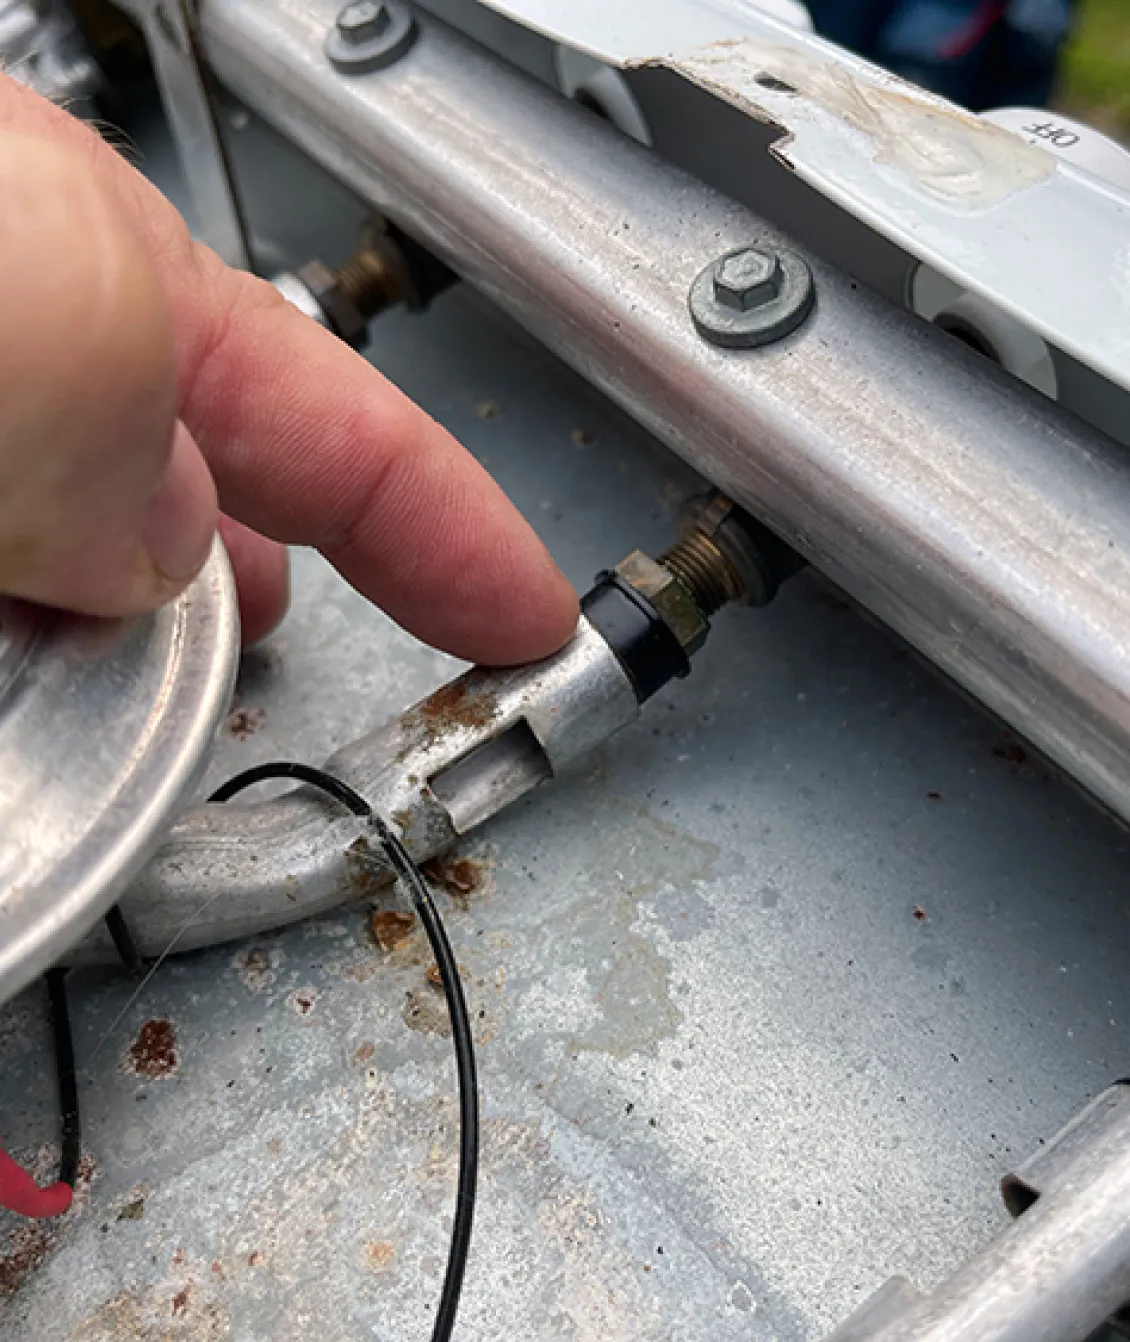
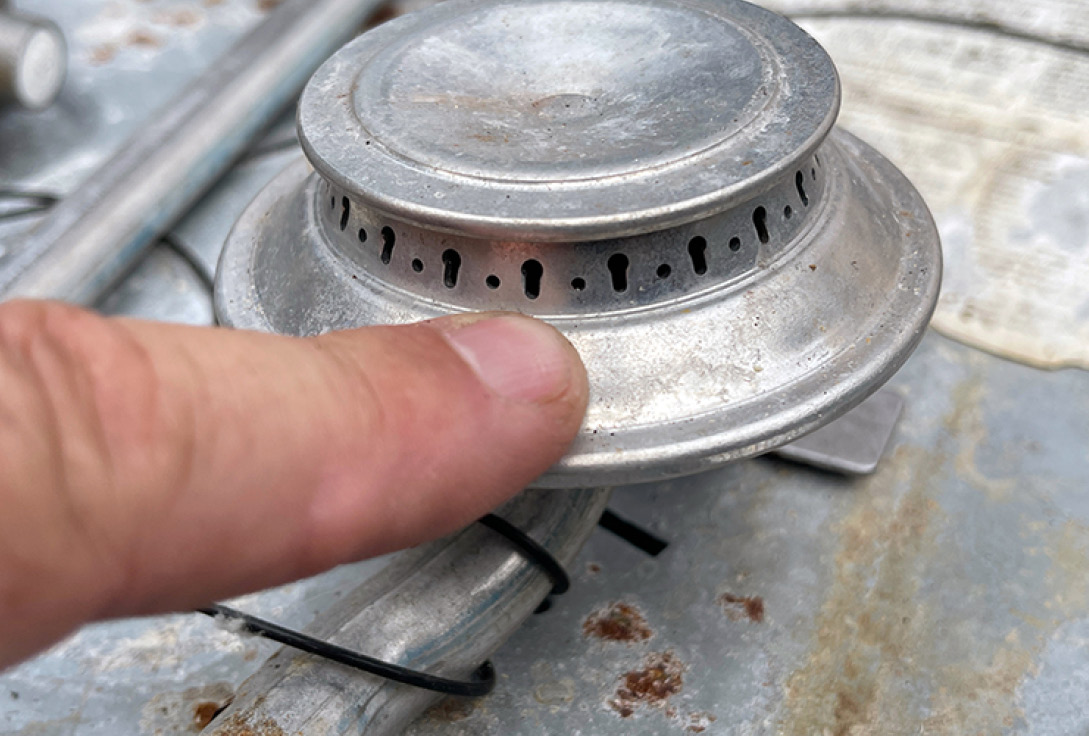
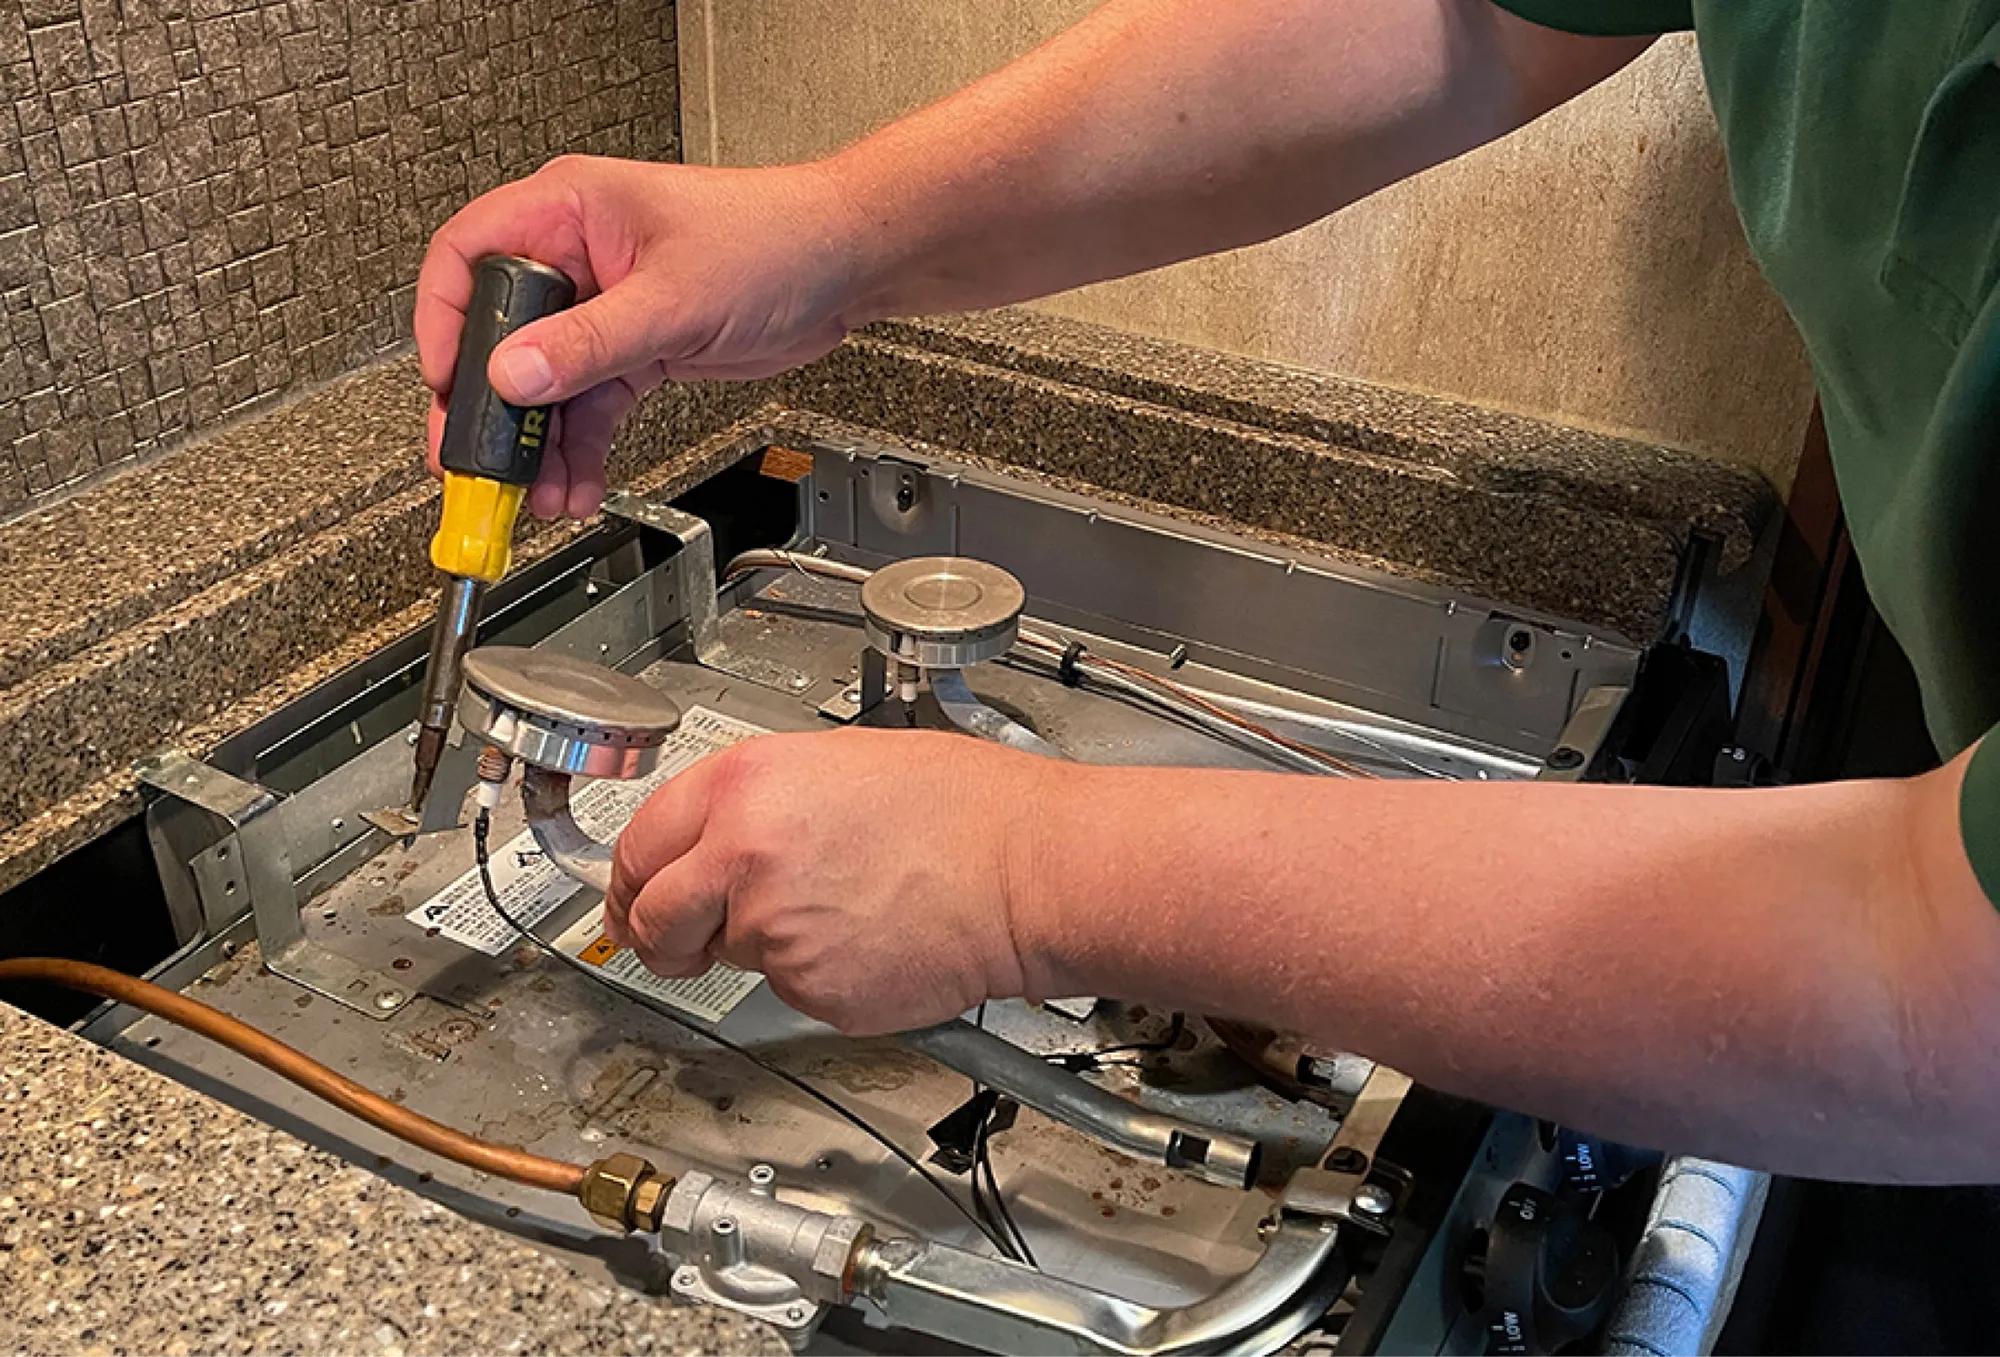
The burners on newer cooktops are solid-state. They can’t be disassembled like your range at home for cleaning. Fortunately, they’re easy to remove and scrub in a bucket of soapy water and a stiff bristle brush if a spill cooks onto the burner and plugs the jets. Just be careful, as they are made of aluminum and can be damaged. Most utilize one screw, and they slide onto the gas orifice on the fuel rail. Be sure to keep the inside of the cooktop as clean as you can, because mice will smell anything leftover and maybe even build a nest in there. That’s quite unpleasant to find when opening your RV for the season.
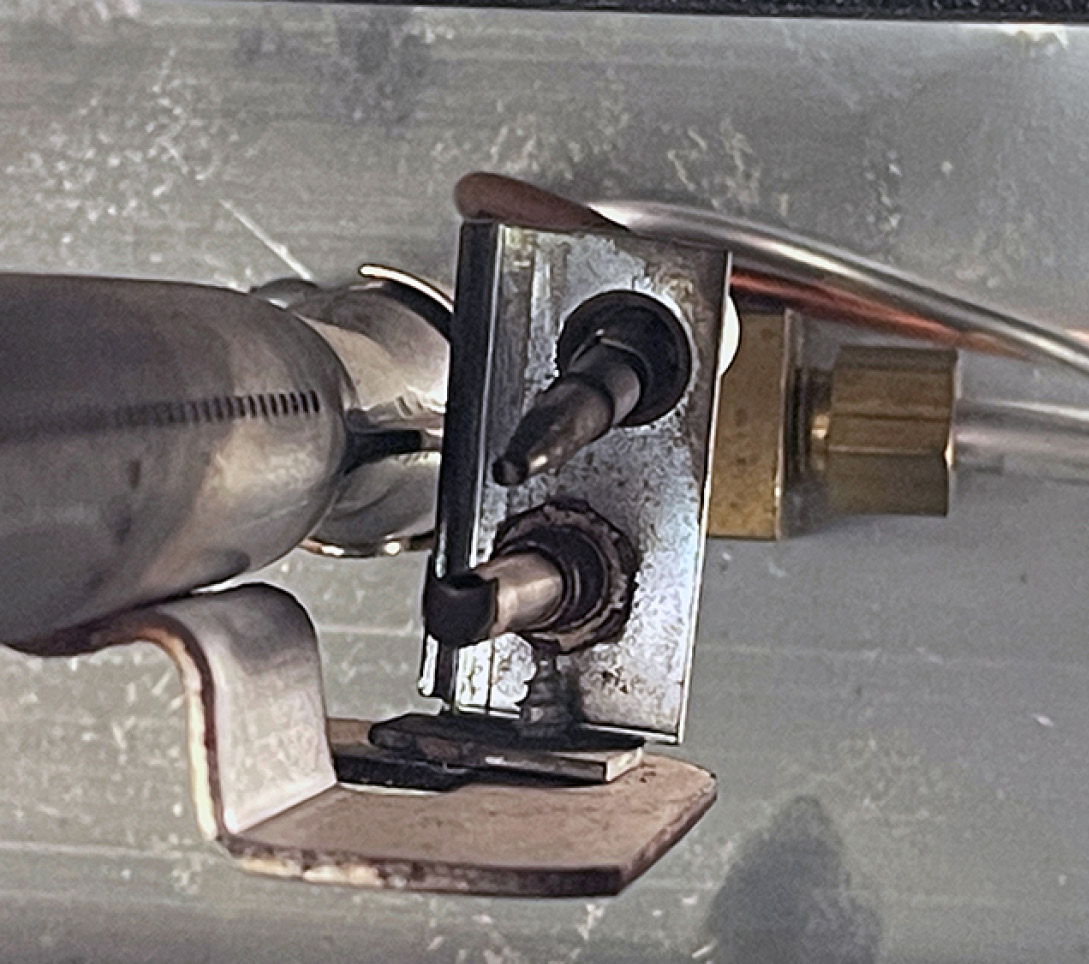
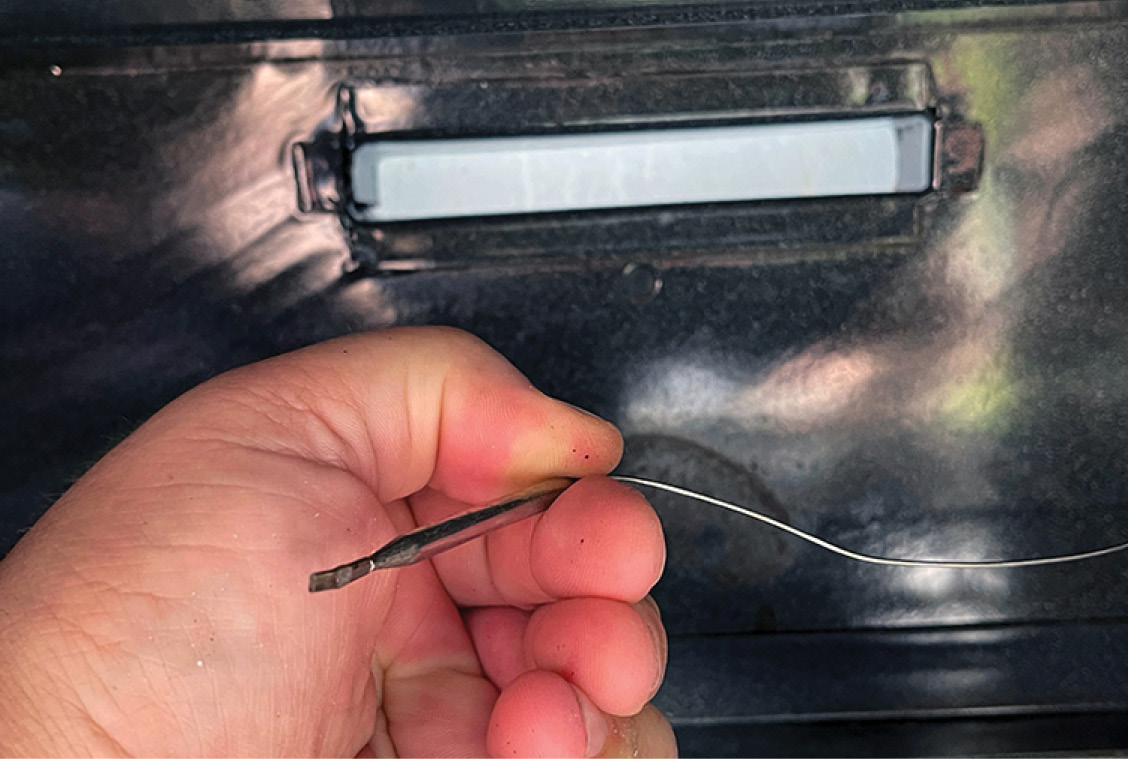
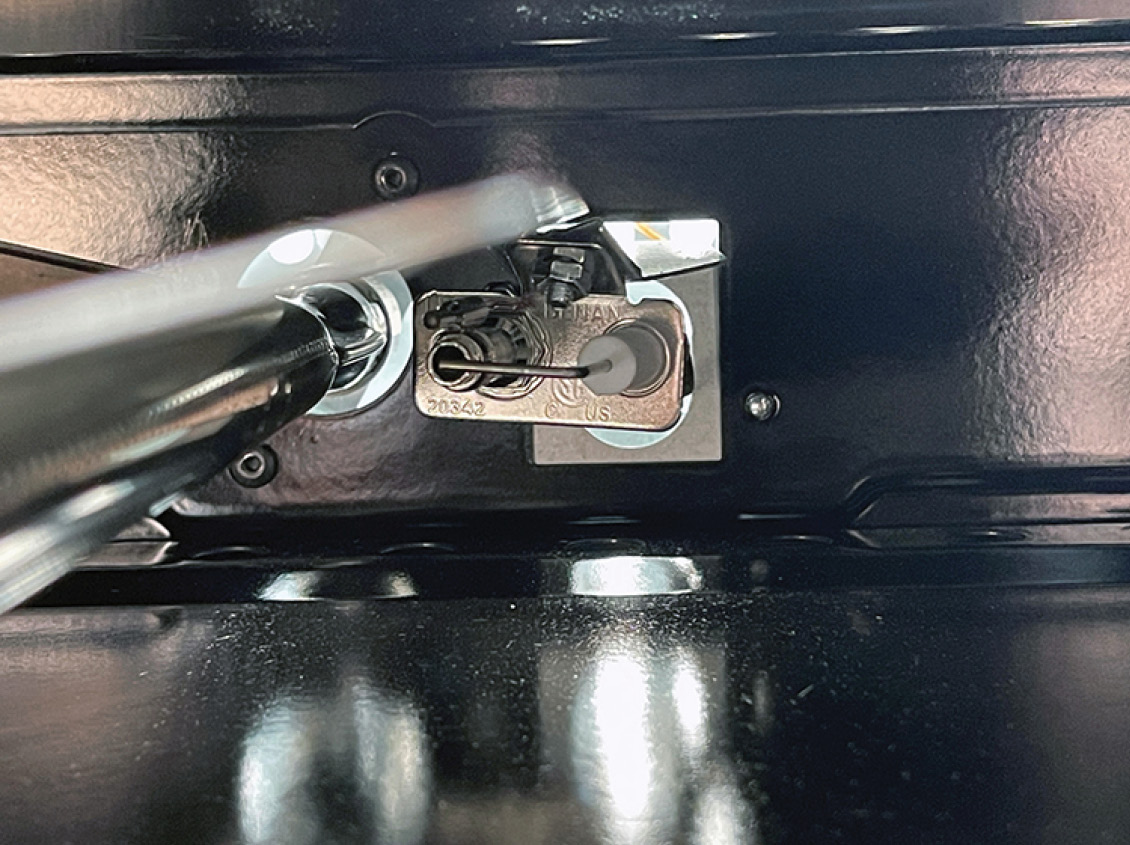
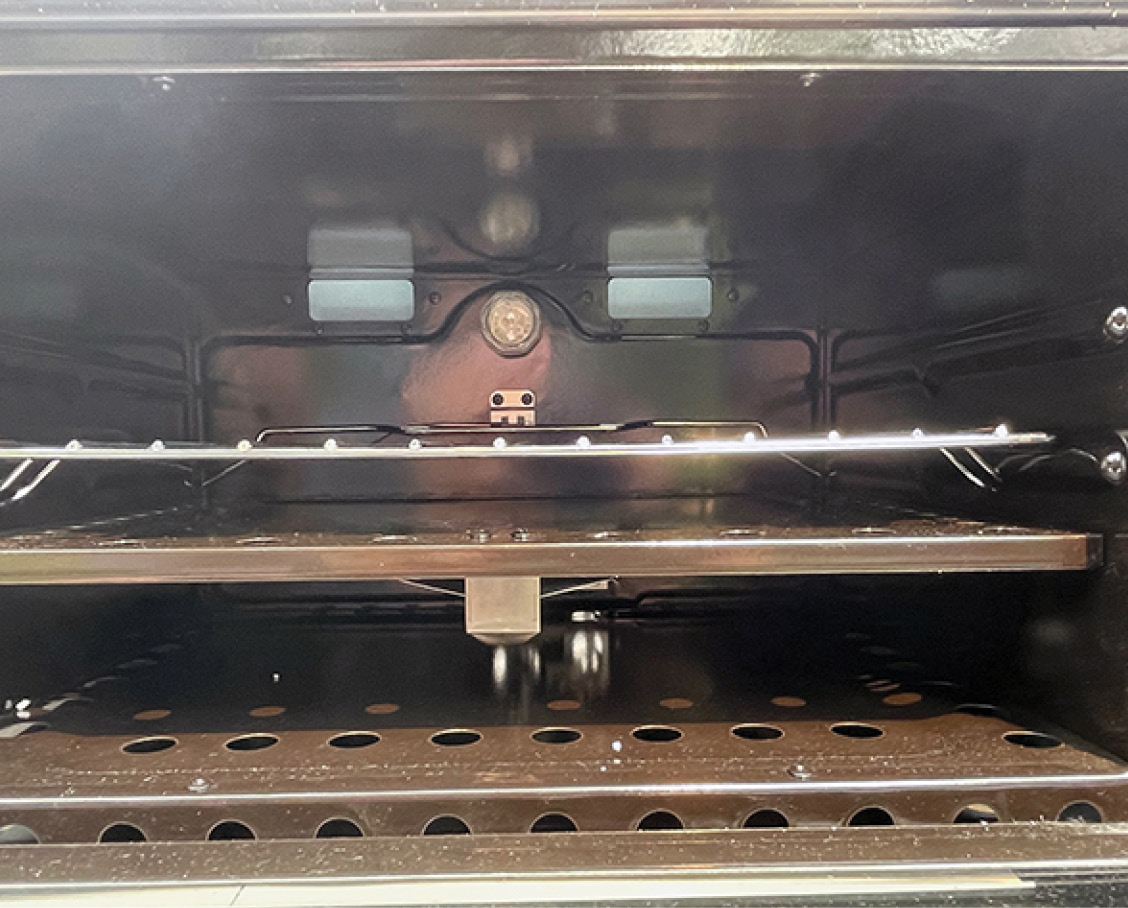
The oven burner and pilot are pretty much protected from spills. The thermal bulb, which senses the temperature inside the oven box, is usually mounted at the rear. It may get dirty; if it does, it can become less accurate. If this becomes a problem, pull the bulb carefully from the back wall and lightly sand it with emery cloth to clean it up.
Another concern many folks have is the accuracy of the oven thermostat — or lack thereof. This, frankly, isn’t unusual. Using an oven thermometer will allow you to see what the temperatures are in the oven and adjust accordingly. The diminutive size of the oven box in comparison to larger residential and commercial ovens means the flame is closer to the food and in a tighter space. Hot spots are inevitable.
Pro Tip: A great hack that works to not only keep the bottom of the oven cleaner, but also keep your food from burning, is to get a pizza stone for the bottom of the oven. Minor spills fall on it and burns off of it instead of the metal bottom, and it allows for more even heat in the small oven. Get one that is appropriately sized so it does not block any of the vent holes.
Microwave and Convection Ovens
Microwave and convection microwave ovens are not new to RV use; however, there are many more choices in appliances today then there have been before.
Mobile-use microwaves are installed in a cabinet or are of the over-the-range type. While the over-the-range models are the same as home models, understand that the built-in versions must be approved for, and have hardware for, building into a cabinet. The venting of the unit is different and the trim kit acts like a duct system that allows for adequate ventilation. Again, from a maintenance standpoint, keeping them clean is key.
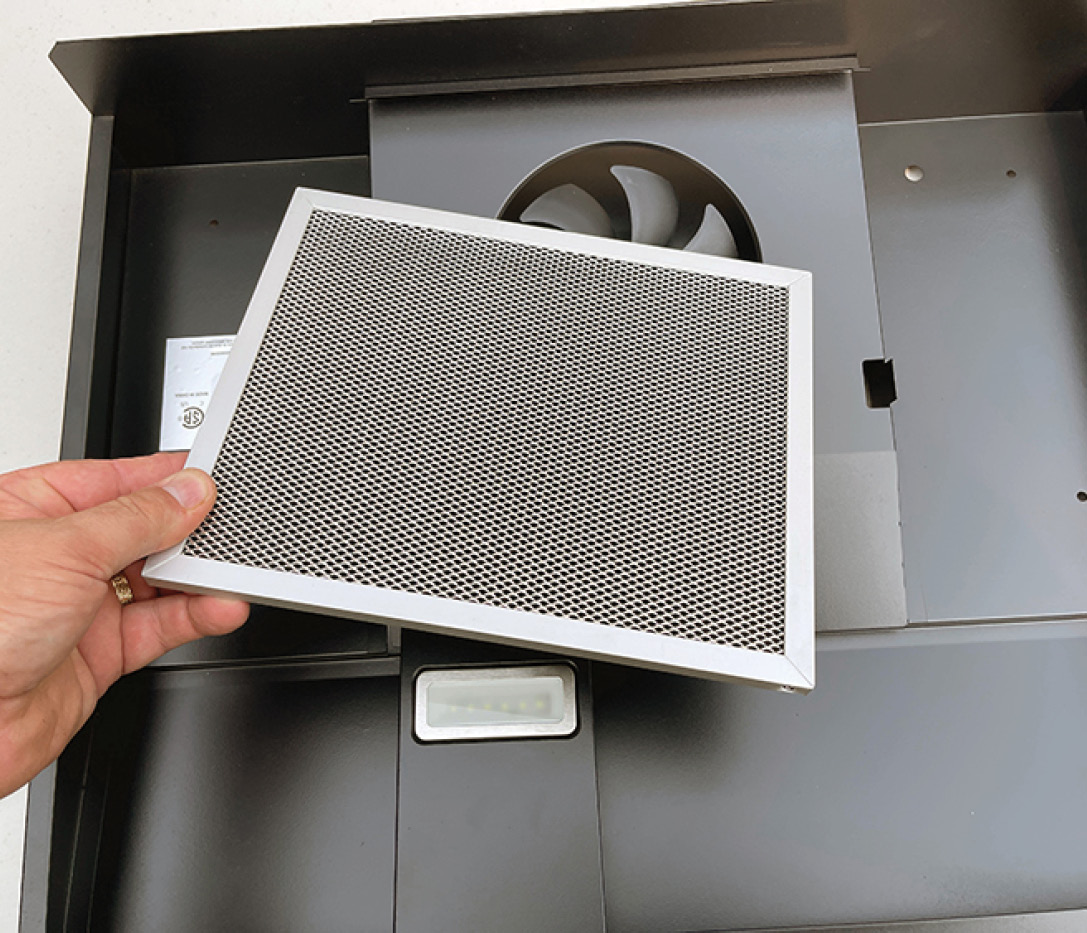
The over-the-range models have a vent hood feature that requires proper setup at installation and regular cleaning of the filters. Units that vent into the living space may have a third filter inside the upper part of the unit (check your appliance’s manual for details). I have seen these ovens installed incorrectly many times, where the fan isn’t adjusted properly for the type of installation. If you think the fan isn’t working right, you may need to drop the unit and check the orientation of the fan assembly.
Pro Tip: For those hood fans that vent to the outside, keep an eye on the flapper door on the side of the RV. Believe it or not, on one trip to Fort Wilderness Resort, a bird built a nest in mine within one day of my arriving because the flapper broke off during the drive! Then, of course, there are wasps and mud daubers. A functioning flapper cover is important — just don’t forget to unlock it before using it.
This isn’t meant as the final word on RV appliance maintenance, by any means. But by following some of these tips, you can help extend the performance of your appliances — and continue to treat friends and family to the welcoming aromas of home cooking while on the road.