

ike many people, I like the feel, comfort and look afforded by leather furniture. This fabric is easy to clean and tends to be resistant to stains. Most RV environments feature Ultraleather, which is one of the most popular fabrics used in the RV industry, and its synthetic (polyurethane) properties are designed to offer good longevity under active use; leather fabric, meanwhile, is usually found in some higher-end motorhomes and fifth wheels. Some owners will ultimately replace furniture with leather counterparts, however — especially office chairs. In all cases, either material takes a beating under RV use, particularly when kids and dogs are part of the traveling family.
Consequently, it’s common to find spots where the fabric has worn, rendering the furniture unsightly, even though most of the seating surfaces are still in good shape. The driver’s seat in motorhome cockpits, for example, usually takes the brunt of the punishment — and ugly wear patterns are common.
Unfortunately, completely re-upholstering any furniture is expensive — and slip-on covers only mask the damage. For example, we had an arm rest between recliners re-upholstered at a cost of $300 — and estimates for the two recliners ran $1,000. So, when the fabric on the arm rest and a portion of the seat on my favorite office chair in my fifth wheel became too large and ugly to “conceal” with tape, I went on a quest. My mission? To find a way to repair and retain this piece of furniture without breaking the bank.
While surfing the Internet, I happened across a roll of self-adhesive leather repair material. It looked interesting — but the claims reminded me of those shown on TV informercials. Nevertheless, I ordered a repair kit, figuring I only had 20 bucks to lose. The Shagoom 17- x 79-inch Self-Adhesive Leather Repair Kit had a pretty rosy write-up on Amazon (which can also be suspect) but the reviews supported most of the claims. Color options are not extensive but fortunately my chair was black, which is one of the colors offered by the company. When it arrived, I was pleasantly surprised that the color was a very close match to the leather on my chair.
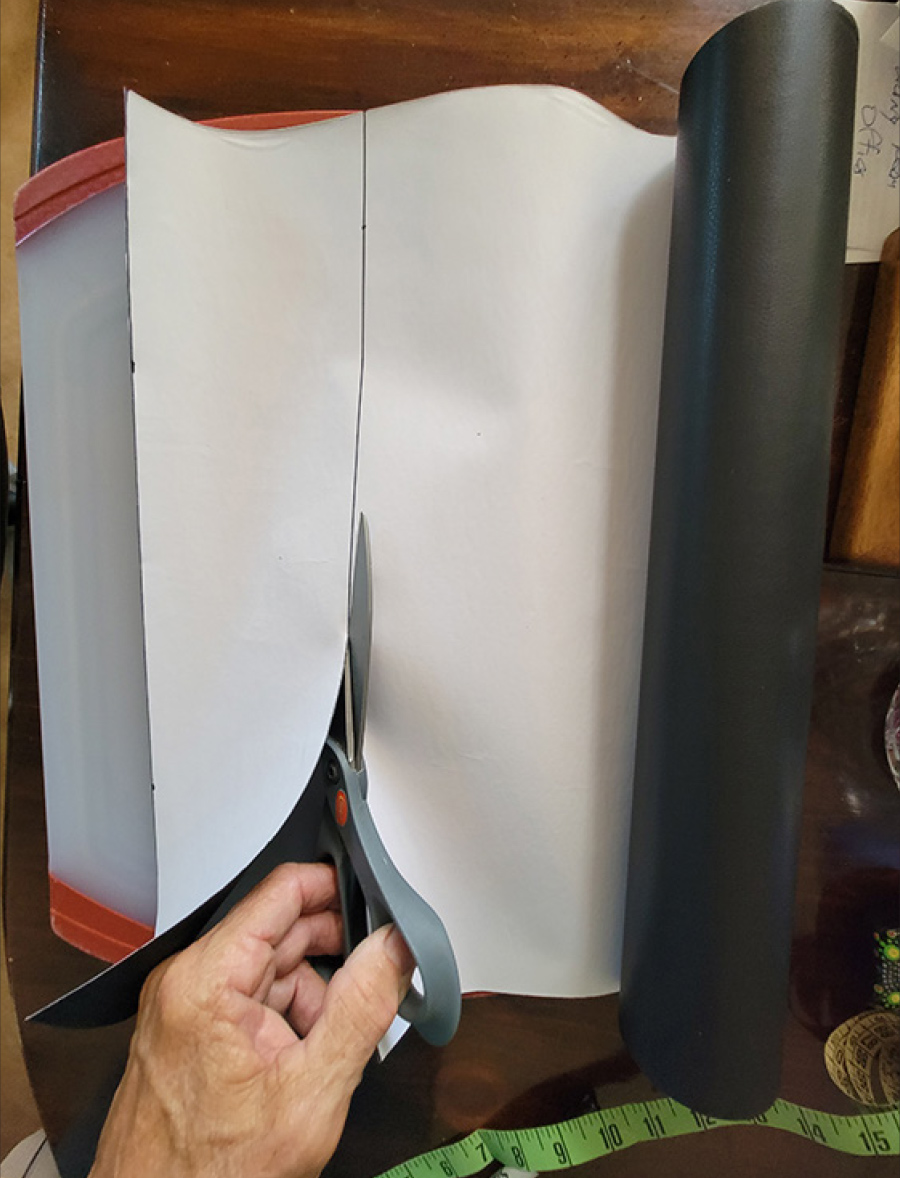
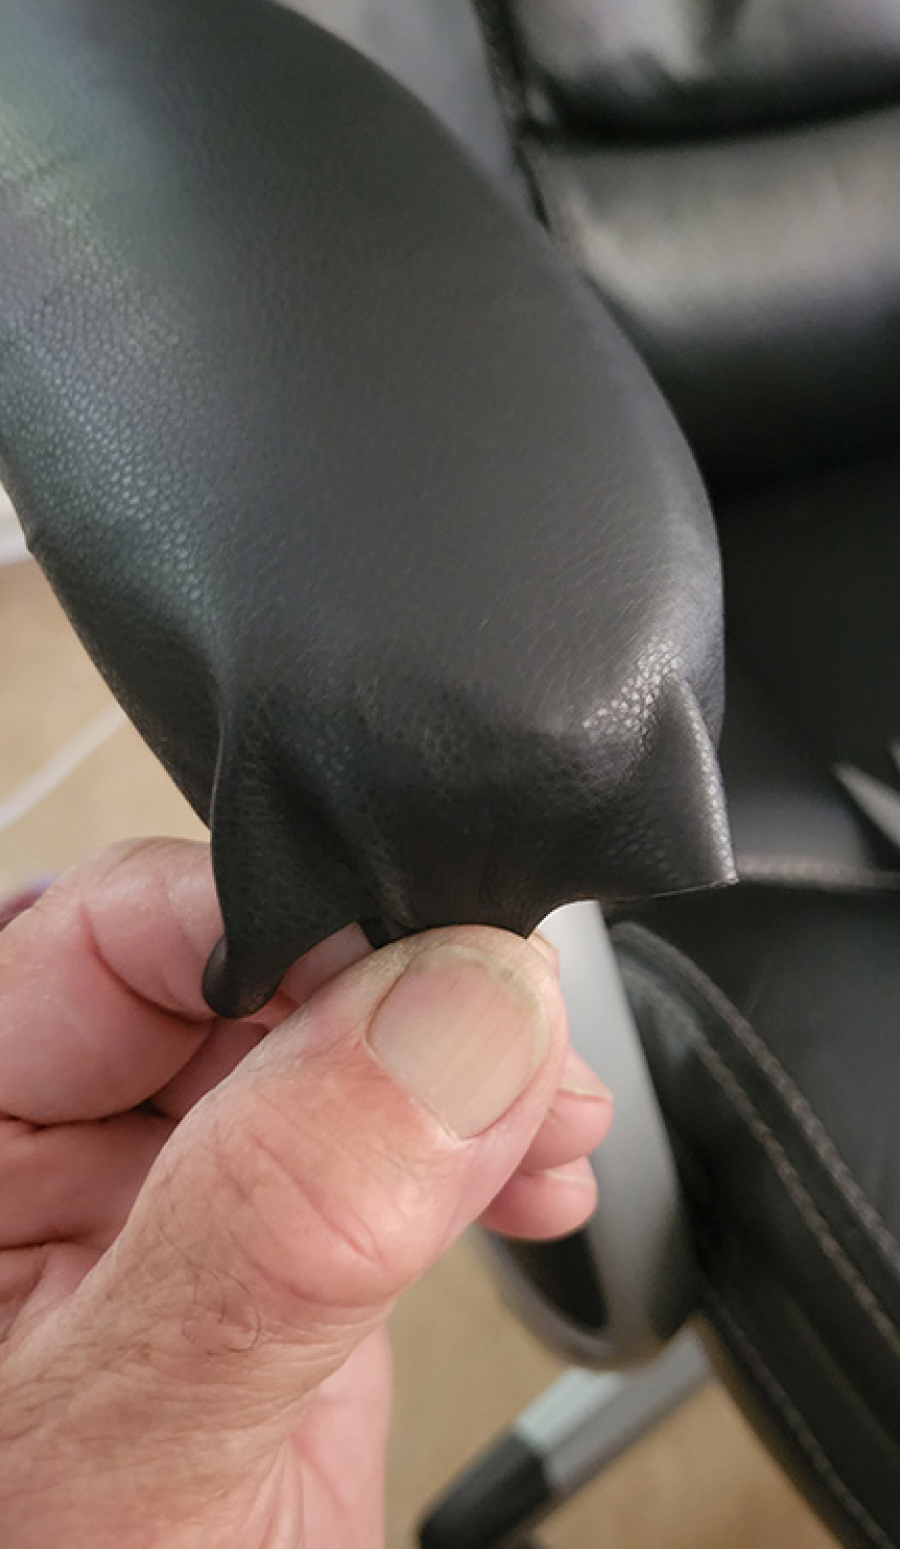
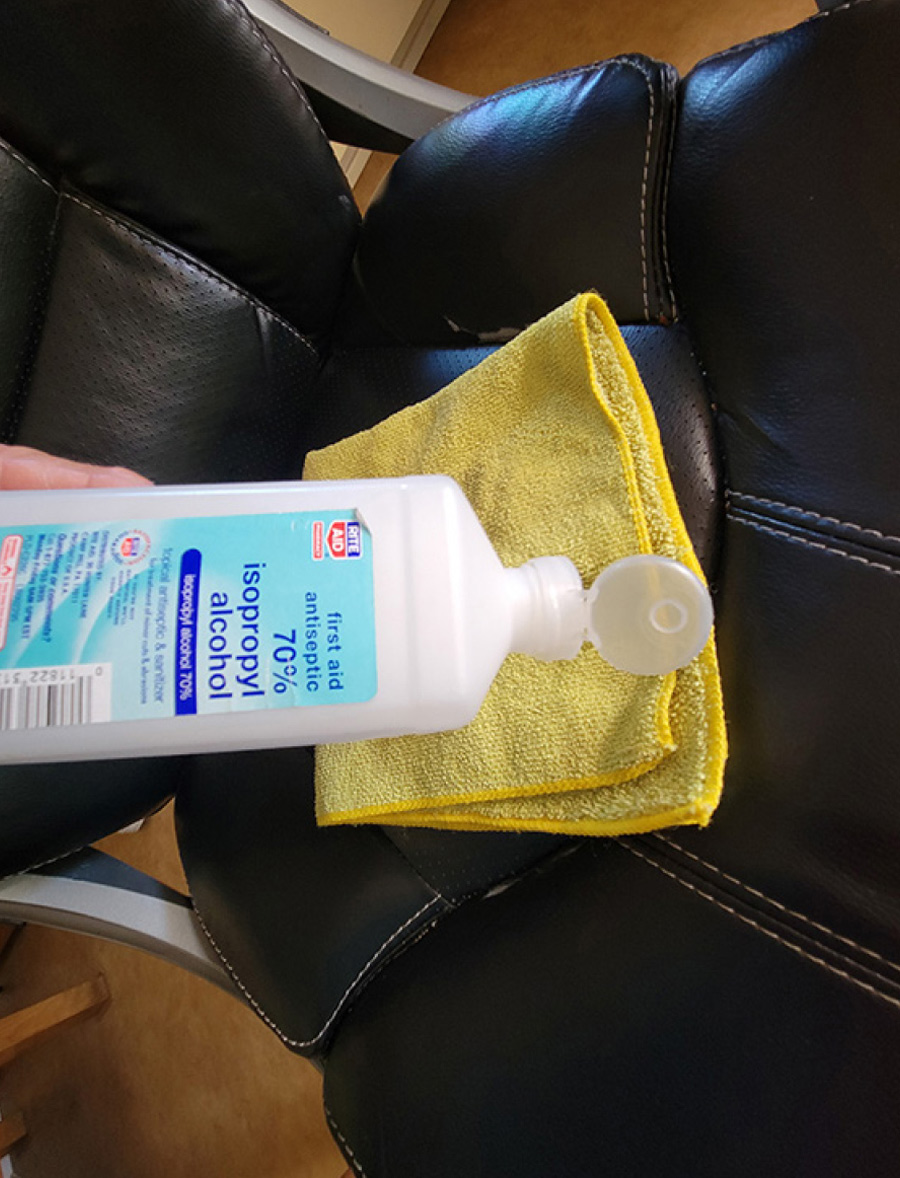
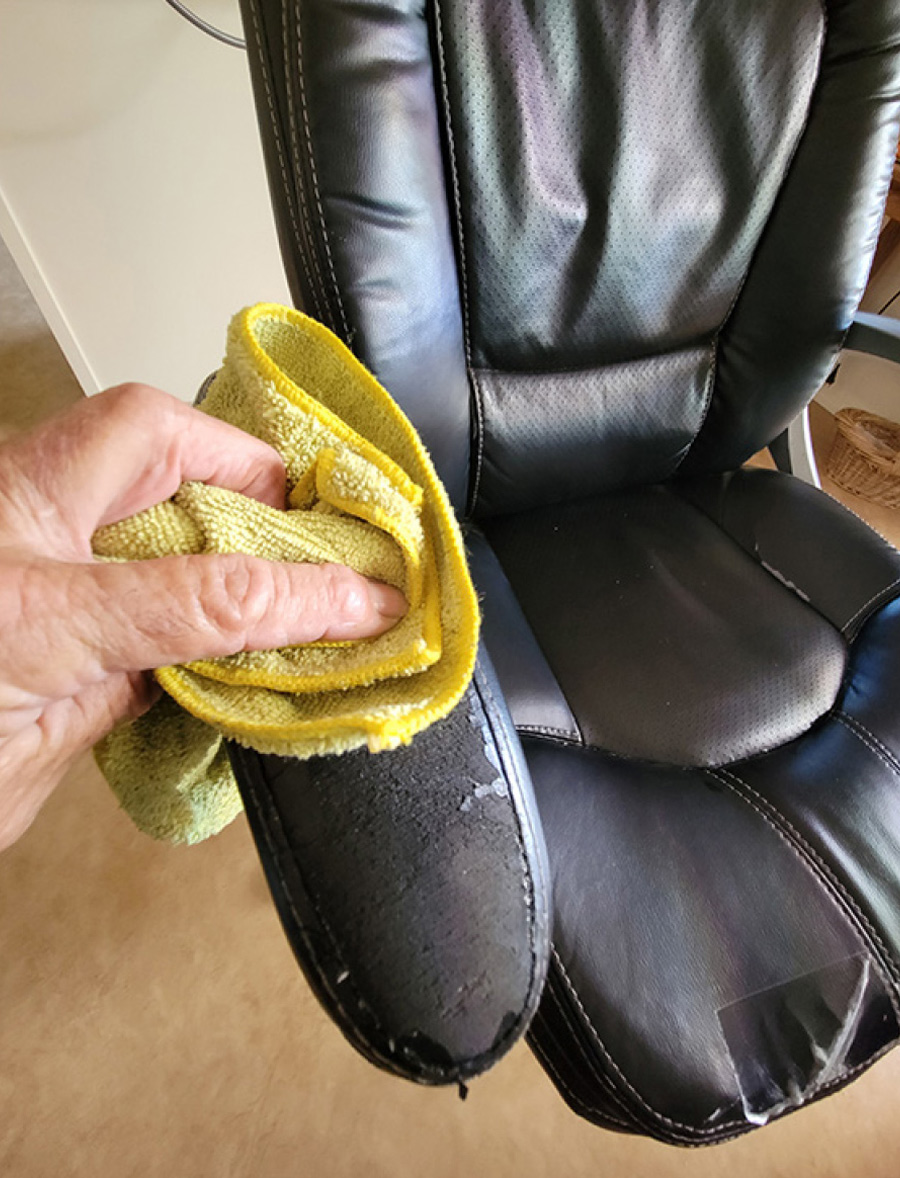
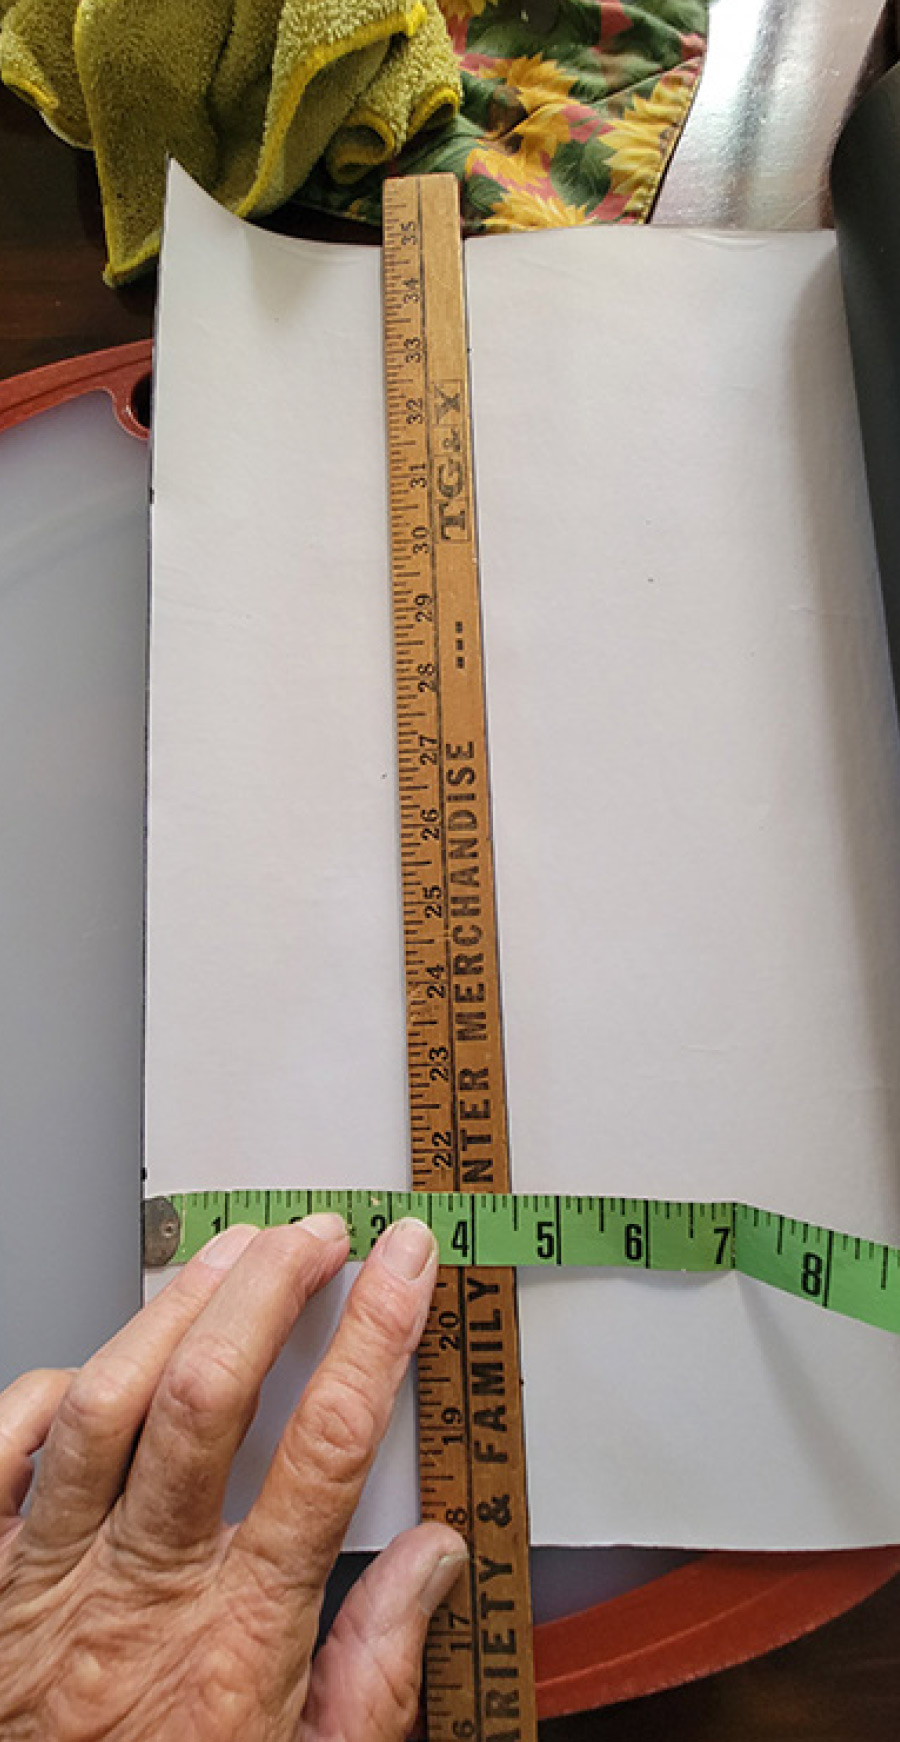
The process was fairly simple because the adhesive is part of the fabric, but preparation was the key to success. The fabric can be cleaned with alcohol if it’s not very dirty or greasy; otherwise, you’ll need to use a quality leather cleaner before wiping down with alcohol. If there are any pieces of material sticking up or are loose, be sure to cut them off so that the new patch will lay flat. You don’t need a very big table to spread out the material, but you will need one that can make it possible unroll a large piece of repair fabric and let it sit for a while so that it becomes flat; it was rolled up for so long that it had built up memory curling.
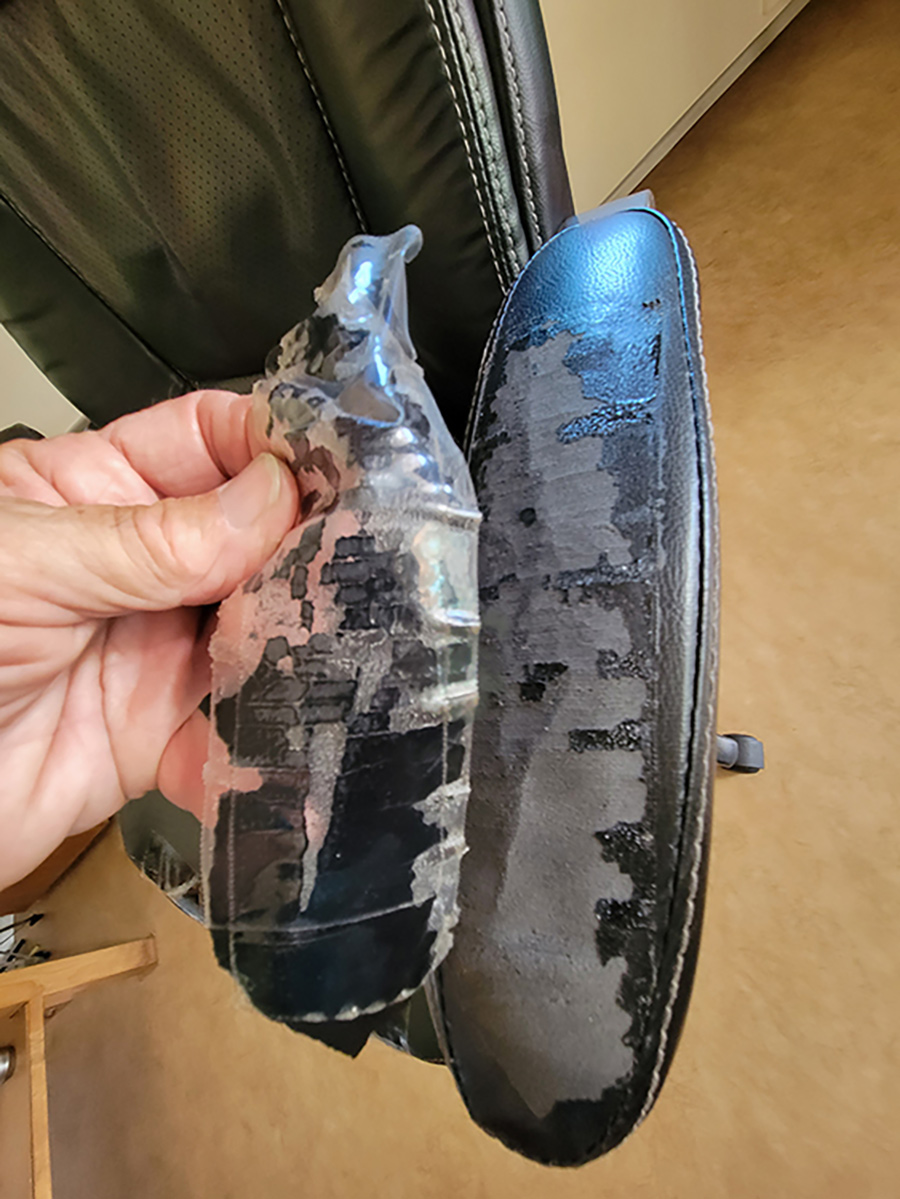
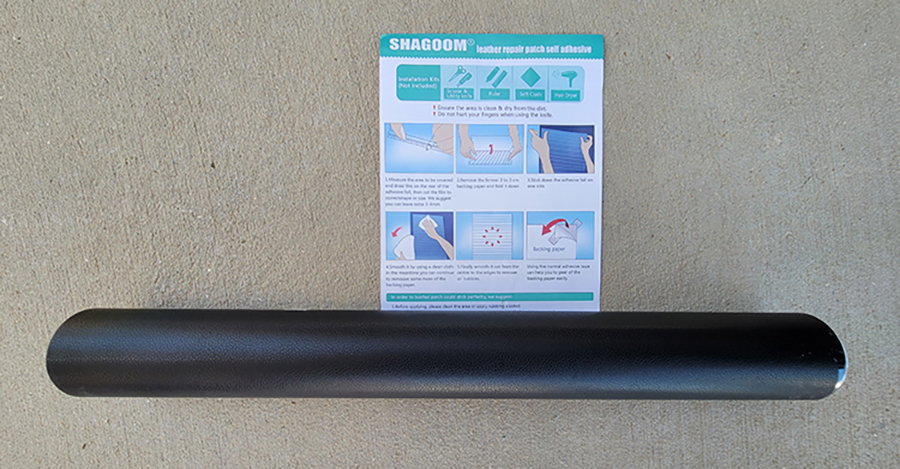
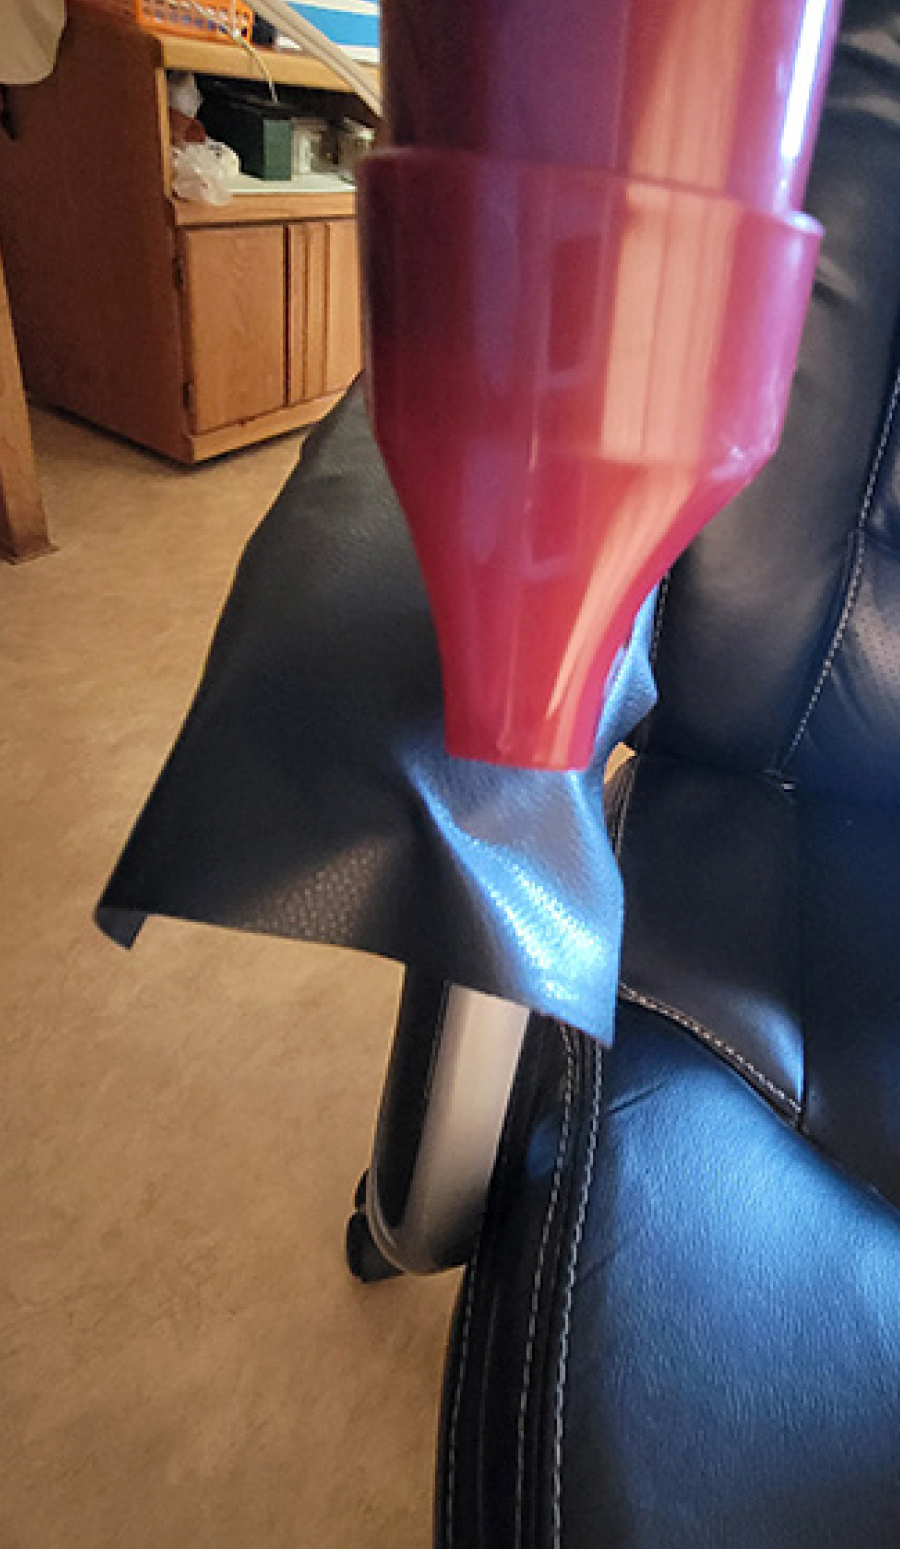
Applying the patch takes some patience; going too fast will result in a mistake. When applying the patch to the damaged areas, start from the center of the patch fabric and smooth the material outward in all directions. For this job, I was able to pull the material up in sections carefully without stretching to get a better position when laying the patch on the chair. Satisfied that the leather patch is in place, a hair dryer was used to heat and set the adhesive (use extreme caution if using a heat gun). Keep in mind that the patch material is no longer workable once heated by the hair dryer.
Although there were no instructions as to how long it takes to cure the adhesive, we decided to stay off the chair for 24 hours, which worked perfectly. If you’re attempting to patch areas that are subject to a lot of flexing, try laying a bigger patch, overlapping the first one by at least 2 inches, if possible. Use the hair dryer again on the second layer to make sure that the glue is set.
After making the repairs and allowing the adhesive to cure, we subjected the leather chair to harder-than-normal conditions — and the patch held without complaint. Again, whether it lasts for the long term remains to be seen, but even if we get a year out of the patch, we’ll be happy.
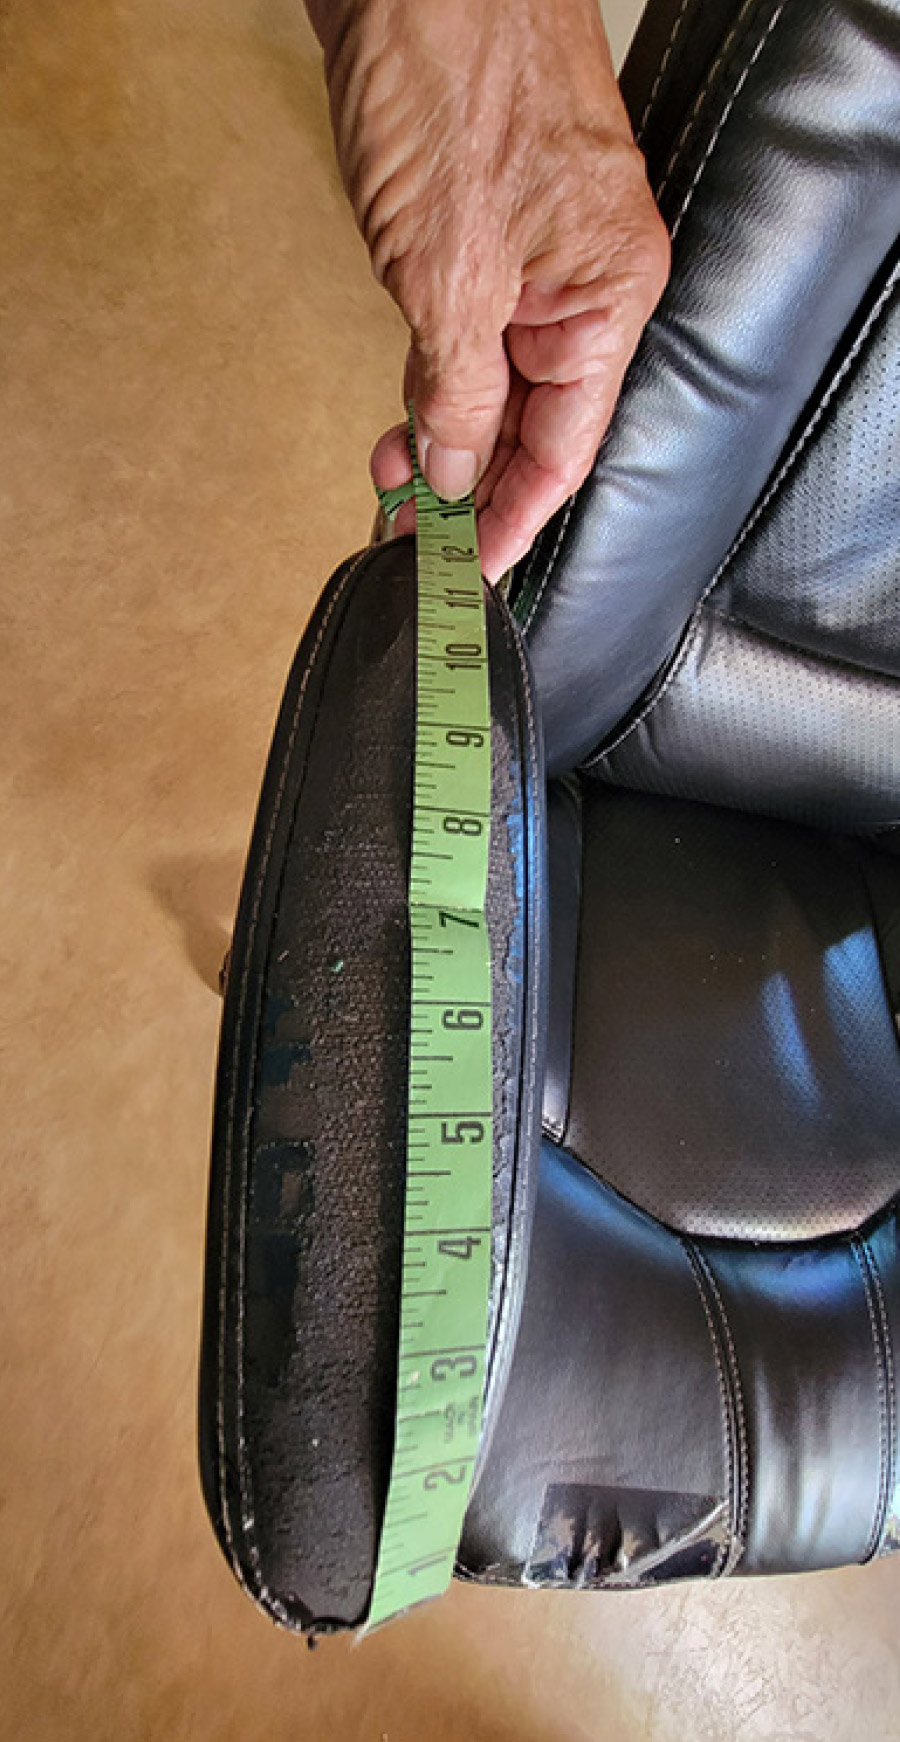
Tools needed are minimal and include the aforementioned tape measure (available at fabric and hardware stores). You might as well have one of these fabric tapes in your toolbox so you don’t have to raid your sewing cabinet. You will also need a large scissors that are sharp enough to cut the patch without stretching the material. Plan, too, on using a straight edge that’s at least 12 inches long unless you have a larger patch. Last, but not least, grab the family hair dryer to set the glue.
For all those people who consider a good chair an old friend — and not wanting to part with something that has “molded” to their lifestyle — the self-adhesive patch kit makes it possible to cuddle with nostalgia.