etting up the comfortable campsite has a double meaning. Most people will focus on the patio, adding a patio mat, the right amount and style of chairs, tables, a barbecue and other items that complement the setting. But, there are the nuts-and-bolts components that allow the RV to function like a home without missing a beat when it comes to convenience. In RV circles, that means hooking up the right way. While the Internet offers plenty of ways to do that, we’ll show you how the pros do it — and we’ll even throw in a few tips for those who shun hookups for a more natural experience.
Let’s Get Oriented
It may seem obvious, but not all campsites are created equal. If possible, ask to see the site first — especially if the grounds are dotted with trees and bushes that can play havoc with the awning and slideout toppers, potentially scratching the sidewalls and creating a mess on the roof that will need attention before leaving the park. Or worse. Last year, we stayed in beautiful RV park with lots of tall pine trees. Our friends in a nearby site woke up one morning to a smashed windshield in their dinghy vehicle, caused by a wayward pinecone that descended from an overhead tree. In this case, the park managers contended that the park was not responsible for damage because it was an act of nature. Our friends will never return to this park, but a little espionage before heading out to the site could have circumvented that situation.
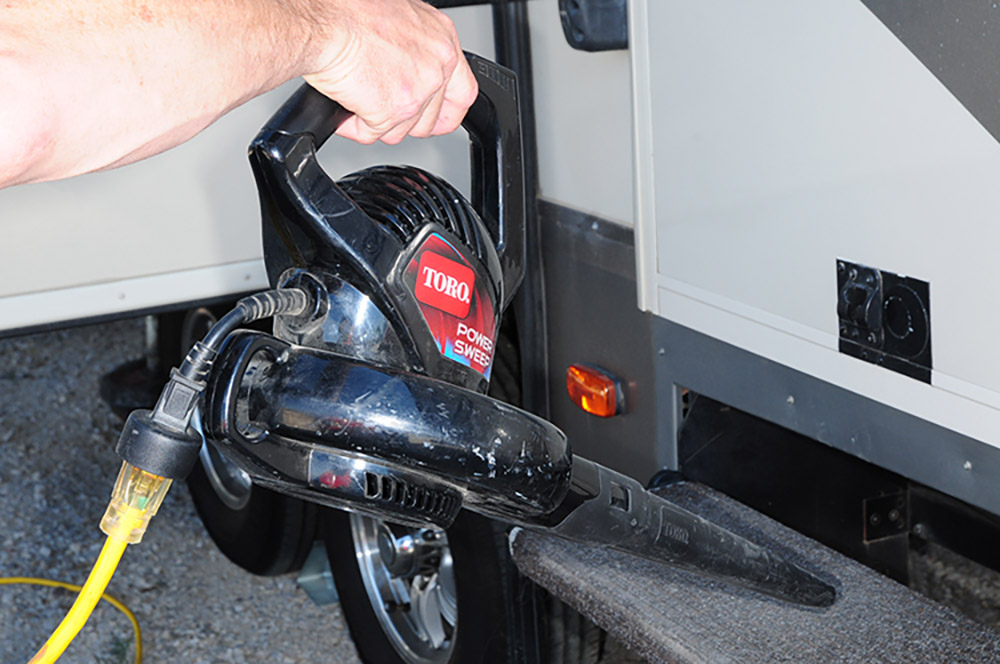
We always query about the site configuration and whether trees are directly over the RV or on the sidelines. As a hedge against possible awning and slideout damage, a small leaf blower really comes in handy as a device for removing debris from the fabric and, for that matter, the roof. It also makes a great tool for blowing debris off the patio or mat, not to mention the ability to blow off water from the RV sidewalls (and tow/dinghy vehicle) during the washing process. There are many leaf blowers on the market, with cordless versions being the most popular these days. If you have power all the time, consider saving some money and opt for a corded model; that’s what we have been using for years and it is lightweight, compact and easy to store.
If you have no choice but to camp under trees and sap is falling — especially in the springtime when there’s a lot of blooming and growth in the trees — you’re going to be in for a labor-intensive cleaning job. Sap can be removed much easier if it’s fresh, using alcohol and water from a spray bottle. Spray the sap and let it sit for a while, then wipe it down, keeping in mind you may have to do this two or three times to get it clean. After cleaning the sap from a rubber roof, coat the area with Aerospace 303 Protectant (available at many auto parts stores, RV stores and online). This protectant is also a good way to apply “sunblock” on the tires and slideout seals.
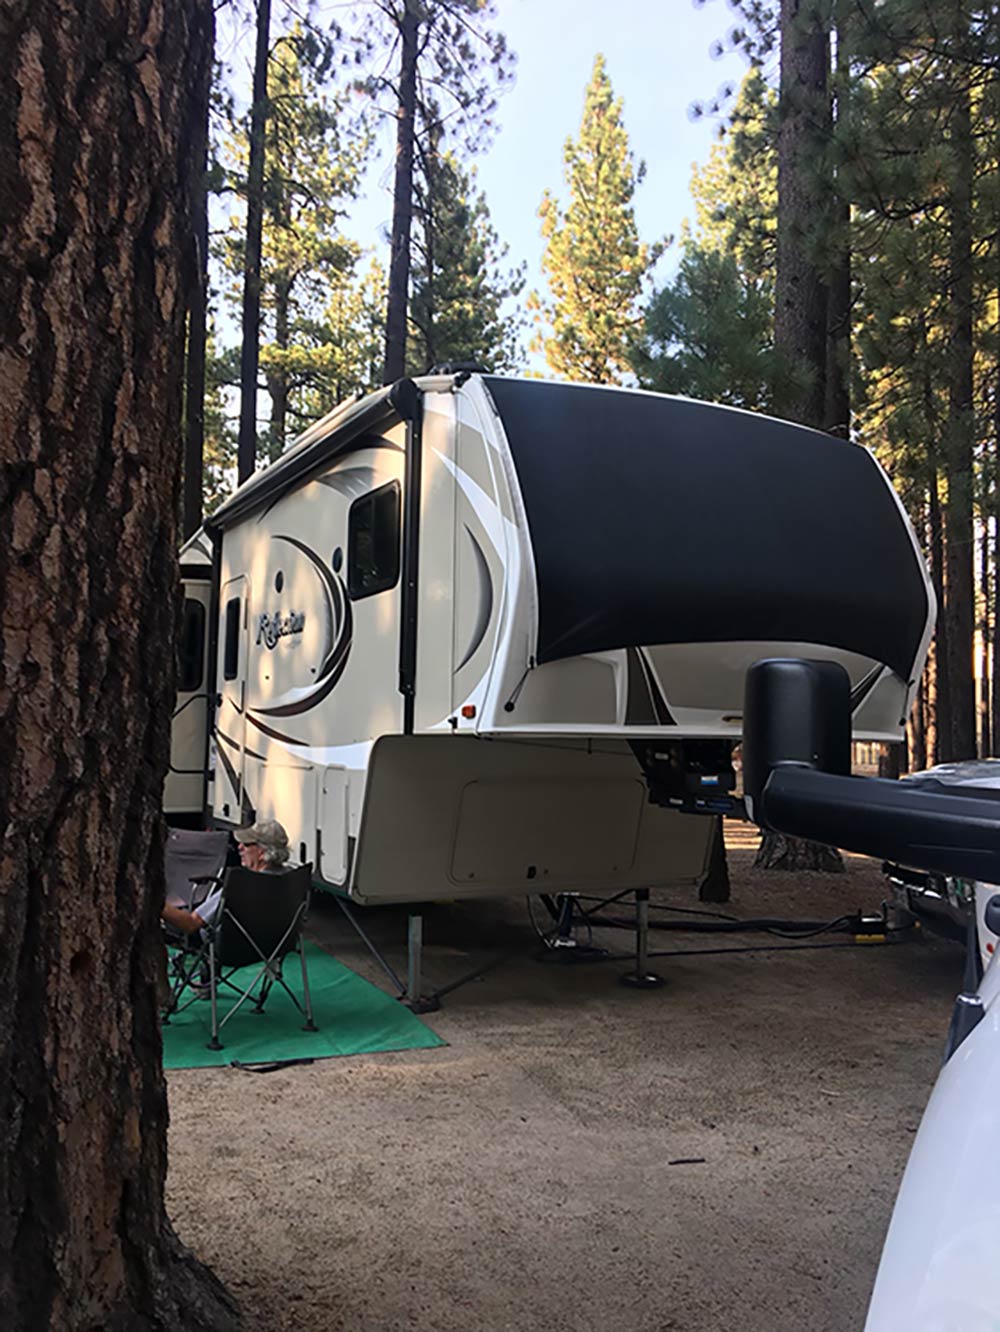

Another factor is site length and width. Is it big enough for the fifth wheel and tow vehicle or motorhome and dinghy vehicle, without compromising patio space? You’ll be surprised how many sites cannot accommodate parking for the tow or dinghy vehicle. Don’t be afraid to ask when making reservations; most RV park personnel have the answers and are willing to help.
You’ll also need to determine whether there’s adequate room for the slideout rooms. Knowing exactly how far the slideout room protrudes into the allocated site space can be critical in avoiding collisions with the hook-up pedestal, poles and/or landscaping. Many owners get acclimated to the depth of their slides, but from number of dents and scratches we see out there, there’s still room for improvement.
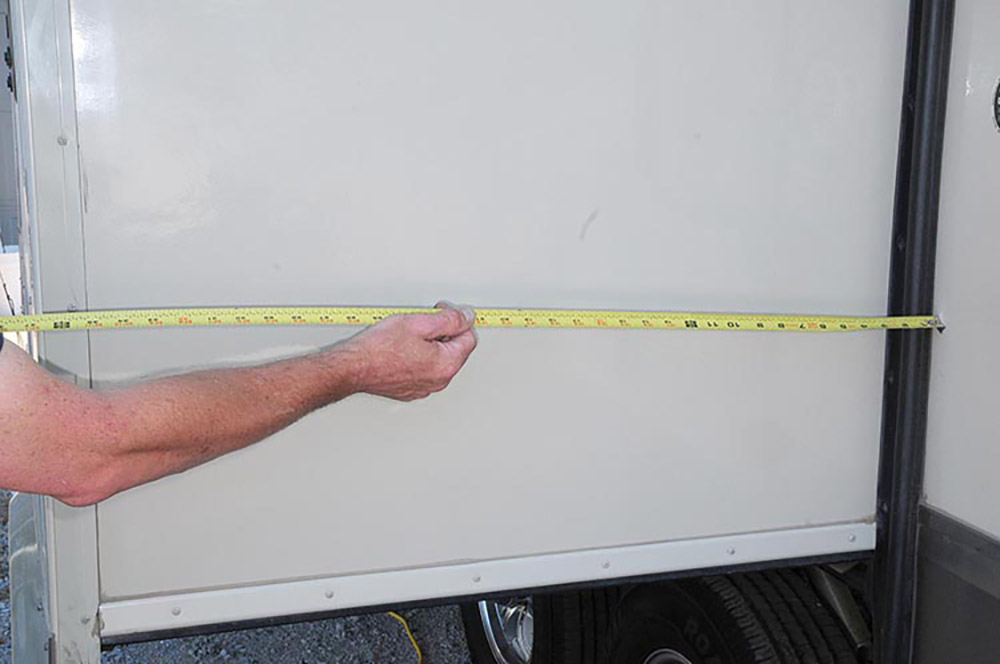
There are a lot of tricks to determine slideout depth, from building telescoping poles to cutting wood poles, but using a tape measure seems to work for most people. Level your RV at home and measure from the ground to the bottom of each slideout as well as the depth when extended. If you want to go one step further, measure the height of the slideout including the topper, if so equipped. Write these numbers down and keep them in a convenient place. After the RV is in your preferred location, measure the from the sidewalls to any obstructions, like the hookup pole, which seems to get the brunt of the abuse, before setting up.
You’ll also want to make sure there is adequate clearance for the patio awning before locking down your position on the site.
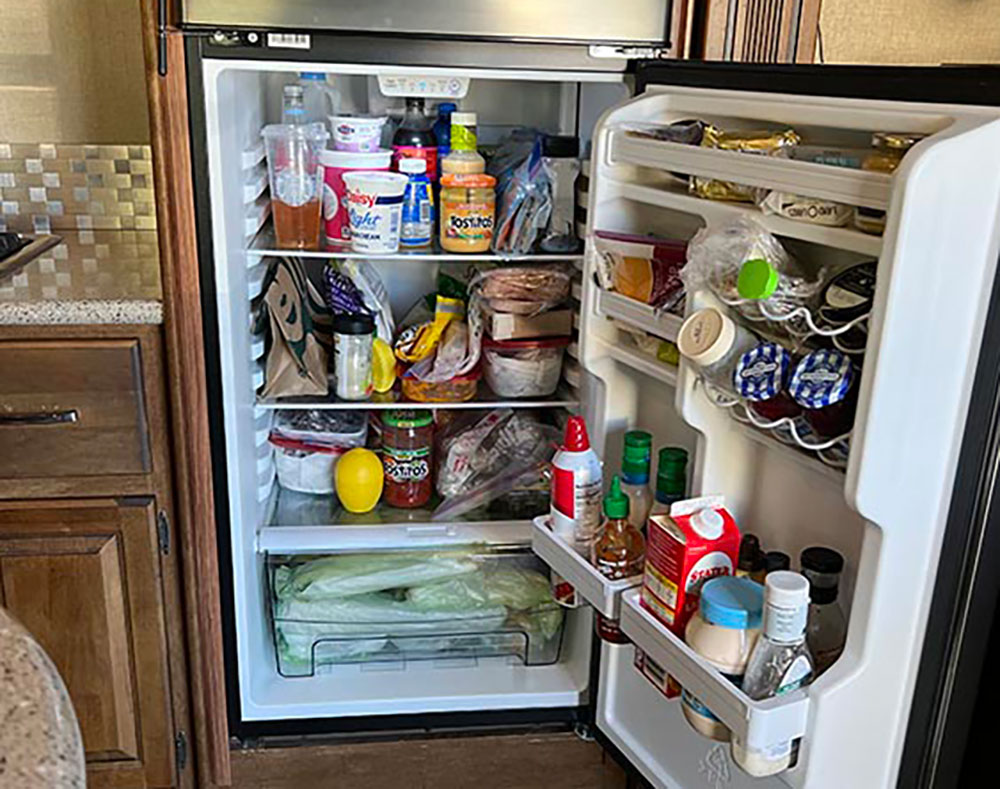
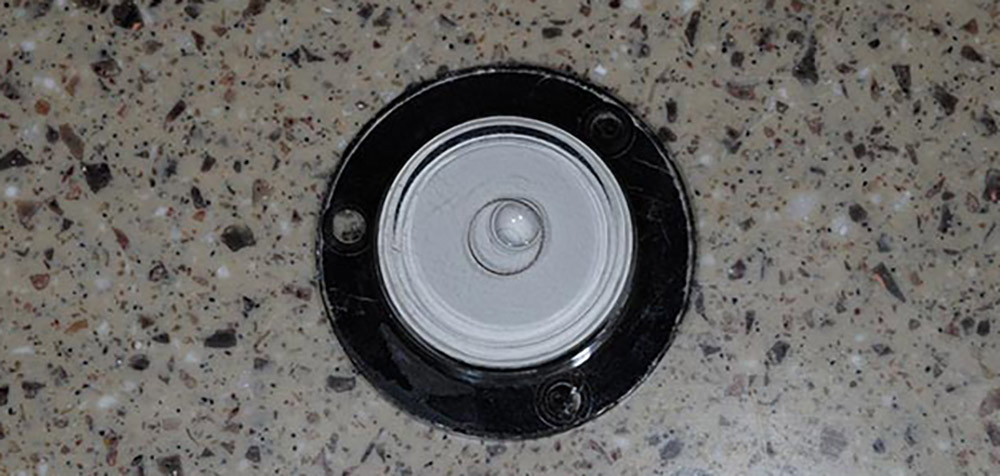
The next step is to determine if the site is level, or at least within the limitations of your leveling jacks or other means of establishing a workable attitude. Most commercial RV sites are usually fairly close, although we’ve seen those where leveling is just about impossible without lifting tires off the ground, which is not a safe solution. Many owners walk the site first and over the years have become experienced with terrain. Also, keep in mind that if you are equipped with an absorption refrigerator, it must be kept reasonably level to operate properly without damaging the cooling unit. Many old timers rely on the old-standby bullseye level, keeping the bubble at least halfway inside the center ring. Of course, automatic leveling systems should remedy that situation, but the bubble level comes in handy for those with a manually operated jack system or for those who resort to commercial ramps and homemade planks.
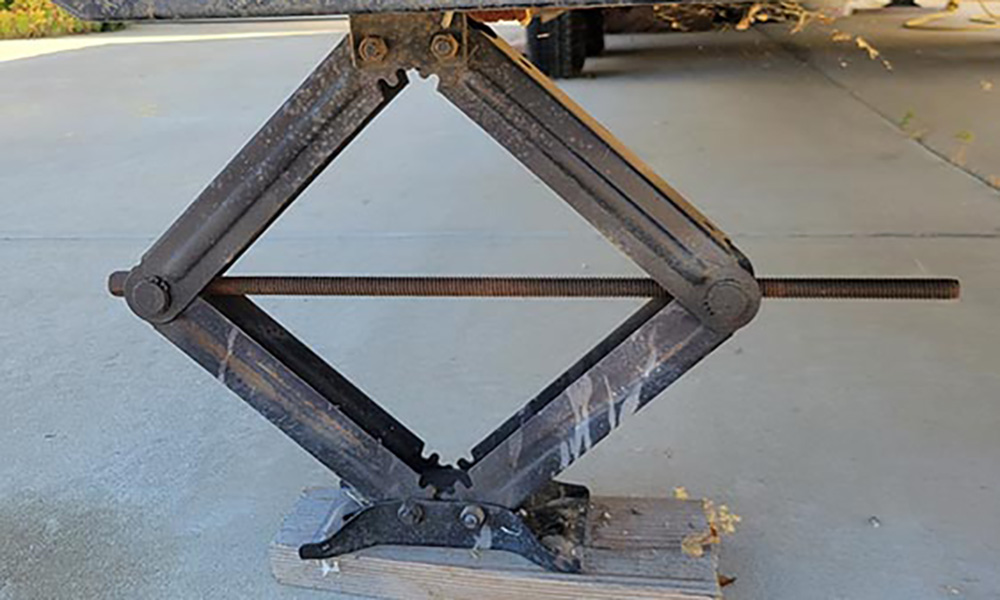
Some people carry a lumber yard with them, but there are many ramps and interlocking squares available. You can make your own with ¾-inch exterior plywood cut into pieces to make a ramp. Make sure that you use deck screws so they don’t rust over time and that they don’t protrude beyond the thickness of the ramp. Each ramp must be long enough so that the tire will fit properly on every level and is wide enough to support the entire width of the tires; failure to do so can result in tread/sidewall damage.
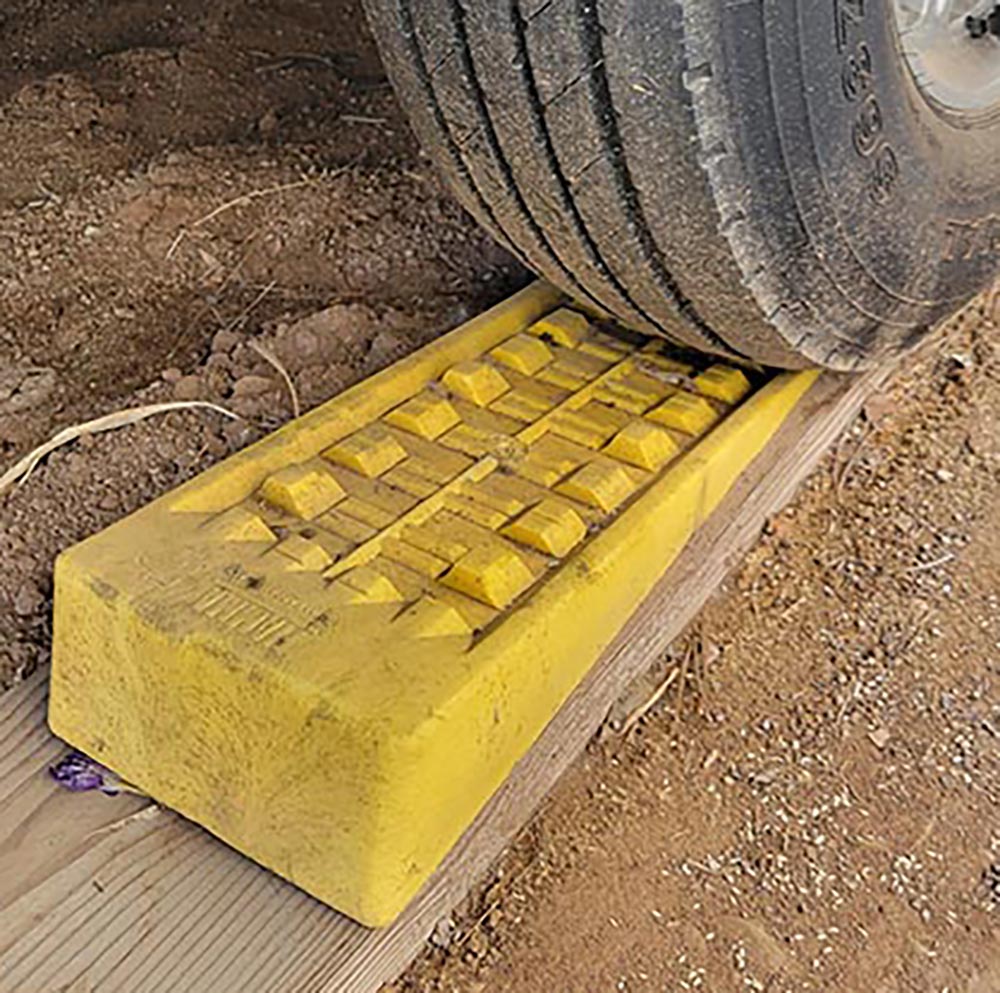
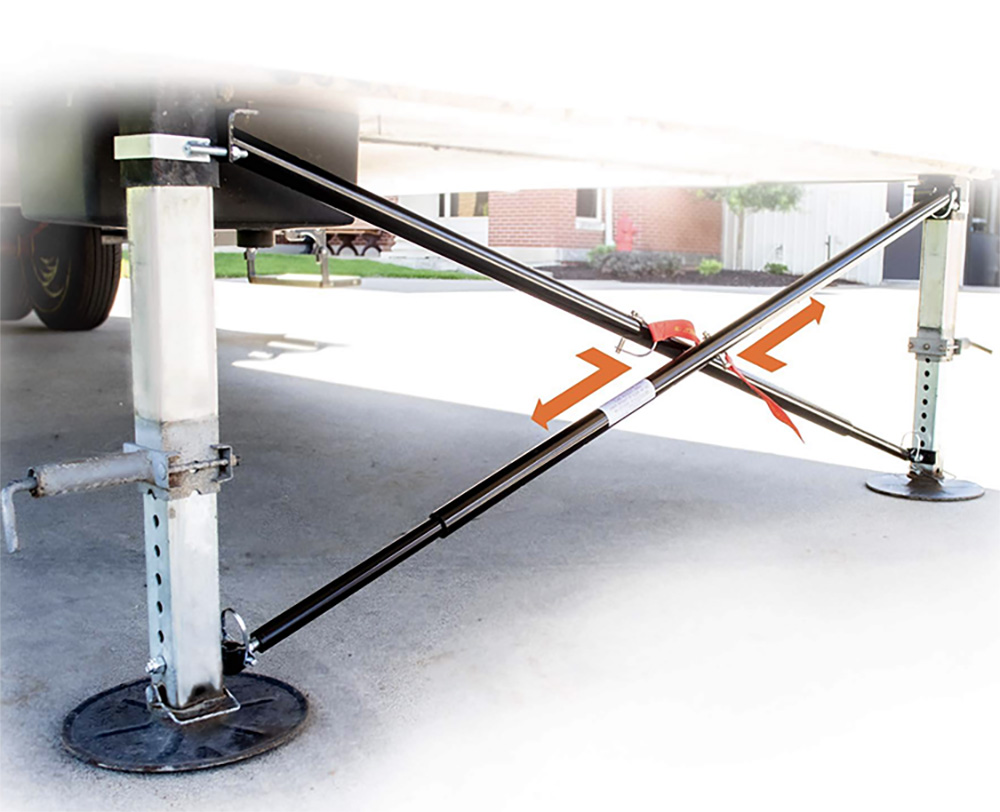
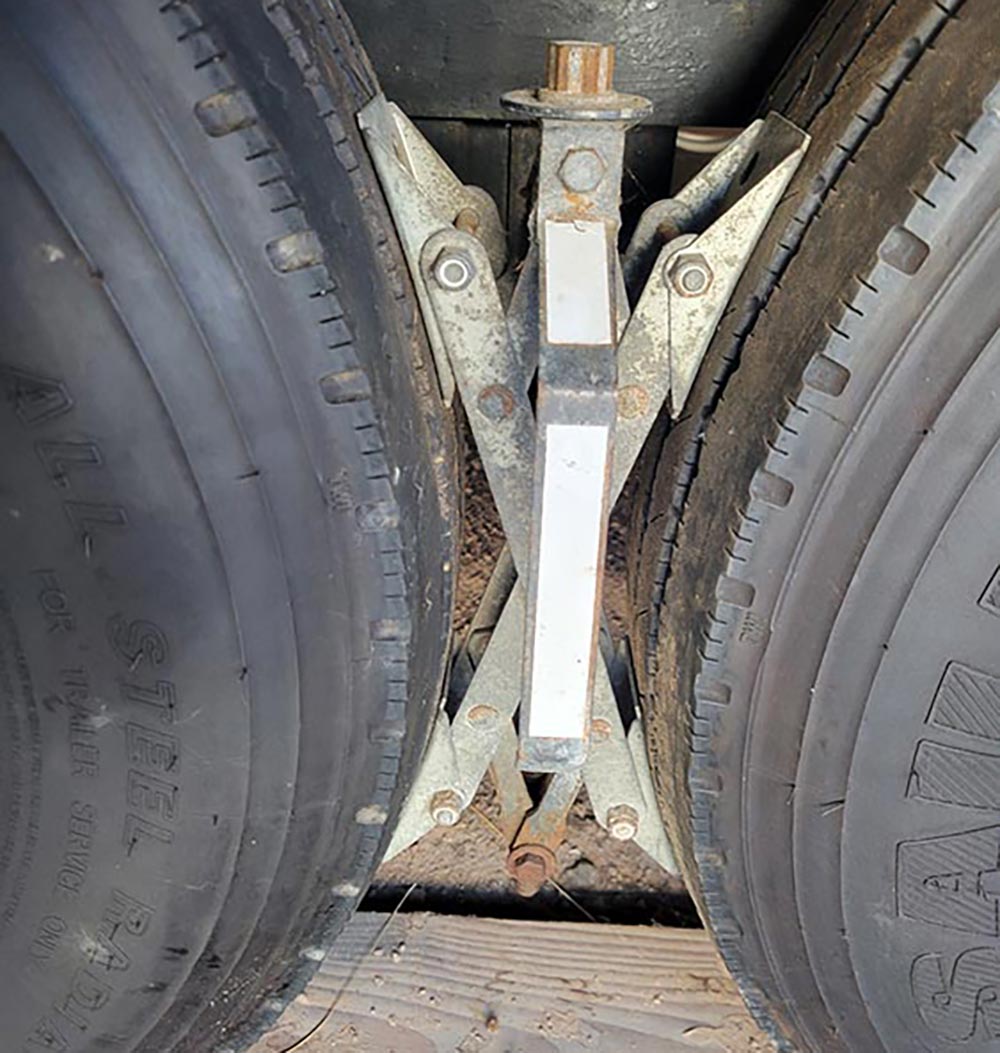
Once a fifth wheel or travel trailer is level (or before operating a power leveling system), make sure the wheels are chocked properly to prevent unintended movement, especially when the RV site has a drainage grade. Again, there are quite a few commercial chocks on the market, and RVers even use rocks and wood blocks, but an easier—and more secure—solution is to use either the Fastway ONESTEP or the BAL X-Chock, both are available at RV supply stores and online. These products offer two different approaches to chocking wheels but are the best in the business.

Another good option is installing SnapPads (rvsnappad.com) on your leveling jack feet. This pad literally snaps on and stays in place permanently, which I can attest to during five years and 50,000 miles on the road.
The trend toward compressor refrigerators is growing rapidly, and those RV outfitted with a 12-volt DC model, like one of Everchill products from Way International, don’t have to worry about being less-than-perfectly level except for personal comfort.