
On the Skids
[maghub_sidebar]
Weekend Projects department; digital illustration of a man holding a beverage and laying in a hammock
On The Skids
Duo Form RV Slide Out Skis
Living with slideouts that stick and grind when moving in-and-out is no fun. Installing Duo Form RV Slide Out Skis smooths out the operation — and curtails any damage.
By Bill Gehr / Photos by author
S

lideout rooms have evolved tremendously since their inception years ago, and while they aren’t completely fault-free, for the most part minor maintenance will keep them functioning as intended. One issue they are susceptible to, though, is when the bottom of the slideout catches on something while moving in and out. Warping of the wood or even an errant screw or small rock can cause problems — and in most cases, the result is damage to the waterproof covering underneath the slideout room. Sometimes, the main floor can also be scratched or even gouged.

Removing the entire slideout to replace the material is a big job — and making spot repairs with tape (sorry, duct tape fans) rarely works. Adding skids to the bottom of the slideout, on the other hand, is great preventative medicine. After a friend found slideout “skis” online and I installed them, I was a believer.

The Duo Form RV Slide Out Ski System (duoformplastics.com) is comprised of two lengths of a synthetic material that is incredibly tough. Each section is 53 inches long and 6 inches wide, which makes the kit (retails for $81) suitable for one slideout. In effect, the installation of these skis prevents further damage to the bottom edges of the slideout — where the damage is most likely to occur.

damage being shown on the waterproof material under the slideout floor
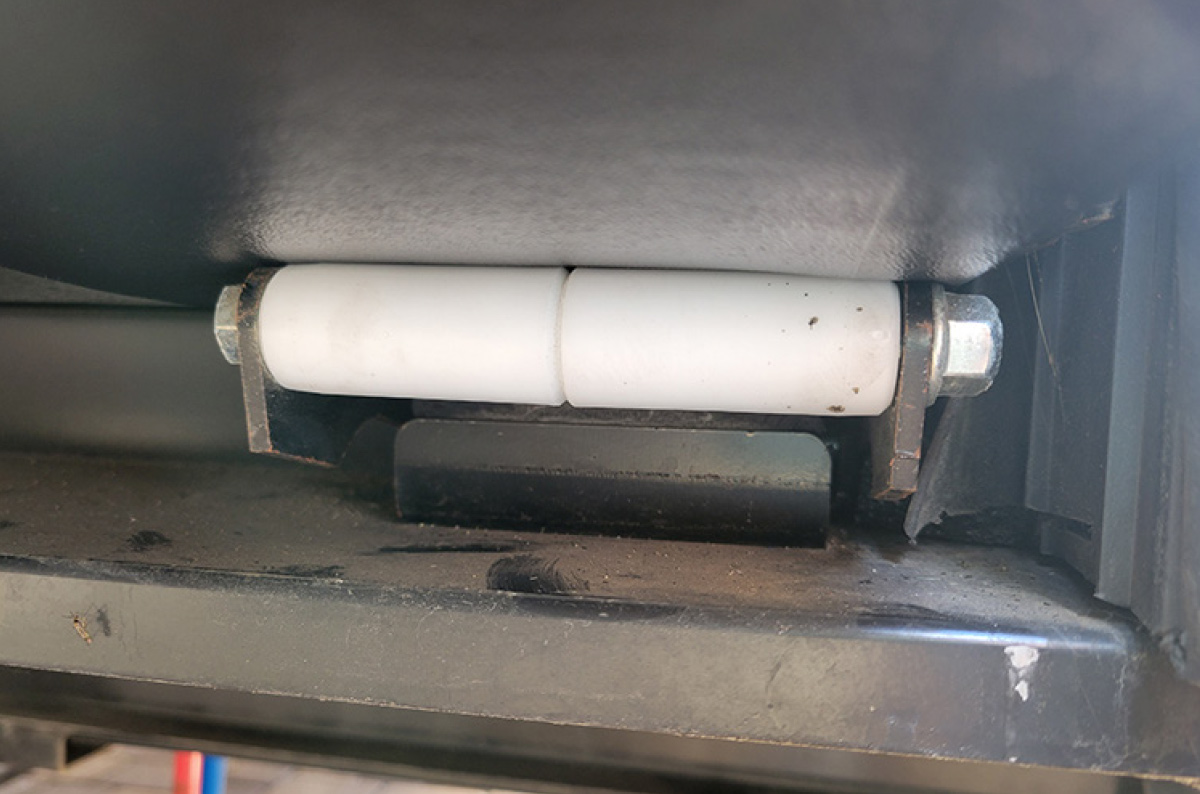
The waterproof material under the slideout floor was damaged because the rollers were not installed properly. In the first year (from new), the material was shredding; it was only a matter of time before this protection would lose its resistance to moisture.
Duo Form’s RV Slide Out Ski kit displayed on stone bricked floor outside
Duo Form’s RV Slide Out Ski kit offered a good solution to smoothing out the operation, while preventing potential gouging and eliminating grinding that could lead to jamming.
We determined that the problem with the slideout we were working on was due to incorrectly installed rollers. The result was serious gouging of the material that covered the bottom of the slideout floor. The first step was to remove the molding on the outside of the front and rear slideout walls. Once the old caulking was removed, time was spent determining where to cut the skis. These skis are typically installed on the edges of the slidout and can be positioned up against or under the molding — and if you cut off the lip, they can be installed in the middle or anywhere underneath the slideout room. There is a link in the instructions for an online video of the installation process, which we watched for this project.

Duo Form recommends that the installation be performed by an experienced technician because if not done properly, jacking up the bottom of the slideout to provide clearance for the skis can be dangerous. In our case, the installation was a little tougher because the rollers were so close to each sidewall that we had difficulty installing the skis — but we persisted with some cutting and were able to get them placed properly. With a little patience, experienced do-it-yourselfers should be able to complete the installation.

We used two six-ton hydraulic bottle jacks that were positioned between a built-up pile of lumber and another piece of wood under the slideout to lift the floor high enough (until you can see light under the floor) to gain access for the skis; one side of the slideout was lifted at a time. In the video, 2x4s in a T-shaped configuration were used for support, but our system seemed to be stronger and more stable. With the slideout lifted, measurements were taken, which was tough because there was not much room to work with. Fortunately, this will not be an issue in all RVs.

We cut the skis to length and held them into place to make sure the fit was right. Before we jacked the room up to install the skis, we moved the slideout room in about 12 to 16 inches to gain access from the inside, where the skis were installed.

We soon learned, however, that there were obstructions in the way, so we had to make cuts to accommodate the fit — especially to clear the roller brackets. For this malady, a file was used to take down the sharp edges, which we determined caused the tearing of the material on the bottom of the slideout. Satisfied that we could put the skis in place without any obstructions, the double-sided tape supplied with the kit was installed. It took some doing to get our fingers in the tight space to remove the backing from the double-sided tape. Once we had the technique down, though, installing the second ski was much easier and faster.

Finally, butyl tape was applied to the moldings that were reinstalled on both sides of the slideout. After a few in-and-out tests, everything stayed in place and worked smoothly, gaining our confidence that damaging the slideout — and the potential for floor gouging, sticking and grinding — was now a thing of the past.

molding on the front and rear slideout walls being removed using a screw gun
The first step was to remove the molding on the front and rear slideout walls using a screw gun. Once the screws were removed, the molding was pulled off the sides with little effort. Make sure you do not bend the molding while removing.
a yellow utility knife being used to cut through the old sealant
a putty knife lifting the sealant away from the molding
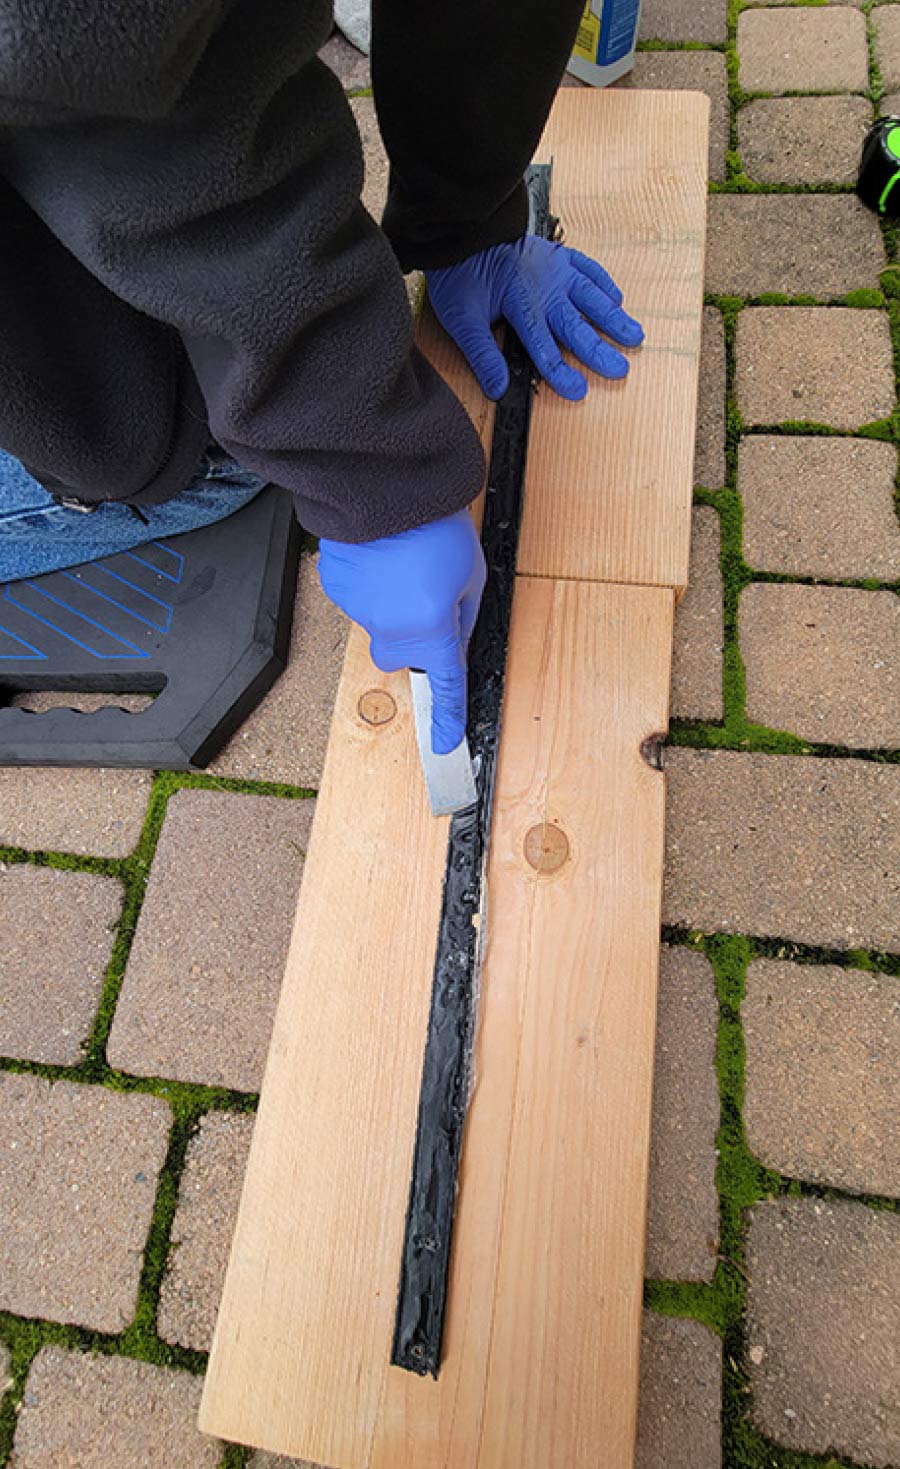
A utility knife was used to cut through the old sealant and a putty knife made short work of lifting the sealant away from the molding.
old putty being cleaned off from the molding
Be sure to clean off any old putty from the molding before applying new material. Final cleaning was done with alcohol (not shown).
slideout being lifted
It was necessary to lift the slideout enough to see daylight through the frame. Extreme care must be taken, and Duo Form recommends that this step be left to RV technicians. Experienced do-it-yourselfers, though, should be able to complete this task — just be sure to use enough wood to build up a stable structure for the bottle jacks.
measurement being confirmed for the length of the ski
Once the measurement was confirmed for the length of the ski, it was cut easily with tin snips. It can also be cut by scoring the material with a utility knife and bending until it breaks apart. Each ski is specific to the front or left side of the slideout; they are not interchangeable, so be sure before cutting.
end of each ski being cutoff
It’s possible to install the skis in places other than the outer edges of the slideout structure by cutting off the end of each ski.
skis being installed from inside the RV
skis being installed butted up to the molding
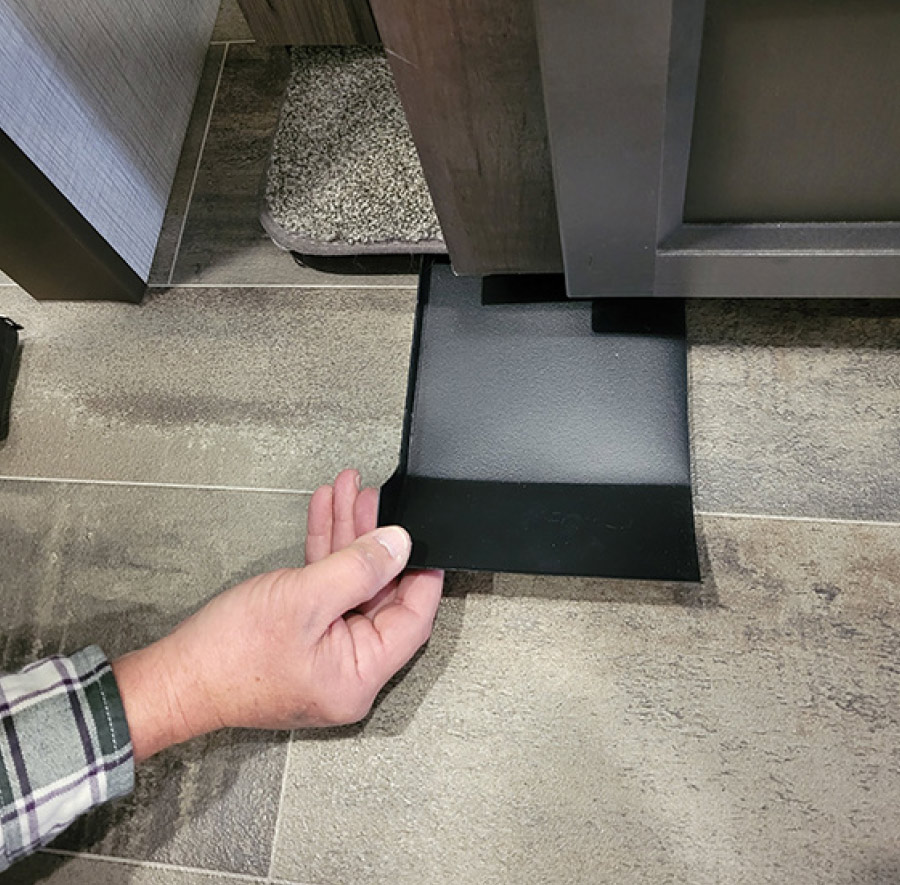
The skis were installed from inside the RV once cut to size. It took a little juggling to make sure they fit properly. In our case we had interference from the roller brackets, which were filed down to ensure proper clearance (not shown). The skis can be installed butted up to the molding as shown here, or under the molding.
Double-sided tape laid down on work bench
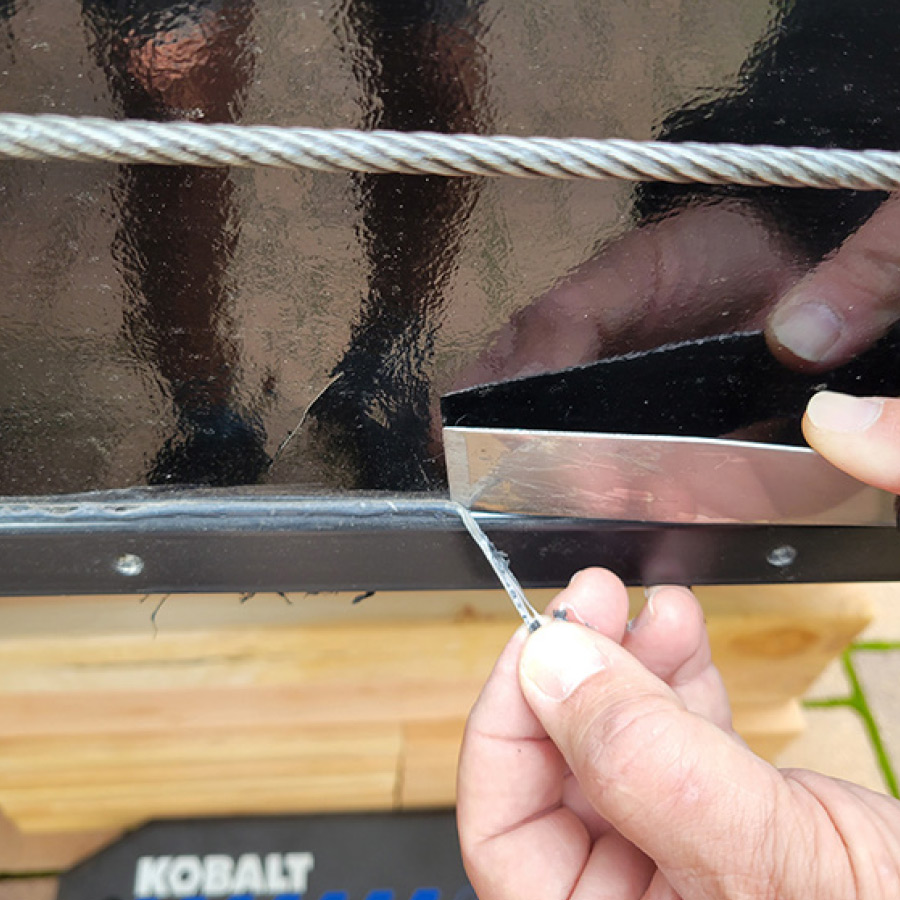
Double-sided tape, supplied with the kit, was applied to the skis. It’s best to clean with alcohol first for a strong bond. Pulling the backing off the tape can be “entertaining” due to restricted access, but it can be accomplished with patience.
skis solidly in place
bead of exterior sealant being applied neatly to prevent water intrusion
Once the skis were solidly in place, butyl tape (not supplied) was applied to the molding, which was reinstalled using the existing screws. Finally, a bead of exterior sealant was applied neatly to prevent water intrusion.