Roof Water Intrusion? Not on My Watch
[maghub_sidebar]
Roof Water Intrusion? Not on My Watch typography
mechanic atop an RV, scraping an old skylight sealant
When an annual inspection reveals that the skylight seal has been compromised, fixing the problem before it leads to costly repairs requires patience, care — and the right tools
By Bob Livingston / Photos by author
S

kylights have been part of the RV’s roof landscape for many years, offering additional height in showers and natural lighting. For the most part, these plastic domes have a good lifespan (unless, of course, you collide with a low structure or tree limb), but the seal that ensures a tight fit on the roof can deteriorate over time, requiring attention to prevent moisture intrusion. Hence, skilled service technicians recommend inspecting the roof seals annually, or immediately after any driving mishap.

When we aided a friend in examining the roof of his five-year-old fifth wheel, it was plain that the seal around his skylight was weathered, dried out — and a prime candidate for creating problems inside the rig. Allowing water to penetrate the roof, or any other place in an RV, leads to costly dry-rot damage and long downtimes — usually at the most inopportune times.

The skylight in the fifth wheel was original from the factory and was well-sealed, meaning plenty of “goop” applied could be found around the edges. Long-term exposure to the sun allowed the lap sealer to shrink and develop voids where moisture could eventually make its way into the roof structure. For the record, the manufacturer did a good job sealing this skylight, which further demonstrates the level of wear-and-tear that should be expected from the intensity of the sun and continued exposure from other damaging elements.

mechanic scrapes old sealant from an RV skylight

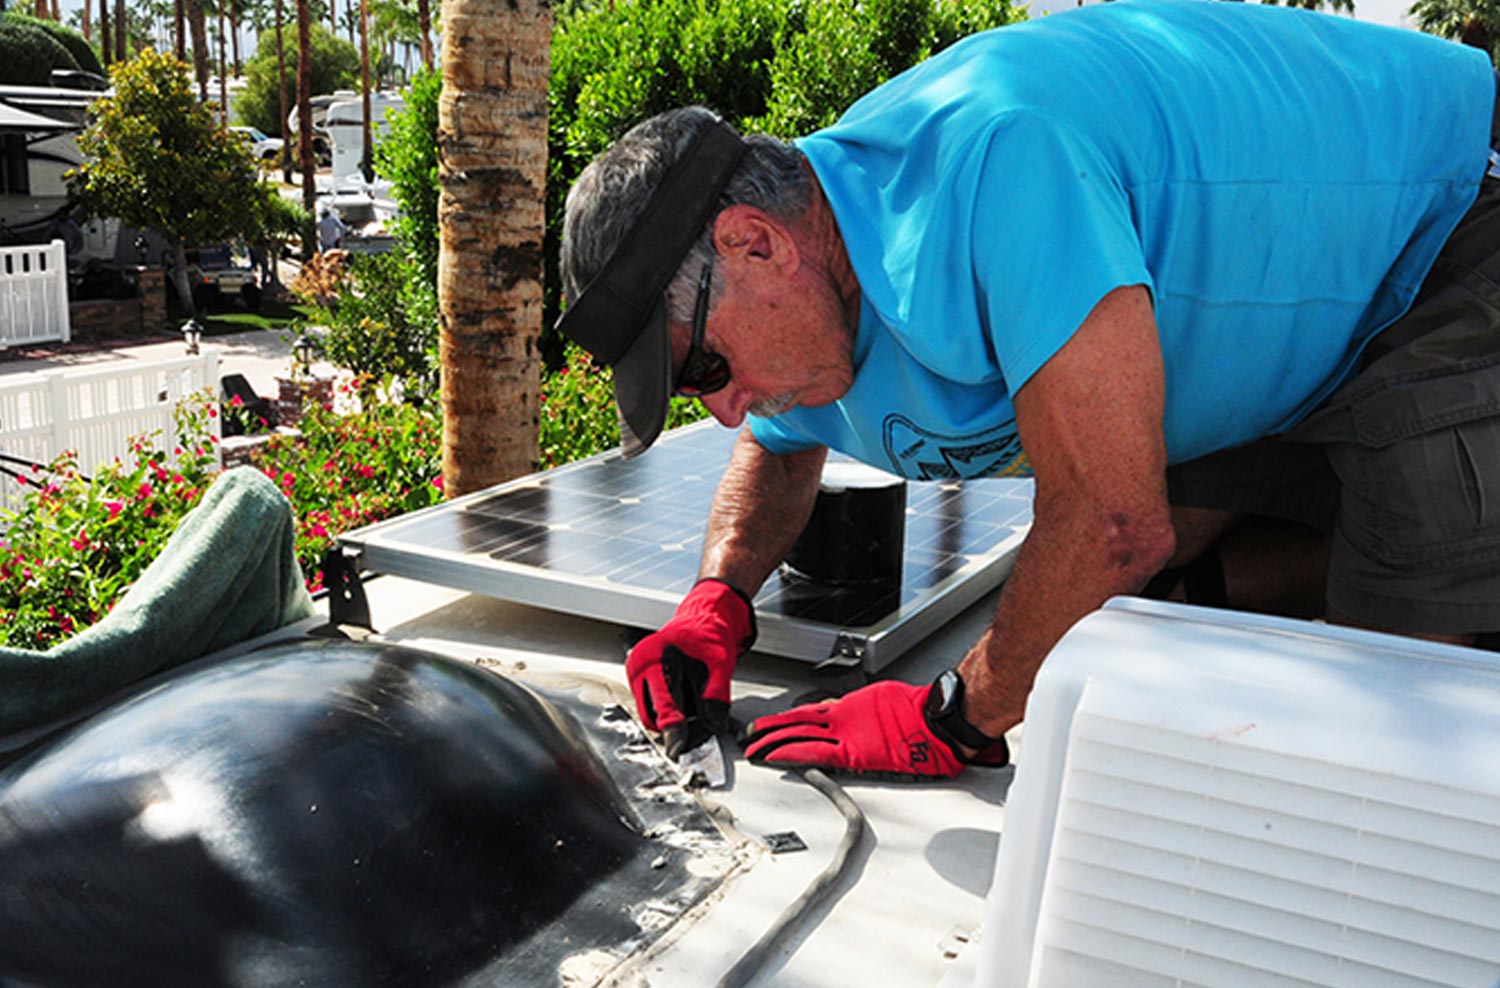
Working on the roof takes some agility when the real estate is consumed by nearby solar panels and other accessories, so be careful. After exposure to the elements for five years in a full-time environment, the sealant around this skylight was dried up and no longer capable of protecting against water intrusion.

Resealing the skylight (and any other accessory on the roof) does not require special training, but there are a few precautions to consider. First, you’ll be on the roof, so it’s important to be aware of your surroundings and possible trip hazards. In this case, much of the roof real estate is occupied by solar panels, so footing was important. Second, removing old sealant from a rubber roof requires patience, care and the right tools — you don’t want to damage the roof membrane. Lastly, do not lean on the skylight while removing and reapplying sealant; a friend learned that lesson the hard way — and ended up having to replace the skylight because the plastic cracked when pushed on by an errant hand.

Removing Old Sealant
In order to properly re-seal the skylight, the old material must be removed first. Chances are your roof has an EPDM or TPO membrane, which can be damaged very easily. If you are new to this type of repair, you might consider using a plastic putty knife; steel putty knives will “dig” into the membrane easily, creating large gaps between the skylight flange and roof. The skylight re-seal for this project was completed by RV Enthusiast contributor Bill Gehr, who has done this job hundreds of times and has the right “feel” when using steel putty knives. Use of a plastic putty knife will slow down the process, and in some cases make it difficult to remove stubborn sealant, but it’s the safer alternative. The bottom line? Work slowly and carefully and take breaks if the job becomes too tedious.
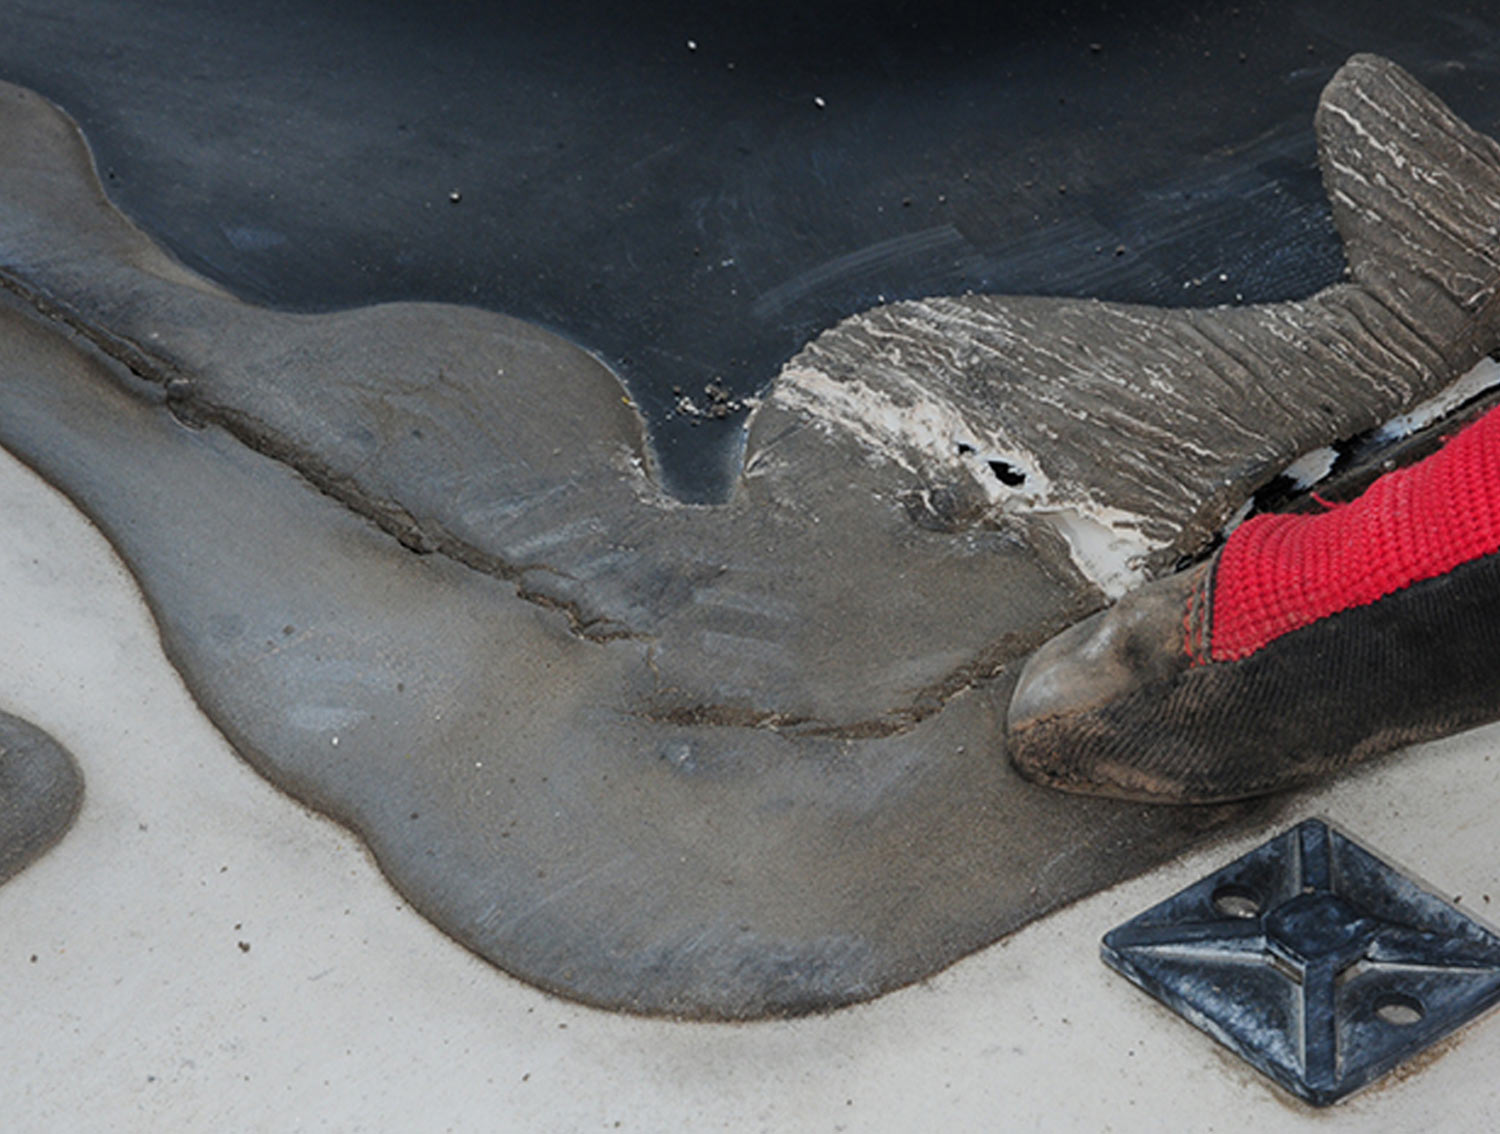
mechanic finger points to areas of cracking on the old skylight sealant

Obviously signs of cracking in the original sealant was a red flag and led to the decision to remove the old sealant and replace it with EternaBond tape.

Once all the old sealant was removed, the surface was washed with a commercial cleaner, followed with a wiping of alcohol. At this point, you can elect to use a lap sealer designed for your roof type or seal the flange to the roof with EternaBond tape; for this project the latter was chosen. EternaBond (https://amzn.to/3IPpIBP) is some of the stickiest stuff on the planet. It was originally designed to seal pipes underwater, so weather has little adverse effect on its ability to provide a tight seal. Granted, EternaBond is expensive, but if you use this tape you’ll likely never have to re-seal the skylight again unless it becomes damaged and needs to be replaced. And that’s the caveat: it’s brutal to remove, which is why it does such a good job sealing out moisture. If it becomes necessary to replace the skylight, the only way to get if off the roof is to cut the tape at the edges of the flange with a razor knife (and exposing the screw heads will take some time and patience). Nevertheless, it’s normally a “reseal it and forget it” proposition.

For this job, 4-inch-wide black Eterna-Bond tape was chosen because it provided good coverage on the flange and roof surface. A 50-foot roll sells for around $70, which is obviously more than needed for the skylight re-seal, but that’s okay: This tape has many uses around the RV. Other items can be re-sealed on the roof, and in the event of a mishap where the roof membrane is compromised (think collision with a tree branch) a temporary — or even permanent — repair can be made on the spot. It’s the most versatile tape you’ll carry in your tool arsenal.

Applying the tape takes some thought and should be done in sections. This is not the easiest tape to work with, and you’ll only get one shot at placement; once the adhesive touches any surface, it pretty much cannot be moved. But it’s not hard to do it right. After cutting the tape to the needed length, it’s laid down to confirm the fit. Then the liner protecting the adhesive is removed, which can be maddening if not done correctly. Simply scrunch the leading edge of tape using two hands until the protective liner separates enough to get a grip and pull back a manageable length of liner. Carefully position the tape on the flange/roof and work it to the other end while continually pulling back the liner; the process is repeated until all four sides are covered. Be sure to cut the sections so that the ends meet without unnecessary overlap — not exactly critical, but the final job will look better.

The key to ensuring that the adhesive sets up properly is to roll the tape so that contact is uniform. Steel EternaBond rollers for this purpose are available from Amazon (https://amzn.to/3m0FEHR) or other tool sources, but we couldn’t find ours, so we improvised by “ironing” the tape surface with the head of a hammer. After about an hour, the job was completed and the skylight once again was protected from exposure to the elements, including water intrusion.

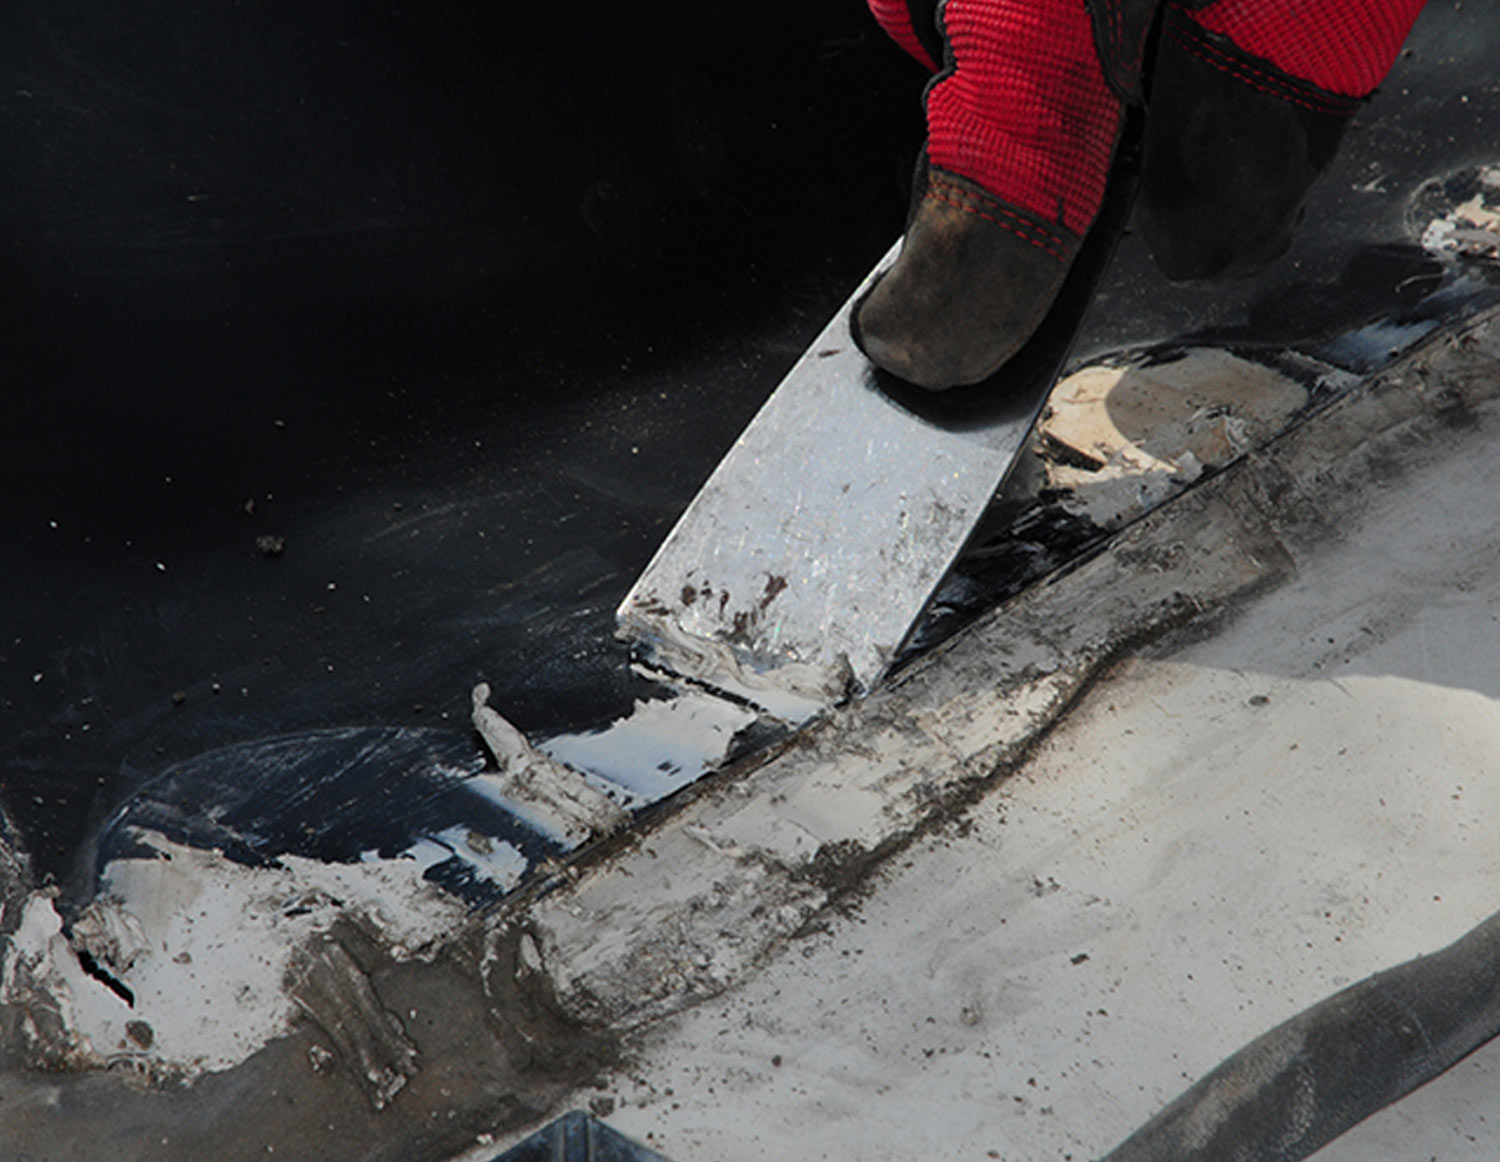
mechanic Bill Gehr uses a steel putty knife to carefully remove the old cracked sealant
mechanic Gehr continues to use a steel putty knife to carefully remove the old cracked sealant
Removing the old sealant requires a certain skill set to prevent damaging the EPDM roof membrane. For this project, RV Enhtusiast contributor Bill Gehr banked on his 30-year-plus experience as an RV technician and used a steel putty knife to remove the old sealant. A plastic putty knife can be used but it’s not as effective.
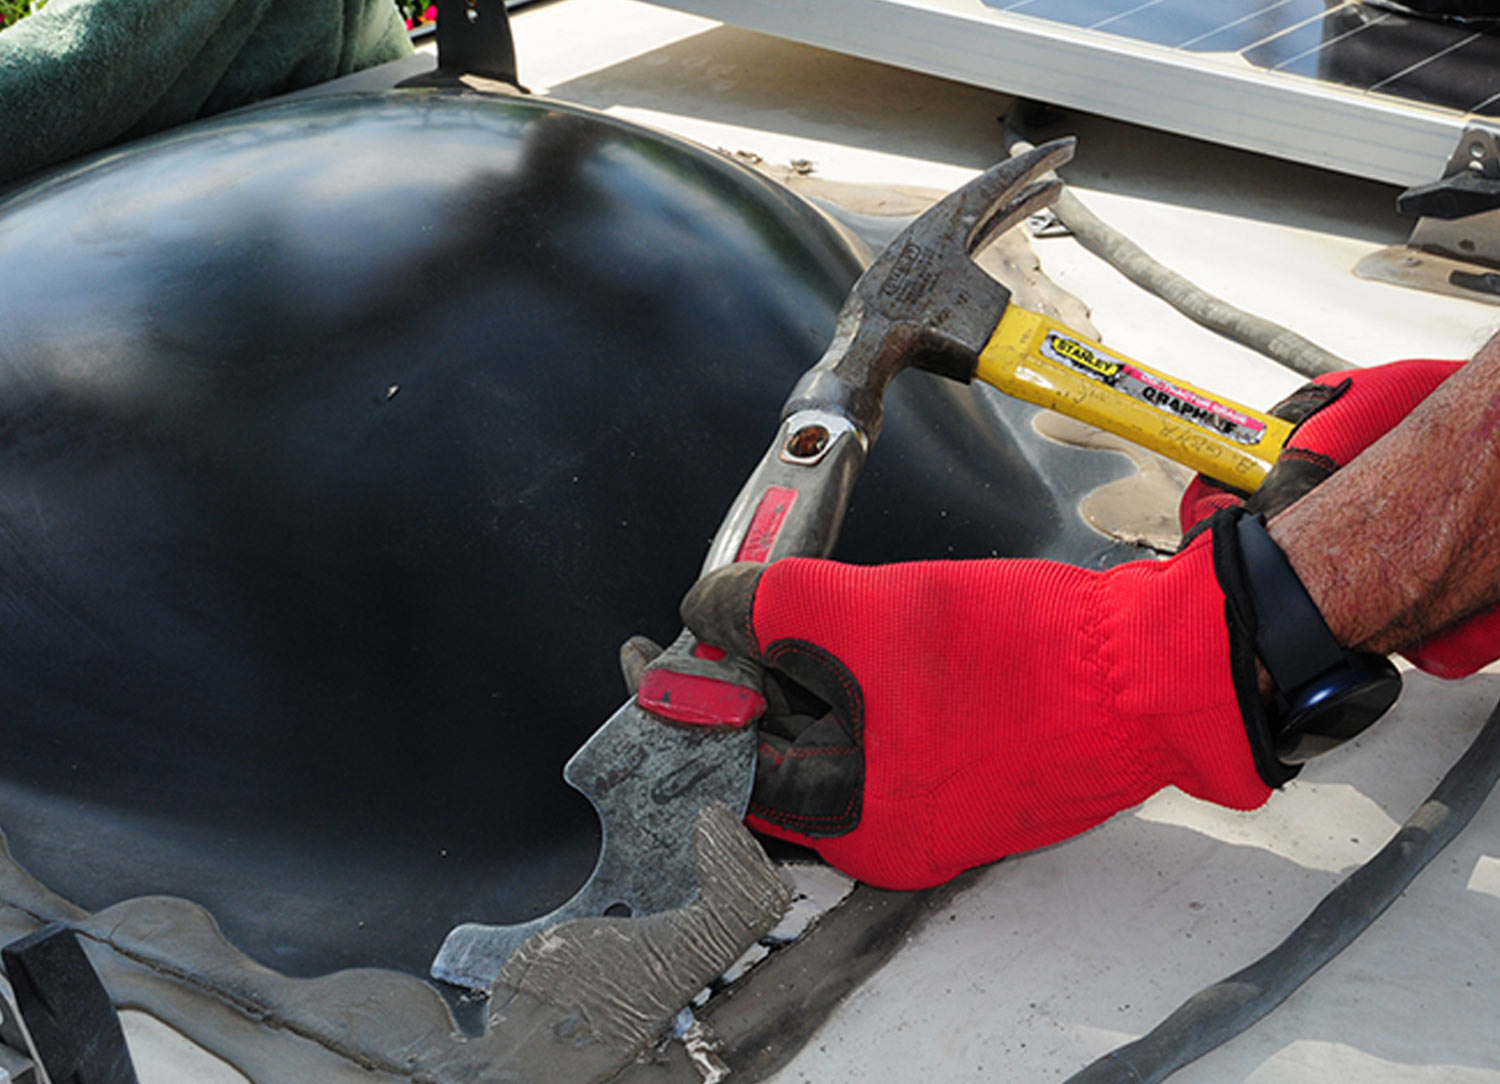
a hammer is used along with the putty knife to remove tougher areas of old sealant
A hammer can be used to “encourage” dry, hard sealant to break loose, but don’t get carried away. It’s easy to misdirect the putty knife and damage the roof membrane.
a smaller putty knife is used to remove the old sealant around the screws
A smaller steel putty knife was used to get a better feel when removing the old sealant around the screws.
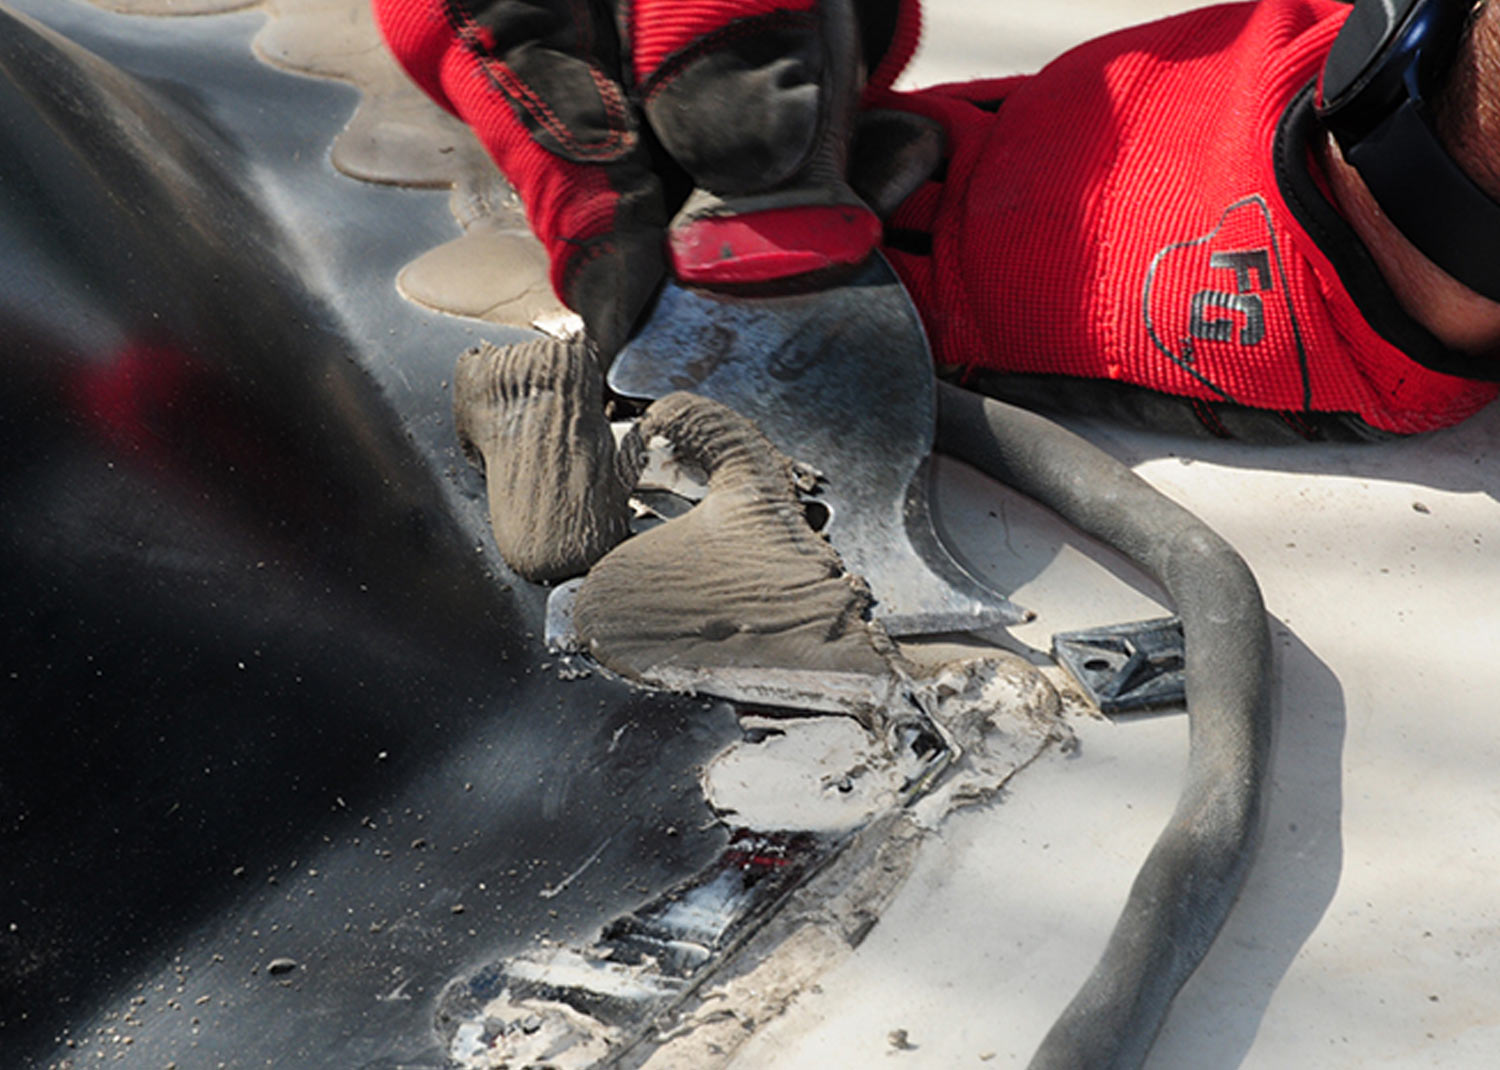
the old sealant begins pealing off in larger pieces
Once you get into the rhythm, the old sealant will peel off in large pieces.
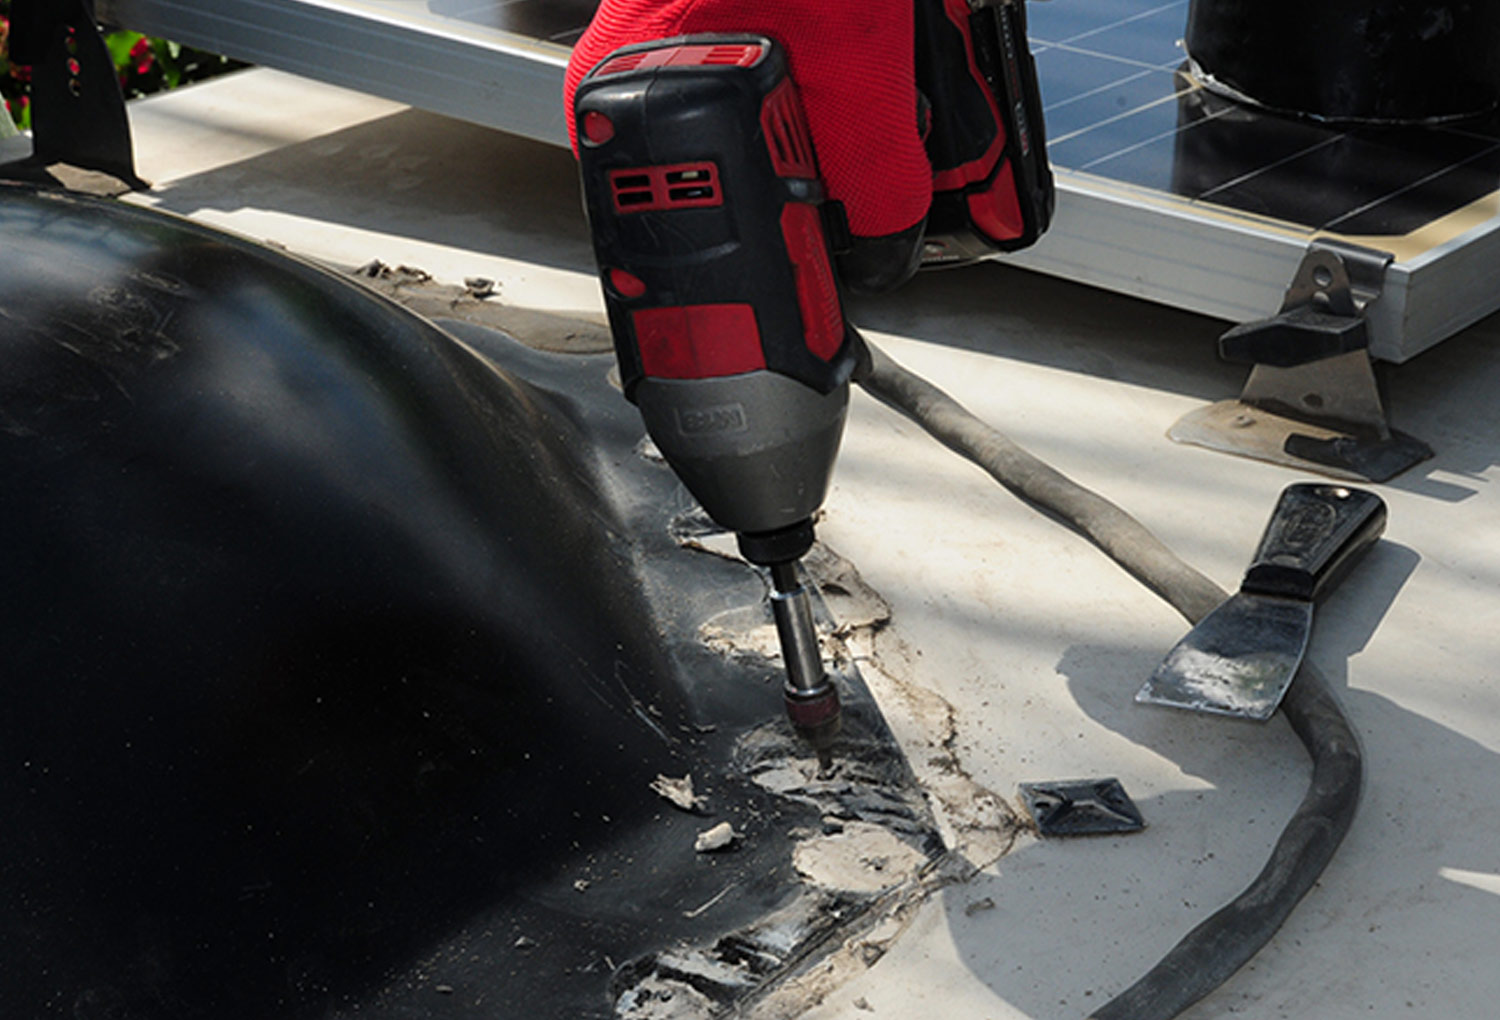
the screws holding the skylight are tightened in preparation for the new application
Screws holding the skylight to the roof are tightened, where necessary, to provide the best possible uniform surface for applying the new sealant or, in this case, the EternaBond tape.
mechanics finger points to the transition area between the skylight flange and roof membrane
the smaller putty knife is used to cut the old sealant around the skylight flange without digging into the membrane
It’s best to make the surface transition from the skylight flange to the roof membrane as smooth as possible. The smaller putty knife did the trick. The edge of the smaller putty knife was also needed to cut the old sealant around the skylight flange without digging into the membrane.
mechanic Gehr carefully removes the skylight sealant, avoiding other rooftop accessories sealants
If you have other rooftop accessories, special care is needed to remove the old sealant that may have “mixed” with the sealant applied to (in this case) the solar panel brackets.
mechanic moves to the RV ladder to continue the sealant removal process
Since the skylight was so close to the edge of the roof, it was necessary to climb on a ladder and carefully work from the outside.
with the sealant removed, the mechanic spray cleaner on the area
with the sealant removed, the mechanic uses a towel to clear and residue of the old sealant
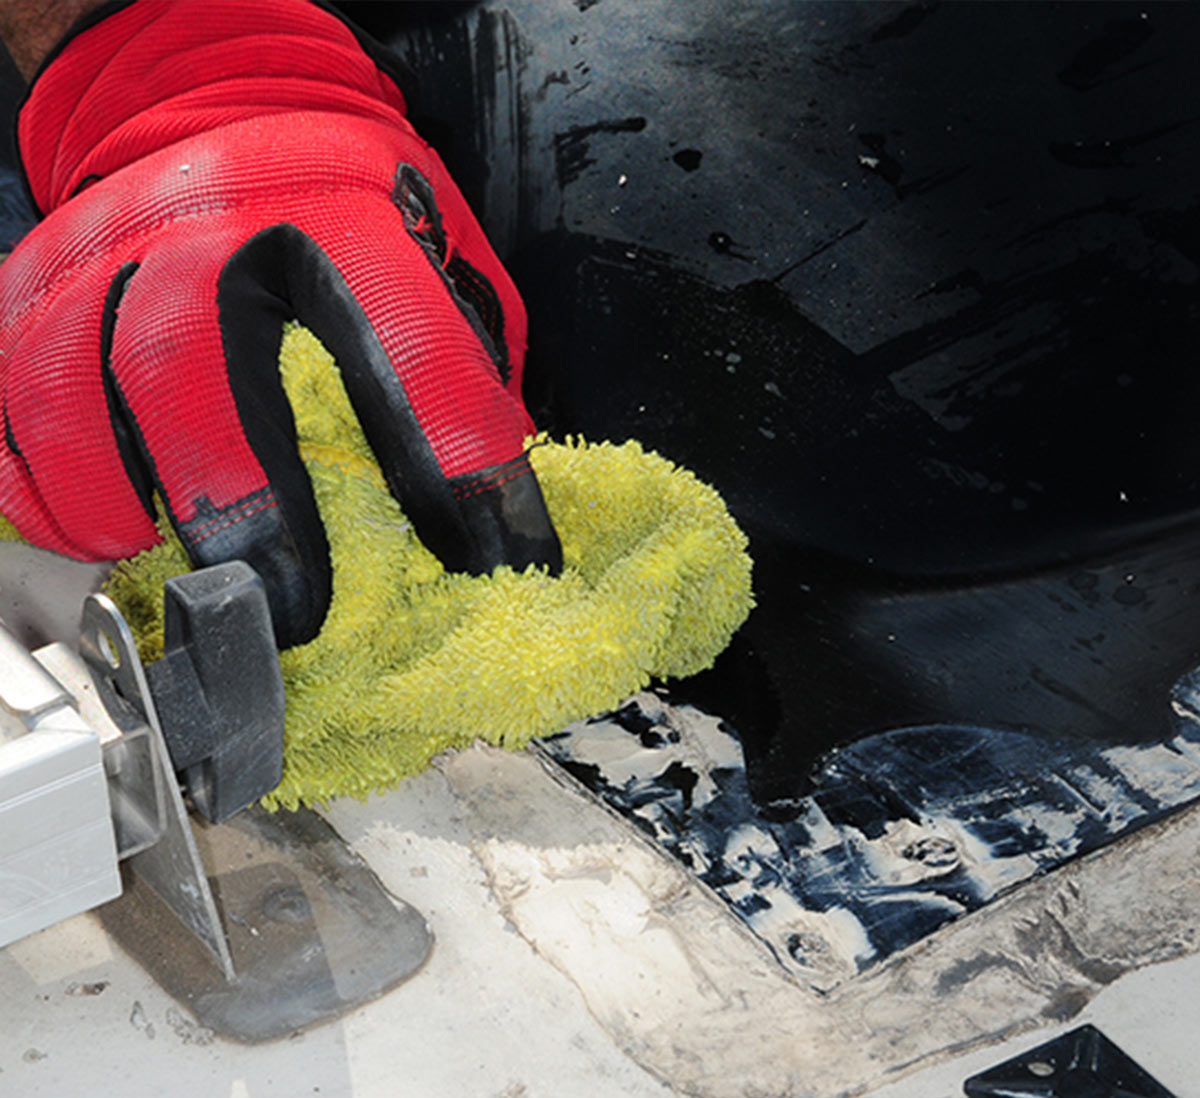
Once the sealant was completely removed to the technician’s satisfaction, the surface was cleaned to gather any loose pieces of material, residual dirt and debris.
before continuing the new installation the old sealant is cleared up and piled for disposal
Once all the old sealant was removed, it was collected from the roof and piled in a corner for disposal. You don’t want this stuff sticking to the membrane.
mechanic places hands on the skylight in warning not to lean or rest on the piece
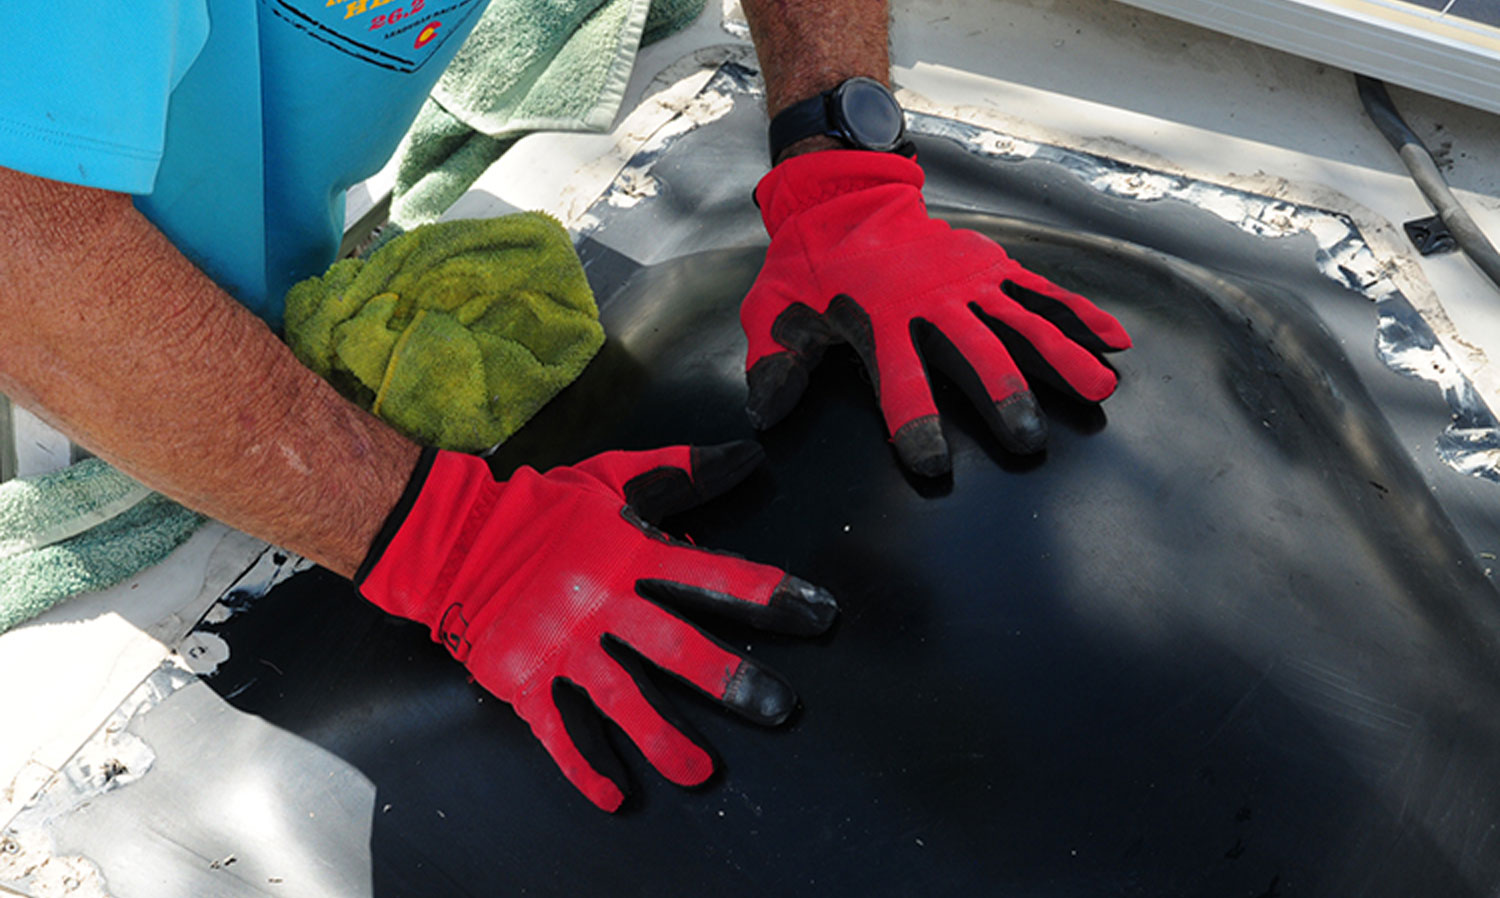
While working around the skylight, refrain from leaning on the dome for support. Doing so will risk cracking, especially if the plastic has been exposed to the sun for many years. If that happens, you’ll have to replace the skylight.
alcohol and a paper towel is used to clean the skylight surface
The last step before applying new sealant or EternaBond tape is to clean the surfaces with alcohol. Be careful not to saturate the roof membrane.
mechanic holds a four in wide roll of black Eternabond tape
the EternaBond tape roll is held to the skylight edge in place for figuring the needed length and cut for application

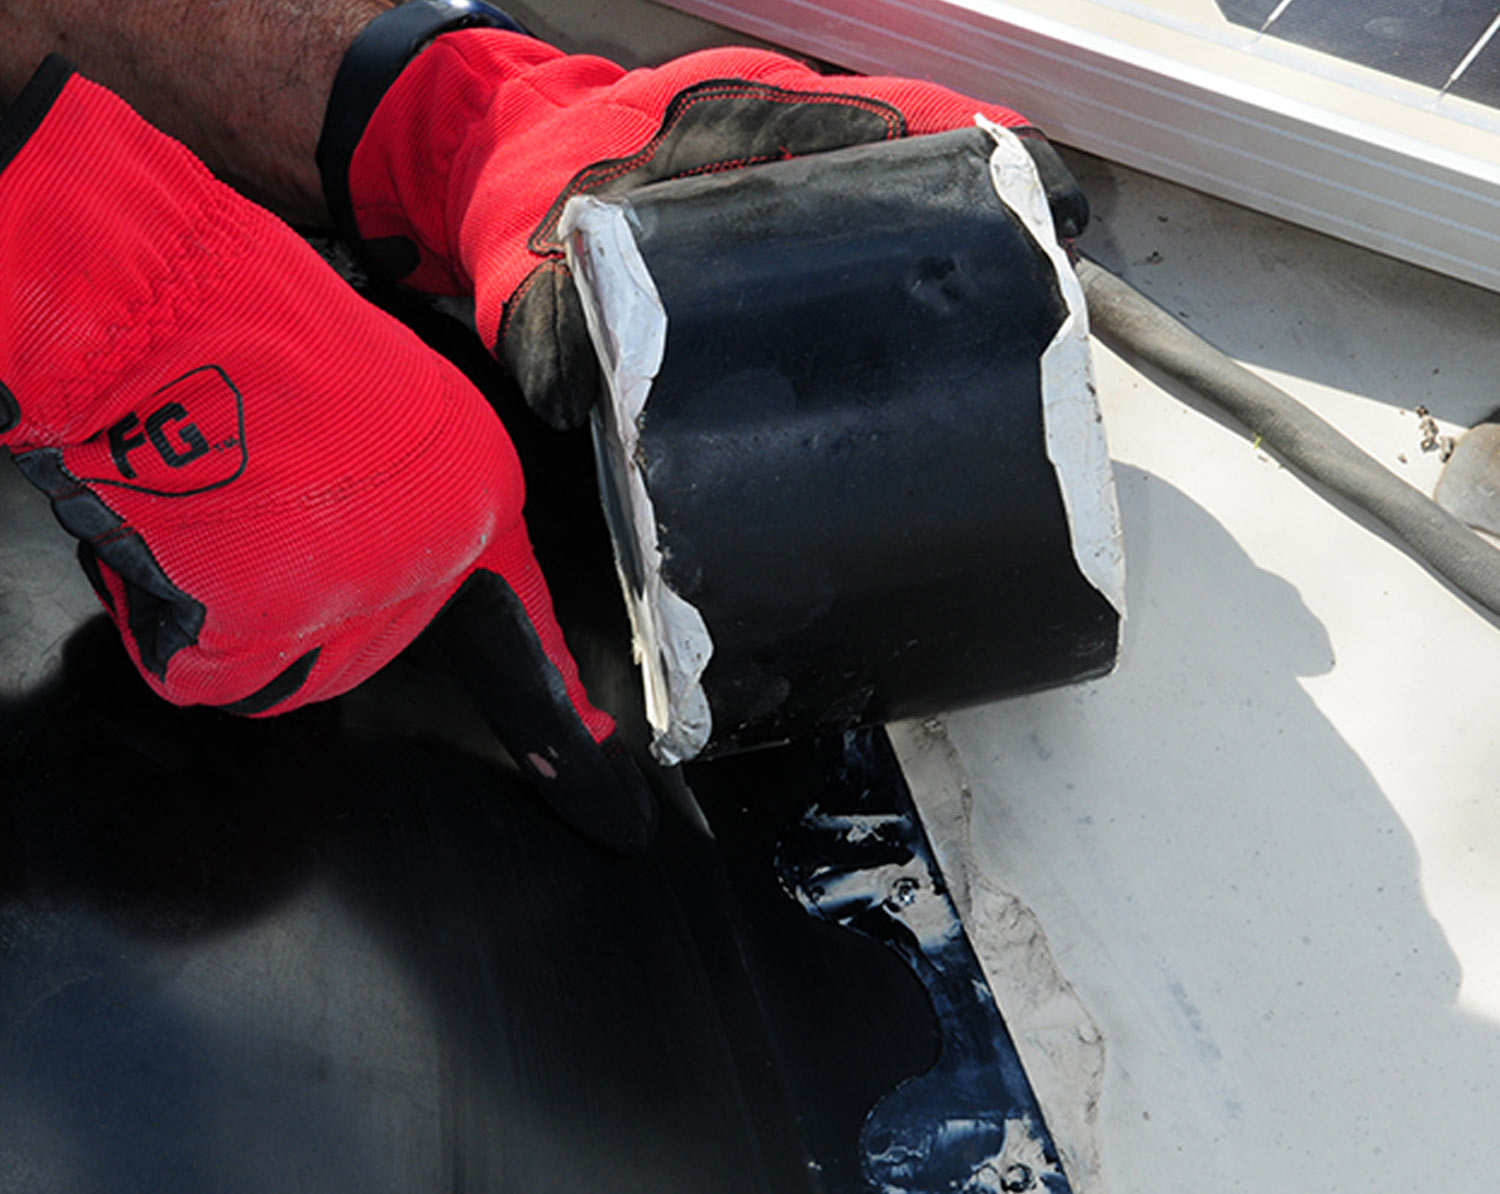
Four-inch-wide, black EternaBond tape provided a good amount of overlap for the skylight flange and roof membrane. The EternaBond tape was rolled across each side of the skylight to determine the right length and then cut with scissors.

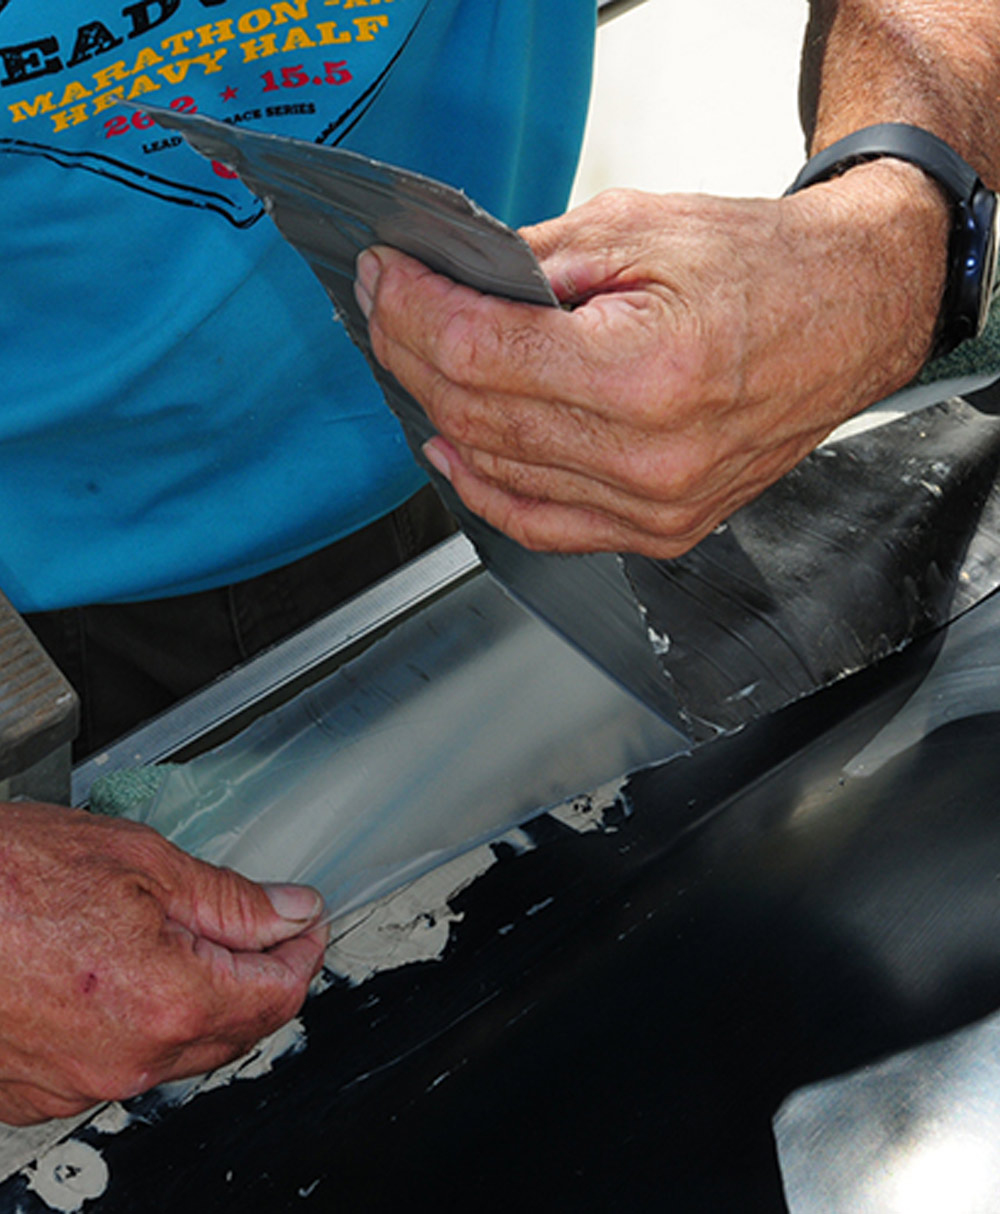
with practice, mechanic Gehr removes the protective liner from the adhesive
Removing the protective liner from the adhesive takes some practice. The best method is to scrunch the leading edge of the tape using two hands until a small amount of liner is released — then simply pull off the desired length of liner.
mechanic holds a four in wide roll of black Eternabond tape
the EternaBond tape roll is held to the skylight edge in place for figuring the needed length and cut for application
with practice, mechanic Gehr removes the protective liner from the adhesive
Four-inch-wide, black EternaBond tape provided a good amount of overlap for the skylight flange and roof membrane. The EternaBond tape was rolled across each side of the skylight to determine the right length and then cut with scissors.
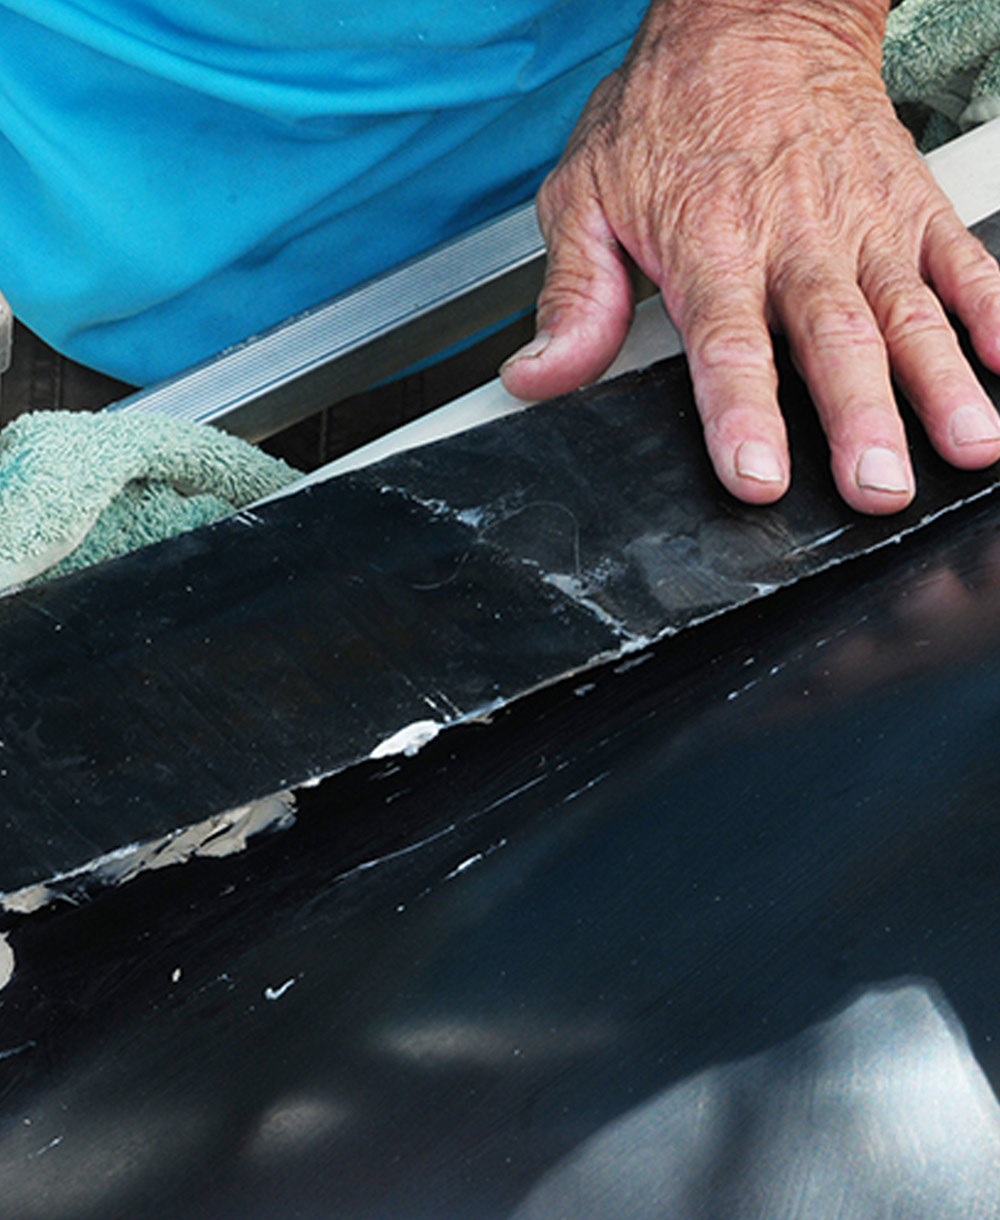
Removing the protective liner from the adhesive takes some practice. The best method is to scrunch the leading edge of the tape using two hands until a small amount of liner is released — then simply pull off the desired length of liner.
mechanic removes the protective layer just enough to place the tape
Remove just enough liner to position the tape on the seam and continue to pull the liner free from the adhesive as the tape is applied.
mechanic carefully places the less than forgiving and highly adhesive tape along the skylight

EternaBond tape is incredibly sticky, so you only get one chance to apply it correctly. Once it touches the surface, it’s there for the duration.

a hammer is used in place of the EternaBond provided roller to "iron" the tape to the skylight surface
EternaBond markets a steel roller to set the tape and allow the adhesive to bond properly. In lieu of the roller (which we couldn’t locate), a hammer head was used to “iron” the tape to the surface. The hammer actually worked better than we expected.
view of the skylight with the EternaBond tape seal

It took about an hour to remove the old sealant and apply the EternaBond. Owners can expect this seal to last for many years.