Let There Be Shade — Again
[maghub_sidebar]
Beach icon
Let There Be Shade — Again
Putting up a new awning
When the patio awning has seen better days, replacing fabric with product from Tough Top takes a few hours to accomplish and makes financial sense
By Bill Gehr / Photos by the author
I

f you own an RV it probably came equipped with a patio awning, an addition that undoubtedly makes lounging outside much more pleasant. Patio awnings provide shade — and protection from the rain — when going in and out of your RV. Unfortunately, time, the sun and the wind (without a system to retract automatically) will eventually combine to destroy the majority of awning fabrics, especially the section that’s exposed constantly to the sun when retracted.

Some might argue that acrylic fabric will last longer than vinyl, but the fact remains that at some point all awning fabric replacement may be necessary, especially when the RV is used frequently or full time. Complete awnings can be an expensive proposition, but if the hardware is still in good shape you can replace the fabric at a much-reduced cost — and end up with an awning that looks good as new. In some cases the roller tube assembly will also have to be replaced, but adding that cost is still lower than the amount of cash needed to replace the entire awning.

Awning on RV
The awning is extended about 12 inches and the arms are tied together with rope or wire so they cannot move outward. The arms must be tied before removing the fabric roller tube assembly (FRTA), otherwise they will extend uncontrollably, which can cause injury and/or damage.
Cutting the fabric
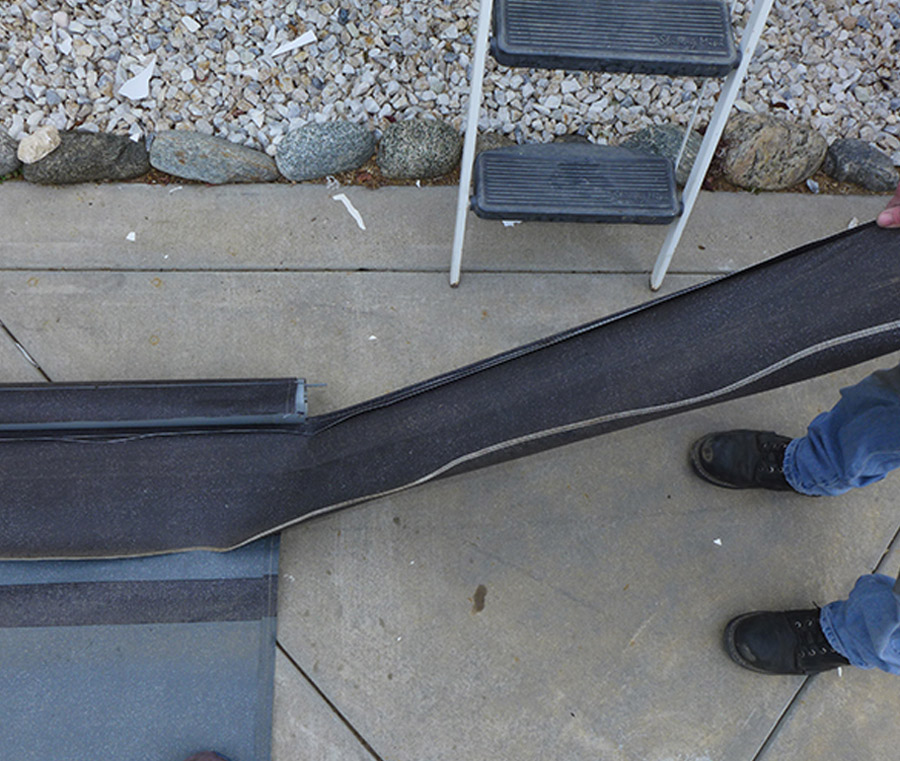
Cut the fabric along the awning rail from one end to the other so that the FRTA can be removed from the hardware easily. This is done to facilitate sliding the fabric out of the rail more quickly.
What’s more, awning replacement comes with an added bonus: You can choose a different color and/or a heavier-duty fabric replacement. That’s exactly what we did to bring new life to a Carefree Traveler, 12-volt DC awning that was in sorry shape after eight years of service. Continued exposure to the elements resulted in a brittle fabric that was torn in several places. Fortunately, the hardware of the 20-foot awning was in good condition. The original fabric was vinyl, which had proven to be fairly durable, but we decided to check out Tough Top Awning’s replacement fabric after our initial experience with replacing slide-out topper fabric with the same material.

On this particular type awning, the hardware has a powerful gas strut on either end of the hardware to assist the motor when extending and retracting. This can present a serious problem if the fabric should tear and come apart, causing an uncontrolled extension of the hardware and possible damage to the RV. Luckily, there were no springs or torsion assemblies to deal with on this model awning, so the process was a little easier. Nonetheless, the process of changing the fabric when you’re dealing with multiple joints in the hardware can be dangerous and should be done with caution, following the proscribed procedures precisely.

Awning without fabric
Here the remainder of the fabric and polycord is removed from the awning rail. Use a pair of Vice Grips if the fabric is stuck.
“Tough” is an Appropriate Name
The people who founded Tough Top Awnings 12 years ago are no strangers to RVing. They banked heavily on their experiences while hanging out in areas where the wind was constant and, at times, very strong. Numerous failures with the factory awning fabric prompted these frustrated owners to develop stronger material. Not only is the result a fabric that can withstand big winds for sustained periods of time, but the company concentrated on the stitching securing the polychord — which holds the fabric in the roller tube and rail mounted to the sidewall — attached to the front and back of the fabric. Here, marine grade thread—the same stuff used on boat sails — offers superior strength. When you consider the brute force sails must endure, the wind affecting patio awnings pales by comparison. This is a key point, because the stitching here is vulnerable and, frankly, a weak point on many awning fabrics, especially when the fabric is pushed by strong winds over time. The company is so confident in the quality of its fabric that is warrants it for five years, no questions asked.

Tough Top’s fabric is industrial grade, therefore it’s on the stiff side, which makes it a little more difficult to work with. The vinyl is pre-stretched and the valance is sewn for a one-piece design; the fabric is also UV- and mildew-resistant.

Awning rail
Cleaning rail with wet towel
A wide screwdriver is used to spread the awning rail and prevent the fabric from snagging. A wet towel will help remove dirt and debris from the awning rail. This will make it easier to install the new fabric.
Ordering the fabric online, or over the phone, will require some exercise to get the measurements correct. While company personnel are incredibly helpful, you are still the one responsible for providing the right measurements. Once measurements are established, the fabric will be sent in a few weeks. For this project, an 89- by 206-inch vinyl fabric was ordered in blue at a cost of $336; shipping was free. The fabric is available in white, sand, gray, black, green and blue.
Screwing off the awning
Pulling of the awning
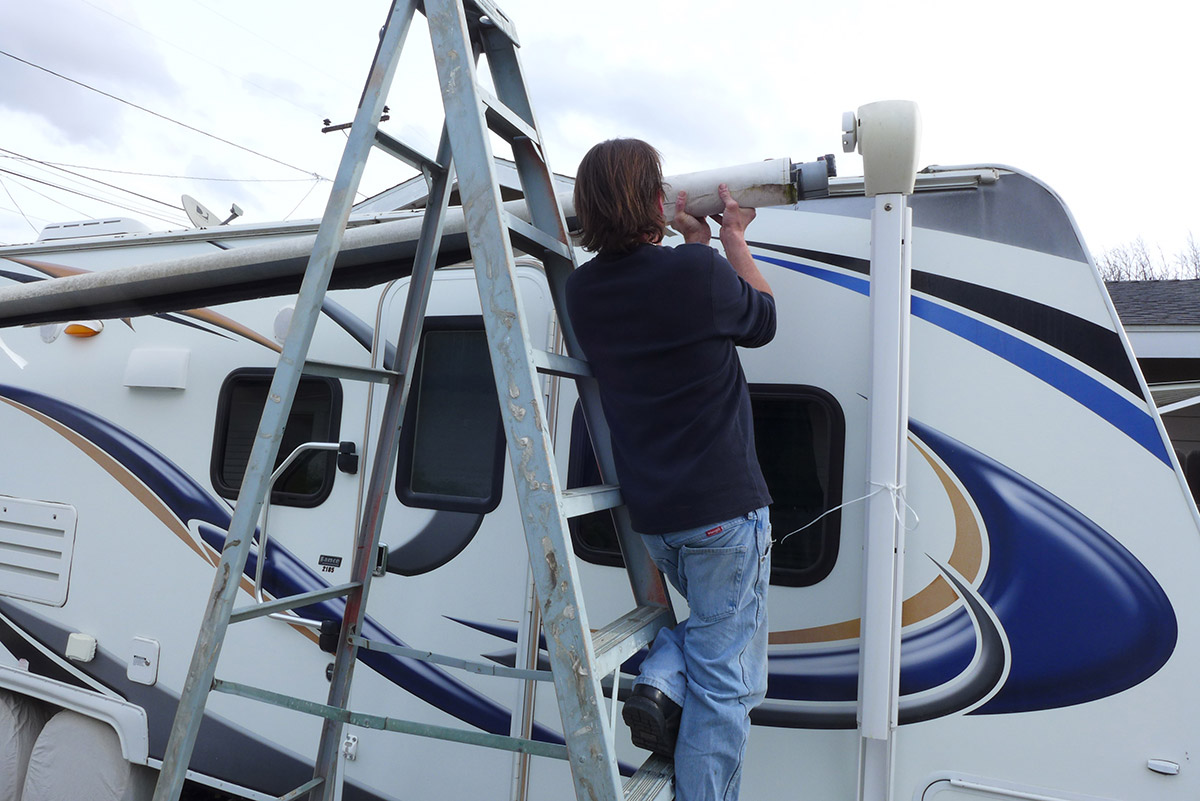
The two screws must be removed from the end cap to separate the head from the FRTA. You’ll need to support the roller tube as the second screw is removed and the head assembly is separated. Care must be taken when separating the roller tube from the head assembly; you don’t want to be surprised by the heavy weight. The FRTA is bulky so care must be taken when stepping down the ladder.
Working with thicker vinyl added some time to the two-hour installation, but two people managed to get it done without too much consternation. In the end, the awning looked new again and rolled in and out without complaint, leaving a tightly rolled fabric tucked up nicely against the sidewall. And, of course, while the new fabric is more resistant to winds, proper protocol should still be followed by retracting the awning when away from the RV and when the weather is just too nasty.
Marking the location
Mark the location of the cap in relation to the roller tube for final assembly.
Removing the screws
Remove the set screws on both ends that prevent the fabric from moving in the roller tube.
Mark the slot
Mark the slot where the new fabric will be inserted.
Making a cut between the main fabric and valance
Removing the fabric and valance
A sharp blade is used to make a cut between the main fabric and valance to make it easier to remove without getting stuck on the roller tube.
Removing the roller tube
Using the old fabric as a tarp
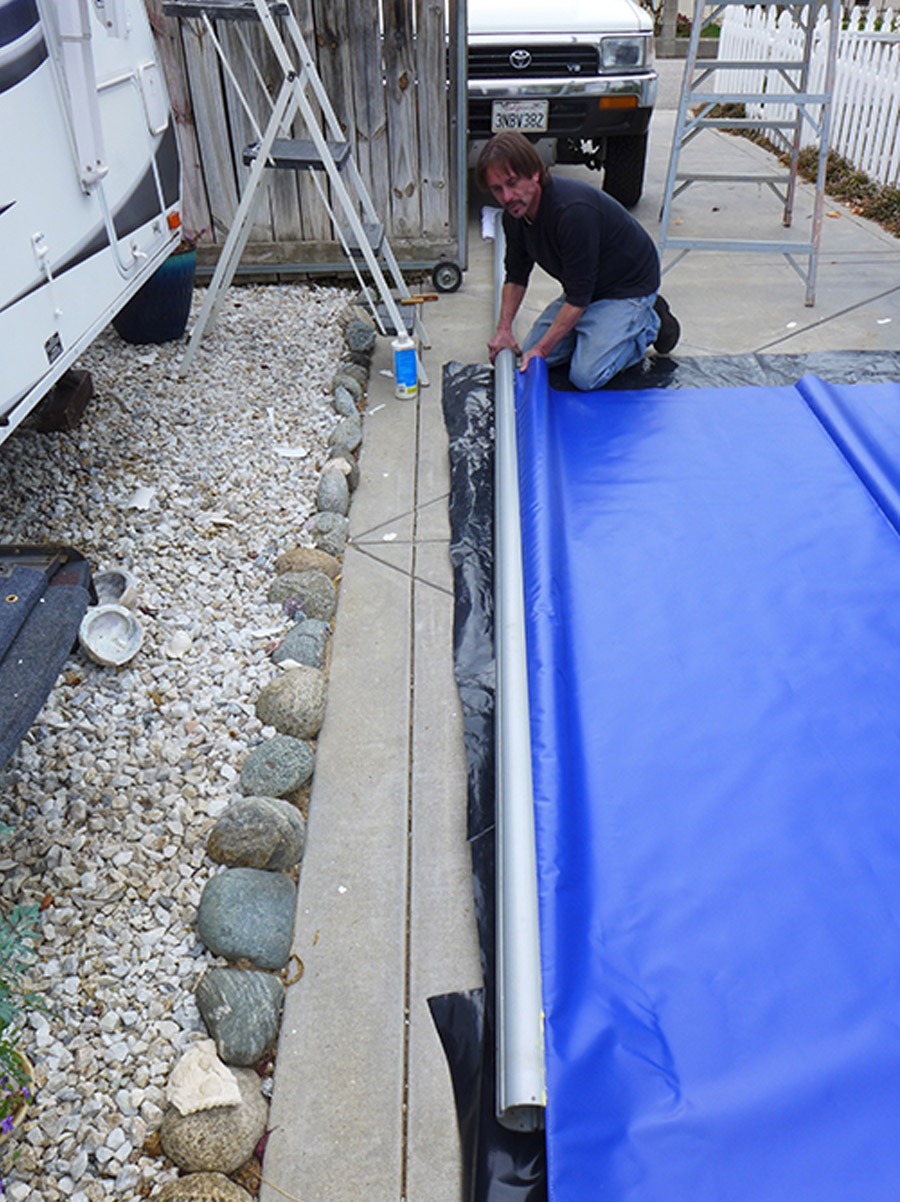
Remove the roller tube while the old fabric is on the ground. If the old fabric is clean enough, it can be used as a tarp to protect the fabric during the installation process. In this case, the old fabric was too dirty, so a tarp was laid on the ground to keep the new material clean.
The new fabric is unrolled and oriented for installation of the roller tube
The new fabric is unrolled and oriented for installation of the roller tube.
The sharp edges in the roller tube slot are smoothed out with a file
The sharp edges in the roller tube slot are smoothed out with a file to prevent damage to the new fabric during the installation process.
Electrician’s conduit lube
Electrician’s conduit lube is applied in the roller tube slot to aid in pulling the fabric through the tight channel. This was particularly important because the new material was thicker. Silicone spray can also be applied, but the conduit lube is water-soluble and will not collect dirt and dust.
The roller tube is installed on to the new fabric
Maneuvering the roller tube
The roller tube is installed on to the new fabric, which will take two people to accomplish. By maneuvering the roller tube (which seems counter-intuitive), the fabric remains clean.
Fabric is centered in the roller tube
The fabric is centered in the roller tube by measuring each end to establish equal distance.
The fabric is being rolled on to the roller tube
Rolling the fabric in the right direction
Here the fabric is being rolled on to the roller tube. It’s important to roll the fabric in the right direction. Since the old fabric is on the ground the direction can be matched by comparing with the new material.
Fabric closeup
The rear strut is bolted in place between the upper frame and lower axle brackets. The strut plays a pivotal role in controlling the suspension.
Spread and file the sharp edges
Spread and file the sharp edges of the awning rail before inserting fabric to prevent damaging the material.
Ladder holding awning
An adjacent fence in the yard where the trailer was parked reduced clearance
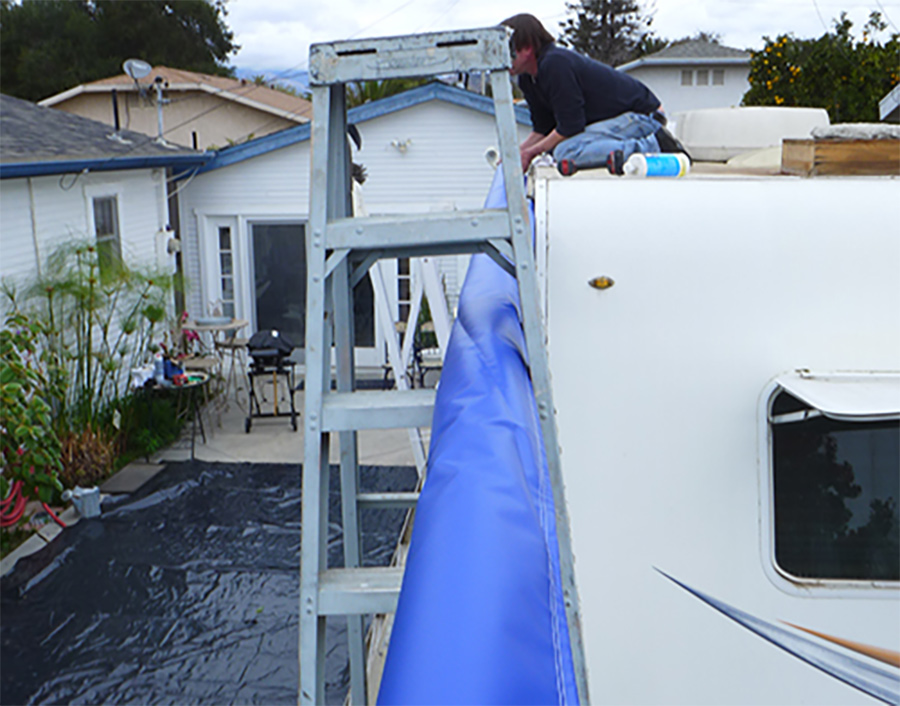
An adjacent fence in the yard where the trailer was parked reduced clearance, making it necessary to use an extra ladder for support while raising the fabric and roller tube high enough to install in the awning rail without dragging.
The FRTA is centered roughly into position before installing the end caps
The FRTA is centered roughly into position before installing the end caps. Be sure to replace any rusted screws.
After the FRTA is centered, reinstall the set screws on each end
After the FRTA is centered, reinstall the set screws on each end, which will prevent the fabric from moving in the awning rail.
New awning
Run the awning in and out a few times to make sure the fabric will not wrinkle. If it does, the fabric will need to be re-centered. Now it’s time to enjoy a cold one under the awning.
Source:
Tough Top Awnings / 360-953-3299
toughtopawnings.com