
Cold Again
[maghub_sidebar]
Cold Again
Fridge through the window of RV
When the original absorption-gas RV refrigerator stops functioning, the easiest fix may be a factory replacement
By Chris Hemer / Photos by the author
I

t wasn’t so long ago that the absorption refrigerator was pretty much the only choice when it came to keeping food cold. I remember my first RV trip, and our own Bob Livingston told me, “Now, remember: Start the refrigerator the day before your trip and only put cold food in it, or it won’t be cold when you get there.” That one took some consideration. It made no sense to me why I couldn’t just turn it on when I needed it — or for that matter, why I had to turn it off at gas stations or in tunnels, or why some people recommended not traveling with it on, ever. What is the point of having a refrigerator at all, then?

Today, of course, technologies have made it easier than ever to install a residential 120-volt AC compressor refrigerator in an RV, and there are growing numbers of 12-volt DC compressor models available, as well. But if you’re faced with an absorption-gas refrigerator that no longer works, one of the easiest ways to get going again is still with a direct replacement model. This may not seem as glamourous as upgrading to a larger model, a unit with an icemaker or a compressor-equipped model, but if you’re doing the job yourself, direct replacement is a pretty attractive option. There’s usually no need for fabrication, electrical work or LP-gas line re-routing/modification, which saves a lot of time and aggravation.

Depending on the model and how old it is, Dometic and Norcold can suggest a replacement model that will fit in the existing space and require little, if any modification. In fact, Norcold has conversion charts on its website (norcold.com) that will help you find a suitable replacement for your existing Norcold or Dometic refrigerator.

While replacing the original unit isn’t terribly difficult, it does require some due diligence to protect yourself against unforeseen problems. First, make sure you get the model and serial number off the original unit and contact the manufacturer to double-check that you’re about the order the right unit or a suitable replacement. Next, measure the doorway to see if it is wide enough to accommodate the swap — you might be surprised to find that it’s not. In all probability, the factory installed the appliances before the sidewalls were erected or may have completed final assembly inside. As a consequence, it may be necessary to take off the refrigerator door(s) to squeeze the replacement through the RV’s entry door (and remove the old one). When that doesn’t work, another option is to complete the swap by removing a side window (or even the windshield in some motorhomes) and enlisting the muscles of a friend to route the old and new refrigerators through the resulting cavity.

That proved to be the case with a customer’s Class C motorhome brought to C&S RV Service Center in Oxnard, California, for a replacement gas-absorption refrigerator. Though the job appears daunting, it didn’t take much longer than an hour for one technician to complete — okay, with a little help from an associate during the heavy lifting.
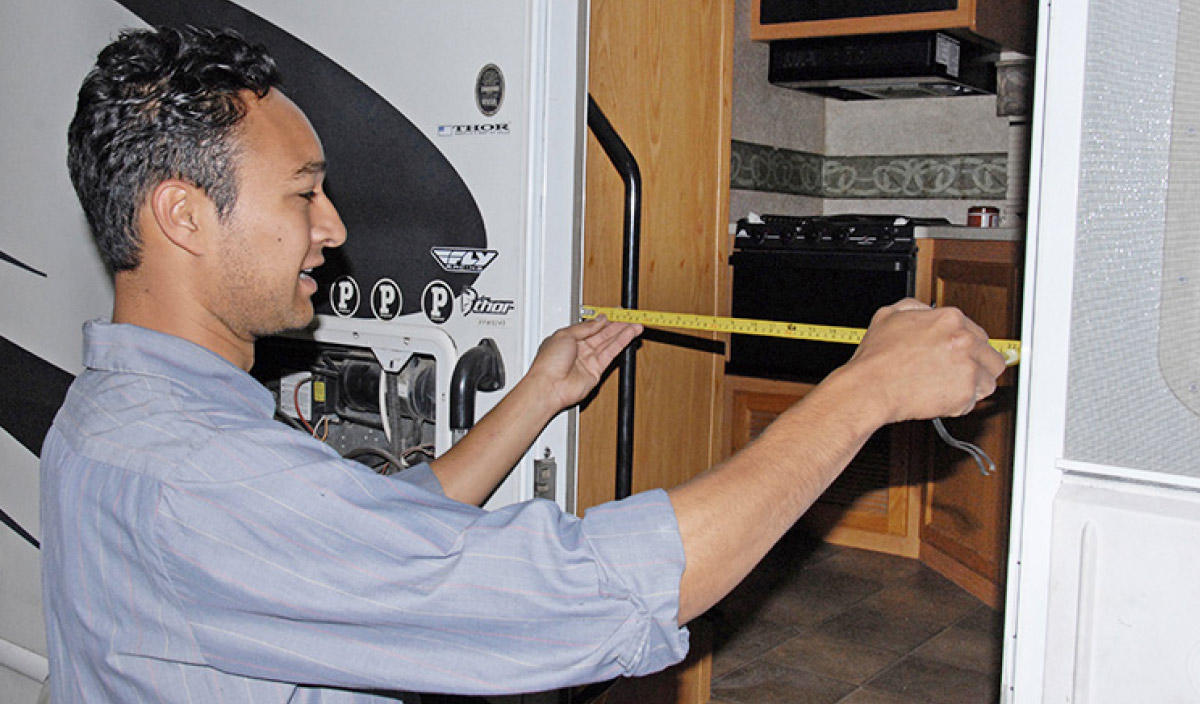
The first order of business is to make sure the non-functioning refrigerator will be able to fit through the entryway of your RV
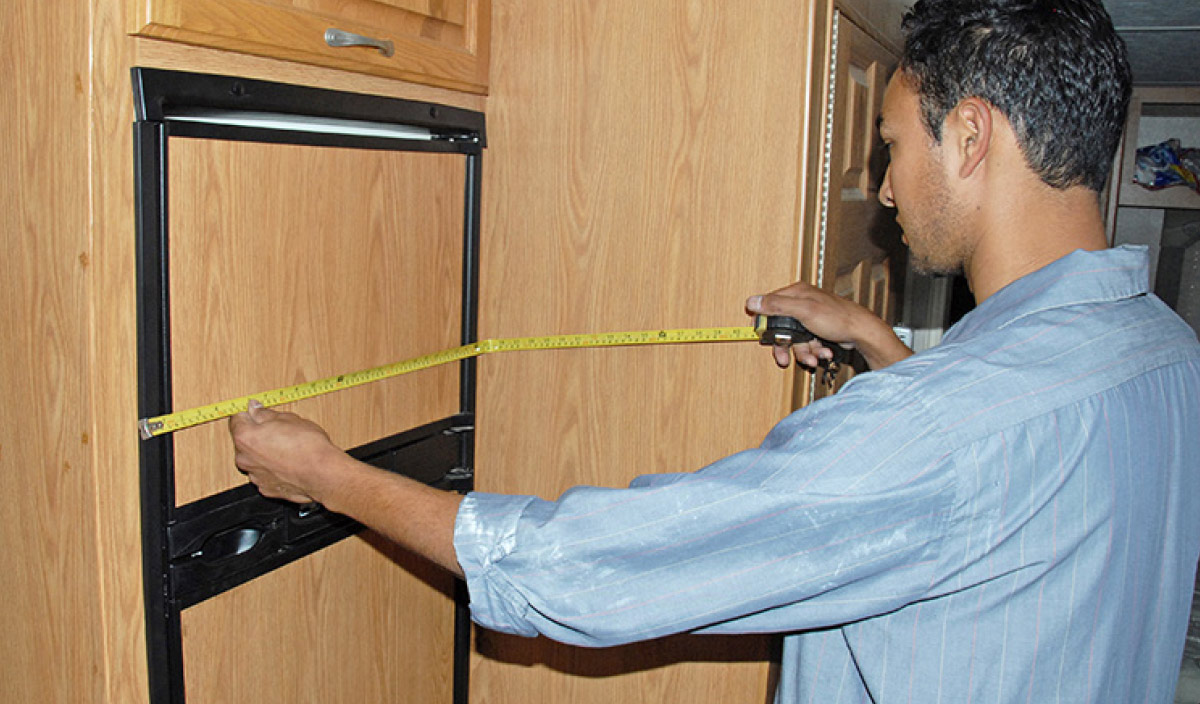
Refrigerator measured 24 inches wide
The first order of business is to make sure the non-functioning refrigerator will be able to fit through the entryway of your RV. In this Class C motorhome, the refrigerator measured 24 inches wide — but the door opening was only 22.5 inches wide. The large living area window, however, was more than 26 inches tall, so it was removed (and later reinstalled-see sidebar) in order to swap the appliance for a replacement unit.
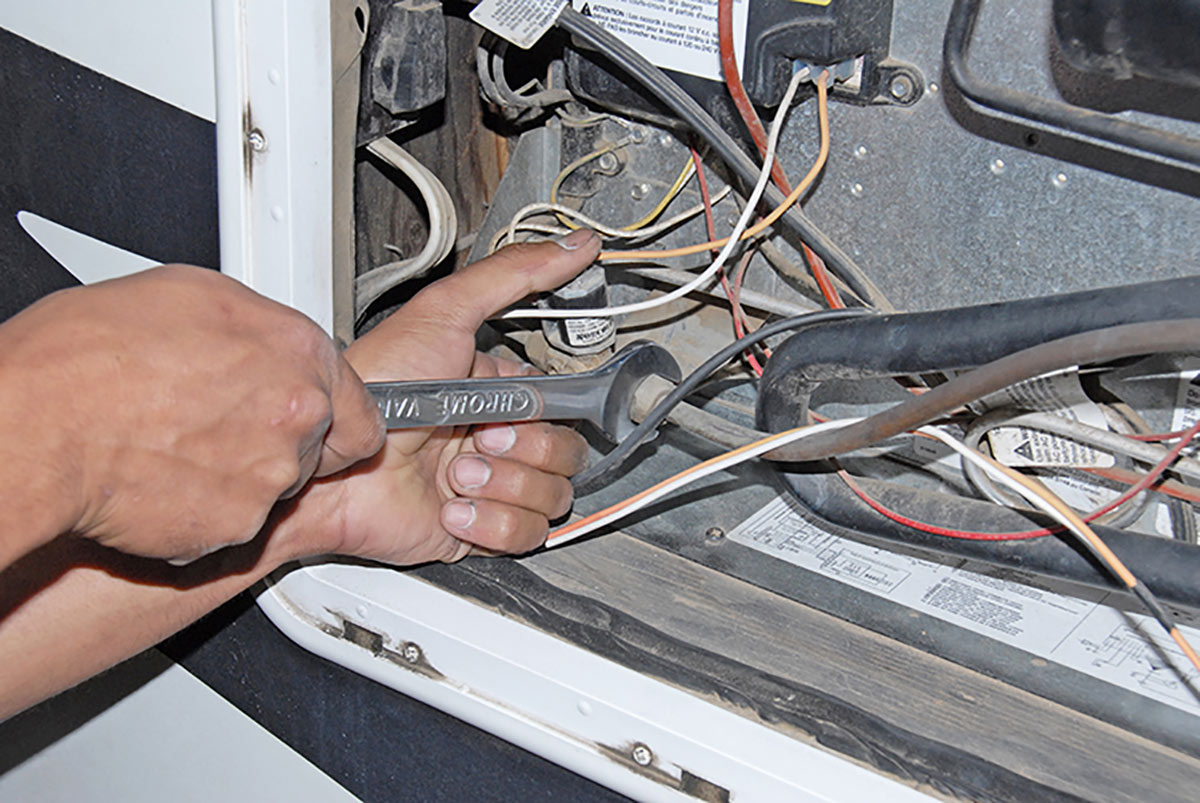
LP-gas tank valve
To begin the refrigerator removal, first turn off the LP-gas tank valve inside the access panel, then burn off the remaining LP-gas in the lines by operating the stove top. The LP-gas line can then be disconnected from the refrigerator through the access panel on the sidewall.
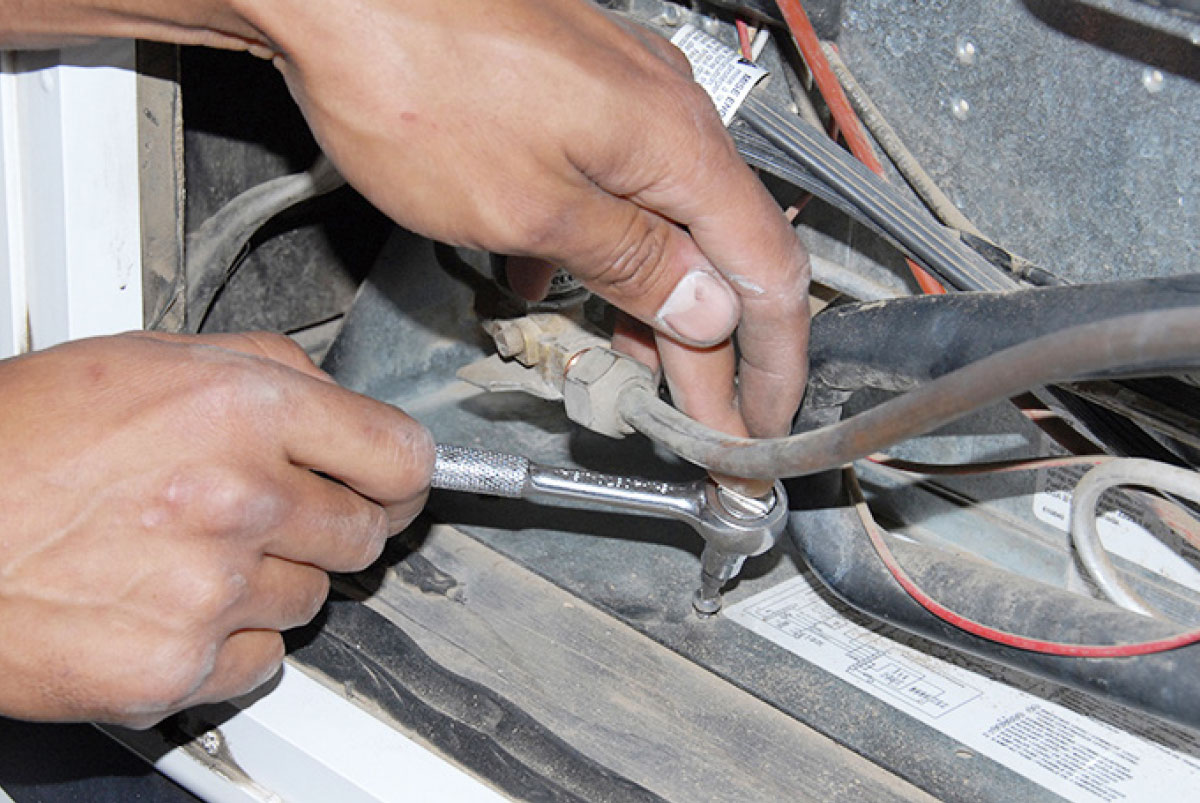
A few screws secure the refrigerator housing to the cabinet floor
A few screws secure the refrigerator housing to the cabinet floor. Clearance was tight in this application, so the technician used a ratchet with a screw bit attachment to remove them.
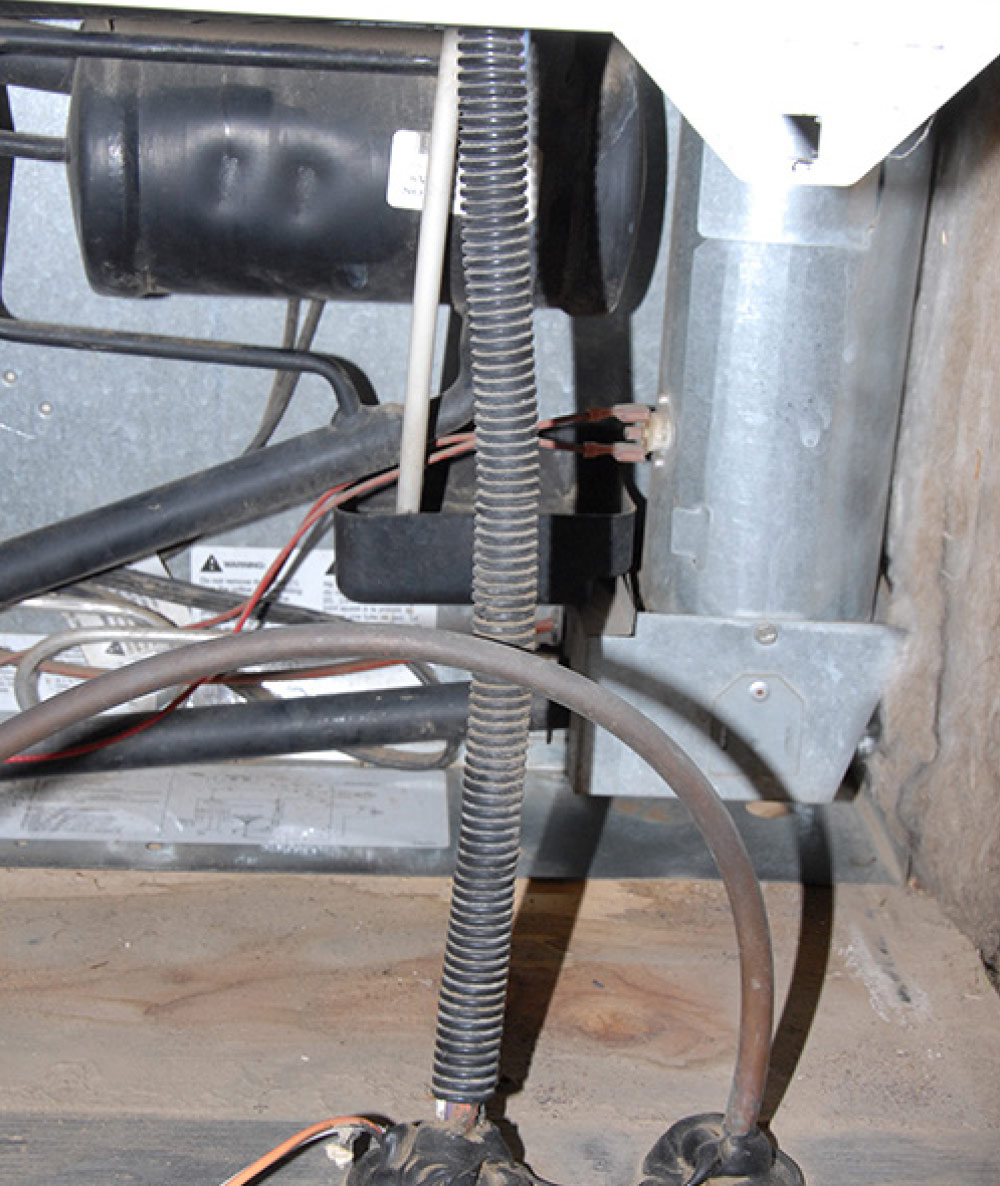
Unplug the 120-volt AC power cord
12-volt DC leads
Unplug the 120-volt AC power cord and remove 12-volt DC leads and your work here is done.
Inside the RV, remove all trim pieces from both the outside of the refrigerator and inside the door
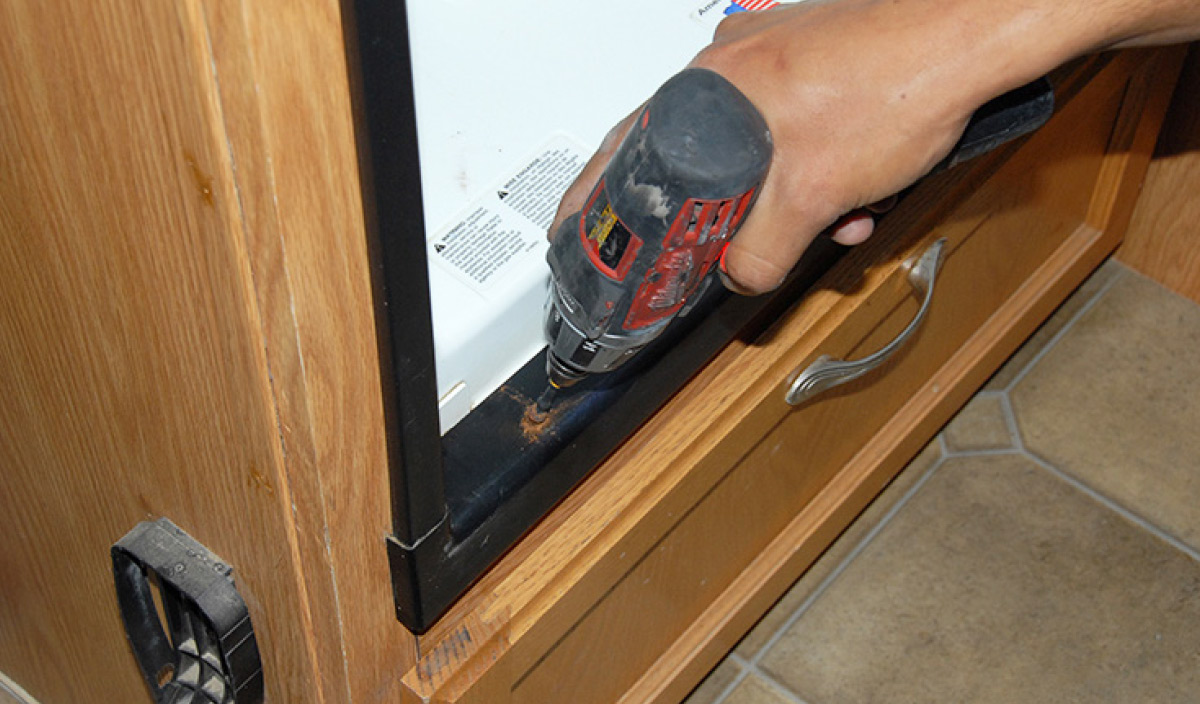
Screwing Refrigerator
Inside the RV, remove all trim pieces from both the outside of the refrigerator and inside the door. There may be more screws underneath the doorway trim piece (as was the case here), so be sure not to overlook these. Be careful not to pull on the refrigerator until you are sure all screws/hold-downs are removed.
Carefully wiggle the refrigerator
Carefully wiggle the refrigerator top-to-bottom and side-to-side to work it free; then you can begin to pull it out.
Here’s a useful tip: Once you get the refrigerator loose
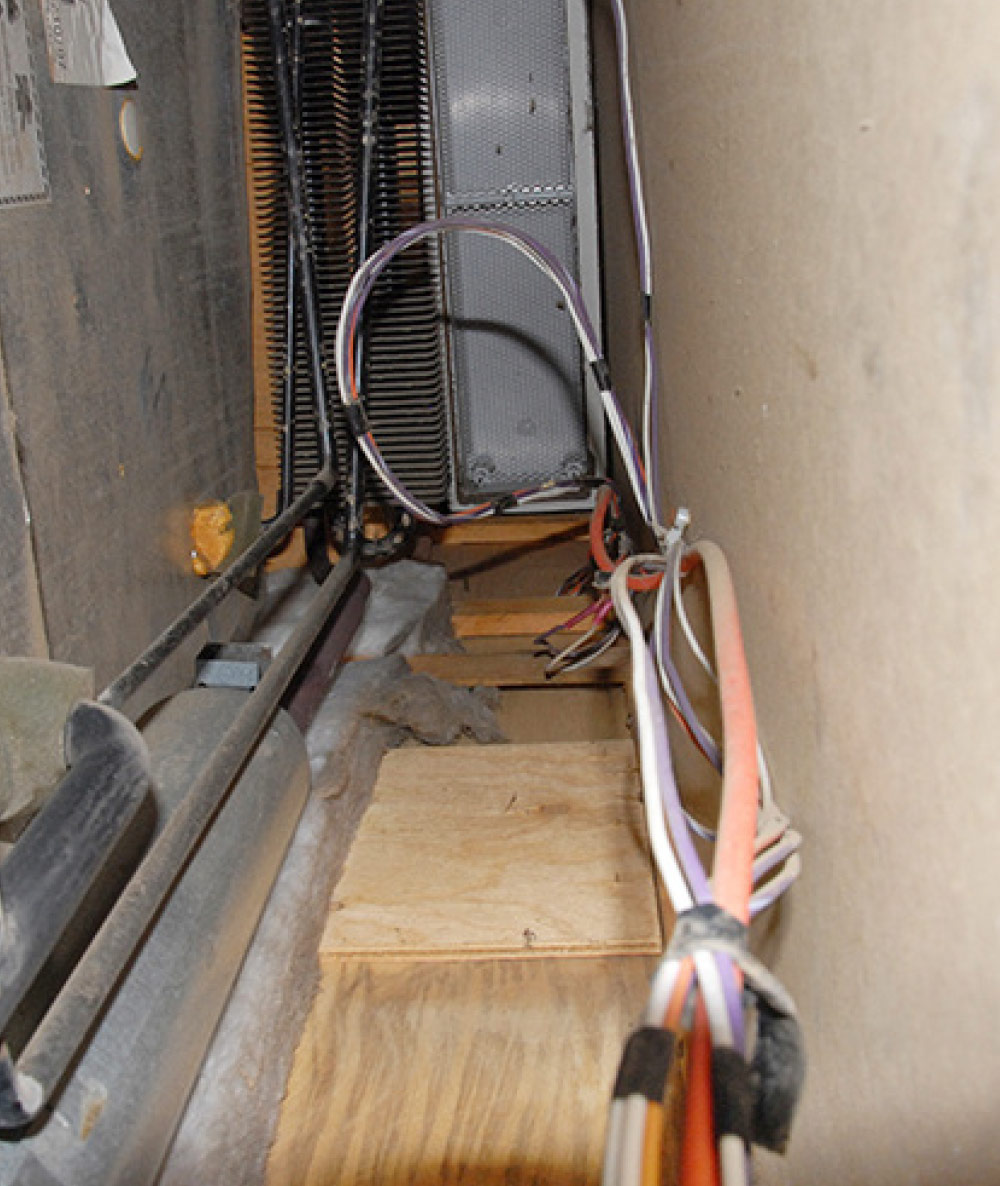
Use a flashlight and follow
Here’s a useful tip: Once you get the refrigerator loose, go back outside and make sure that the wiring harness is not getting hung up on any part of the refrigerator. Use a flashlight and follow the harness up into the cabinet. This one wasn’t tangled on anything, so we continued with the removal. If the refrigerator seems “stuck,” have a helper push from the outside.
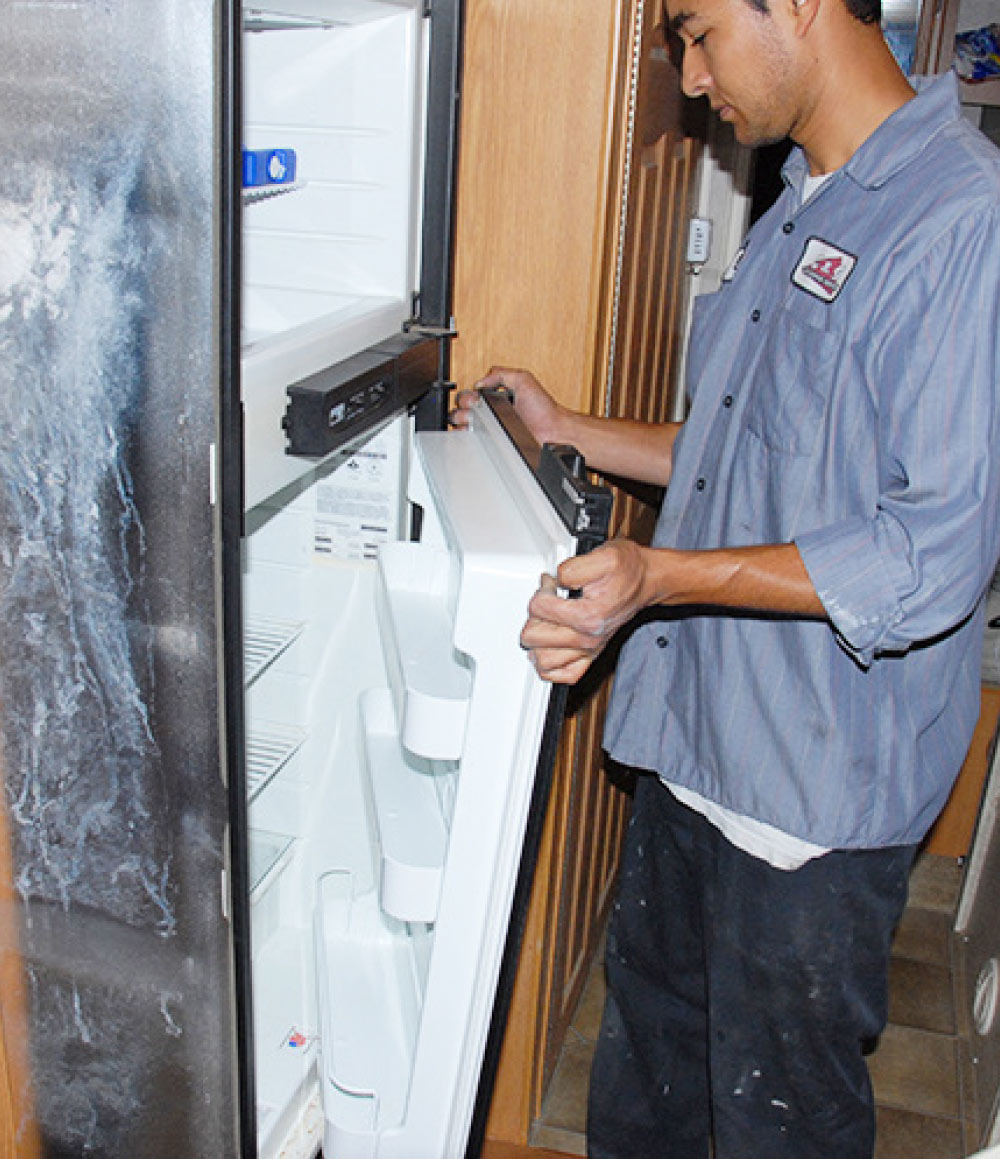
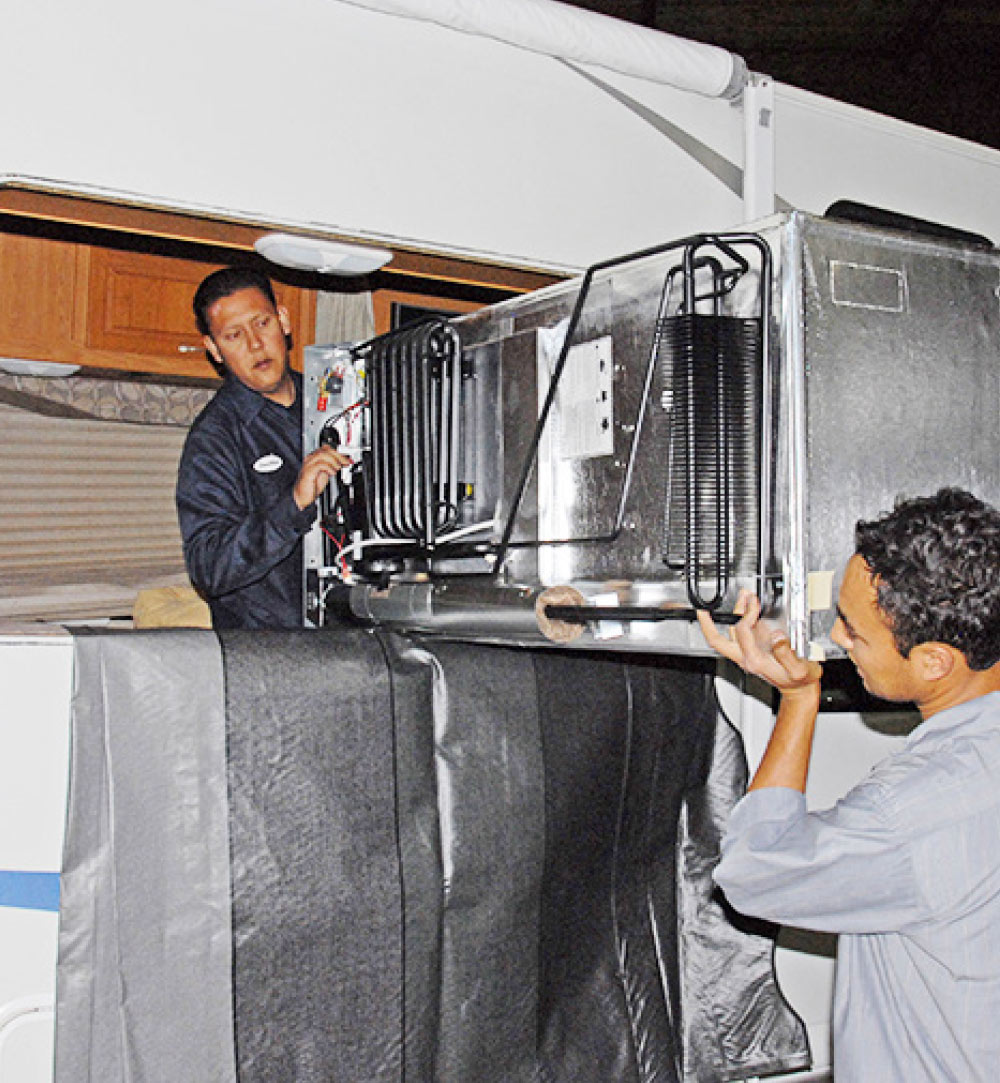
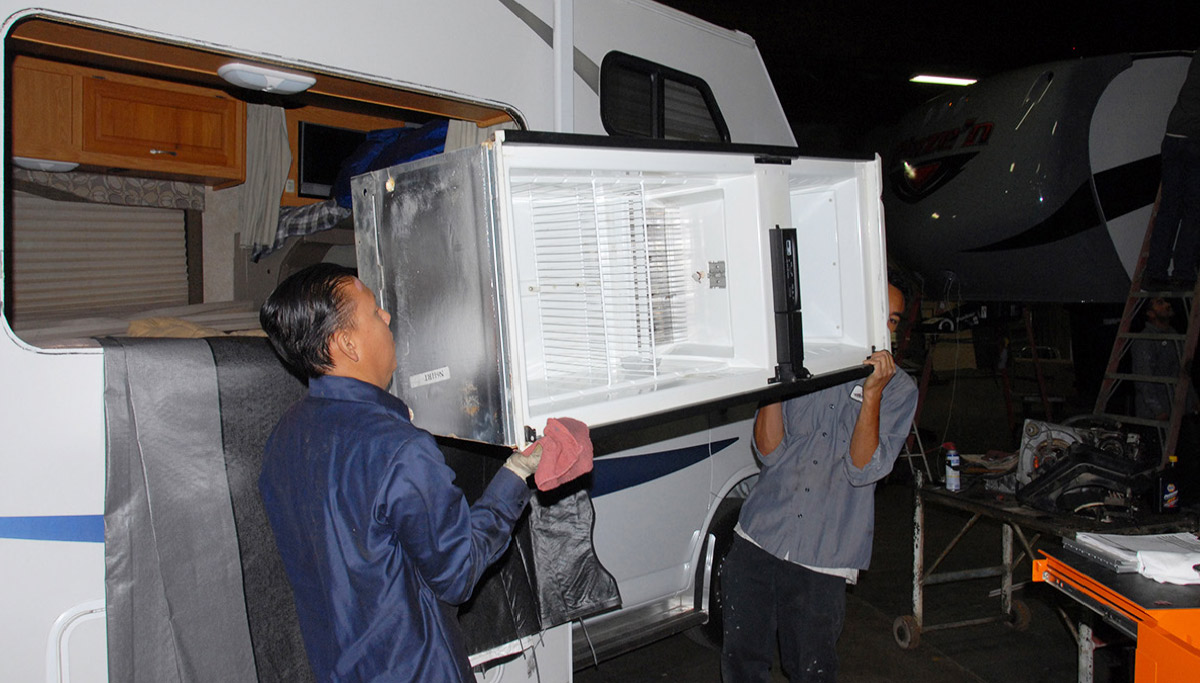
Realizing that the doors could open as the refrigerator was turned on its side
Realizing that the doors could open as the refrigerator was turned on its side, the decision was made to remove them as well. This also made it easier (and lighter) to grip the refrigerator as it was moved through the window opening.
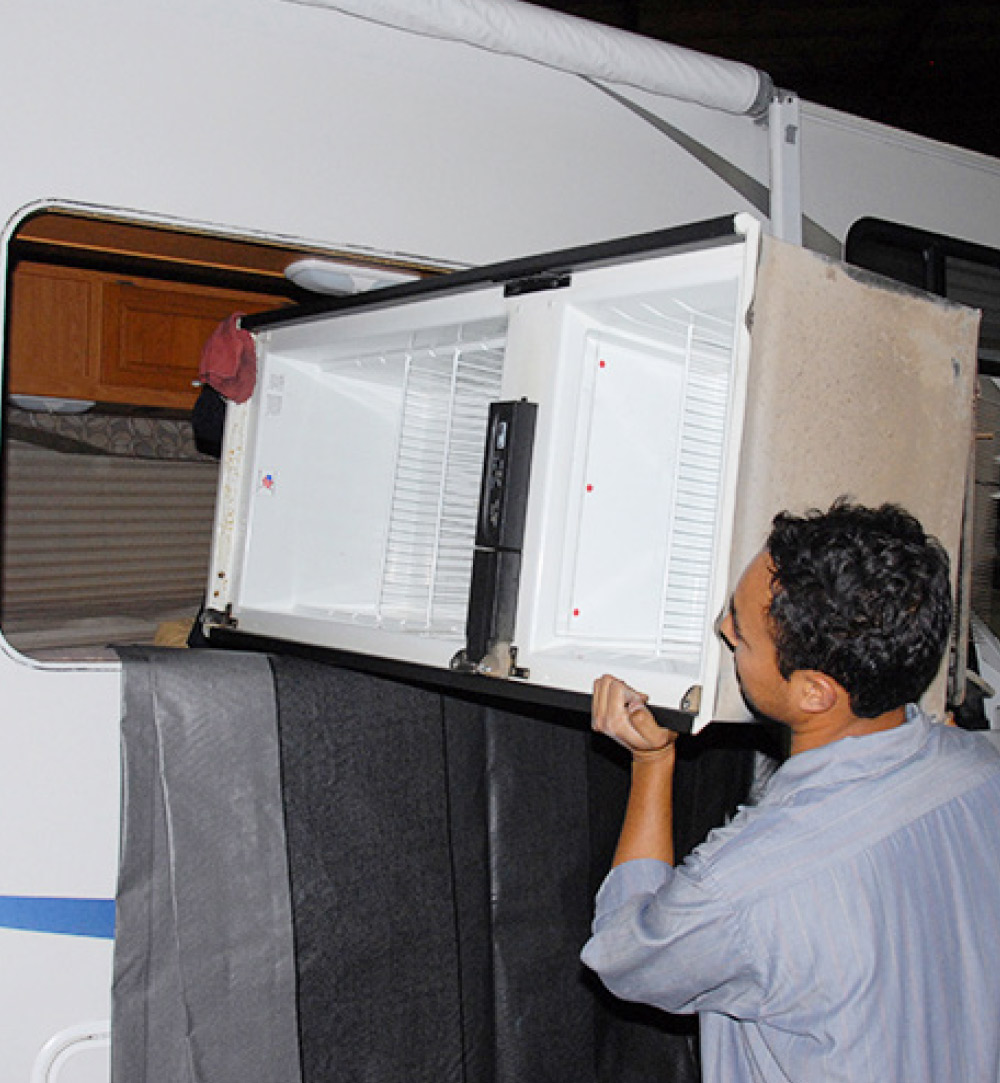
The window opening is lined with a vinyl tarp to protect it
The second tech then stepped out
The window opening is lined with a vinyl tarp to protect it, then two technicians (one inside) carefully lifted the refrigerator through the window opening. The second tech then stepped out to help lower the refrigerator to the ground. The new refrigerator goes in the same way as the old one came out.
Window Shopping
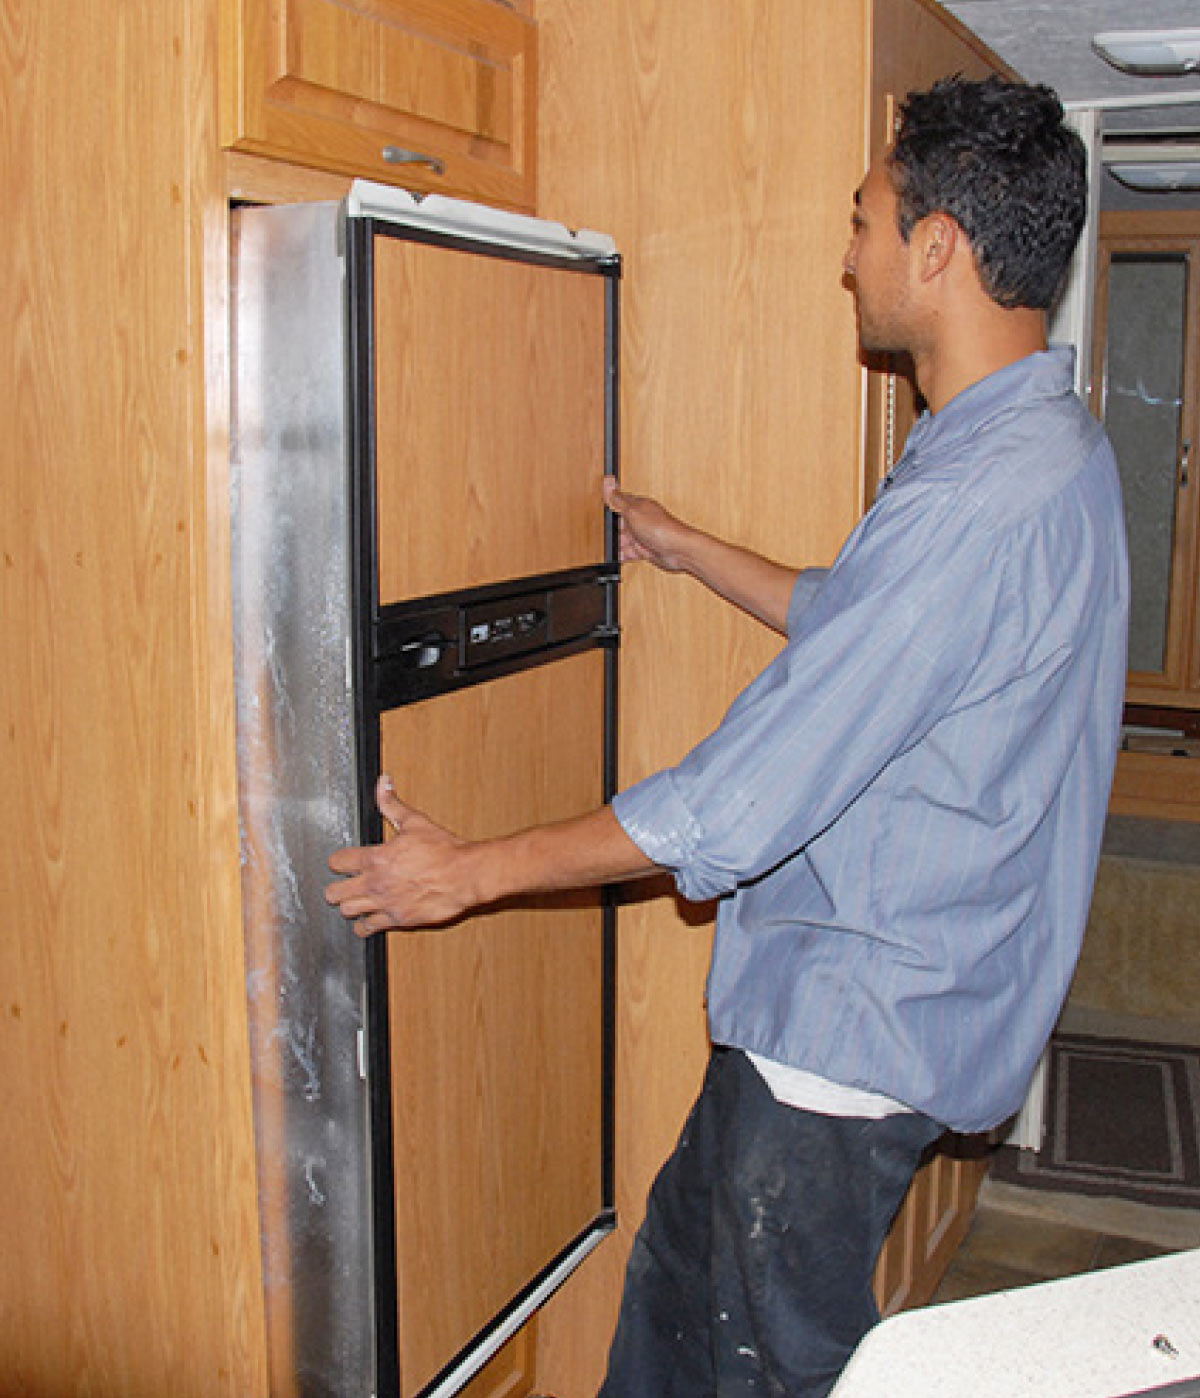
Putting fridge in RV
If you’ve never been inside an RV assembly plant, you should — many manufacturers offer tours, and they provide owners with insight as to how their RV is built. For example, it’s not unusual for major appliances to be installed long before the exterior sidewalls are in place. That makes it easier to manufacture the unit — but can make it difficult when replacing large items like the refrigerator.

The problem is simple: the original refrigerator and/or its replacement may simply be too wide to pass through the entry door of the RV (even with the refrigerator doors removed). This is even more common with motorhomes — especially Class C coaches, which tend to have narrower entryways than travel trailers or fifth wheels.

In this instance, the refrigerator was 24 inches wide — but the coach entryway was only 22.5 inches wide. Before you say “not gonna happen,” remember that the typical RV provides plenty of interior light courtesy of an array of windows. Yup — your new purchase may have to be installed through a window opening in your RV. To replace the refrigerator in this Class C, technicians had to remove a large side window, which isn’t as difficult as it may sound. Here’s how to manage it; for even more information, check out “Glass Panes” in the September 2020 issue of rventhusiast.com.
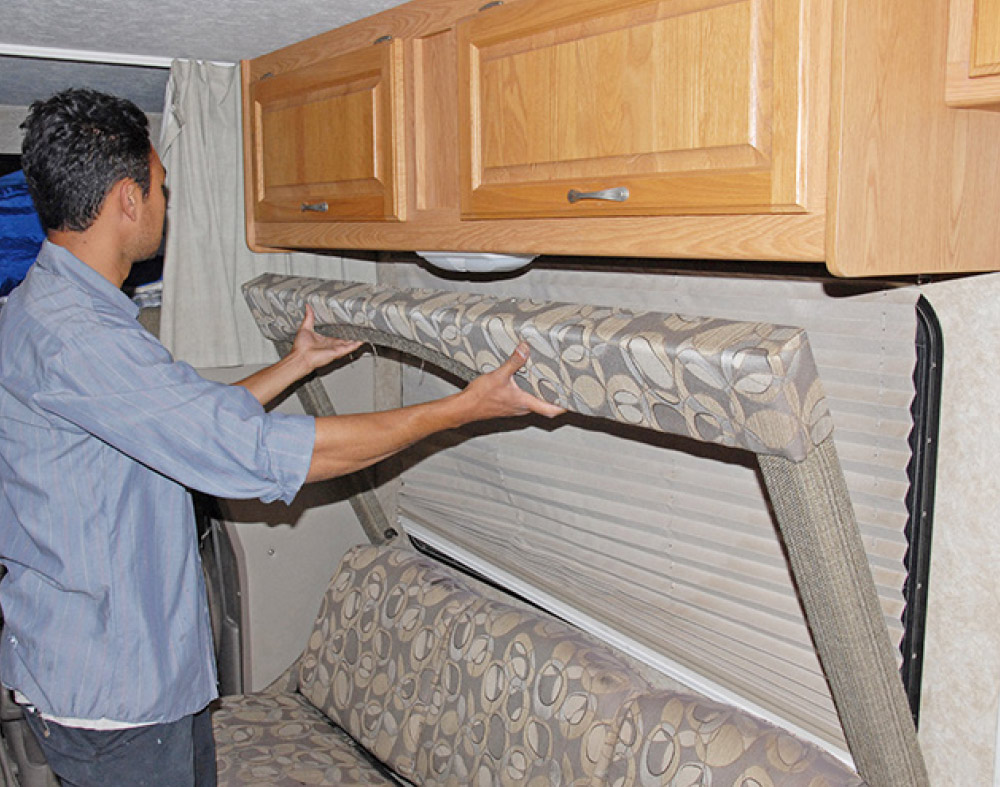
After measuring the window cavity to ensure it can be used, the first step
After measuring the window cavity to ensure it can be used, the first step is to get everything else out of the way. The lambrequin is removed first, followed by the pleated shades (if your RV is so equipped).
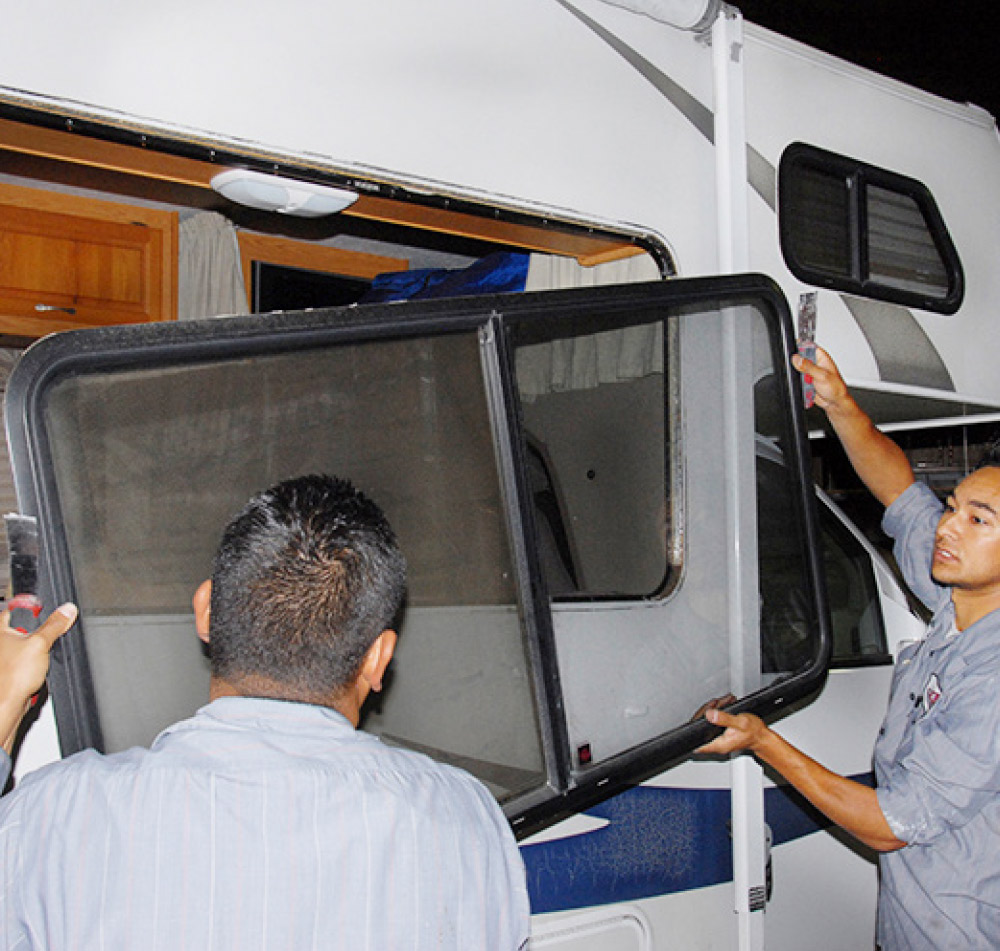
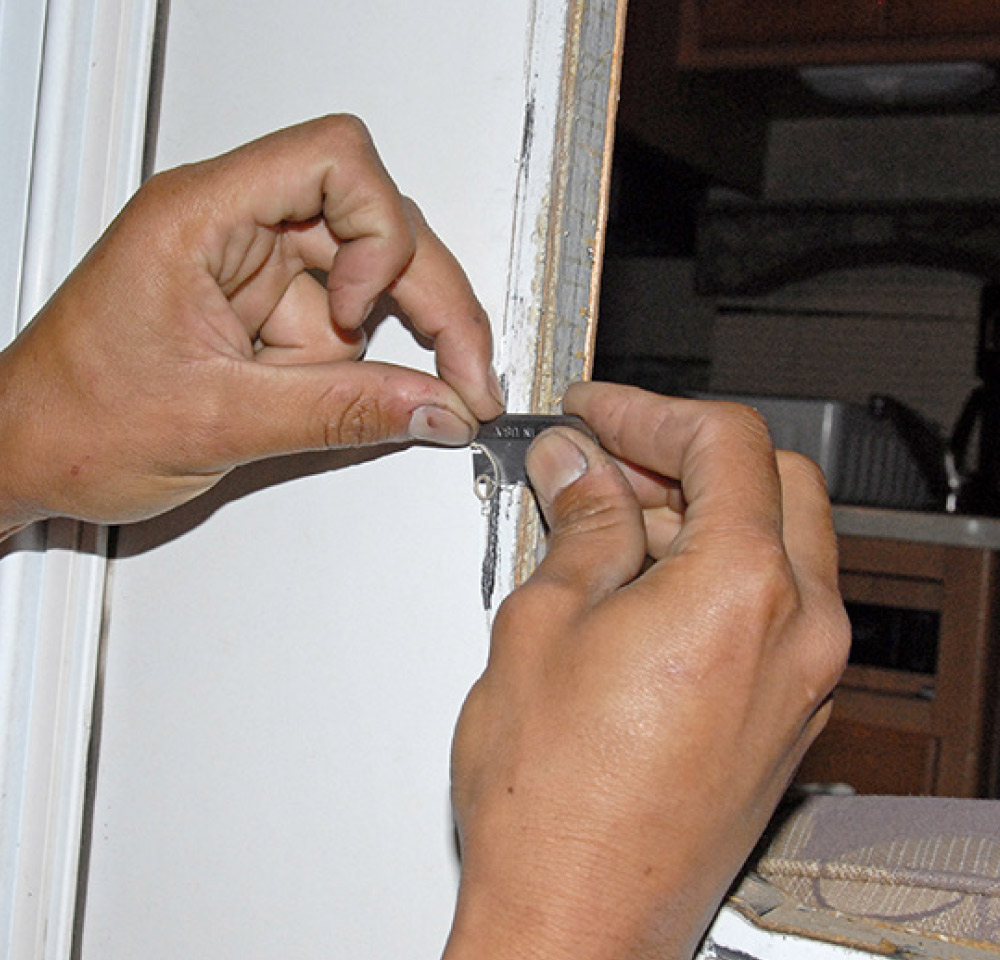
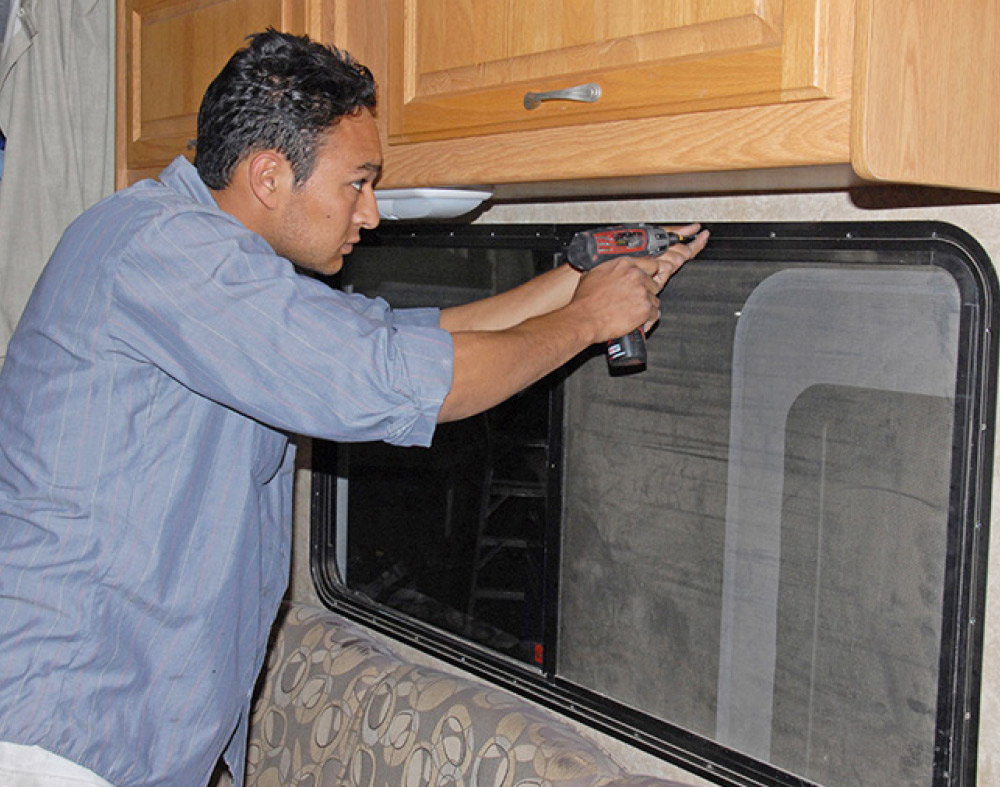
Next, the screws that secure the window flange to the wall are removed
Next, the screws that secure the window flange to the wall are removed. The putty will usually hold the window in place once all the screws are out, but it’s a good idea to have a friend stand outside to hold it, just in case.
Grab the edges of the exterior flange, and the window should come out
Remove the interior window flange and put it in a safe place where it won’t get stepped on or bent
Grab the edges of the exterior flange, and the window should come out. If the putty is baked on, it may require a little encouragement in the form of a putty knife to break the window free — just be sure not to damage the gelcoat/paint. Remove the interior window flange and put it in a safe place where it won’t get stepped on or bent.
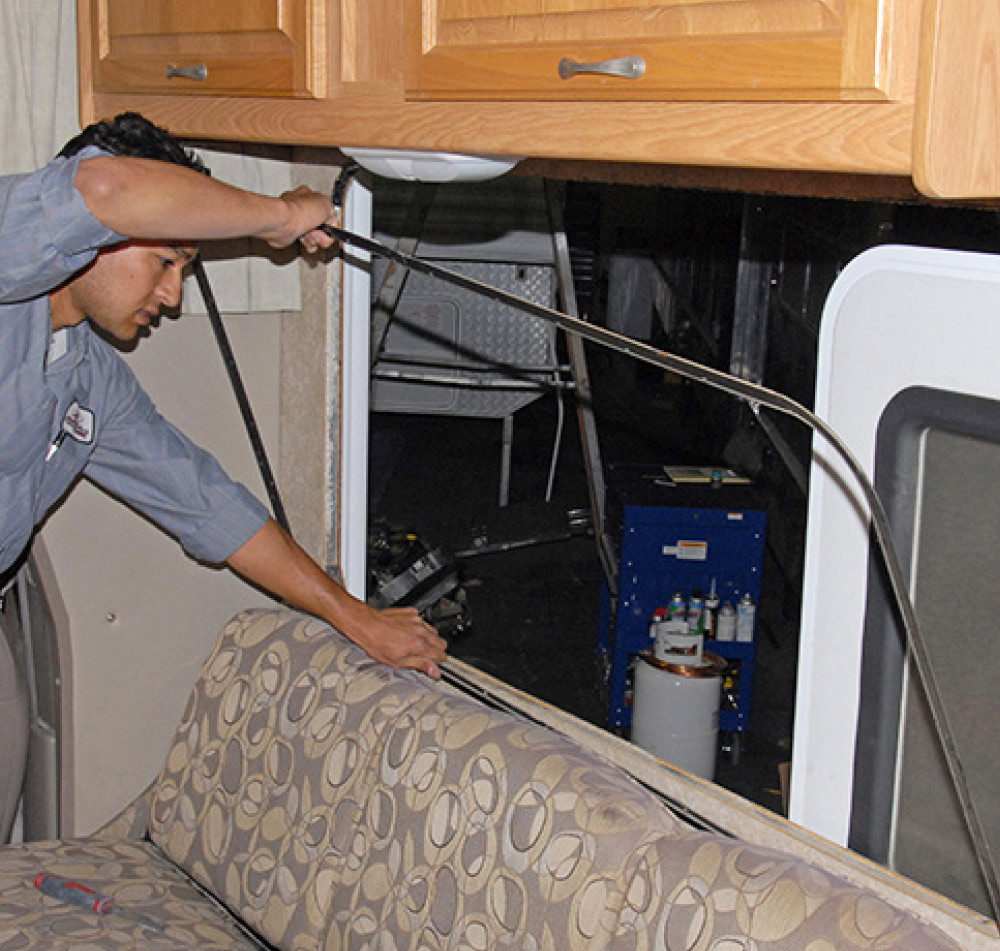
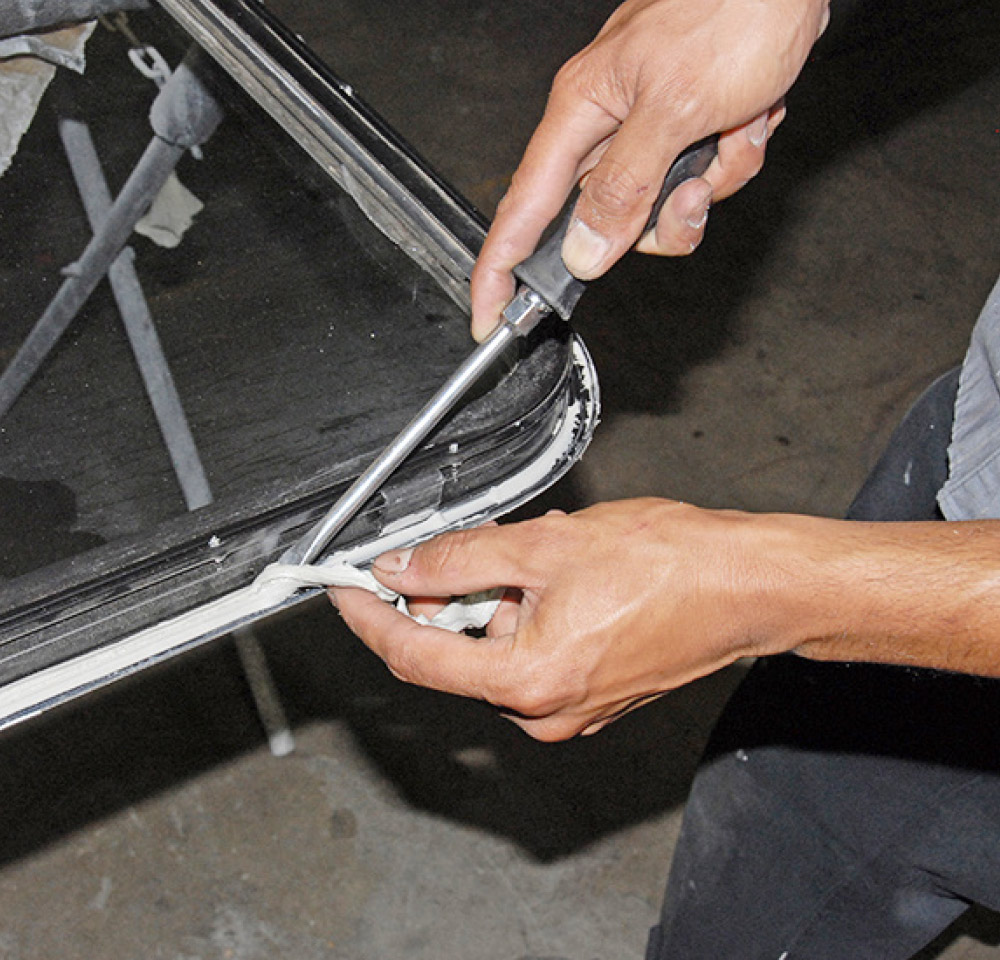
When replacing the window, first scrape off the old adhesive with a razor blade
This putty was still soft; older motorhomes, or those that bake in the sun
When replacing the window, first scrape off the old adhesive with a razor blade; the putty inside the window frame is removed carefully with a screwdriver. This putty was still soft; older motorhomes, or those that bake in the sun, may require more effort to get the putty cleaned out.
Butyl putty tape is applied around the entire perimeter of the window frame
Butyl putty tape is applied around the entire perimeter of the window frame and gently pushed into the channel.
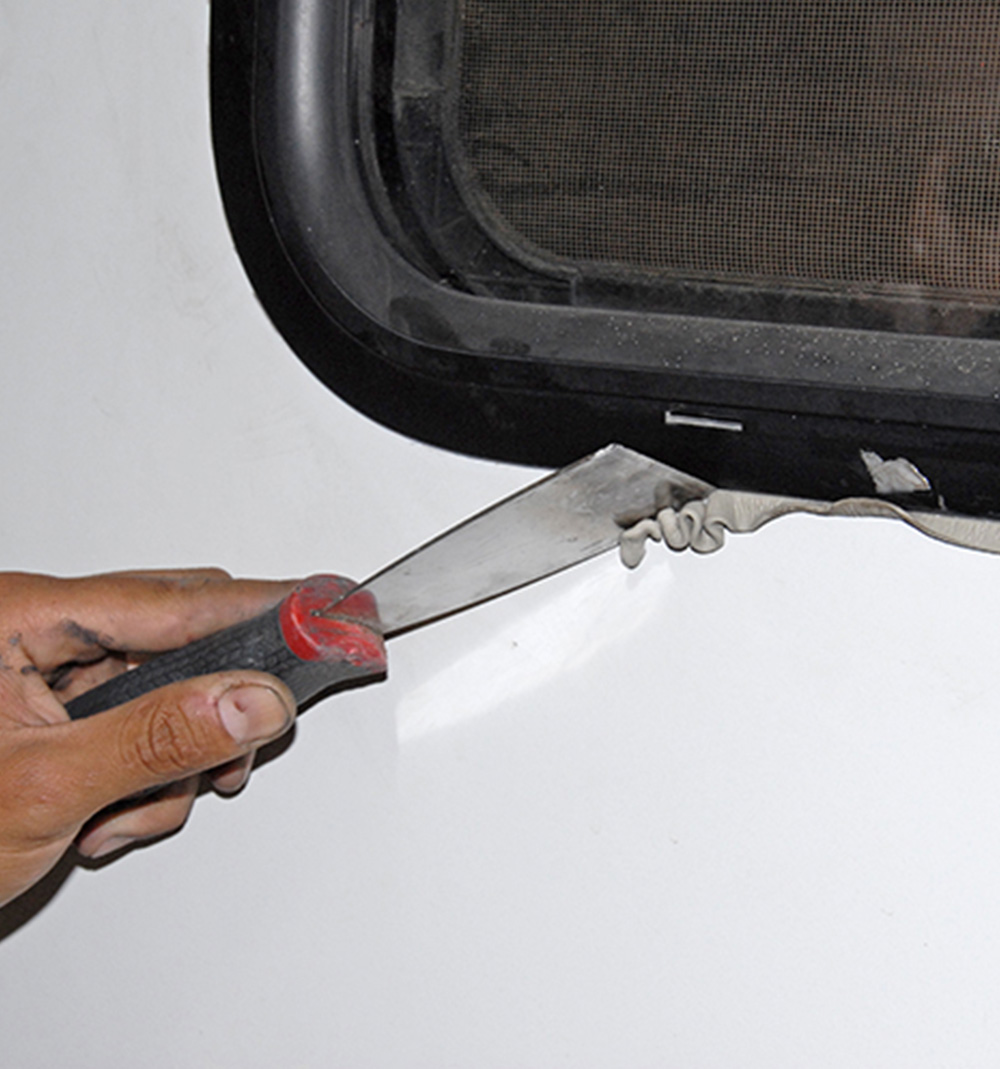
Once the window is screwed back into place, a putty knife is used to remove the excess putty from the exterior wall
Once the window is screwed back into place, a putty knife is used to remove the excess putty from the exterior wall. This technician was accustomed to this sort of work, so he felt comfortable using a metal putty knife. However, a plastic one (as well as a plastic razor blade) should be used whenever possible to guard against scratches.
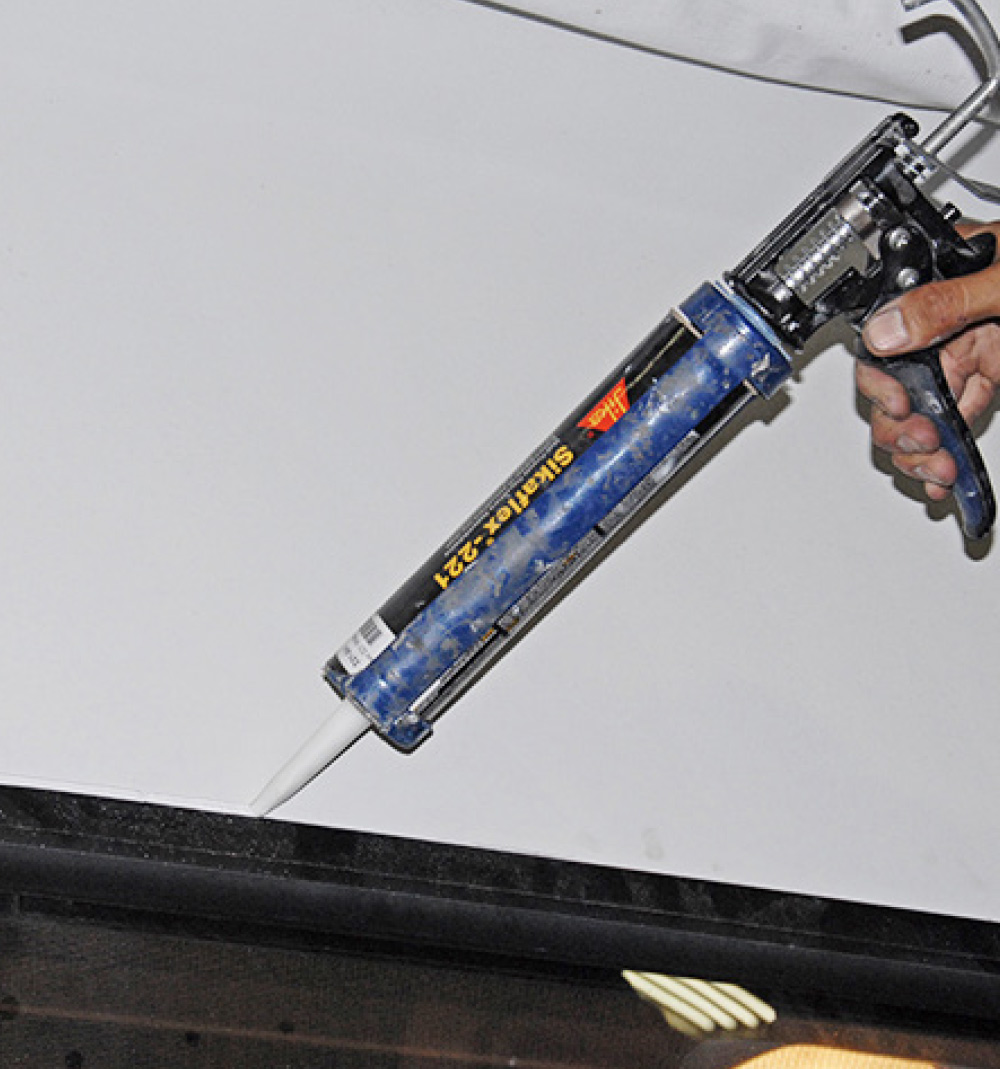
The final step is a thin bead of white calking around the top edge of the window to further ensure against water intrusion
The final step is a thin bead of white calking around the top edge of the window to further ensure against water intrusion.
Since this refrigerator was an exact replacement
Since this refrigerator was an exact replacement, the removal process was simply reversed when installing the new one. The wiring harness and LP-gas line are then reattached.
Once the new refrigerator was screwed into place, the wood trim panels
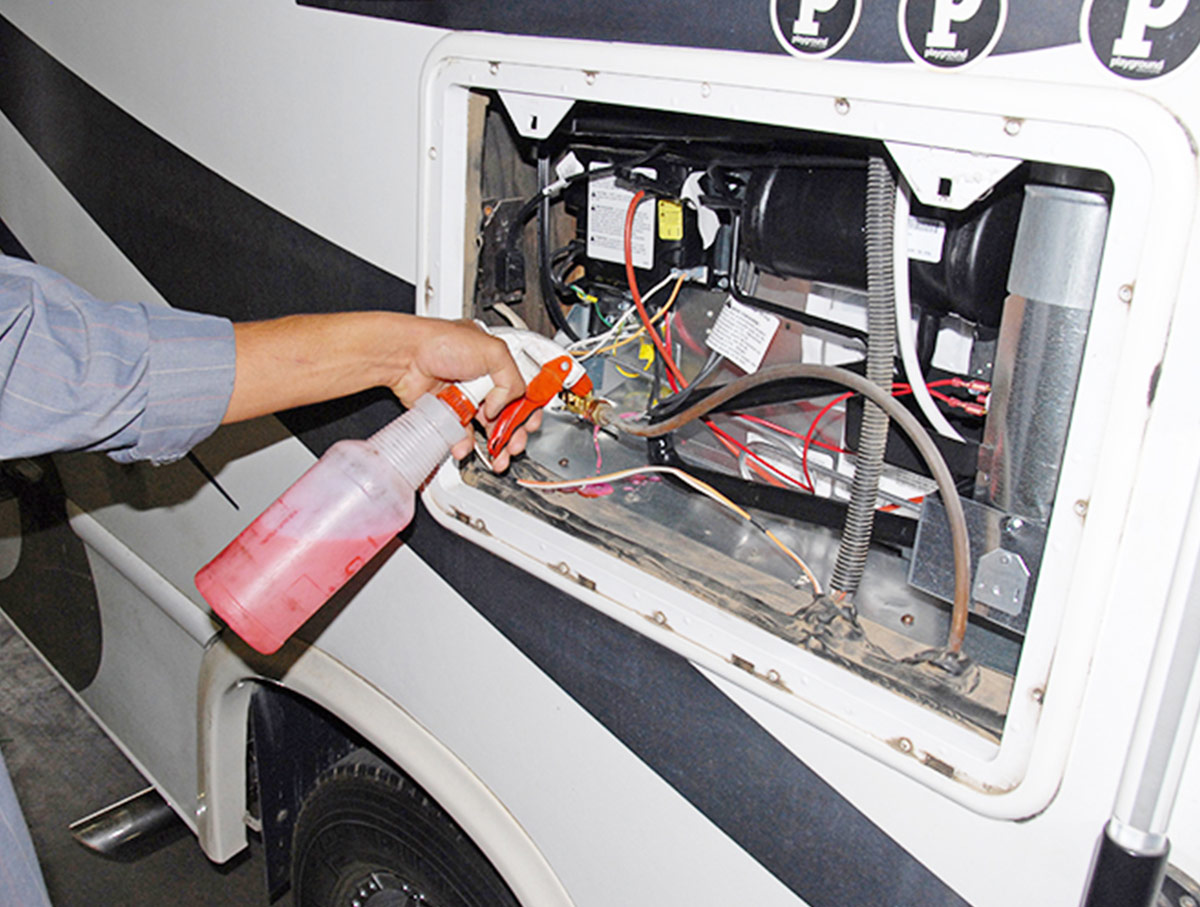
Before the refrigerator is turned on, you can perform a simple leak check by opening the LP-gas tank and using soapy water at the connection (as demonstrated here), but it is recommended that you take the rig to a qualified RV service center to have an LP-gas pressure drop-down test performed. This will confirm the integrity of the entire LP-gas system and give you extra peace of mind. Qualified service centers will always perform a drop-down test.
Lining fridge out
Once the new refrigerator was screwed into place, the wood trim panels from the old refrigerator were removed and reused on the new one and secured with new trim pieces supplied with the unit.
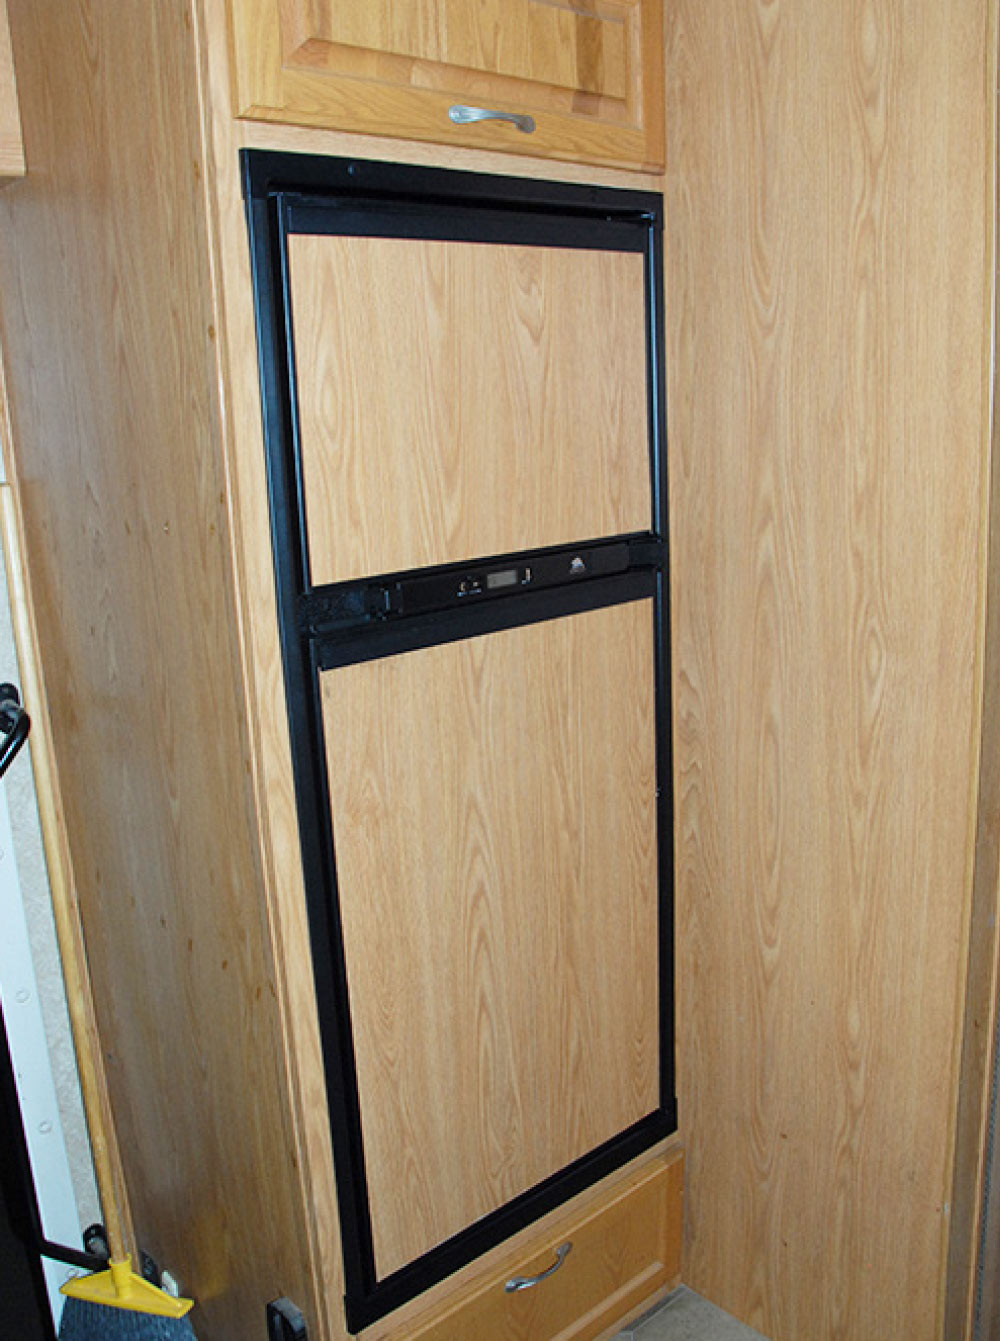
The new refrigerator
The new refrigerator is a perfect match for the original — and is ready for another decade (or more) of service.
Sources:
C & S RV Center
805-982-9900
candsrv.com

Norcold
800-543-1219
norcold.com