When ‘Seeing Red’ is a Good Thing
[maghub_sidebar]
When ‘Seeing Red’ is a Good Thing
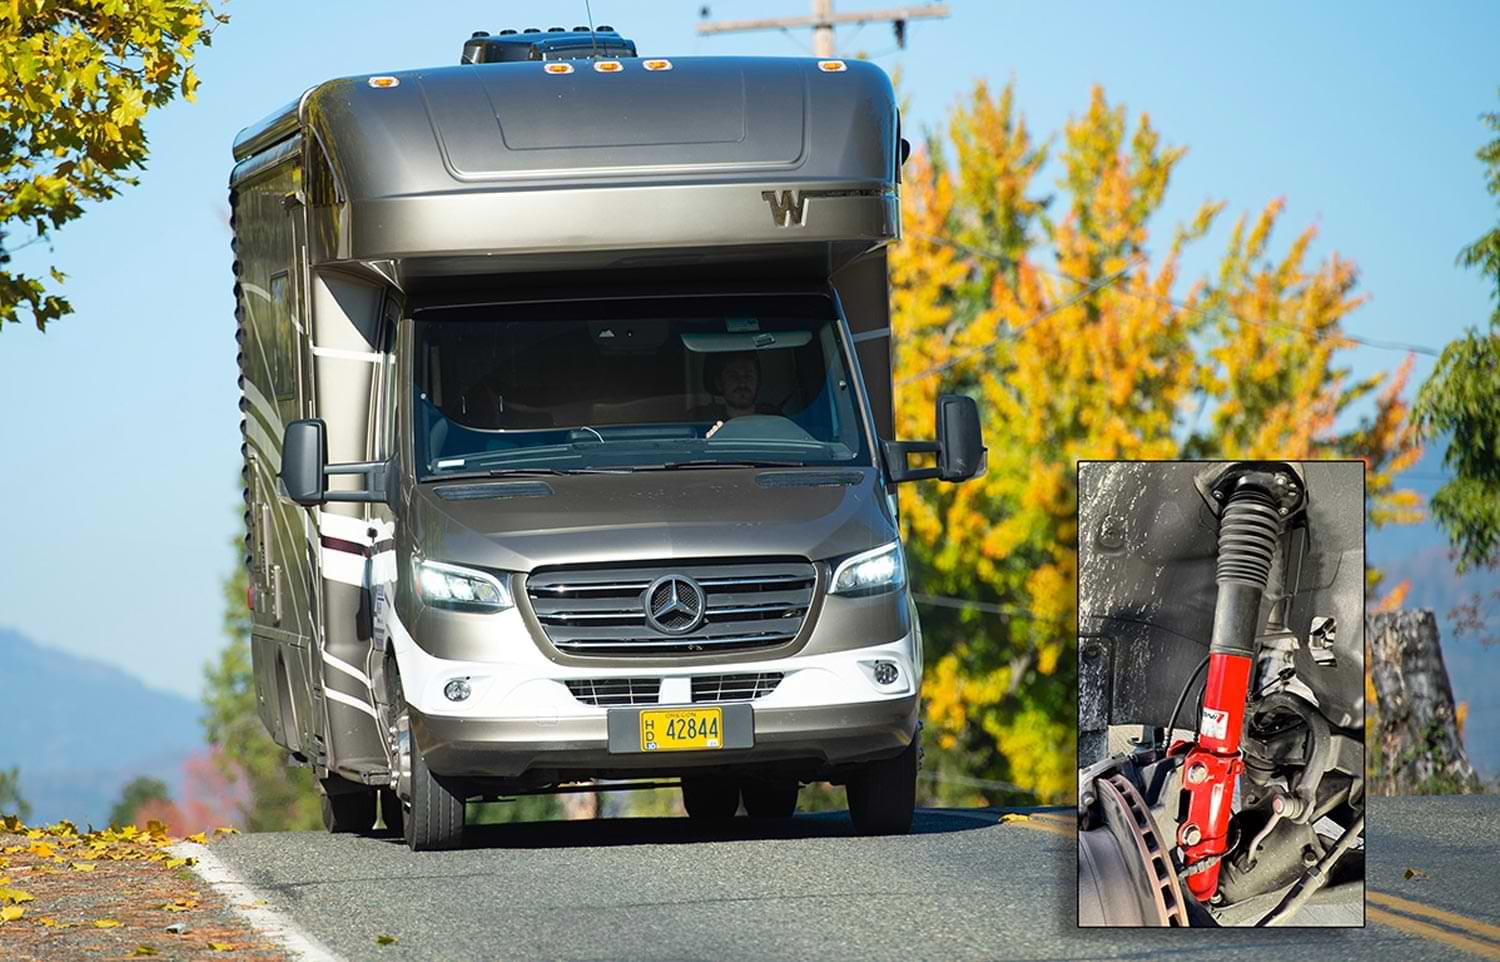
an image of a Mercedes RV riding down a road superimposed with the image of a KONI Red installed on a vehicle
Replacing the stock front shocks on Mercedes-Benz’s 2500 and 3500 Sprinter chassis with KONI Heavy Track “Reds” can make a welcome change in ride quality and handling
By Bruce W. Smith / Photos by the author
A

nytime a group of RVers get together, one sure topic of conversation is the “towing capacity” of their rig — and we’re not just talking about pickup trucks. Motorhomes also are rated by their manufacturers with a maximum weighted ability to pull “stuff” across the country.

On the other hand, one topic usually overlooked — but shouldn’t be — is their rig’s cargo-carrying capacity, especially for a self-contained coach not traveling with a dinghy. And since you won’t see a “toad” behind a Class B motorhome, what owners put inside their conversion vans (and even smaller Class A and Class C motorhomes) has a big effect on how they handle.

the KONI “red” adjustable front strut (shock)
The KONI “red” adjustable front strut (shock) features independent compression and rebound adjustment that gives the owner control over large inputs, allowing for increased rebound force to compensate for wear or to tailor the ride to an owner’s preference.
For example, a 2022 Mercedes-Benz Sprinter 3500 chassis — a popular choice for manufacturers of luxury Class B and Class C coaches — has a stout 11,030-pound GVWR (gross vehicle weight rating). That’s an impressive number and leaves plenty of room for cargo and things you’ll pick up along the way. However, the more “stuff” you add to any vehicle, the more it tends to negatively impact its riding and handling abilities. Age and miles also take their toll.

Unfortunately, one of the upgrades that RV owners often overlook is replacing the OEM shocks on their motorhome. Shocks wear out just like tires. The wear process of shocks (or struts) is slow and usually goes unnoticed by the person behind the wheel. What is readily noticed, however, is replacing the old, worn-out shocks with premium versions because this instantly makes a big difference in ride quality. Even replacing the OEM shocks on new motorized RVs can make a welcomed change in ride and handling.

As an example, one shock upgrade that really helps the ride and handling of Class C motorhomes built on the popular Mercedes-Benz Sprinter 3500 cab chassis, as well as Class B Sprinter vans, is installing KONI Heavy Track Shocks “Reds” (#87-2657) up front. These struts have an adjustable rebound setting that can make a big difference in controlling ride quality on the 2007-newer Sprinter 2500 and 3500 Sprinters, Sprinter-based RVs and commercial vans.

We followed along as Tommy Henderson, the R&D manager at Henderson’s Line-Up Brake & RV in Grants Pass, Oregon, swapped in a set of KONI Reds ($580/pair) on a customer’s 2021 Winnebago Navion. This is a job an RV DIYer can easily handle with basic hand tools and an impact gun (and a friend helps). However, the motorhome will need to be taken to a front-end specialist to have the suspension re-aligned after replacing the struts.
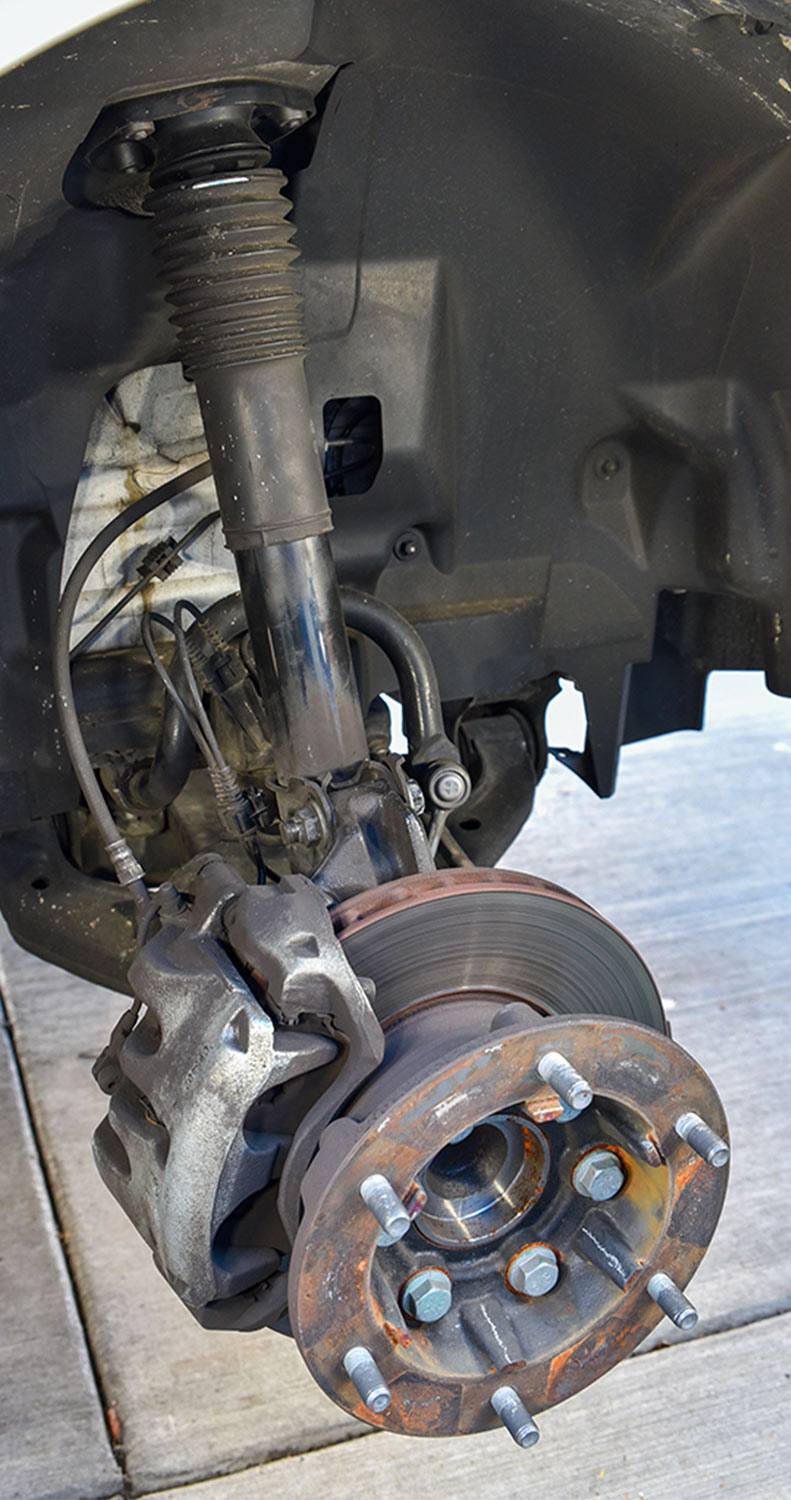
full view of the current OEM strut/shock
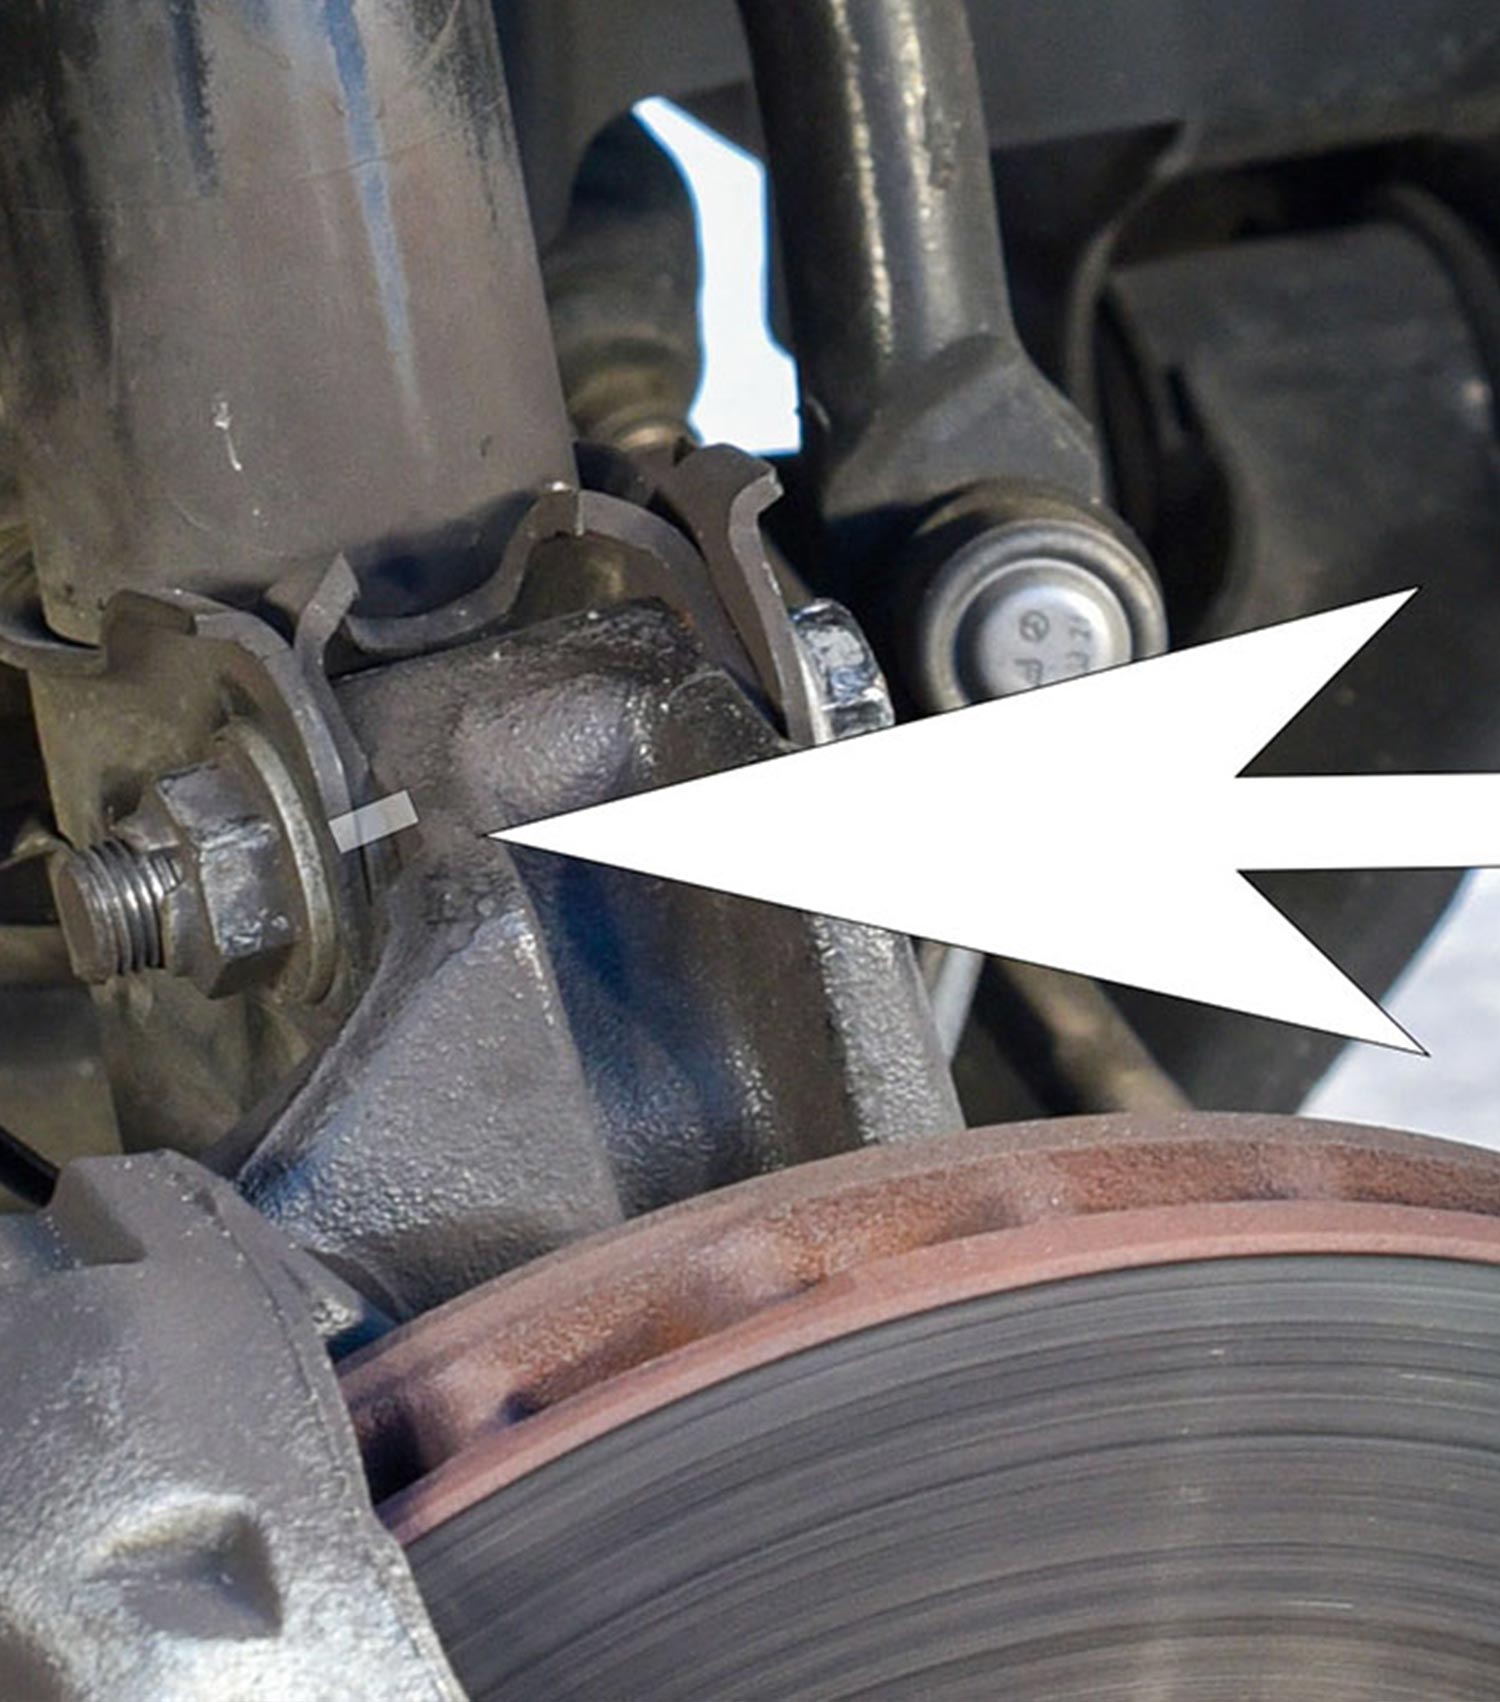
a graphic line and white arrow mark the position of the strut’s mounting bracket in relation to the steering knuckle
Before removing the OEM strut/shock, use a felt marker or scribe a line to mark the position of the strut’s mounting bracket in relation to the steering knuckle. The KONI strut needs to be positioned in the same place so alignment is good enough to drive to an alignment shop afterwards.
view of the ABS wiring from the back side of the strut
Remove the ABS wiring from the back side of the strut and unplug the little connector on the opposite side of the strut that goes to the brakes.
the upper end of each strut is held in place by four 14mm mounting bolts
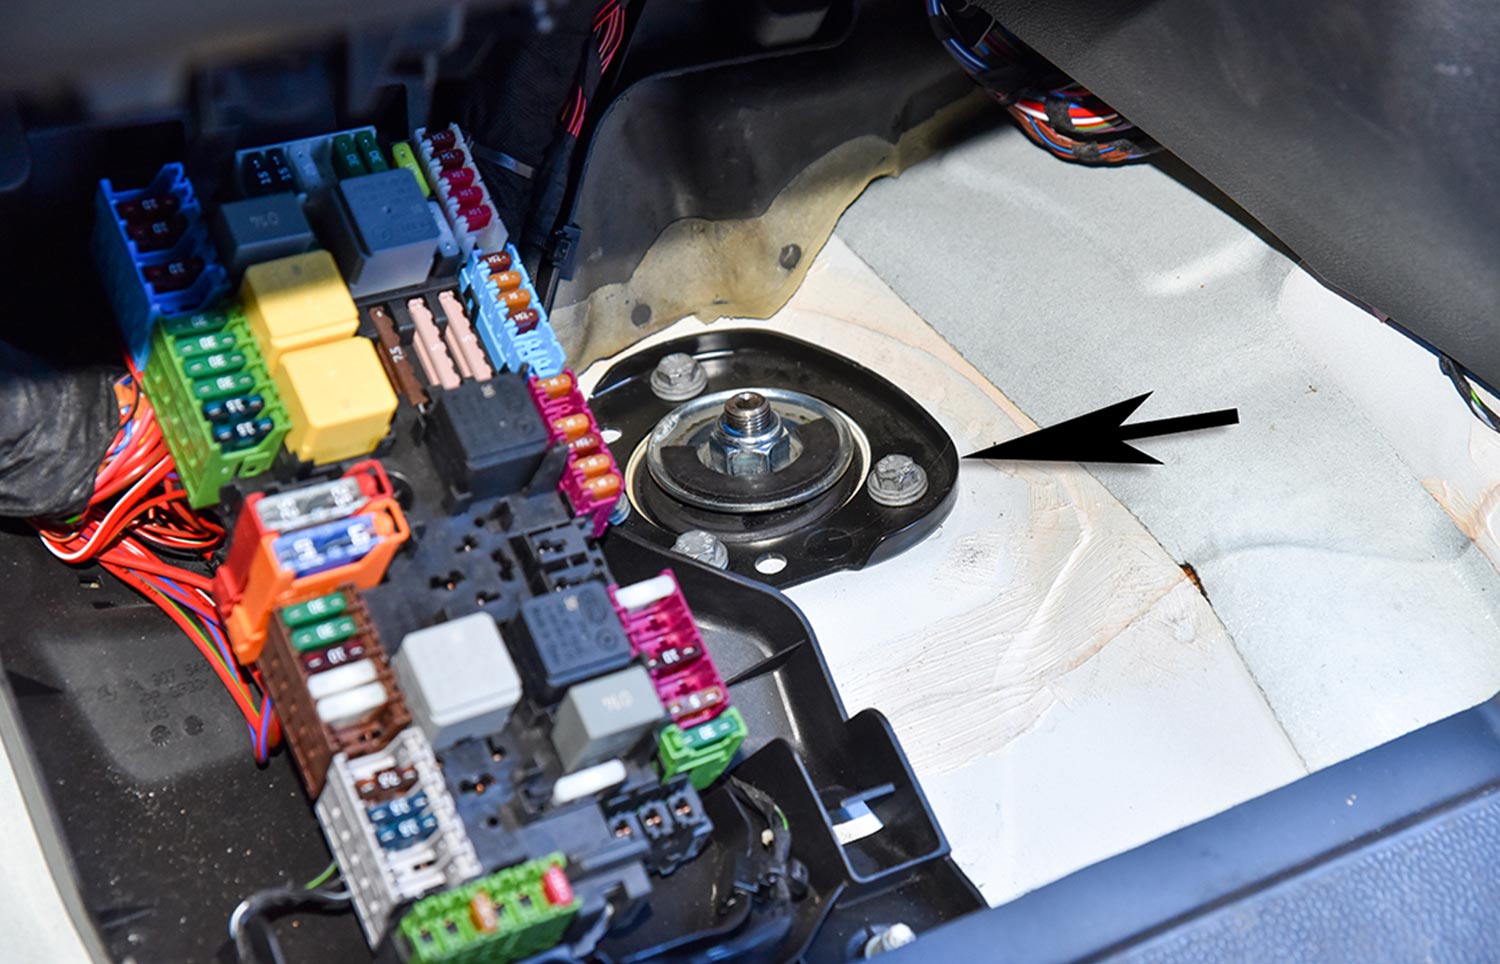
The upper end of each strut is held in place by four 14mm mounting bolts in a top plate that’s accessed by lifting off the floor cover in the footwells.
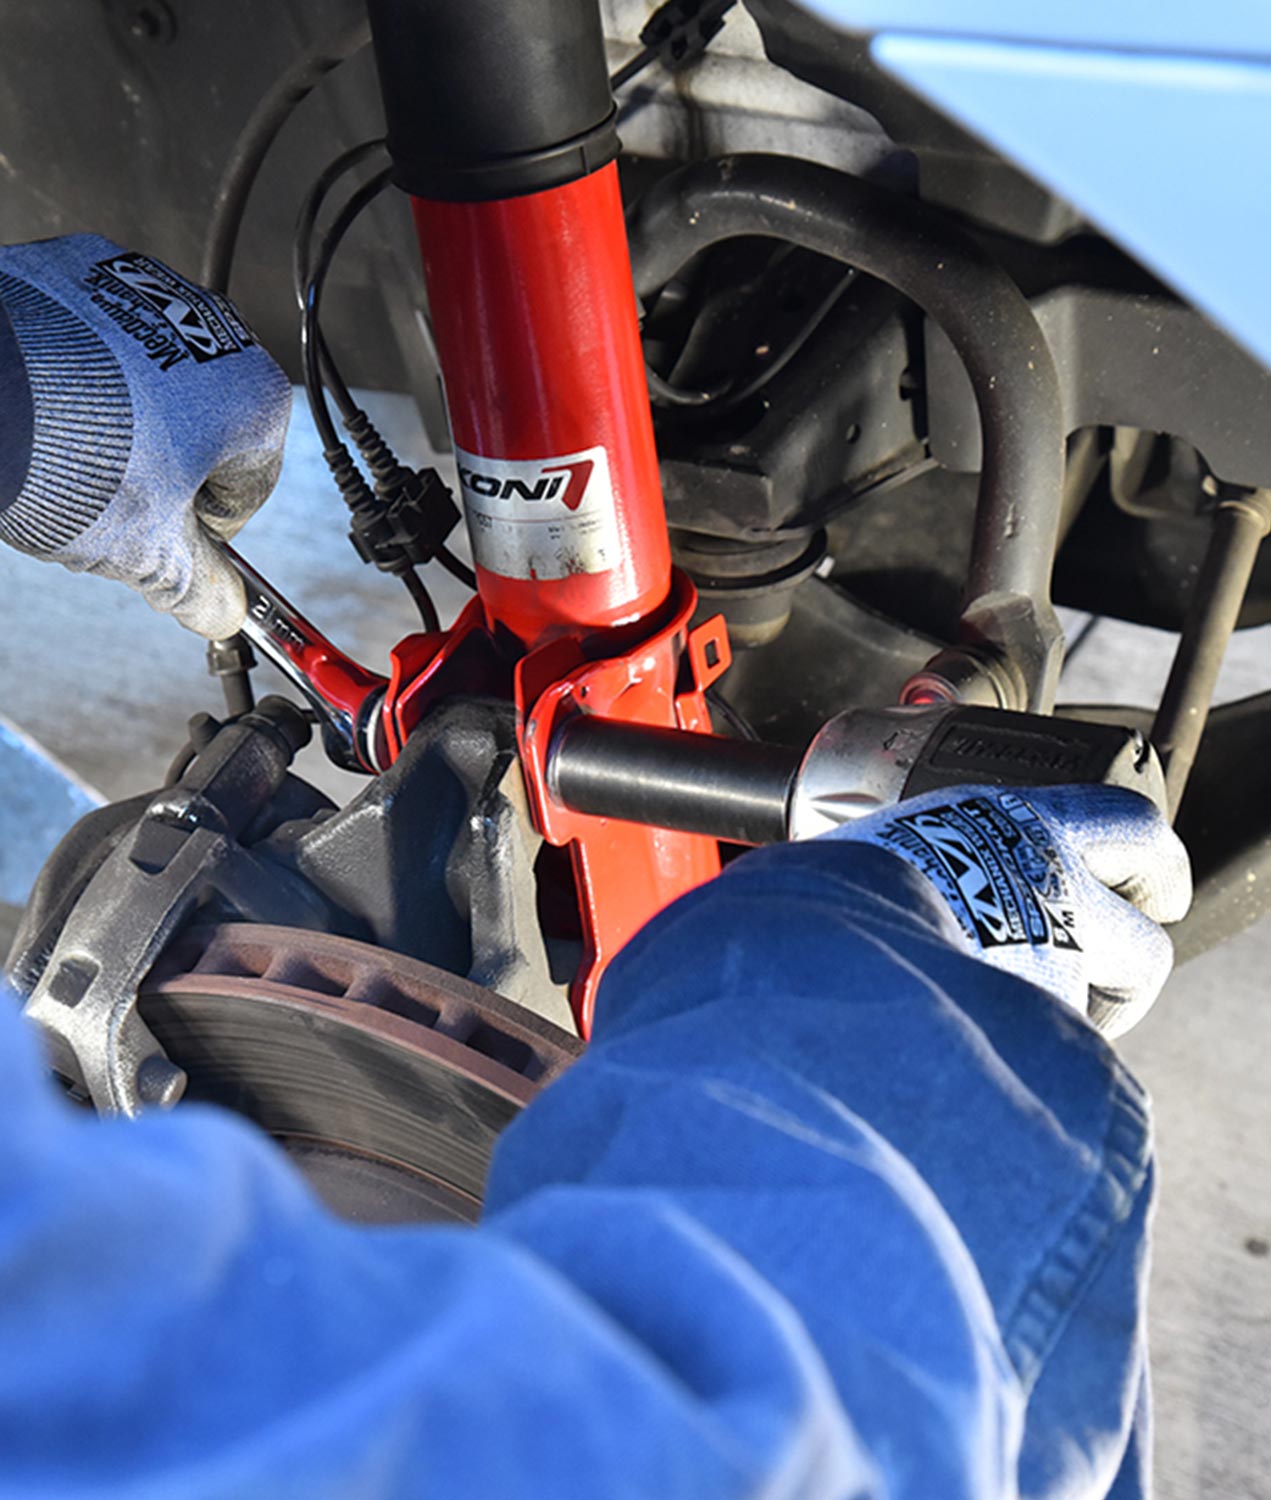
the two lower mounting bolts that connect the strut to the Sprinter 3500 steering knuckle are removed
The two lower mounting bolts that connect the strut to the Sprinter 3500 steering knuckle are easily removed with an impact gun and 21mm open/box-end wrench.
the old strut lifts out easily of its home in the Sprinter chassis
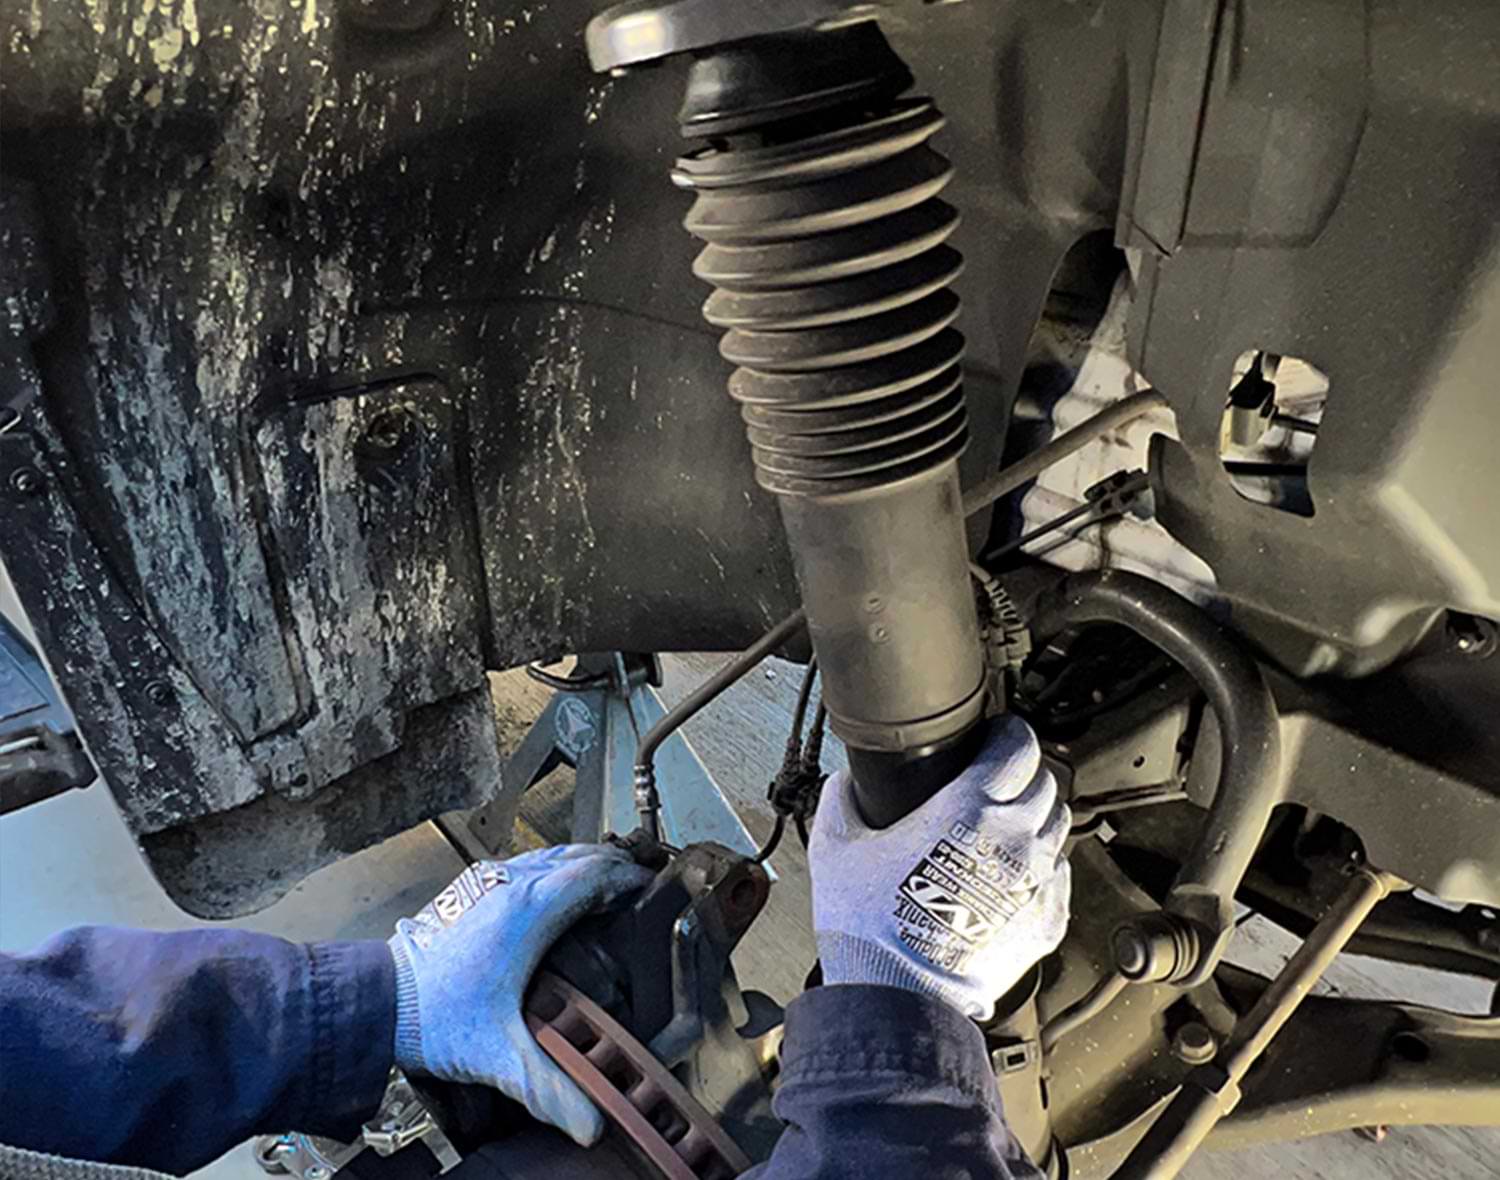
Once the upper and lower mounting bolts are removed, the old strut lifts out easily of its home in the Sprinter chassis.
the KONI “Red” sits next to the removed OEM Sprinter strut for comparison
The KONI “Red” is considerably more robust in both build quality and longevity than the OEM Sprinter strut. What’s even more important is the KONI strut has far greater rebound control that can be adjusted to fit varying load and handling needs.
the stock strut’s shaft top nut is removed
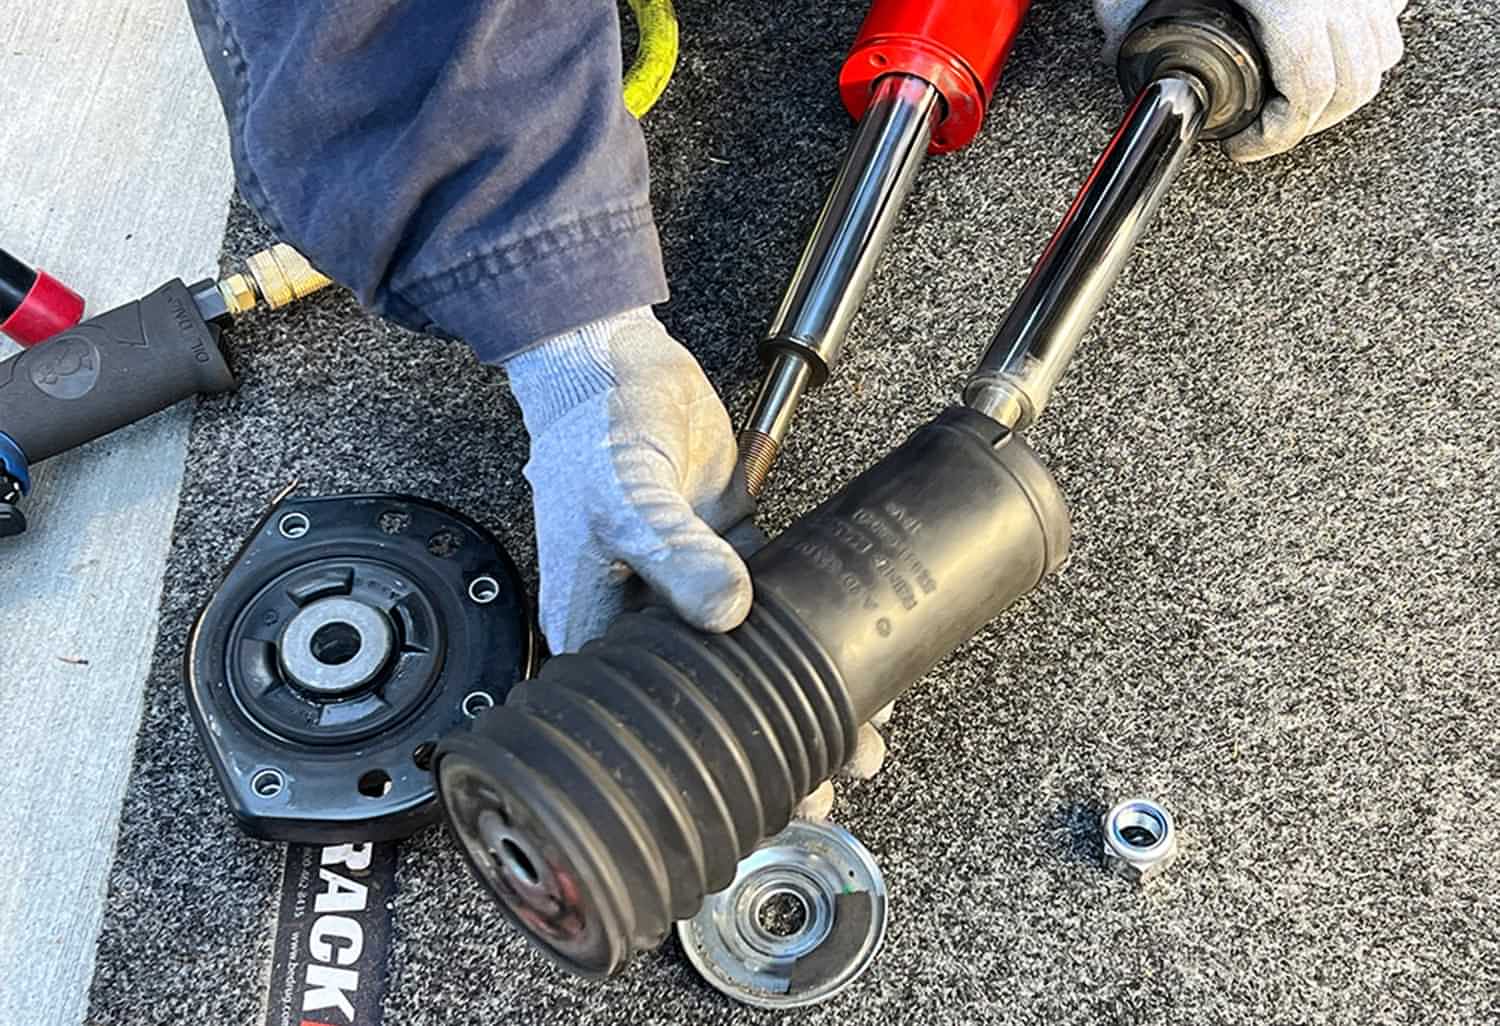
The stock strut’s shaft top nut is removed so the mounting plate and dust boot can be moved over to the KONI strut.
the top mounting plate, spacer and dust boot slide easily off the old strut
the top mounting plate, spacer and dust boot are slid onto the KONI Red in the reverse order as they were removed
The top mounting plate, spacer and dust boot slide easily off the old strut and go back onto the KONI Red in the reverse order as they were removed.
the plate's retaining nut is replaced and torqued to 45 ft.-lbs
After the dust boot, top mounting plate and spacer are placed on the new strut, the retaining nut is replaced and torqued to 45 ft.-lbs.
the KONI strut is lifted up and positioned so the top mounting bolts can be inserted in the four mounting holes from inside cab
Here’s where a second person helps as the KONI strut needs to be lifted up and positioned so the top mounting bolts can be inserted in the four mounting holes from inside cab.
close view of the top plate in position
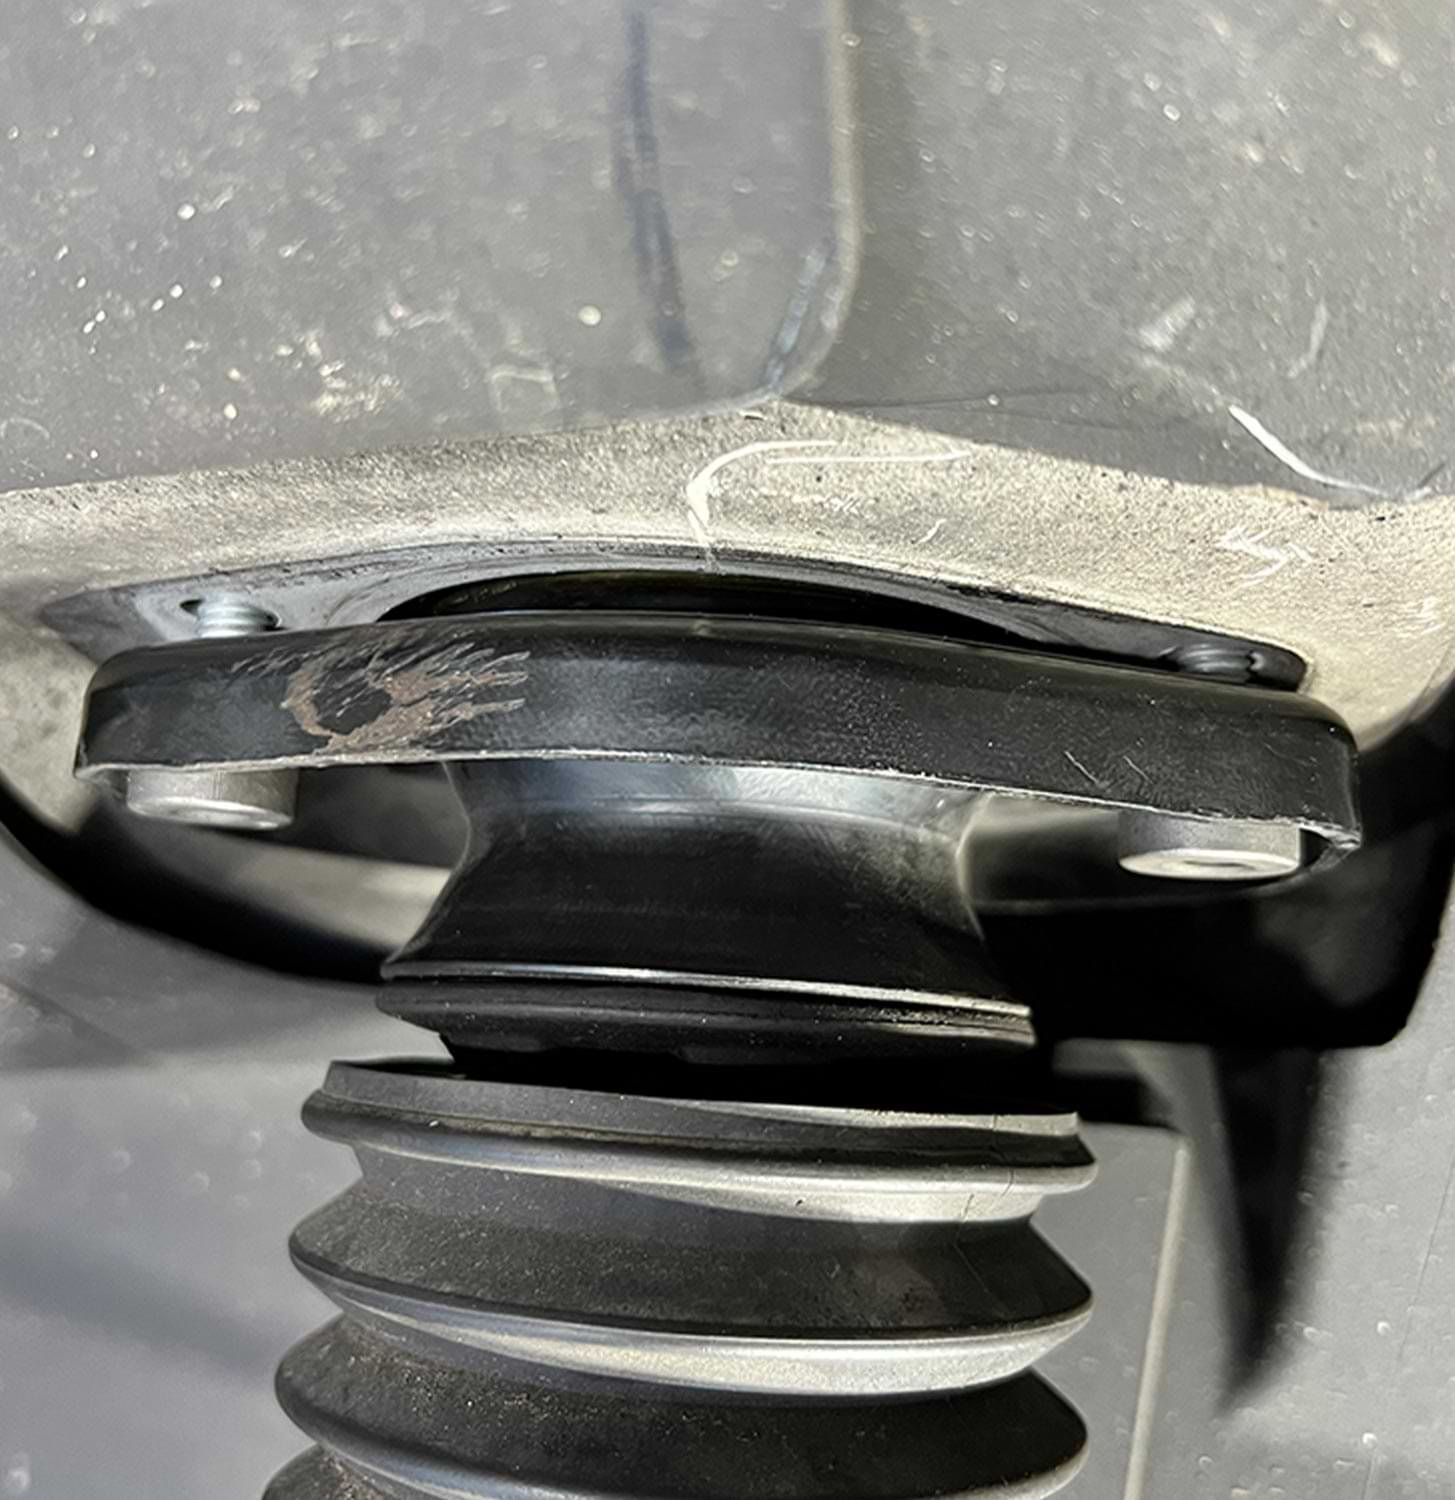
The four mounting bolts are not symmetrically located so there’s only one position of the top plate where they align.
a technician positions the KONI Red to line up with the mark placed on the steering knuckle prior to starting the strut replacement
The KONI Red must be positioned so it lines up with the mark placed on the steering knuckle prior to starting the strut replacement. Doing this only gets the toe-in (alignment) close enough so the RV can be driven to an alignment shop for proper adjustment.
with the strut in position, the two lower bolts are tightened

Once the strut is in position, you can go ahead and tighten the two lower bolts. The alignment shop will do the final adjustments and torquing procedures.
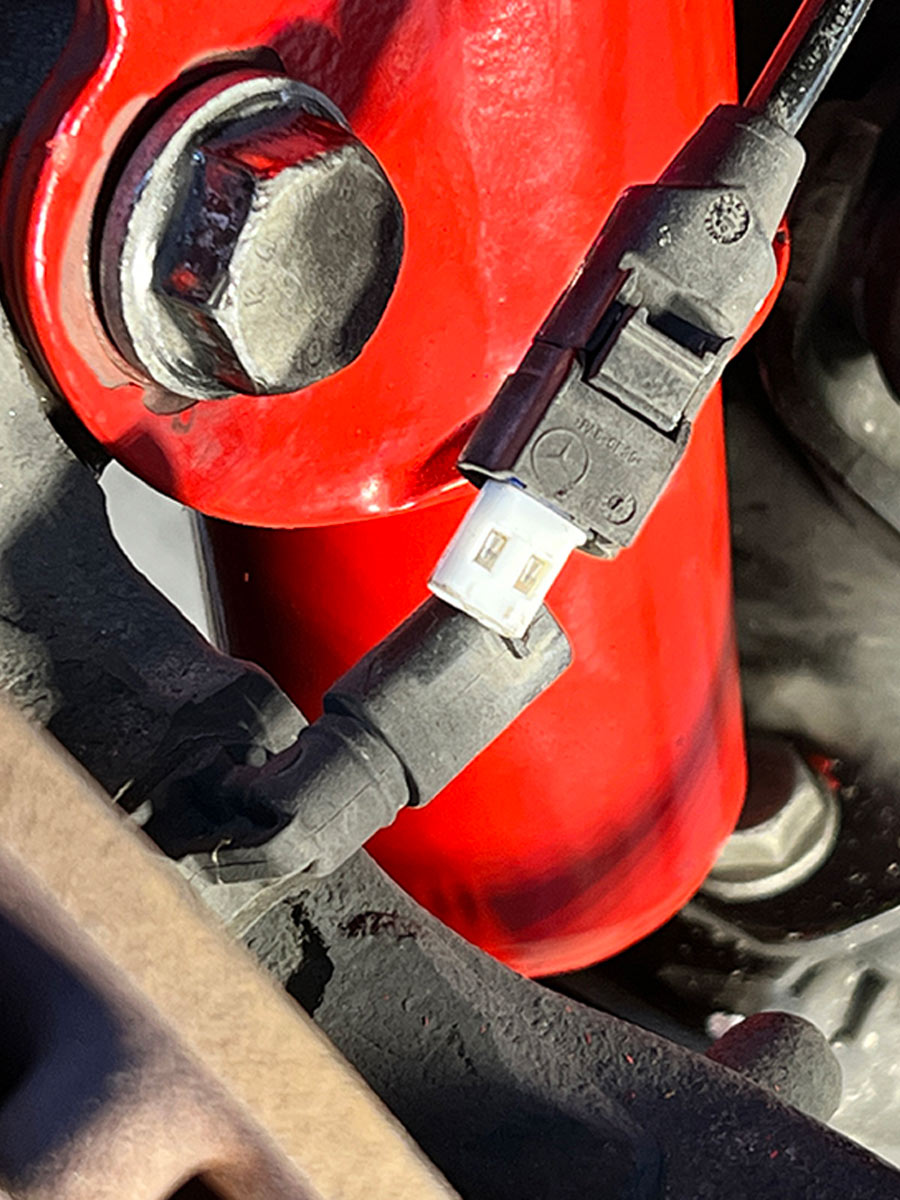
the ABS sensor wiring is plugged and reattached to the strut
full view of the newly installed KONI Red
The final step is plugging in the ABS sensor wiring and re-attaching the ABS wiring to the strut just like it was from the factory. “Seeing red” is a really good thing under the front of your Sprinter-based motorhome.
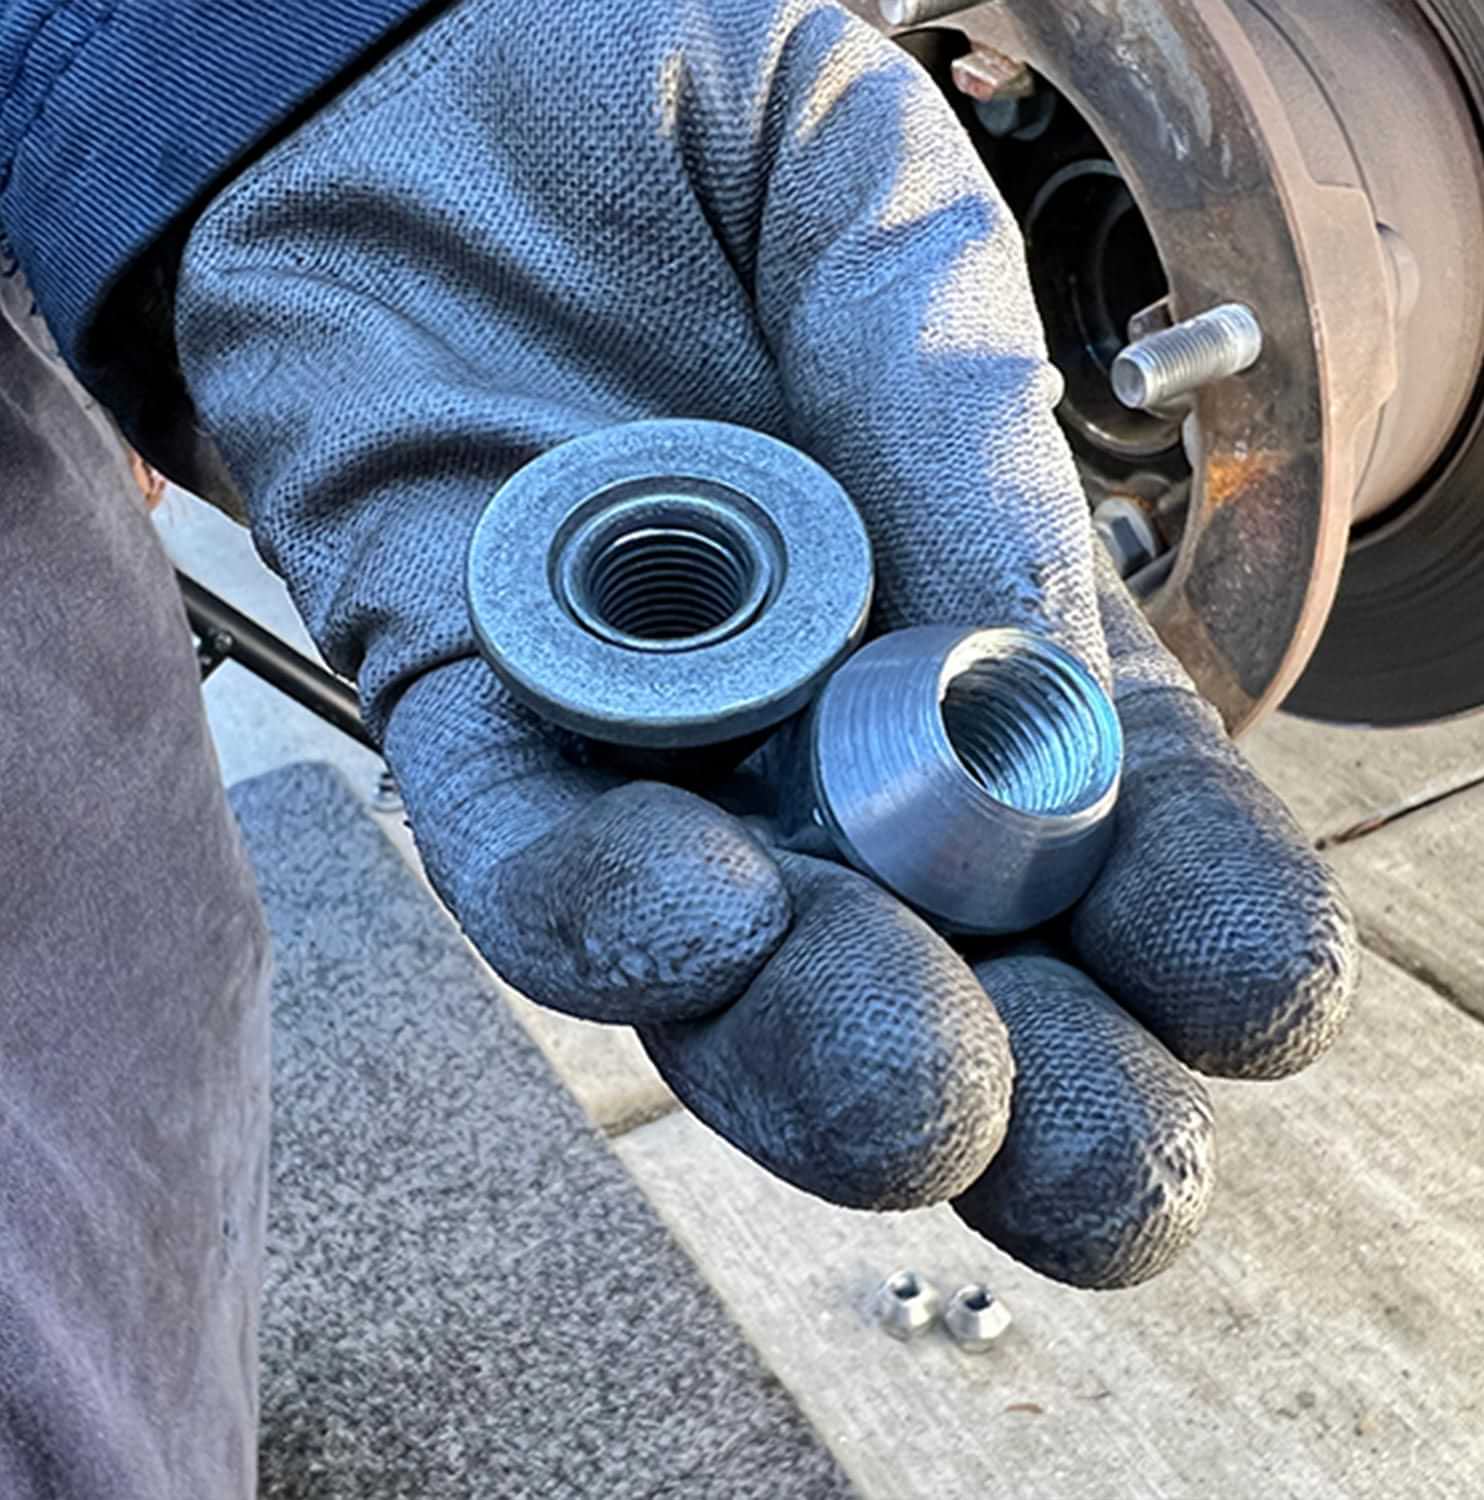
a hand holding SuperSteer WAL-nut (wheel alignment nut) components
A great tool to have when re-installing aftermarket front wheels on a Sprinter (and other applications) are SuperSteer WAL-nuts (wheel alignment nuts). Recently developed by SuperSteer and scheduled for release early in 2023, these special lug nuts (right) are deeply tapered to position the wheel. Three WAL-nuts are used, then the OEM flat wheel nuts are put on in the vacant positions. The WAL-nuts are then removed so the other three OEM wheel nuts can be installed. If the wheels aren’t properly centered, the result is a front-end vibration.