


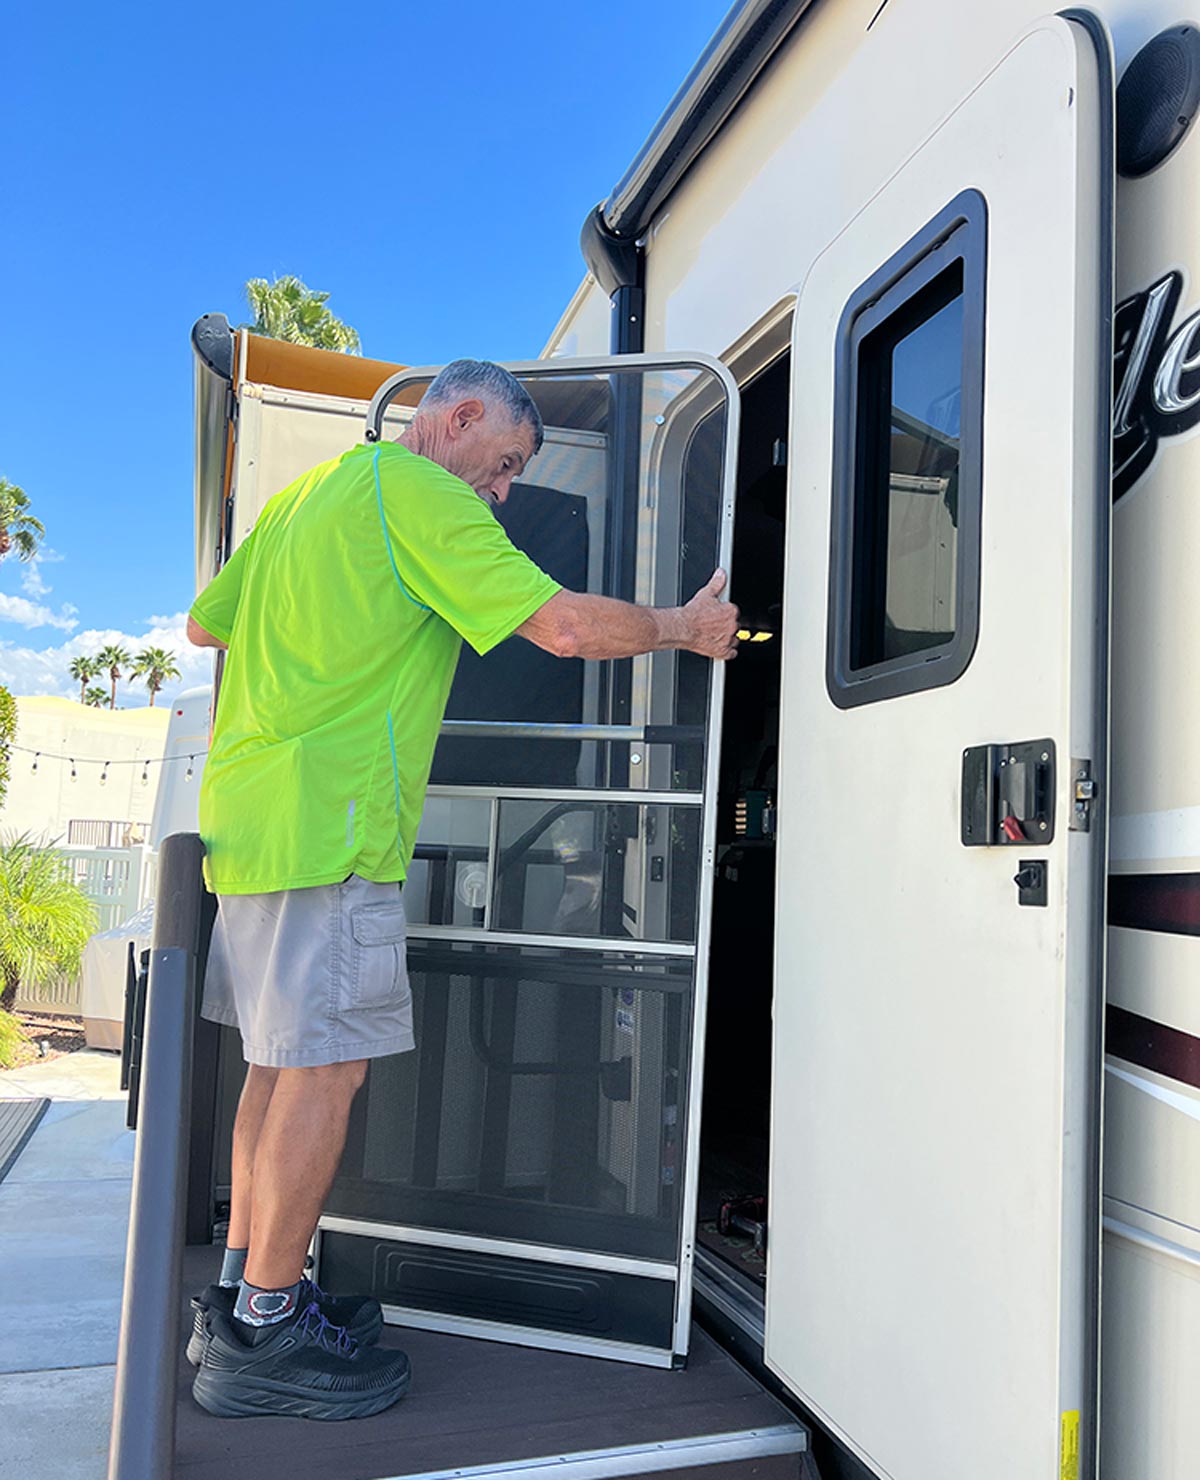
Vs are fitted with a framed entry-way screen that’s integrated into the hinge mechanism and makes it possible to work in concert with the main door. It’s a system that’s as common in the RV industry as wheels — and, for the most part, it works. The screen is designed to be used independently of the entry door and is latched in place when it comes time to close the screen and entry doors together. Over time, however, the screen frame can sag on its hinges — creating a drag that makes it hard to open and close, which also impacts the operation of the entire entry-door system.
The trick to restoring clearance on the threshold is to relocate the screen frame on its hinges, which is a simple 30-minute project.
The first step is to determine how much to widen the gap between the threshold and screen-door frame. In this case, providing a 1/8- to 1/4-inch wider gap seemed suitable. RV Enthusiast magazine Technical Director Bill Gehr helped with this project, something he’s done hundreds of times while previously owning Bill’s RV Service in Ventura, California. Fortunately, do-it-yourselfers can make a pretty good, educated guess here because tolerances are not critical — just keep in mind that you won’t have a lot of area to do this too many times. We relocated the screen door 1/4-inch higher than the threshold to keep the sagging under control for a long time without having to repeat this process.
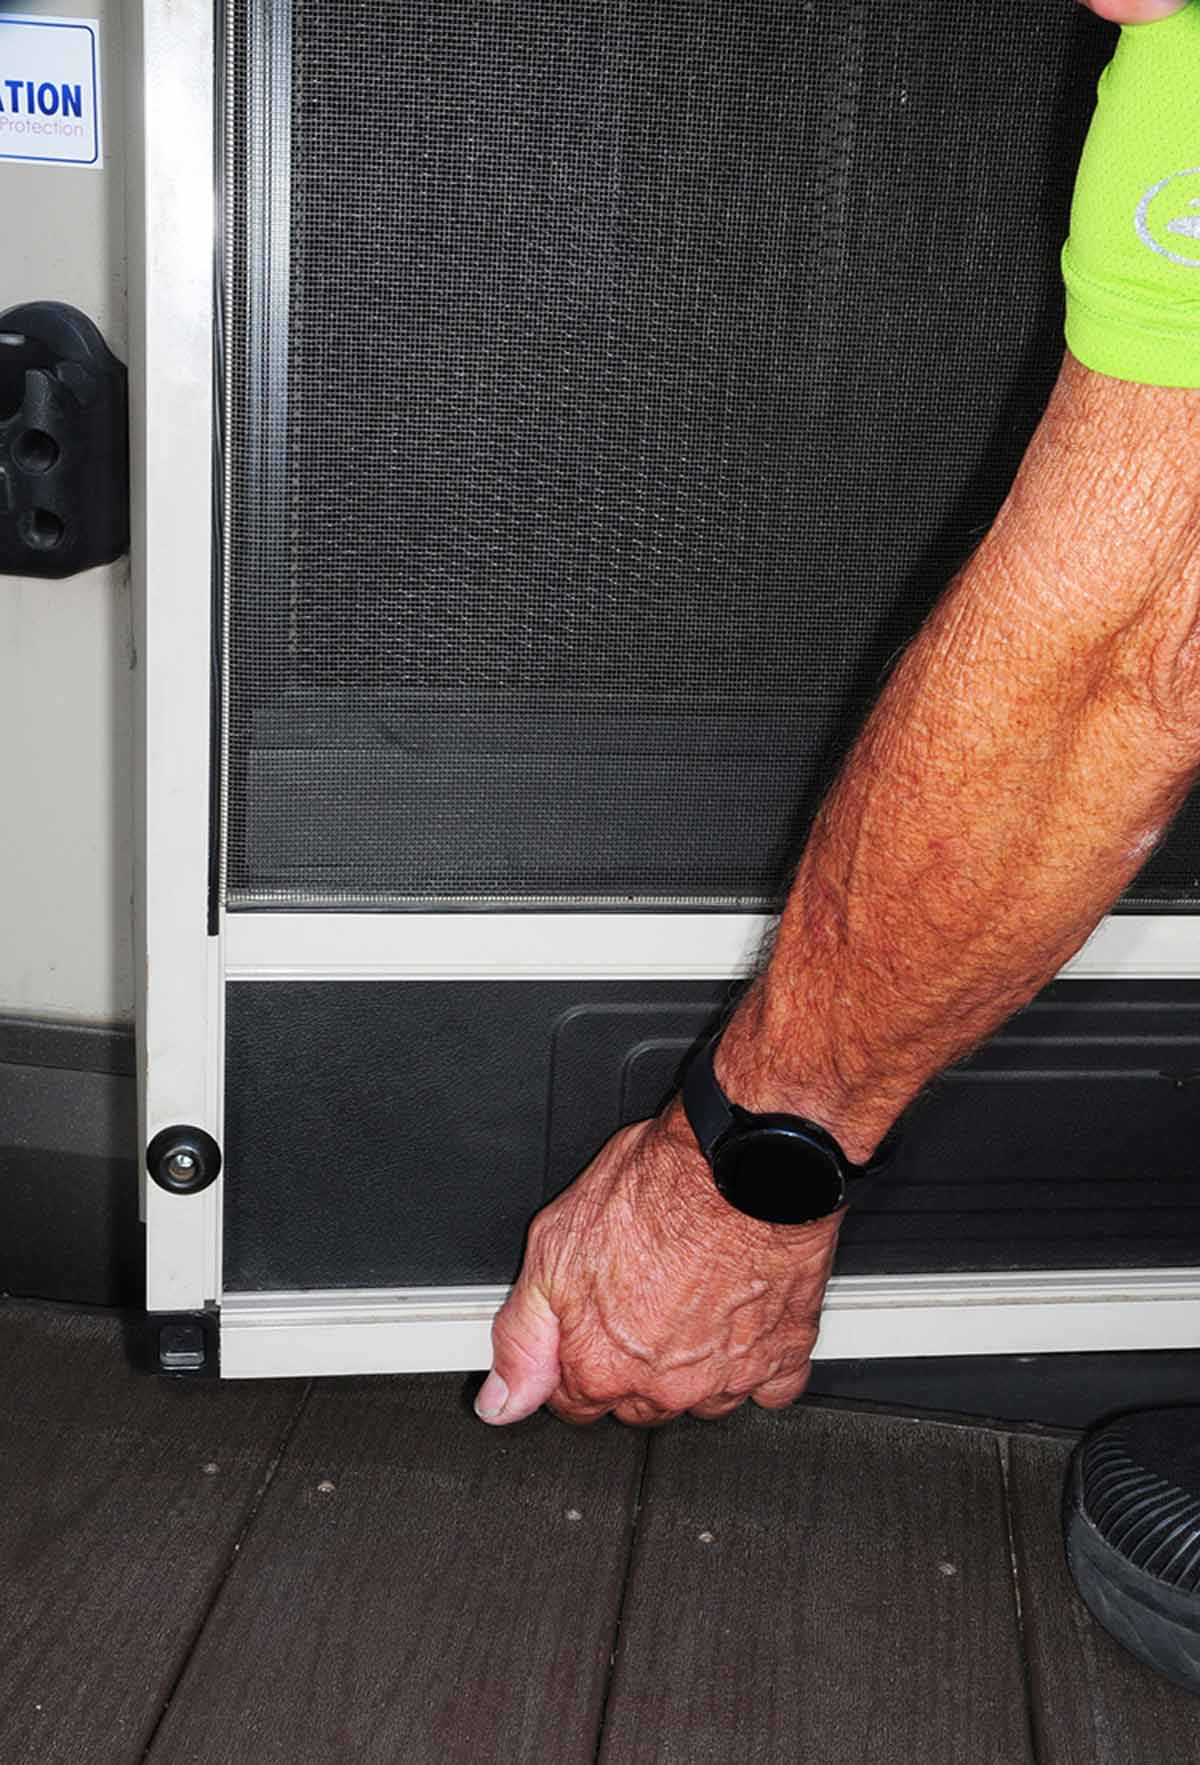
While you’re at it, inspect the screen frame joints to make sure they are flush and tight. Any repairs can be made with L-shaped flat-metal stock and screws (found in hardware stores) which will add quite a bit of strength to the frame.
Relocating the screen door frame on the hinges requires that new holes be drilled lower than the existing holes — that way, the screen will move up within the doorway. Remove the two screws from each of the three hinges and pull the screen door out of the entry way. Only one hole was first drilled — ¼-inch below the original top hole — to accommodate the top hinge before returning the screen door to its mounting position and reattaching the top hinge by driving a screw into the new hole. The screen frame was then adjusted by placing a wedge at the bottom to square it up in the doorway. Once you’re happy with the location and the door moves freely, you can drill through the other hinges, drive in the screws — and you’re done.

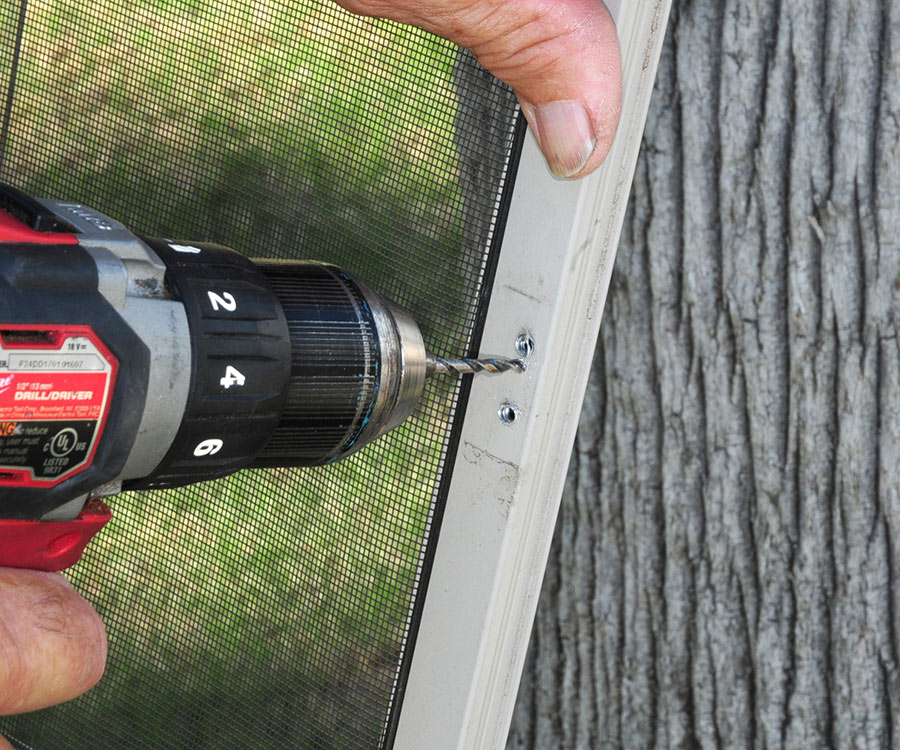

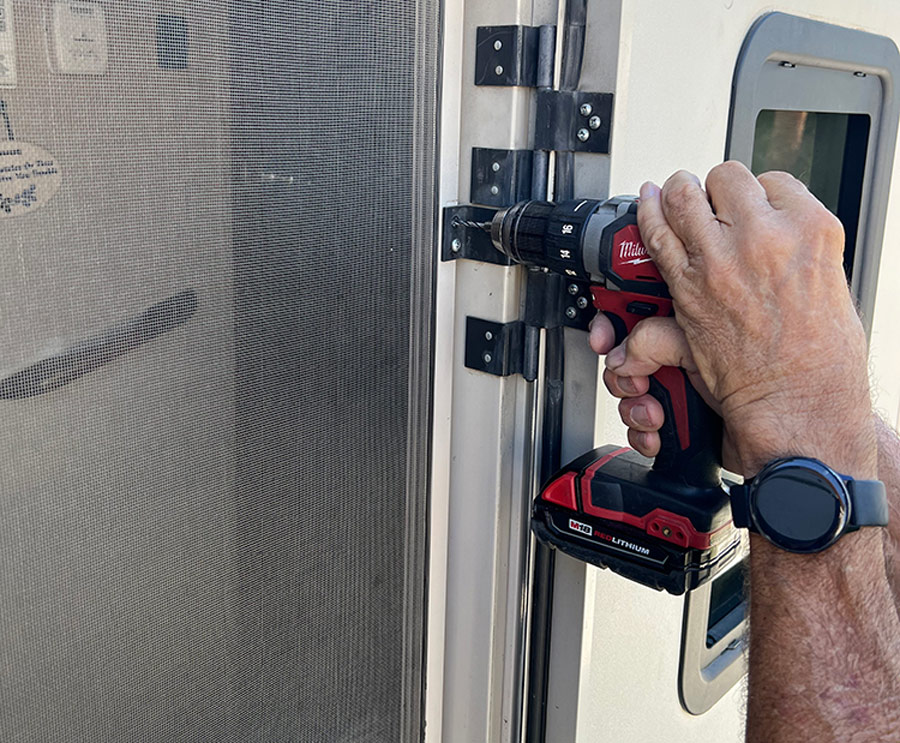
The other five holes for attaching the hinges are drilled with the screen door in place. Use care so the screen door does not move during the process. With the top screw in place, it’s best to drill through the bottom hinge next and work your way up.

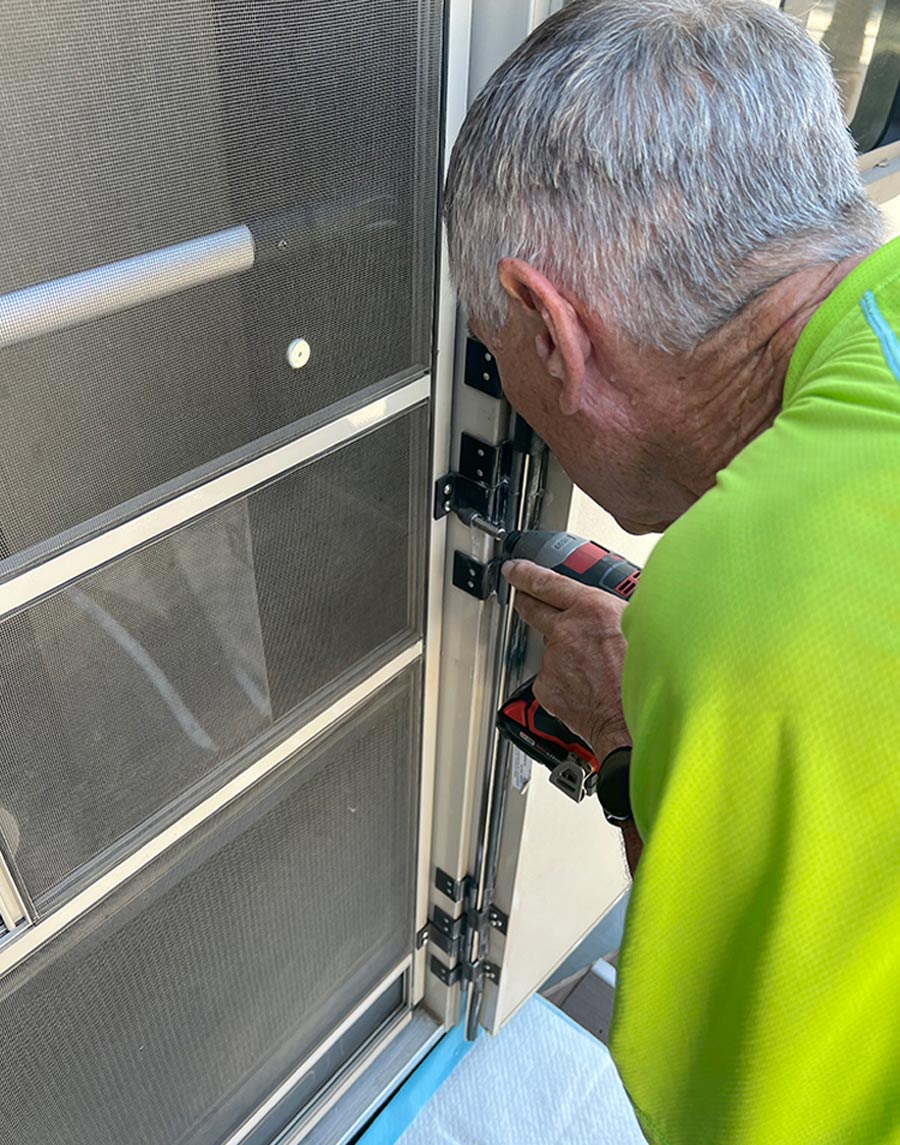
All the original screws were driven with a screw gun; if you’re not experienced with this type of tool, use a screwdriver — stripping the holes will prolong the project and invite a few choice bad words.
