Closing the Gaps
he trend to opting for compressor-type refrigerators as standard equipment in RVs these days is moving along at a rapid rate. The popularity of 12-volt DC refrigerators is growing every year, offering a practical alternative to residential models which require 120-volt AC power. As the market expands, so does the viability of replacing an absorption refrigerator with a direct-fit model that can be accomplished by handy do-it-yourselfers.
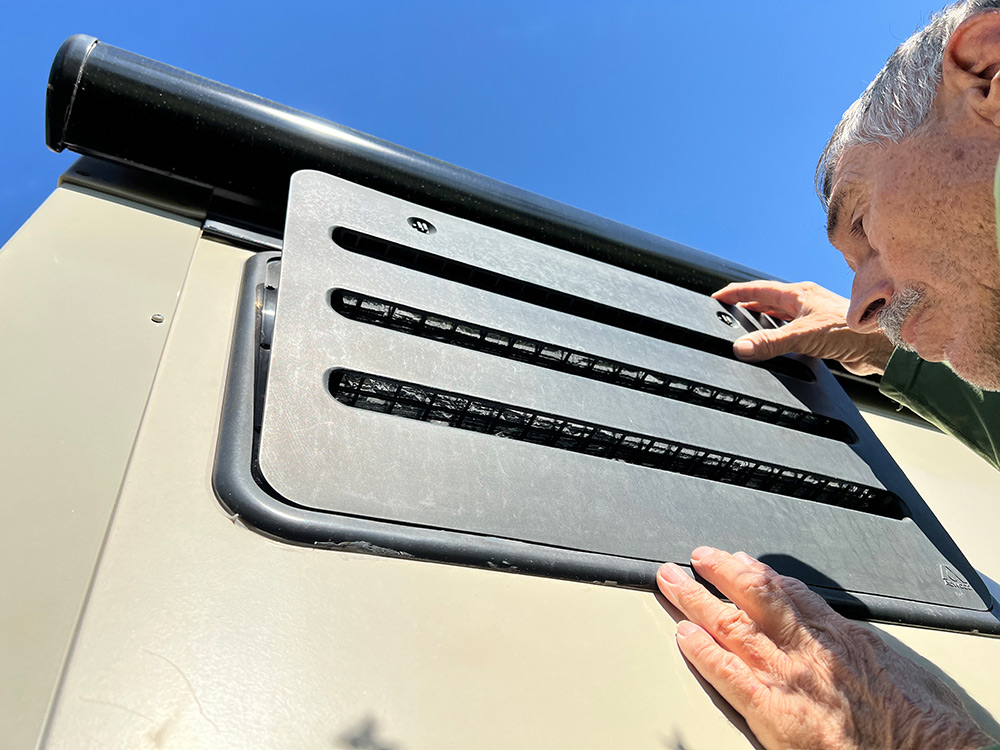
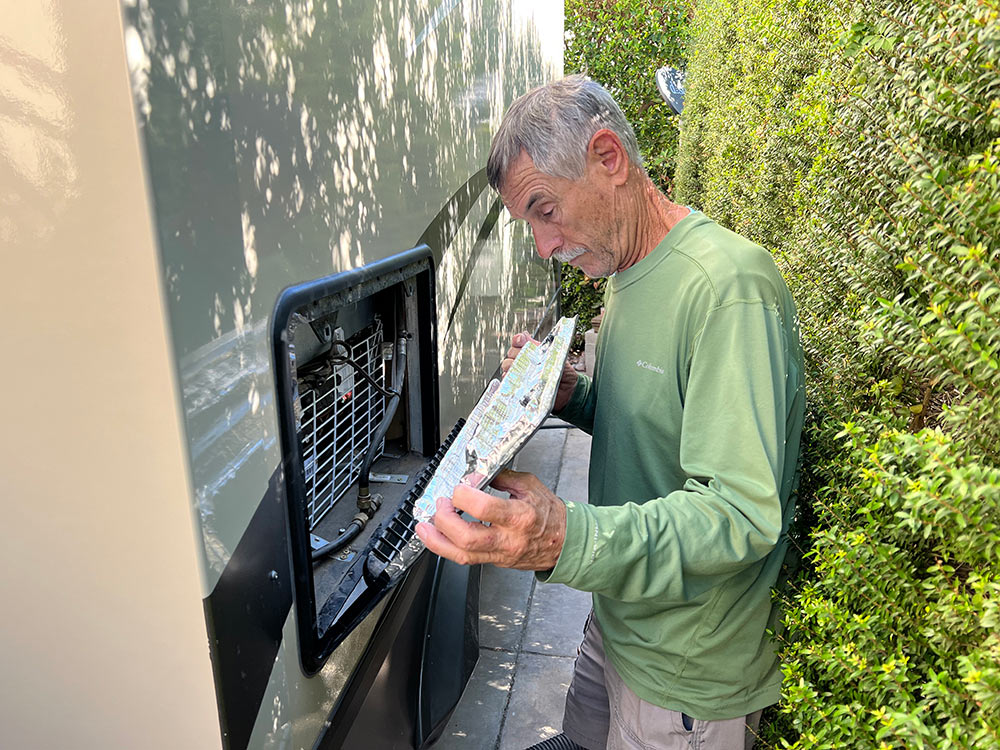
I made the switch to a 12-volt DC Everchill model a year ago and enjoy the versatility of running on battery power — and the increase in food-storage capacity. Other than routing 12-volt DC power to the refrigerator compartment and plugging the LP-gas line, the hardest part of such a project is the heavy lifting. The other consideration was closing off the holes in the exterior access panels, which will prevent an unwanted breeze into the living quarters from the wind and also provide an added level of insulation.
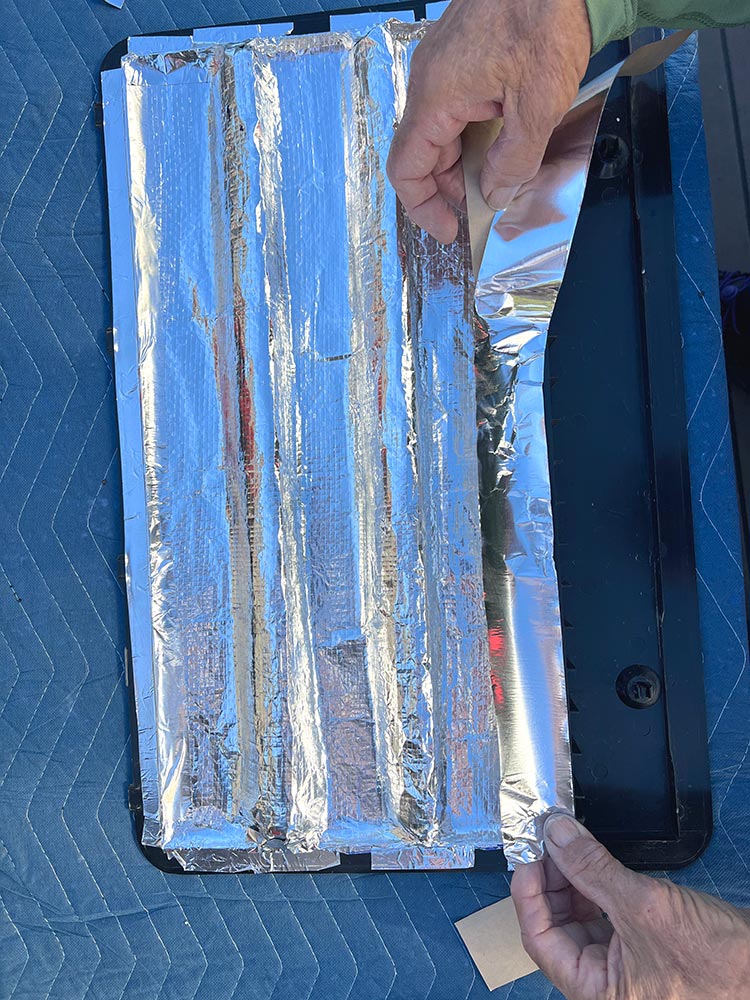
The top and bottom access panels were necessary to allow for adequate cooling of the absorption refrigerator, which was mounted in the galley slideout room. These panels are not used by manufacturers when installing a compressor-type refrigerator, so for this project most of the holes were plugged with an aluminum insulation material. For this installation, the bottom row of vent holes on each panel was left open to allow for some airflow without creating a windstorm inside the fifth wheel. I figured this would be beneficial when parked in places with hot climates, but I have no science to back this up (other than it makes sense). The box temperature in this refrigerator has not fluctuated more than 2 degrees F, unless the door was left open for loading.
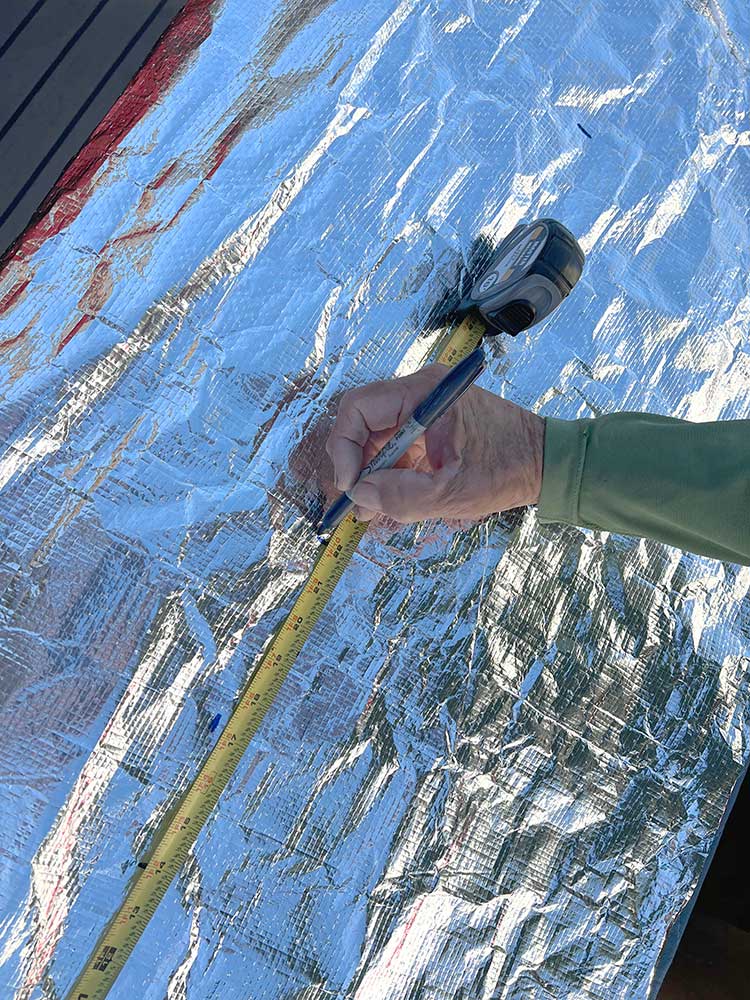
The stuff used is called Kozy Wrap, which is a very thin aluminum product with an extremely high insulative value. It’s employed by RV manufacturers (and the building industry) and is very lightweight.
Kozy Wrap is produced by Radiant Technology composites in Texas and, normally, is distributed via commercial channels. However, after we spoke with a company representative, the company adjusted its minimum-purchase requirements — and will now help individuals procure small amounts for DIY projects. Just log on to radiant-technology.com for more information.
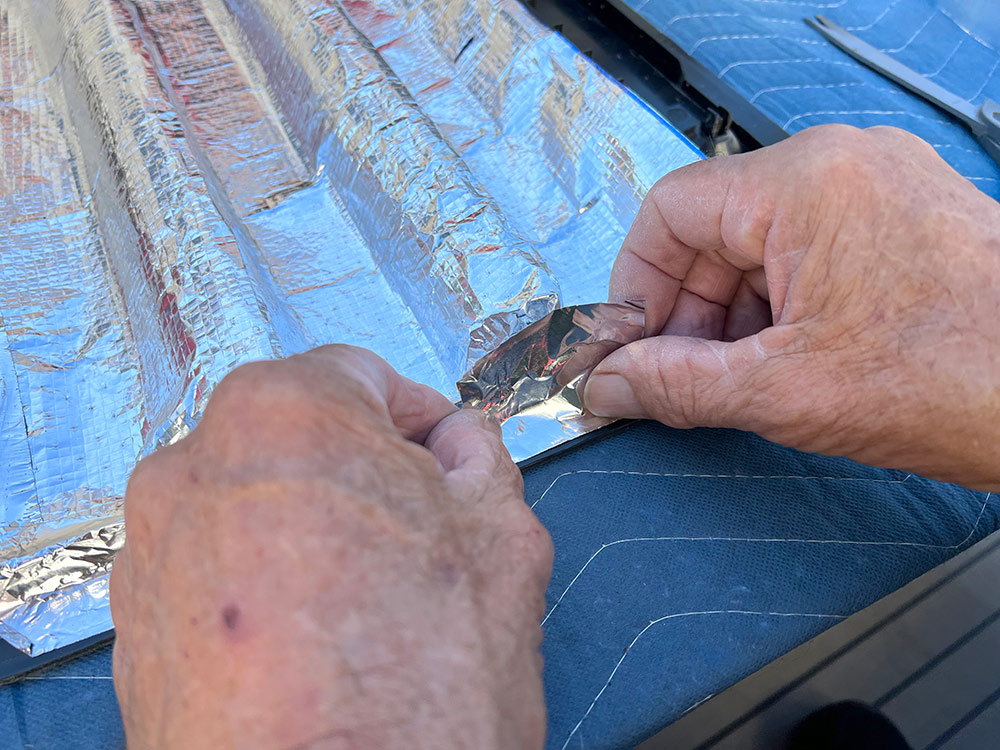
Installing the product is relatively easy, requiring measuring, cutting and taping — Kozy Wrap is the most lightweight and flexible insulation I have ever worked with. Simply cut the material to size and attach it to the inside of the access panel using aluminum tape.
Over the years, I’ve also used this material to insulate the belly pan, the area behind the oven when remodeling the galley, the skylight in the bathroom and the windows (temporarily) when camping in cold weather. It’s awesome material, but not inexpensive.