
Turning the Corner on Water Leaks
[maghub_sidebar]
Turning the Corner on Water Leaks
waterdrop
easy weekend projects logo
intersection of sidewalls
easy weekend projects logo
The intersection of sidewalls is a major incursion point for water in an RV, especially with older travel trailers and fifth wheels. Fortunately, it’s an easy repair.
By Mark Polk
W

hen RVs travel down the road, they flex and twist. Manufacturers plan for this by using a pliable sealant at all joints and seams, but it’s not perfect. After years of use, the sealant eventually dries out — and as the RV is subjected to less-than-optimum road surfaces, the dried-out sealant cracks. Eventually, all this movement makes seams vulnerable to water damage.

In an attempt to stop or fix water leaks, RV owners will usually add more sealant, but more often than not, this does not solve the problem. When an inspection reveals water damage — or compromised seams where water can find a way in — the only option is to remove the suspect seal and replace it.

That’s not as difficult as it might sound. Just about anyone familiar with what’s in his or her toolbox can replace the errant seal in an afternoon. You’ll need a cordless screw gun, caulking gun, staple gun and the Seal-Tite Corner Seal Kit from Dicor Products, a division of Dicor Corp. This kit contains everything needed to provide a durable, flexible and virtually impermeable seal between the exposed corners: two rolls of high-tack adhesive tape, six tubes of non-sag cap sealant, a plastic putty knife and a spray bottle for water used in the clean-up process. Between the cap sealant and the tape, there’s enough product to repair about 100 linear feet, and the tape comes in three widths — 1.25, 1.5 and 2 inches — for covering just about any problem. The tape also is extremely flexible, which is perfect for conforming to the contours of a corrugated exterior RV wall used in many stick-and-tin towables.
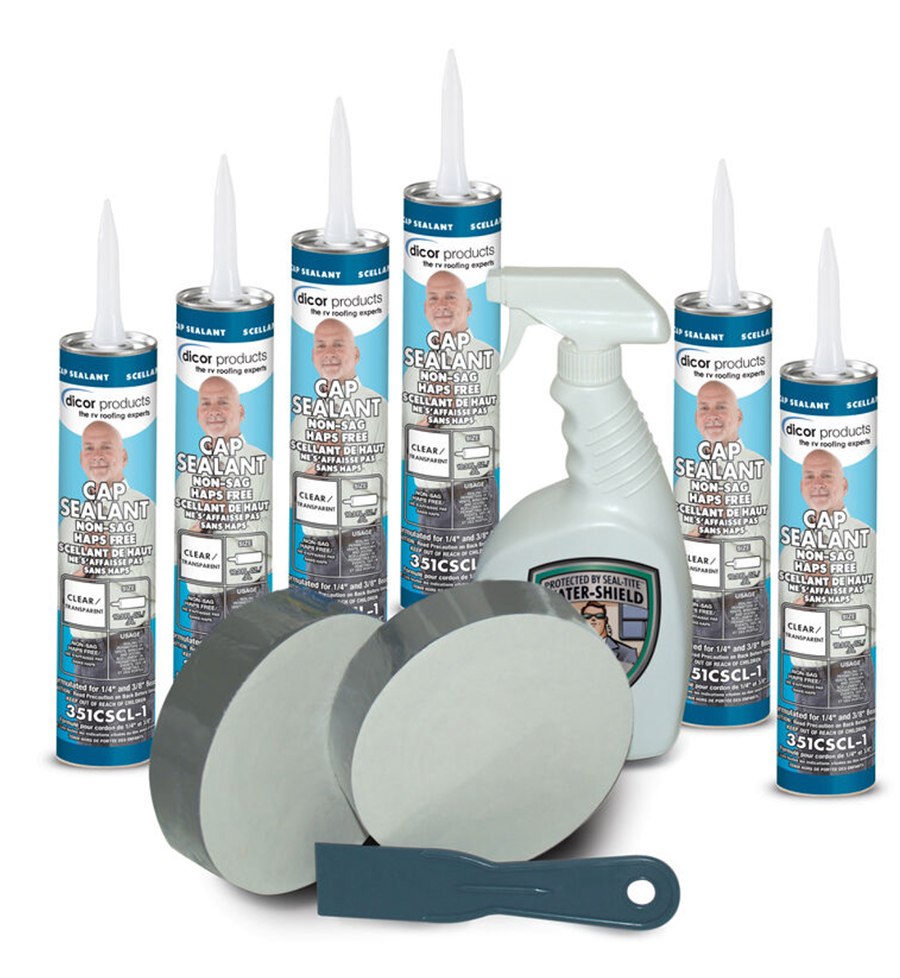
Seal-Tite Corner Seal Kit from Dicor Products
The Seal-Tite Corner Seal Kit from Dicor Products contains enough product to cover 100 linear feet.
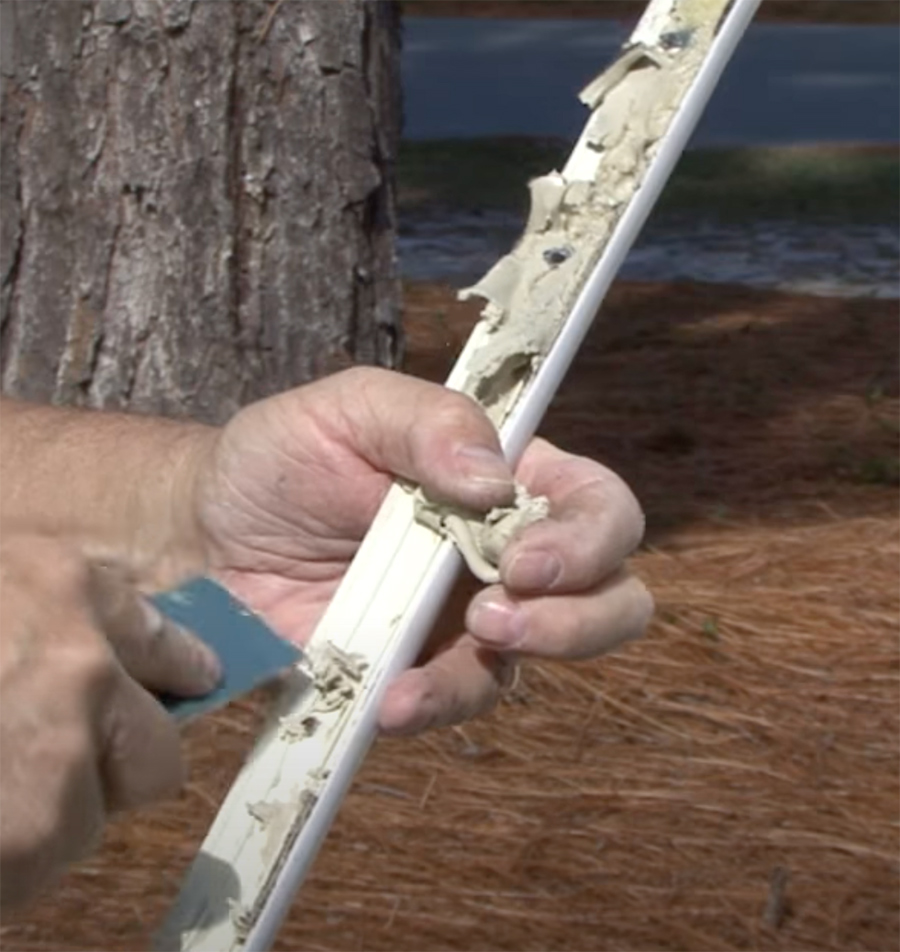
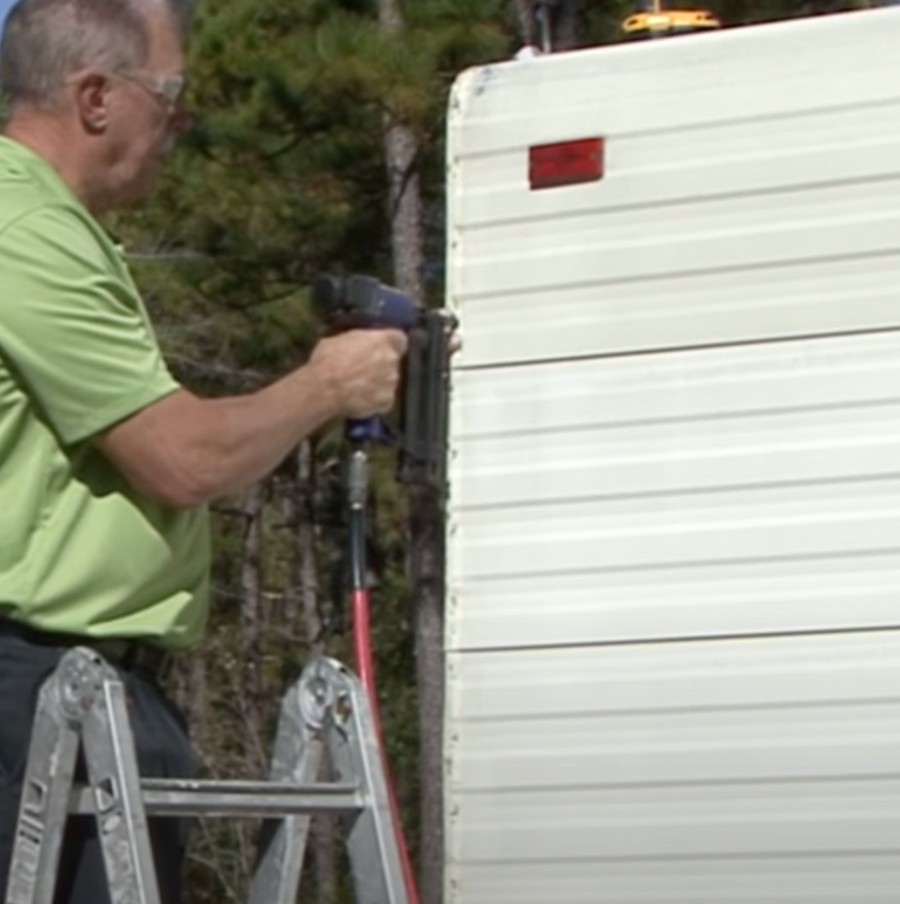
Begin by carefully removing the insert trim, screws and the molding from the area you are resealing. After the insert trim is removed, inspect it; if it’s old or discolored, it can be easily replaced. Removing the insert trim allows access to the screws for attaching the corner molding to the RV. Do not bend or kink the molding, as it will need to be reinstalled. Carefully scrape away and remove any putty tape or sealant on the backside of the molding and on the RV, then clean the area on the RV where the corner seal will be applied. I usually start with soapy water, followed by denatured alcohol and a clean cloth.

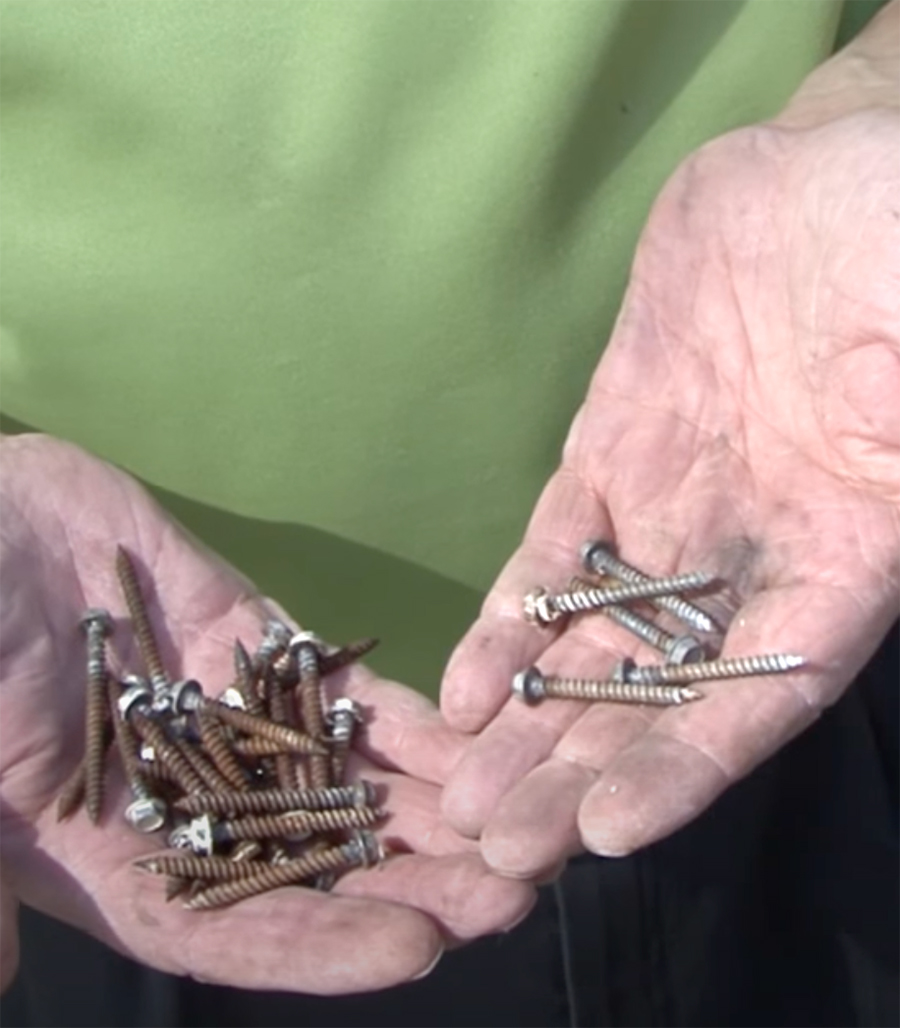
One note here: Like most everything else, the key to a good seal is proper prep. Thoroughly clean the surfaces of any residue from the previous butyl tape/caulking. Now also is a good time to inspect the screws (and staples, if so equipped) you’ve removed; replace any that are rusted to ensure an optimum seal held together as tightly as possible.

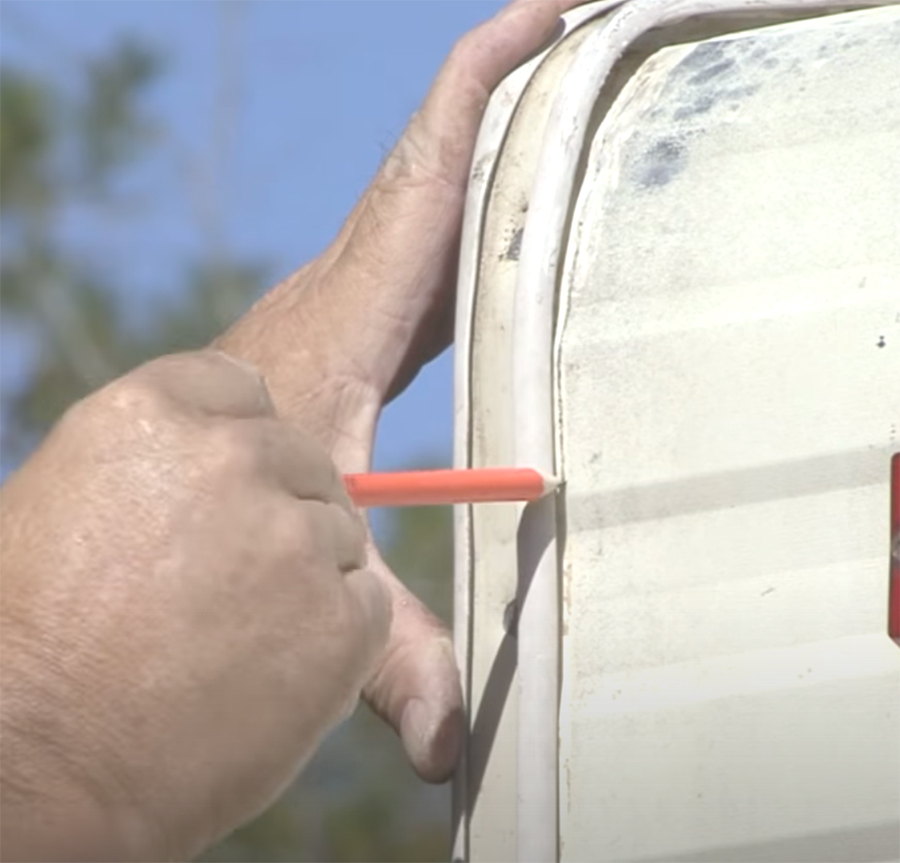
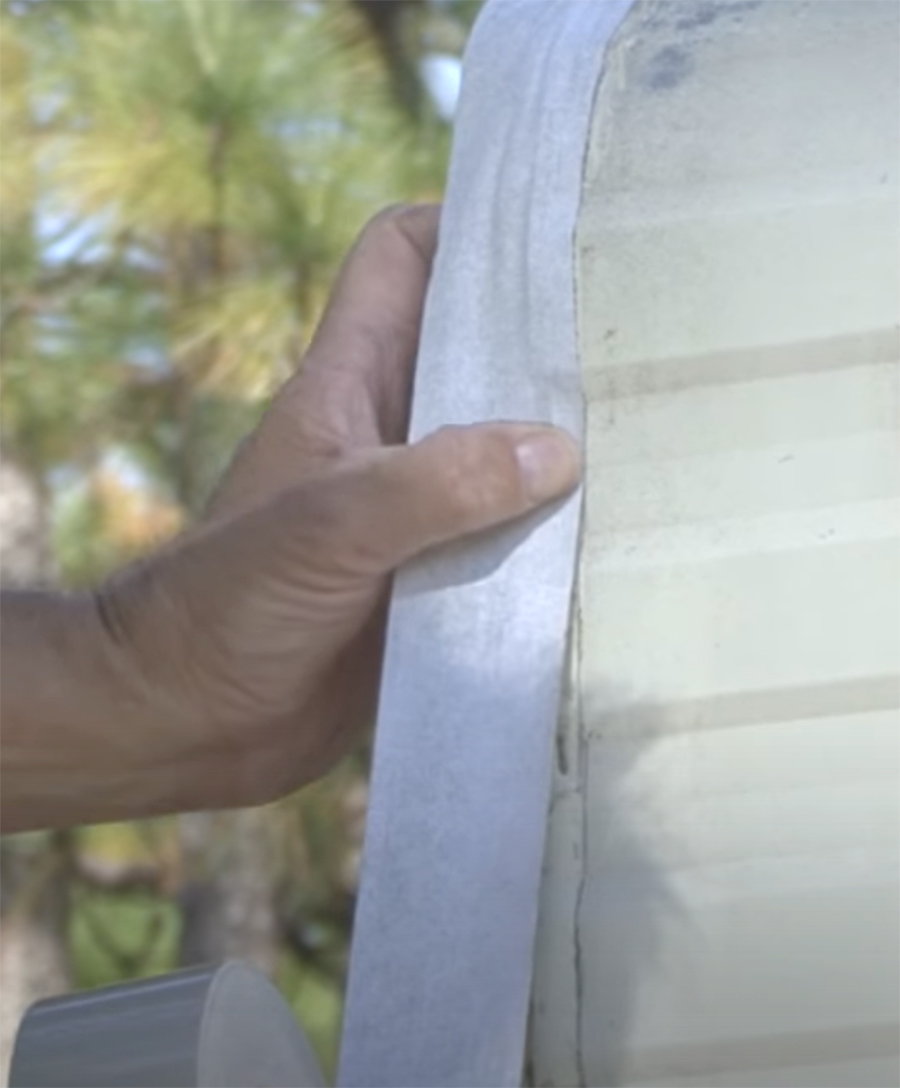
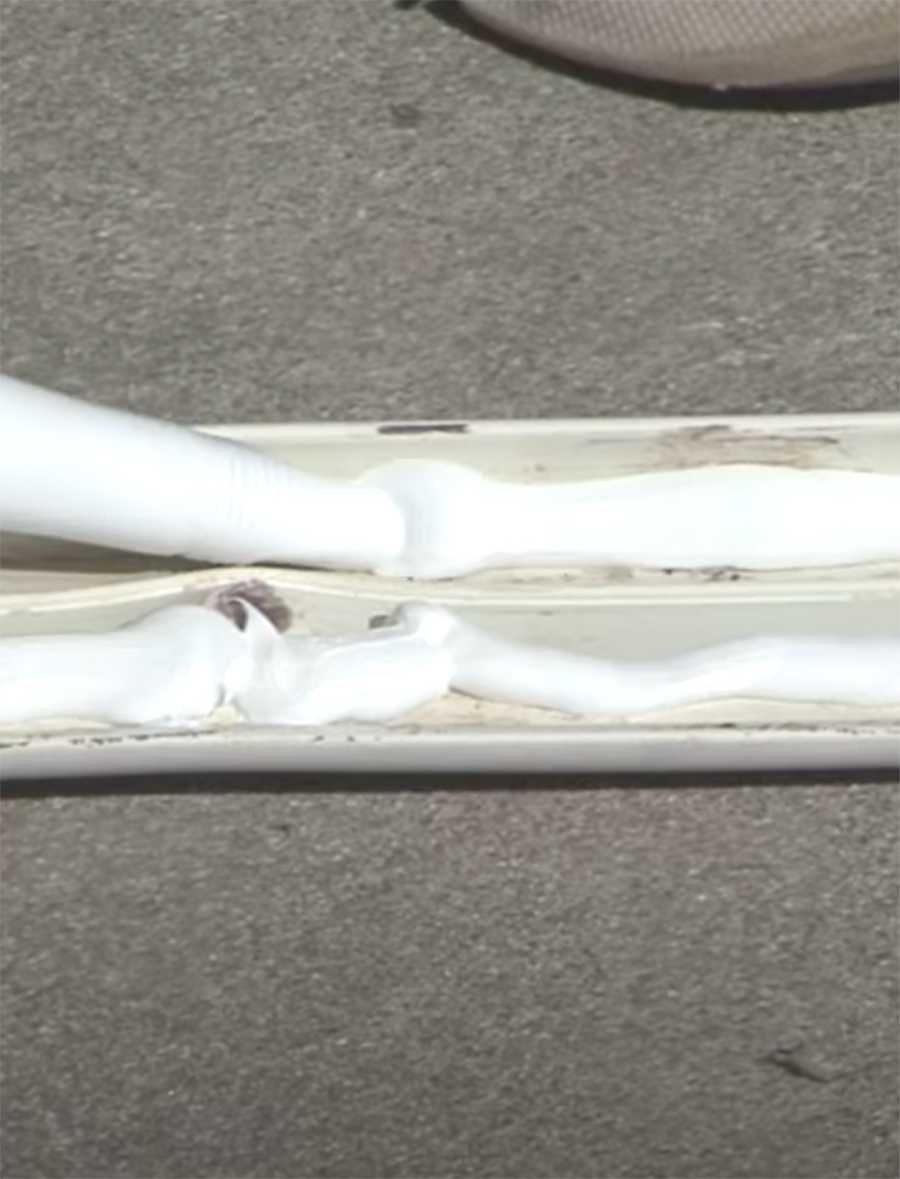
To make sure the corner seal is applied accurately, temporarily hold the cleaned molding on the RV corner being repaired and carefully mark the wall along the edge of the molding with a pencil — this will serve as a guide when applying the tape. Now, apply the tape, starting at the top. Following the pencil lines, press the tape firmly to ensure it conforms to the siding. Follow this up with a half-inch bead of the cap sealant along either side of the inside of the corner molding. While the tape will seal the corner by itself, the non-sag sealant acts as a secondary line of defense against the elements.

Now, replace the trim molding — again, using new screws if necessary — and tighten the screws until the sealant just begins to ooze out from under the edge of the molding. Do not over-tighten. Use the putty knife to remove any excess sealant. Apply a small finishing bead of sealant to the exterior seams of the molding, then spray it with water from the bottle so it won’t stick to the tip of your finger or a shop towel as you smooth it out. Finish the job by reinstalling the insert trim.

As noted earlier, this isn’t a difficult job — and neither is it an expensive repair when you do it yourself. The complete Seal-Tite Corner Seal Kit — available through Dicor Products, online or at most RV dealer accessory stores — will set you back about $140-$160, depending upon the width of the tape required. The final product will not only look good, but you can rest assured there won’t be any more leaks from the resealed corner molding.
the molding insert being removedto reveal the screws
To begin, remove the molding insert to reveal the screws affixing the molding to the corner. If the old insert can’t be cleaned, it can be replaced.
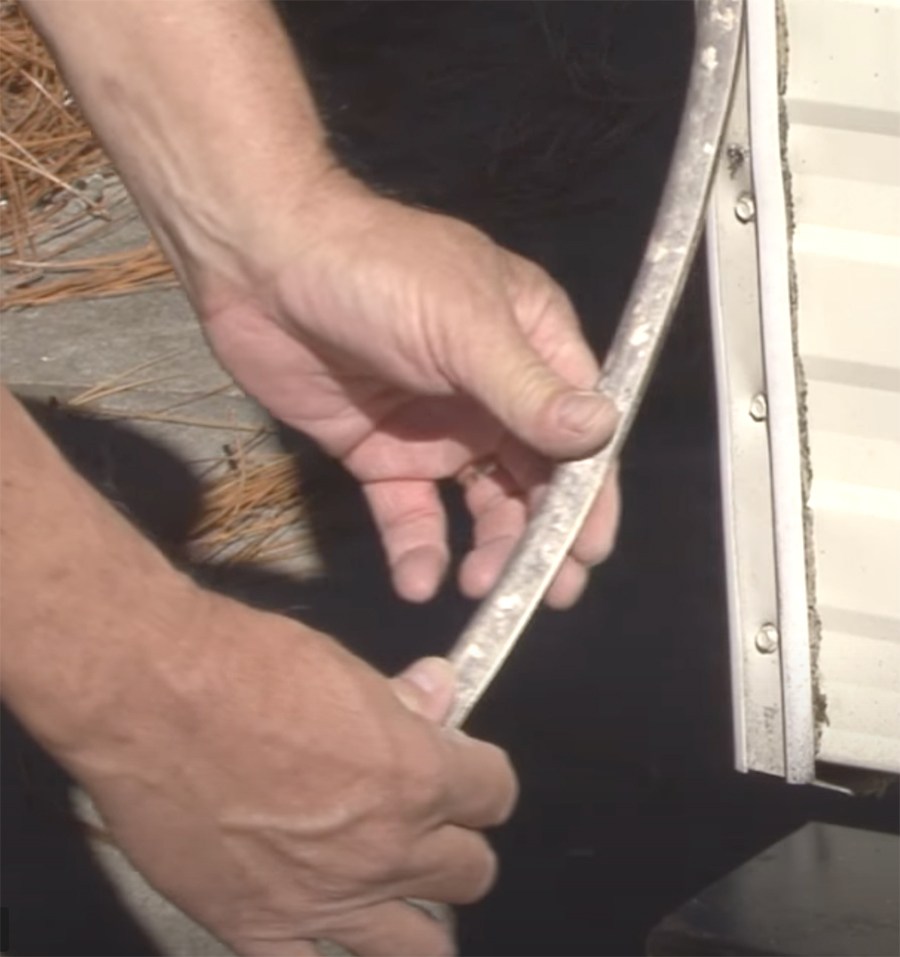
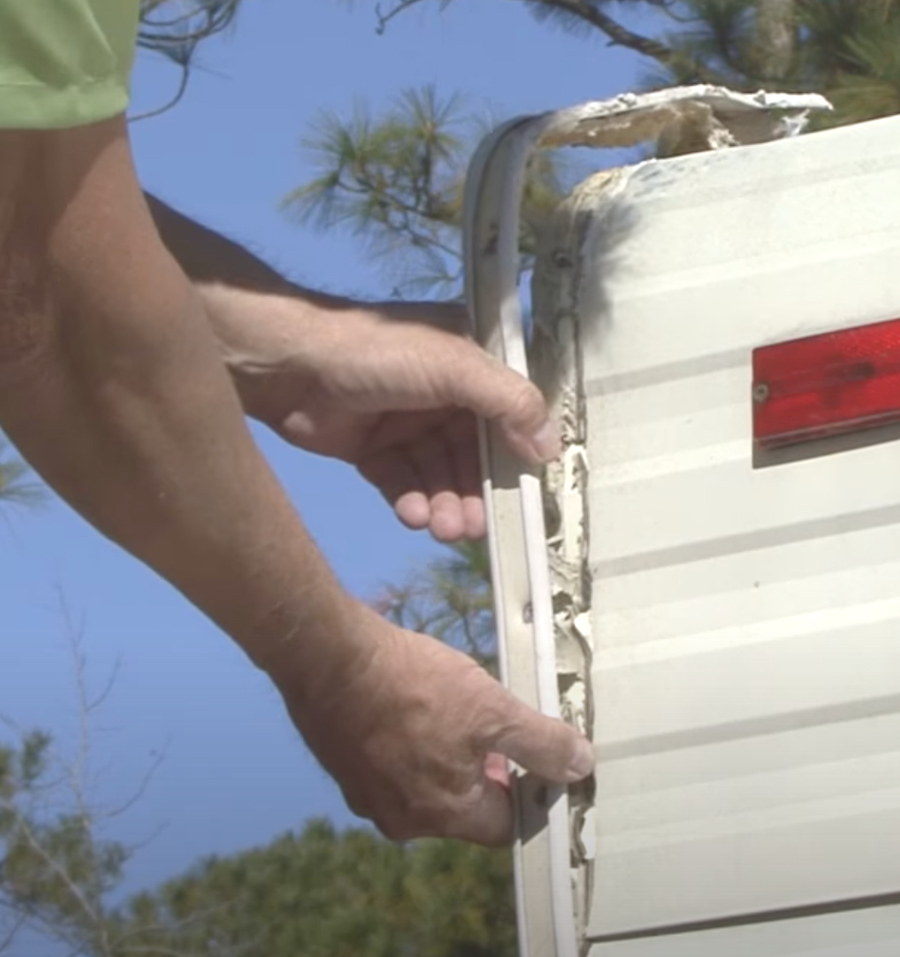
the molding being disengaged from the corner
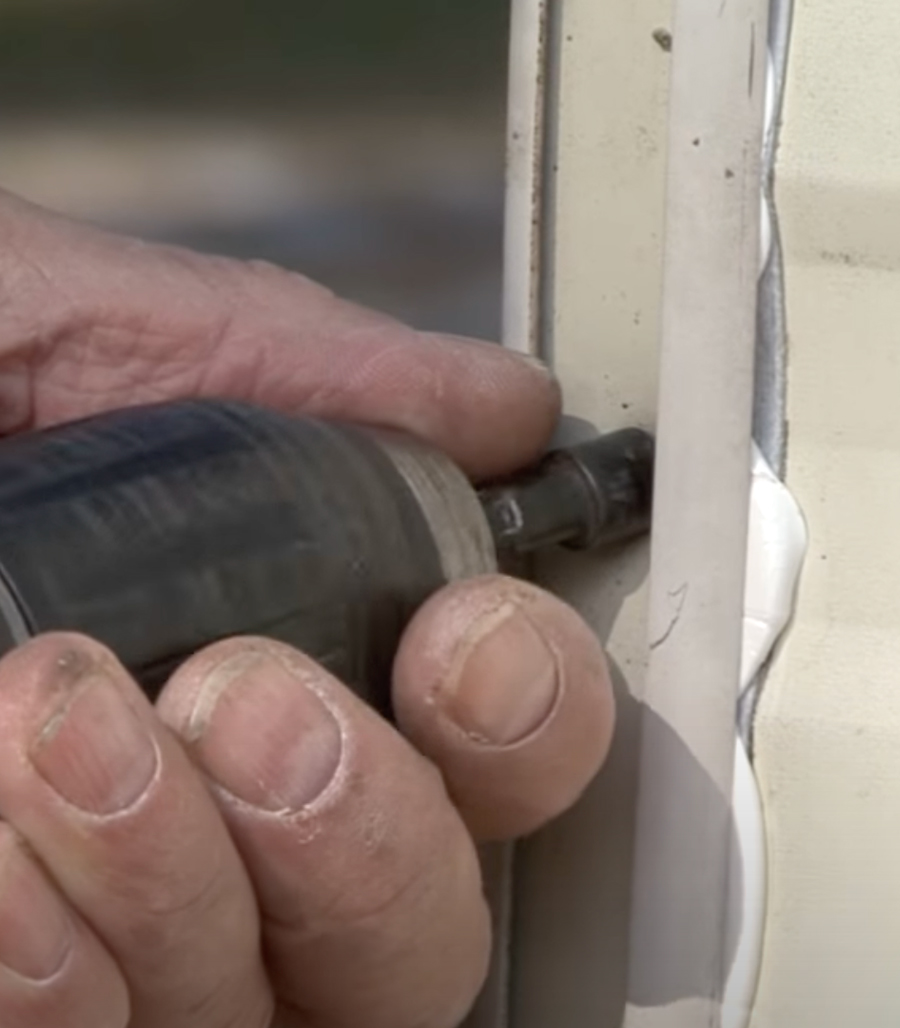
With the screws removed, carefully disengage the molding from the corner. Be careful to not bend or kink the molding so it can be reinstalled.
plastic putty knife included in the kit
plastic putty knife being used to remove old caulking
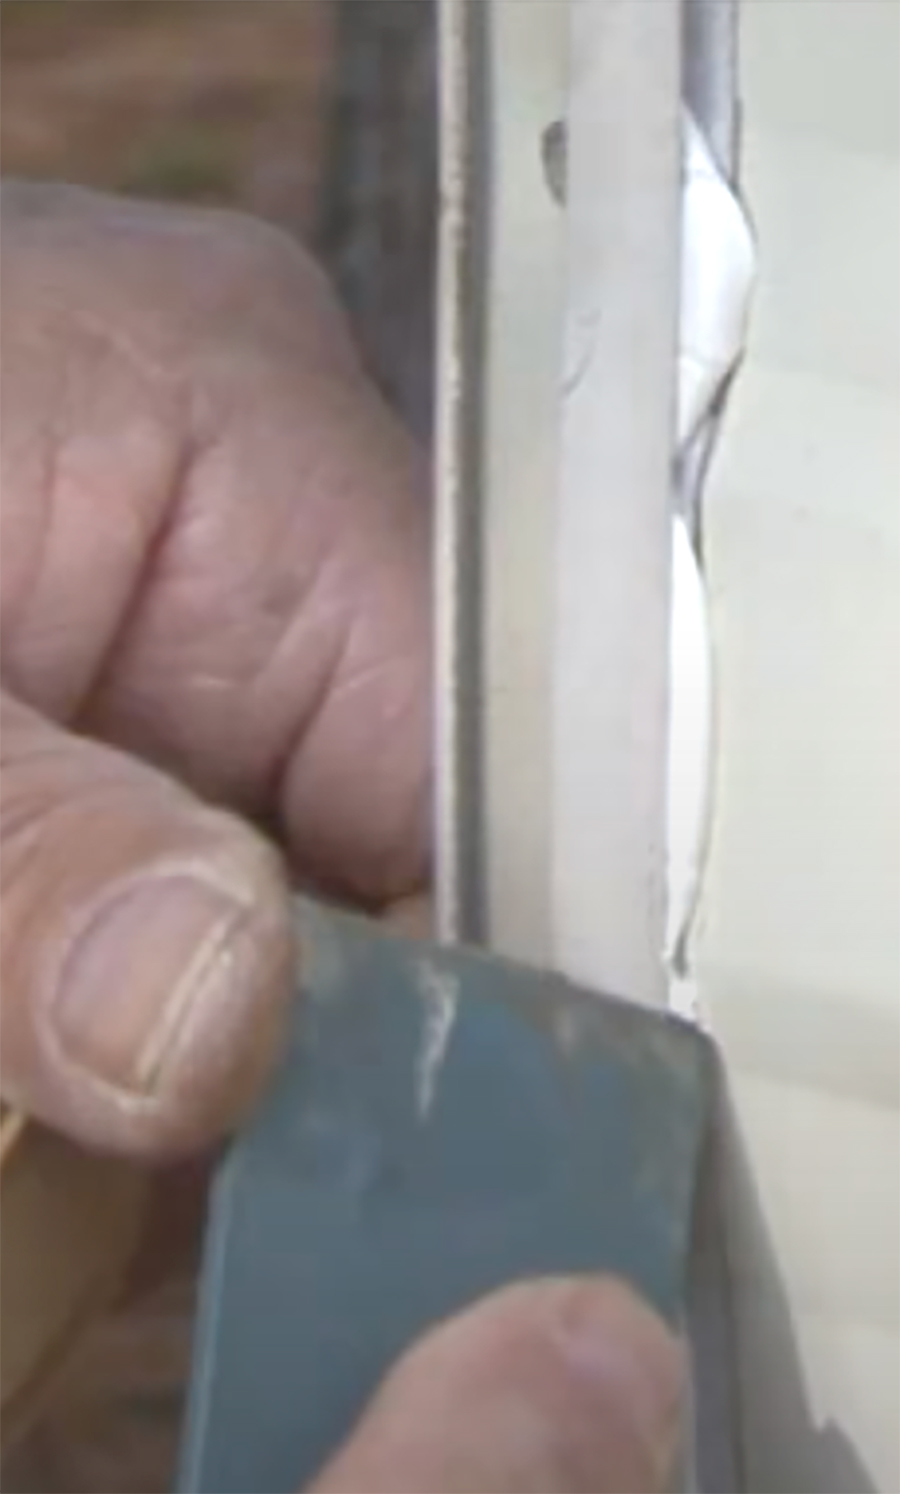
Using the plastic putty knife included in the kit, carefully remove old caulking from the back of the molding and the RV’s exterior walls.
hand cleaning the area on the RV where the molding will be reattached
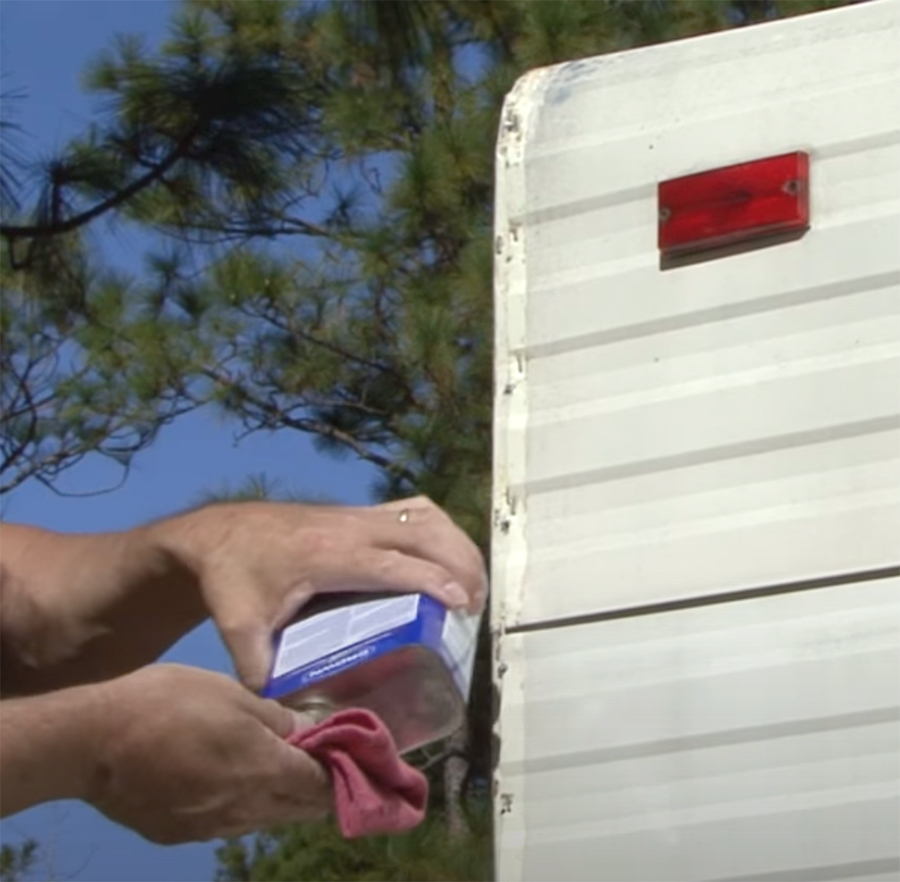
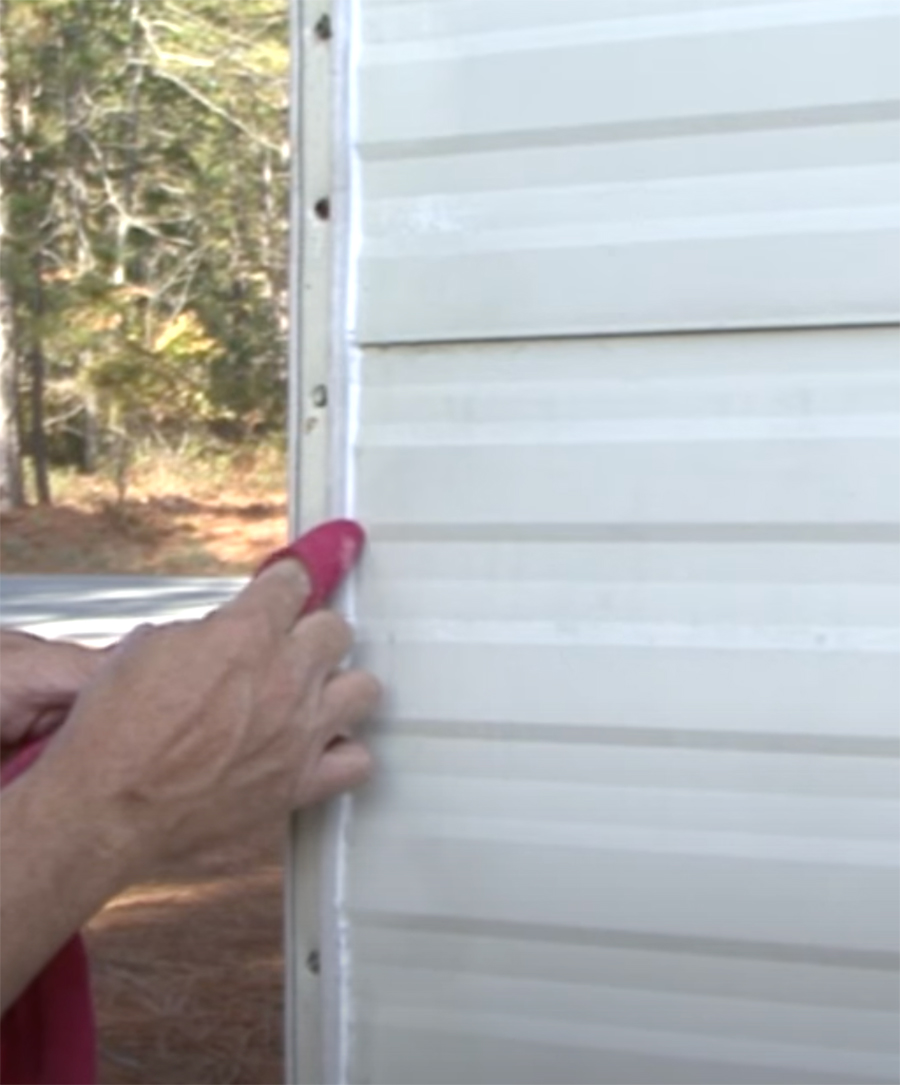
Clean the area on the RV where the molding will be reattached. I start with a soapy water to remove any remaining dirt, followed by denatured alcohol using a clean cloth.
rusty or damaged staples being removed and replaced
siding being held in place with staples
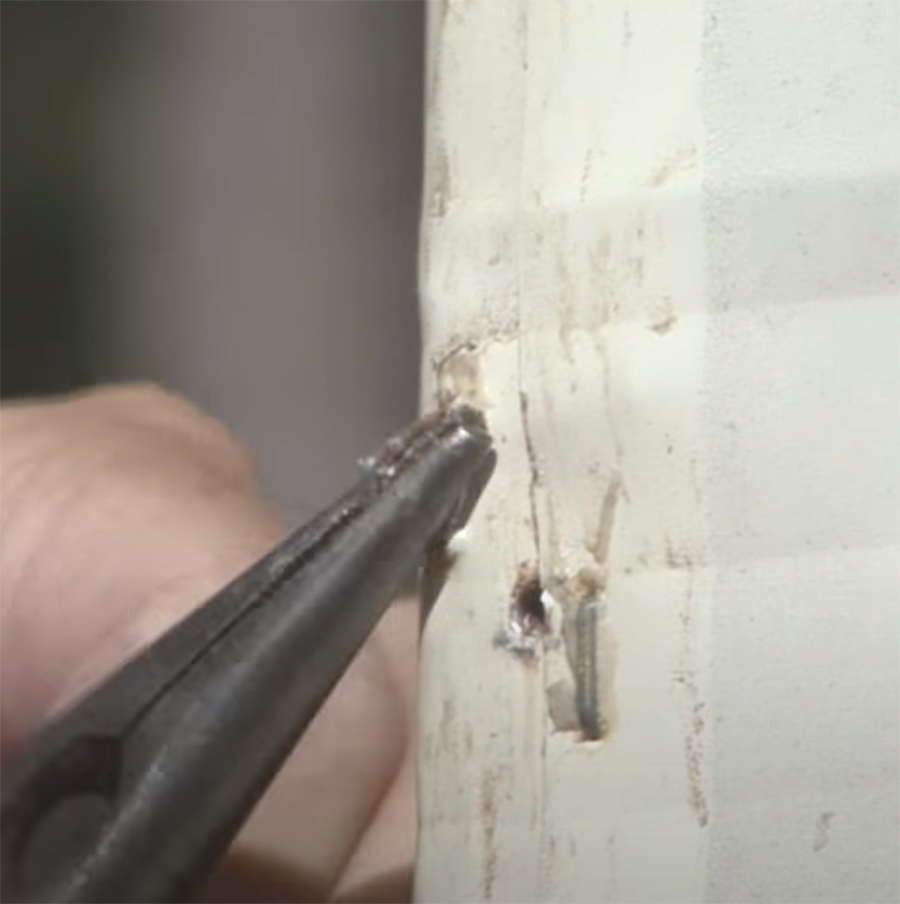
The siding is held in place with staples — replace any that are rusty or damaged to ensure the structure is held together as tightly as possible. If you don’t have a staple gun, they can be rented at many hardware stores and big-box locations like Home Depot.
hand with pencil making sure the corner seal is applied accurately
To make sure the corner seal is applied accurately, hold the cleaned molding in place on the RV and scribe a line with a pencil along the outside edge to form a guideline for the tape.
PRO TIP lightbulb logo
One area where a lot of RV owners make a mistake is by using too much caulking around seams. All the caulking needs to do is fill any void between the molding and the sidewall. Caulking guns can be found for as little as a couple of bucks, but you should invest in a quality gun if you own an RV. The suspect area should be cleaned with denatured alcohol or mineral spirits, after which you can lay down a small bead of caulk; cut just the tip off the tube, at about a 20-degree angle so you can apply it easily. Once the bead is finished, spray the bead with water (or wipe the tip of your finger on a rag soaked with the alcohol or mineral spirits) and carefully run your fingertip along the bead. You can use just your bare fingertip, or cover it with a clean shop towel. Stop every 5 or 6 inches to wipe away the excess sealant on another towel. This tapers the caulking while pushing it into whatever open area might exist, making a nice transition between the molding and the sidewall — and prevents excess caulking from building up and making a mess.
the corner seal tape being applied
Apply the corner seal tape from the top of the seam down to the bottom, using the scribed line as a guide for positioning the edge of the tape. Press firmly to make sure the tape conforms to the siding.
a ½-inch bead of the cap sealant
Run a ½-inch bead of the cap sealant along either side of the inside of the corner molding.
hands inspecting and replacing any rusty screws
the molding in place being affixed
Be sure to inspect and replace any rusty screws, then affix the molding in place. Set the corner molding in place and screw into position. Be careful to not overtighten the screws — they should be tight enough to just begin to force the sealant out from under the molding.
putty knife being used to clean the excess sealant from the edges of the molding
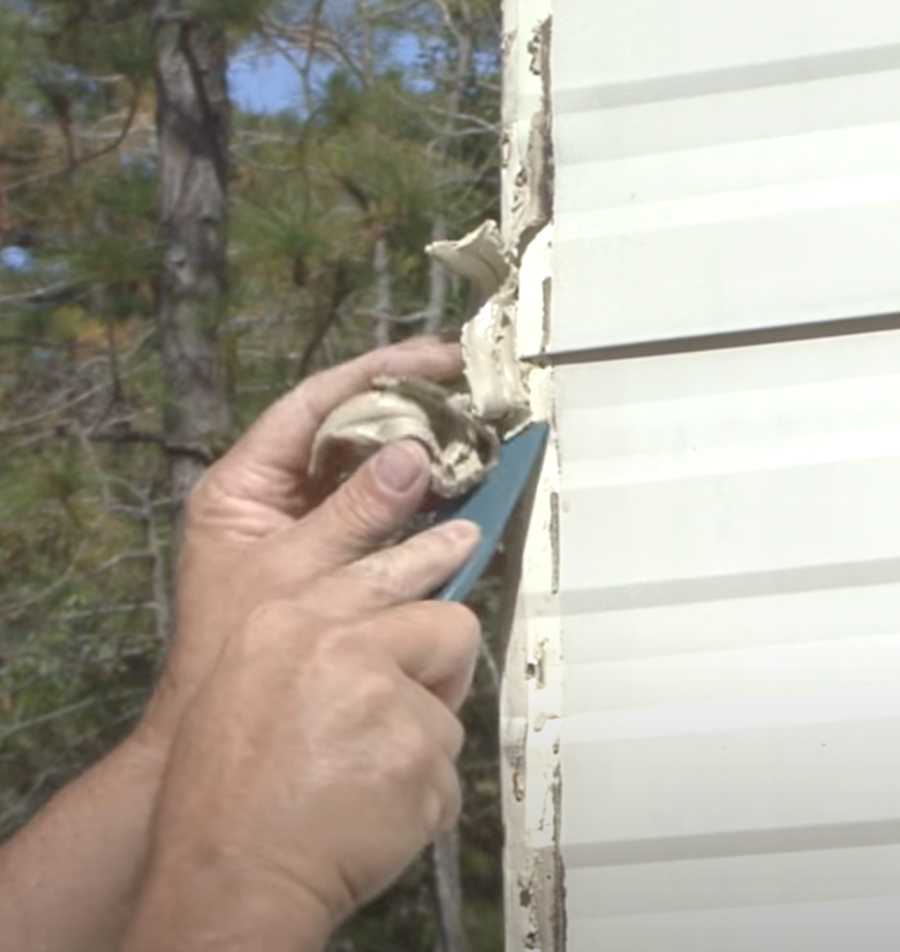
Use the putty knife to clean the excess sealant from the edges of the molding.
a small finishing bead of the cap sealant being applied
Use the putty knife to clean the excess sealant from the edges of the molding. Apply a small finishing bead of the cap sealant to the exterior seams of the molding, then use the spray bottle to mist the finishing bead of the sealant with water so it doesn’t stick to either a clean shop towel or your finger as you smooth the bead. Reinstall or replace the insert trim, and you’re done.
Mark Polk
Mark Polk headshot
Mark Polk is an acknowledged RV expert and the founder of RV Education 101, an RV video and information company that produces and sells RV online video and e-book training courses. Through its websites and YouTube channels, RV Education 101 has helped educate millions of RV owners since 1999 on how to use and maintain their RVs safely and effectively. Polk is also the author of the bestselling book The RV Book, a guide to understanding and enjoying your RV.
Source:
Dicor Products / (800) 837-2059 / dicorproducts.com