


ulling a heavy fifth wheel or trailer requires additional driving prowess to maintain safe journeys. Braking distances will be longer, so making sure there is plenty of room between you and traffic is critical. But even when anticipating problems, sometimes the element of surprise rears its ugly head — especially when traffic comes to a sudden halt or another driver cuts you off.
Electric/drum trailer brakes help, but there are limitations, especially if the trailer is loaded to excess. That’s where disc brakes shine, and fortunately, Kodiak Brake Products has aftermarket kits that allow owners to make the conversion to disc brakes with superior stopping power.
Why make the switch? Well, standard electric drum brakes have changed very little over the years and, in fact, the best brake-lining material — asbestos — was banned years ago due to its health hazards. Today the brake-parts industry uses more environmentally friendly (but less effective) shoe material, which just can’t compare to disc brakes when in extreme stopping conditions — or, for that matter, even during regular stopping maneuvers.
Electric drum trailer brakes also have more moving parts than their disc counterparts and, frankly, the electromagnetic mechanicals are not as precise as self-adjusting disc brake calipers. There are self-adjusting electric drum brakes on the market (see “Slowing Down Safely,” RV Enthusiast July 2021 issue), but disc brakes provide more equal braking at each wheel and better performance. That’s why the automotive industry transitioned to disc brakes many years ago.
Other important factors to consider when deciding on the benefits of a conversion are that disc brakes are not affected by water or rust and are extremely fade-resistant on those long downhill grades, which is ideal for anyone towing a heavy RV. Plus, brake pad life is usually pretty decent.
Kodiak offers various disc-brake conversion kits designed for axle ratings up to 14,000 pounds, although most trailers and fifth wheels have axles rated up to 8,000 pounds. The company’s Dacromet coatings are designed for all types of climates your RV might live in — including coastal areas where rust is a serious problem. The coated rotors minimize the corrosion between the rotor hub face and the wheel face. Areas with high humidity can also wreak havoc on moving parts, so material quality is very important. Stainless-steel components are also offered, but these parts are more expensive and usually only used on boat trailers.
Unlike electric brakes, hydraulic disc brakes require an electric-over-hydraulic actuator. This piece of equipment routes the pressurized hydraulic fluid via a signal from the brake controller to the calipers in response to the braking of the tow vehicle. For this project, we elected to install an ActuLink Model ACT1600 trailer brake actuator from Tuson RV Brakes for controlling the disc brakes.
The ACT1600 (MSRP $850) is rated at 1,600 psi and is one of the best actuators on the market. A big selling point is the bypass system, which limits pressure on the brakes when stopped for longer periods of time (foot on the pedal). It bypasses at a lower pressure, which is helps improve brake system longevity. It also has incredibly fast response time and allows for shorter stopping distances. It meets all DOT requirements. The gold-toned box measures only 14 inches long, 4 inches wide and 6 inches high, which makes it easy to mount in a front compartment. It’s best to mount the actuator in an area where the fluid reservoir can be accessed easily and monitored. However, the reservoir is quite large, making fluid replenishment less frequent.
The ACT1600 is compatible with most OEM integrated brake controllers, but really shines when paired with the company’s DirecLink NE brake controller. When connected to the DirecLink controller, the system monitors fluid level, temperature and low/high current. It’s best to check with the company to establish exact compatibility, although we have used this actuator on Ford and Ram trucks with integrated brake controllers.
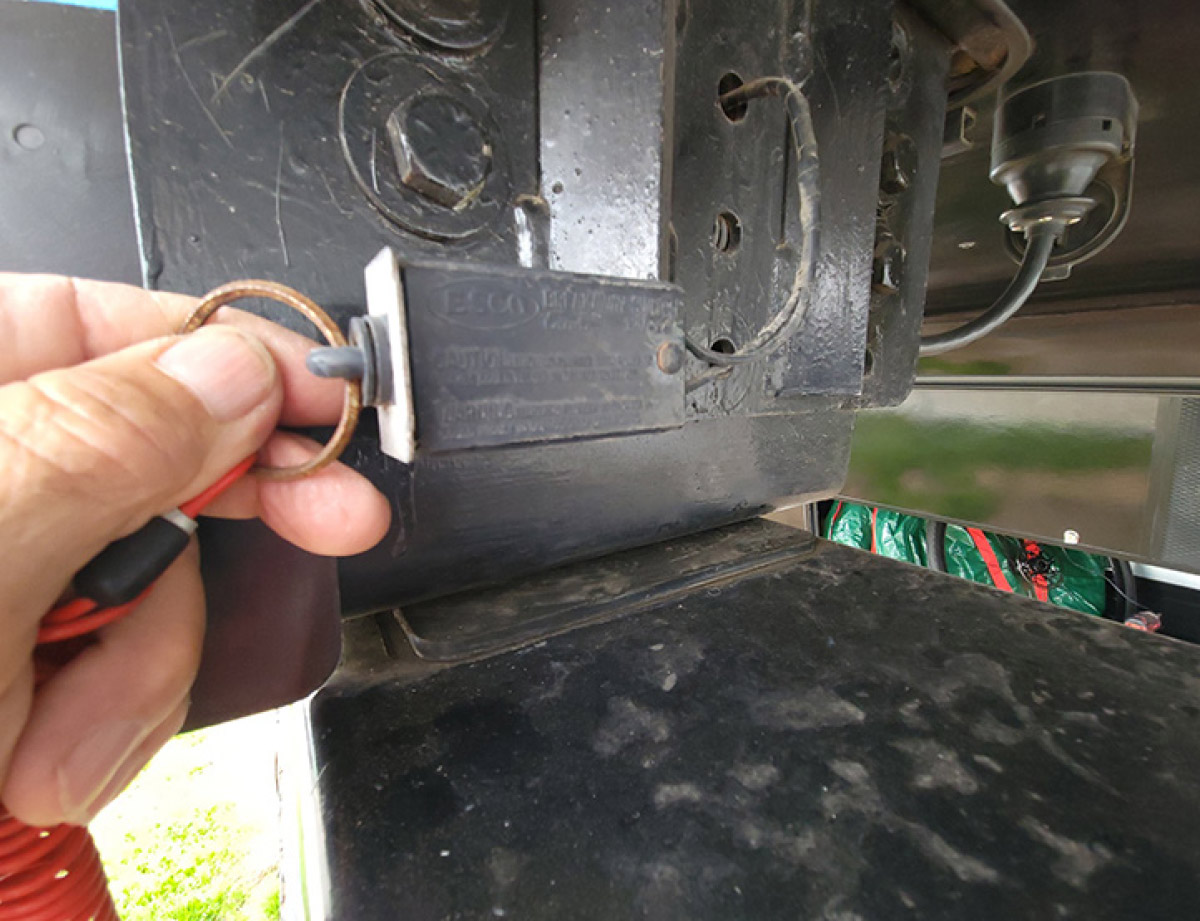
Installation of the Kodiak disc brakes and the Tuson actuator can be accomplished by most experienced do-it-yourselfers and will take the better part of a day to complete. The process begins with selection of the brake actuator’s location, keeping in mind that shorter brake lines to the calipers will provide faster response times. The only choice for locating the actuator in the Carriage Cameo 36-foot fifth wheel was in the front compartment, slightly more than 16 feet from the front axle. The batteries were in close proximity, providing a short run to supply 12-volt DC to the actuator, and the rest of the wires for connecting the brake controller were also nearby.
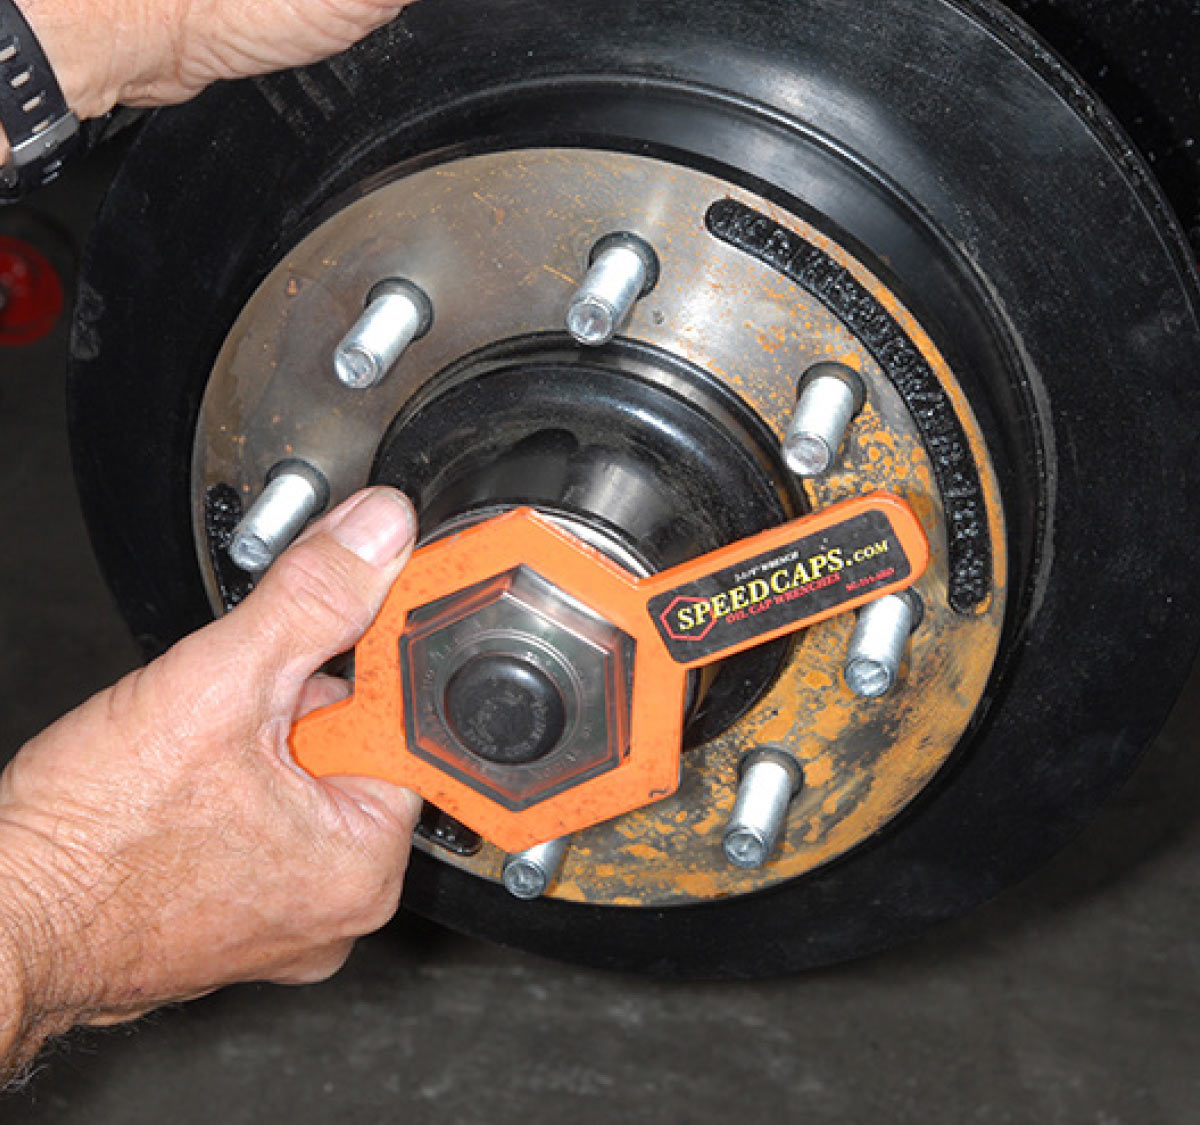
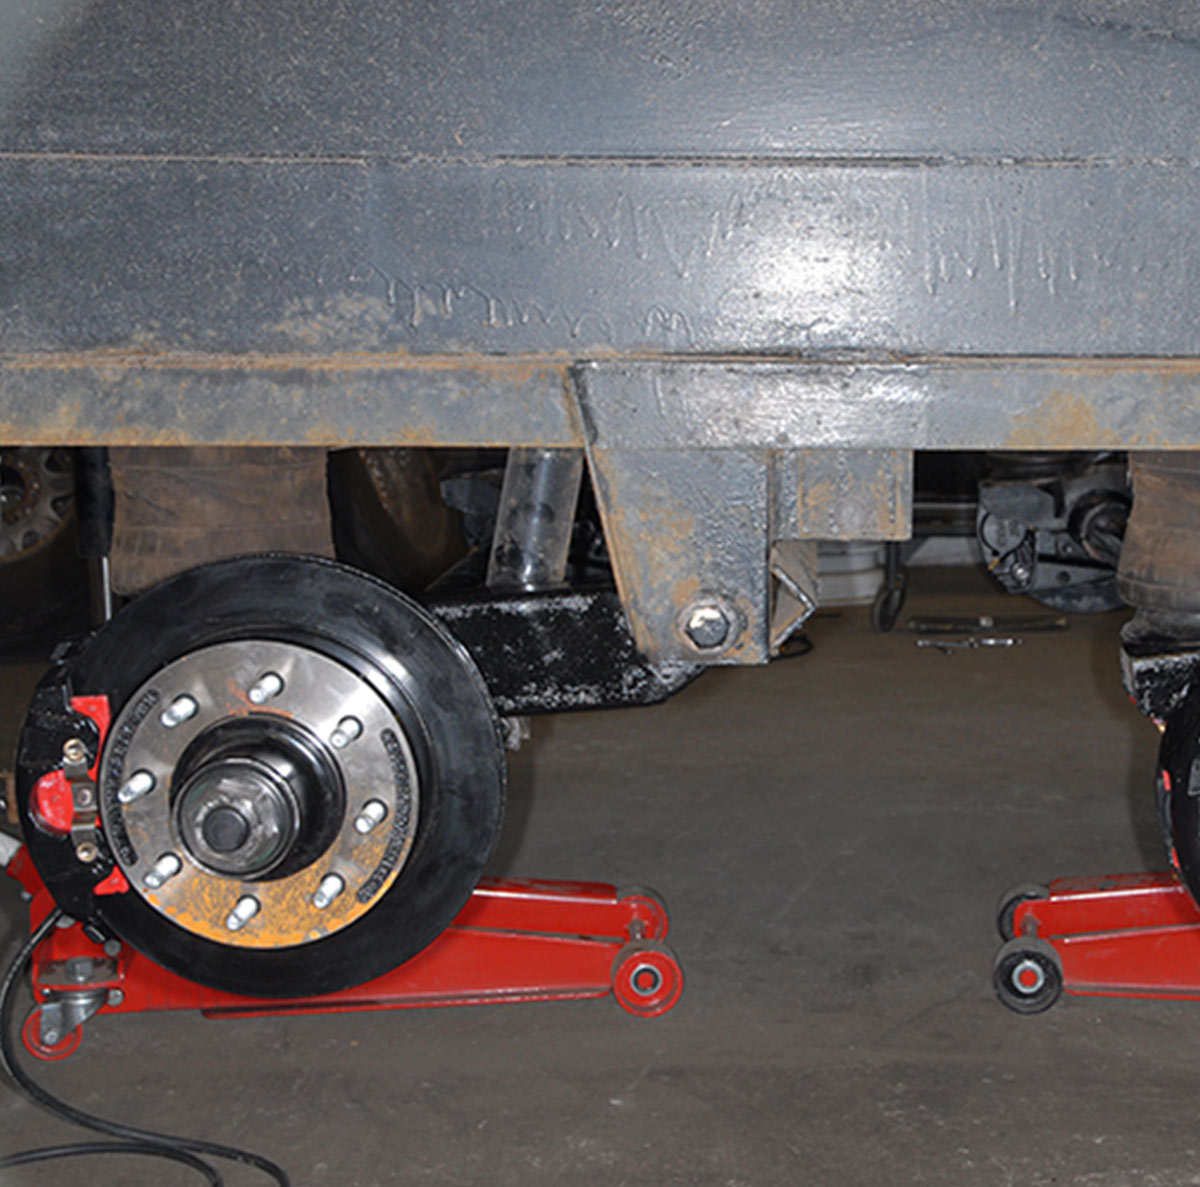
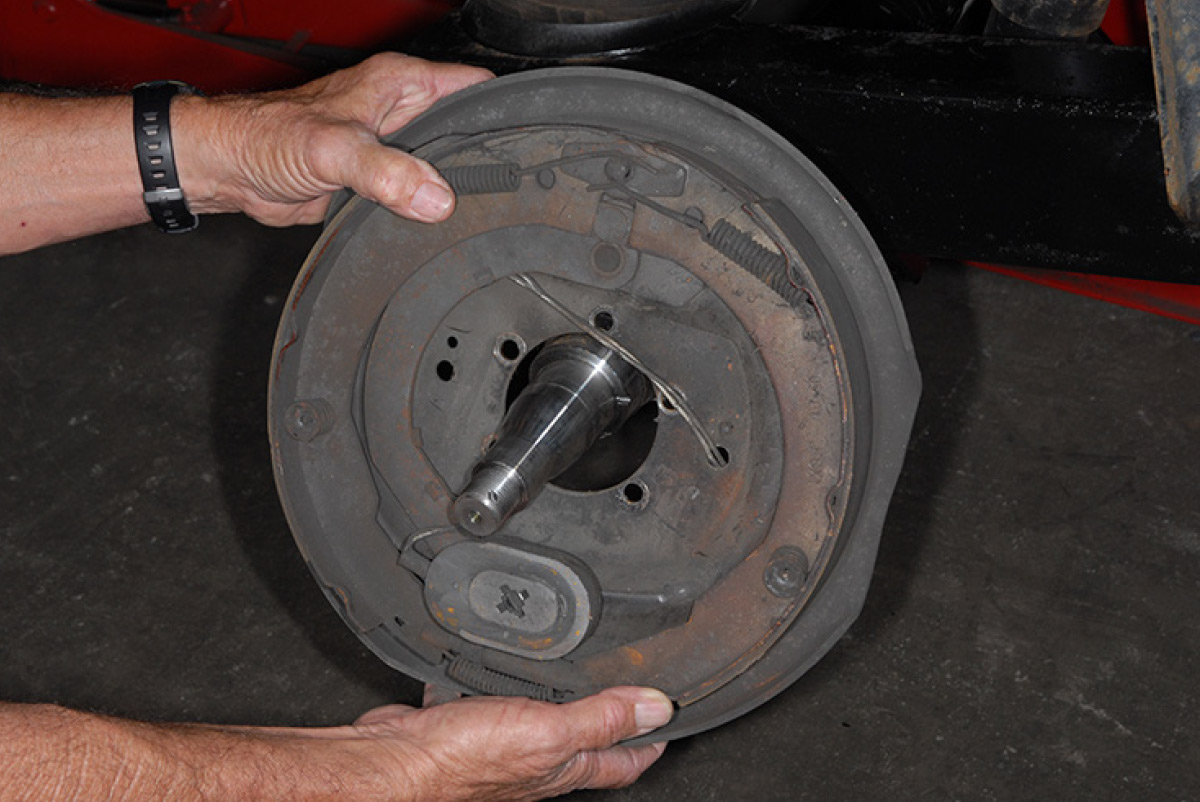
The next step was to lift all four tires off the ground at the frame (supporting the axles with floor jacks and the chassis with proper size jack stands). After the tires and wheels are removed and set aside, the wires are cut and the stock hub/drum and backing plate assemblies are removed.
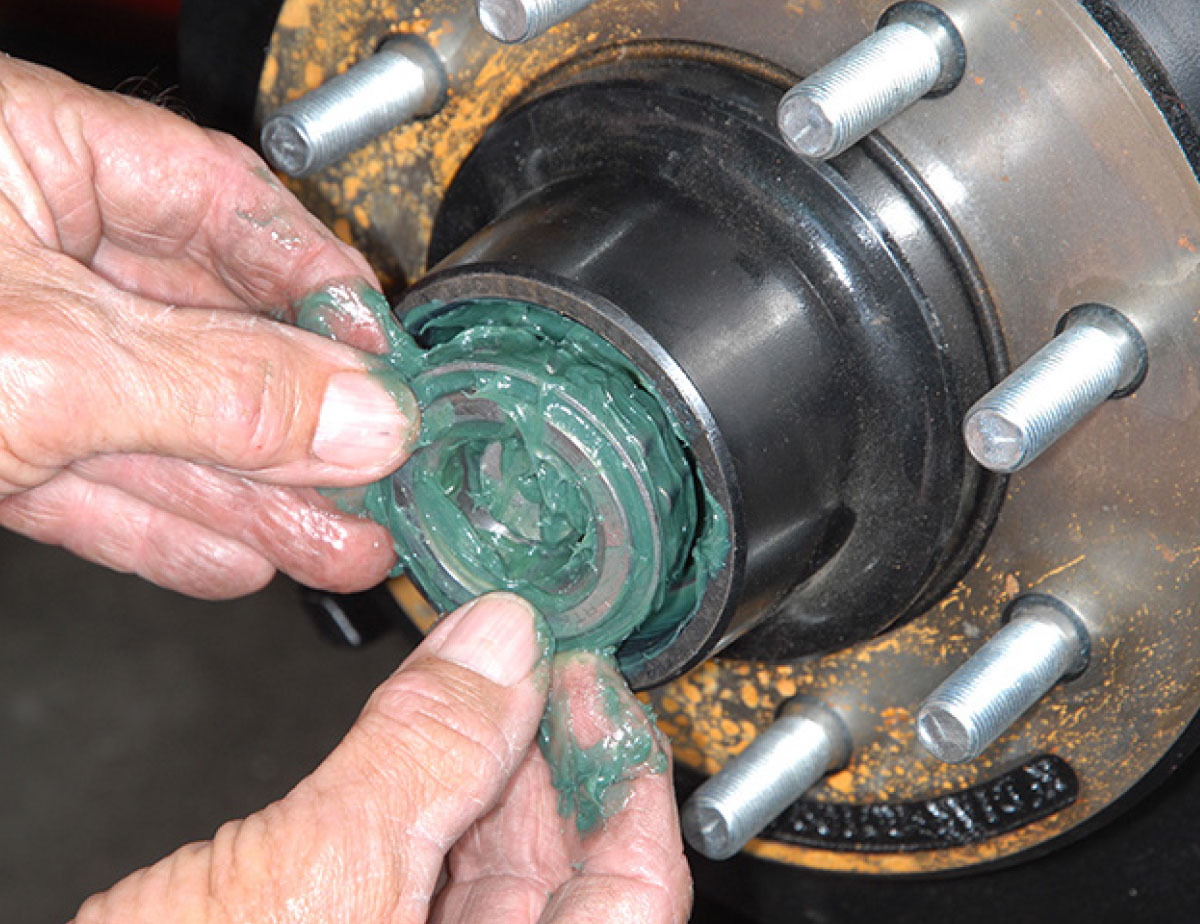
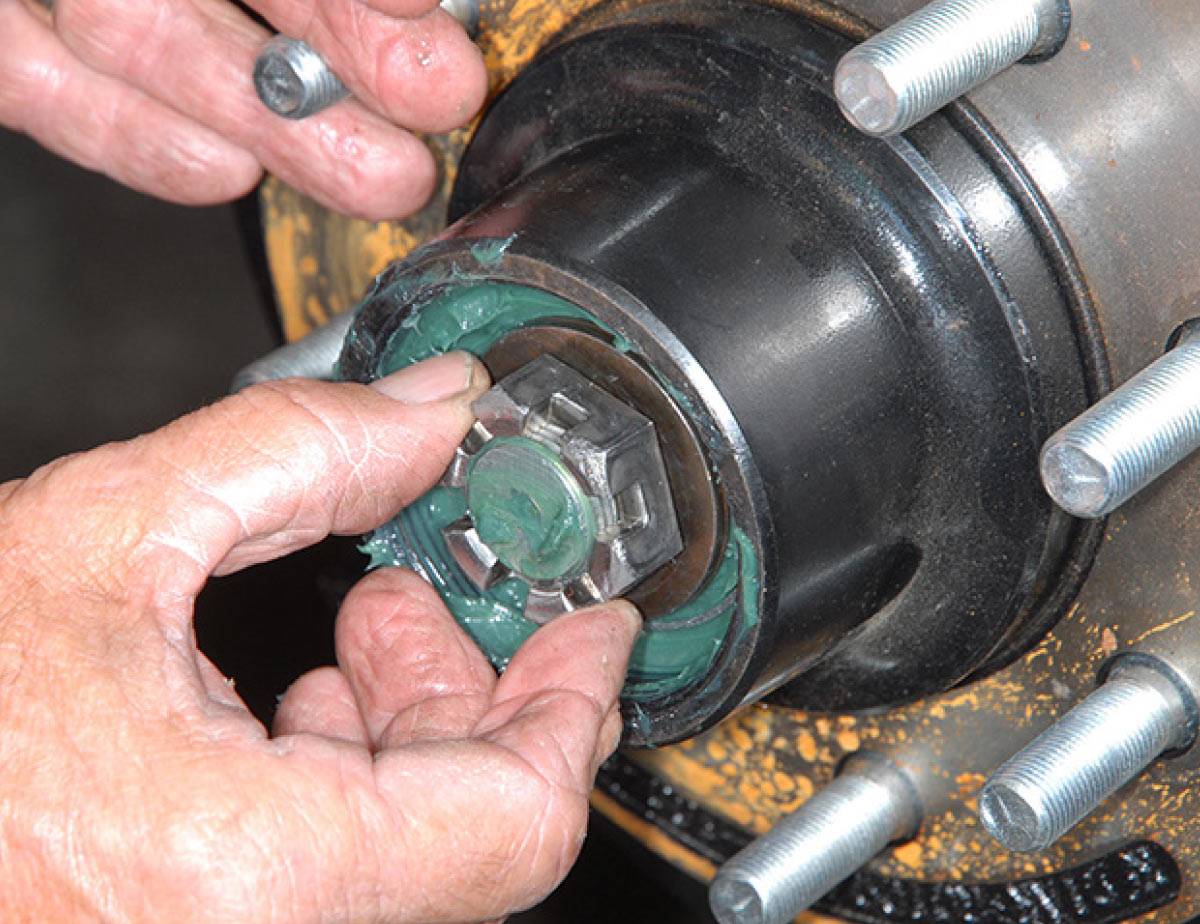
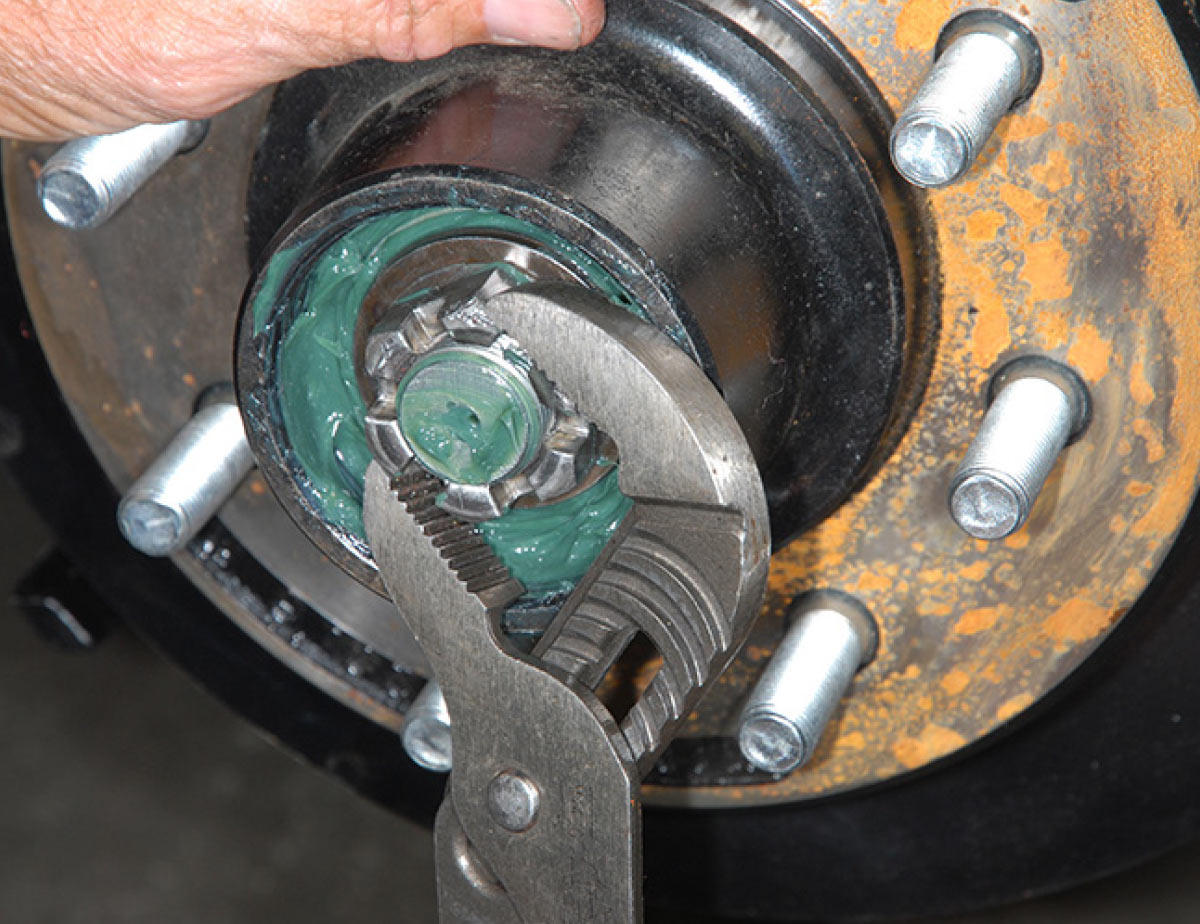
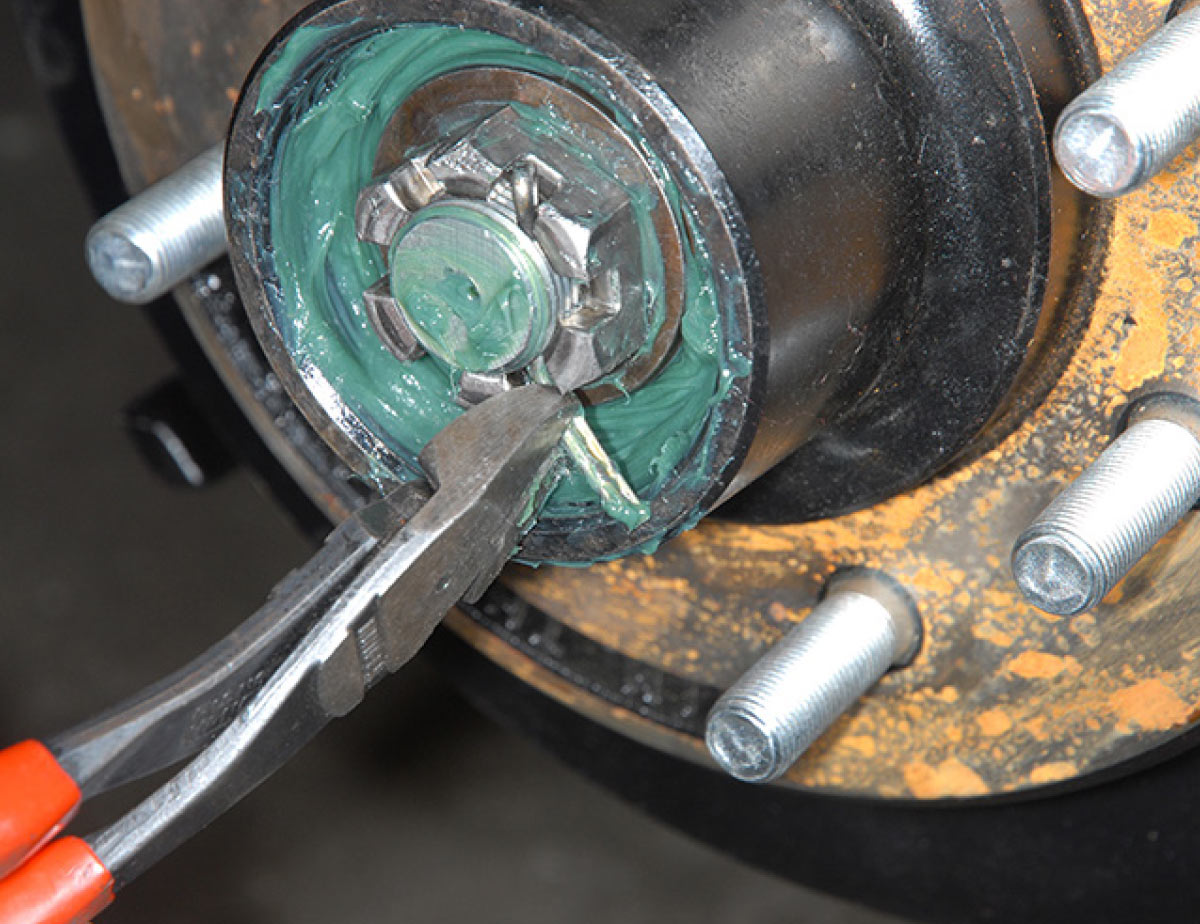
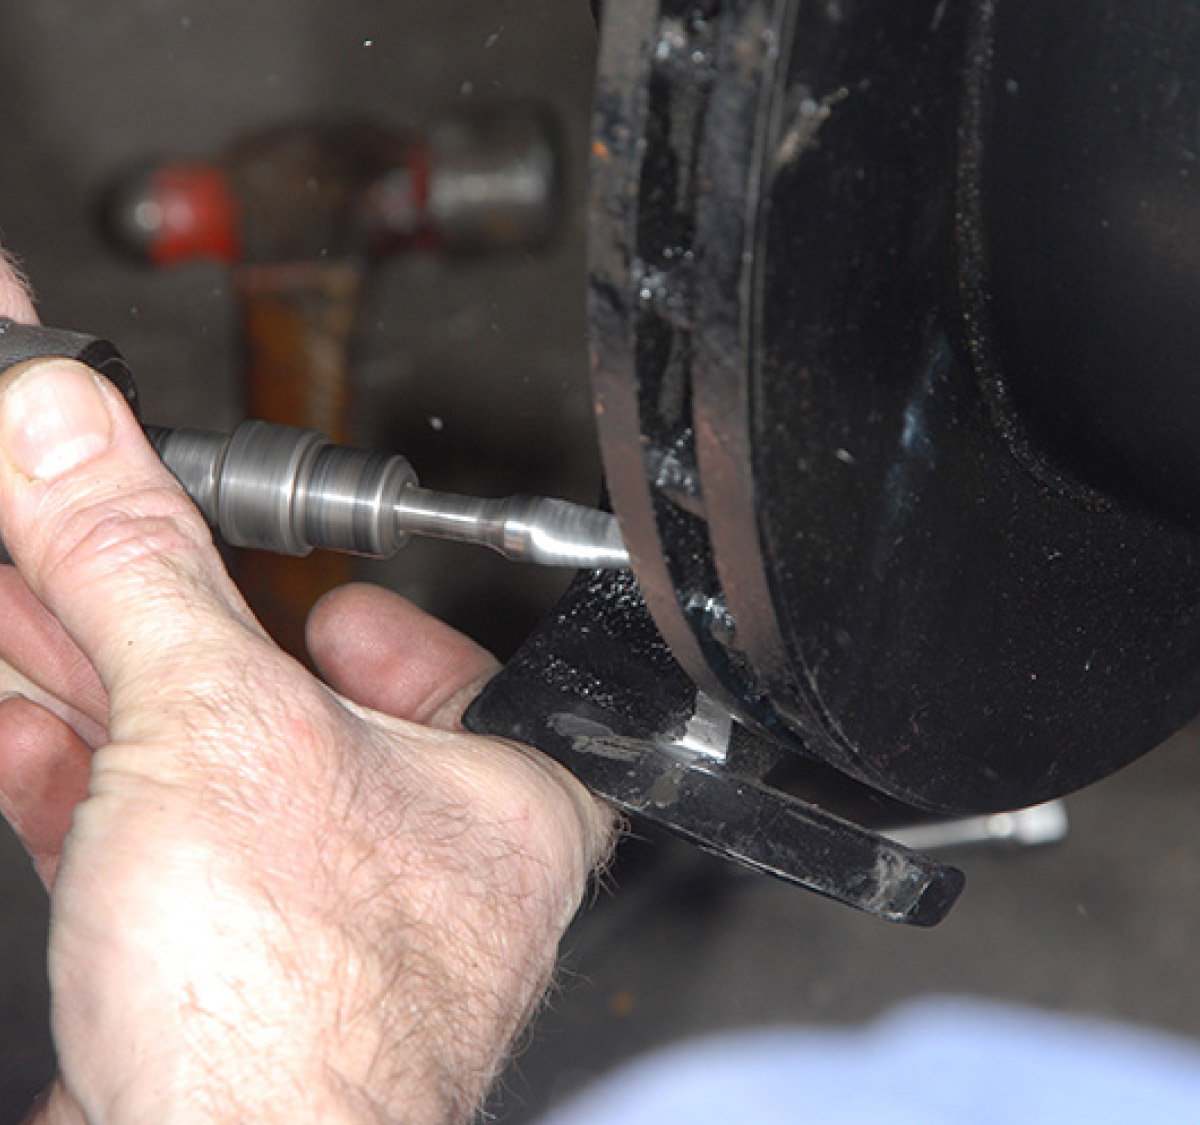
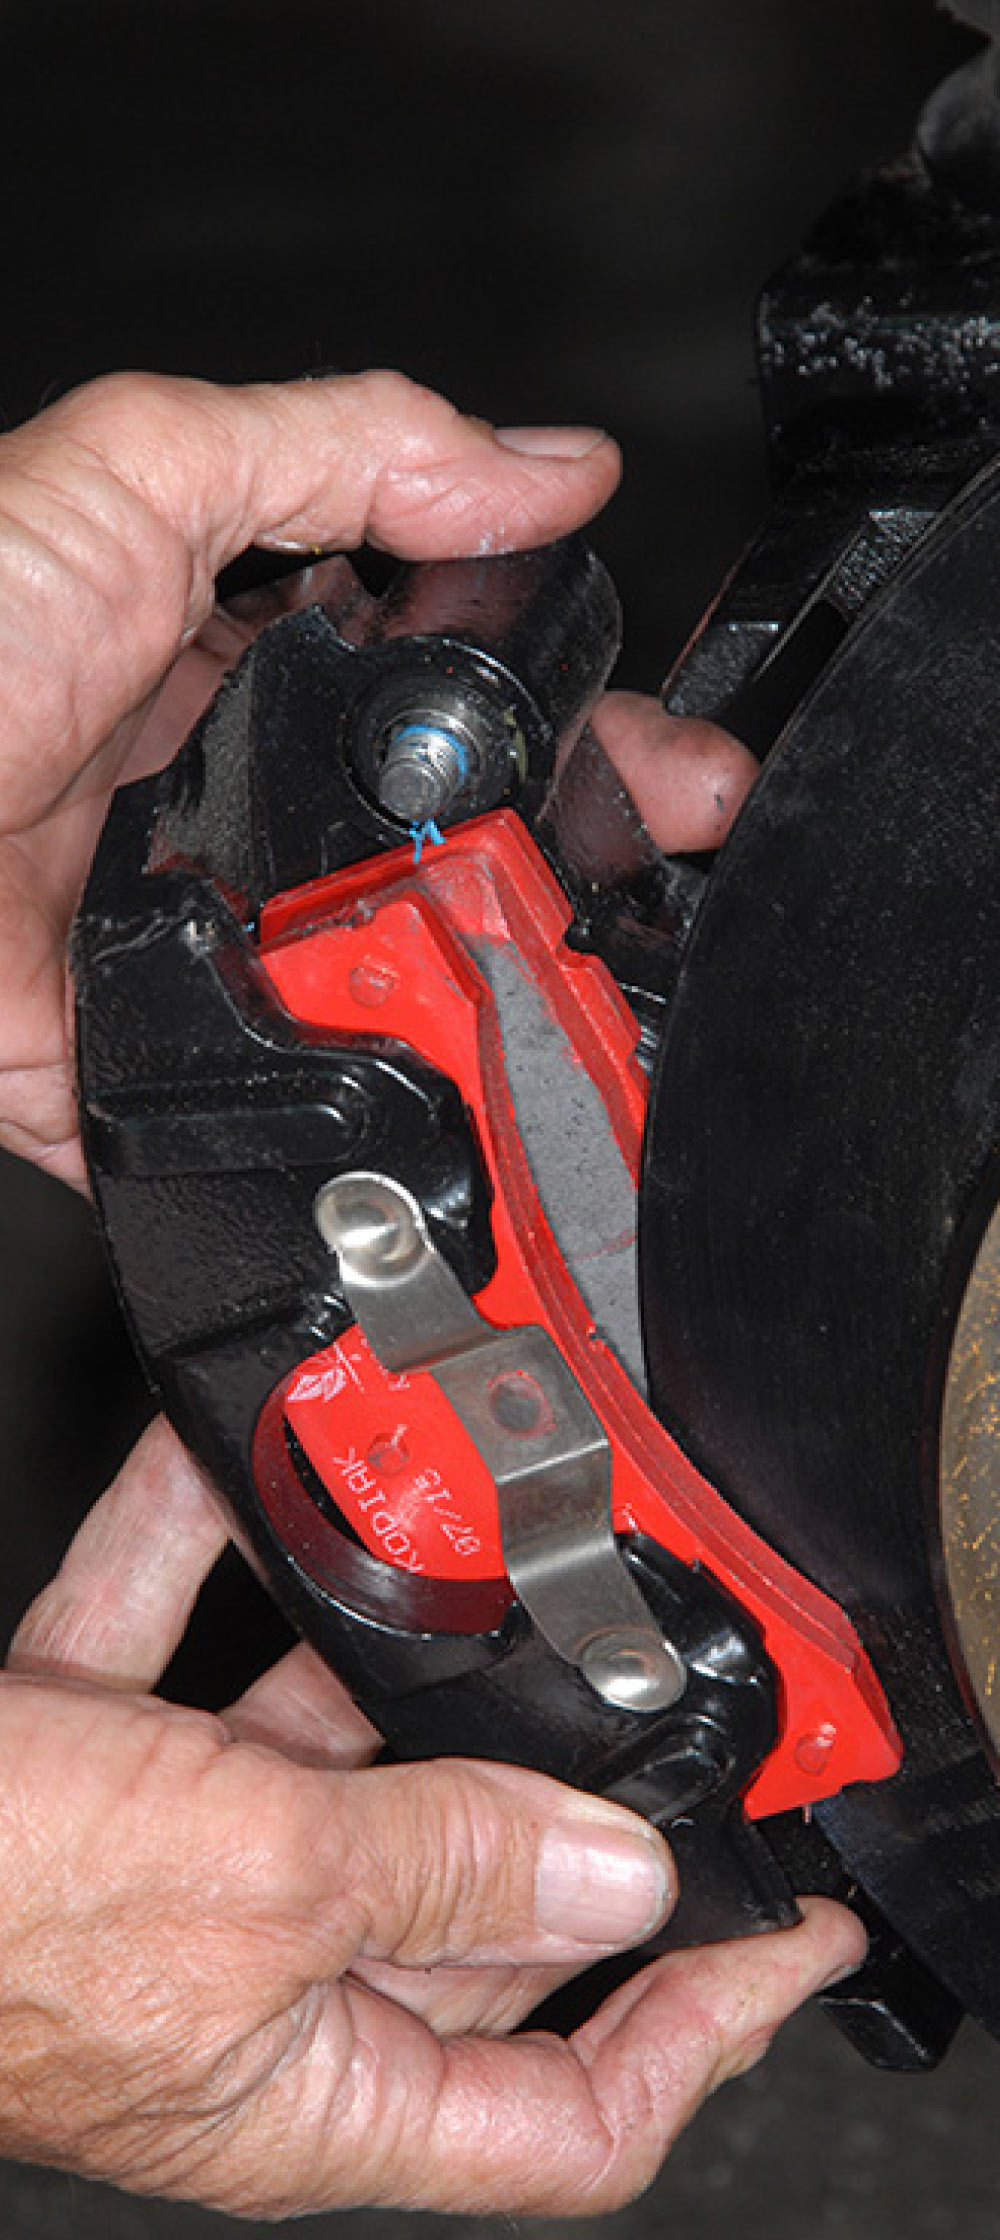
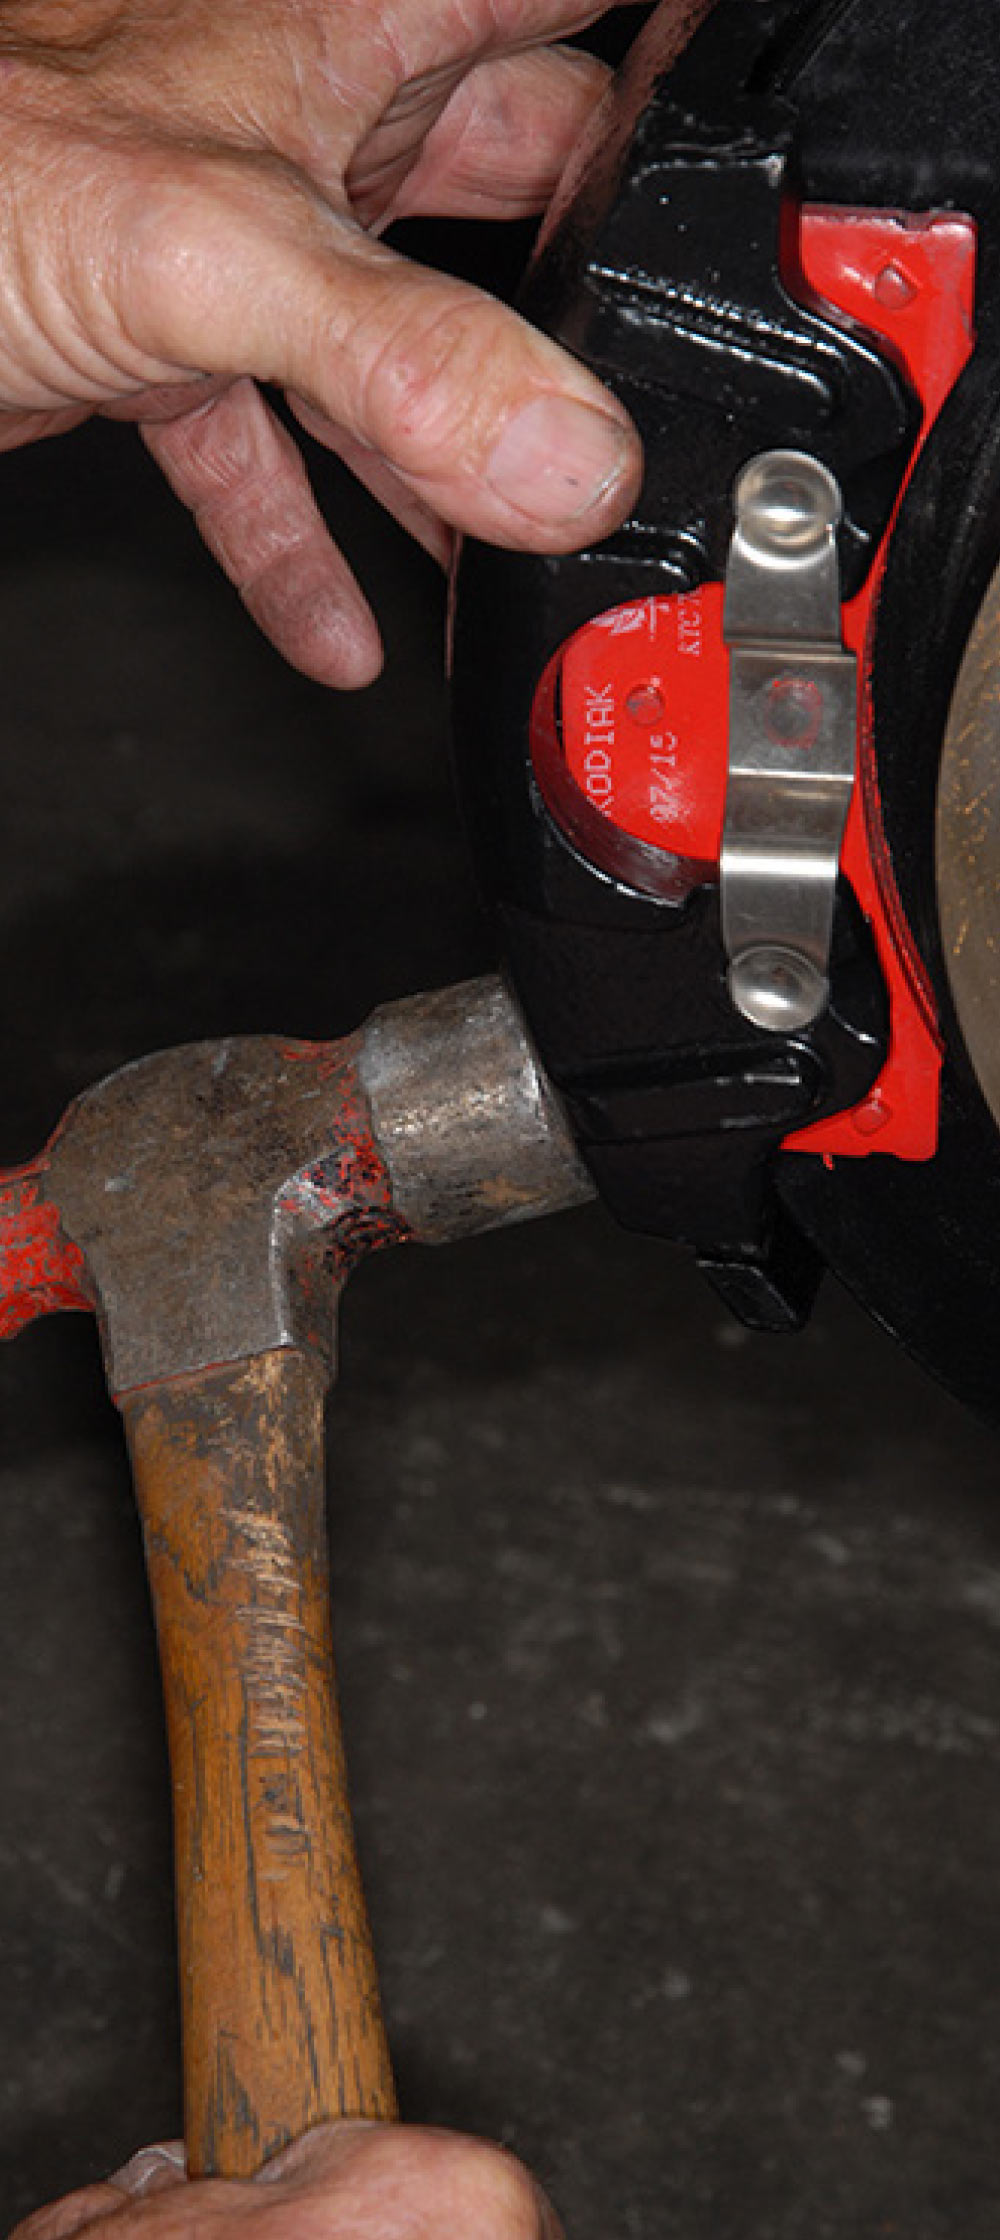
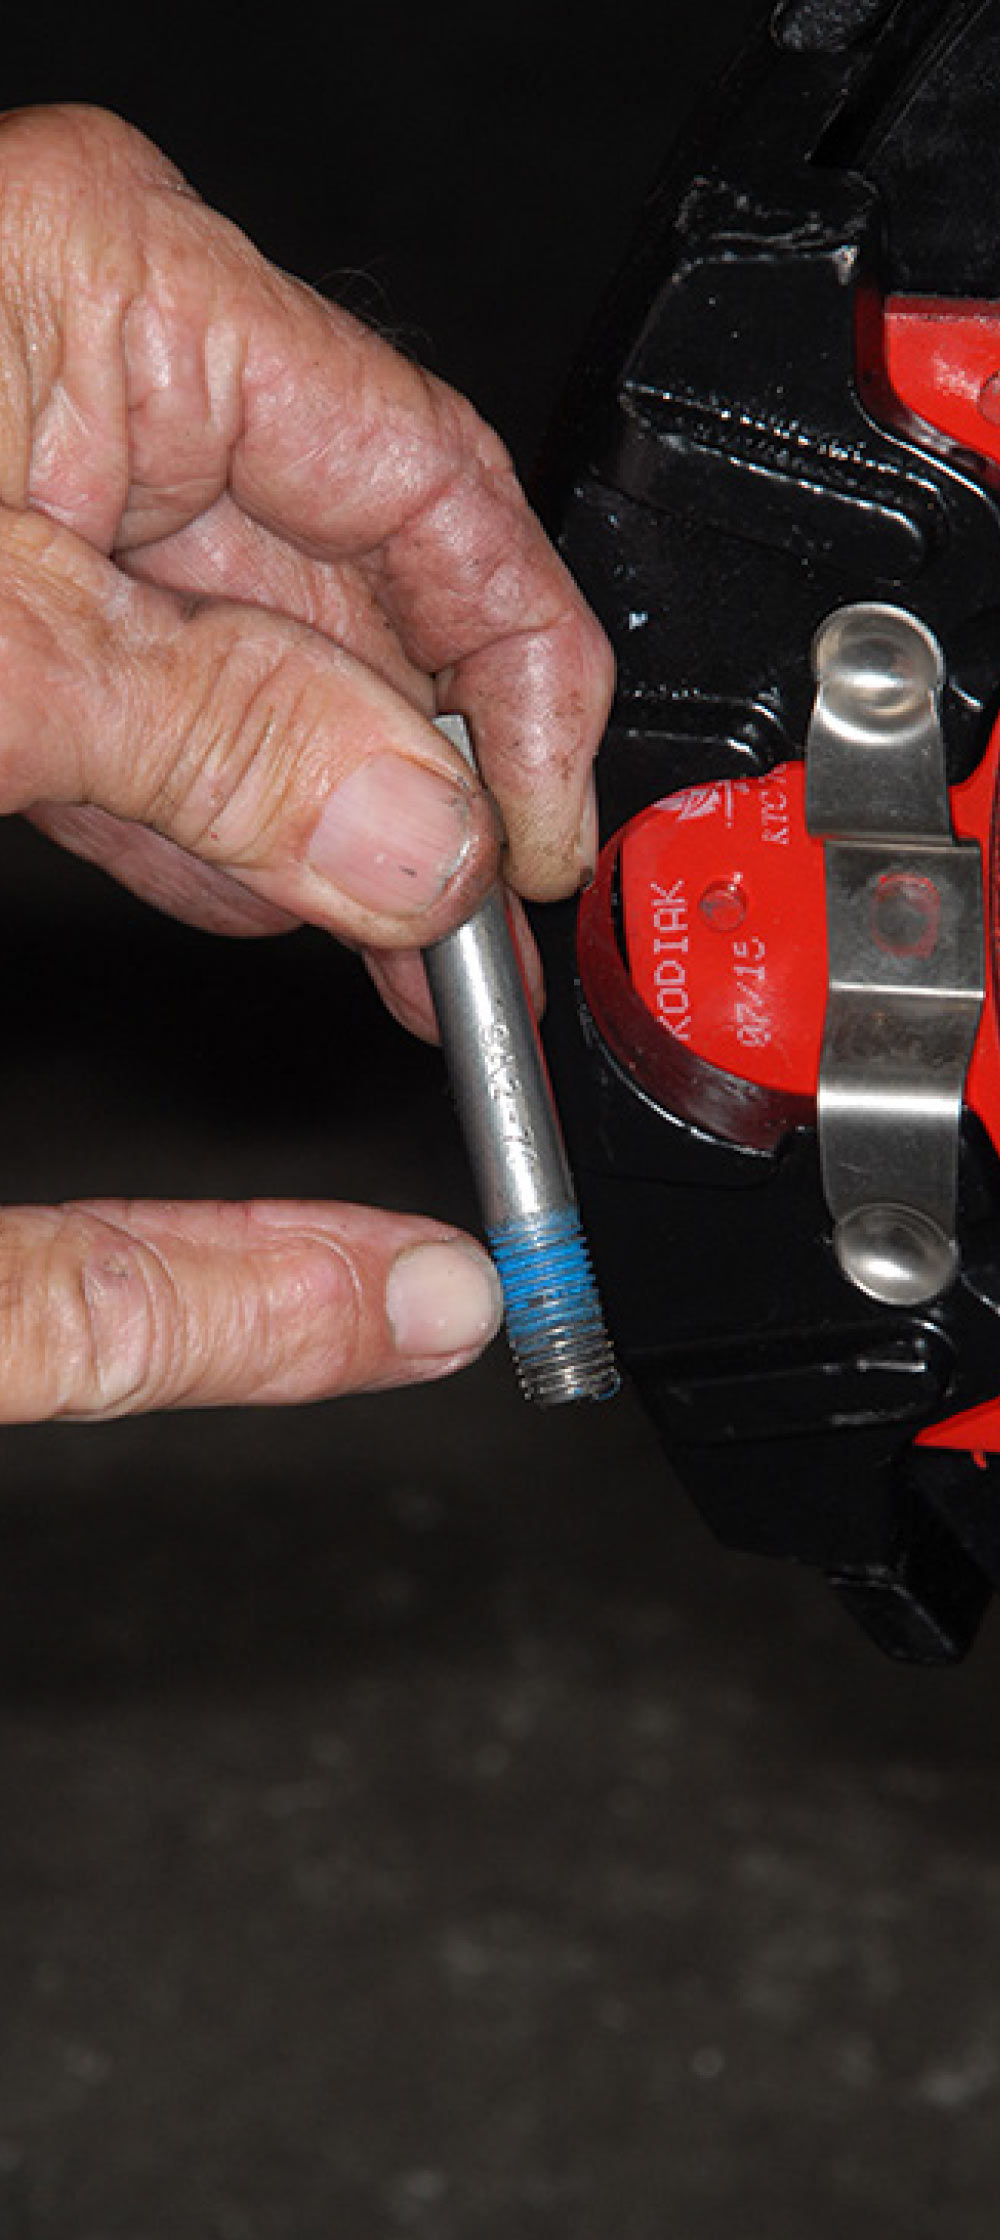
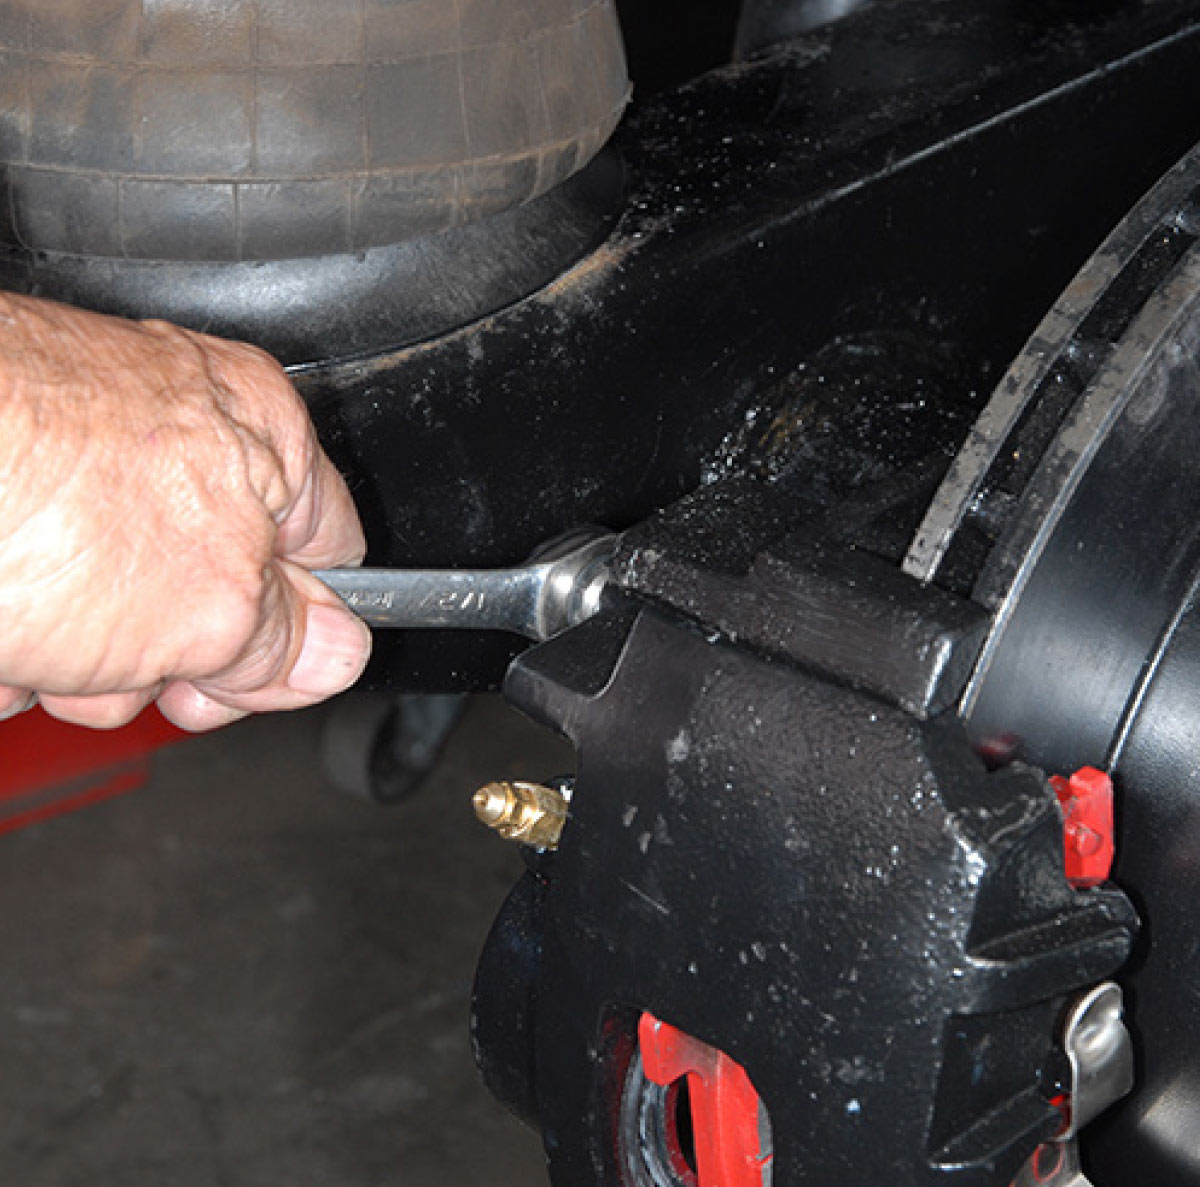
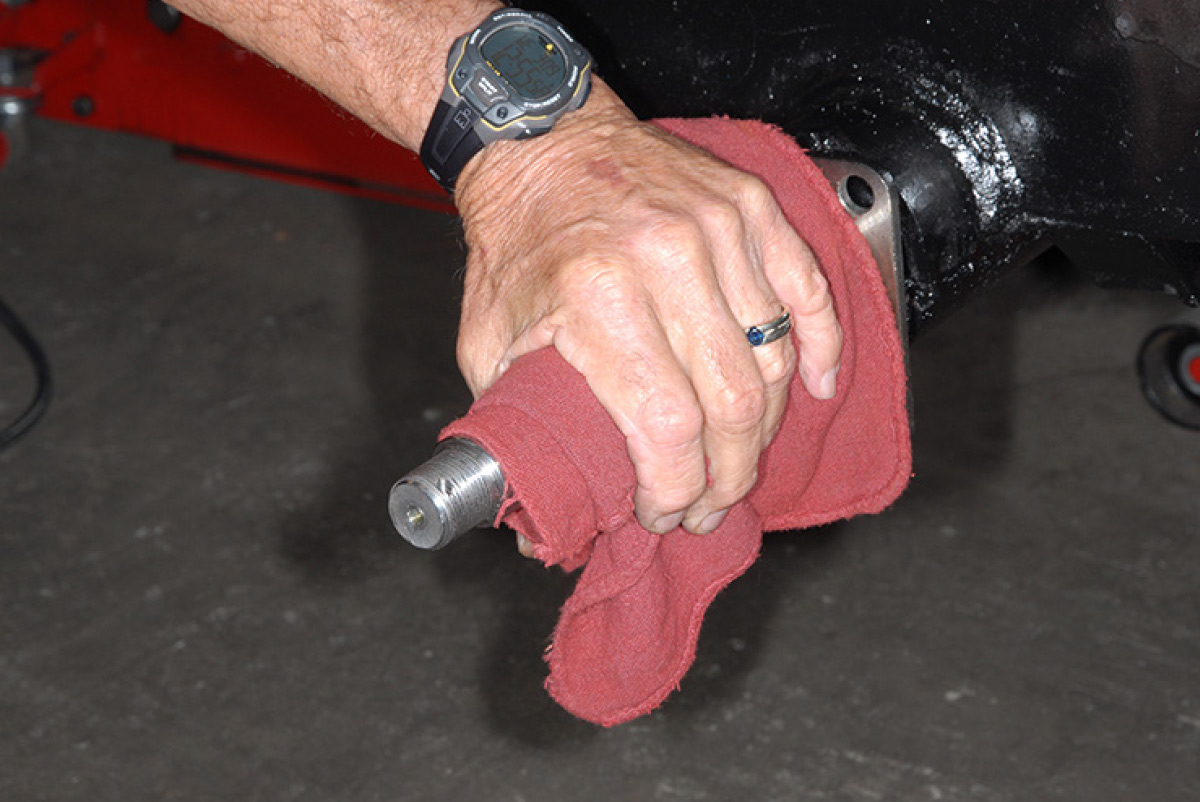
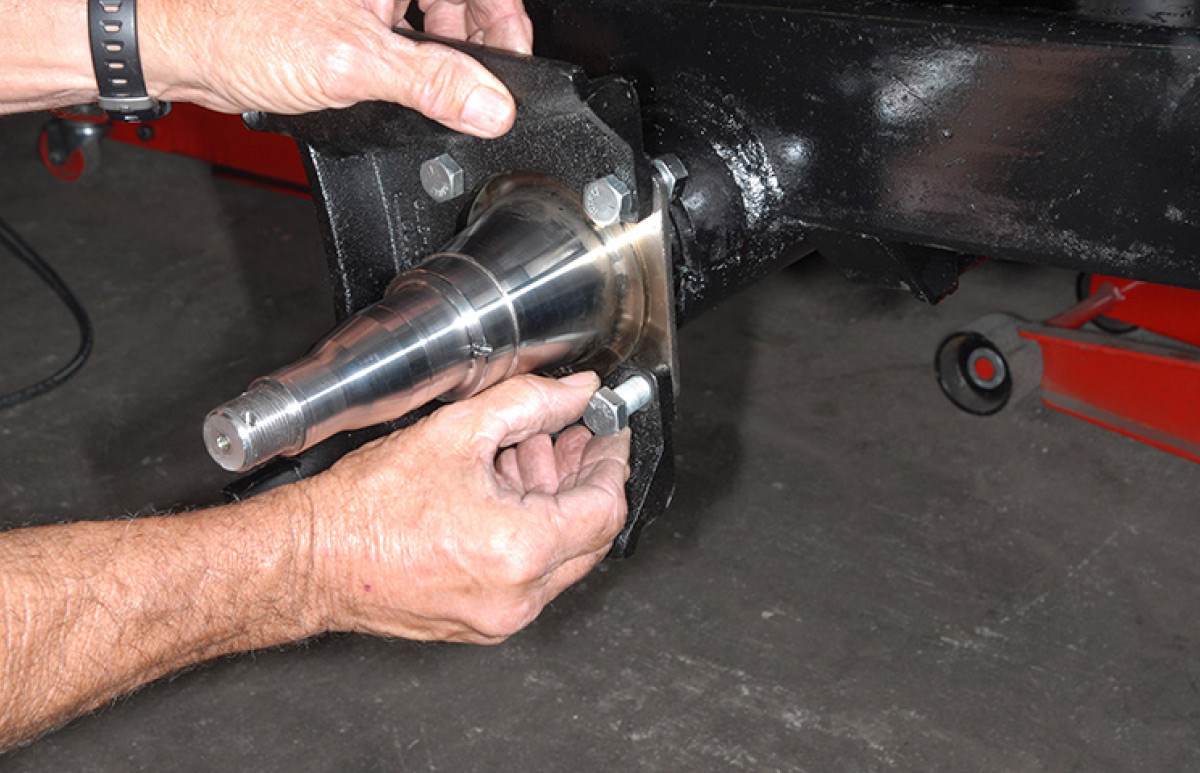
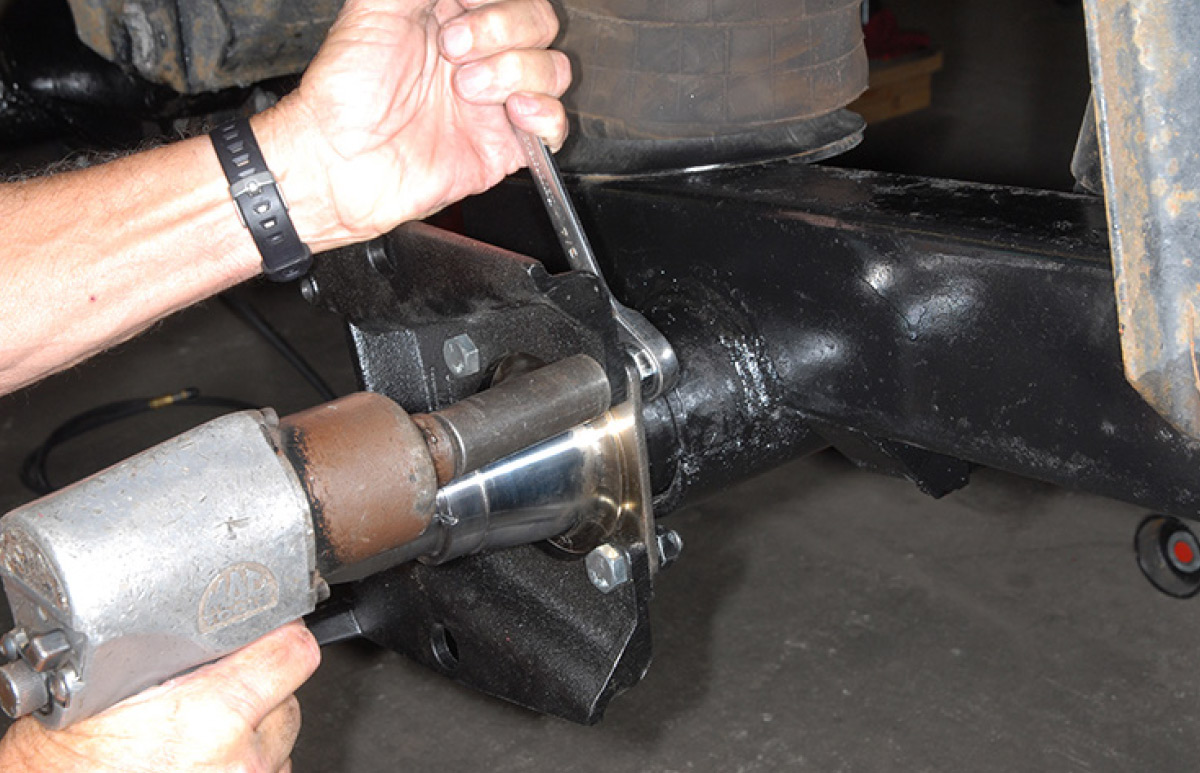
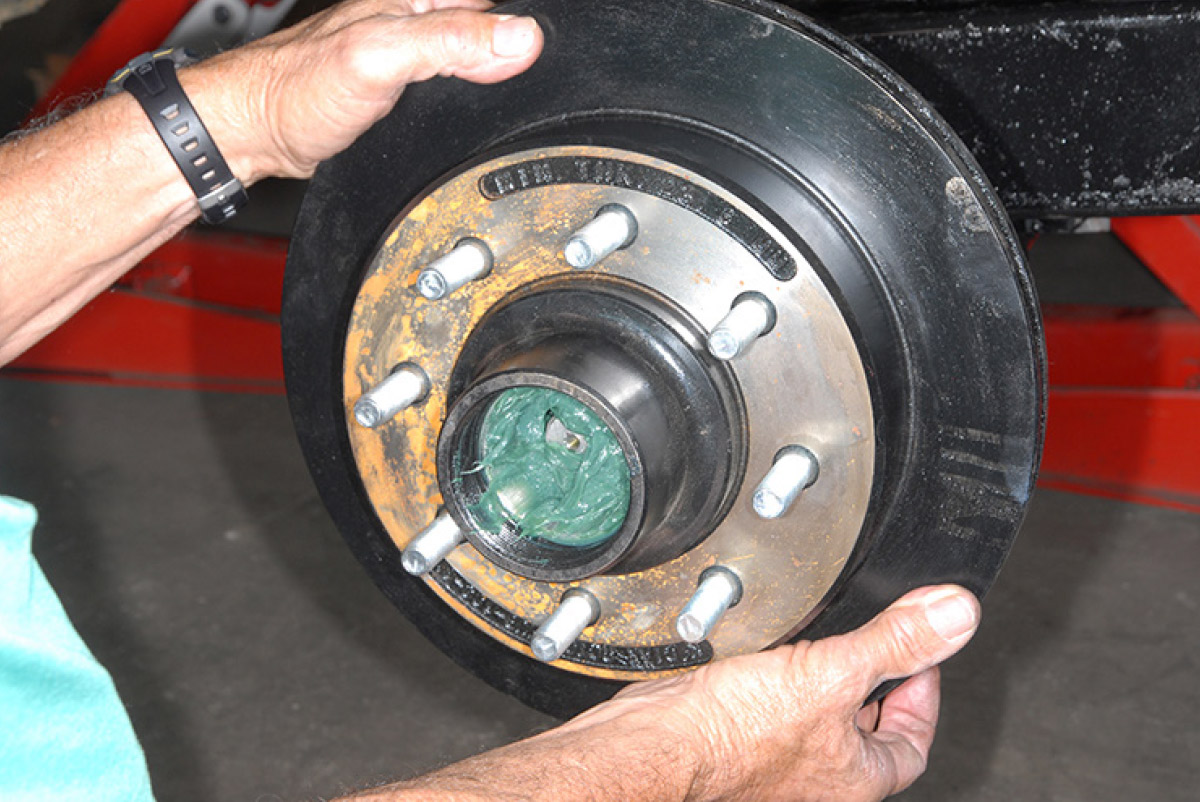
Once the old brake components were removed, the caliper mounting brackets were installed, paying close attention to the position of each one: three o’clock on the left side and nine o’clock on the right side. The new hub and rotor assemblies install fairly easily, although we had to do some grinding on one of the brackets to make everything fit perfectly. Also, you’ll be replacing the bearings and packing them with grease during the process.
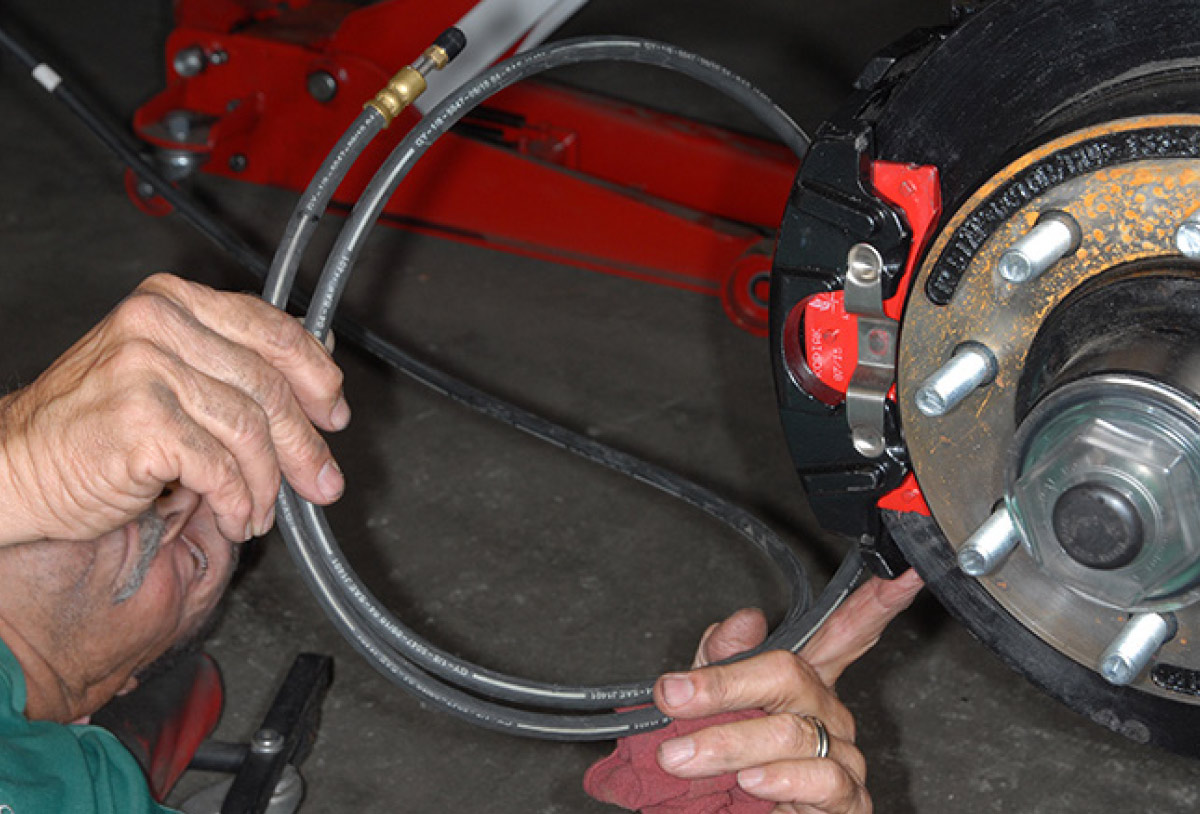
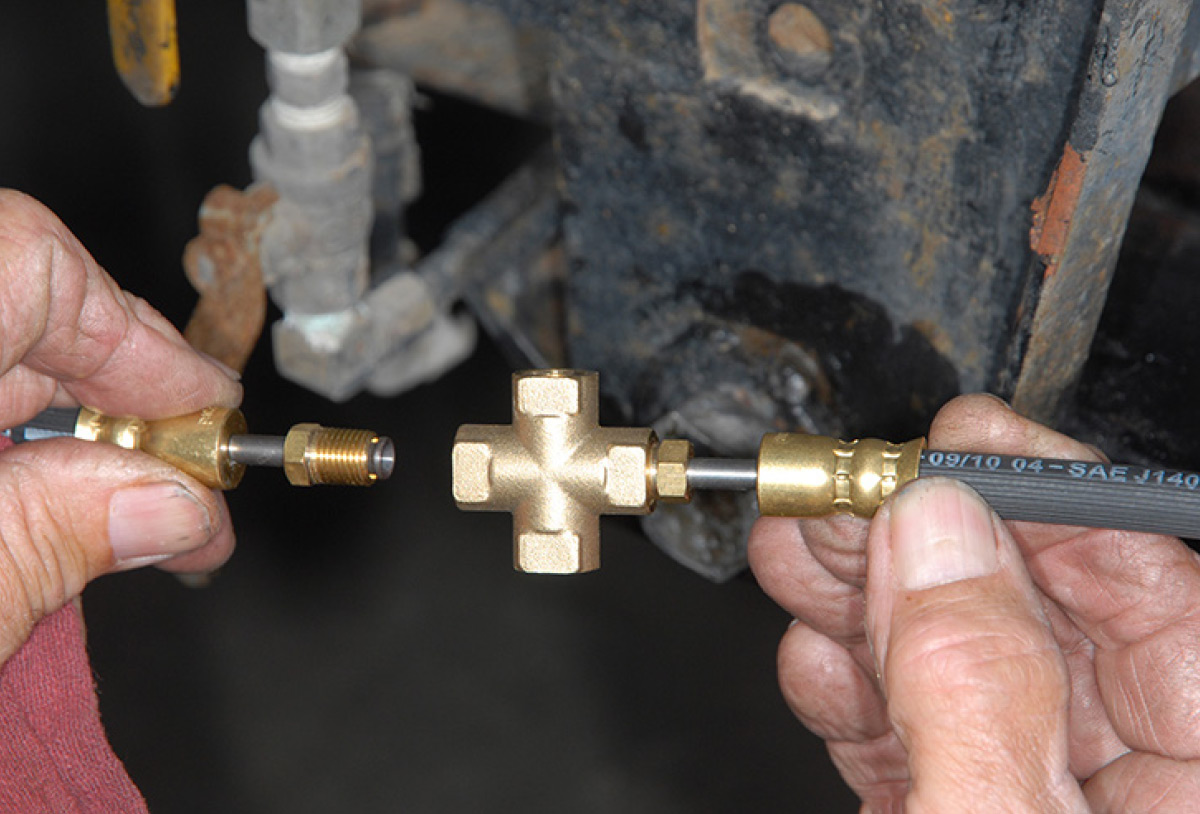
Installing the brake lines from the actuator to the axles will require custom routing, and it’s important to allow for any axle flexing while on the road. All of the brake lines were permanently mounted and protected from rocks or debris that can be thrown from the tires.
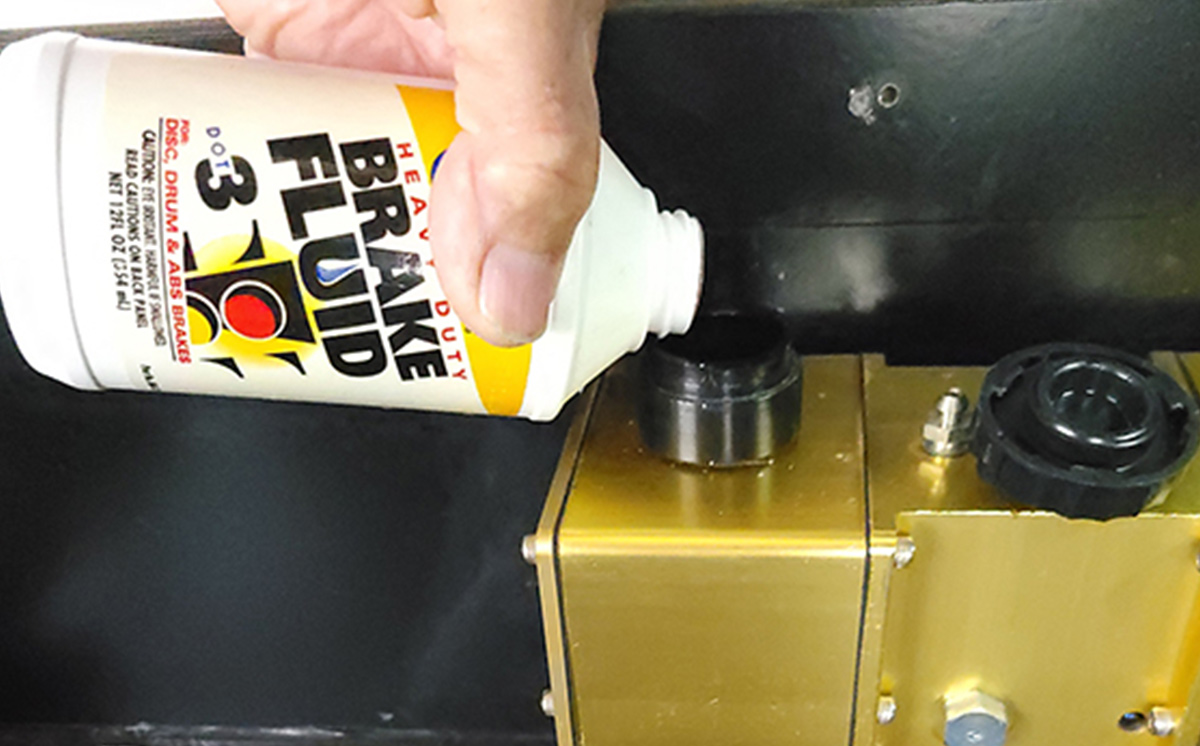
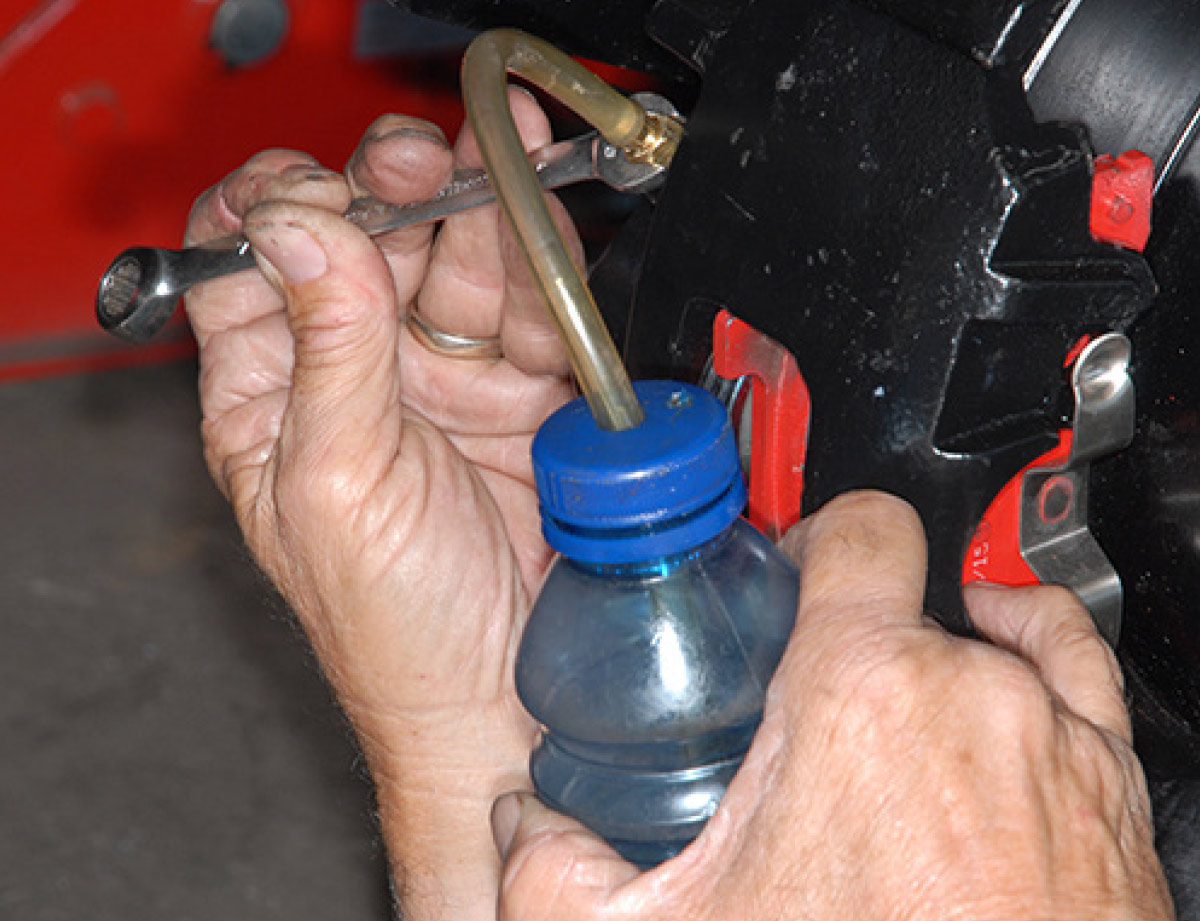
Once the system was inspected for proper fit and the brake line connections were double-checked, the Tuson actuator reservoir was filled with DOT 3 brake fluid and any air was bled from the system. This process starts at the caliper farthest from the actuator, using the bleeder fitting. It’s best to use a small clear vinyl hose and a clear bottle filled partially with fresh brake fluid to capture fluid/air being pushed out of the system. This allows you to see when the bubbles stop, indicating that the air is purged from the brake line.
To complete the bleeding procedure you will need a helper to activate the tow vehicle’s brake controller, which will run the actuator and pressurize the brake lines. We used cell phones (on the hands-free speaker) as a way to communicate back-and-forth with each other during this process rather than relying on a walkie-talkie, which needs to be manually activated by hand. With the actuator running and the bleeder fitting open, count out 5 to 10 seconds, then close the bleeder and stop operation of the brake control.
Re-install the tires and wheels and you’re ready for the road. Before driving at normal speeds on public roads, manually engage the brake controller to test the brakes for function while moving forward slowly. Be sure to check the lug nuts and the brake lines after the first 50 miles and then again after the next 50 miles.
The overall performance of the Kodiak disc brake conversion is astounding when compared with the fifth wheel’s stock electric braking system. After close to 40,000 miles, the Kodiak system only required the replacement of one caliper because it developed a fluid leak. There are kits to rebuild calipers, but that job is usually reserved for professionals.
Once you’ve experienced disc brakes, you’ll never own a trailer with electric drum brakes again. The powerful feeling of being able to descend long, steep grades with confidence and peace of mind — knowing you have almost no braking compromises — makes the towing experience much more enjoyable. At one point an errant driver cut us off without looking and we had to slam on the brakes to avoid a crash. Doing so resulted in a hard, controlled stop — in time — but we still had to check our underwear.