


ighting up the patio area of an RV seems simple enough; just about every RV made has some type of fixture on the outside wall in the vicinity of the entryway to achieve this goal. Providing adequate outside light and the requisite visibility at night to negotiate the entry steps are fundamental necessities.
Rather than mounting a standard-type fixture above the entry door, however, many manufacturers are adding rope lights in a strip rail below the awning fabric and roller tube. It’s a nice way to conceal the light when not in use, but over time these rope lights lose their brilliance as the sun has its way with the plastic casing — and when the awning is retracted, the light becomes partially obstructed. Adding an LED fixture in lieu of the rope light will substantially increase the outside coverage — and provide better illumination on the steps and area outside the door.
We originally featured a bright exterior light fixture — the Dream Lighting LED Heavy Duty Awning Light Bar (https://amzn.to/3vzltnM) — as part of “The Gadgeteer” column in the November 2021 issue of RV Enthusiast. At the time, it had been installed on a friend’s Cameo fifth wheel and had been operating flawlessly for more than 1 ½ years (and is still working). Knowing that, we decided it would be a good candidate for replacing the rope light in our own Grand Design Reflection fifth wheel. Clearly, the 720 lumens of cool light provided better coverage than the stock light on the Cameo — and after this installation the new fixture did not disappoint.
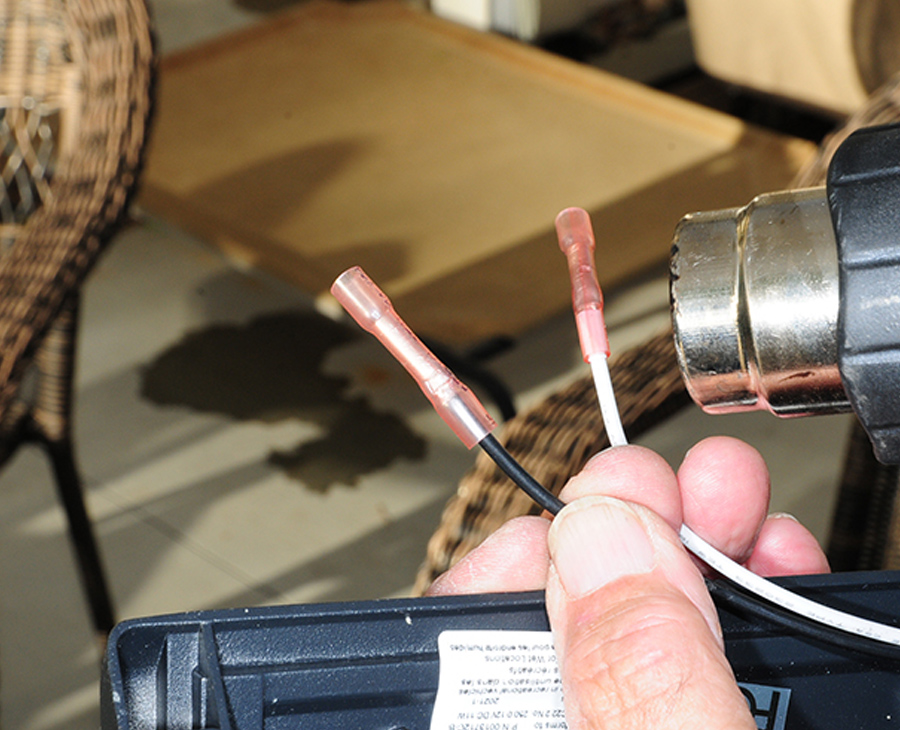
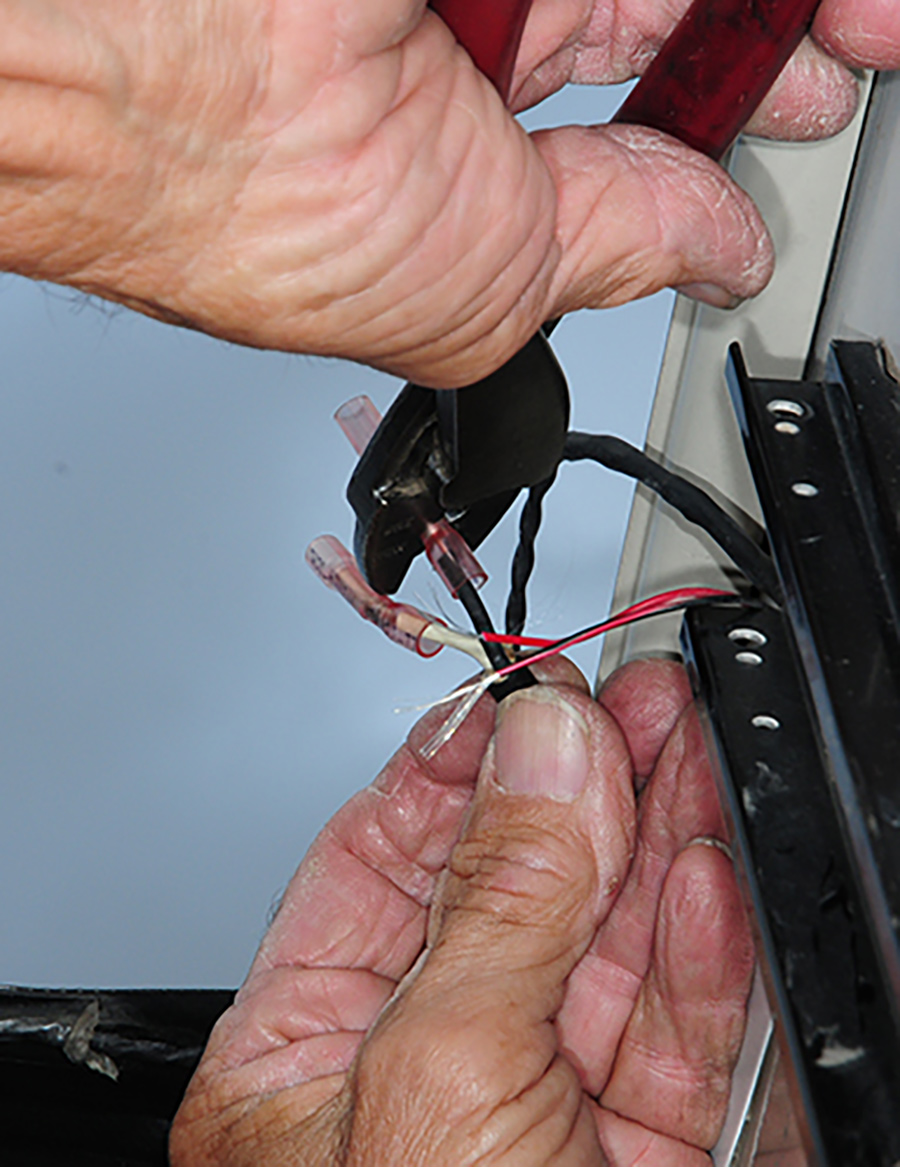
Since you’ll be removing the rope light, the empty strip rail provides a perfect raceway for routing the wires to connect the fixture to 12-volt DC power, which was already at the front end of the rope light and connected to a switch inside the fifth wheel. Routing loose wires are less than tidy so we elected to use a 16/2 cable, which fit nicely in the strip rail below the awning. Other parts needed include butt connectors and silicone sealant.
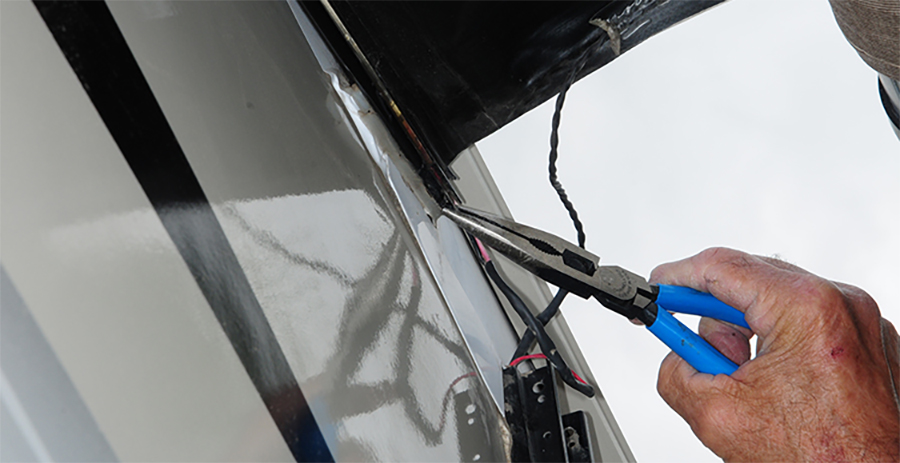
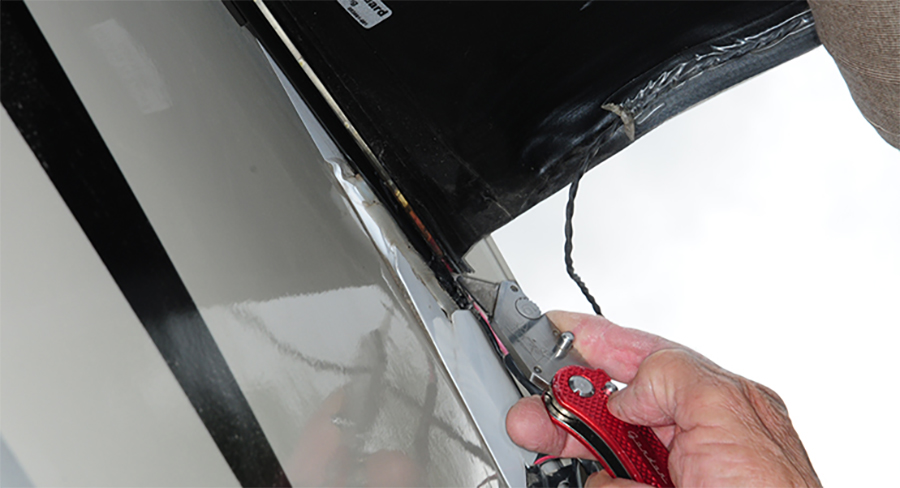
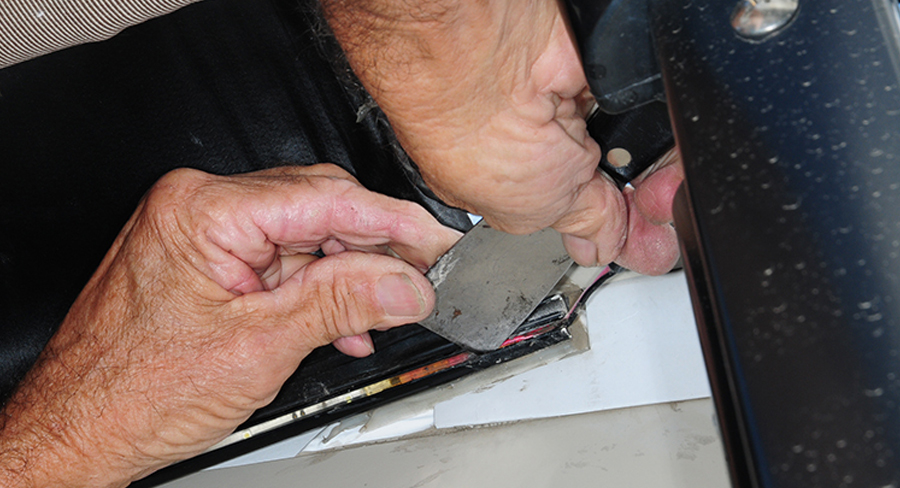
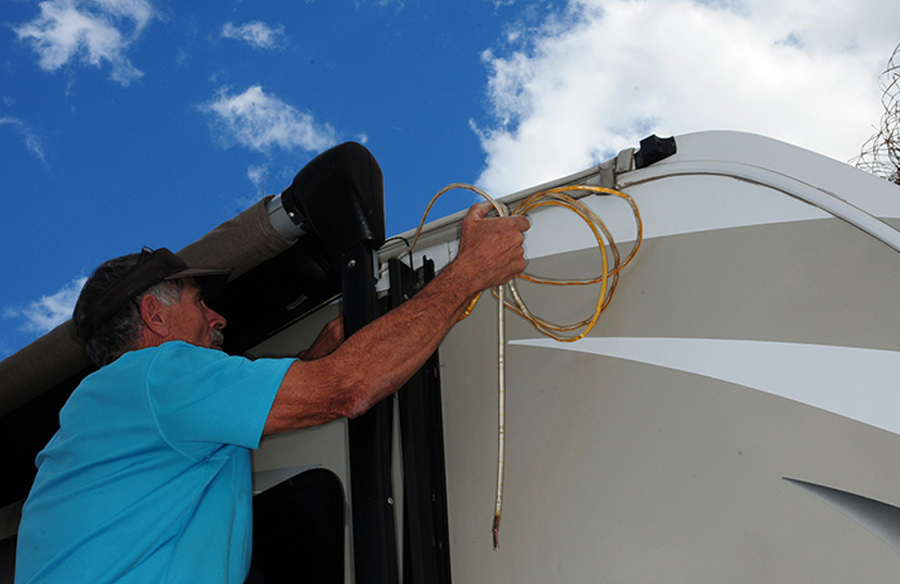
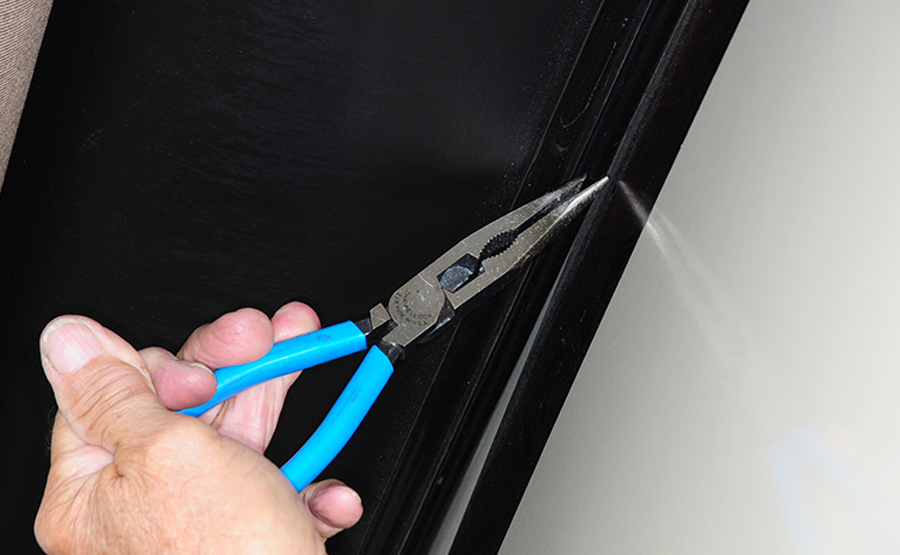
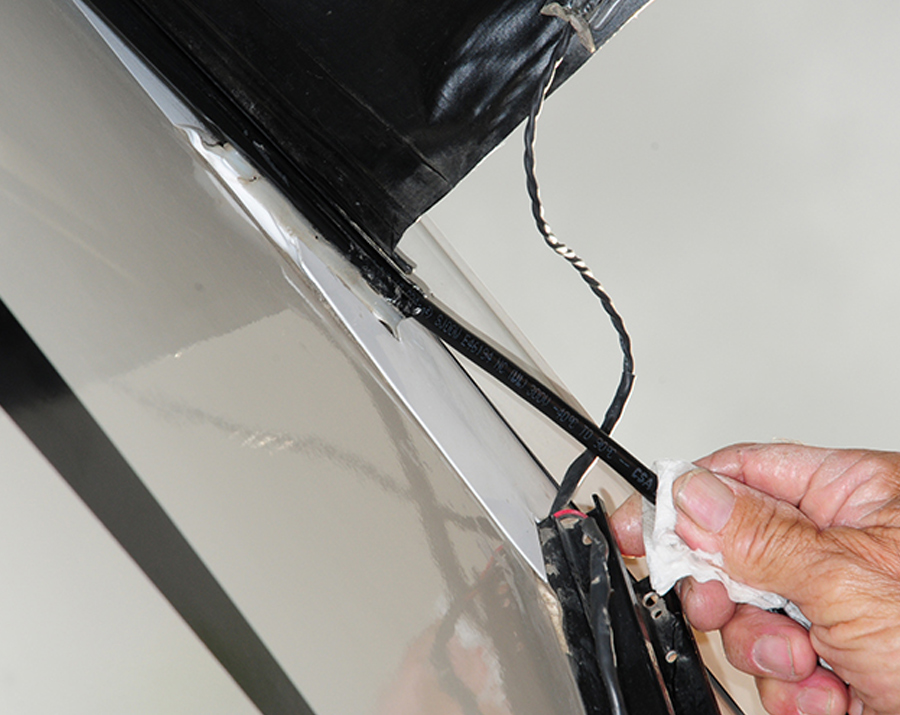
The first step was to release the rope light from the strip rail and pull it out. At the factory, the front end of the strip rail was crimped just enough to retain the rope light and silicone sealant was applied originally to make sure there was no movement. It took a little time to scrape away the silicone and spread the railing enough to free the rope light, which consequently came out quickly and in one piece.
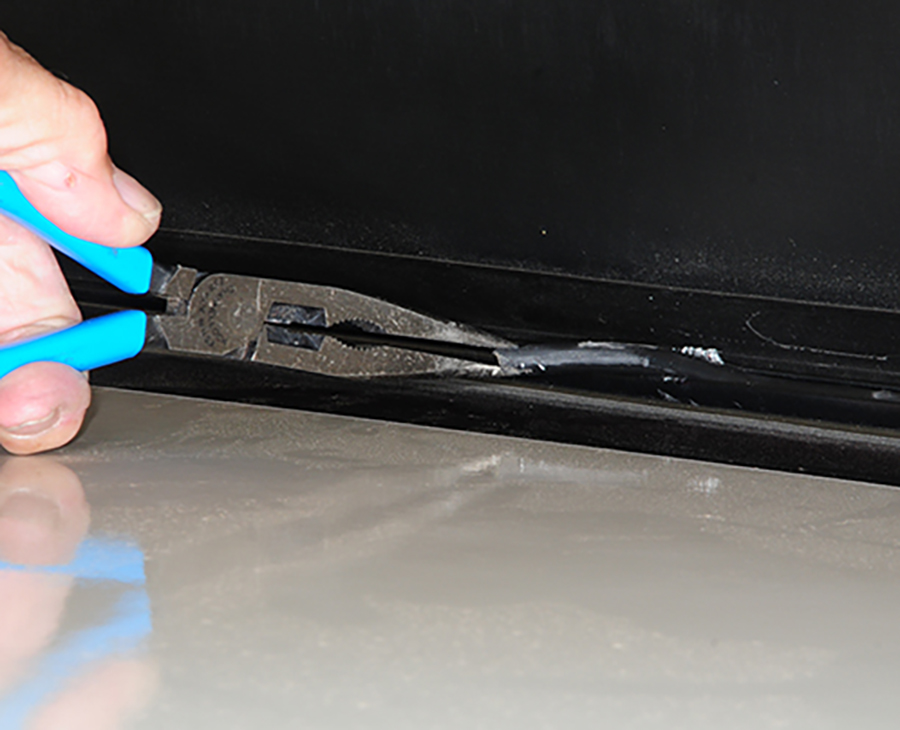
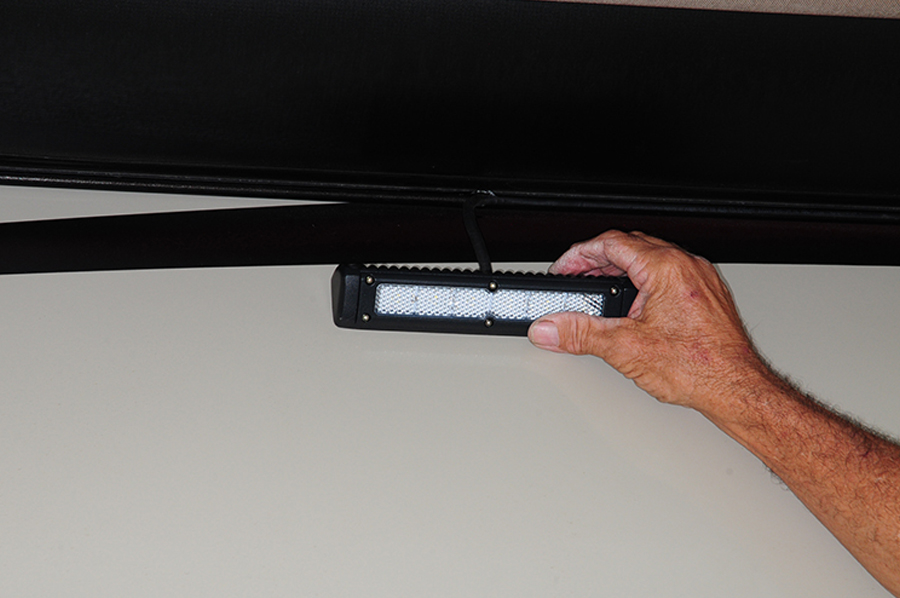
Measurements were taken to center the new fixture below the awning and a notch was cut into the strip rail to route the power leads and give it a “factory installed” appearance. The cable fit inside the strip railing perfectly and blended in, making it almost imperceptible. You have to make sure that there are no rough edges in the notched area that can abrade the cable.
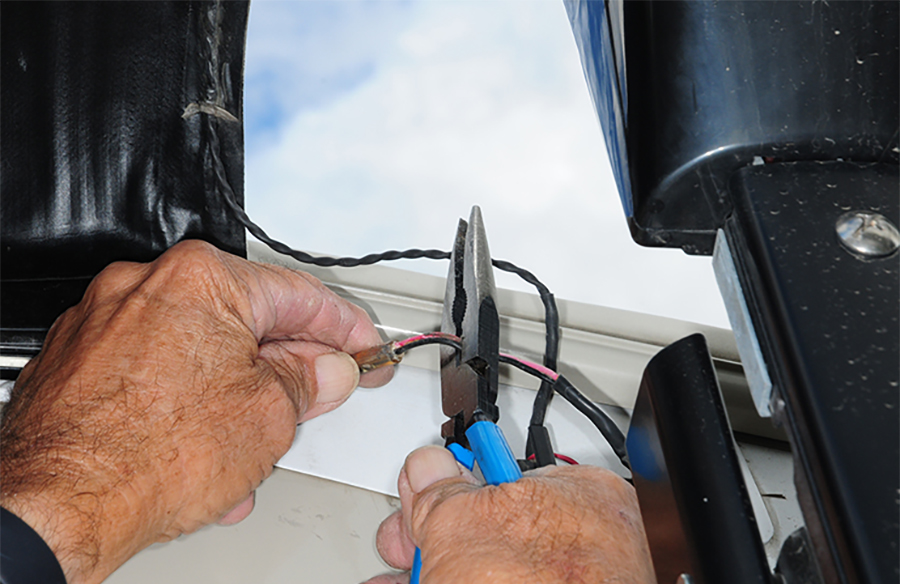
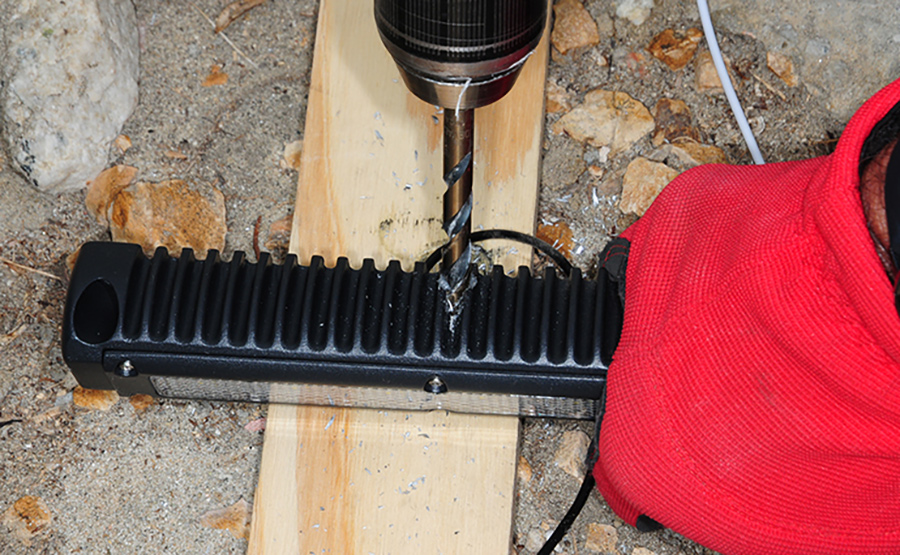
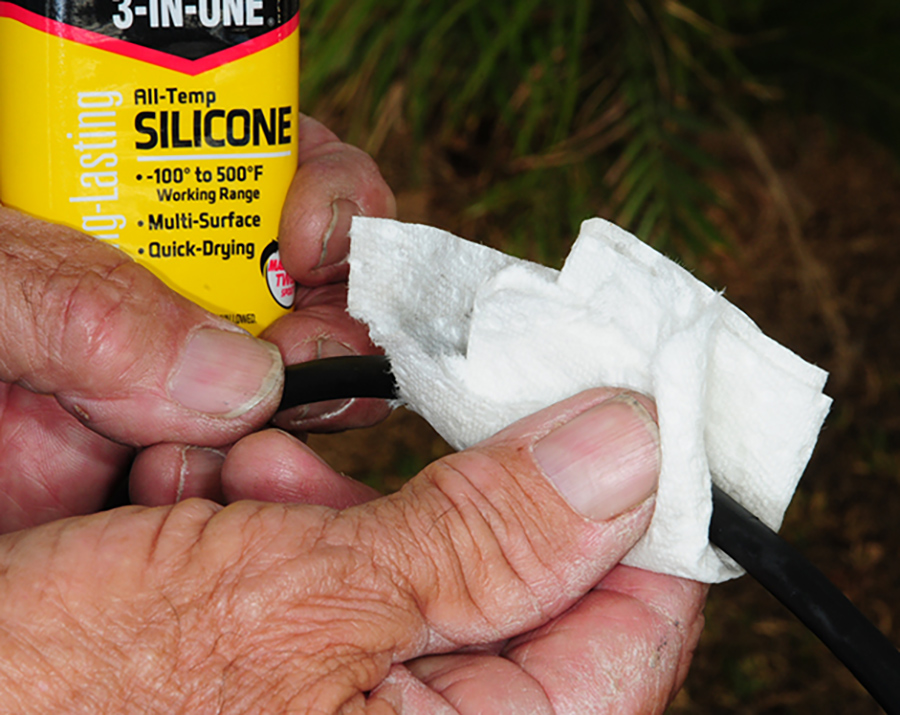
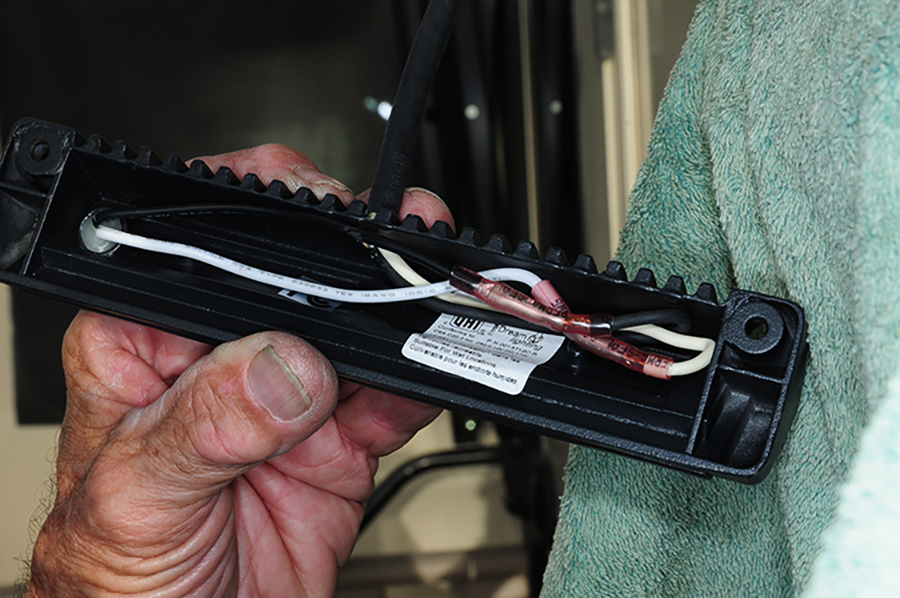
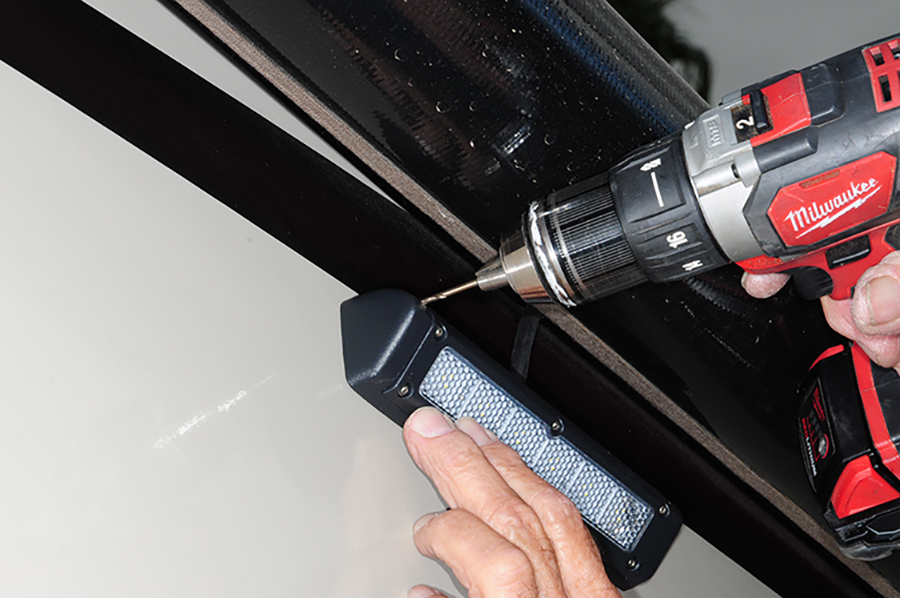
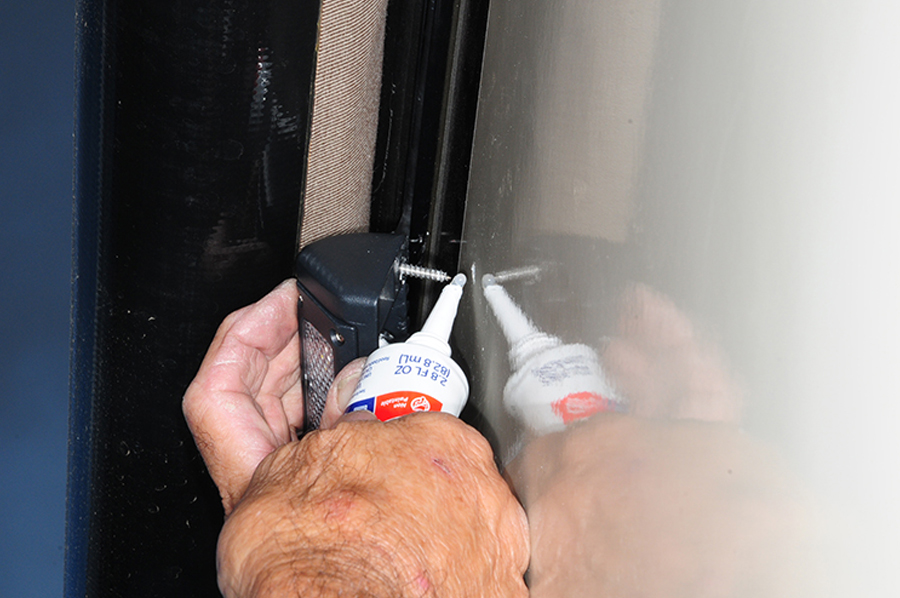
The light fixture was designed to be flush-mounted with the wire routed directly behind the base, which makes sense when replacing an existing fixture with a wire extending through a hole in the exterior wall. If that’s the case, it’s a direct swap and only takes a few minutes to get it done. For this project, the wire leads would have to be exposed somewhat, since they are being routed from the strip rail. A hole was drilled in the side of the fixture base (between the cooling fins) and the cable was routed into the base and connected to the light’s power leads. After positioning the new fixture as close as possible to the rolled-up awning tubing, the wires seemed to “disappear.” The fixture was screwed into the sidewall, sealing the threads with silicone. Figure on no more than a couple of hours for the entire project.
This fixture throws a tremendous amount of light via a 40-degree downcast beam. For some, in fact, it might be too bright, depending on whether light is needed to cook dinner on a barbecue or for lounging around sipping a glass of wine later in the evening. Fortunately, this fixture is compatible with a dimmer switch. Just remember to be respectful of your neighbors and turn the light off when you retire for the evening.