



ealing with the sanitation system in an RV requires a little more “up close and personal attention” than in a stationary home. Whereas the attention to a typical residential system ends with the flush of a toilet, good holding tank health in an RV requires owners to act proactively — and constantly — in order to prevent unwanted holding tank and dumping issues—not to mention noxious odors.
Proper dumping procedures can mitigate problems with holding tanks, and many RVs these days are fitted with a flushing system that can rinse away much of the contents and attempt to keep the monitor sensors clean. That said, water under standard spigot pressure can do only so much — leaving more residue than desired on the walls and floor in the tanks — and the overwhelming majority of RVs are not equipped with a flushing system for the gray tank(s). Counter to conventional thinking, build up in the gray tank(s) can actually be dirtier than the black, leading to odors emanating from sink drains that are hard to treat. The solution: Have the tanks pressure cleaned at least once a year by a company like RV Flush, which specializes in holding-tank cleaning and sanitation-system restoration.
When it comes to dumping and cleaning holding tanks, water is your friend. Every time we dump the black tank, we allow the internal flushing system to do its work for at least 15 minutes, followed by filling with clean water and dumping the tank twice. While this invites scrutiny from environmentalists who can argue that we waste water, the overall amount of water used as full timers is infinitesimal when compared to the consumption in a stationary home. To circumvent the lack of flushing systems for the two gray tanks, wastewater is allowed to fill most of the tank before dumping. Even with this rigorous dumping procedure, the monitor still remains erratic and unreliable.
To illustrate the value of power tank cleaning, we set up two tests: One a two-year-old fifth wheel lived in five months a year by snowbirders, and the other our full-time fifth-wheel home. The black tanks in each fifth wheel were dumped and flushed for 30 minutes, then filled with clean water and dumped twice. At this point, the water running out of the black tanks was clear; the gray tanks were allowed to fill near capacity and they, too, were running clear. The uninitiated owner would consider the tanks squeaky clean, but a big surprise was on the way.
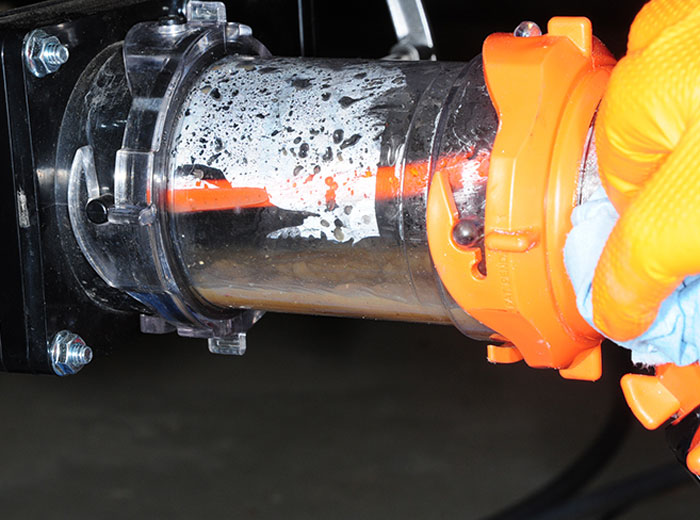
Before pressure flushing, the dump valve was removed from the black tank on the full-time rig and the inside inspected using a flashlight. A year’s worth of use revealed pretty grody sidewalls — and the monitor was kaput. Since we’re veterans of this type of service, we expected to see a lot of “muddy” water coming out during the actual flushing process, and we were not disappointed. The owner of the other fifth wheel, on the other hand, was astounded by the amount of waste being flushed out even though he was almost fanatical about flushing the tank after dumping. When he saw the amount of crud coming out of the gray tanks, he just shook his head in disbelief. Ironically, the gray water, which is free of body wastes, was dirtier than the water exiting the black tank during the power flushing process.
After the flushing process was completed on both fifth wheels, the monitor panels functioned again, but we don’t expect that to last very long. The internal sensors get covered with waste quickly, making a strong case for using a monitor with external sensors like the See-Level RV Holding Tank Monitor (https://amzn.to/3kLCTcM).
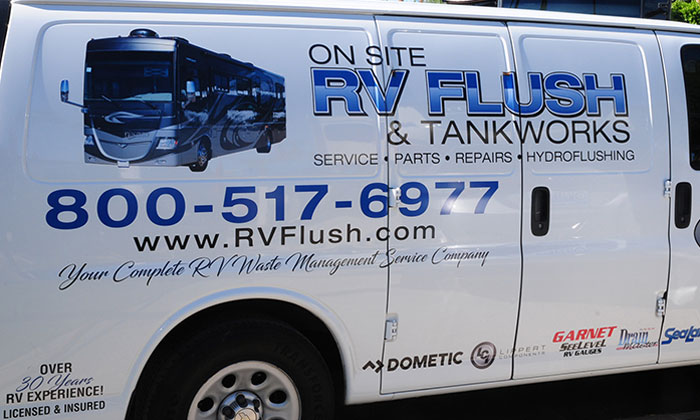
The pressure flushing process takes about an hour, depending on the number of tanks and the level of build-up. RV Flush, like most similar companies, dispatches a mobile van, so the cleaning can be done at your site. Cost for cleaning three tanks is $245, but that number is fluid (no pun intended), again depending on the number of tanks and condition. It’s the best $245 you’ll spend on preventative maintenance to control build-up, clogging, valve damage and, of course, odors. Most repair centers charge dearly when it comes to holding tank repairs caused by lackadaisical maintenance, for obvious reasons.
How Do They Do That?
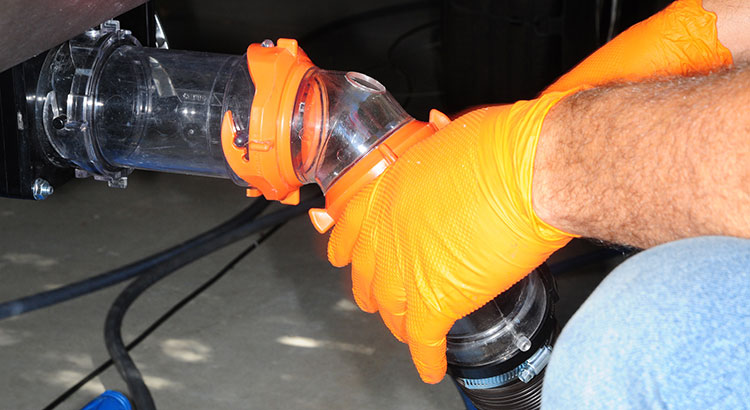
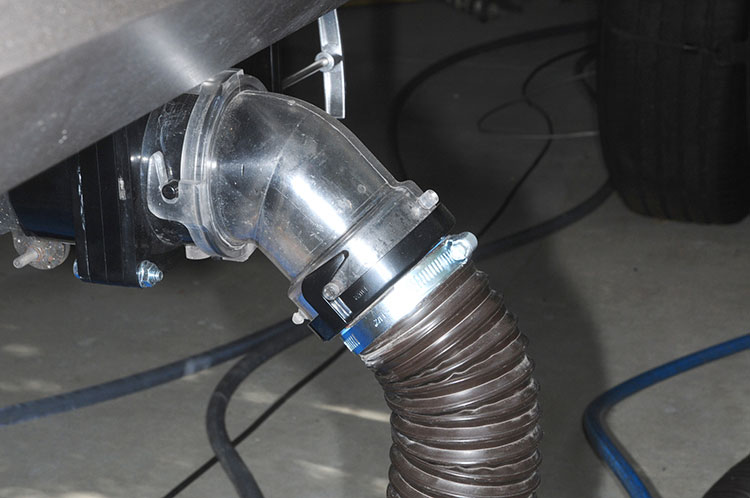
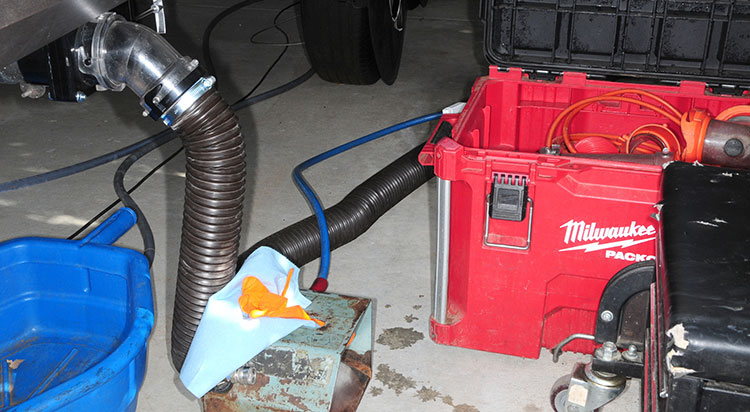
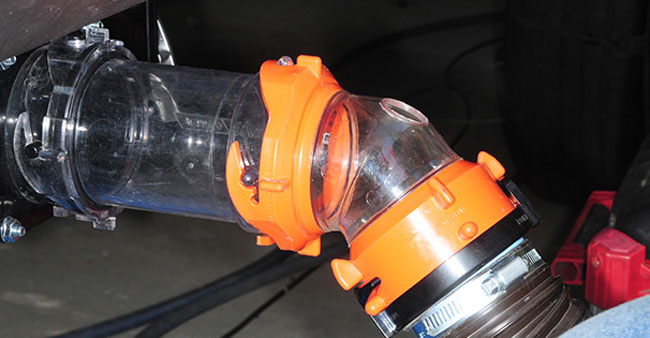
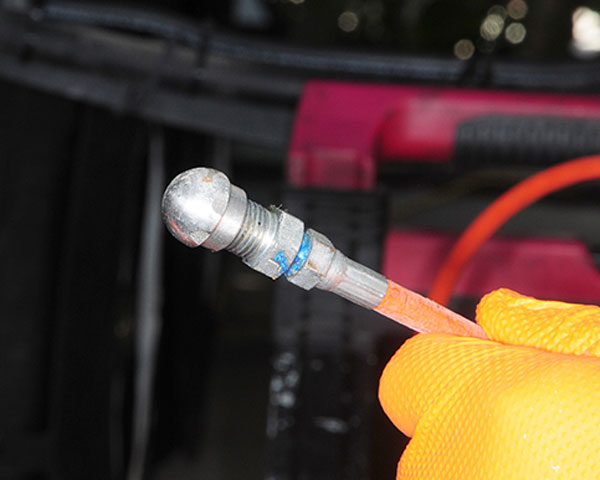
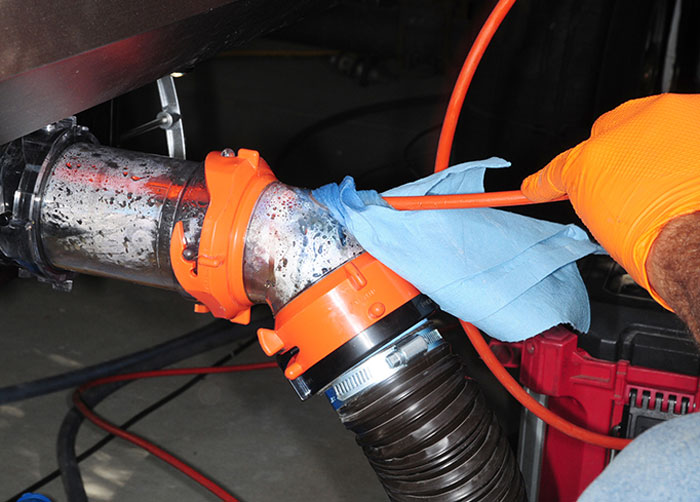
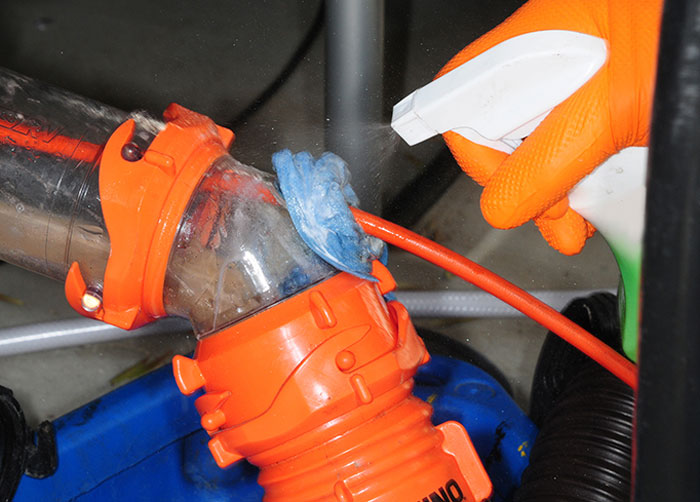
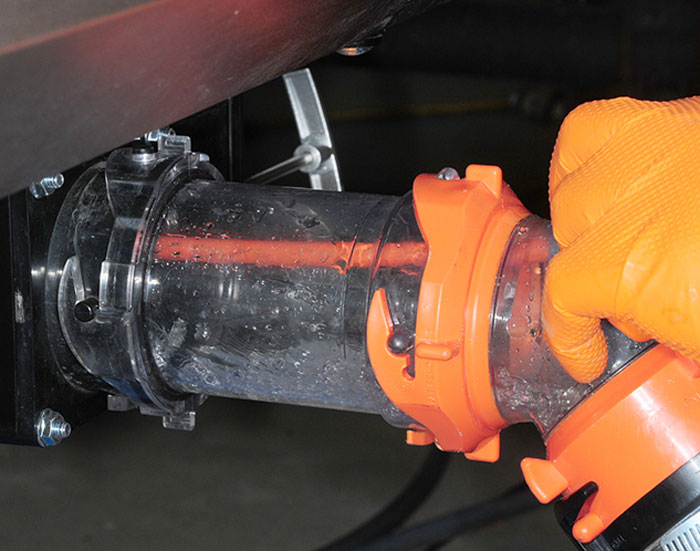
Although there’s nothing exotic about pressure flushing holding tanks, it does require specialized equipment and a technician with a strong constitution; this is not a job for sissies. The flushing process starts with disconnecting the sewer hose bayonet fitting and adding a special clear adapter configured by RV Flush (other companies no doubt use similar systems). The sewer hose is attached to the adapter and, at the other end, the dump inlet. From here, the technician inserts a long wand with a custom nozzle at the end into a hole in the adapter and “snakes” it into the holding tank. The tanks are cleaned one at a time, so the respective valve is opened while the others are closed. Getting the hose and nozzle into the tank takes some finesse but it will eventually reach its destination.
The hose is connected to a pressure unit in the van that produces a water stream at 3,500 psi. This is a mighty spray, which will clean the top, bottom and sides inside the tank, dislodging the contents clinging to the surface as the wand and nozzle are flung around inside. This may seem like a simple process, but the technician, after doing this procedure countless times, has developed a knack for nozzle placement inside the tank for the best results. The flushing process continues until only clear water flows out of the tank.
Surprise, Surprise
As mentioned earlier, the water flushed out of the gray tank can actually be dirtier than the contents in black tank. This can be attributed to soap scum, body hair and dirt flushed down the drain while showering, and from owners who wash oil, food particles, grease and even coffee grounds down the kitchen sink when washing dishes, utensils and pots/pans. It’s best to pre-wipe all items with paper towels before washing — and use a lot of water. Obviously, this can be problematic when dry camping, but pre-treating the kitchenware really helps in the long run. A common practice is to leave the gray tank open while on an RV site with hookups, but this promotes a build-up of contents as the majority of the liquid is removed, allowing the contents to stick to the sidewalls and floor of the tank. Most owners don’t add chemicals to the gray tanks, but doing so will promote better break-up of contents and control odor. After the cleaning process was completed, the monitor panel worked again, but went back to its pre-flush condition in a short while.
It’s unlikely you’ll ever find an RVer who will admit he/she enjoys dumping holding tanks; it’s just part of RV ownership. Keeping the tanks as clean as possible takes the stress level way down and will help remove fodder when sharing it-really-happened-to-me stories with fellow RVers.




When asked how to prevent poo-pyramids and bad odors, the experts at RV Flush shared a number of tips that will help keep tanks cleaner and flow more forcefully while reducing (or eliminating) odor.
Although adding a good RV holding tank-treatment after dumping the tank will break down the contents and control odor, water is actually the best cleaning agent. Most owners drain the tank almost completely, but do not then add enough clean water to “charge” the tank, which is necessary to keep contents moving freely. The RV Flush folks recommend “recharging” the black tank with 15 to 20% of the capacity. That can mean adding 8-10 gallons of water and a good toilet chemical. There are many chemicals on the market; we’ve used Thetford products for many years (currently using Thetford’s Aqua Max). The bottom of the tank must have enough water to suspend the contents, which will aid in content breakdown and limit build-up.
It’s also important to use the right toilet paper (see “The Great Wipe Off” in the June 2021 issue of RV Enthusiast). One-ply toilet paper is best, but not pleasant to use; two-ply RV toilet paper has just enough strength and will break down readily. Never add anything to the black tank except body waste, toilet paper and appropriate chemicals: Home “brews” can have an adverse reaction with commercial toilet chemical, leading up to the point of an explosion — and that’s not a pretty sight.
Boondockers might resist adding 8-10 gallons to the tank for recharging, since they want to get as many days as possible before dumping and refilling the freshwater tank. Full-timers and snowbirders, for their part, usually don’t move around every few days, and that poses a problem inside black tanks. Traveling agitates the contents more effectively, making it more difficult for waste to build up and become more solid — and creating a nasty clog. Any RVer who relies on portable tanks and/or honey wagons will not be able to rinse the tank adequately, which will also lead to build-up. For boondockers, the best practice is to dump and thoroughly rinse the tank as soon as possible after leaving primitive camp sites. Use the onboard tank rinser when water is available — and consider supplementing the dumping process with a Camco Swivel Stik (https://amzn.to/3nq0em5 for the flexible model) to remove additional waste.
www.rvflush.com