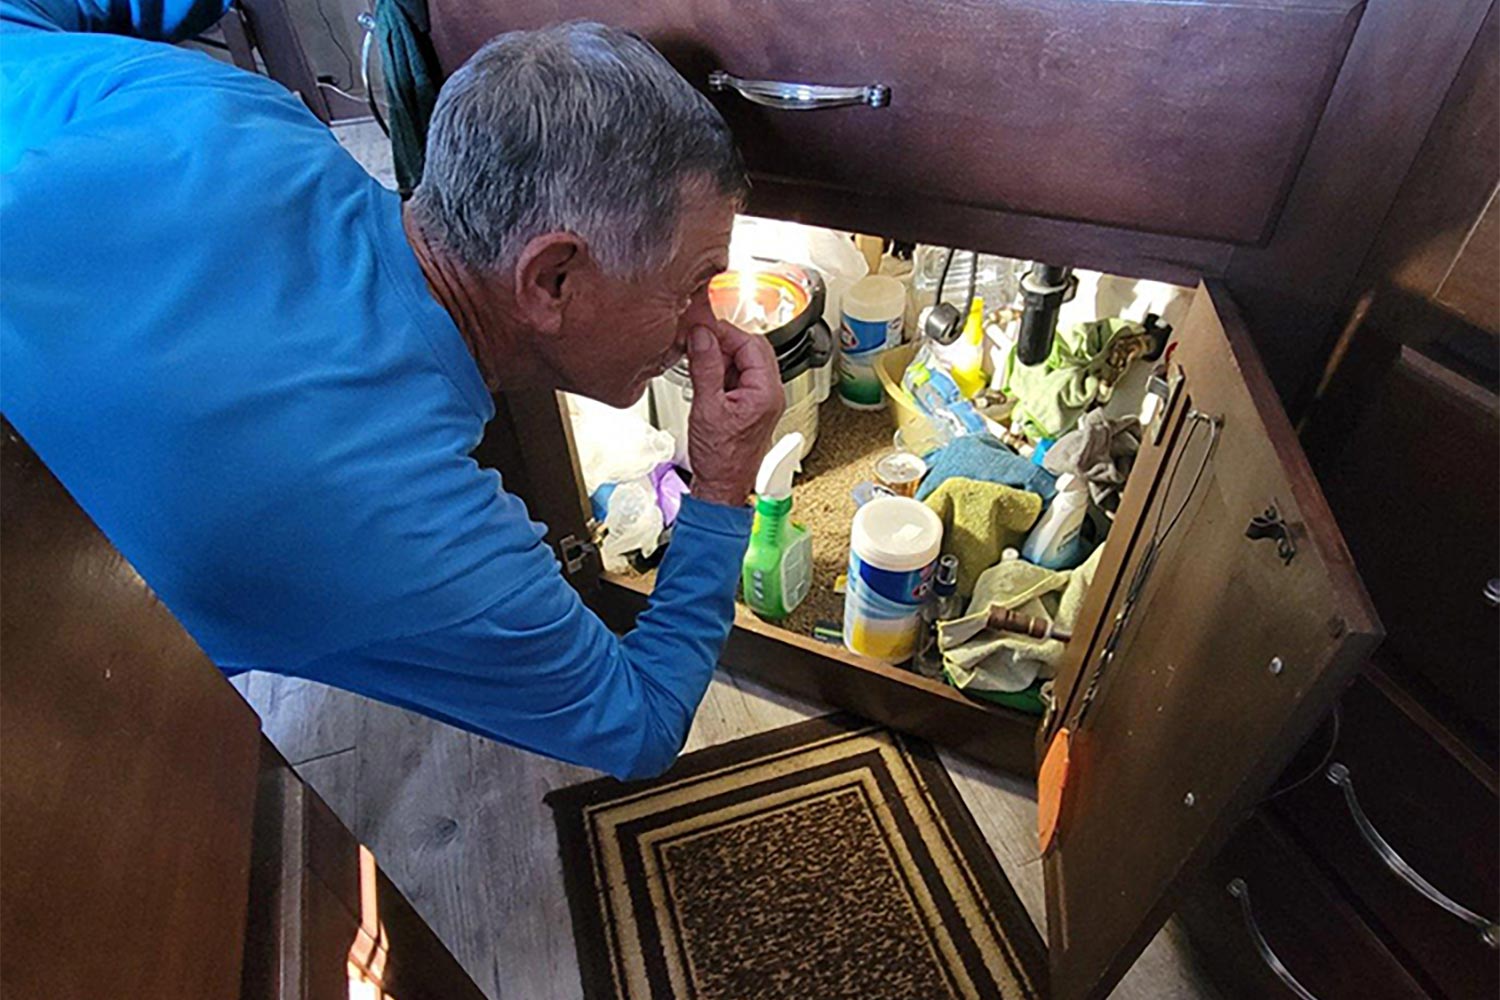
hen a friend called to tell me that, while boondocking at a nearby beach campground, he had a sewage smell under his galley sink and even after a thorough cleaning and tossing of unwanted supplies the obnoxious smell was still there, I knew immediately that he had a problem with the check vent under the sink.
Also called the vent valve or admittance valve, this often-ignored component is designed to vent the gray holding tank when it is physically impossible to run a vent pipe up through the roof. This is a common problem in bathroom sinks; most RVers mistakenly think this smell in the bathroom is coming from the black tank. It’s hard to believe that shower water and soapy water from doing dishes can smell this bad — but if you think about it, bacteria or even mold can develop in only a few days and, after a while, the smell can really fester as the mix of contents that are dumped into the gray tank remain stagnant. And, as my friend discovered, it’s a malady more noticeable when boondocking.
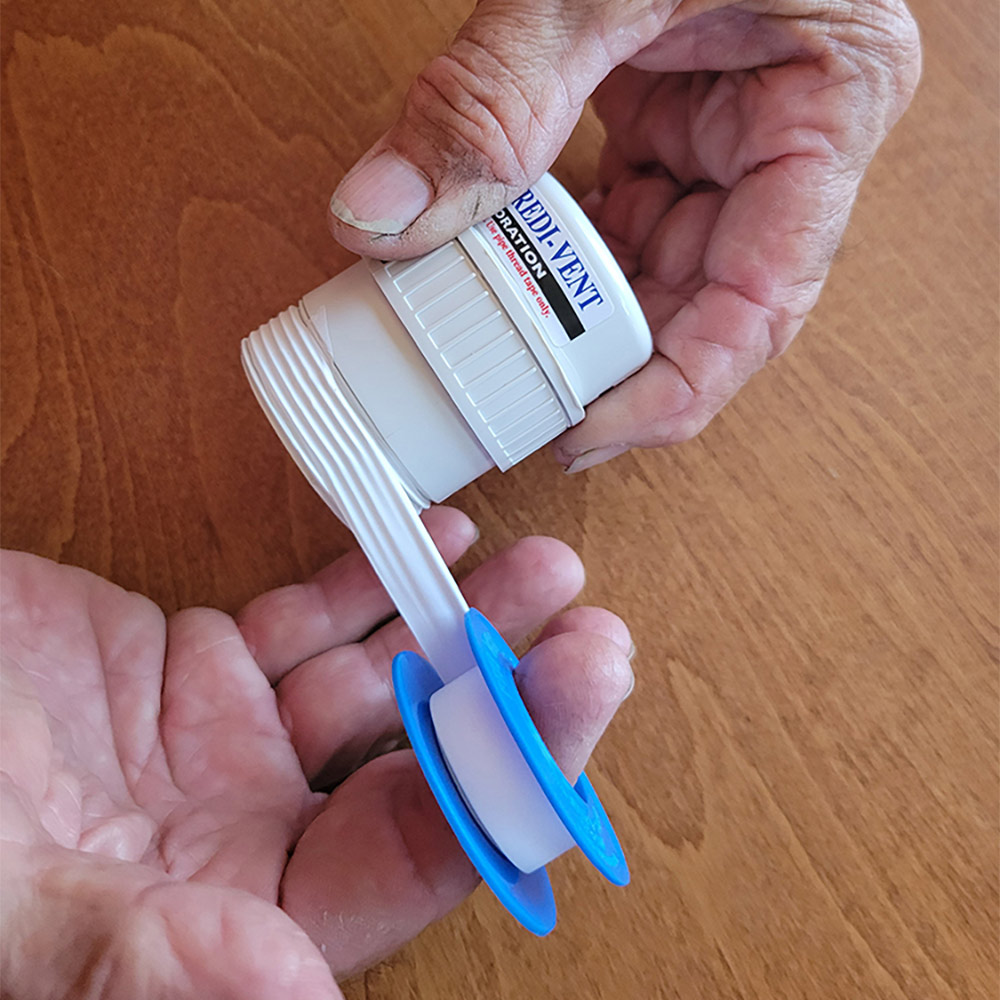
Fortunately, vent check valves are very easy to change once you know what to look for. These vents commonly have a 1½-inch thread below a dome, which serves as the check valve and can be easily removed by hand since they are not tightened to a specific torque. If they’re a bit stubborn, use a cloth to provide additional grip; in a worst-case scenario, grab a pair of off-set pliers (commonly used for plumbing repairs) to carefully break it loose.
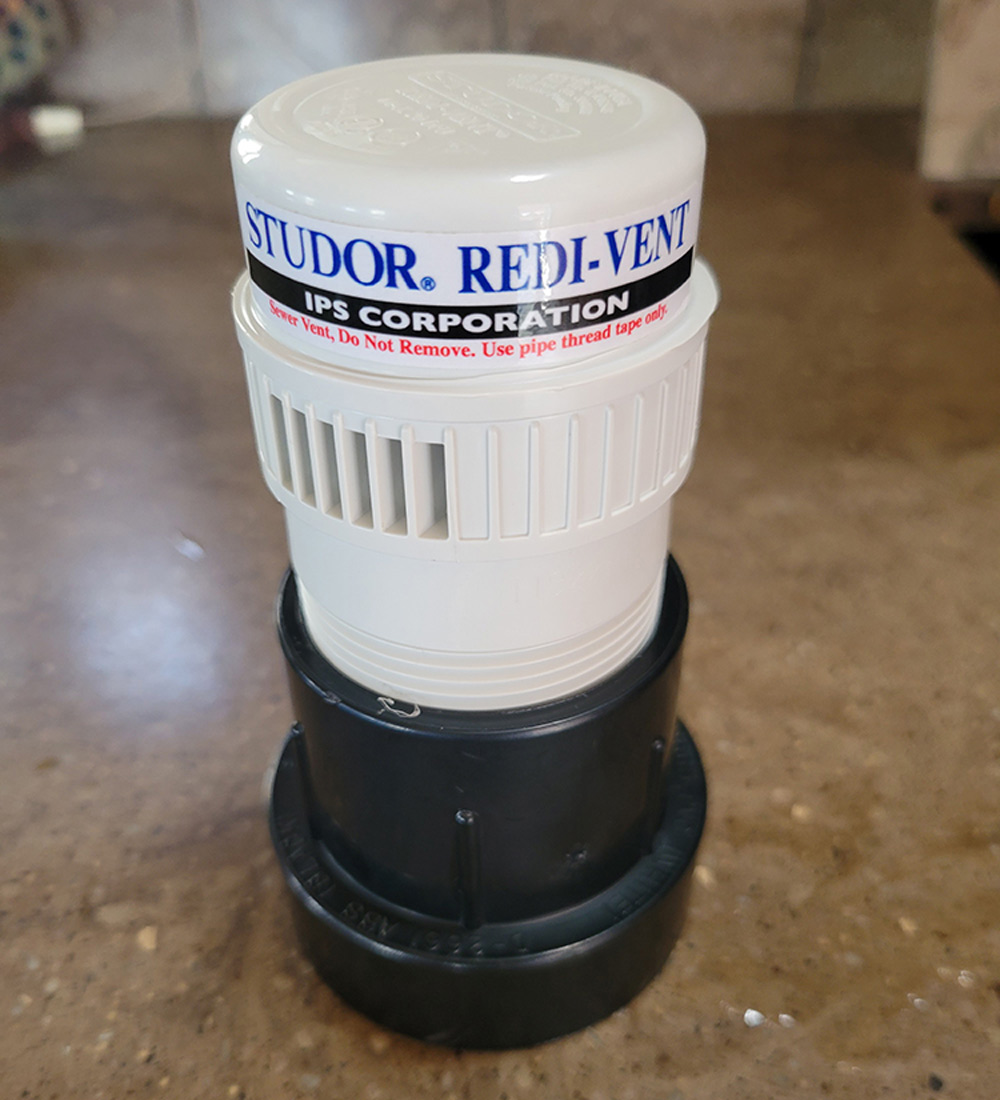
While common replacement valves are readily available at RV stores, a better choice is to upgrade to a 1½-inch Studor Redi-Vent (which comes with an adapter to accommodate 2-inch plumbing). This product is a one-way valve that automatically opens and takes in fresh air when it senses negative pressure from water flowing into the plumbing system. When the flow of water stops, the vent closes, essentially blocking noxious odors from escaping into the compartment and sink. The Redi-Vent is available on Amazon for about $32 and can also usually be ordered at RV supply stores.

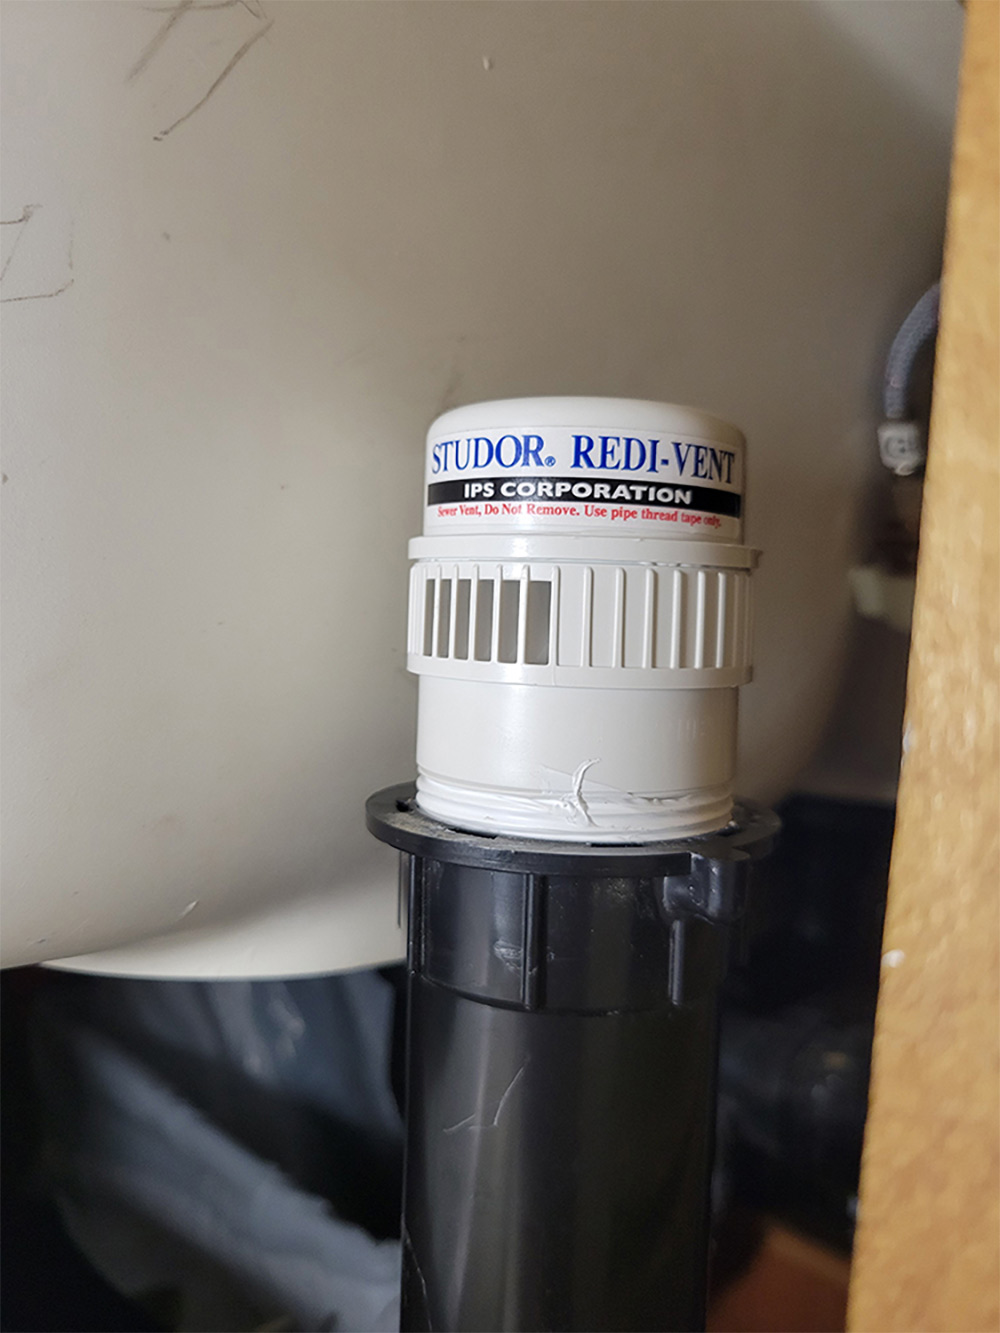
Be sure to use Teflon tape when reinstalling the vent so that odors cannot escape around the threads, and remember it only needs to be hand tight since there is no pressure involved that could dislodge the part.
There also are specific gray-tank chemicals that will alleviate most tank odors and keep the monitor sensors clean. If you start using these chemicals from the beginning it will mitigate some of the particles sticking to the tank permanently and, of course, help the vent do its job of preventing odors from spoiling the RV experience.
Needless to say, my friend’s wife was very happy when the odor was gone.