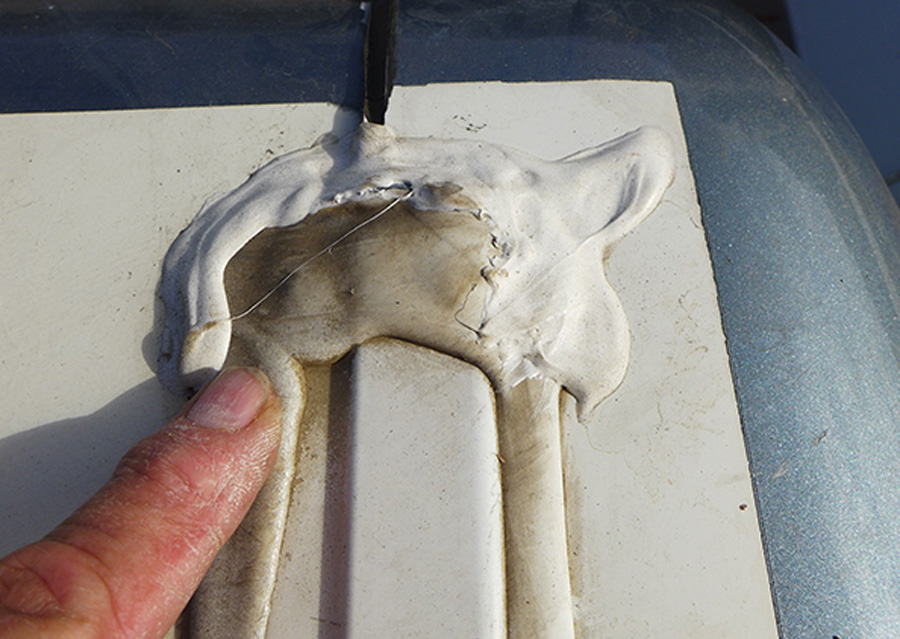
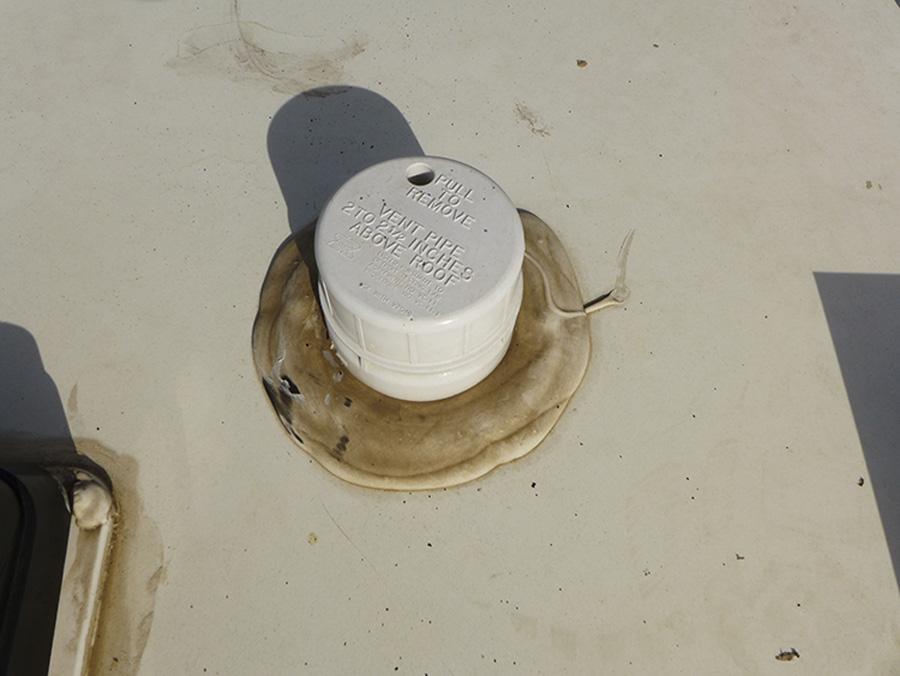
hen it comes to enjoying the RV lifestyle, there is absolutely one thing for certain: At some point the sealant/caulking on the roof of your RV — around the vents, TV antenna, accessories and other permanently mounted hardware — will start to fail.
That’s not the biggest problem, though. The real headache is that unless you go up on the roof and inspect the surface periodically before a leak is discovered on the ceiling or inside a compartment, you may not even know about it until it’s too late for a quick repair.
In most RVs, a little bit of water can stain a whole lot of area. And, of course, Murphy’s Law dictates that the leak is going to show up above your bed when you least expect it. Regardless of where the leak originates or where it shows up, the worst-case scenario leads to dry rot that you may not even see for many years — and mold can also become a serious health issue. Depending on the location, a leak left unchecked can cause extensive damage to the roof structure and the siding, resulting in expensive repairs and big-time inconvenience. The insulation in the walls and roof can trap the water for long periods of time since there is no air circulating in this area.

Fortunately, roofing materials have come a long way — evolving from what used to be the standard aluminum to fiberglass and EPDM rubber as well as TPO, which is a little tougher rubber material.
Along with this evolution came better sealant compounds that are more effective and longer lasting, but that’s the rub: Too many owners become complacent, figuring modern materials don’t require constant maintenance management. In some cases, the wrong materials are used to seal the roof, leading to further damage. The answer? Inspect the roof carefully on an annual basis.
Up On the Roof
Start by assessing all the transition seams for the roof material. Next, take a close look at the seams around vents, antennas, satellite dish and accessories that are permanently mounted to your roof. Determine the type of caulking/sealant you will need for your particular roofing material and how many tubes you will need; most sealant manufacturers will list the amount of square or linear feet that their product will cover. Over the years I have found that it’s a good idea to get one or two extra tubes to make sure that you don’t run out right in the middle of a job.


Another option, in lieu of caulking, is to use EternaBond tape to seal certain areas. Eternabond tape has proven to be durable and capable of eliminating leaks for many years and is excellent for the transition seams connecting the front and rear caps, around the roof vents and skylights. In fact, Eternabond will outlast the majority of caulking products, but it can be a little bit more difficult to use on uneven surfaces. The Eternabond tape I placed where the front and rear caps meet the rubber roof material on my fifth wheel trailer is still in good shape after 12 years, while the caulking around the vents and other accessories has been scraped off and reapplied twice during the same period of time. It’s possible to find Eternabond in RV supply stores, on Amazon and at Walmart, but one of the best selections — and prices — can found at Best Materials in Phoenix, Arizona (bestmaterials.com).
There are many different types of caulking on the market, so be sure to do your homework and use the correct type for your particular roofing material. For example, all rubber roof membranes require a caulking to be free of petroleum distillates — especially the earlier grades of EPDM rubber material. TPO material is not quite as sensitive to solvents, but it’s still best practice not to use products with petroleum distillates. Fiberglass and aluminum, of course, can tolerate any type of sealant, but refrain from using common silicone.
Dicor (dicorproducts.com), one of the primary providers of rubber roof membranes to the RV industry, offers self-leveling and non-sag sealants in large tubes that can be used with any standard caulking gun. The self-leveling lap sealer from Dicor is available in six colors and available at most RV supply stores and on Amazon. Dicor also markets a rubber roof renew kit that comes with everything that you need to refurbish a badly damaged membrane.


For aluminum or fiberglass roofing materials, Geocel ProFlex RV Flexible Sealant (geocelusa.com) is one of the primary products used by most service personnel and is also available in six colors. Its attribute is the ability to remain flexible rather than harden. This feature is important in preventing separation in an RV environment where moldings constantly move while on the road. Another good option for fiberglass or aluminum is self-leveling silicone rubber caulking, which is effective and long-lasting. You can also purchase self-leveling silicone rubber sealer in bulk cans and apply it with rollers and paint brushes. Silicone rubber is not impervious to UV exposure, but it does stand up very well if it’s applied correctly.
If you’re going to use EternaBond tape, rest assured it, too, comes in different colors as well as various widths. You only get one shot at applying this tape because it has amazing sticking power. Getting it right takes some practice — and a heavy roller is necessary to promote proper adhesion. If you are new to this tape, cut off a short length and practice on a piece of wood or a scrap section of plastic. Take the time to watch one of the installation videos found online; once this tape touches the surface, it’s not coming off. As a bonus, Eternabond can be used for a lot of different purposes and repairs around an RV. Keep a roll of this tape in your tool arsenal. Most people find the 4-inch width most versatile.
Getting up on the roof to survey up to 45 feet of material may seem overwhelming. There are many seams up there and each one requires careful scrutiny and possible scraping and resealing. Fortunately, if the weather is good, you do not need to complete the task in one day. Just plan ahead; weather such as fog or dew in the middle of the night could help transport some of the caulking down the side of the RV. As always, preparation and timing are the keys to success.
The Right Tools
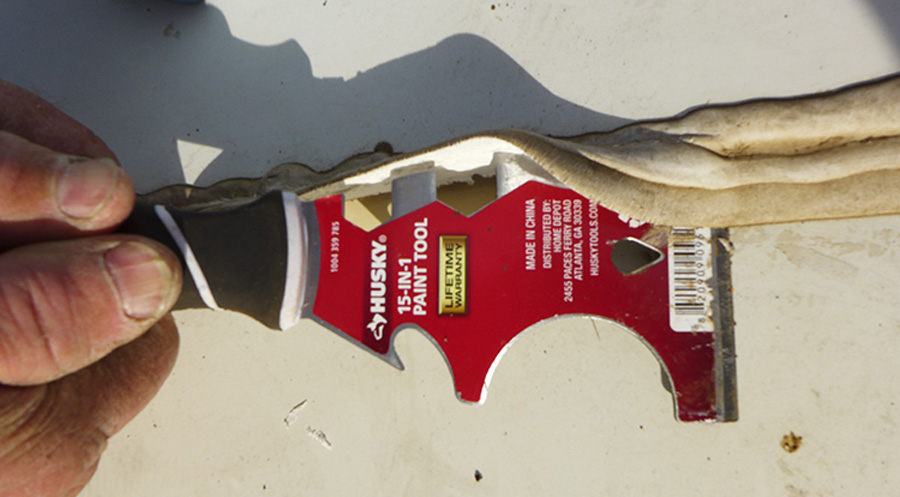
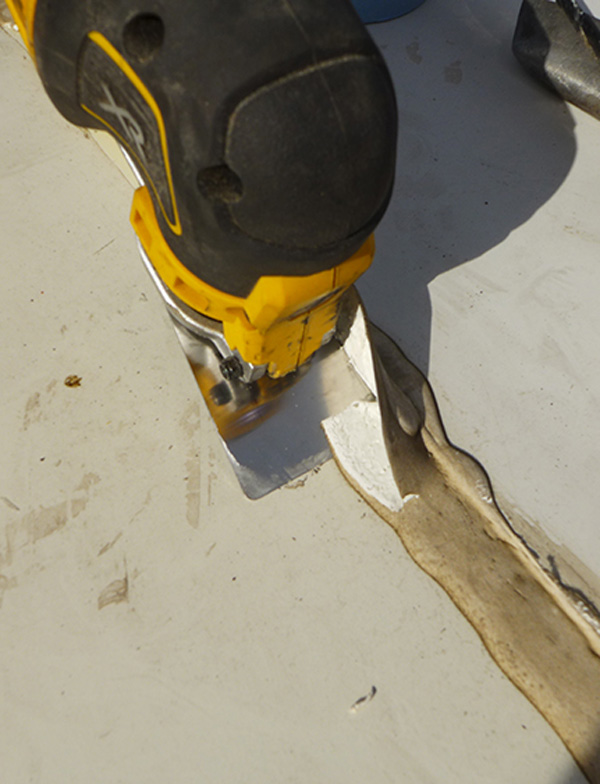
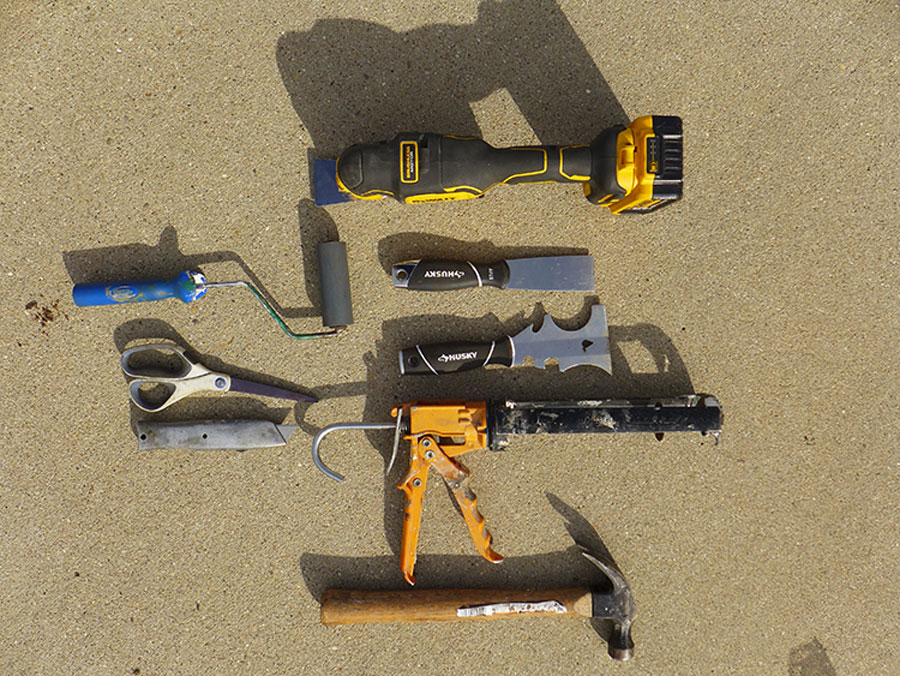
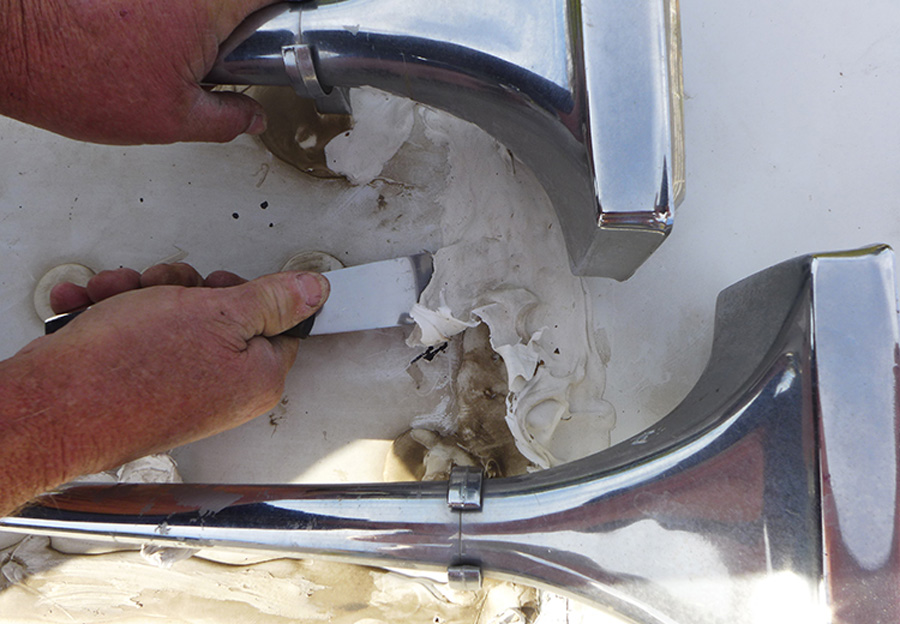
Should you decide to take on this task, you will need a variety of tools to remove the old caulking. You can apply new sealant over the top of the old stuff, but it’s not as effective and it will not last longer than one or two years. I use a combination of three different size putty knives and a cordless oscillating multi-tool with a special blade designed to remove caulking, which dramatically reduces the time and effort to get the job done. The oscillating tool is very effective when used on an aluminum or fiberglass roof but can cut a rubber membrane easily, so going slow and methodically is critically important.
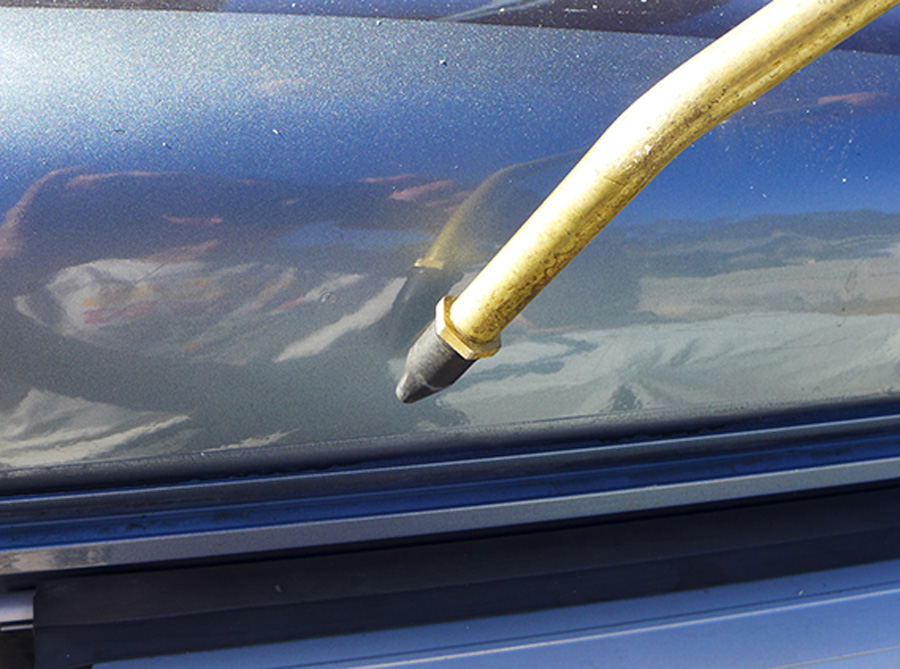
The subject for this roof inspection and resealing was a 2006 Winnebago Journey motorhome with a fiberglass roof, which allowed us to use the oscillating tool successfully. Winnebago makes it a little more challenging as it rolls the fiberglass over the top and part way down the side and then tucks it into a piece of molding. All the caulking along the molding was removed, exposing about a ¼- inch gap that needed to be filled with new sealant. For this section, we applied ProFlex sealant along each side since it remains flexible and does not have a propensity to crack while the body is twisting and moving when on the road.
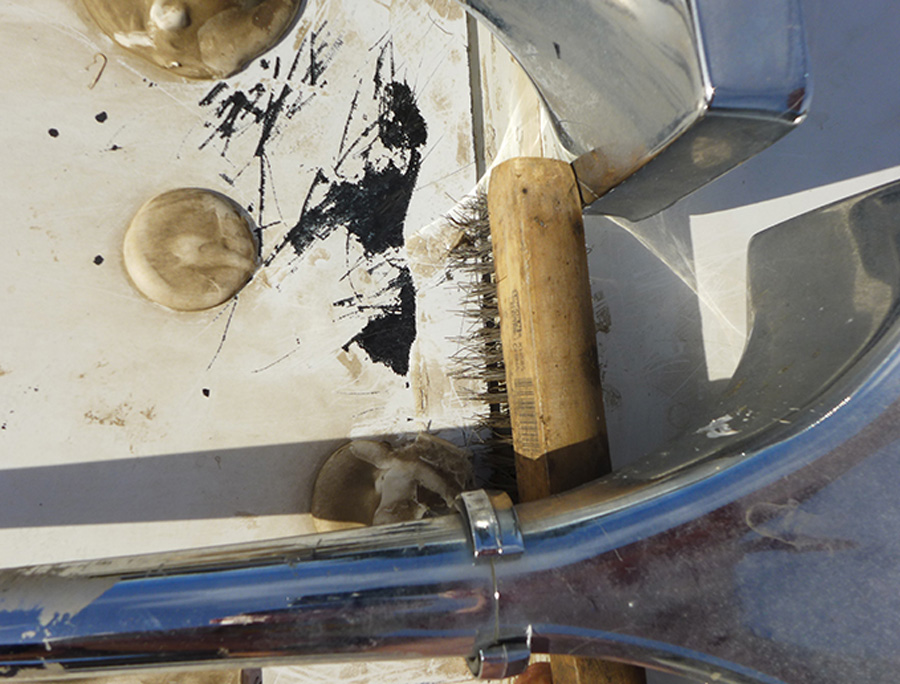
The oscillating tool was an absolute time-saver when removing the caulking on the front and rear caps as both were smooth and we were able to make very fast progress. We did use the oscillating tool around some of the other vents and antennas, as well, but ran into a glitch because there were screws sticking up through the old sealant, making it safer to work by hand. Satisfied that we removed 90% of the caulking, the area was cleaned with paint thinner, followed by alcohol to make sure that there were no oily substances left behind by the paint thinner. When using alcohol, go over each area two to four times to make sure that all contaminates have been removed.
Once the old caulking was removed, we laid down painter’s tape in order to get a straight line when we applied the caulking into the gap between the molding and the fiberglass. For the front and rear caps we sealed with Eternabond tape, again employing painter’s tape in order to make a straight line as a guide from side-to-side. As mentioned earlier, Eternabond sticks instantly and after bonding, it’s almost impossible to remove without scraping and fussing — hence the masking-tape guide to eliminate guesswork and a protracted re-do.
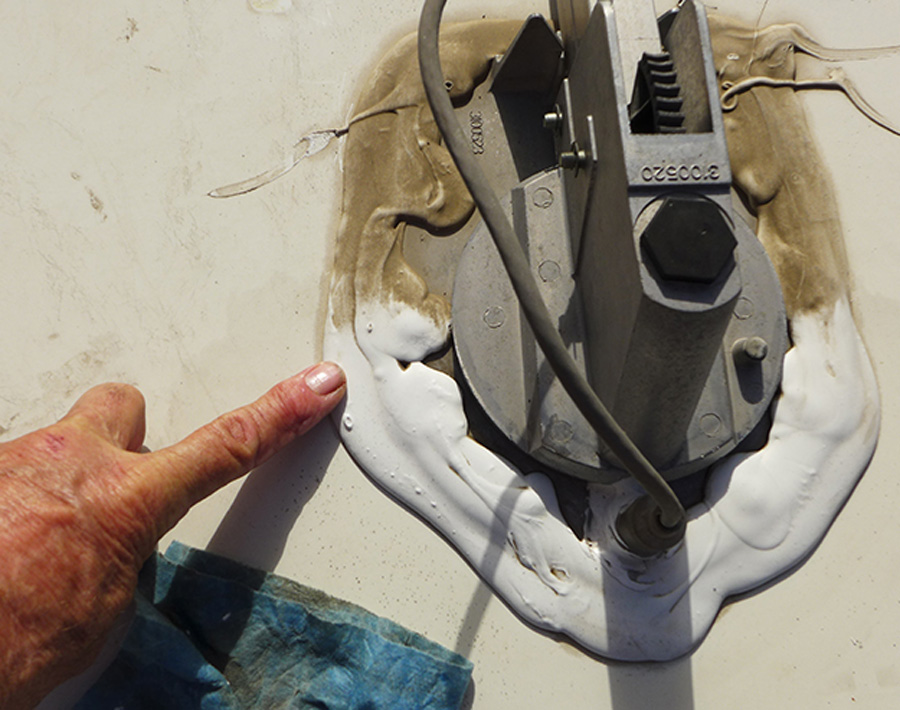
If you are going to use Dicor self-leveling sealant, make sure to apply plenty of material since it will level out and become thinner. Another suggestion: Do not attempt to do this in very hot weather — it’s hard to move around on hot roof surfaces and the self-leveling sealant can thin out. If you don’t have a choice, try working in the morning before it gets hot and maybe a little in the evening when the sun starts to set. It will not make any difference whether EternaBond tape is applied in high or cold temperatures. I have found, though, that the tape does not last as long if you lay it over old caulking.
Let all of the newly applied sealant dry for three to four days and then double-check to make sure that there’s still proper coverage; don’t be afraid to add more caulking if necessary.
If the rubber roof material is still in good shape but extremely dirty, it’s best to scrub it with the proper cleaner for the particular roofing material while you’re up there. That way, it’s easier to keep an eye on the seams during subsequent inspections and discover if any areas have been breached.
Make sure that all cleaning products are washed away with plenty of water, otherwise the chemicals can run down the sidewalls and damage the vinyl striping or paint. Another trick that works quite well: If you discover any holes or cuts in the roofing material caused by low tree branches, make a permanent patch out of Eternabond, preserving the integrity of the membrane/fiberglass and preventing any moisture intrusion.
There’s no question that refurbishing your roof is a lot of work — but there is a certain amount of satisfaction gained by doing a great job yourself. For those owners who are not comfortable climbing on the roof, have it inspected professionally on an annual basis. In either case, catching potential problems way in advance will ensure that your RV holds its value and lessens down time.